
Battle - Eleven Sorceresses
After Adel falls, watch Laguna and Ellone carry out their plans, and the bizarre scenes that follow. When you’re back in control, save your game at a Save Point, after which it’ll multiply. Run through the Save Points and out the door and after a scene you’ll find yourself fighting a Sorceress.
| Lesser Sorceress x6 | |
|---|---|
| Lv: | 45 |
| HP: | 3,390 |
| Weaknesses: | – |
| Resistances: | – |
| Status Resistances: | Immune to Berserk, Card, Confuse, Eject, Float, LV Down, LV Up, Petrify, Slow-Petrify, Stop; Darkness 20% – Death 20% – Doom 20% – Haste 0% – Poison 20% – Reflect 0% – Regen 0% – Silence 60% – Sleep 20% – Slow 0% – The End 0% – Zombie 30% |
| EXP: | – |
| AP: | 5 |
| Draw: | Blizzaga, Firaga, Thundaga |
| Mug: | Meteor Stone, Ultima Stone |
| Drop: | Flare Stone, Holy Stone, Meteor Stone, Ultima Stone |
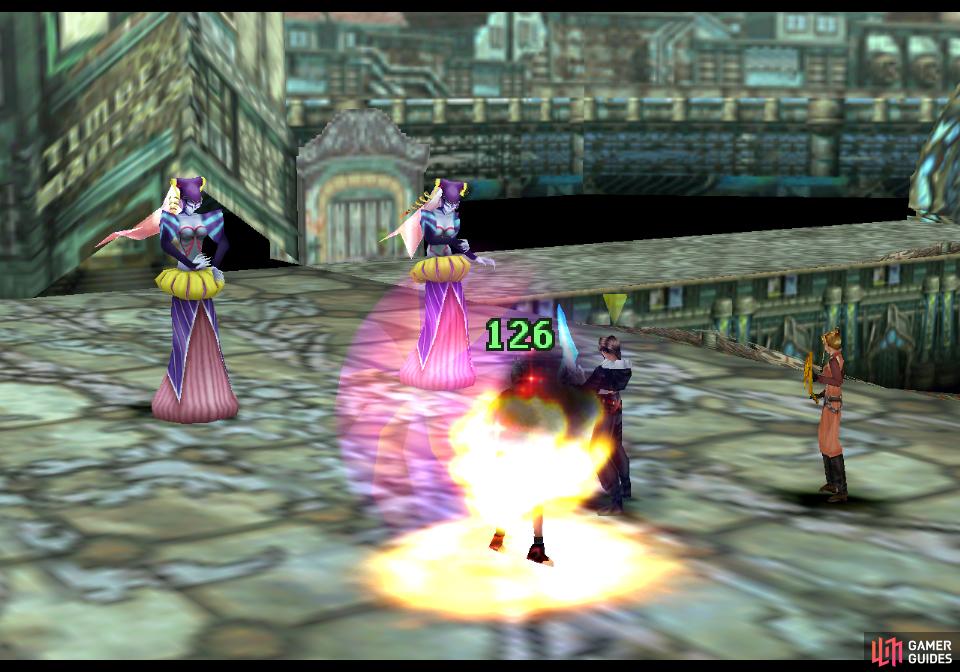
The first six sorceresses you fight will stick to relatively weak elemental spells
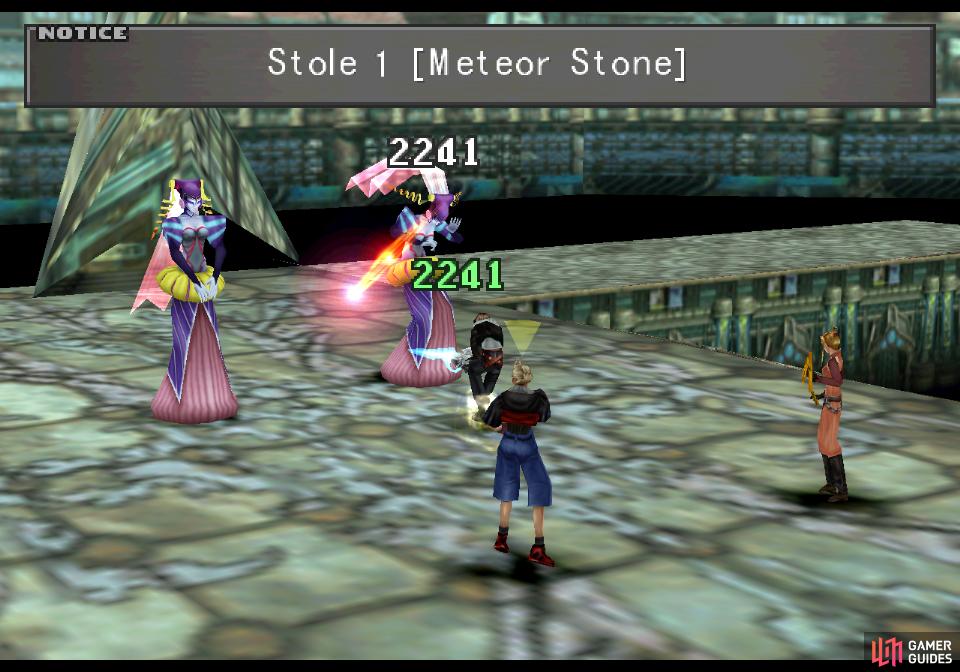
All your foes here can be mugged for spell-stone items.
As you can see at a glance, this first Sorceress is pretty weak, with a fixed level and just over 3,000 HP to her name. She’s also vulnerable to a variety of status effects, so you have your pick of ways to defeat her. As for her own offense, she’ll cast a variety of elemental spells (Aero, Blizzara, Fire, Fira, Thunder, Thundara) and while there’s nothing too intimidating in her spell arsenal, her Magic score is rather high (over 200) so even weak spells can pack a punch. That said, if you’re immune or highly resistant to elemental spells there’s little she can do to harm you, and Auto-Shell will continue to be a boon, if you have it.
Cut her down quickly - with her HP, it shouldn’t take more than a hit or two - as another Sorceress will soon joy the fray whether the first is defeated or not. The second is functionally identical to the first, however, so she shouldn’t present any great danger to you, either. Go through six identical Sorceresses and a new variety will show up.
| Veteran Sorceress x4 | |
|---|---|
| Lv: | 45 |
| HP: | 4,496 |
| Weaknesses: | – |
| Resistances: | – |
| Status Resistances: | Immune to Berserk, Card, Confuse, Eject, Float, LV Down, LV Up, Petrify, Slow-Petrify, Stop; Darkness 20% – Death 20% – Doom 20% – Haste 0% – Poison 20% – Reflect 0% – Regen 0% – Silence 60% – Sleep 20% – Slow 0% – The End 0% – Zombie 30% |
| EXP: | – |
| AP: | 5 |
| Mug: | Meteor Stone, Ultima Stone |
| Drop: | Flare Stone, Holy Stone, Meteor Stone, Ultima Stone |
More dangerous than the first Sorceress, these spellcasters (there are four who will arrive as others fall) have varying tactics. The first will start out with Double, then start spamming double-cast Thundaga. The second will infrequently chip in with Meltdown, followed by physical attacks and the odd Quake spell. The third will cast Meteor and the fourth will cast (perhaps even doublecast) Flare.
Defeat these four and your eleventh - and final - foe will appear.
| Master Sorceress | |
|---|---|
| Lv: | 45 |
| HP: | 34,120 |
| Weaknesses: | – |
| Resistances: | – |
| Status Resistances: | Immune to most status effects; The End 0% |
| EXP: | – |
| AP: | 5 |
| Draw: | Flare, Holy |
| Mug: | Meteor Stone, Ultima Stone |
| Drop: | Flare Stone, Holy Stone, Meteor Stone, Ultima Stone |
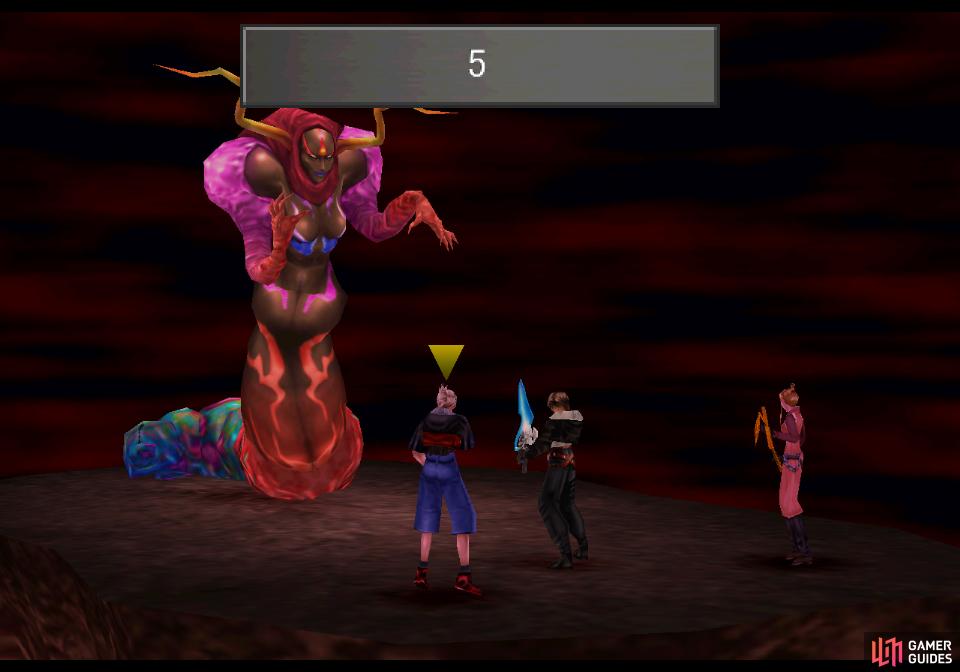
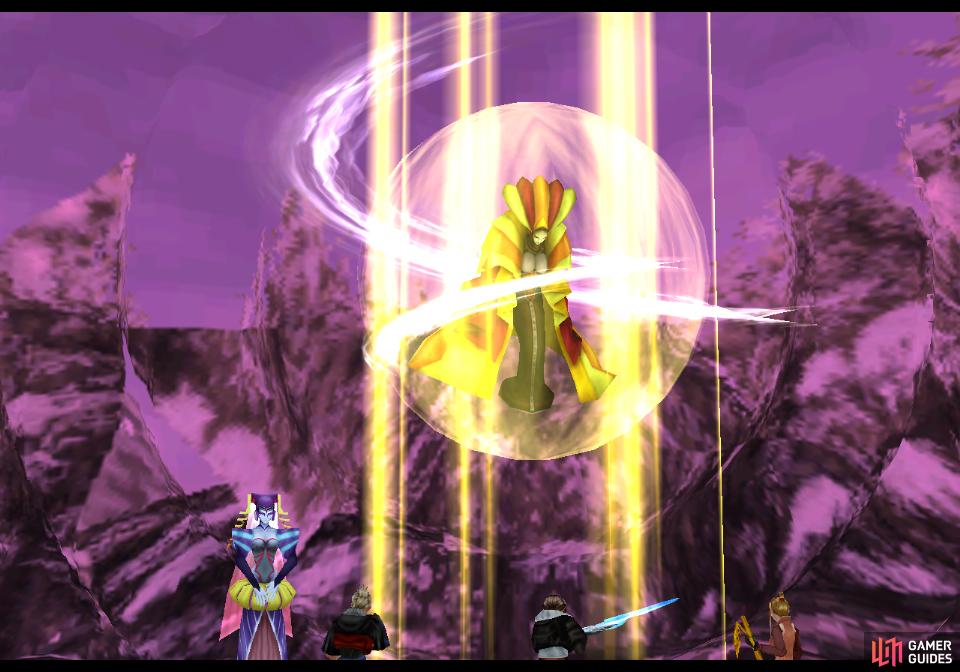
(1 of 4) The eleventh Sorceress is far stronger than the others, performing a rather quick countdown
This monstrous Sorceress has far more HP than her lesser counterparts - a respectable 34,000 HP. She’s also immune to almost every status effect in the game, so you’ll need to rely on brute force to win this fight. She only knows one spell - Ultima, and she’ll count down before unleashing it. She’s also got a max Magic score (255) so expect this spell to deal well over 1,000 damage to the entire party even with Auto-Shell. Without Auto-Shell… this can get painful, quickly. She can also perform a melee attack, which can also deal substantial damage, especially if you were hit by Meltdown earlier.
Use Aura, then pummel her with limit breaks until she falls, after which you’ll get a generous 55 AP - 5 AP for each Sorceress you smote.
Recovering the Ragnarok
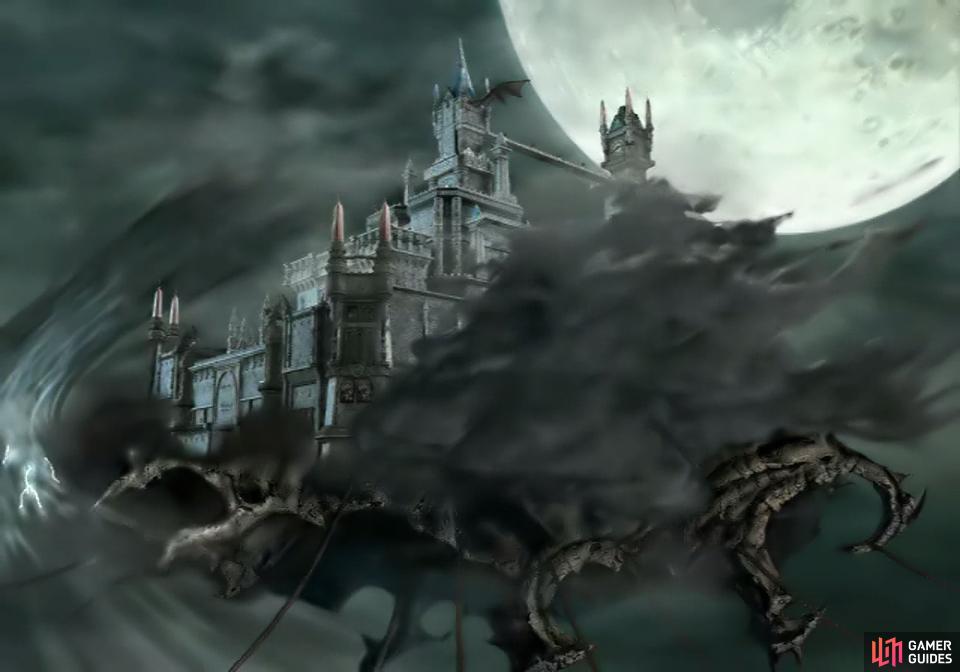
After the fight you’ll find yourself in the courtyard of Edea’s House. Go through a door to the right to enter the house, then go through a doorway at the top of the screen to reach the beach. Walk forward and the present will merge with the future, revealing Ultimecia’s castle floating in the distance. You can enter this edifice now, but before you do, you’d be well served by recovering the Ragnarok.
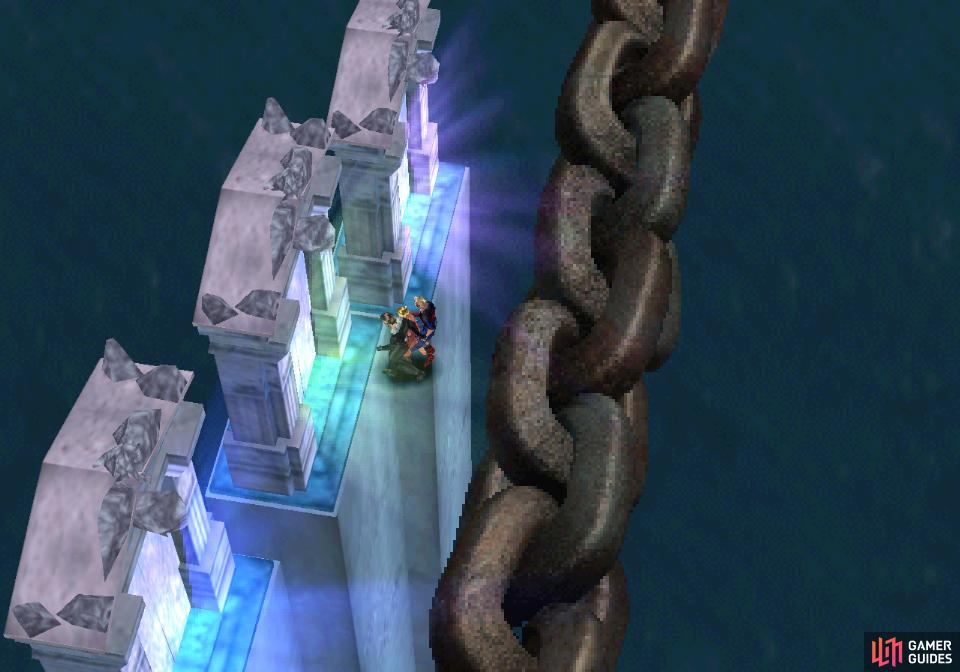
To that end, head left, then down to advance towards Ultimecia’s Castle. On the next screen you’ll find a Triple draw point near a number of dead SeeDs. Continue forward towards a massive chain, then advance onto the chain and run across it until you see three glowing portals off to the left. Face the middle portal and press [TALK/CONFIRM] and you’ll jump over to it, then enter the portal.
You’ll emerge on the Centra continent, a good distance north of the Centra Ruins. Check out the large world map and you should spot a flashing red dot to the southeast - that’s the Ragnarok, and until you can find a way across the water, it’s out of reach. Fortunately, there’s a solution at hand! Follow the coast west and north until you reach some mountains, then go around said mountains to the west to find the Nectar Peninsula Chocobo Forest.
If you’ve already solved this Chocobo Forest, great! You can just talk to the Chocobo here and take it for a ride. If not, check out the Chocobo Forest section for a solution. Either way, once you’ve mounted a Chocobo ride south and east to return to the gate, and from there go south to the Centra Ruins. From here continue south and ride off the beach and into some shallows, then work your way west to the landmass to the south. Now that you’re back near Edea’s House, just ride the Chocobo across the continent until you reach the Kashkabald Desert at the eastern end of the landmass, where you should find the Ragnarok.
Not only will the Ragnarok help you get around should you, say, wish to complete any of the side quests that are still available to you, but there’s another, useful feature of having this ship back… provided you’ve completed the CC Group quest earlier.

The CC Group on the Ragnarok
Board the Ragnarok and Xu should - again if you’ve completed the CC Group quest back on Balamb Garden - greet you, making up some silly story for why they’re there. Whatever the excuse, their presence means you can plays cards with the CC Group members (certainly you have time for this, right?), and while the opportunity to acquire new cards is welcome enough, there’s an added boon here - they’ll play rare cards you’ve previously obtained but may have lost or used up via Card Mod.
The CC Group wasn’t equal before, and they’re not equal now. Go through the door to the right, then head down to find the Princess Diamond duo. Play the left-most girl (keep refusing to play until she stops asking to mix rules - no reason why you should have any rules besides Open complicating things) to find that she’ll regularly make use of aforementioned rare cards that you parted company with one way or another. She’ll play these rare cards in a specific order, starting with the least valuable (Level 8 GF cards), going from the top of the list down (Chubby Chocobo, Angelo, Giglamesh, etc.)
While the left-most member of the Diamond duo seems more likely to play rare cards, all members of the CC Group can play rare cards… presumably this is why there’s a pause while they “search their decks”. More than just rare cards, however, you can technically win every card in the game - save the PuPu Card - from the CC Group in disc 4, as in addition to randomly playing lost rare cards they’ll fill their decks with a variety of cards of others levels, varying by player:
| Player | Card Levels | Rules |
|---|---|---|
| Jack | 3, 4, 6 | Balamb |
| Joker | 1, 2, 3, 6, 7 | Centra |
| Club | 3, 5, 6 | Dollet |
| Diamond | 3, 4, 5, 7 | Trabia |
| Spade | 1, 2, 3, 6, 7 | Esthar |
| Heart | 3, 5, 6, 7 | Fisherman’s Horizon |
| King | 1, 2, 3, 4, 5, 6, 7 | Lunar Base |
It’s also worth noting that every player uses a different ruleset, although they use the rules as you left them, not as they originally were. So if you abolished nasty rules from Trabia, the Diamond duo will be much easier to defeat. Hopefully by following this guide you abolished bad rules in most areas, save of course the Lunar Base. Be wary, though, if you pick up new rules while playing one member of the CC Group, you can spread them to others - just decline to use rules from other regions when challenging other CC Group members until they drop it… or if necessary, you can try to abolish and spread rules between the CC Group members, as needed.
It’s also worth pointing out that wherever you left the Queen of Cards at the end of disc 3 has an effect, too. The upside of this is that the Queen of Card’s trade rules will influence this CC Group member, particularly their trade rules. If you left the Queen of Cards with a certain trade rule - say Diff - then the CC Group member using the rules of the region she’s in will also use that trade rule. Ideally, then, you could have left the Queen of Cards in the Trabia region (Shumi Village) in which case the Diamond duo will regularly use the Diff trade rule.
It’s not a bad idea to win back all the cards you’ve lost or refined away until your collection is complete again. Once you’ve won back your cards… you can Card Mod them again for more prizes! You can win back and refine away cards repeatedly, making this a fine way to stock up on some rare items that you’d otherwise find hard to obtain; refining Giglamesh into Holy Wars, Laguna in Heroes, Bahamut into Megalixirs and Angelo into Elixirs are all fine ideas if you want to stock up on potent items for the next - and last - dungeon.
Speaking of which, assuming you have everything else done you want to accomplish in the game, it’s time to besiege Ultimecia’s Castle.
No Comments