
The Centra continent is a shattered collection of landmasses on the south-central part of the world map. Specifically, the northern collection of these landmasses look as if they were sundered by some impact, and fittingly enough it’s known as the “Centra Crater” on your map. You’ll find the Centra Ruins on the western part of this Centra Crater landmass.
When you enter you’ll see a counter pop-up, and some being - Odin - will communicate with you. This place is home to two GFs, although Odin isn’t a GF in the traditional sense, and you’re not really here for him. In fact, ignore the counter and the taunts entirely - dealing with Odin will be covered shortly, but for now let’s focus on the other GF you can get here.
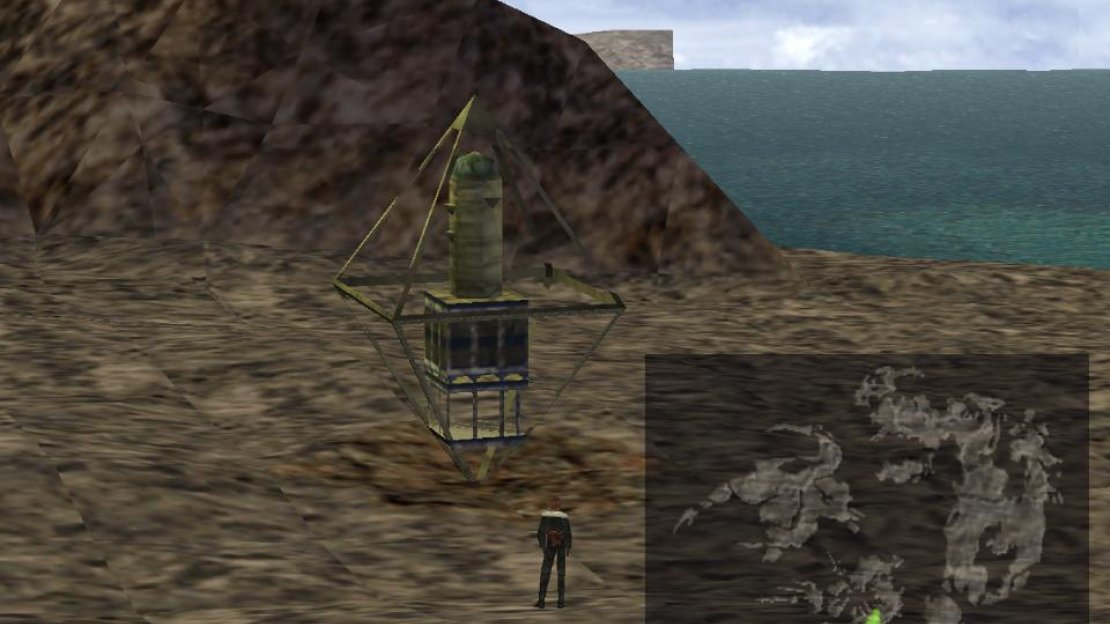


(1 of 3) Find the Centra Ruins in the Centra Crater region.
The Tonberry Massacre
From the screen you start out in head up one screen to reach some ruins, including an arched doorway behind a “My Blue Heaven” sign. No need to decipher this or worry about the ruins just yet, just run around this screen until you find the exclusive creature that dwells here - the Tonberry. This critter is interesting enough, and you’ll have to fight enough of them, that it’s worth going over a bit.
| Tonberry | |
|---|---|
| Lv: | 1-100 |
| HP: (Lv10) | 17,000 |
| HP: (Lv20) | 19,000 |
| HP: (Lv30) | 21,000 |
| HP: (Lv100) | 35,000 |
| Weaknesses: | – |
| Resistances: | – |
| Status Resistances: | Immune to most status effects; Card 0% – LV Down 0% – LV Up 0% – The End 0% |
| EXP: | – |
| AP: | 1 |
| Draw: | Death |
| Mug: | Chef’s Knife x1 |
| Drop: | Chef’s Knife x1 |
Tonberrys are vicious creatures and Final Fantasy staples that are generally characterized by having high HP and an odd fighting style. In this case, their high HP is actually somewhat slanted against lower-level parties, as they start out with 15,200 HP and max out at 35,000 HP - a staggeringly low growth rate of x2.3 over 100 levels. They walk slowly forward, being incapable of quickly closing the distance between you, and when they are adjacent the the party they’ll go to work with their Chef’s Knife attack, which can grow to be fairly painful.
Their high HP helps them survive long enough to close this distance, but they’re also aided by their equally iconic counterattack - Everyone’s Grudge. When attacked there’s a random chance they’ll use this attack, which deals damage to a character equal to the number of foes they’ve defeated x20. If that character has defeated 100 foes, they’ll take 2,000 damage - no blocking, reductions or complications. How effective this attack is against characters will obviously vary, and you can check each character’s kill count via the Battle Meter.
They’re immune to almost every status effect in the game and have no elemental weaknesses, leaving you with two realistic options - gravity, and brute force. Demi works well, as will Diablos (if you leveled him, not so much if not). You can also leave your HP low and spam limit breaks - Squall, Zell and Irvine all work wonders, especially if Squall has his Lionheart. Just for comparison, a low-level party junctioned with Str+60% and Tornado junctioned to Strength could boast around 120~ Strength.
Even then, limits only outright killed a Tonberry roughly half the time, so the odd Phoenix Down/Life spell was needed to bring back characters felled by Everyone’s Grudge. A minor nuisance, at worst, but your mileage may vary depending on what you’ve accomplished thus far. It’s worth pointing out that it’s not too late nor very difficult to win the Zell and Pandemona cards, which will give you Str+60% and Tornado, respectively, and both can be found in Balamb.
Defeating Tonberrys is one thing, but what’s the point? Well, you need to kill around twenty Tonberrys to lure out the Tonberry King, which is the entire point of this trip. You need not kill them all in one go - you can return to the world map, even rest in Balamb Garden if you need to. You cannot, however, Card Tonberrys… not that you’d want to, as they give no EXP. Just run around the second screen in the Centra Ruins and if the timer runs out, pick “Try Again” to return to the world map. You’ll keep your Tonberry kill progress, and Odin’s timer and taunts are irrelevant to your goal of killing Tonberrys.
There’s no obvious counter for how many Tonberrys you’ve defeated, so you might want to keep your own tally, or better yet, start a GF learning a new skill at the start of this grind. One Tonberry, one AP, which should make it easy to track. There’s a range of kills that Tonberry can show up during, and he’ll appear after you kill a normal Tonberry, extending that fight rather than starting a new one. This being the case, you might want to exit to the world map when the timer hits 10:00 or so, just to prevent any complications.
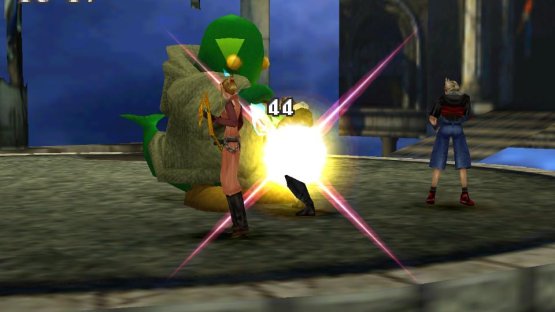

(1 of 2) The Tonberry King is larger, but he’d not necessarily much more powerful than normal Tonberrys.
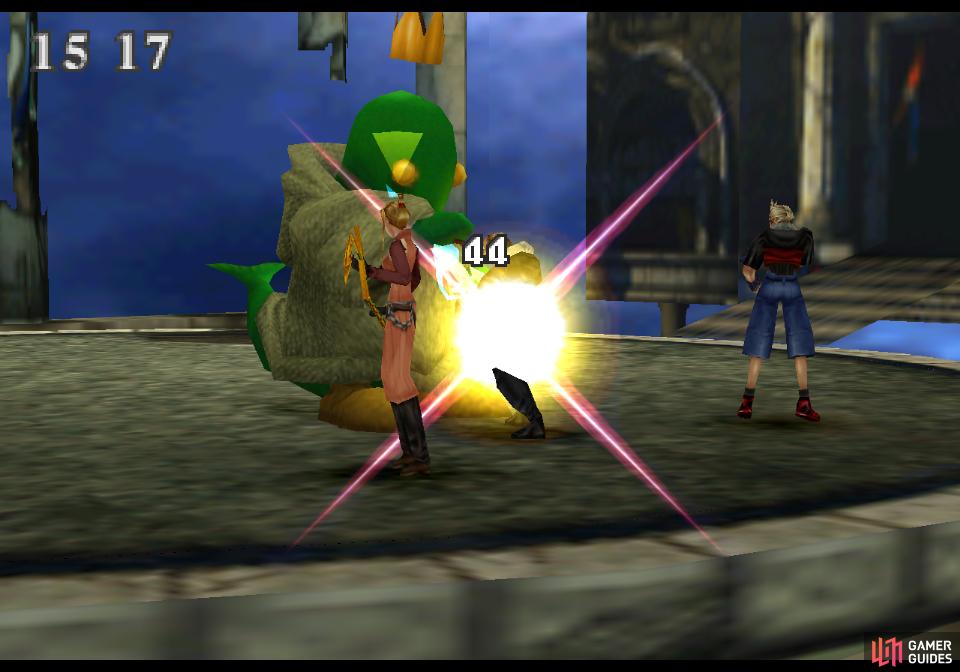
The Tonberry King is larger, but he’d not necessarily much more powerful than normal Tonberrys. (left), He, too, can be quickly cut down by spamming limit breaks. (right)
Boss - Tonberry King
After you defeat around twenty Tonberrys the Tonberry King will have a chance to show up every time you defeat another Tonberry. The fight with Tonberry King starts immediately after defeating the Tonberry, so you’ll need to be wary of the potential to be ambushed by this foe.
| Tonberry King | |
|---|---|
| Lv: | 1-100 |
| HP: (Lv10) | 25,000 |
| HP: (Lv20) | 50,000 |
| HP: (Lv30) | 75,000 |
| HP: (Lv100) | 250,000 |
| Weaknesses: | – |
| Resistances: | Gravity (immune) |
| Status Resistances: | Immune to most status effects; The End 0% |
| EXP: | – |
| AP: | 20 |
| Draw: (Lv1-19) | Cure, Death, Life |
| Draw: (Lv20-29) | Cura, Death, Life |
| Draw: (Lv30+) | Curaga, Death, Full-Life |
| Mug: | – |
| Drop: | Royal Crown x1 |
Like the lesser Tonberrys, the Tonberry King has a healthy amount of HP, but unlike the lesser Tonberrys, Tonberry King’s HP scale more as he levels up. At level 10 he’ll have a mere 25,000 HP, which is a bit, but only roughly 50% more than your average Tonberry. A low level party with good magics junctioned and easily dispatch him with a few limit breaks. His HP doubles to 50,000 at level 20, and by level 100 Tonberry King will boast a whopping 250,000 HP - an increase of 2,500 HP per level. Suffice to say, he’s best fought early.
Otherwise, Tonberry King is very similar to other Tonberrys, being immune to almost every status effect (functionally all of them if you don’t have Selphie) while being weak nor resistant to no elements. Unfortunately, unlike normal Tonberrys the Tonberry King is immune to gravity effects and Diablos, so you’ll need to rely on limit breaks to whittle down his HP - especially Squall’s Lionheart.
As for the Tonberry King’s attacks, he’s got his own variant of Everyone’s Grudge, called “It’s Sharp!”, which will deal damage equal to the number of enemies defeated x30… which will quite likely be a death sentence for your more combat-hardened characters. Tonberry King will also counterattack every several hits with “Junk”, which will cause a cascade of… well, junk, to fall on the party. Finally, the Tonberry King also has a physical attack, although his Strength is only slightly higher than a normal Tonberry.
While Tonberry King can be a nuisance with his high HP and “It’s Sharp!” attack, but he’s also got a generous selection of spells you can draw. These include curative magics - Cure (1-19), Cura (20-29) and Curaga (30+) the obligatory Death, and Life (1-29) and Full-Life (30+). If you’re a sufficient level, consider drawing full stocks of Full-Life from Tonberry King, as it’s a rare opportunity to fill up on a rare and potent spell.
Whittle down Tonberry King’s life and he’ll shrink in size and sheepishly join you as a new GF - Tonberry.
GF - Tonberry
Tonberry is not your average GF - he’s so, so much more than merely a junction monster. In fact, he starts out with no stat-junctions, meaning he won’t help anybody… but he can be junctioned to any character. Tonberry is all about the abilities, and he’s got some real winners, although some of them won’t be immediately useful.
-
LV Down and LV Up are learned at the outset, and they do what they suggest - they raise or lower an enemy’s level by a variable amount when used in combat. Two obvious uses for this are to make enemies weaker, which is its own reward, but you can also use this to level up a monster so they have better spells to draw or items to drop. This is a wonderful tool for a low-level party, as they’re no longer restricted from getting higher level gains from enemies.
-
Eva+30% is a rare enough ability that’ll increase your Evade stat by 30%. Sounds nice, but unless that character has Eva-J and some magic equipped, it’ll… well, what’s +30% of 1%? Not very much. Even Ultima junctioned to Evade only boosts you up by 24%, meaning Evade+30% might increase your Evade score by a whopping… 7%? Oof. Still, it’s… something.
-
Luck+50% is much like Evade+30% in that most characters have a terrible base Luck score, so much so that this ability will probably only give them roughly a +10 point boost. This can increase a bit if you junction magic to Luck, but Luck-J is fairly uncommon itself, innately being possessed by only one as-of-yet undiscovered GF. Yikes. Luck does have an effect on Hit%, Evade% and critical hit rate, however, so it may be worth equipping on every character not named Squall - his accuracy is already max and he lands a critical hit whenever you pull the trigger on his attacks.
-
His Initiative ability will start a character with a full ATB bar - useful for hunting Cactuars, or for any other actions you’d rather do quickly and not leave up to chance.
-
Move-HP Up will restore your HP as you walk, which is… fine, but not game-breaking. You’re probably better off just using Enc-None to mitigate encounters and prevent damage, or actual healing spells/items.
-
Speaking of which, the Auto-Potion ability will cause the user to “use recovery items automatically when hit”. This includes the following items: Potion, Potion+, Hi-Potion, Hi-Potion+, X-Potion, and they’ll be used in the order in which they are found in the item screen, not in proportion to damage dealt. A bit dubious, honestly, unless you know roughly how much damage will be done, which items to have equipped to counter said damage, and enough stock to blow.
-
Haggle reduces the price of items at shops by 25%, which will further allow you to increase gains made via the infinite Gil trick, and generally make it easier for you to buy choice items in bulk.
-
Sell-High can be learned after you acquire Haggle, which sets the value of items you sell to 150% the normal rate. With Haggle and Sell-High combined, earning Gil is basically something you can do on a whim.
-
Familiar will outright increase the number of items sold at some shops, generally being rarer and more useful items. Right now, the only shop that’ll have expanded inventory is the Timber Pet Shop, which sells the following items:
| Familiar Items | Cost | Effect |
|---|---|---|
| HP-J Scroll | 10,000G | GF learns HP-J ability |
| Str-J Scroll | 10,000G | GF learns Str-J ability |
| Vit-J Scroll | 10,000G | GF learns Vit-J ability |
| Mag-J Scroll | 10,000G | GF learns Mag-J ability |
| Spr-J Scroll | 10,000G | GF learns Spr-J ability |
So, if you still need any junction abilities for your core stats (you shouldn’t, if you’re following this guide and assigning GFs as suggested), this is one way to get there. It’s not a huge boon just yet, but it’ll come into its own eventually.
- Call Shop can be learned after you acquire Familiar, and allows you to shop at stores you’ve previously visited from anywhere. You literally can just go into your “Abilities” menu to go shopping. Quite a handy time-saver, really.
Collectively the four shop abilities take quite a bit of AP, far more than you’re going to want to grind Fastitocalon-Fs for… but we’ll deal with that issue shortly. They’re worth getting, however, as the shop-related abilities collectively will allow you to acquire as much Gil as you could ever want more effortlessly, not to mention the ability to refine some store-purchased goods into some very interesting items, like stat-boosting items.
In any event, you’re done with Tonberry, and really, that’s all you need to do in the Centra ruins for now. There’s another pseudo-GF you can get here, but he’s somewhat unreliable, showing up when he wants to and ending fights outright. In a normal game, that’s fine, but if you’re trying to keep your levels down, occasionally deigning to fight when you need to Mug items or harvest spells, this GF can get annoying. Killing monsters you’d rather not kill and earning you EXP in the process is just not a good thing to leave up to RNG. Still, if you want to get this GF, check out the following section Centra Ruins - Odin, otherwise skip ahead to Cactuar Farming in the Kashkabald Desert, which is where you’ll quickly earn AP for your new GFs. Don’t worry, you’ll get to Odin eventually, just… not right now.
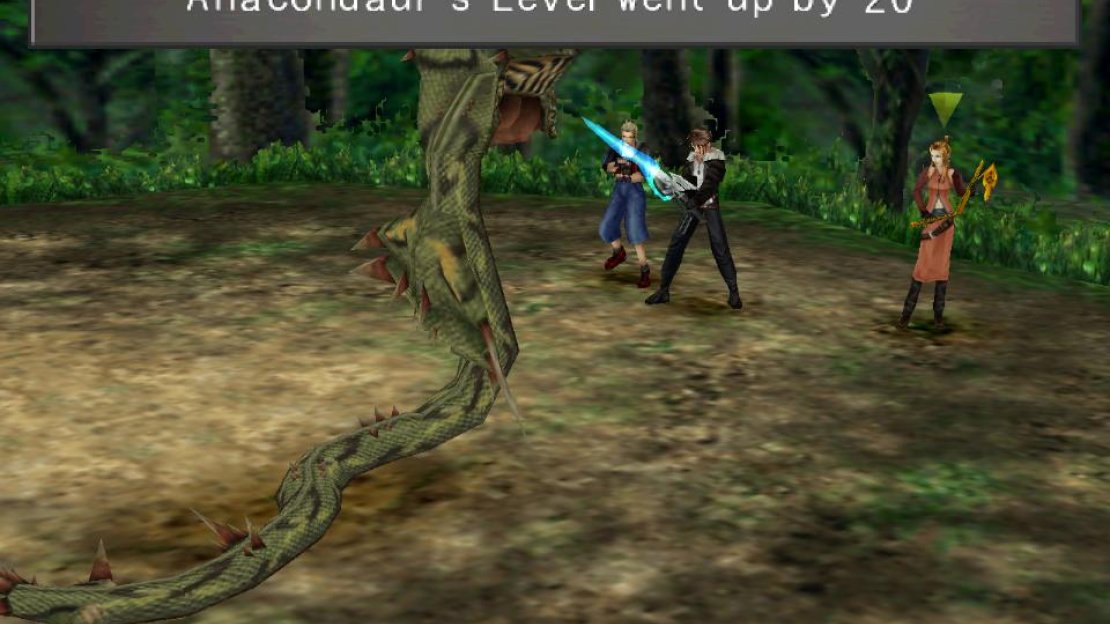


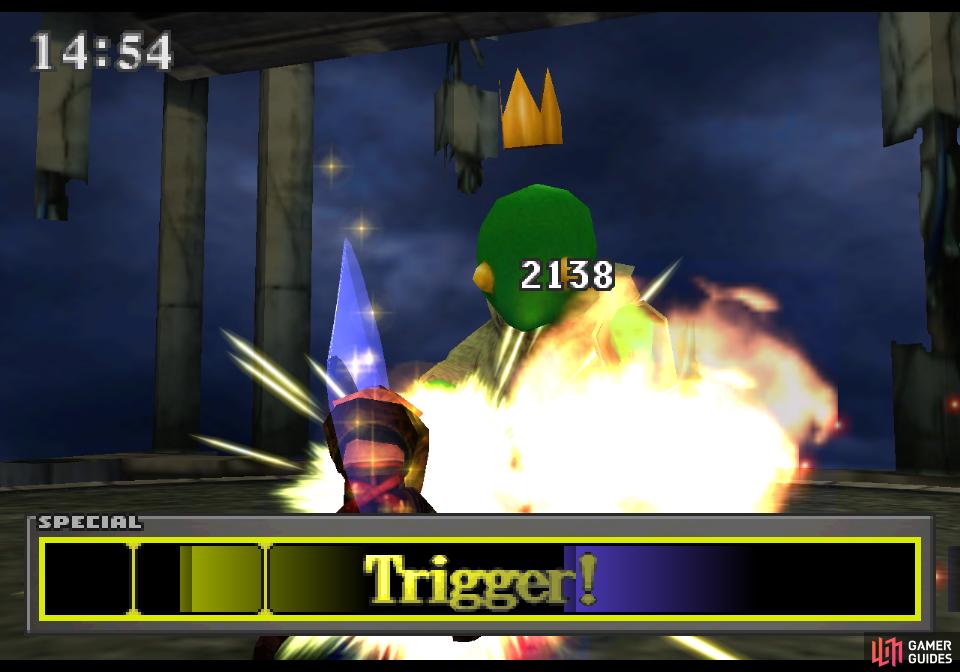
(1 of 3) Use Tonberry’s LV Up ability to empower enemies
No Comments