
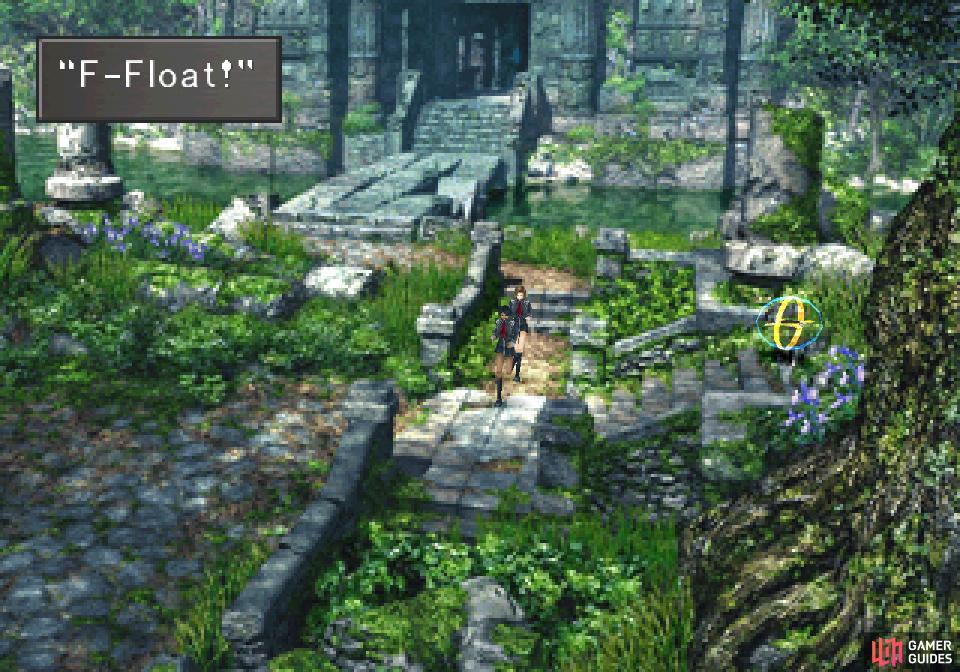
(1 of 3) When you enter the Tomb of the Unknown King, some students will flee while yelling about “Float”
Farming Float
When you enter the outskirts of the tomb two garden students will flee the tomb, one of which will helpfully scream “Float!” as she goes. They’re really going out of their way to point this out, so before you commit it may as well be covered. The Float spell will be rather useful in an upcoming battle, and while you’ll find a draw point for it inside the tomb, you can ensure you have all the stock you could ever want (and more!) if you wish. If you run around the plains outside you can encounter Thrustaevis enemies, from which you can draw Float. If you want to secure yourself some serious stock, see to it now.
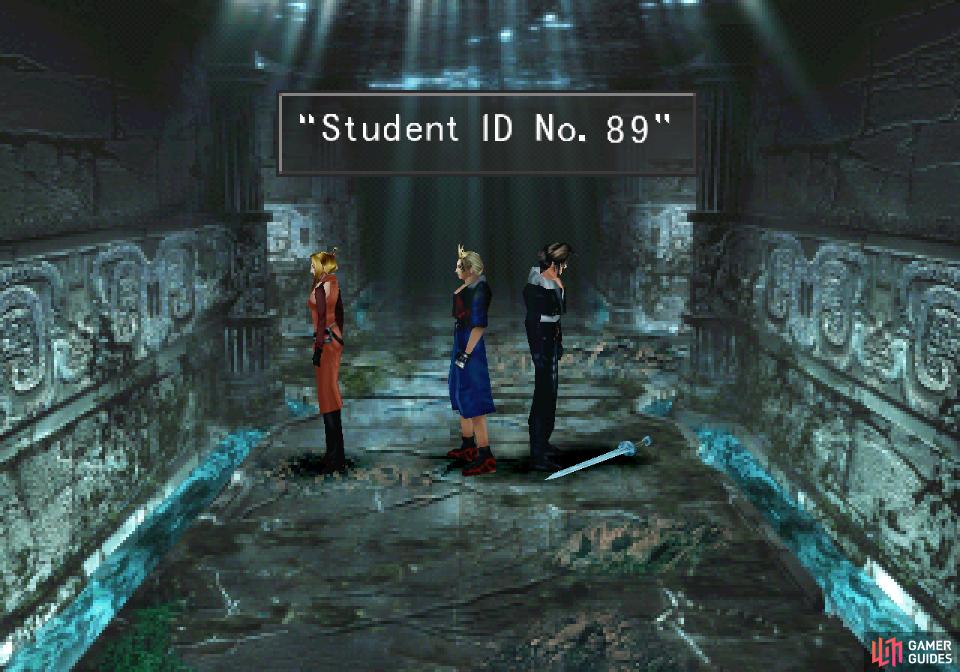
With that out of the way, check a Protect draw point to the left should you require any more stock of it, then use a Save Point to the right. When you’re ready, enter the labyrinth. If you don’t want to bother exploring the place just head up until you find a four-way intersection, where you’ll find a sword lying on the ground. Examine the sword to get the student ID you were sent here for. That’s it. All you really need to do in this labyrinth. That said, it’s well worth your time to fully explore these ruins, as there’s a new GF you can acquire within.
Labyrinth Navigation
Before you begin exploring all proper-like, some notes about this area. While the map makes this place seem somewhat small - and it is - you can still get lost if you’re just wandering around aimlessly. That being the case, not only will we provide a handy-dandy map (see below), but we’ll discuss the general layout of the labyrinth before providing directions through the place. Despite being small, the labyrinth can confuse adventurers simply due to the sheer lack of variety of visual cues to guide you.

There are only four visually distinct areas in the tomb (aside from the unique rooms numbered 1-5 on the map): a vertical passage, a right-only passage, a left-only passage and a four-way intersection. Not only are you hindered by this lack of visual distinctiveness, but the orientation is a bit odd, as you’ll always appear on the bottom of the screen of whatever area you move into. This is especially tricky with the four way intersections, as you’ll have to remember your orientation to ensure you’re going in the right direction; try visualizing your party as an arrow moving across the map and keep in mind that going down will always return you to the previous screen and change the direction you (your imaginary map arrow) is facing by 180 degrees, going up will advance you in the direction you were facing and turning left or right will change your orientation by 90 degrees in either direction. If that sounds confusing, never fear! Just follow the directions provided.
Monsters in the Tomb
It’s also worth noting that the area is occupied by four types of monster - the Armadodo, Blobra, Buel and Forbidden. All of them are susceptible to Card Mod, just be wary of the Buel’s incredibly low HP (a character with any magic junctioned to Strength will probably one-shot it) if you don’t want to gain EXP.
Armadodos have moderate HP (ballpark 1,000 per 10 levels, until level ~50 when the pace quickens somewhat) but otherwise aren’t terribly interesting or dangerous combatants, noteworthy only because critical hits can knock them over and incapacitate them for a while - something Squall’s gunblade excels at effecting. You can Mug them for Turtle Shells (the number increases as their level does), while they can drop M-Stone Pieces (1-19), Magic Stones (20-29), Wizard Stones (30+), Sharp Spikes (all levels) and Turtle Shells (20+). You can draw Protect (all levels), Shell (20+) and Quake (30+) from them.
Blobra’s are the game’s obligatory slime monsters with random elemental resistances and weaknesses and high resistance to physical damage. If you have different elements junctioned to each character’s Elemental Attack, you should have a diverse enough array to take them out, otherwise they might prove tricky to defeat without using GFs or depleting your spell stocks. While they drop the obligatory Magic Stone categories that predictably scale in quality by level, they can also drop or be Mugged for Rune Armlets at any level, with higher chances at level 20+. They can perform melee attacks as well as cast Cure (1-19), Cura (20-29) or Curaga (30+), Esuna (all levels), Slow (1-19) or Stop (20+). You can draw Shell (all levels), Berserk (20-29), Blind (20+) Confuse (30+) and Reflect (30+) from them.
You should already be familiar with the Buel, but now that you’re a bit more established, a closer look is in order. Under level twenty, Buels aren’t much of a threat, possessing a weak melee attack, Fire and Thunder. At levels 20-29 they gain access to Reflect (spells cast on them will bounce back at the user), Death (potentially a one-shot KO), Fira and Thundara, and at levels 30+ their -ara tier magics are replaced with -aga tier magics. They drop M-Stone Pieces (1-19), Magic Stones (20-29) and Wizard Stones (30+) and at levels 20+ there’s a small chance (~5% at level 20, ~10% at level 30) that you can Mug them for a Circlet. You can draw Blizzard, Fire and Thunder from them (1-19), being eventually replaced by the -ara versions (20-29) and finally the -aga versions (30+).
The most fearsome normal foe in this place is the Forbidden, an undead critter with comparatively high HP and the ability to deal moderate damage with its physical attacks, inflict status effects with Blind, Silence, Sleep and Stop and instantly kill with Iai Blow and Death - the former only when its HP are low and the latter only at level 20+. They can be Mugged for Dead Spirit items (can be refined into Death magic) and they can drop Betrayal Swords (1-19), Dead Spirits (1-29), Zombie Powder (all levels), Curse Spikes (20+) and Force Armlets (30+). You can draw Zombie (all levels), Blind (20+), Stop (20+) and Death (30+) from them. Like all undead, they’re 50% resistant to physical damage, take double damage from fire, triple from holy and are harmed by curatives instead of healed.
Boss - Sacred
No sense in putting it off any longer - if you have Diablos’ Enc-None, equip it to avoid the nuisance of random encounters (it makes this place much easier to navigate) and head in the labyrinth. From the first screen (a vertically-oriented hallway) follow these directions:
- Up
- Right
- Left (curve)
- Right
- Left (curve)
- Right
- Up
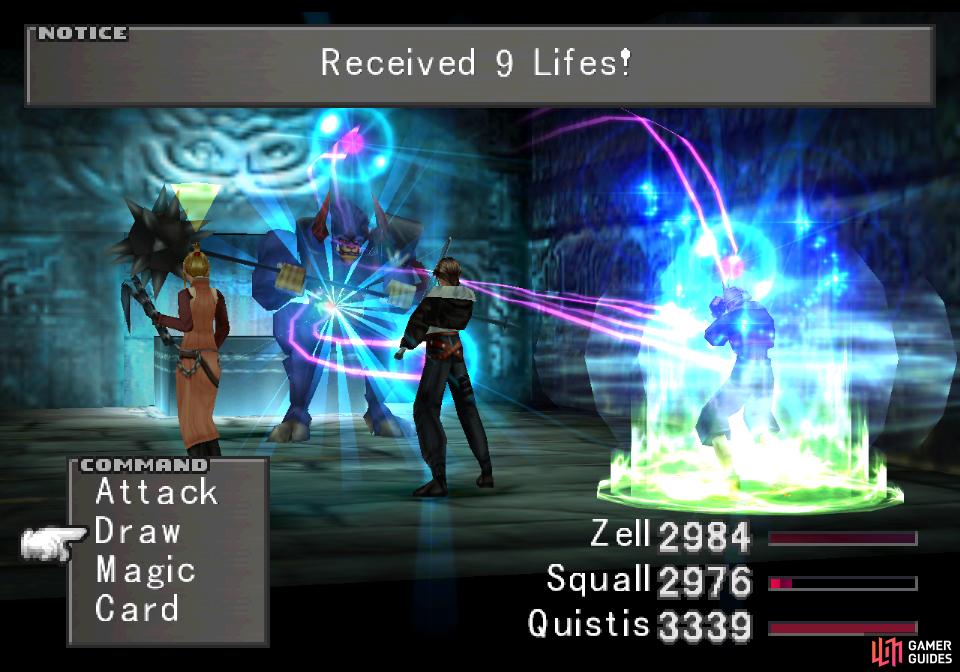
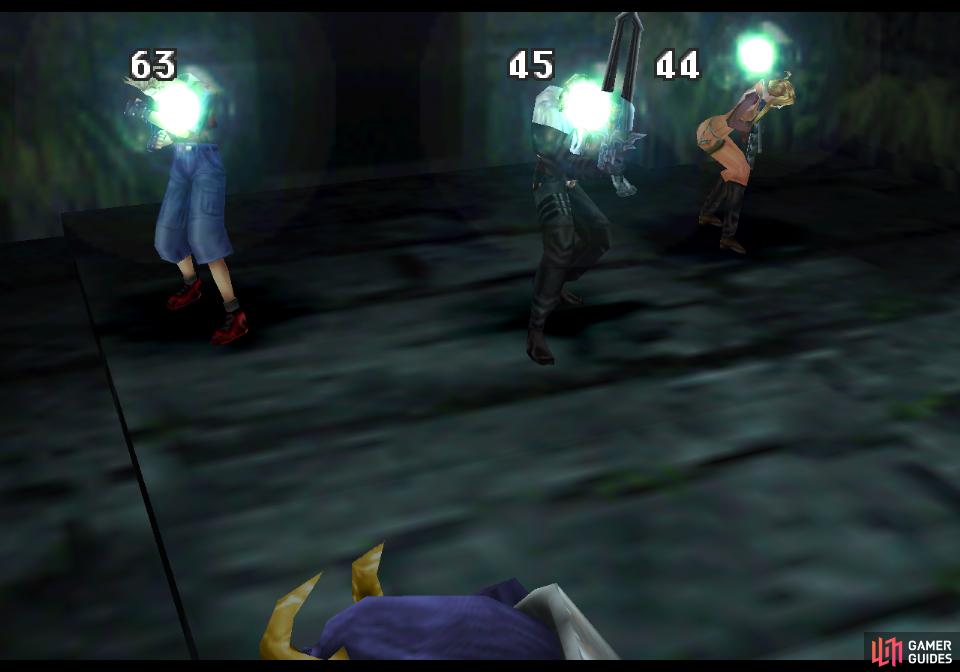
You can draw stocks of Life from Sacred
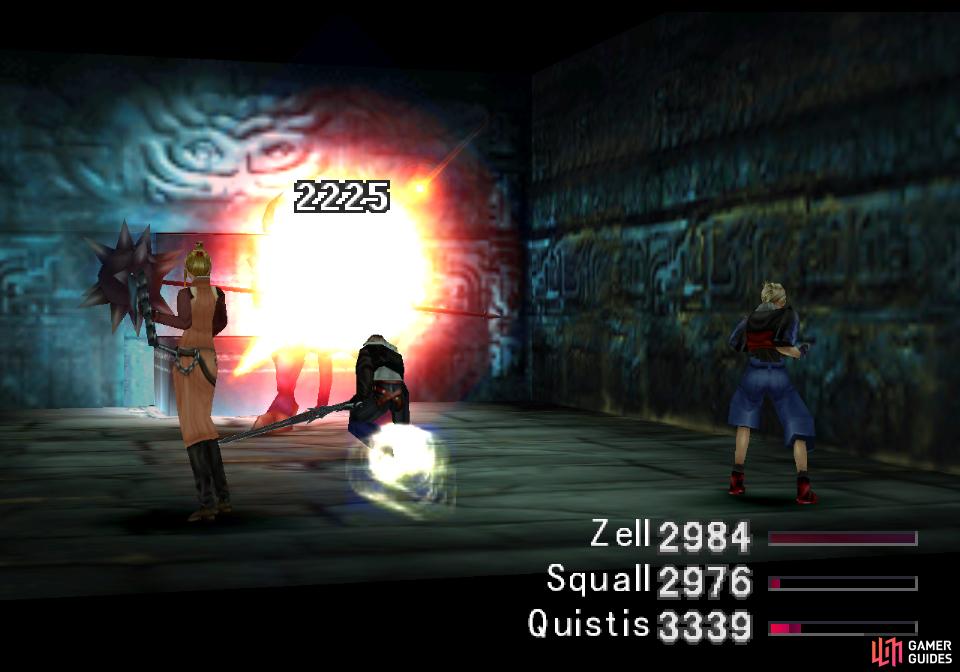
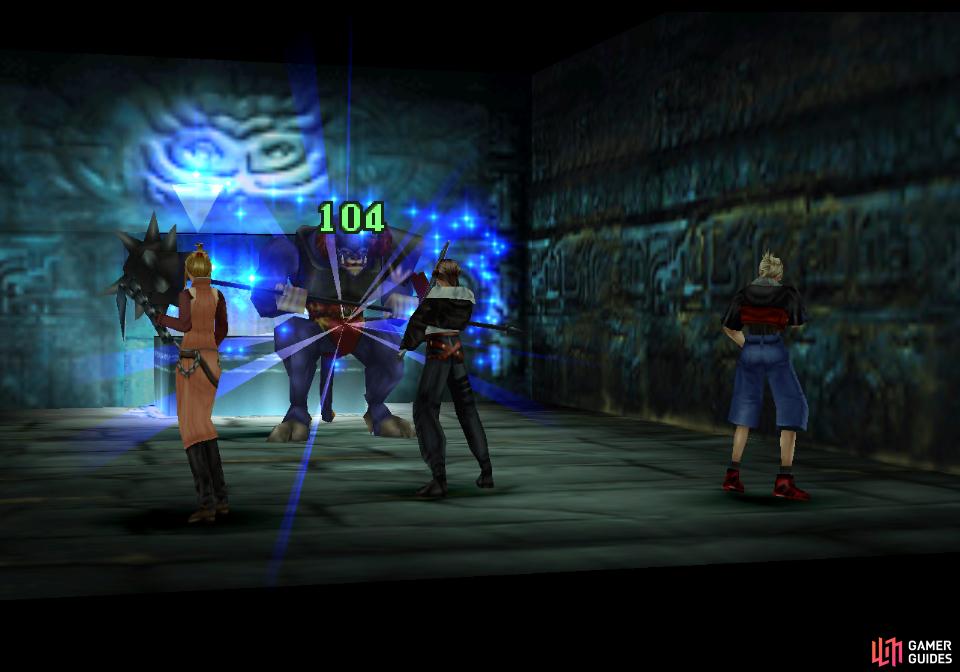
If you kept your levels low and obtained high-powered magics, Sacred should fall in short order
You should find yourself in a small chamber with a minotaur statue inside. At least… it appears to be a statue until you approach it.
| Sacred | |
|---|---|
| Lv: | 1-75 |
| HP: (lv10) | 778 |
| HP: (lv20) | 3,500 |
| HP: (lv30) | 6,125 |
| HP: (lv75) | 27,218 |
| Weaknesses: | Poison (200% damage), Wind (200% damage) |
| Resistances: | Earth (immune) |
| Status Resistances: | Immune to most status effects – Drain 0% – Float 30% – Reflect 0% – Regen 0% – The End 0% |
| EXP: | – |
| AP: | 20 |
| Draw: | Berserk, Life, Protect, Shell |
| Mug: | – |
| Drop: | G-Hi Potion x8 |
Oh boy! A boss with a more impressive level range! Sacred can scale with you all the way up to level 75, which you shouldn’t be anywhere near at this phase in the game. Sacred’s HP are somewhat high, but a low-level, high-magic party supported with ample Card Mod magics and abilities can probably kill Sacred in a single hit. For a less optimized party, the path to victory is only slightly more difficult - Sacred inflict modest damage, at best, and while he’ll regenerate HP every turn you can counter this by casting Float on him. Once he’s floating, it’s as simple as smashing him with melee attacks until he whines about your strength and runs off. You can expedite things further by junctioning Aero, Tornado or Bio to your Elemental Attack, as Sacred takes double damage from those sources.
While in contact with the ground, Sacred will regenerate HP
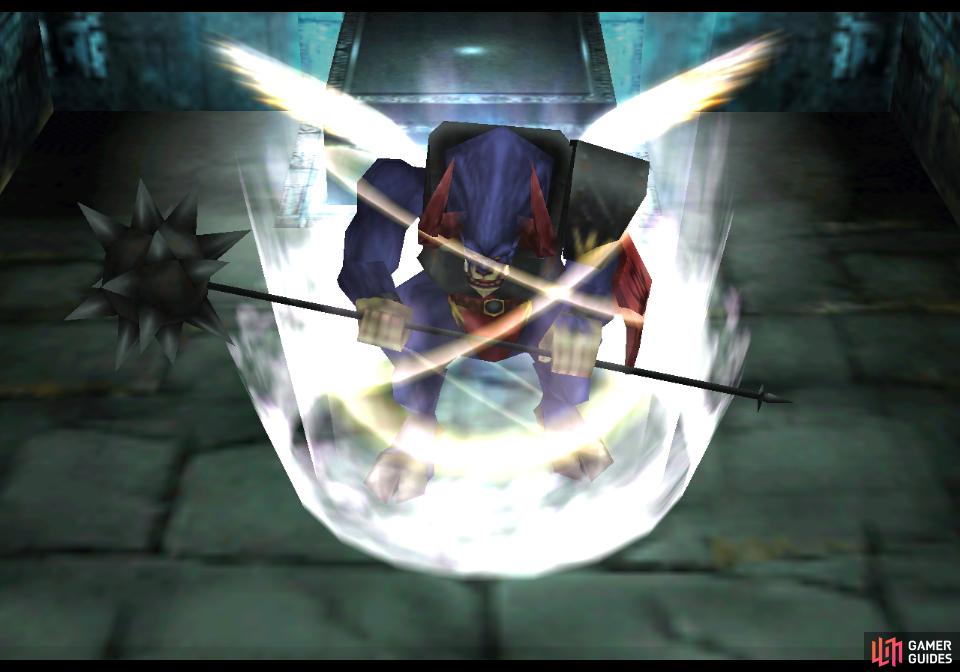
you can remove this regeneration by casting Float on him
If you’re finding this fight sufficiently easy, consider abusing Sacred by drawing Life from him. Not only will this allow you to dispense with Phoenix Downs, but Life junctions quite nicely with Elemental Defense, giving a +30% resistance bonus versus all elements. Between Shell and Life, that’s 50% resistance there!
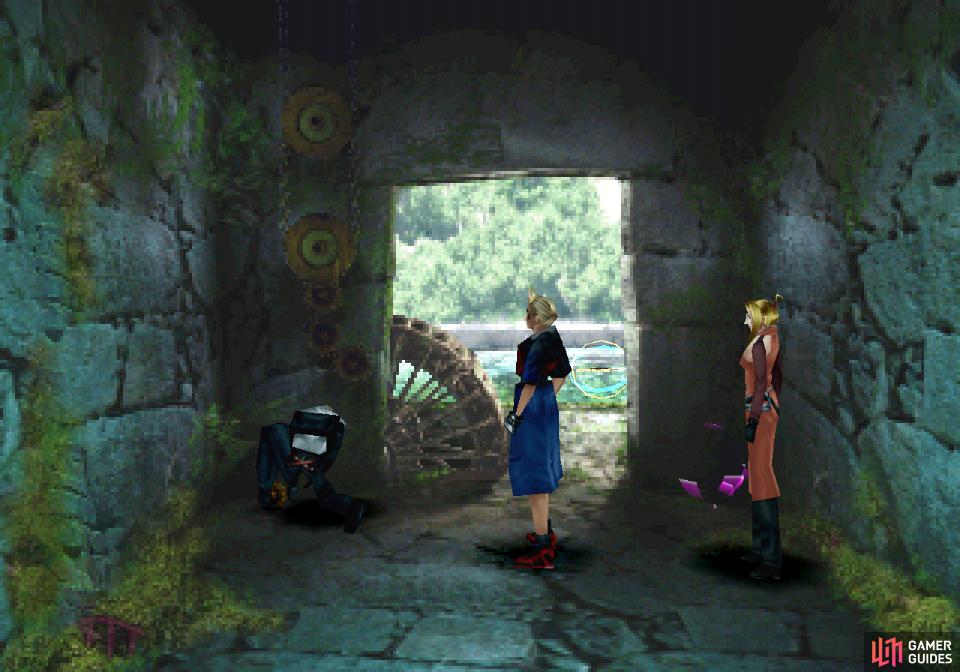
Thrash Sacred and when he leaves the pedestal he was on will rise and a Save Point will appear. You’re going through this dungeon the “correct” way, so the outcomes of your actions may not be immediately obvious. Suffice to say, you’re on the eastern-most room marked on your map right now, and your goal is to move from the bottom around the tomb counter-clockwise, visiting the eastern, northern and western rooms in sequence before heading to the center. Your actions in one room will clear the way in the next, whereas if you headed clockwise from the entrance you’d instead find inscription-laden stones blocking you path - and telling you how to escape.
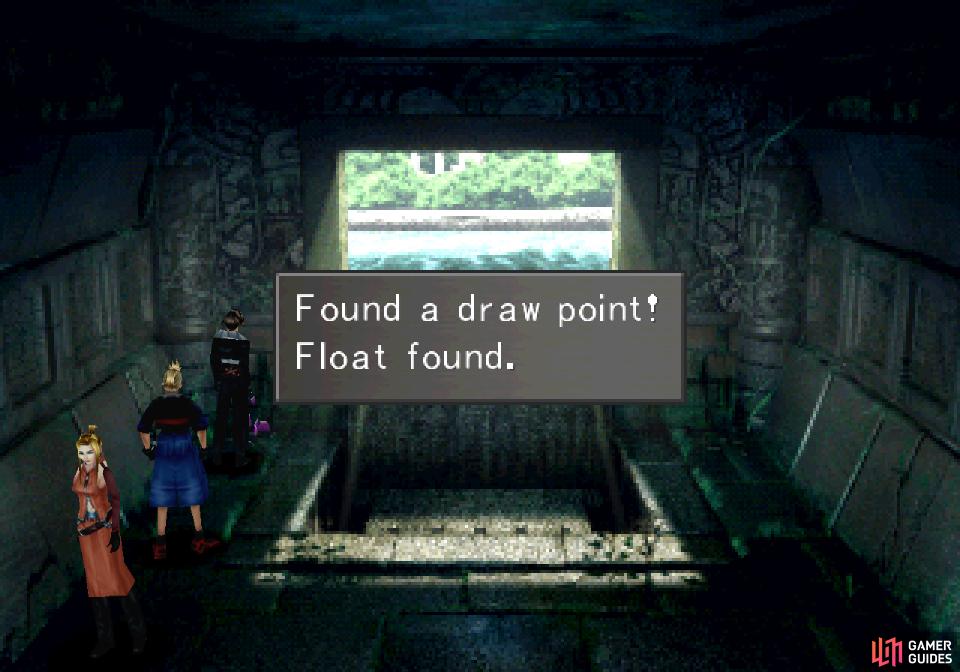
In the northern chamber you’ll find a Float draw point
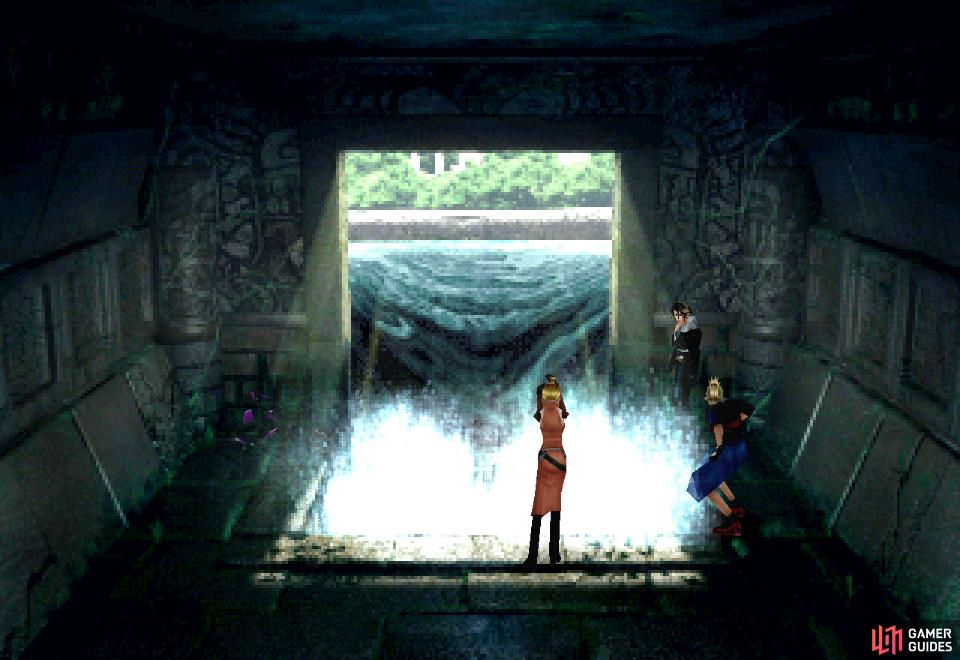
Open the sluice gate so you can advance
Sluice Gate
Leave the room where you fought Sacred and when you find yourself in a vertically-aligned hallway follow these directions:
- Up
- Right
- Left (curve)
- Right
- Left (curve)
- Right
- Up
Hey! They’re the same as the ones earlier! Oh well, if it works, it works. You should reach a chamber with a Float draw point to the left and a chain to the right that you can detach. Just head to the right of the sluice gate and interact with the wall to remove the chain, lower the gate and let the water flow.
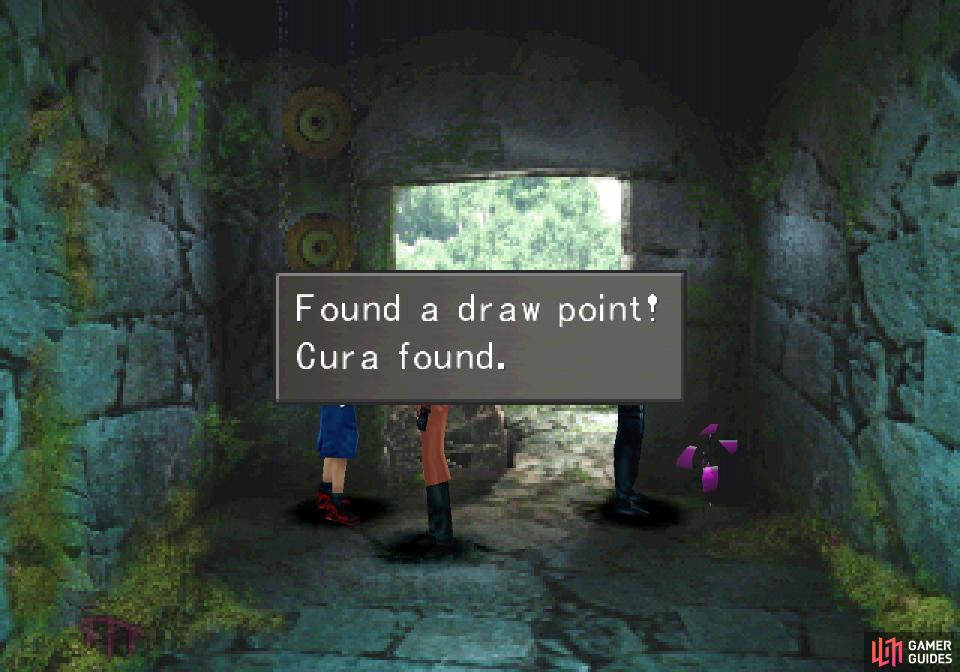
In the western room you’ll find a Cura daw point
Remove an obstruction to get the water wheel moving again
Water Wheel
Exit the room and you’ll be back in a vertically-aligned hallway, from which you should follow these directions:
- Up
- Right
- Left (curve)
- Right
- Left (curve)
- Right
- Up
Yep, same thing again. In this room you should find a Cura draw point to the left and some cogs along the wall to the right. Through a doorway you’ll find a stuck water wheel and a Save Point. Draw from the draw point if you see fit, remove an obstruction from the gears to allow them - and hence the water wheel - to turn, then use the Save Point if you find it necessary.
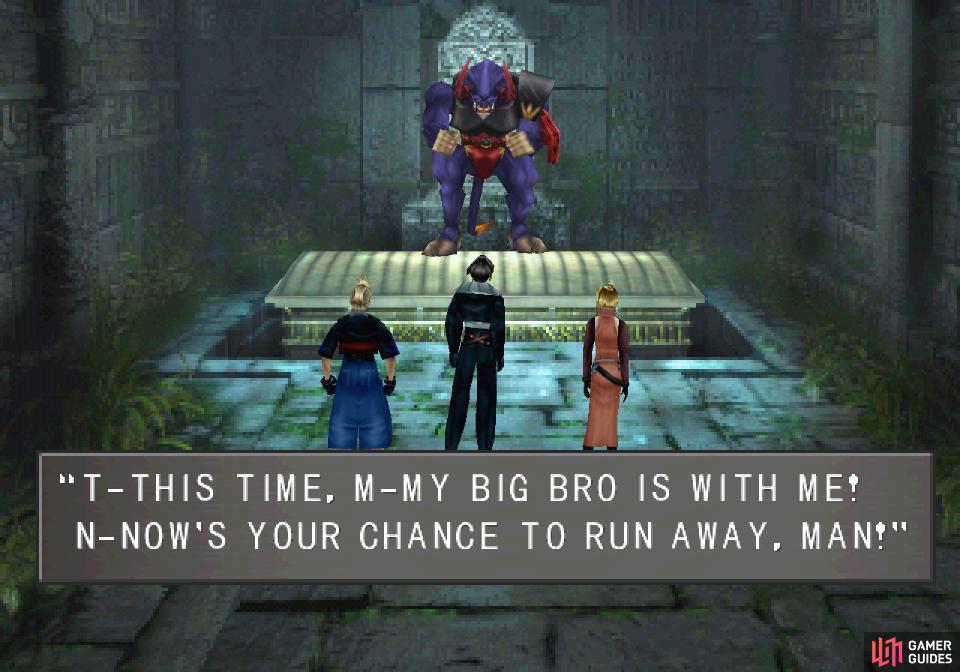
(1 of 3) When you reach the center of the tomb, Sacred will threaten to sic his big brother on you
Boss - Sacred and Minotaur
Exit the water wheel room and when you return to the vertically-aligned hallway follow these directions:
- Up
- Right
- Left (Curve)
- Up
- Left (Curve)
Hooray! Variety! This should get you to a drawbridge leading to a chamber in the heart of the labyrinth where you’ll find Sacred waiting for you again. Having tested his mettle against you earlier and been found wanting, he’s resolved to even the odds by bringing in his big brother, Minotaur. Get it? It’s funny because his “big brother” is actually smaller! Ahaha… hah… hmm…
| Sacred | |
|---|---|
| Lv: | 1-75 |
| HP: (lv10) | 778 |
| HP: (lv20) | 3,500 |
| HP: (lv30) | 6,125 |
| HP: (lv75) | 27,218 |
| Weaknesses: | Poison (200% damage), Wind (200% damage) |
| Resistances: | Earth (immune) |
| Status Resistances: | Immune to most status effects – Drain 0% – Float 30% – Reflect 0% – Regen 0% – The End 0% |
| EXP: | – |
| AP: | 20 |
| Draw: | Berserk, Life, Protect, Shell |
| Mug: | – |
| Drop: | G-Hi Potion x8 |
| Minotaur | |
|---|---|
| Lv: | 1-75 |
| HP: (lv10) | 2,250 |
| HP: (lv20) | 4,750 |
| HP: (lv30) | 8,250 |
| HP: (lv75) | 36,375 |
| Weaknesses: | Poison (200% damage), Wind (200% damage) |
| Resistances: | Earth (absorbs) |
| Status Resistances: | Immune to most status effects – Drain 0% – Float 50% – Reflect 0% – Regen 0% – The End 0% |
| EXP: | – |
| AP: | 20 |
| Draw: | Berserk, Double, Protect, Shell |
| Mug: | – |
| Drop: | G Returner x8 |
Minotaur can use his Mower attack to strike the whole party
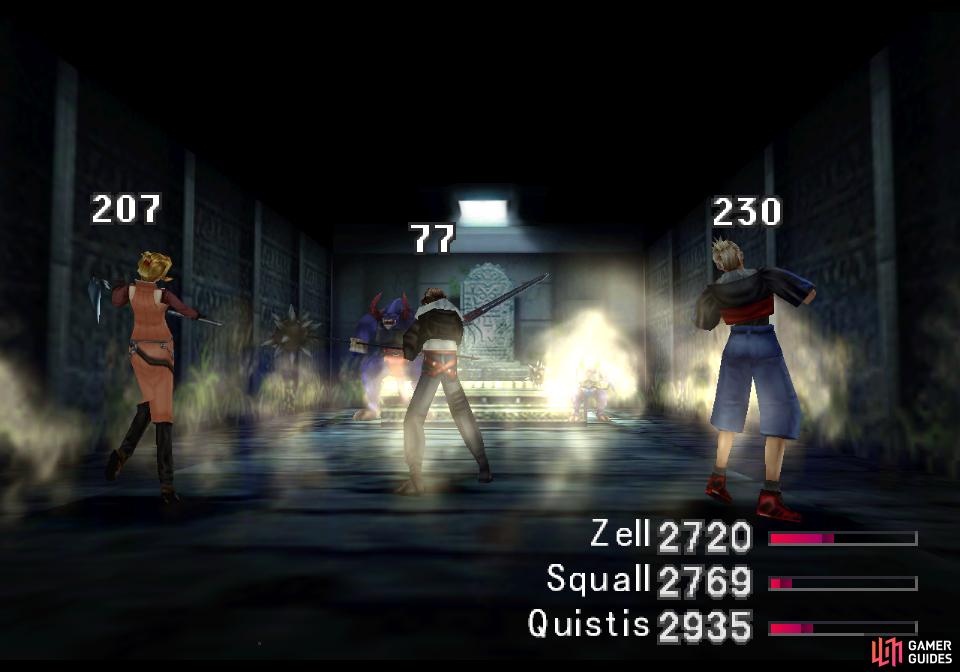
while together the Brothers can use Mad Cow Special to deal heavy damage to all characters
Sacred’s stats are the same as before, and Minotaur is - despite his stature - definitely a step up in difficulty. He hits harder and has more HP than his little brother, especially with his Mower attack which can injure your entire party. Worse of all, however, is their tandem attack - Mad Cow Special - which hits the entire party for significant damage. Against a low-level party this can be over 200~ damage to all characters, which isn’t significant if you’ve boosted yourself with magic obtained via Card Mod, but if you haven’t, you’ll need to find a solution.
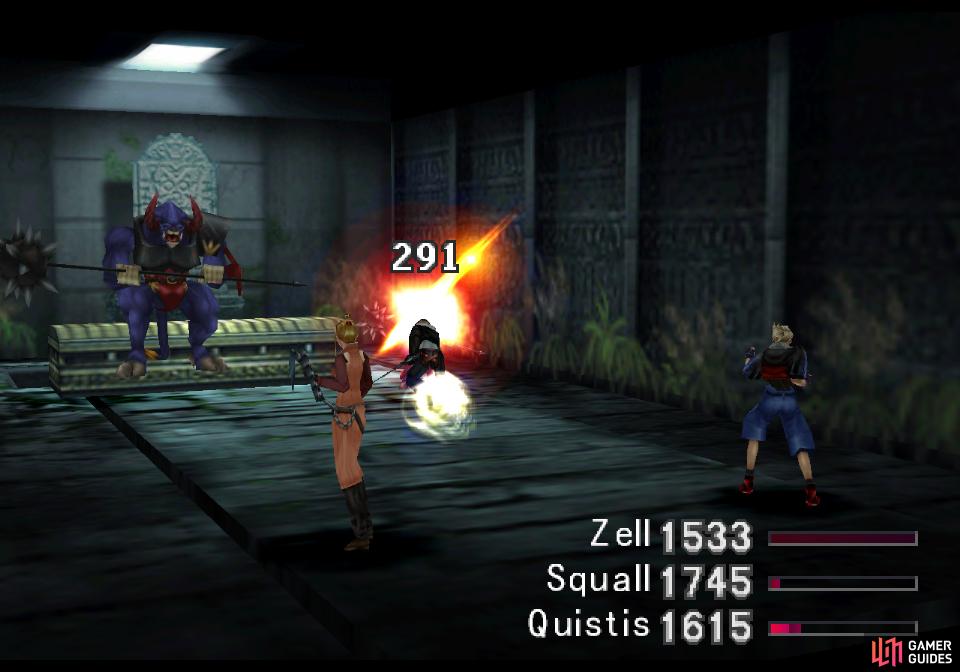
That solution is, of course, Float. If anything it’s far more important in this fight than it was in the last fight, as casting it on Sacred and Minotaur will halt their regeneration, and casting it on yourself will allow you to avoid damage from Mad Cow Special.
Once you’ve mitigated their healing and damage output (keeping in mind you’ll have to recast Float periodically) it’s time to focus on killing. Again, they’re both weak to wind and poison damage, so junctioning your weapons with Aero, Tornado and Bio will all significantly boost your damage output. Just avoid earth damage, as Sacred ignores it, while Minotaur will actually be healed by it.
When you go on the offensive you should concentrate your fire on Minotaur. Even though he’s got more HP, he also hits harder, and unlike his brother, he doesn’t have any restorative magics worth keeping him around for, while Sacred has Life you can use in case a character gets KO’d. Once Minotaur falls the fight should become much easier, as Minotaur’s damage output is much diminished with the lack of Mad Cow Special.


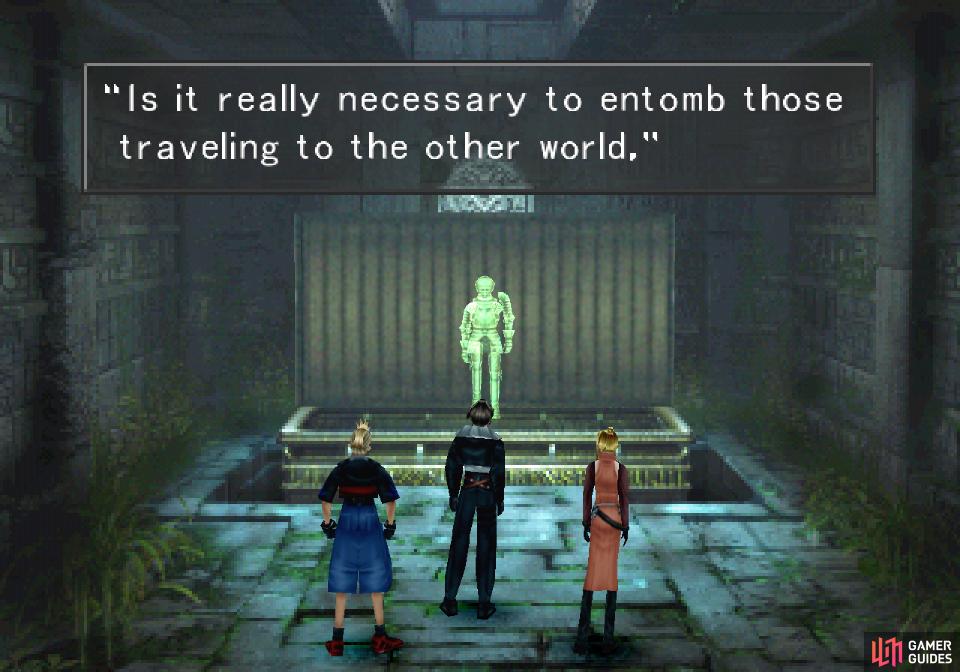
After defeating the Brothers, a ghost will thank you
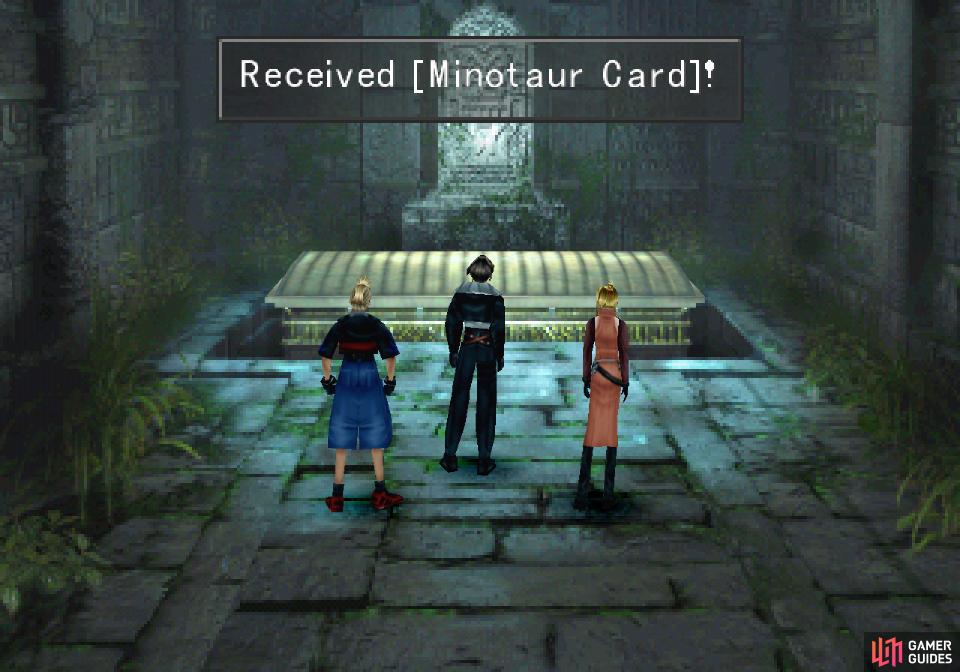
and give you the Sacred card.
Escaping the Tomb
Put both brothers down and they’ll join you, henceforth being known by their default GF name, Brothers. You’ll also get the same reward from Sacred this time as last time, plus a reward for defeating Minotaur - a total of 40 AP, eight G-Hi Potions, 8 G-Returners and the Sacred card. After the fight a ghost will rise from the tomb, thank you, muse about human culture regarding tombs, then give you the Minotaur card. These two cards will allow us to do a few things shortly, but first, it’s time to exit the tomb.
Head down twice to leave the room with the sarcophagus, pass over the bridge and reach a four-way intersection. Go up once to return to the four-way intersection adjacent to the exit and be sure to examine the sword to get the student ID you’re after. Coming from this direction it should be near the top of the area instead of at the bottom as it was when you entered. The code you’ll get is random, so be sure to make a note of it somewhere.
GF Junctions and Future Plans
Once you’re back outside, save your game and let’s junction that new GF and decide what to do next. Right now our junctions look like this:
Character 1: Ifrit + Siren
Character 2: Shiva + Diablos
Character 3: Quezacotl
This is a pretty easy assignment: Give the Brothers GF to the bearer of Quezacotl… not because it’ll really benefit them immediately - it won’t - but mostly to ensure GF parity in your party and ensure Brothers are at least earning some AP. Brothers might not seem too great at first, and to be fair they lack the Status Attack/Defense abilities that made Siren interesting, the Elemental Defense and magic refining abilities that other elemental GFs have, and nothing approaching the utility of Card, Card Mod and Enc-None, but they can serve a useful role when paired with Quezacotl.
Most importantly, perhaps, they can learn the Str-J ability so that finally all your characters will have a Strength score worth talking about. They can also learn Spr-J to help flesh that character out more, stat-wise, and the very welcome HP+20%, HP+40%, HP+80% and HP Bonus abilities (HP+20% is learned at the outset, the rest must be acquired via AP). This makes them even better contributors to HP than Diablos! All in all, while they may not be the game-changers that some other GFs have been, they do make your Quezacotl user more capable in combat, and that’s enough reason to celebrate.
As for future plans, you’ve got some options. If you want to advance the Queen of Card’s questline, read the “The Queen of Cards - Sacred” section below. If you want to create some ultimate weapons now that you have the Minotaur card (assuming you’ve been keeping up with the other components) read “Adamantine and Ultimate Weapons” which is below the aforementioned Queen of Cards quest. If you can’t be bothered and want to get on with the main story, skip to the Sorceress Assassination Mission page.
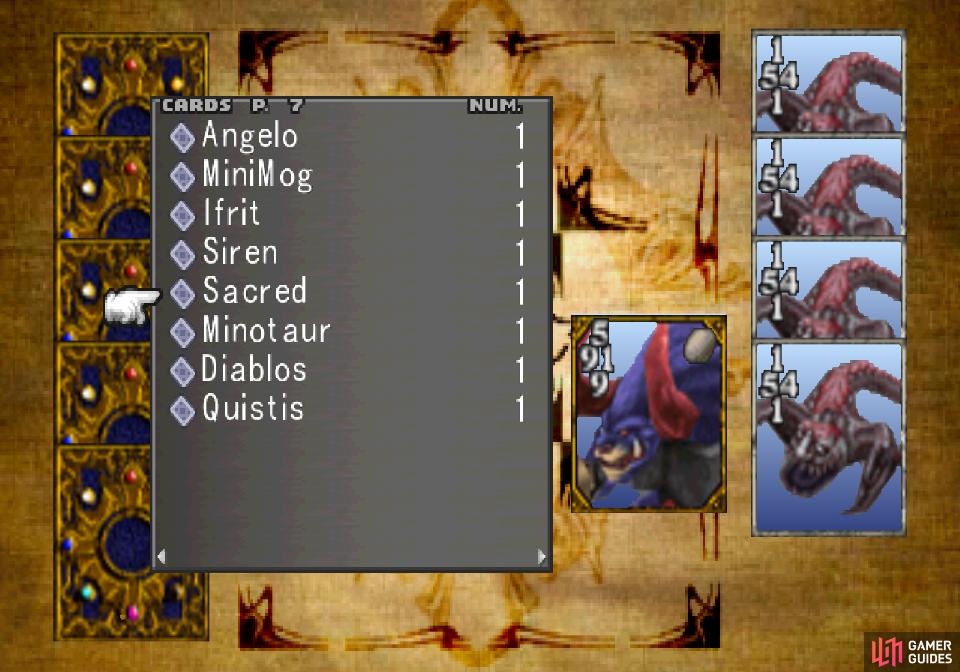
Create a losing hand of cards including Sacred
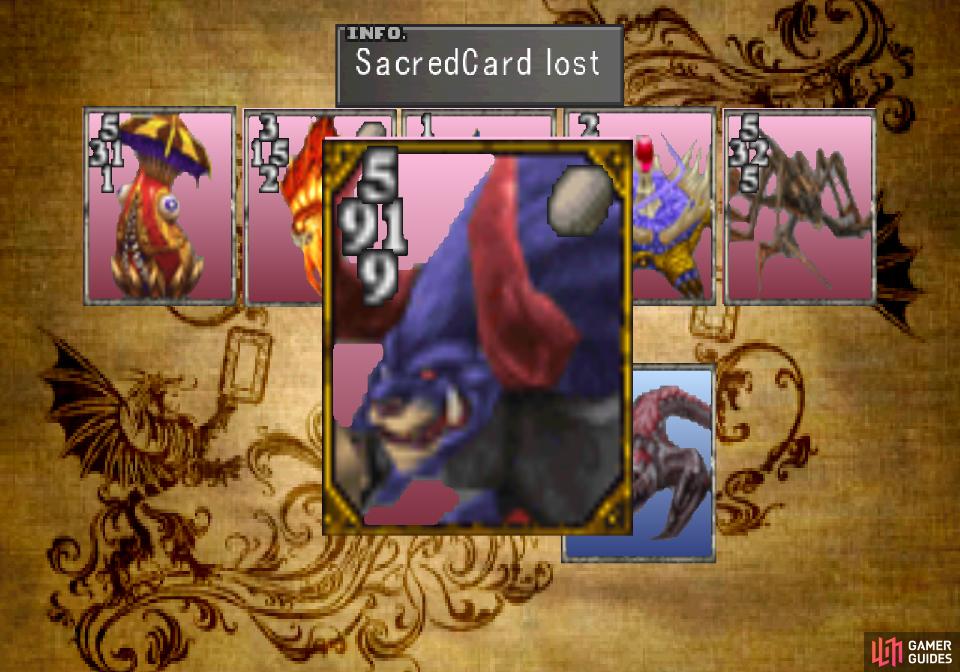
then drop the Sacred card to the Queen of Cards
The Queen of Cards - Sacred
The Sacred and Minotaur cards are both very, very fine playing cards, presenting adjacent 9 fronts. Sadly, both have better uses, at least in the short-term. If you want to continue the Queen of Cards quest - and since it creates new rare cards for you to find, why wouldn’t you - you’ll need to return to where you last left her, which is hopefully Dollet.
Return to wherever the Queen of Cards is (it’s a long walk, but the road to Dollet isn’t blocked anymore), challenge her to a game, fill your hand with four junk cards and Sacred, then throw the game so she takes Sacred from you. If you sent her to Dollet and abolished the Random rule, this will be very easy, if not… well, it’s almost a prerequisite to kill off the Random rule before doing this. It’ll almost certainly take less time to do that after Timber than it’ll take to get the perfect Random draw for this. In any event, refer to the Dollet After Timber page for a more in-depth description of how to get rid of the Random rule and hope that’s still an option for you if you haven’t been following along chronologically. Once you lose the Sacred card, make sure she goes to Balamb next… mostly to put her somewhere convenient if you need her in the future.
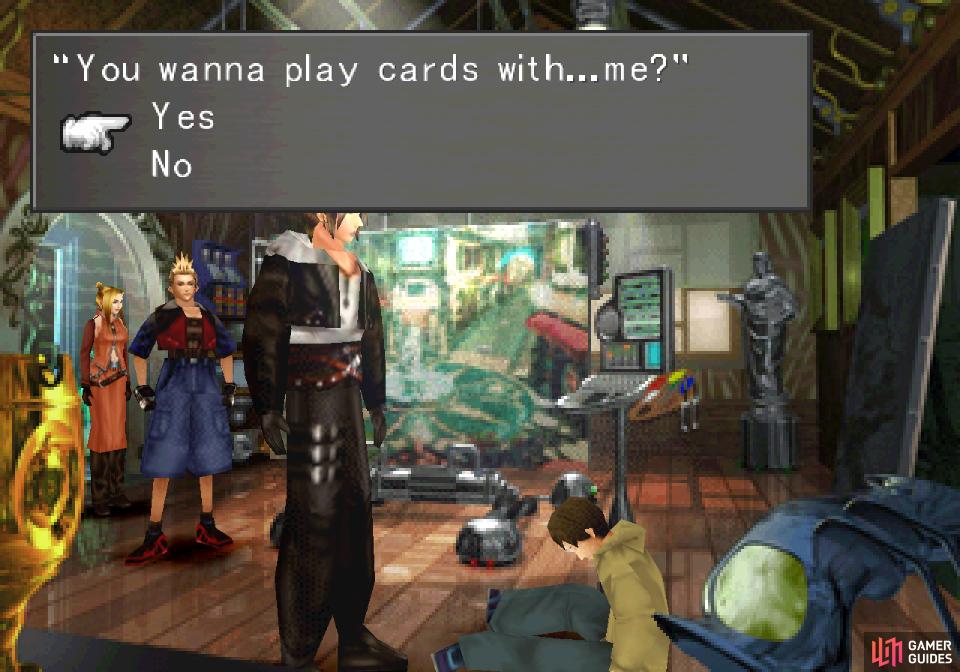
Challenge the kid in the painter’s shop
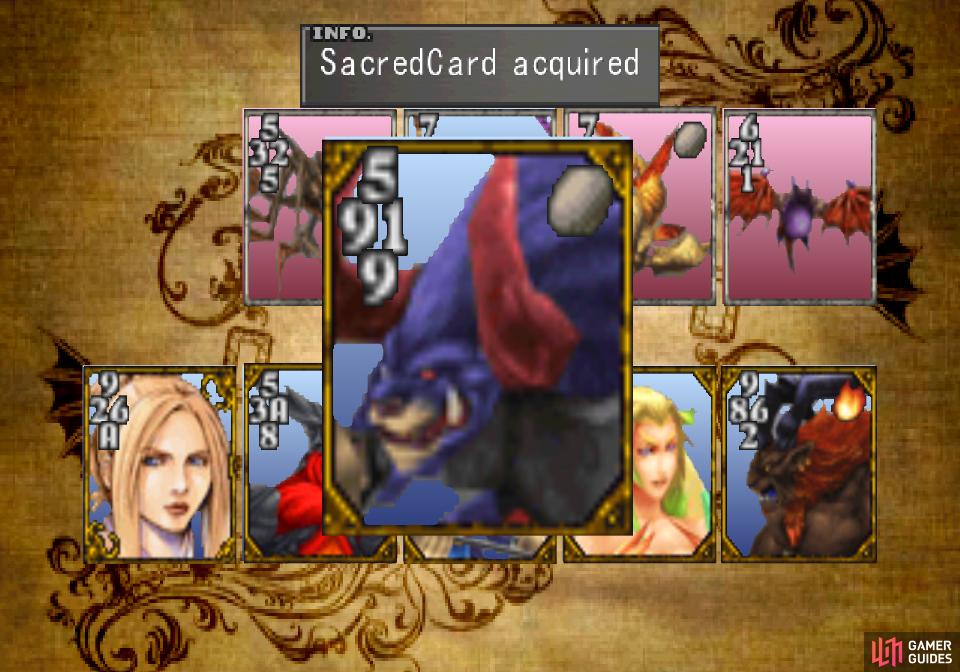
and win back your recently-lost Sacred card
Farewell, Sacred, we hardly knew ye… but wait… if you’re in Dollet, that means the kid you won MiniMog from is nearby! Return to the painter’s house to find the kid still sulking on the floor and challenge him to cards until, sure enough, he plays the Sacred card. Trounce this infuriatingly slow-playing kid and win back your Sacred card. Nice. It’ll be a bit before you can win the new card your loss of Sacred inspired, but at least you set the wheels in motion.

Refine the Minotaur card to create Adamantine
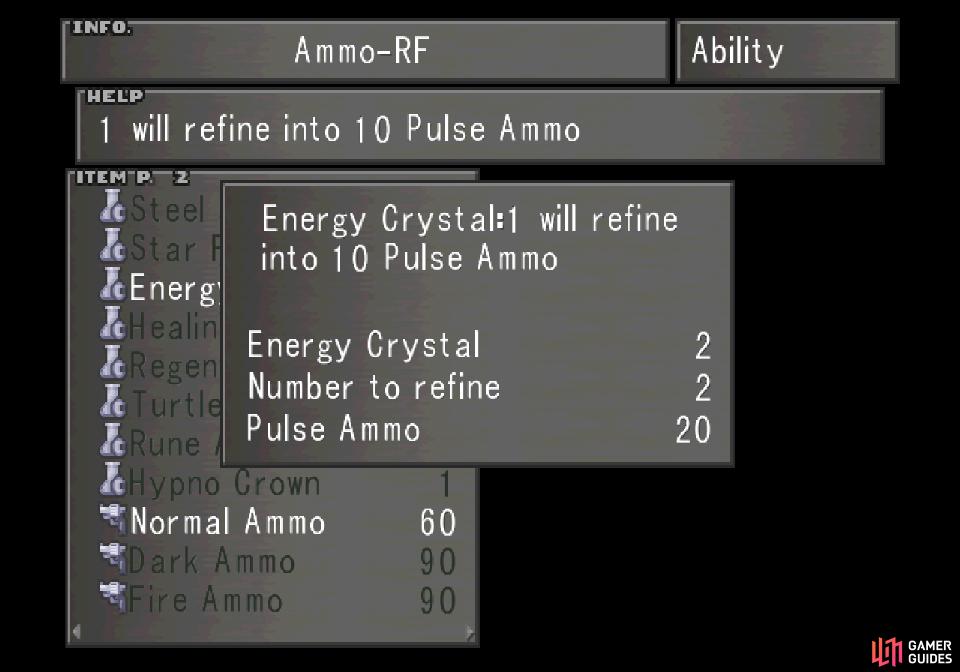
and refine Elnoyles into Energy Crystals and Energy Crystals into Pulse Ammo
Adamantine and Ultimate Weapons
Now it’s time to turn your attention to the Minotaur card, which you may soon be about to part with, and unlike Sacred, it’s not so easily reacquired. If you go to Card Mod it you’ll see that it can turn into ten units of Adamantine, a rare component required for no fewer than three ultimate weapons: Squall’s Lionheart, Selphie’s Strange Vision and Zell’s Ehrgeiz. In case you forgot, the components are as follows:
| Weapon | User | Materials | Cost | Str | Hit% |
|---|---|---|---|---|---|
| Ergheiz | Zell | Adamantine x1, Dragon Skin x4, Fury Fragment x1 | 800G | 25 | 103% |
| Lionheart | Squall | Adamantine x1, Dragon Fang x4, Pulse Ammo x12 | 2,000G | 30 | 255% |
| Strange Vision | Selphie | Adamantine x1, Curse Spike x2, Star Fragment x3 | 800G | 25 | 255% |
Minotaur’s ten Adamantine is well more than you need for all these weapons, and Squall’s Lionheart limit - usable only once he gains the Lionheart gunblade - is truly an over-powered spectacle. Selphie’s weapon is also interesting, as it gives her the enviable 255% Hit stat that only gunblade users otherwise enjoy. Zell’s weapon… well, it just does more damage, but that’s enough reason to craft it, should you have the components! And just in case you forgot, here are all the ultimate weapons you can (possibly) craft now and where to get the components:
Zell’s Ergheiz necessitates one Adamantine (Card Mod Minotaur), four Dragon Skins (dropped by Anacondaurs found throughout Galbadia’s forests - the higher the level, the better the odds), and one Fury Fragment (Card Mod Blue Dragon, 4 Blue Dragon cards = 1 Fury Fragment).
Squall’s Lionheart requires one Adamantine (Card Mod Minotaur), four Dragon Fangs (commonly dropped by Grendel monsters, found in the forest near Galbadia Garden) and twelve Pulse Ammo (Card Mod Elnoyle, 10 Elnoyle cards = 1 Energy Crystal, 1 Energy Crystal = 10 Pulse Ammo via Ifrit’s Ammo-RF ability).
Selphie’s Strange Vision uses up one Adamantine (Card Mod Minotaur), two Curse Spikes (Card Mod Tri-Face) and three Star Fragments (Card Mod Iron Giant, 3 Iron Giant cards = 1 Star Fragment).
Ultimately, the world isn’t going to end if you don’t get these weapons now - boosts via magic acquired from Card Mod will have played a far more significant role in your over power than these weapons could. They’re still little nice-to-haves, something less the worry about, and a nerdy source of vain accomplishment for acquiring them so soon.
In any event, now that you’ve made yourself even stronger (it was overkill a long time ago!) return to Deling City. We’ve got a sorceress to kill.
No Comments