
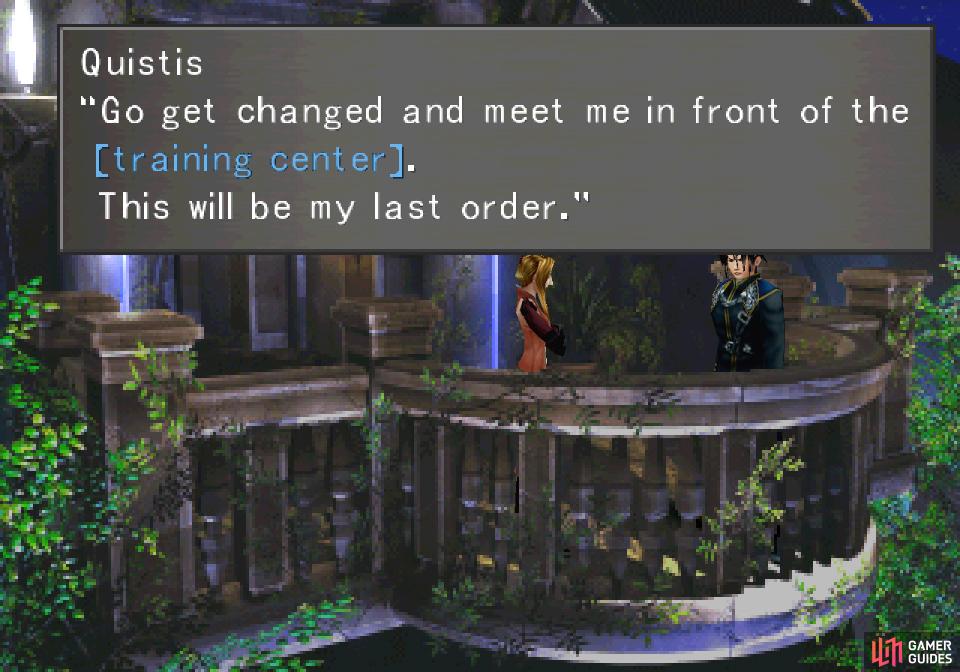
(1 of 3) After Squall escapes from the dance floor, Quistis will corner him with an odd order
Quistis in the Training Center
Back in your dorm, change clothes, save your game, then head on out. Almost all of the Garden is locked down right now - curfew and all - the only ward open being the training ward. Basically if you see a creepy Garden Faculty member standing outside, you can’t go there. Head to the right and exit the screen, then enter the first area you find to rendezvous with Quistis in the hallway outside the training center.
Despite the seedy-seeming nature of this meet up, Quistis can’t help but give you another tutorial on status junctions, which work similarly to elemental junctions. Basically you can junction magic to your Status Attack and Status Defense stats to have a chance to inflict said status effect when you attack, or resist it when used against you. Naturally status-affecting spells like Blind, Death, Sleep, Silence etc., will junction well in either an offensive or defensive role, a full stack giving you a 100% chance to inflict (measured against the enemy’s resistances, of course) or resist said effect. Esuna grants a nice bonus to all your resistances, but not enough on its own to buy yourself any sense of real security. Oh well, there has to be better magics out there for that!
Your overall stock of status magic is probably rather limited (even if you used L Mag-RF to get a few spells) right now, so most of this is for future consideration. Junctioning Blind, Silence, Sleep or Slow to a character is usually a purely beneficial move capable of neutralizing some enemies outright. Even if a foe is immune, there’s no real downside to keeping such magics junctioned at all times. On the other hand, Drain can effectively give the attacker life leech, only becoming detrimental if said attacker is afflicted with the Zombie status. Death is also an interesting choice, as it has a chance to simply kill an enemy outright. Granted, if you are doing a low-level run and have Tornado junctioned to Strength, you’re probably so powerful that most attacks are one-hit-kills to any enemy that would be regularly affected by Death anyways, but it’s still an option.
In any event, after the tutorial Quistis will join your party. Be sure to strip the GFs from Selphie and Zell and reassign them to Squall and Quistis, and either transfer magic back from the two absent characters to Quistis, or refine more spells for her out of your item stocks and junction the magic to her stats. Be sure to follow her advice and junction Sleep (harvested from Fastitocalon-Fs earlier in the game) to her Status Attack, as it may just prove in handy if you run across a hungry apex predator. Just remember next time Cid talks about how happy he is that everybody is safe - he’s the guy who keeps man-eating dinosaurs in the training area of his school.
When you’re ready head forward into the training center, where you’ll find a fork in the path ahead. Both will take you to the same area, your destination being a screen with a Save Point and a well-lit doorway to the north. If you go right you’ll find a Blizzard Draw Point along the way, which probably isn’t too enticing at this point in the game.
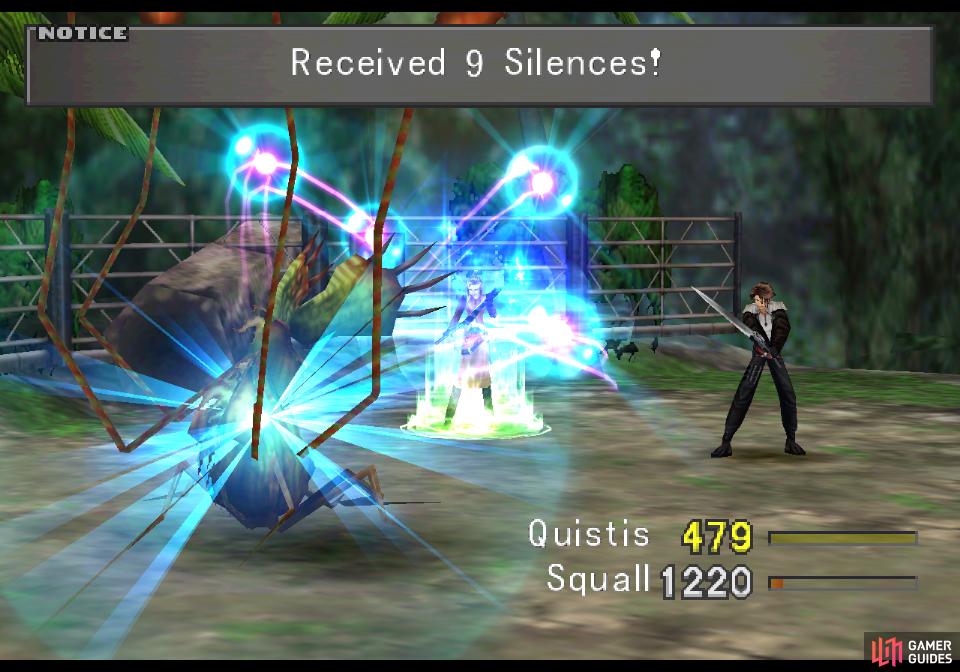
You can draw Silence and Sleep from Grats
Grats aren’t helpless, however, and will kindly introduce you to the wonderful world of status effects
There are only two enemies in this area, Grats and T-Rexaurs. The former are here to introduce you to the wonderful world of status effects, as they can put your party to sleep with their Sleeping Gas attack and poison you with their Gastric Juice attack. The former won’t last terribly long, but the latter will require you to use an Antidote, which can be obtained by using Card Mod on Anacondaur cards to create Venom Fangs, and ST Med-RF on Venom Fangs to produce Antidotes. You can draw Sleep and Silence from Grats, the latter of which being a spell that prevents enemies from using spells.
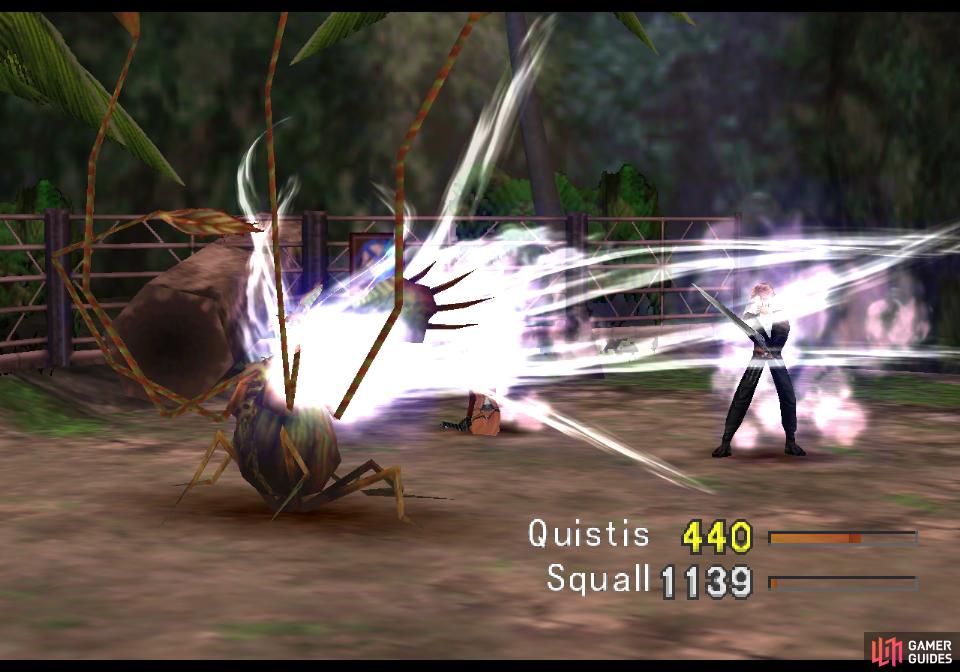
(1 of 3) If Sleep is junctioned to a weapon, that character can effectively keep the T-Rexaur neutralized most of the battle
T-Rexaurs are more straight-forward melee brutes, having a great amount of HP (between 13,000-18,000, assuming you’re around levels 10-20), and decent attack power. Fortunately if you followed Quistis’s advice earlier and junctioned Sleep to Status Attack you’ll be able to keep them pacified most of the fight, allowing you to whittle them down and defeat them conventionally or Card them. While they’re worth 10 AP if you defeat them, their stock of spells is limited to Fire and Thunder unless you’re above level twenty, which isn’t too appealing.
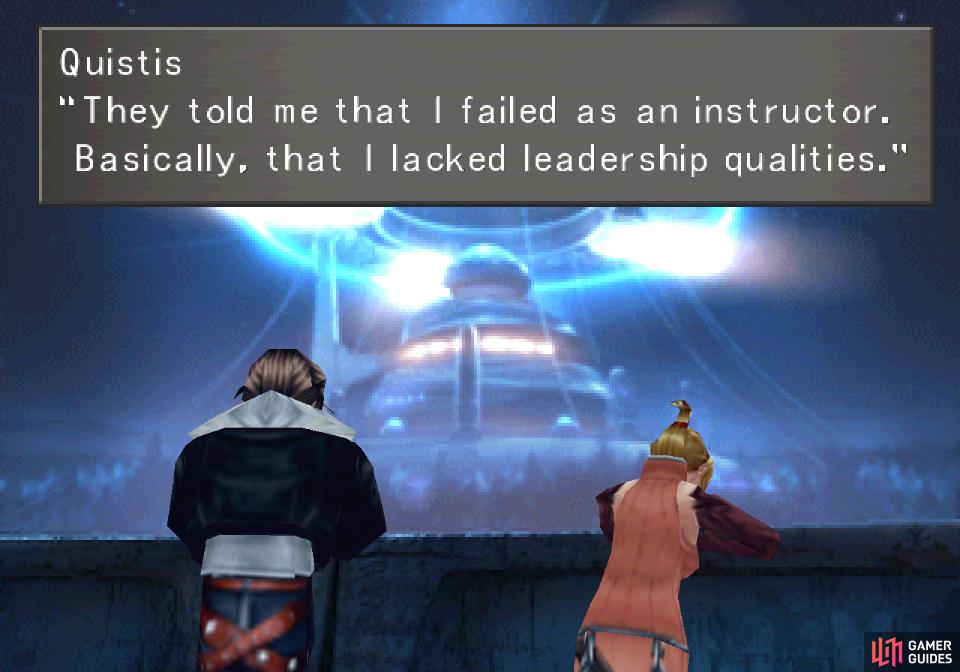
Quistis will confide in Squall
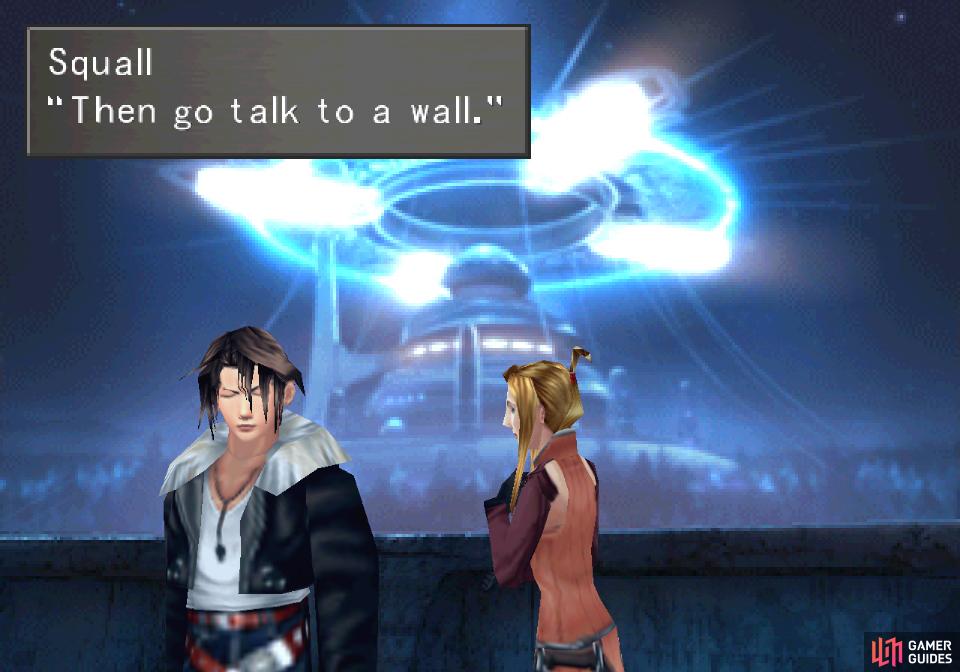
a mistake, considering the taciturn teen is in an especially anti-social frame of mind today
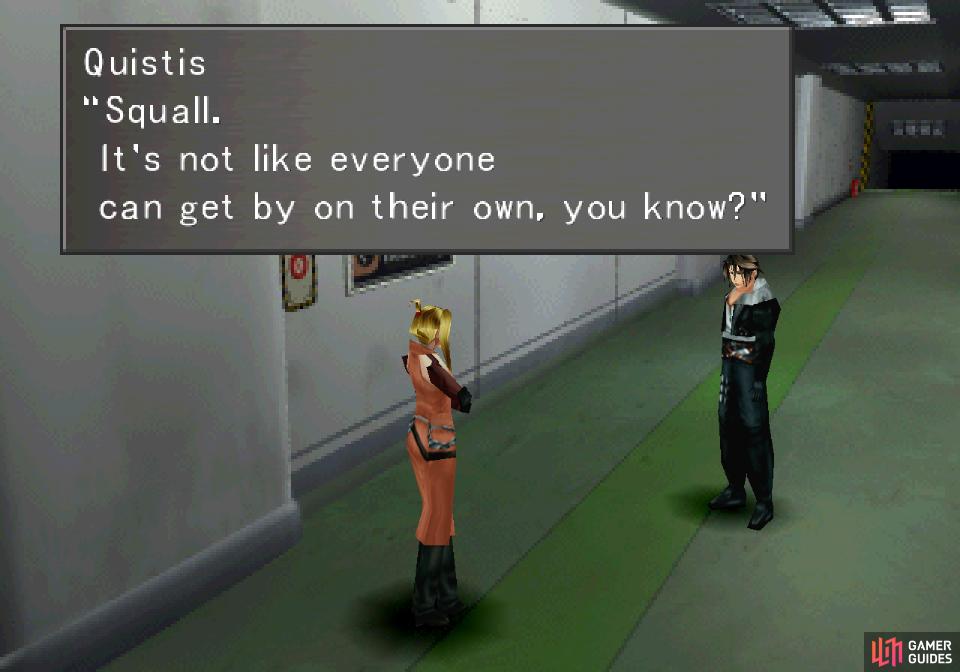
Make your way to the Save Point, then head through the well-lit doorway, where Quistis and Squall will have a bit of a one-sided chat. It’s an… odd place to have a meeting, especially considering the decidedly non-romantic nature of Quistis’s conversation, and while somewhat awkward, Squall crosses the line from merely anti-social to full-on jerk-ass here. Poor Quistis.
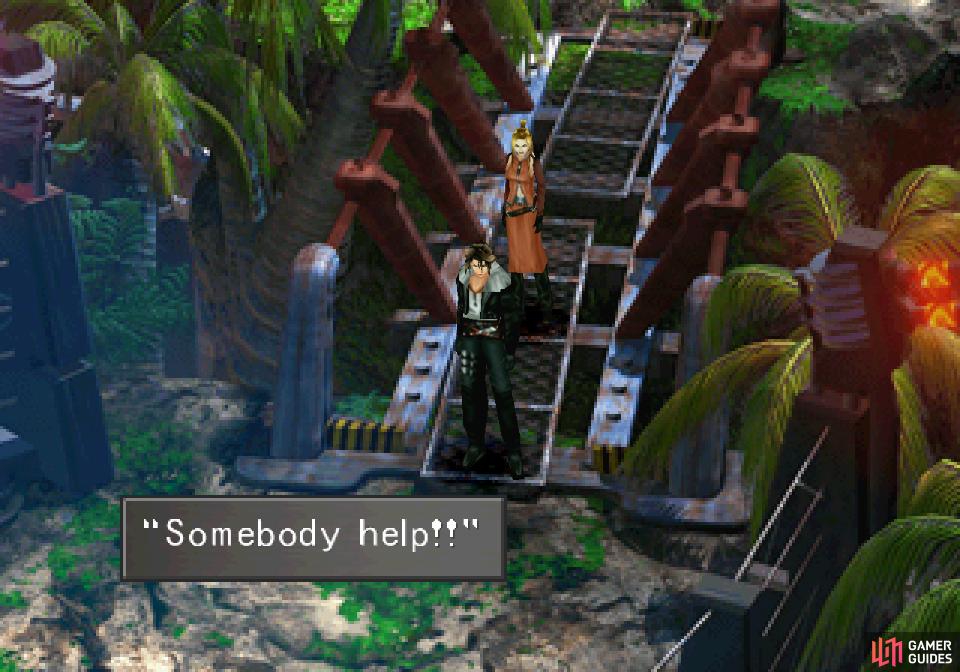
As Quistis and Squall leave the training center they’ll hear a cry for help

emanating from a woman being attacked by… a giant bug?
Afterwards, go to leave the training area and you’ll hear a cry for help. Well, at least something good might come from this debacle of an outing!
Boss - Granaldo
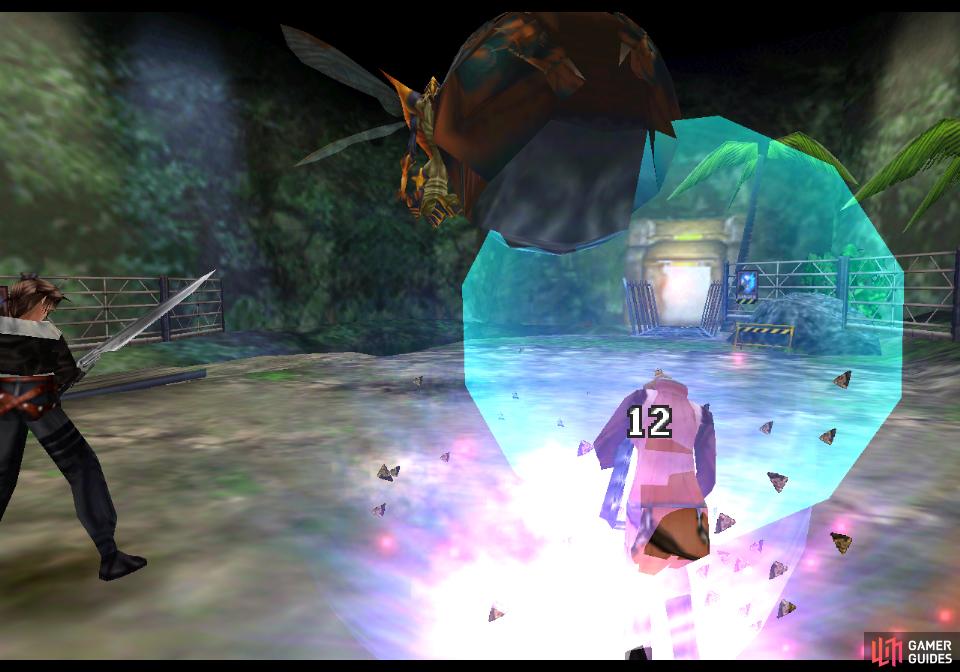
Rushing to the sounds of the distressed cries you’ll encounter a… giant insect monster? What’s not apparent when you engage is that it’s not alone, being accompanied by three armored, terrestrial monsters. The flying monster - Granaldo - and the three armored monsters - Raldos - will collectively make up this next boss encounter.
| Raldo | |
|---|---|
| Lv: | 1-11 |
| HP: (lv11) | 287 |
| Weaknesses: | – |
| Resistances: | – |
| Status Resistances: | Immune to Berserk – Card – Confuse – Float – Petrify – Silence – Sleep – Slow-Petrify – Zombie; Darkness 40% – Death 80% – Doom 60% – Drain 0% – Eject 20% – Haste 0% – Lv Down 0% – Lv Up 0% – Poison 60% – Reflect 0% – Regen 0% – Slow 10% – Stop 90% – The End 0% |
| EXP: | – |
| AP: | 3 |
| Draw: | Fire, Thunder, Protect |
| Mug: | – |
| Drop: | Wizard Stone x4 |
| Granaldo | |
|---|---|
| Lv: | 1-11 |
| HP: (lv11) | 1,538 |
| Weaknesses: | Wind (200% damage) |
| Resistances: | – |
| Status Resistances: | Immune to Berserk – Card – Confuse – Darkness – Float – Petrify – Silence – Slow Petrify – Zombie; Death 90% – Doom 60% – Drain 0% – Eject 20% – Haste 0% – Lv Down 0% – Lv Up 0% – Poison 60% – Reflect 0% – Regen 0% – Sleep 60% – Slow 10% – Stop 90% – The End 0% |
| EXP: | – |
| AP: | 5 |
| Draw: | Blind, Shell, Sleep |
| Mug: | – |
| Drop: | Wizard Stone x4 |
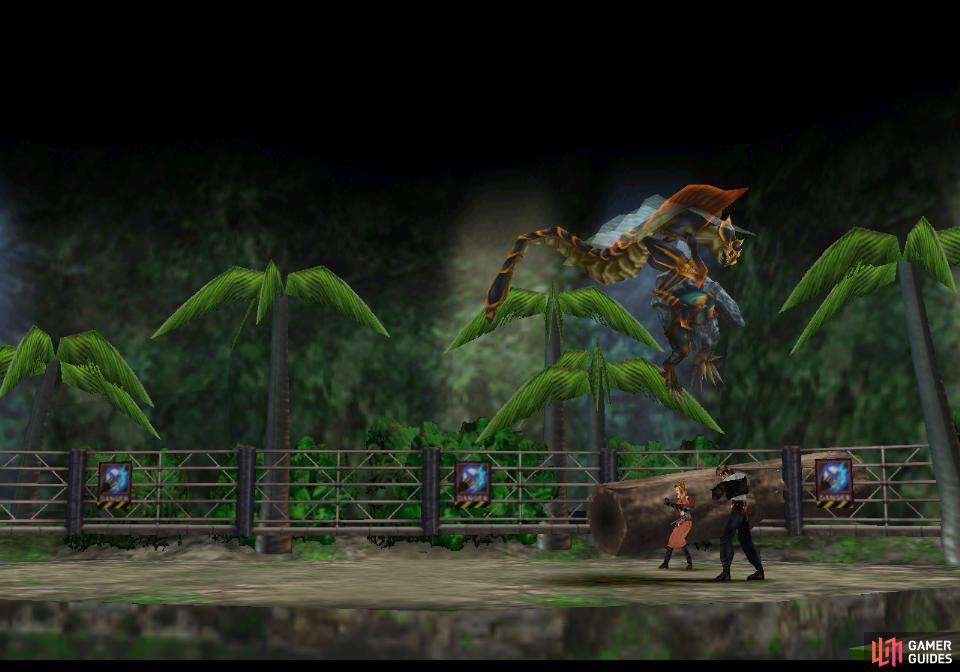
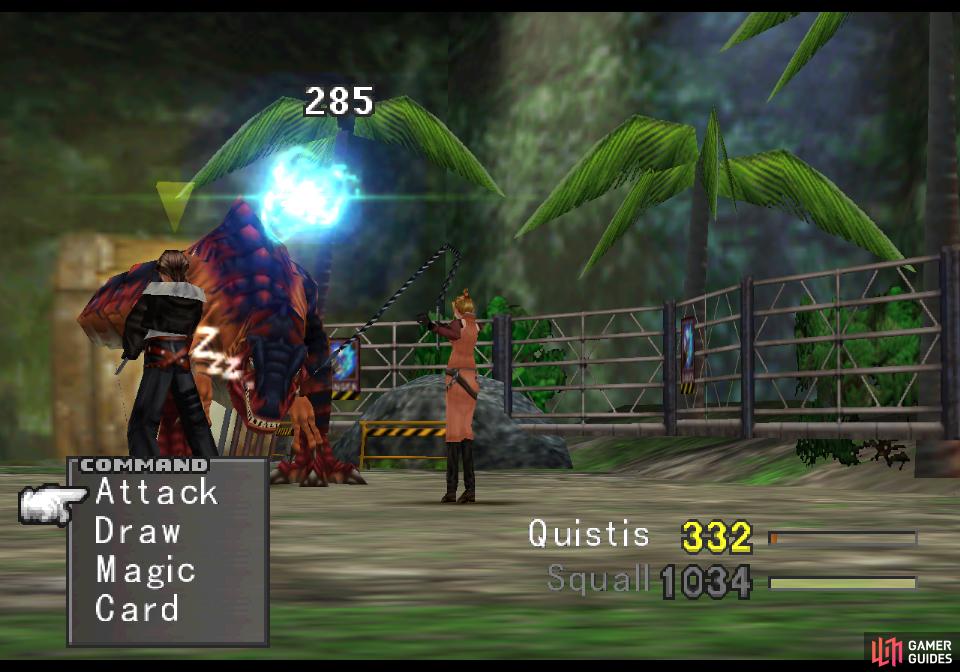
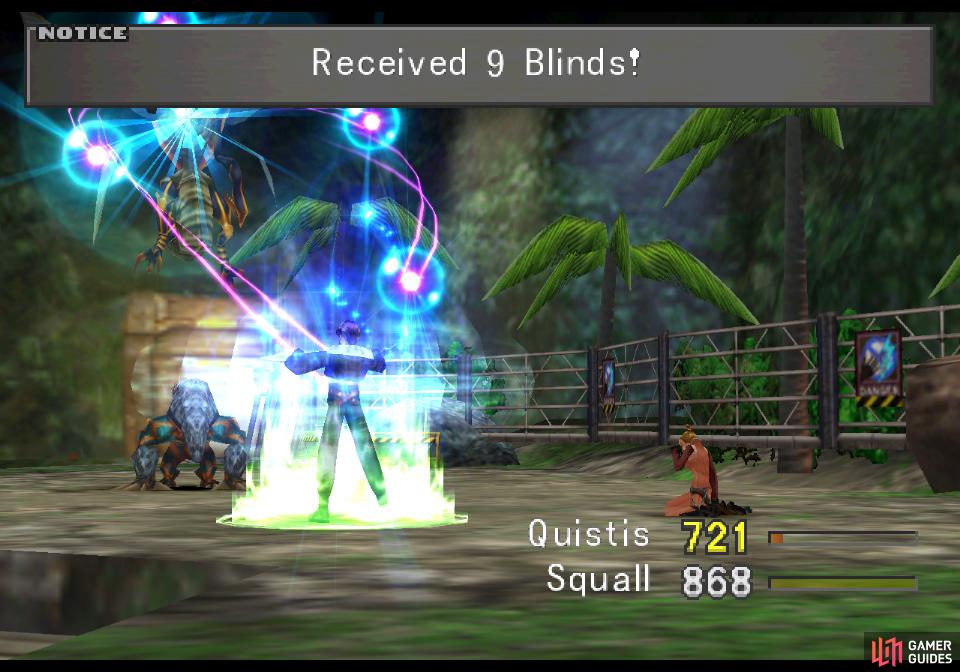
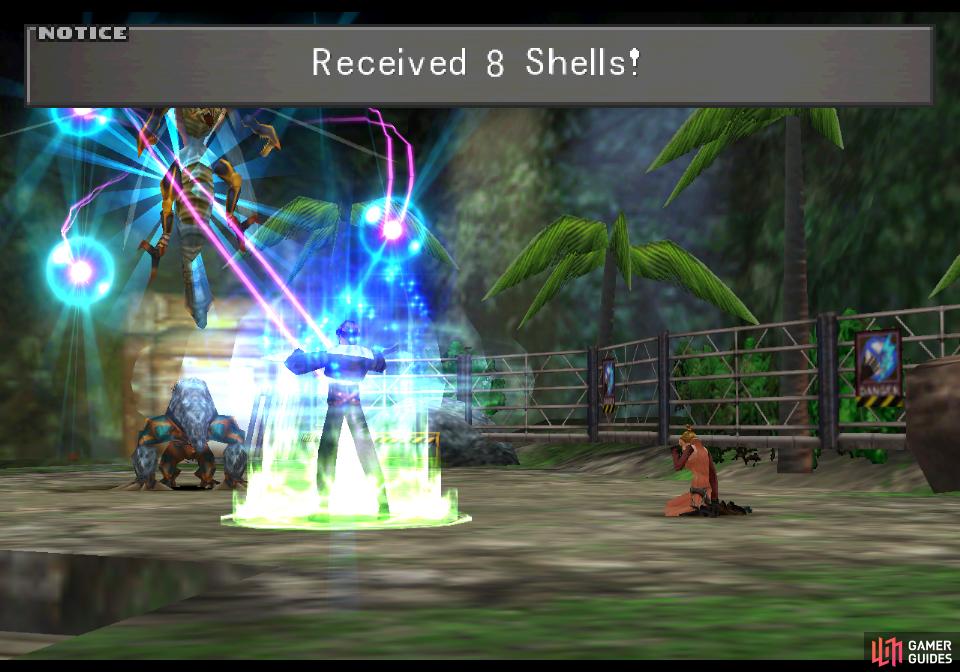
The Raldos and Granaldo fight symbiotically, either by the Granaldo dropping a Raldo on you
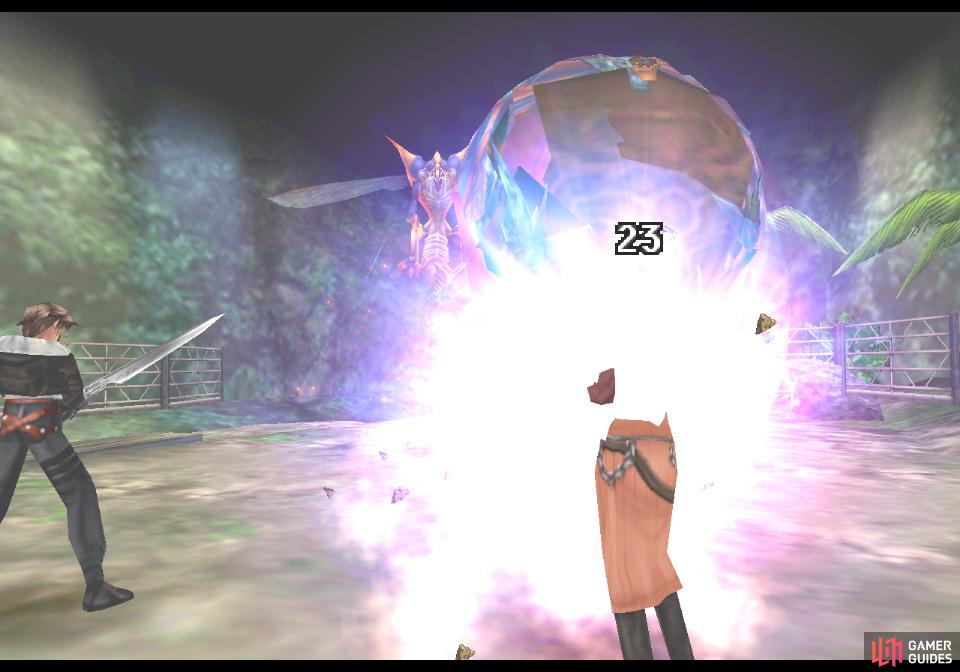
or by whipping them into you
Calling this a boss fight might be a bit much, as these foes will appear again as mundane enemies, but who are we to argue with the boss battle music? And with only two characters at your disposal, they might pose enough of a hint of a challenge to make you think… well, okay, no, probably not.
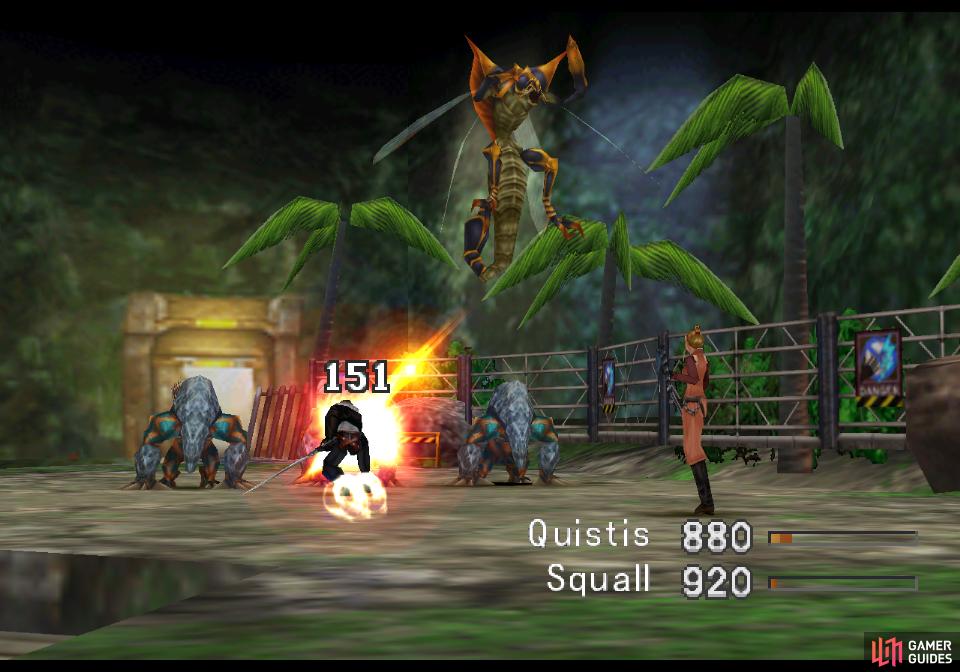
Star out the fight by cutting down two of the three Raldos
so you can draw Protect from them more safely
Anywho, the first thing you should do is quickly cut down two of the Raldos, as the Granaldo will use these otherwise somewhat passive monsters as weapons, either by whipping them at you or dropping them on you. Cutting down its offensive options is a good first step, and since these enemies are locked at level eleven (just like the past few bosses have been) you won’t really suffer the consequences if you over leveled or enjoy the boons of keeping your level low. That’ll change soon enough, but for now the Raldos can’t break 300 HP, which even the weakest characters can cut through in a few attacks.
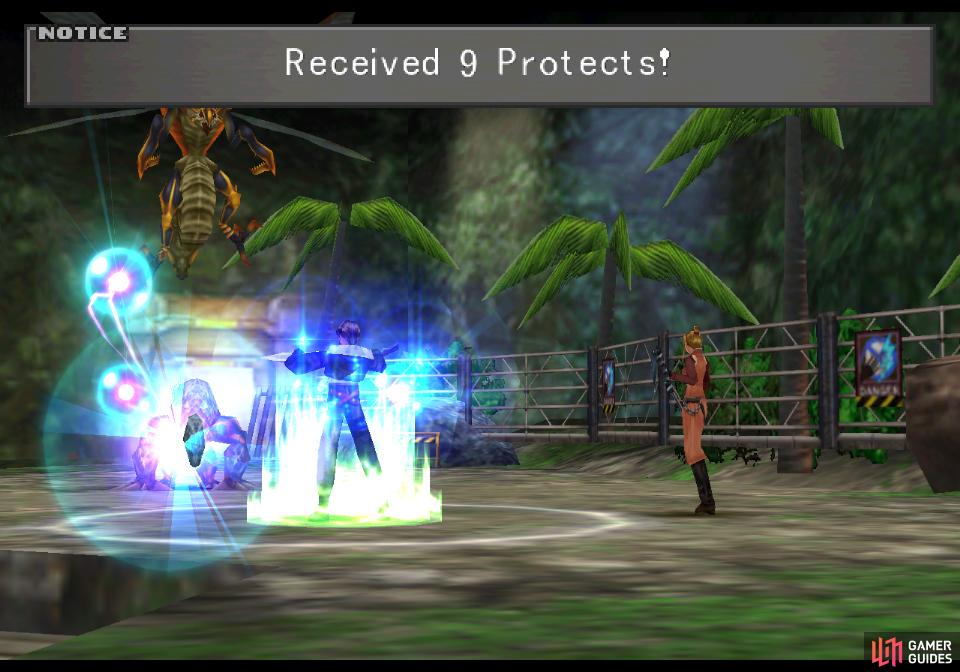
Have your characters draw and cast Protect
to further mitigate incoming damage
Once the herd of Raldos has been thinned, turn your attention to drawing magics from both enemies. Start with the remaining Raldo, as it has Protect, which you can use to reduce the incoming damage you’ll take while you draw. It’s good defensive magic, well worth your time to stock up on. If you find Protect insufficient to mitigate damage, you can attempt to put the Granaldo to sleep, although it’s somewhat resistant, and this is at best a short-term solution. It’s also worth noting that neither enemy has any restorative magic you can draw - a first for a boss encounter. Still, if you’re injured you can cast Cure spells from your magic stocks, as they’re easy enough to replenish.
After you have drawn full stocks of Protect, you can work on accumulating Blind
and Shell from the Granaldo
When you have all the stocks of Protect you want or can hold, turn your attention to the Granaldo, which can be mined for Shell - the magical alternative of Protect - and Blind, which can inflict darkness on enemies. Shell is, of course, incredibly useful at times, while Blind is useful if you want to inflict or protect yourself from the status, either by casting or junctioning.
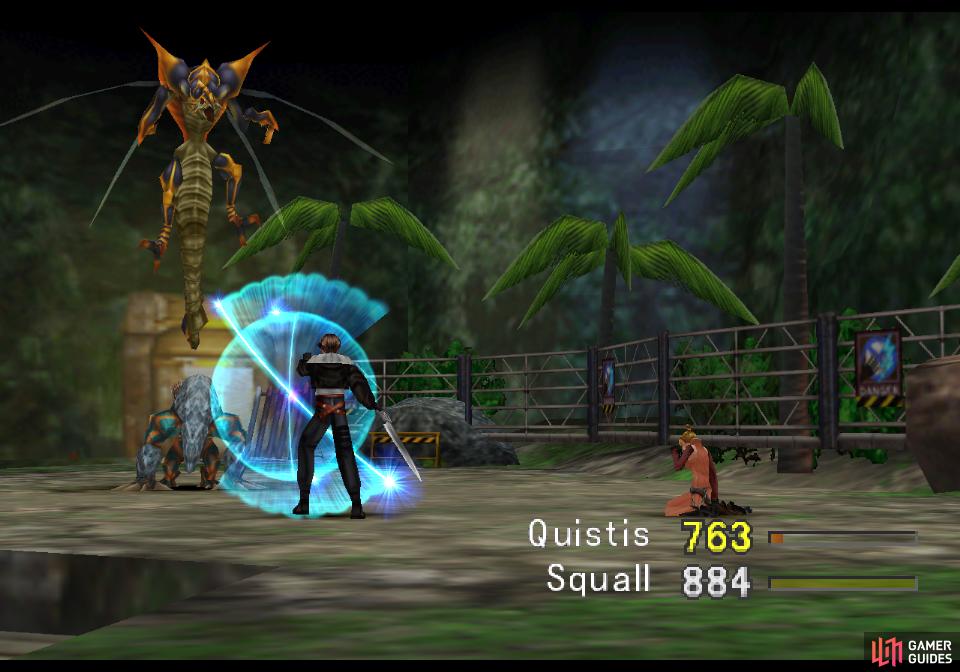
(1 of 3) Once you have all the spells you want, dispatch the last Raldo and focus on the Granaldo
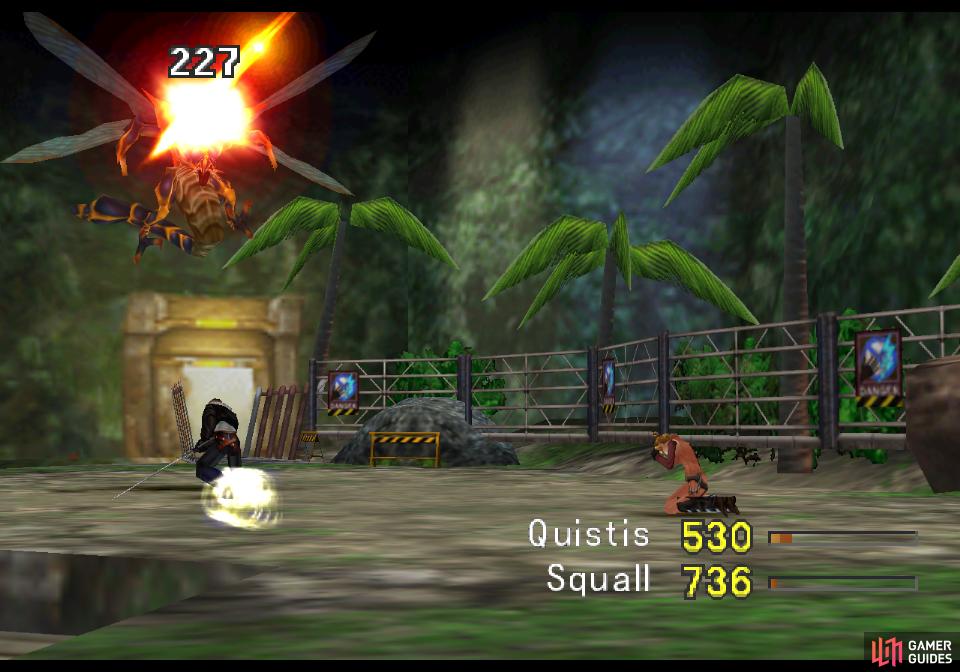
Get the spells you want, then cut down the last Raldo and turn your attention to the Granaldo. Granaldo is sturdier than the Raldos, having up to 1,500~ HP, but that’s still paltry compared to, say, X-ATM092’s 5,000+ HP. A party with powerful magics can probably kill the Granaldo in two hits, but otherwise simply defend yourself with Protect and work on whittling down the bug with melee attacks. If you used Card Mod to turn Thrustaevis cards into Shear Feathers, then turned those into Aero magic, you can use that (either casted or junctioned to your weapon’s Elemental Attack) to score bonus damage on Ranaldo, which is weak to air. Use Cure as necessary and the Granaldo should fall, after which some men in weird (and unflattering!) uniforms will show up and escort the attacked woman to safety. She looks awfully familiar, doesn’t she?
Oh well, leave the training grounds and Quistis will try to reach out to Squall one more time, unsuccessfully. At least he waits until she’s out of earshot to reply this time. Go save your game at the Save Point in the 1st Floor Hall, then return to the dorm and get some sleep. At least you have your own room now that you’re a member of SeeD, as Zell will inform you. It’s the little things in life…
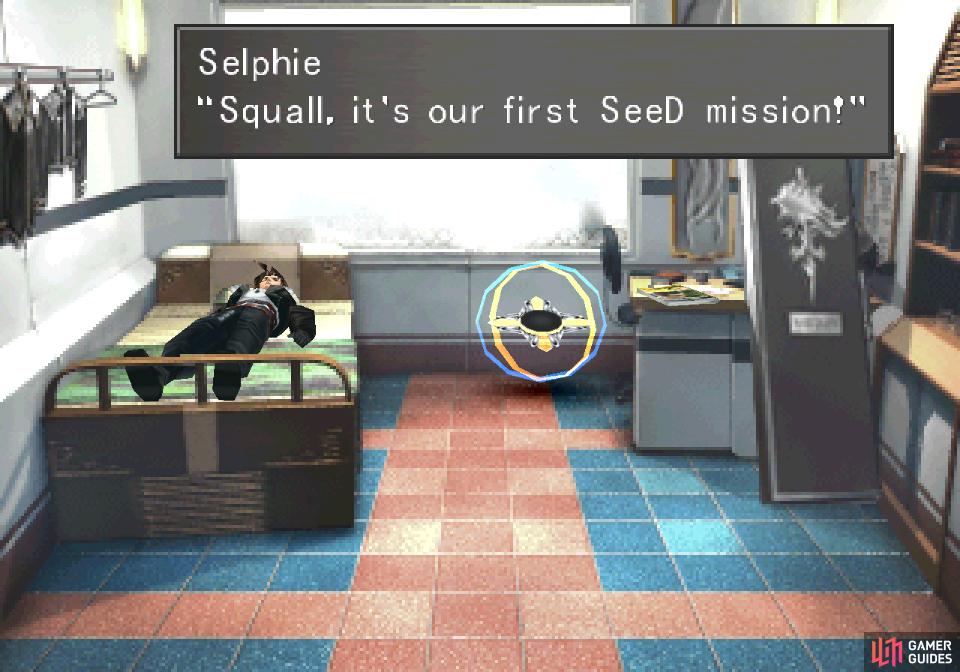
Even sleep is no reprieve, as Squall will be awakened by Selphie
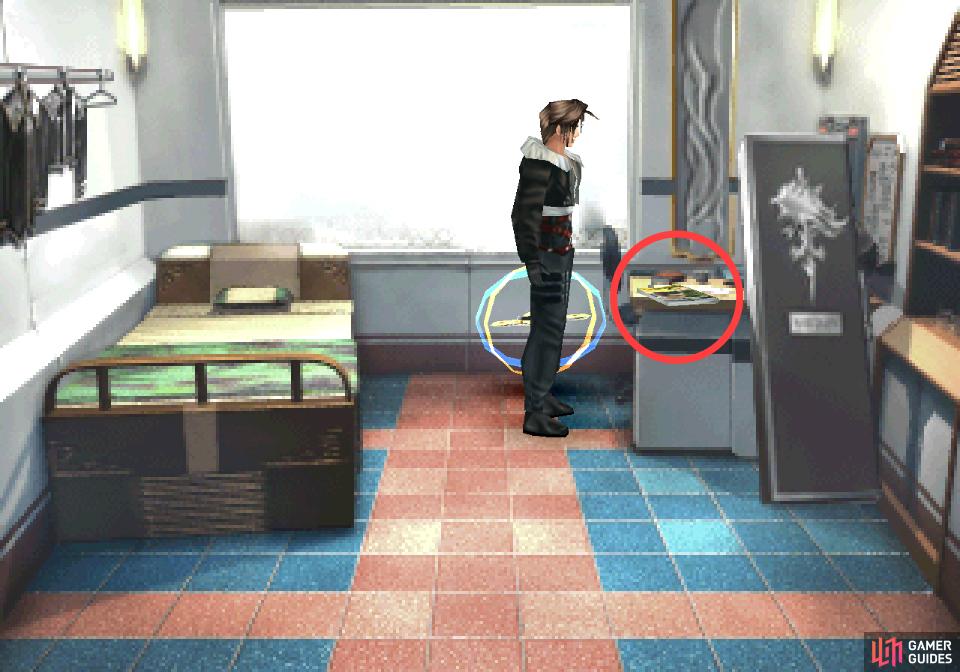
Grab the issue of Weapons Mon April before leaving your room
The First Mission
You’ll be woken up by an overly-excited Selphie, who tells you that you’re being sent out on your first mission as a member of SeeD. Wake up and claim the issue of Weapons Monthly, April Issue from the desk to the right of the Save Point, then head to the front gate to join up with Selphie, Cid, and eventually a tardy Zell.
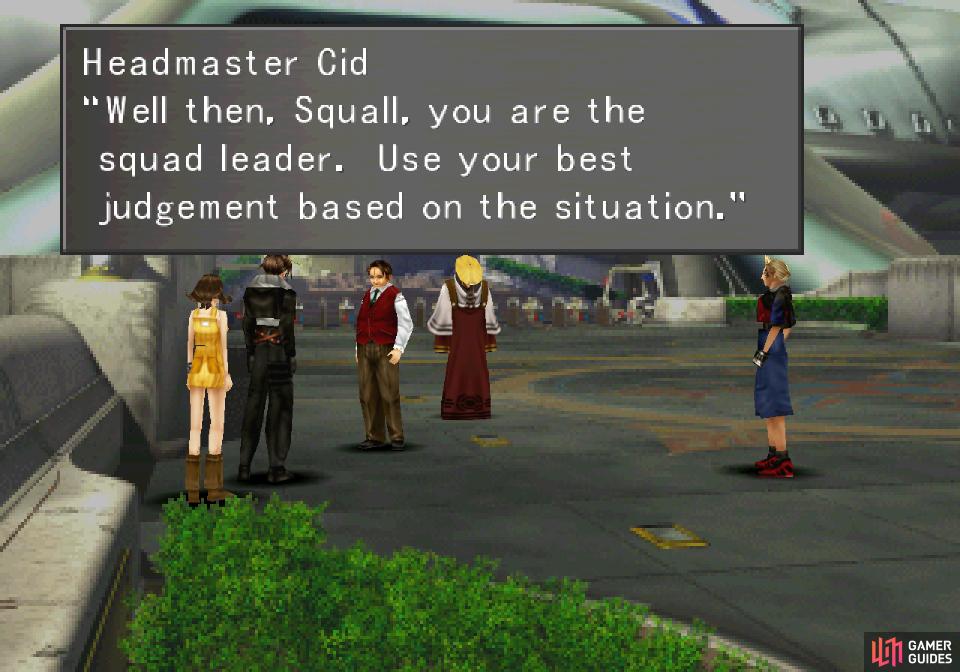
Get the debriefing for your first mission as a SeeD from Cid

then talk to him again to acquire the Magical Lamp
You’ll be told precious little of your first mission, save that you’re to head to Timber and identify a contact who should say “The forests of Timber sure have changed”, which you’ll respond to with “But the owls are still around.”, and that you’re to follow your employers orders unfailingly. Not only is this an oddly open-ended objective, but you’ll also be informed that… well, there’s not much money in it. Guess new SeeDs don’t get the most glamorous of jobs, eh? Selphie and Zell will rejoin your party, and before you leave talk to Cid to obtain the Magical Lamp.
This item, despite being cursed, gives you a great opportunity to increase your power if you can subjugate the being within. Not only that, but you now have a measure of freedom to do whatever you please in and around Balamb, something that you may not be able to do so easily in the future. If there’s any grinding you skipped earlier - whether acquiring Card Mod and magic refining abilities or playing Triple Triad to acquire a fine collection of cards to play with or refine - now’s the time to do it.
It was already recommended you acquire stocks of Tornado and -aga magic as the bare basic power-boosting, and if you still haven’t done so… Well, take this as yet another recommendation to that goal. You can also fill up on curative magics if you learned Siren’s L Mag-RF, and after dealing with the Magical Lamp even more possibilities will open up. Old business won’t be rehashed, however, so refer to previous grinding sections to accomplish what you want. If you can’t be bothered grinding, skip ahead to the section Weapons and Cards in Balamb, otherwise the Magical Lantern and related grinding can be found in the following The Magical Lamp
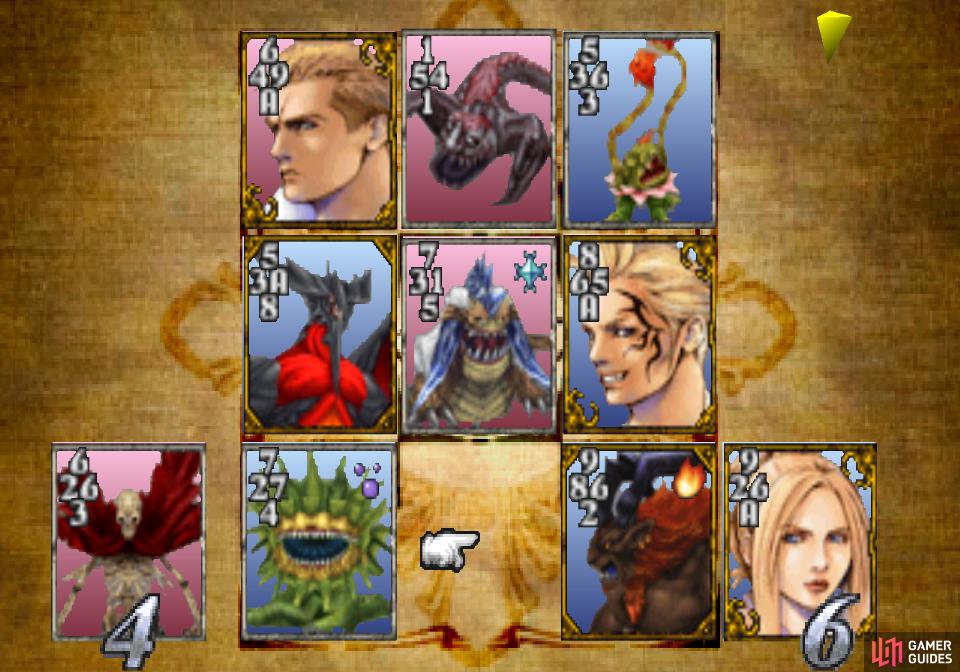
Challenge Cid until he plays the Seifer card
and win it from him.
Seifer Card
Before any of that, however, there’s one card you should seriously consider winning before you move on.
When you leave the Garden, Cid will return to his office, where you can go (ride the elevator up to 3F) and challenge him to a game of cards. You can do this any time between now and when you board the train. Challenge him to cards and play him until you win the Seifer card, which is a phenomenal card, all things considered. Cid’s deck isn’t all that powerful at this point in time, and if you have Quistis, Zell, Ifrit and Diablos you should be able to simply overpower him.
The Seifer card can be refined in three Diamond Armor cards, which can be used to teach GFs the GFHP+40% ability. Needless to say, we prefer to keep this card intact, as it’s one the better playing cards out there.
No Comments