
Travel back to Balamb and… well… Galbadia Garden being moored just off the coast isn’t a promising sign. Sure enough, Galbadian occupation is evident, and to enter Balamb it takes a bit of effort on your part. First talk to the man - the owner of the inn - wandering back and forth, then talk to his wife sitting on the bench behind the Gas Station sign. Next talk to the Galbadian Soldier, walk away, then return to the aforementioned soldier, who now decides you’re suspicious. Squall is a clever bird, however, and dangles bait the ever-incompetent Galbadian can’t ignore. Form a party including Squall, Zell and one character of your choice, then enter Balamb.

Make up a lie to gain entrance to occupied Balamb
then seek out Zell’s mom to learn more about the situation
Hunting the Captain
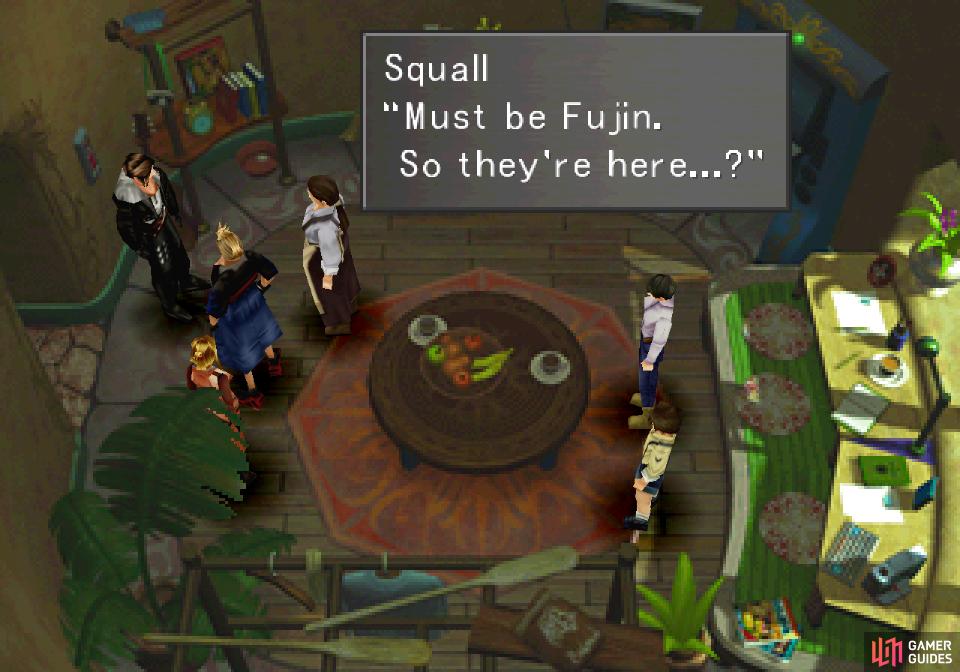
You’re now in Balamb, and there’s no leaving until you resolve this matter. Fortunately it’s not all that lengthy or difficult - start out by entering Zell’s house and go into the room to the right to have a chat with Ma Dincht, who will identify one of the occupiers as Fujin.
Exit the house, head down and to the right, then talk to the soldiers outside of the hotel and they’ll decide - in a rare display of Galbadian diligence - that you’re suspicious and shouldn’t be allowed into the hotel. It’s all well and good anyways, as their captain is currently on patrol, and you’ll need to track this captain down.
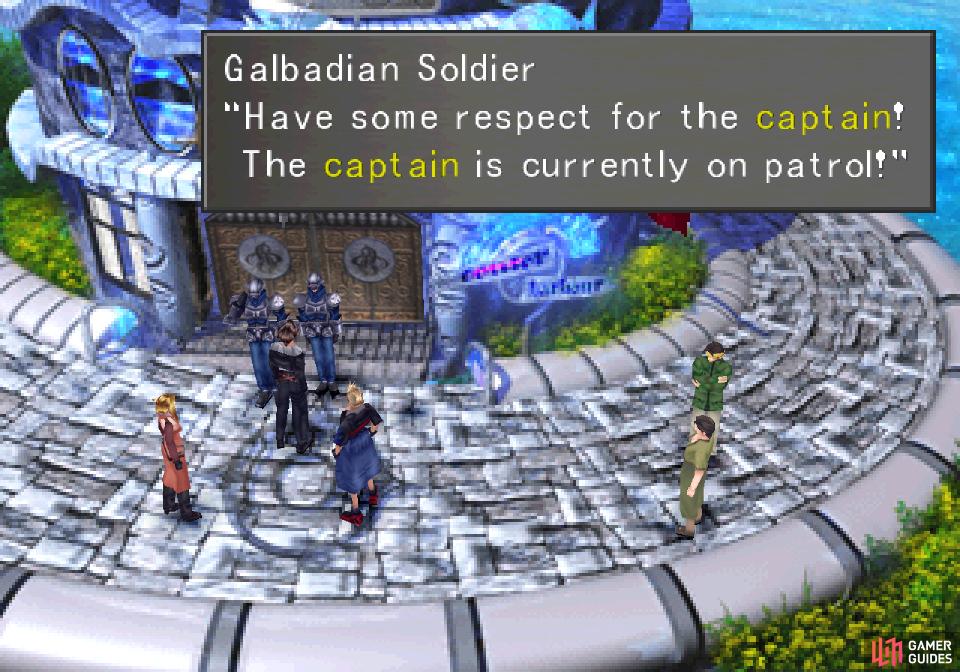
Talk to the soldiers by the hotel to learn the captain is on patrol
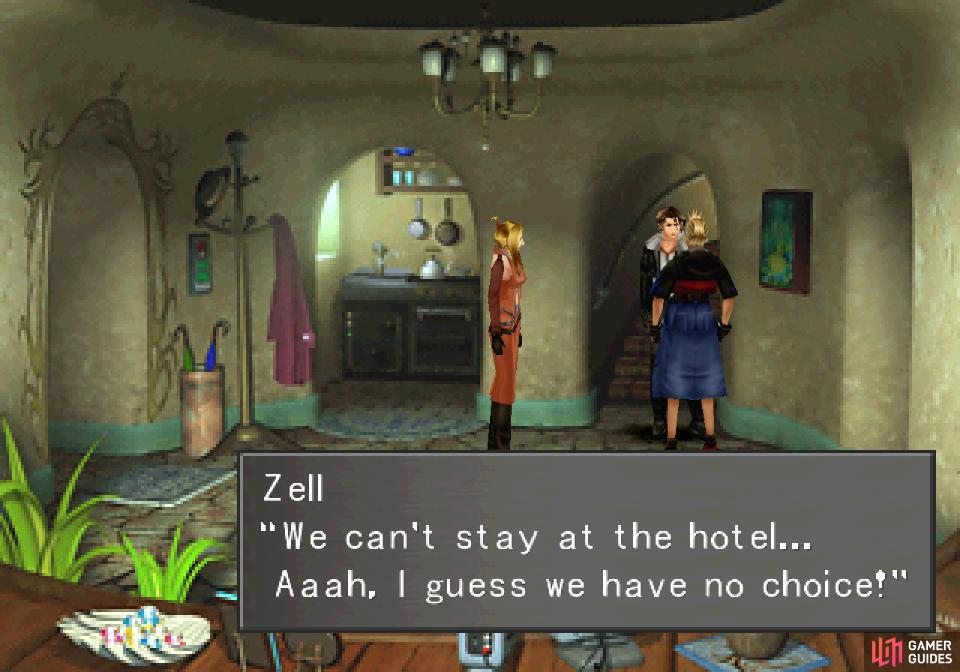
then return to Zell’s house to finally gain access to his room
Return back to Zell’s house and enter his room to finally gain access to the most holy of places in Dincht-dom. You’ll be treated to a bit of chatter between Zell and whomever your third party member is, but mostly you can use this room to rest up and save your game at a nearby Save Point. You know, just in case you need the convenience while in Balamb.
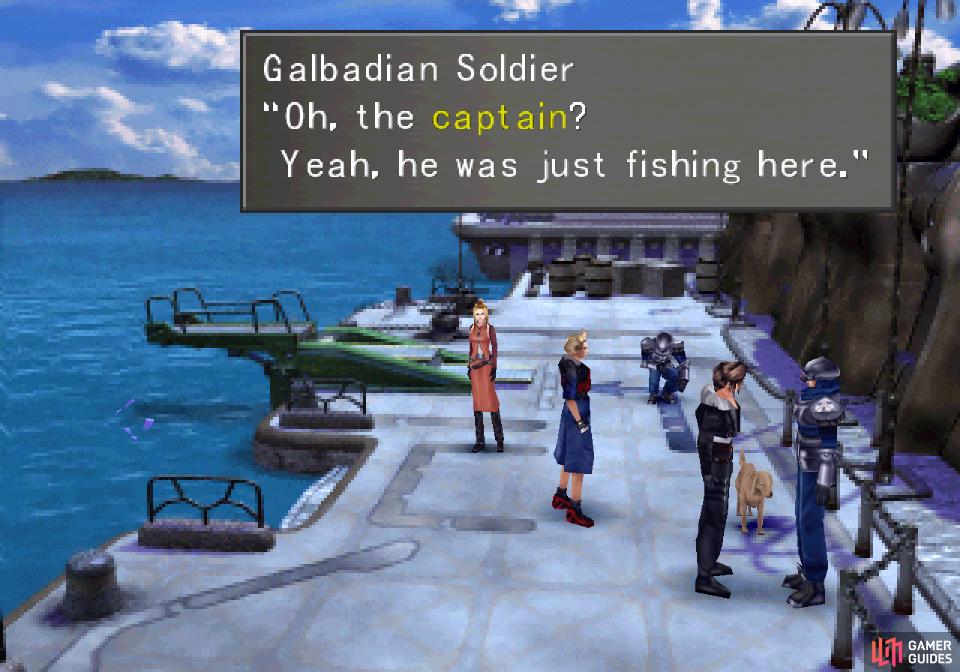
Talk to a dog-accompanied soldier in the port to learn the captain was fishing
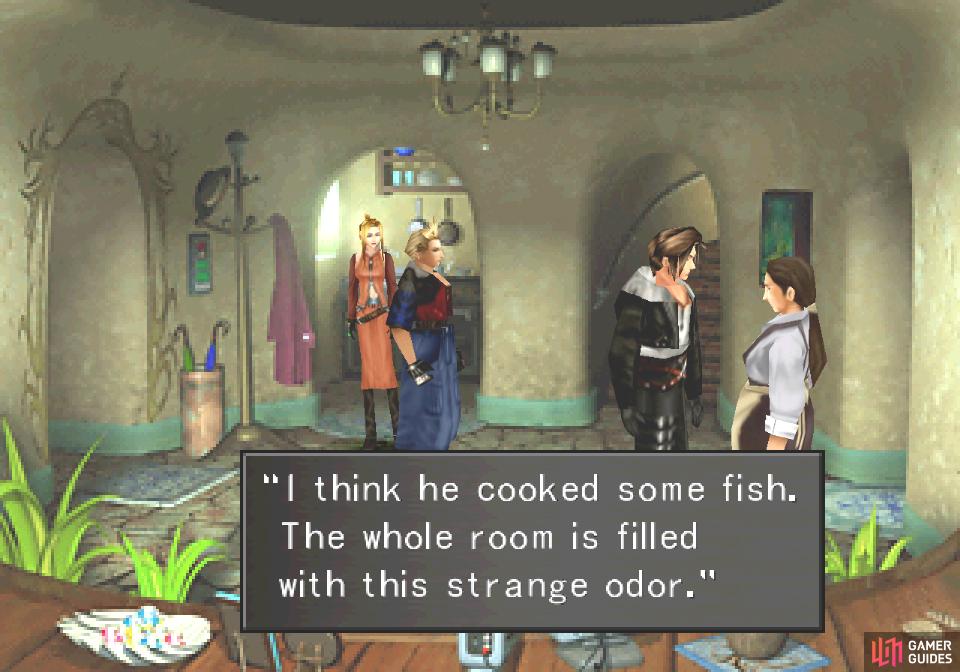
then return to Zell’s house once again to confirm that this captain cooked some fish here
Now that you have a safety net, exit Zell’s house and head to the docks, then continue up past a Galbadian Soldier to reach the upper screen of the docks and note there’s a Cure draw point in the water off a platform… for what that’s worth. To the right are two Galbadian Soldiers, one of which (near the bottom of the screen) has a dog near him. Talk to this cynophilist and he’ll tell you the captain was fishing here recently, and went off to cook the catch.
Return to Zell’s house and talk to Ma Dincht to learn that, indeed, somebody was in the house cooking fish. The nerve! Given all the smoke, they’re obviously not a very competent cook, either.
Repeatedly talk to a downed soldier to move him out of the way
or use the port soldier’s dog to sniff out the captain
From here there are two ways you can find this captain:
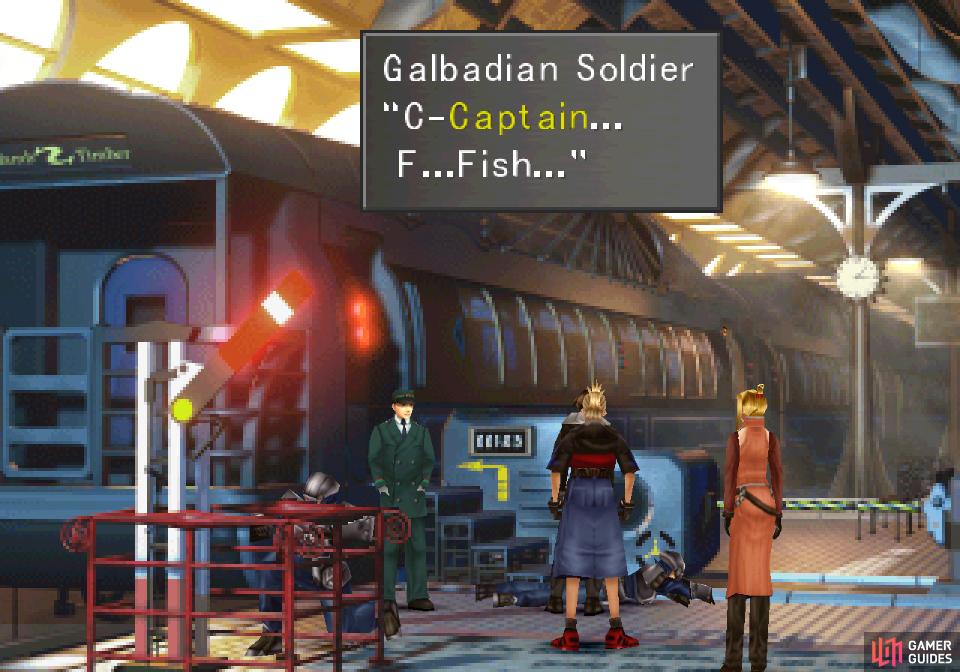
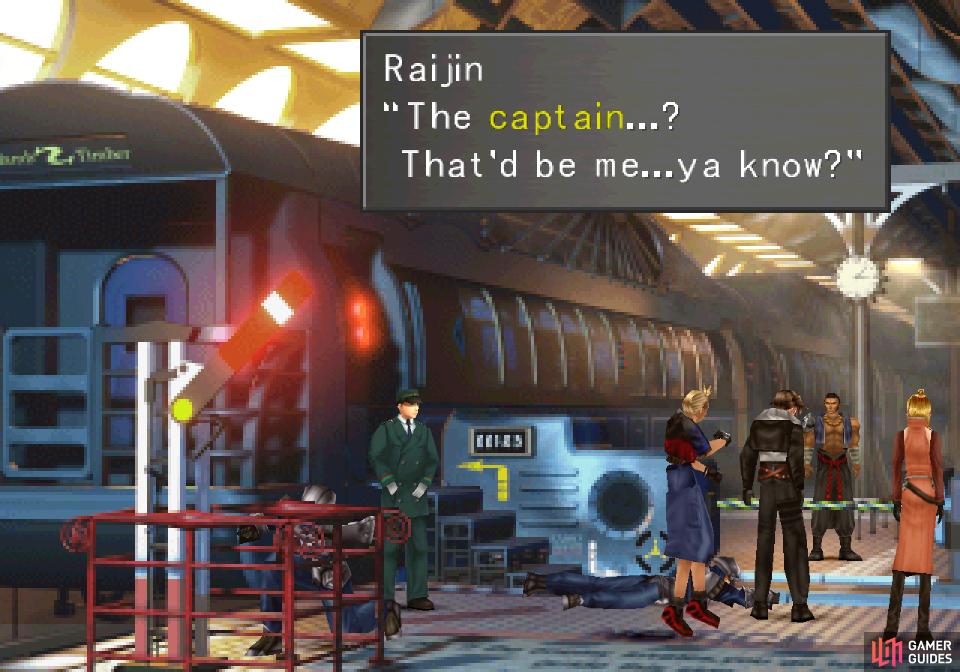
– Go to the train station and you’ll find two Galbadian Soldiers who clearly aren’t having a good time. Talk to the one lying on the ground in front of the steps in front of the train car repeatedly to learn that the culprit for their malaise seems to be the captain’s fish. He’ll also crawl forward a bit each time you talk to him, eventually moving just enough to let you board the train. Do so and you’ll find the captain.
– Alternatively, return to the docks and talk to the Galbadian Soldier’s dog and follow it to the train station, and the very good boy will arf the captain out of hiding.
Ultimately the dog is somewhat more direct (no need to harass a Galbadian Soldier with food poisoning, for one) and it contributes to raising your SeeD rank more (it should give you one full rank up), which is even more incentive to go that route. Either way, you’ll now have to return to the Balamb hotel and confront the captain. Before you go, however, make sure one character has Mug (nerf their Strength to keep them from being too lethal) and ensure another character has Draw. Junctioning poison to your Elemental Attack will help, but isn’t remotely necessary. You can also junction Aero or Tornado to your Elemental Defense, which will help for a very short while.
When you’re ready, go enter the Balamb hotel to confront the captain…
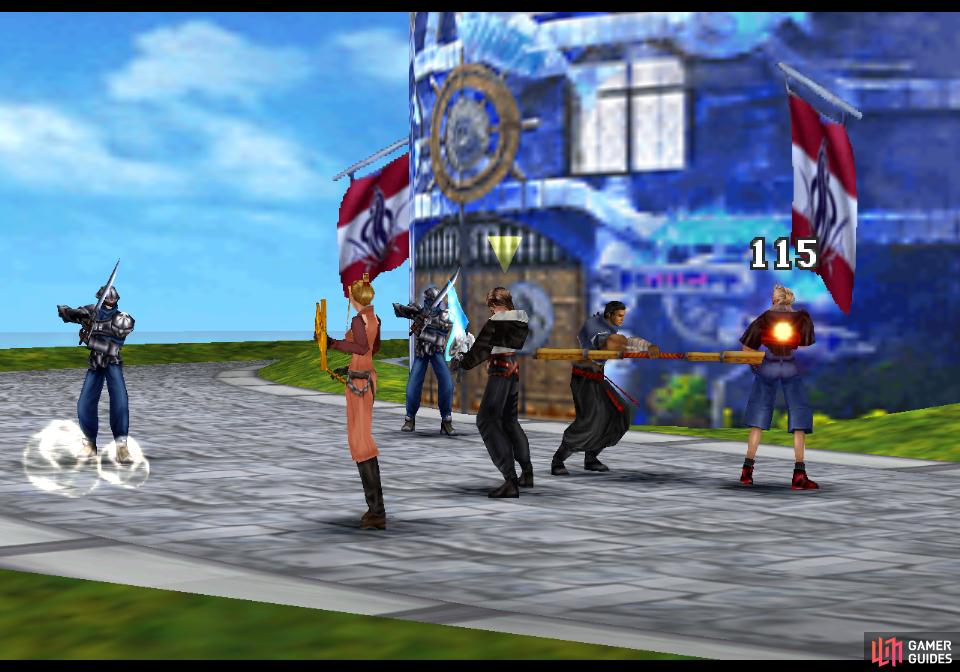
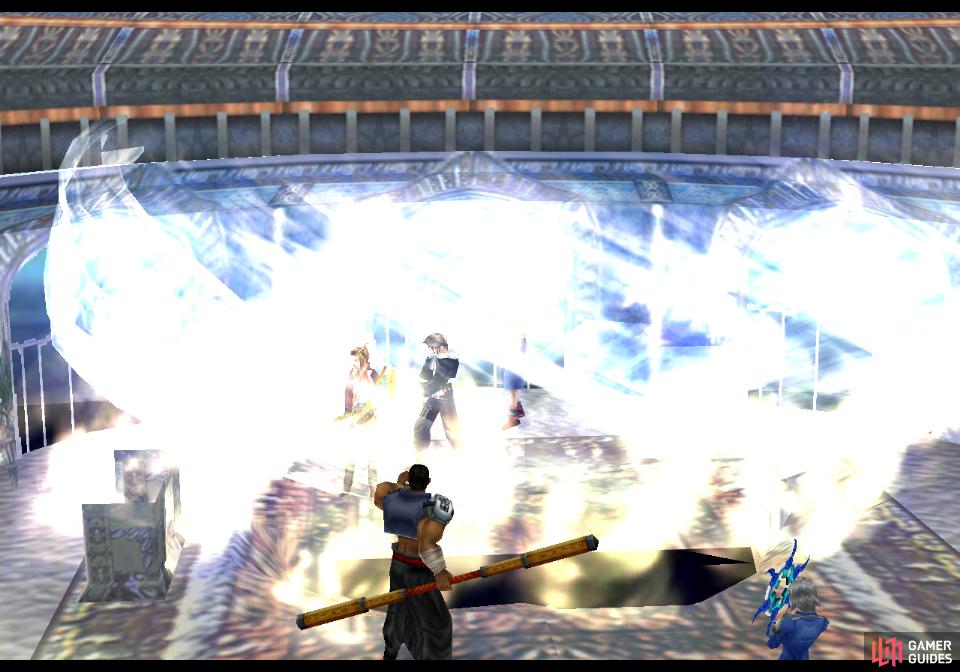
Boss - Raijin and Galbadian Soldiers x2
This boss fight is more of a warmup than anything else, especially since Raijin is joined by two Galbadian Soldiers from whom you can draw Cure. With Raijin as the only legitimate threat (being incredibly generous with “threat” here), this should be a battle that’s nigh impossible to lose.
| Raijin | |
|---|---|
| Lv: | 1-29 |
| HP: (Lv10) | 4,000 |
| HP: (Lv20) | 8,000 |
| HP: (Lv28) | 11,600 |
| Weaknesses: | Poison (150% damage) |
| Resistances: | Thunder (Absorbs) |
| Status Resistances: | Immune to most status effects; Darkness 40% – Drain 60% – Haste 0% – Reflect 0% – Regen 0% – Silence 80% – Sleep 40% – Slow 40% – The End 0% |
| EXP: | – |
| AP: | 10 |
| Draw: | Protect, Shell, Thunder, Thundara |
| Mug: | Str Up x2 |
| Drop: | Str Up x1 |
Raijin is very basic in this fight. He’ll only perform simple melee attacks which, at a low level, were dealing around 100~ damage per hit. He’s limited to level 29 for this fight, but he scales pretty quick, gaining 400 HP per level and roughly twenty points of Strength per ten levels. In fact, his Strength between level 10 and 29 will nearly double, so his damage is highly variable depending on your own stats. Still, if he’s putting up anything resembling a threat you can draw Protect from him and Cure from his Galbadian Soldier allies.
In addition to that you can draw Shell, Thunder and Thundara from Raijin, and true to his stock of spells, Raijin absorbs thunder elemental damage, so refrain from using it. He’s somewhat weak to poison, if you want to trivialize an already easy battle. He’s also reasonably susceptible to darkness and slow, if you want to take advantage of that to limit his offense.
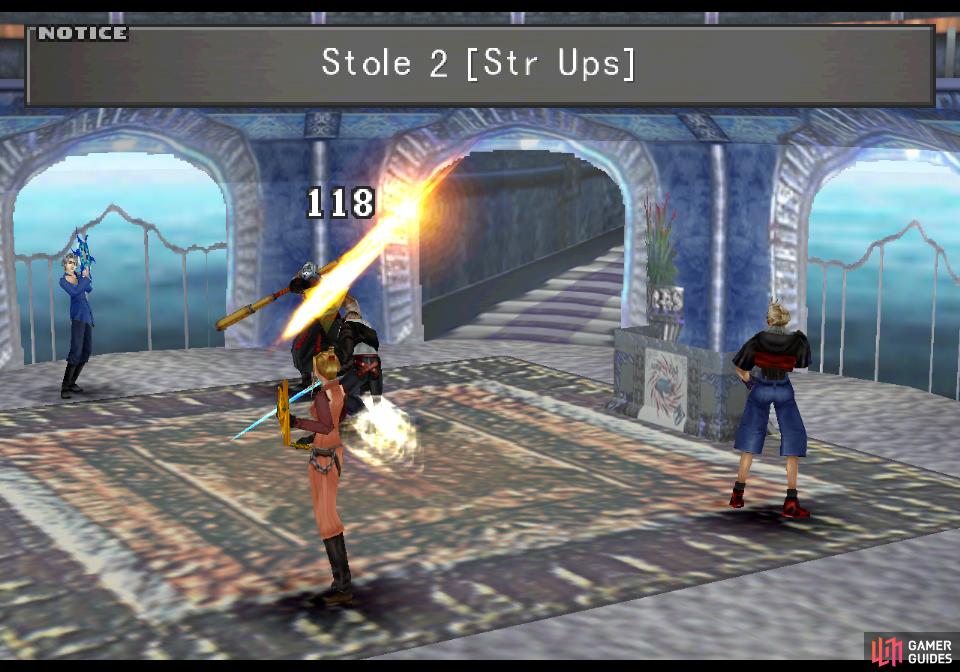
Despite the temptation, don’t just pummel Raijin straight away - he’ll drop a Str Up when defeated, but you can Mug him for two Str Up items. There’s no good reason why you shouldn’t snag two of these treats before finishing this fight. Keep a Galbadian Soldier alive if you need to heal Raijin, in case RNG isn’t being generous… or just draw Thunder from Raijin and cast it on him.
Boss - Raijin and Fujin
Defeat Raijin and his goons, then enter the hotel to meet the commander… who can only be Fujin. After some chatter Raijin will show up and reveal that he’s none too bright, but willing to fight another round. So be it.
| Raijin | |
|---|---|
| Lv: | 1-29 |
| HP: (Lv10) | 4,000 |
| HP: (Lv20) | 8,000 |
| HP: (Lv28) | 11,600 |
| Weaknesses: | Poison (150% damage) |
| Resistances: | Thunder (Absorbs) |
| Status Resistances: | Immune to most status effects; Darkness 40% – Drain 60% – Haste 0% – Reflect 0% – Regen 0% – Silence 80% – Sleep 40% – Slow 40% – The End 0% |
| EXP: | – |
| AP: | 10 |
| Draw: | Protect, Shell, Thunder, Thundara |
| Mug: | Str Up x2 |
| Drop: | Str Up x1 |
| Fujin | |
|---|---|
| Lv: | 1-29 |
| HP: (Lv10) | 3,000 |
| HP: (Lv20) | 6,000 |
| HP: (Lv28) | 8,700 |
| Weaknesses: | Poison (150% damage) |
| Resistances: | Wind (Absorbs) |
| Status Resistances: | Immune to most status effects; Darkness 40% – Drain 60% – Haste 0% – Reflect 0% – Regen 0% – Sleep 40% – Slow 40% – The End 0% |
| EXP: | – |
| AP: | 10 |
| Draw: | Aero, Cura, Life, Pandemona |
| Mug: | Megalixir x1 or Hero x1 |
| Drop: | Megalixir x1 |
First, draw Pandemona from Fujin. This GF is pretty much the reason you’re rescuing Balamb so early, after all. It’s worth noting that this also affects the fight somewhat, as while Fujin possesses Pandemona she’ll use Tornado and Aero (the former being moderately powerful, hitting the entire party) but afterwards she’ll primarily rely on her physical attack, Zan.
Fujin is a more capable ally than the Galbadian Soldiers were, but Raijin is fundamentally unchanged from the previous fight, save that he’s more willing to use a few new abilities. Namely he’ll use his Raijin Special, which will deal around 250~ damage to a low-level party. He can also use Hi-Potions, healing himself for 1,000 HP, but he’ll do so sparingly, typically after being injured to a certain extent. Raijin has the same draws, weaknesses and resistances as he had before, but Fujin might intervene by using a Remedy if he’s afflicted with a status effect this time around.
While she usually sticks to her Zan attack (after Pandemona is drawn - do be sure to do that), Fujin will also start using her Sai attack when injured, which will reduce a character to 1 HP. Nasty stuff. Fortunately you can also draw Cura and Life from Fujin, making this fight a breeze. Like Raijin she’s weak to poison, but she absorbs wind, which shouldn’t be surprising in the slightest.
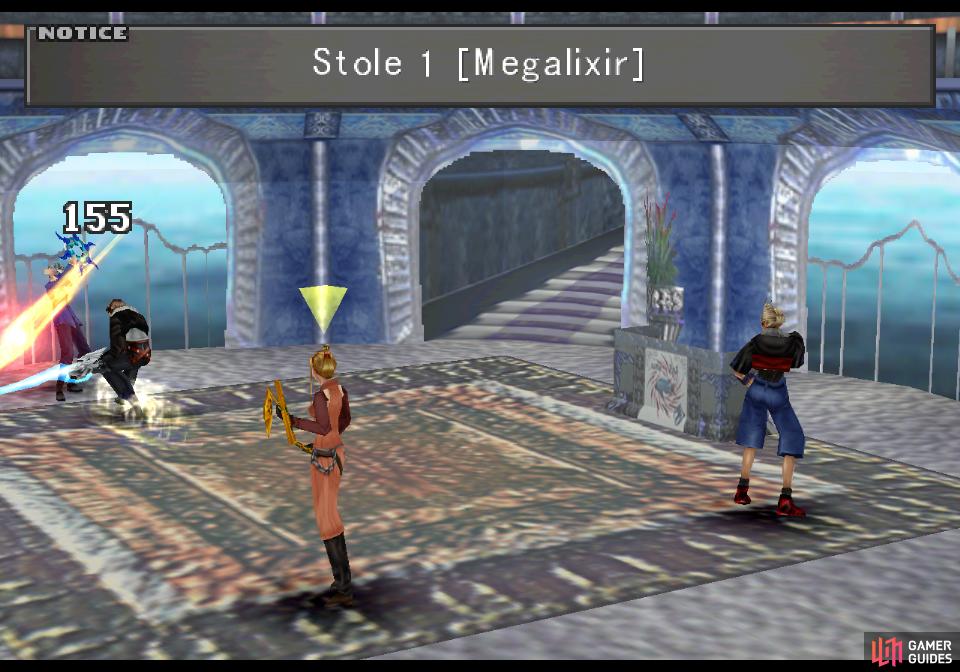
Raijin’s got the same stock of items this time around, so be sure to steal two more Str Up items from him. If you don’t Mug him, he’ll only drop a single Str Up. Fujin is a bit more complicated, as she’s got two items you can steal - a Megalixir and a Hero. You’ve got a 90% chance of getting the first item and a 10% chance of the second, and while the Hero is definitely a better prize, it’s probably not worth save/loading for. Especially not if you used Card Mod on Giglamesh. If you don’t Mug her, she’ll just drop a Megalixir. Either way, you’ll win a copy of Combat King 002, which will teach Zell the Meteor Strike limit ability.
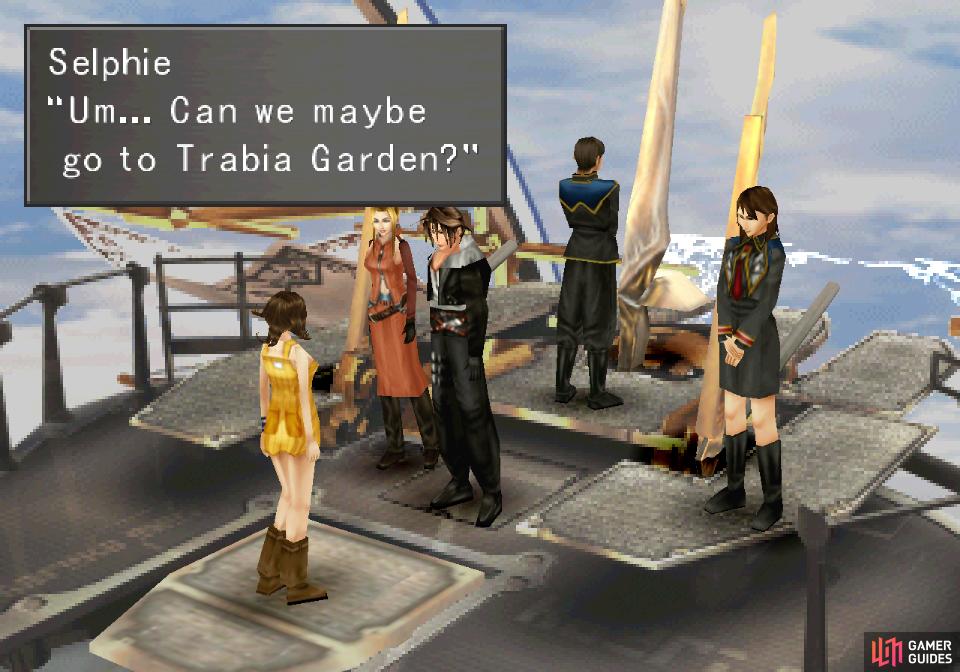
After the fight some chatter will ensue, following which you’ll find yourself on the bridge of Balamb Garden. Selphie will pop up and request you visit Trabia Garden - which is the next stop if you want to continue the main questline. You can now take Selphie with you when you explore, which is another perk of lifting Balamb’s occupation early.
Pandemona Card
Before you go off on a new adventure, however, land Balamb Garden again and return to Balamb, head to the hotel and challenge the man outside the hotel to a game of cards. Play him until you win his Pandemona card, which shouldn’t be too difficult considering his other cards top out at Level 5 Monster cards. Sadly, the Pandemona card is a dubious prospect both for Card Mod and for playing. At best it can refine into one hundred Windmill items, which you probably don’t need, considering the Abyss Worm can be refined into those, too. But while we’re on the subject of Pandemona, let’s talk about your new GF.
GF - Pandemona
Since you’ve long since found GFs to cover most of the core stats - Brothers (HP), Ifrit (Strength), Siren (Magic), Carbuncle (Vitality) and Leviathan (Spirit) - it should be no surprise to see GFs that focus on secondary stats. Pandemona is one such GF, whose primary stat focus is Speed… mixed with Strength. Pandemona starts out with Str-J and can learn Spd-J, as well as Str+20%, Str+40%, Spd+20% and Spd+40%.
Up to this point you haven’t obtained a GF with Spd-J, and while Auto-Haste is superior, boosting your Speed will contribute to your ATB bar filling. The Initiative ability Pandemona can learn is also useful in certain situations where the first strike is key… like hunting Cactuars! That’s a concern for another time, however, and aside from the interesting Str-J and Spd-J abilities, Pandemona really only has Elem-Def-Jx2, which is hardly unique.
We junction this GF to the Shiva/Siren/Diablos user for the sheer fact that boosting the Speed stat of a character with Hit-J will make hunting Cactuars easier in the near future. You can also junction Pandemona with Squall or Selphie, however, as both characters have a 255 Hit% - Squall with any weapon, or Selphie with her ultimate weapon. Any combination of high Hit% and Spd-J are good, so Pandemona can float around quite a bit depending on what characters you favor.
Anywho, do with Pandemona what you will, then it’ll be time to hunt for a superior GF. Not that Pandemona is entirely a bust, but… well, there’s a much more interesting GF out there if you’re willing to work for it, which will be covered in the next section, Centra Ruins - Tonberry King.
No Comments