
Squall in Space!
After you’re done dealing with Doomtrain, leave Tear’s Point and take another look at your world map and locate the Lunar Gate, which should be the easternmost map marker. You might want to save your game before moving on with the next bit, as your party will be split for a little while. You know, just in case something goes awry.

Head on over there (the space ramp should make it pretty obvious to spot) and enter the facility when the camera finally pans down. When an employee greets you, follow her to the left and Angelo will shop up to remind you of your purpose, after which you’ll automatically exit to the left. Talk to a Lunar Gate Staff member, who will give you the most minute details of the journey ahead, after which you’ll get the opportunity to back out or proceed with the launch. No points for being a coward, so pick the option …I’ll do whatever it takes and when Zell volunteers to escort Matron pick …Trust Zell.
Next you’ll need to pick two parties, one to travel with Matron (led by Zell) and another character to accompany Squall and Rinoa. Guess the remaining character just… hangs out with Angelo? After you pick the Lunar Gate Party, watch the scenes that follow, then after some chatter head outside with Zell and Edea. Looks like Squall isn’t the only person with a problem to resolve in the sky. After you’re told your next objective, pick a third character for Zell’s party, then leave the Lunar Base and return west to the sprawling cityscape of Esthar. Make sure your junctions are set up before you enter, as time isn’t a factor now, but may be soon.
Catching Lunatic Pandora
When you reach the eastern side of the city, walk onto a red skyroad and follow it west, and when it forks turn left onto a blue road. Follow the blue road as it winds, take the first red road to the right, and when you hit a second blue road turn right, then finally turn left onto another red road and follow it to the end to return to the city. Once inside, exit the entry lift screen to reach the City Entrance hub and from here head left and left again to reach the transport hub outside of Odine’s Laboratory. Exit down and to the left via a smaller walkway between two soldiers to reach Odine’s Laboratory, talk to a Research Assistant (note the Quake draw point near the entrance) then head inside. Use the lift and when it takes you deeper into the laboratory, note a Flare draw point to the left of the door (Move/Find required to spot it) then head inside and talk to Doctor Odine.

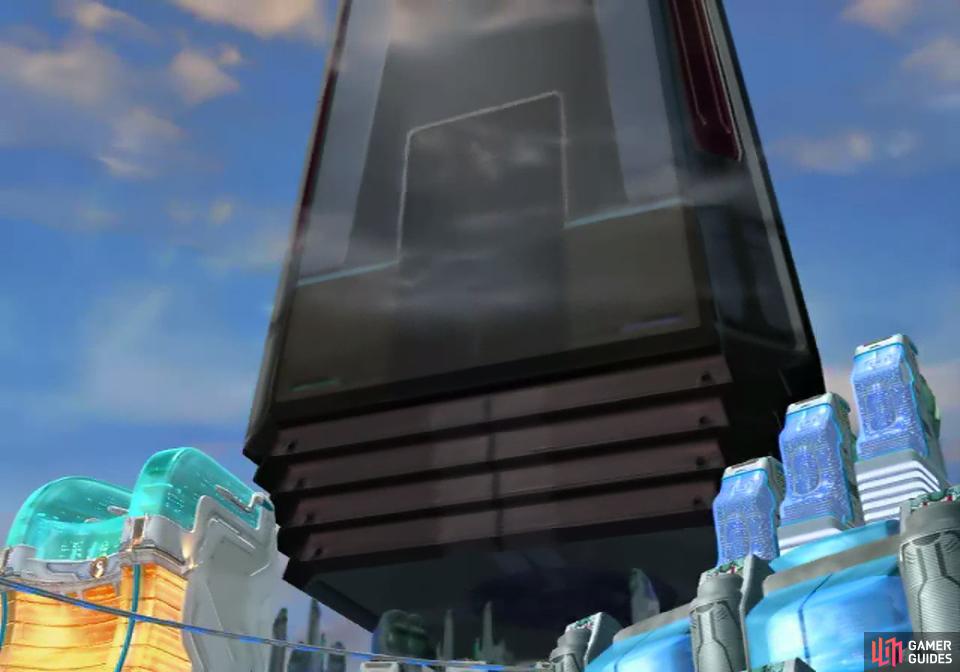
After the appearance of Lunatic Pandora, you’ll be told to meet with Dr. Odine.

Who will tell you how to reach the massive, flying obelisk.
The clown-doctor will inform you about Lunatic Pandora - the floating object set to fly over Esthar which was excavated by Esthar long ago before apparently being salvaged by Galbadia. What’s Galbadia up to now that they’ve lost Galbadia Garden and the sorceress isn’t leading them anymore? Who knows. You’ll be tasked with intercepting Lunatic Pandora, however, which can be done at three points throughout Esthar as the structure passes over the city, during three specific time frames:
| Stop | Location | Time |
|---|---|---|
| 1st | City Center | 15:00 - 12:00 |
| 2nd | Skyway Crossing | 10:00 - 5:00 |
| 3rd | North of Shopping Mall | 3:00 - 0:00 |
So, you’ve got twenty minutes in total to catch Lunatic Pandora, which means you’ll need to get to the right place(s) at the right time(s). Fortunately, it’s not too hard to reach the first destination in well under the time allotted - five minutes is quite a bit of time, after all. That said, you shouldn’t leave yourself with too little time, as catching Lunatic Pandora is only part of the problem, as you’ll soon see.
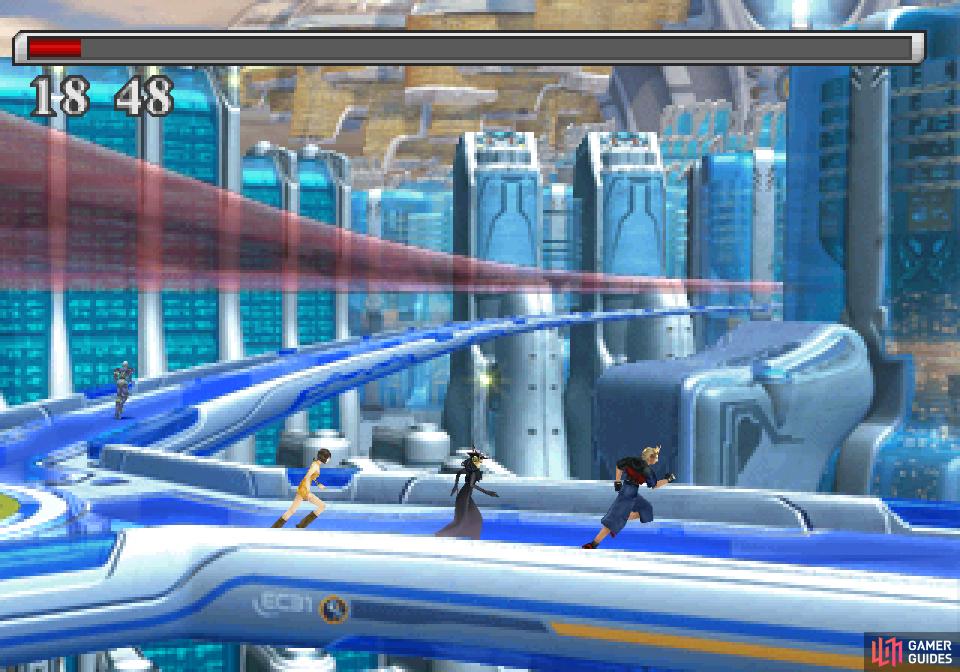
(1 of 3) After leaving Odine’s lab you’ll have to run through the city to reach the various intercept points in a timely manner.
When you’re done talking with Odine, check your junctions and make sure you’re ready to fight - the timer starts when you exit the laboratory, so get your preparations out of the way now. When ready, exit the laboratory and follow these directions to get to the first chance to board Lunatic Pandora… with a somewhat valuable stop along the way:
- Exit the screen outside the lab by heading right to return to the skyroad where Odine’s Laboratory hub is located.
- Exit to the left.
- Exit to the left.
- Exit by heading up.
- Exit to the right.
- Exit to the right.
- Cross the skyroad to the right, stopping to talk to an Esthar Soldier as you go. If you talked to him earlier (when you were in control of Squall) he’ll give you Combat King 004. Just wait for him to say something, another soldier will come and draw him off, and you’ll get your book. Either way, Exit to the right.
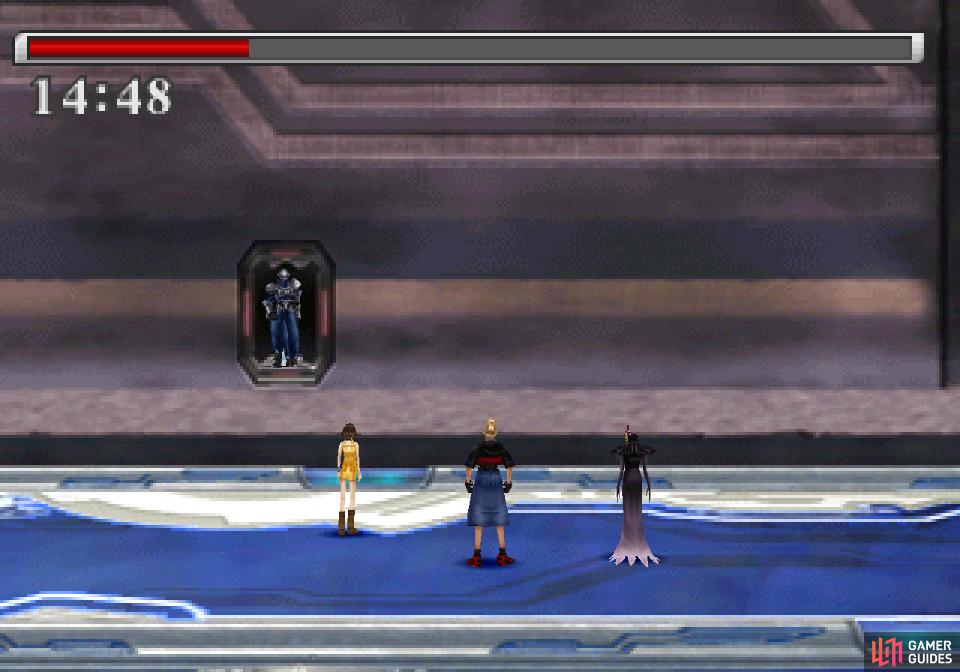
On this screen you’ll find two Esthar Soldiers standing next to a blue car. This should take you comfortably under 2:00 to do, even if you nab Combat King 004, but even if it takes longer, don’t fret - you need to wait until 15:00 is on the clock, at which Lunatic Pandora will arrive and two Galbadians will jump out and attack you. Nothing special here - just defeat them before the timer hits 12:00 and you’ll be fine.
Past-Present Loot on Lunatic Pandora
Having successfully boarded Lunatic Pandora, you’ll now need to explore. This can be a short trip, but there may be treasure to gain here, depending on your earlier actions. Remember the second Laguna dream, where you were exploring some excavation full of Esthar Soldiers? Yeah, that was Lunatic Pandora, and your actions as Laguna may have opened the way to new treasures. Don’t worry about any time limit - you’re done with that for now, and before you start searching for this treasure, turn your attention to a Meteor draw point on the stairs where you find yourself. Can’t hurt to have more stock, right?
When you’re done, head upstairs to find three elevators waiting for you. Search for a Curaga draw point between elevators 01 and 02, then ascend up elevator 03. Time to cash in on Laguna’s past actions!
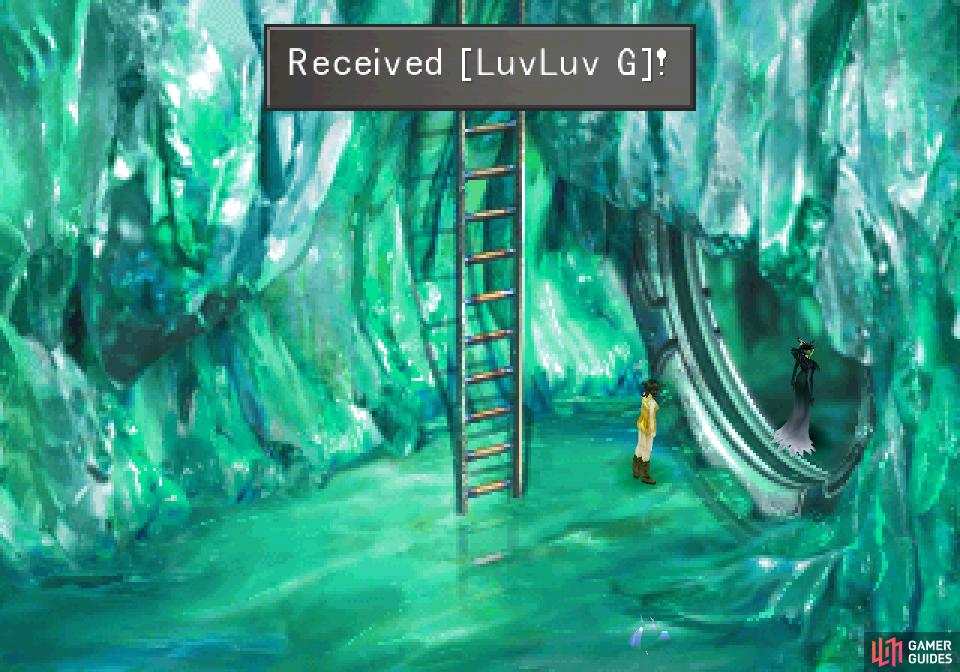
(1 of 3) Depending on your past actions you can pull many treasures out of Lunatic Pandora, including a LuvLuv G,
When you exit the elevator you’ll find yourself back in those familiar teal-colored caves, altered by time, Laguna’s past action, and both the actions of Esthar and Galbadia, of course. First up, head down some well-hidden stairs at the bottom right of the screen (down and between elevator 03 and a tube-tunnel to the right) then climb down a ladder and note the Confuse draw point at the bottom. Head right through a circular, metallic opening and blindly search the area obscured by the rocks of Lunatic Pandora to find a LuvLuv G - your prize for picking up an Old Key near some metal scrap as Laguna. This item will improve a character’s affinity with all GFs, when used.
When this prize is yours, exit to the left, cross a chasm with the aid of a boulder, then continue left to another screen, where you’ll find some familiar-looking hatches on the wall. Looks like Lunatic Pandora’s orientation has changed somewhat, and what was once floor is now wall, and vice versa. Assuming you opened all three hatches via a mix of direct physical manipulation and remote detonation you’ll be able to get at the passages beyond the hatch doors. In order from right to left you’ll find a Power Generator, a Silence draw point and a Phoenix Pinion.
Silence shouldn’t be of much interest to anybody at this point and the Phoenix Pinion has already been discussed, but the Power Generator may be new provided you never played Chocobo World before and didn’t grind high level Blitz enemies. Aside from teaching Quistis the Ray Bomb Blue Magic ability, you can use the Ammo-RF ability to refine one into 20 units of Pulse Ammo, for what that’s worth.
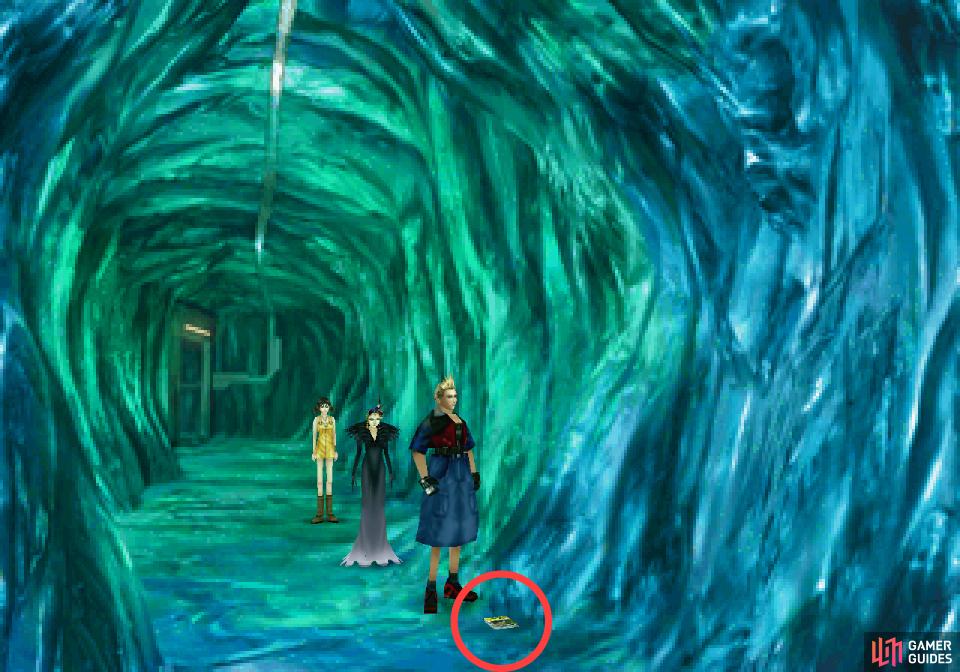
Grab a copy of Combat King 005 off the floor
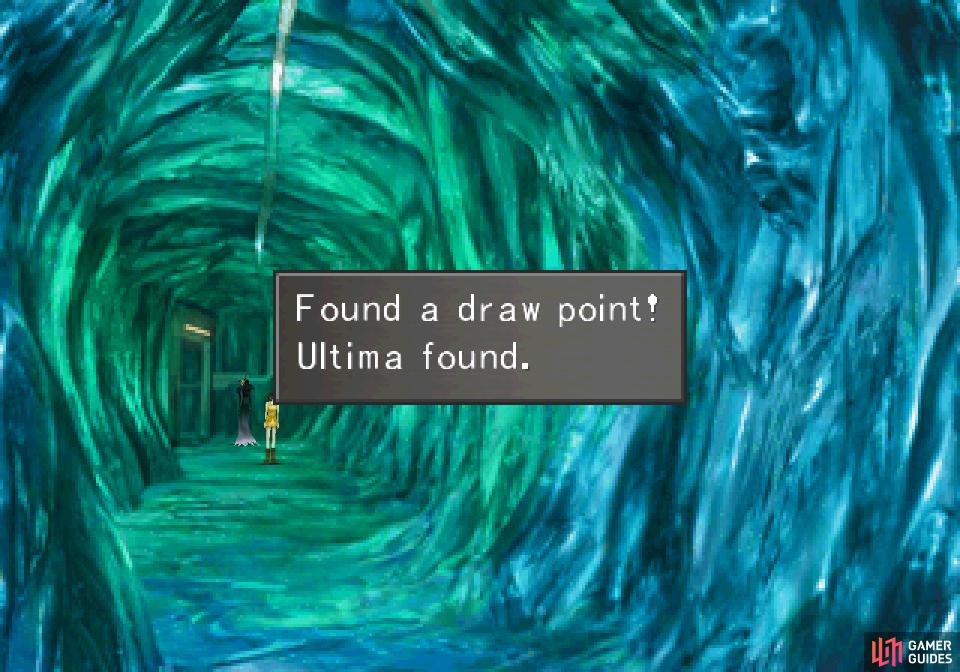
then hit an Ultima draw point.
In any event, go left once again to find an issue of Combat King 005 on the ground. Continue to the end of the tunnel and pass through a doorway to find a dead-end… or is it? Search and you’ll find an Ultima drawpoint. Score! This is your prize if you - as Laguna - found another Old Key near a barricade earlier.

With that done, it’s time to get one final treasure. Return to the ladder, then ride back down elevator 03 to reach the elevator room. Ride up elevator 01 and when you’re back in the teal caves head left and score a Holy draw point at the tunnel’s elbow. Nice, but there’s more. Continue up to find a hole in the wall to the left and search its depths blindly to find a Spd-J Scroll. Since you already have Pandemona and Cerberus (both of which can learn Spd-J) and you could have stolen a Spd-J Scroll from Cerberus, you probably don’t need another one, but… well, it’s free for the taking, so you might as well grab it.
From here, exit by heading up to find a Save Point. Use it if you wish, then continue up through a circular opening where you’ll be unceremoniously ejected from Lunatic Pandora. The structure will complete its journey, Edea will mention the “Lunar Cry”, and attention will shift back to Squall.

No Comments