
Pilot to Fisherman’s Horizon
where Squall will attempt to wander off with Rinoa, only to be intercepted by his companions
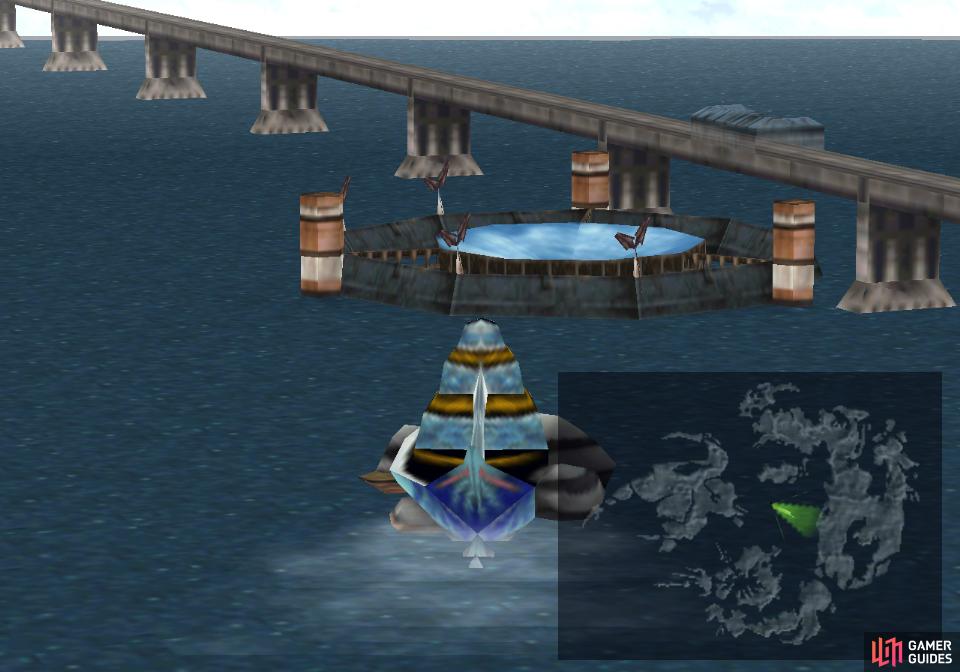
Back in Balamb Garden, Nida will whine about Esthar, but nothing comes of it. Your destination is ostensible Esthar, but to get there you’ll need to fly Balamb Garden into Fisherman’s Horizon, where Squall decides it’s a good idea to carry Rinoa on his back from Fisherman’s Horizon to Esthar. Walk to the right and the screen will fade to black, after which you’ll find Squall walking on the endless tracks to Esthar, rightfully contemplating his idiotic behavior. When Squall gets done talking to himself - and Rinoa - interact with Rinoa and Squall will continue his journey until he’s met by whatever party you formed upon exiting the garden. They’re not explicitly here for Squall, however, they’ve got another troublesome woman they’re escorting.
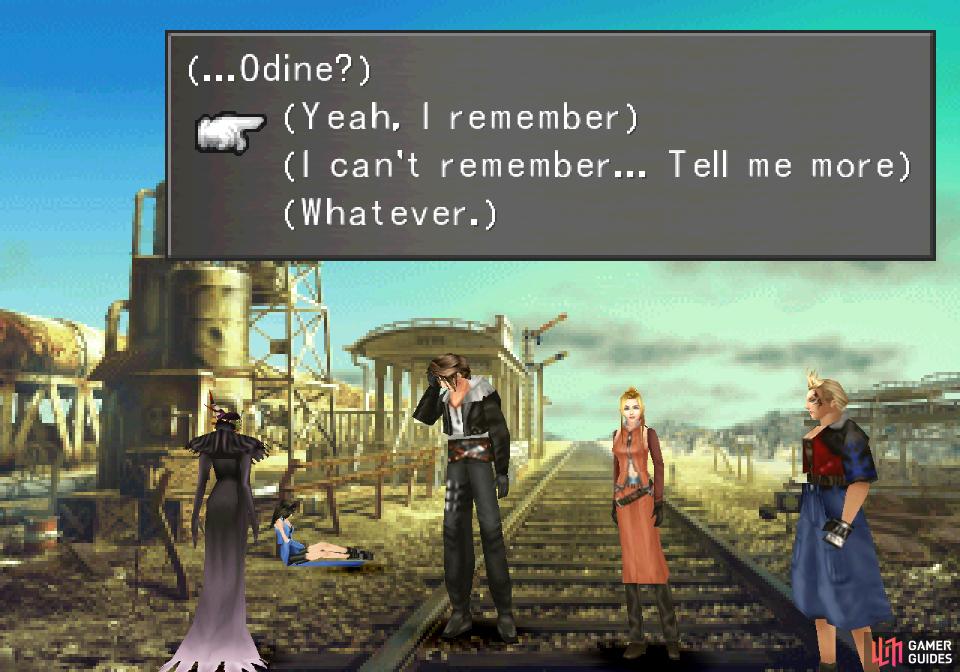
Talk to Edea and when the subject of Dr. Odine is raised, respond however you wish. Afterwards, the other two unaccounted for characters will show up. Everybody’s super chill with Squall’s abduction of Rinoa, and you’ll be tasked with forming a party again. Rinoa’s still not an option, but Edea will be a temporary character for this leg of the journey.
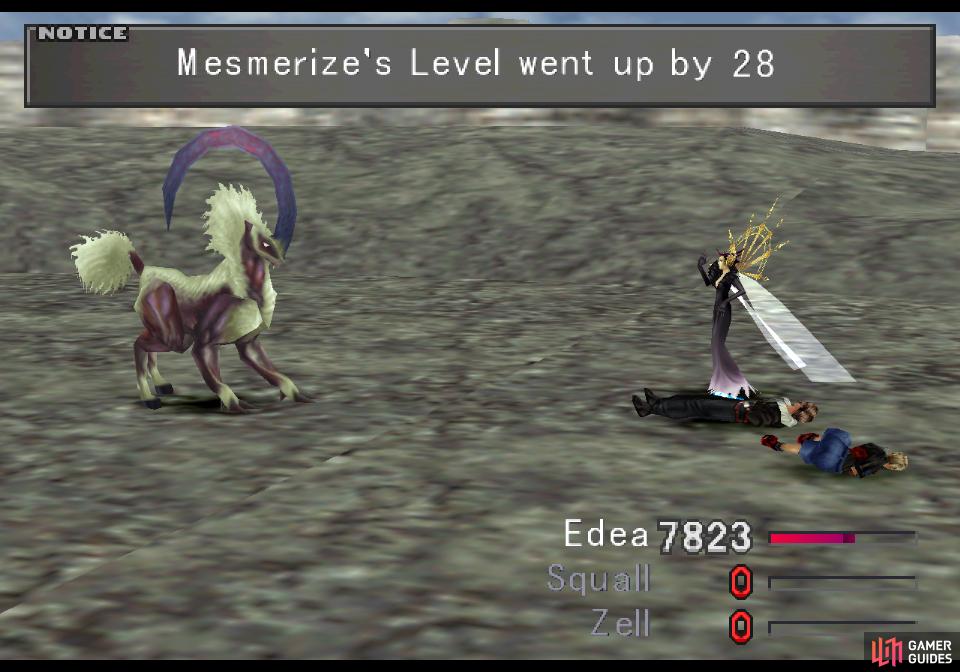
The Edea Grind
Having Edea in your party gives you an interesting opportunity, one not seen since you stormed Dollet with Seifer. Edea is a guest character, meaning she won’t be around forever. It also means you need not worry about her gaining XP; so long as you KO the other two characters in the party with her, she’s the only one who will gain XP, and if you junction all the GFs to her she can be used to level up your GFs, if that strikes your fancy. Equip the Recover command to give yourself unlimited healing, use Tonberry’s LV Up to boost enemies and increase XP gains and grind with Edea as much as your heart desires.
If you do choose to grind as Edea, you’ll want to do so on the world map, along Esthar’s west coast. Here you can encounter Mesmerize enemies on the plains along with the occasional Malboro, while near the mountains you’ll encounter Bite Bugs, Caterchipillars, Gaylas and Glacial Eyes. Despite the risk of encountering Malboros, you’ll want to stay near the plains. Save often and if you run across a Malboro, either run, reload, or you’ll have to take very specific preparations (see the note below) to survive.
While Malboros are dangerous, in the Great Salt Lake ahead you’ll find Vysage, Lefty and Righty enemies. While they’re not too dangerous, the Lefty can draw and cast spells from you, making them a nuisance best avoided. Plus at least on the world map you can save at any time. Mesmerize enemies, on the other hand, aren’t terribly lucrative in terms of XP, but if you use LV Up to get them above level thirty they have a chance (around ~5%) to drop two Regen Rings, which can each be refined (L Mag-RF) into Full-Life spells. Full-Life is a very good junction, and while time-consuming, this is one way to get yourself some stocks of it. Full-Life is the 2nd-best junction for HP-J, Vit-J and Spr-J, but it’ll also boost your resistance to all elements by +40%.
That’s a lofty goal, but a more banal benefit of beating Mesmerizes is for their Mesmerize Blades, which they’ll drop in great abundance. Not worth much on their own, you can use Recov Med-RF to refine them into Mega-Potions at the rate of 2x Mega-Potions per Mesmerize Blade. Mega-Potions can then be sold for 5,000G each (or 7,500G with Sell-High). Speaking of which… if you don’t have Tonberry’s Haggle, Sell-High, Familiar and Call Shop abilities, you should make it a goal to learn them, as they’ll soon become invaluable.
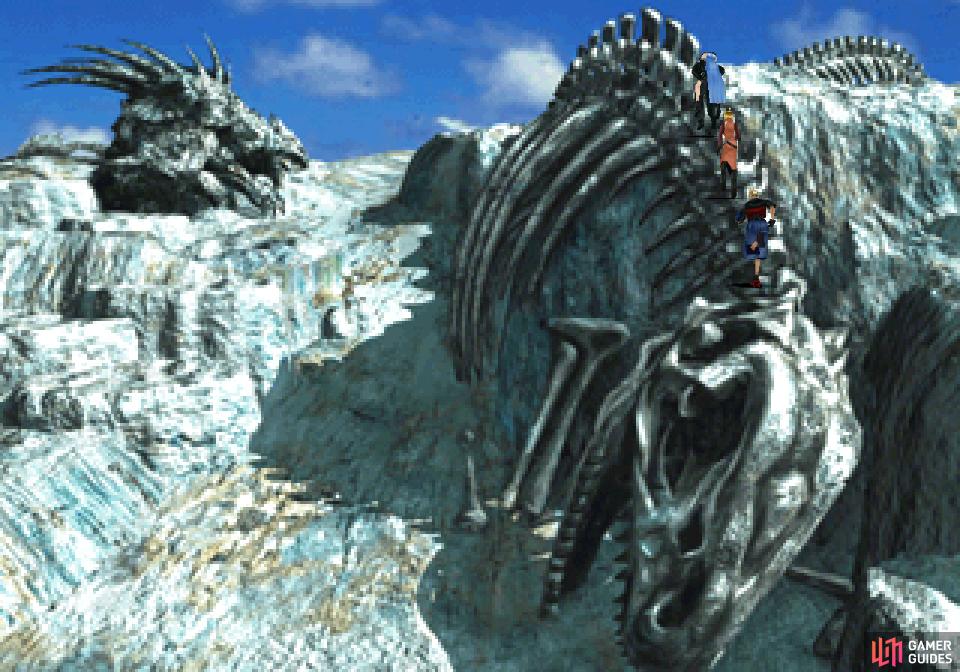
Walk over the skeleton of some great beast
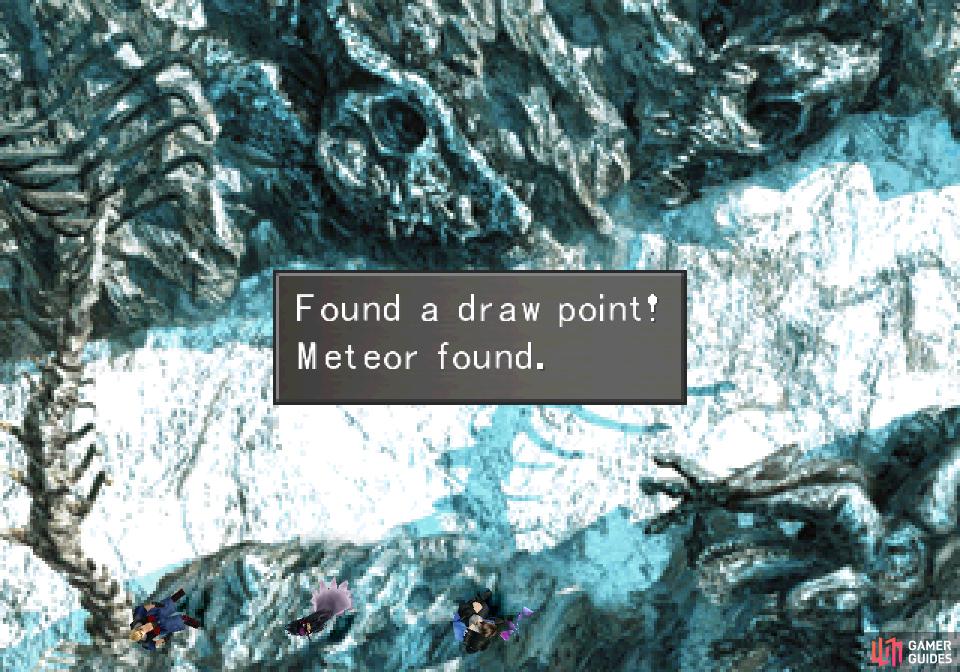
beyond which you can find a hidden (Move/Find) Meteor draw point.
Crossing the Great Salt Lake
Whatever you do with Edea, exit to the world map by following the tracks up, then head east to reach the Great Salt Lake. While desolate, it seems to be the only option left for reaching Esthar… and what’s that glitching off in the horizon? Oh well, no point in worrying about it now. After some chatter you’ll get another option to reform your party, after which head up into the salty wastes.
Alright, let’s get through this miserable place. On this screen you’ll find a massive skeleton to your right. Run up its skull and across its spine, then exit to the right. On the next screen, head right along the bottom of the screen to find a Meteor draw point (requires Move/Find to see). Draw what you can, then backtrack to the left and continue across another spine to reach the next screen. Here you’ll find a Thundaga draw point, if you need it. Draw if you wish, then head up and to the right from the draw point and you’ll be promoted to jump down. Do so, then continue up to the next screen to reach an apparent dead-end - nothing but salt and sky as far as the eye can see. Exit this screen to the left, then continue up and you’ll find that not everything is well and truly dead in these desolate wastes…
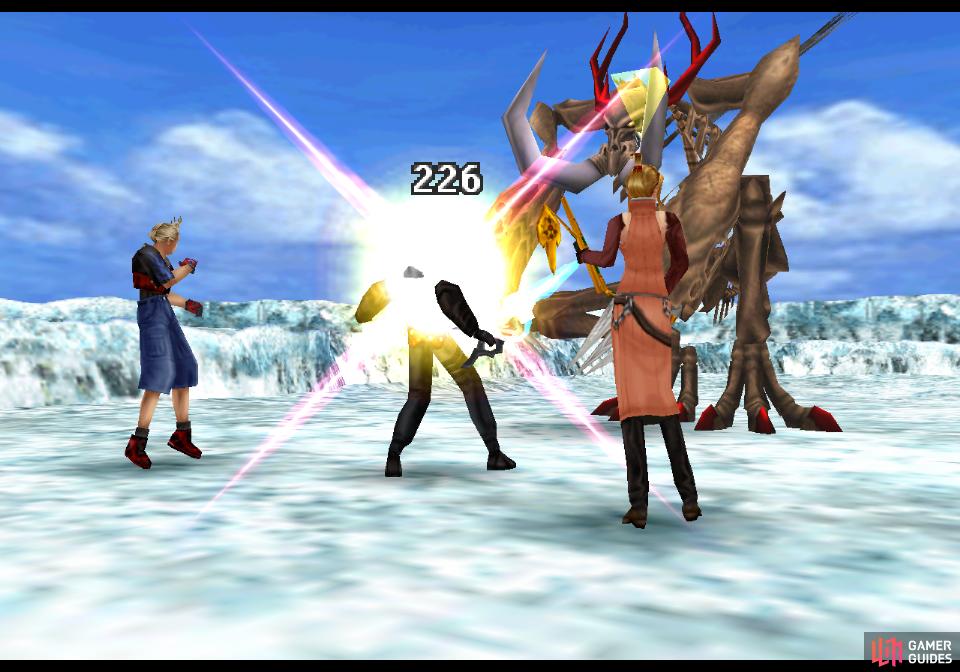
Boss - Abadon
…some things are undead! Been a while since you’ve faced an undead boss, and you’ll be told at the outset of the fight to use recovery magic/items to kill it. If you want to go this route, you can just chuck two X-Potions at Abadon, or use the Recover command a few times. On the other hand, if you want to humor this boss and treat it like a legit threat, read on.
| Abadon | |
|---|---|
| Lv: | 1-34 |
| HP: (Lv10) | 5,010 |
| HP: (Lv20) | 10,010 |
| HP: (Lv34) | 17,010 |
| Weaknesses: | Fire (200% damage), Holy (200% damage) |
| Resistances: | Gravity (immune), Physical (50% damage) |
| Status Resistances: | Immune to most status effects; Darkness 60% – Regen 50% |
| EXP: | – |
| AP: | 40 |
| Draw: (Lv1-19) | Cure, Dispel, Esuna |
| Draw: (Lv20-29) | Cura, Dispel, Esuna |
| Draw: (Lv30+) | Curaga, Dispel, Esuna, Flare |
| Mug: | Power Wrist |
| Drop: | Flare Stone x10 |
Abadon’s - who tops out at level thirty-four - is a devastatingly weak boss, having low HP, and inviting weaknesses to Fire and Holy damage, both of which you can exploit via junctioning such magics to Elemental Attack. That said, his Vitality stat is somewhat high, and he’s 50% resistant to physical damage, so smacking him with melee attacks is somewhat unproductive. He’s also immune to most status effects, being susceptible only to Blind and Regen.
Aside from somewhat weak melee attacks (claws or tongue) Abadon can cast a variety of status-affecting spells, including Confuse, Blind and Silence. Abadon will shift between squatting and standing at his full height, refraining from his claw attack while standing, and avoiding using Confuse while squatting.
You can steal a Power Wrist from Abadon, which is certainly more useful than the 10x Flare Stones he’ll otherwise drop, but you’ll be able to get your hands on an unlimited supply of Power Wrists soon enough, so it’s not a big deal either way. Speaking of Flare, if Abadon’s level is thirty or higher you’ll be able to draw Flare from him, should you still need any. You can’t use LV Up on Abadon, though, so this is only possible if your own level is high enough. Otherwise you can draw Cure (-ara/aga) Dispel and Esuna.
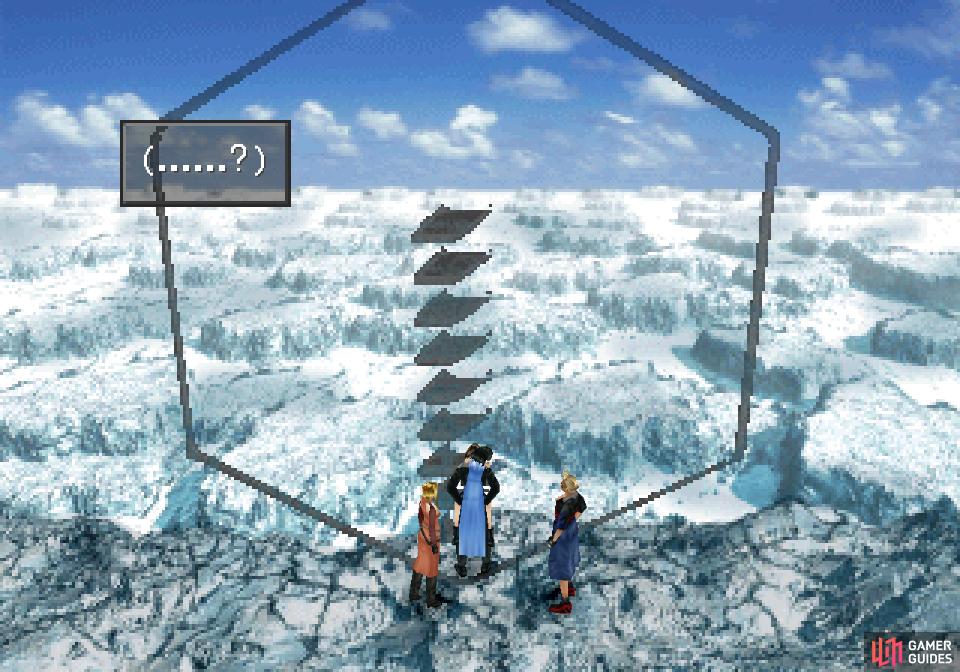
Dispatch Abadon, then continue up and exit to the right and you’ll witness the endless salt flats… flickering electronically? Something’s fishy here! Examine the salt flat beyond the apparent cliff to find that the wastes ahead are nothing more than an illusion. Climb up the wall after Squall tinkers with it, pass through some screens to reach a hexagonal lift, and when the ride stops go through a doorway to reach Esthar beyond - a city that likes hexagons and impractical technology, especially if they’re combined! Take another ride broken up by some chatter, after which Ellone will get up to her old tricks again…
No Comments