
Drive into the Missile Base and, provided you’re in the vehicle you snatched from D-District Prison, you’ll be allowed in. Lousy security, but what do you expect of Galbadia? Once out of the vehicle, head left and enter the first building you see (not that there are any other options) to find a Save Point. Huzzah!
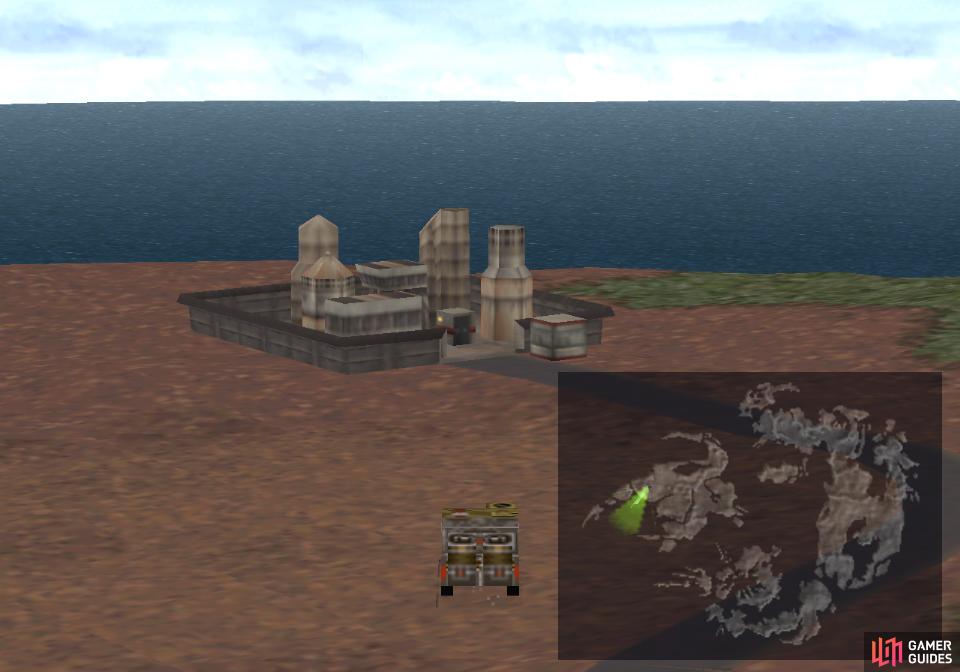
Drive your stolen vehicle to the missile base
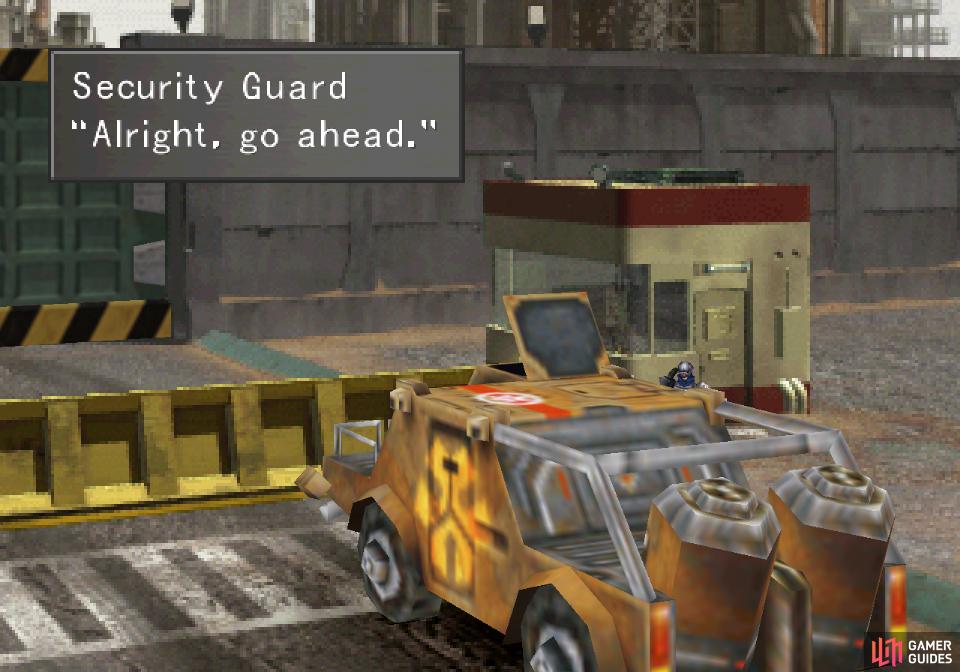
and you’ll be allowed inside
Errands and Access
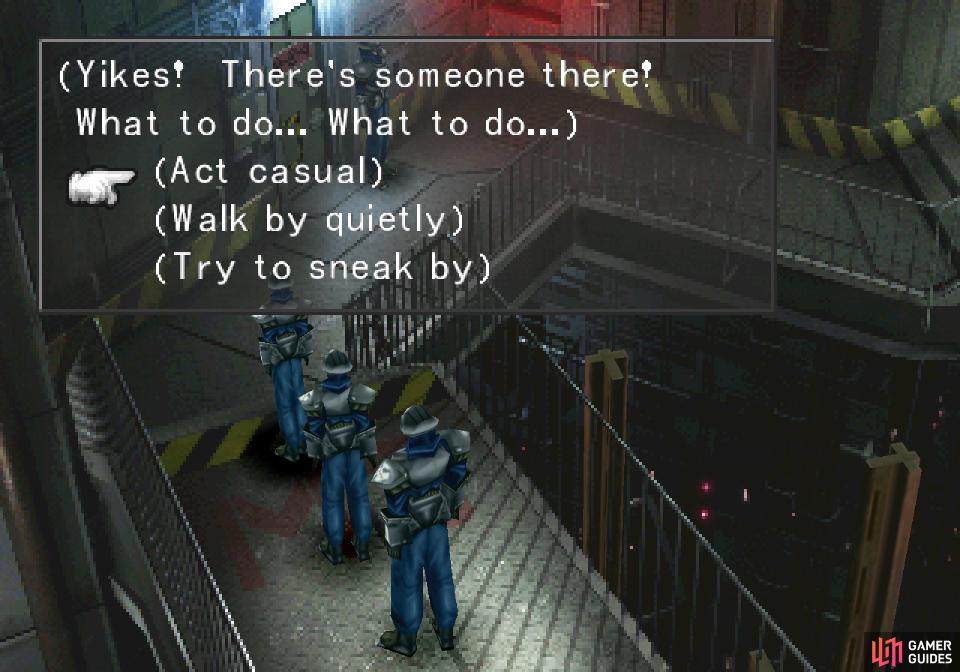
Save your game, then head left to find two locked doors. Search the wall between them and Selphie will spaz out about not having an ID Card, which one of her two fellows will supply her. Go through the left-most of the two doors and follow the linear walkway a short distance until Selphie stops to debate what to do about the guard in the way. Picking the option Walk by quietly is the choice most becoming a SeeD, but whatever you choose the guard will stop you, either to scold or praise you. Such a tease.
Continue following the walkway to the right and head down some stairs to find another Save Point. Save your game, then head down from the save point, exiting the screen to the left of the stairs you just descended. On then next screen keep heading down to find a Blind draw point, then turn right to find two Galbadian Soldiers standing near a railing. Talk to either one of them and they’ll ask you to deliver a message to their fellow soldiers in the launcher bay to “go on ahead”.
Well, no harm in a little errand, right? Head back up to the screen with the Save Point and take stock of it. To the lower right are some stairs you can’t access currently, as they’re guarded. In the upper right is a terminal which you’ll get scolded if you mess with, but it’s quite important for the success of your plan. Finally, in the upper center of the room is a door. This alone you can use to reach the launcher bay.
Enter the launcher bay and go up to find two Galbadian Soldiers and a hidden Full-Life draw point. Uh… yes. Yes please. Draw from it with a character with a high Magic stat (equip Mag+X% abilities if you need to!) to score as many of these wonderful spells as possible.
After you have your Full-Lifes, talk to the upper of the two soldiers and tell him …To go on ahead… not that it matters either way, as you’ll be told he’s too busy, too. Drat. Return to the two soldiers who gave you this little errand and tell them the bad news, which they’ll deal with by delegating the responsibility to you. Allowing a bunch of strangers into the “circuit room” is exactly what you, as an infiltrator, wants, but as far as the Galbadian army goes… well, everything in this game is predicated on their utter incompetence, and so the trend continues.
Chat up the guard outside to enter the circuit room
then sabotage it
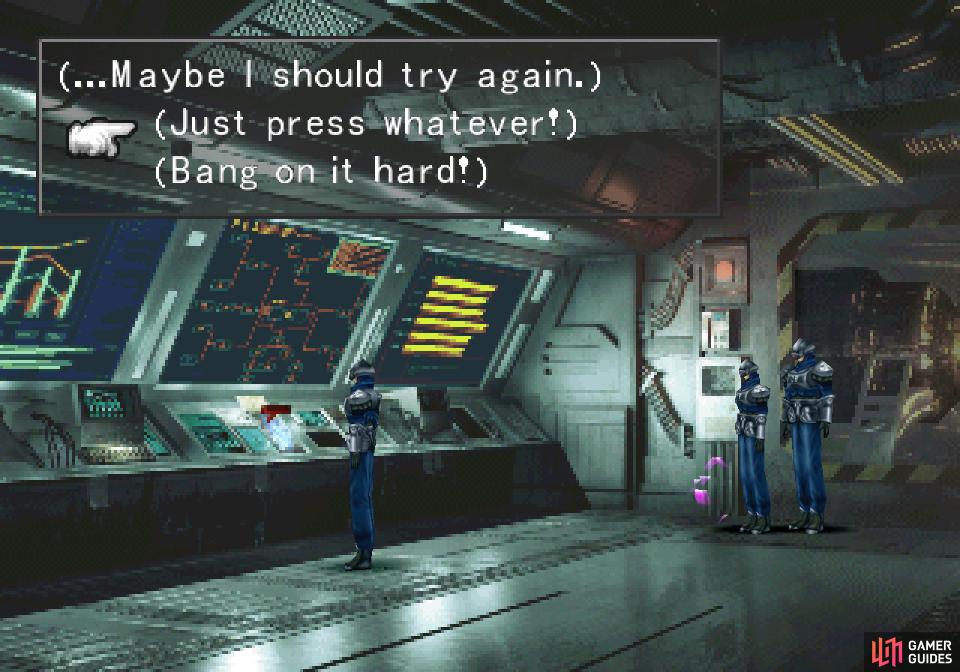
Return up to the room with the Save Point, go upstairs, then head left to the room near which the soldiers stopped you earlier. Talk to the soldier and he’ll run off, considering his shift done, leaving you to do as you please. Enter the circuit room he was guarding to find a Blizzara draw point, which you can use if you wish. Once done, approach the panel to the left and pick either option, after which you’ll get two more options. If you pick Just press whatever! you’ll sabotage the base, but if you pick Bang on it hard!… well, you’ll get the same outcome, but you’ll have to mash the [Talk] button (by default Square) to achieve that end.
When you exit the circuit room, lie to the guards
or you’ll blow your cover and end up fighting
Lights Out!
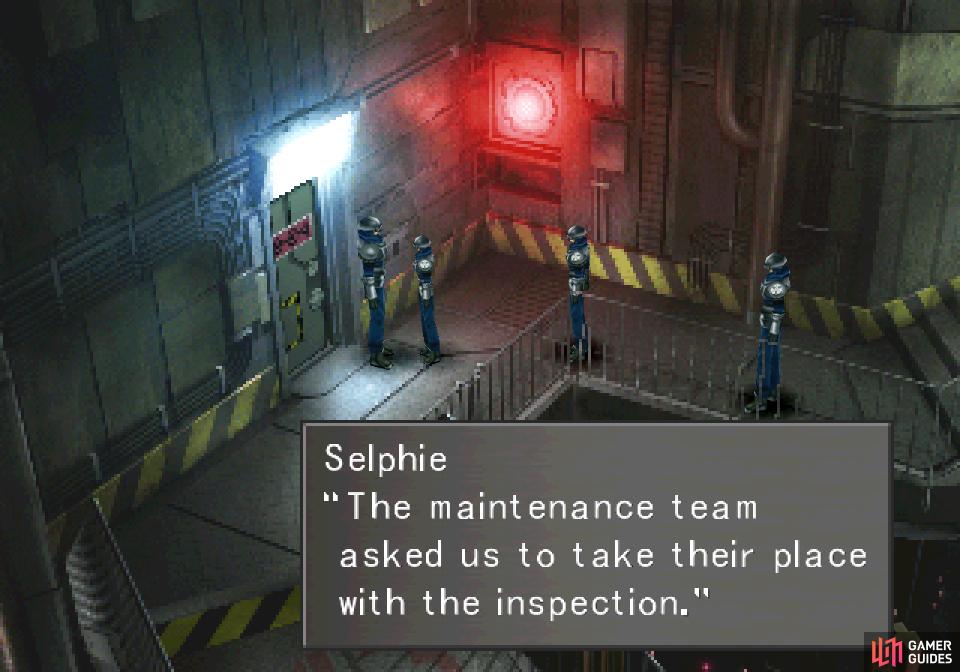
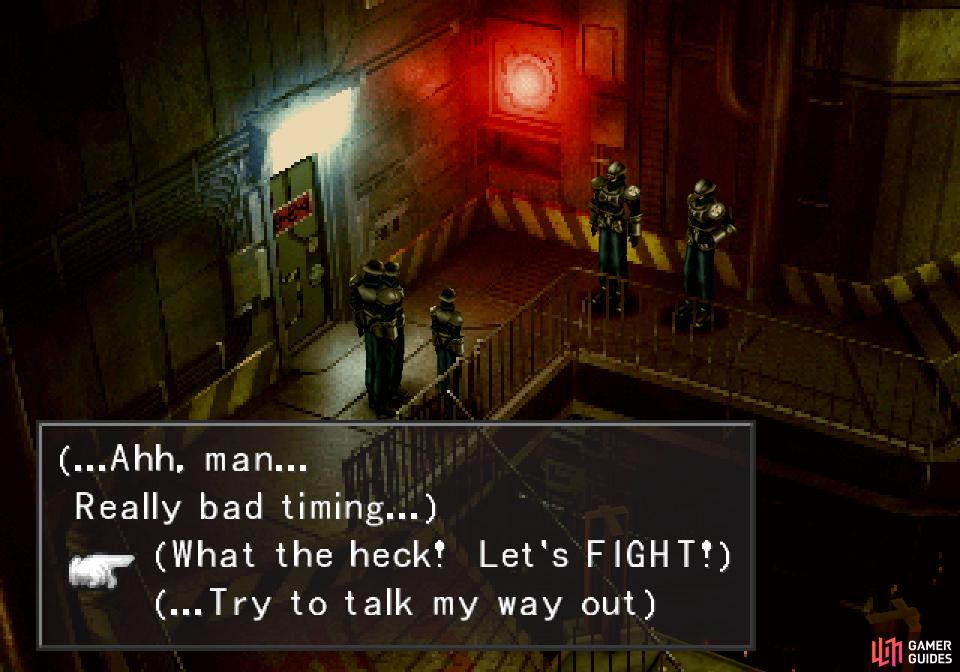
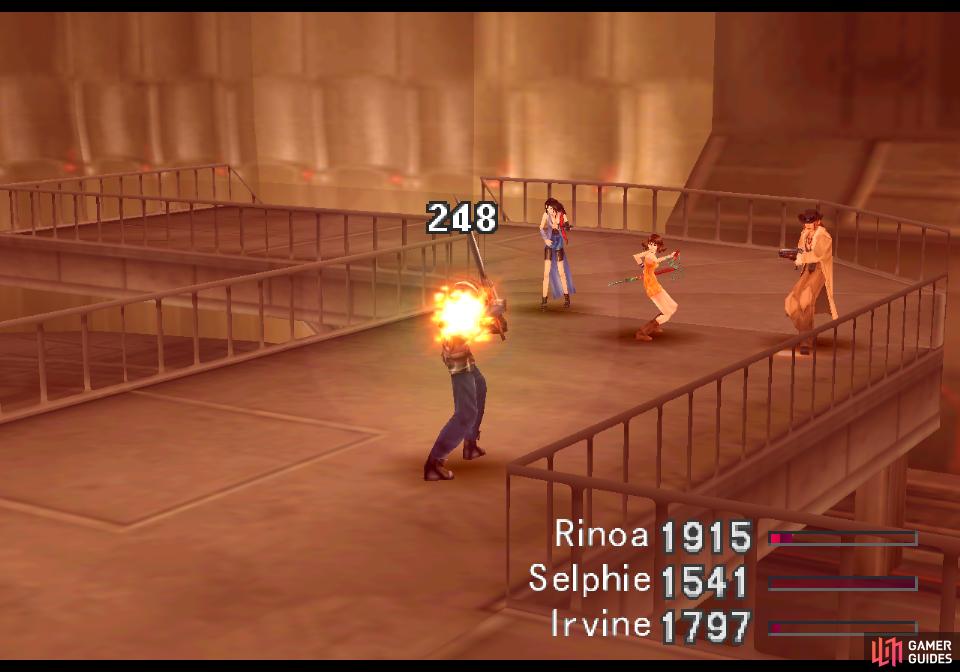
Once the emergency power is back online Selphie will suggest leaving before you get caught. This is unnecessary, as you’ll get caught leaving no matter how long you delay by the two maintenance soldiers who sent you up here. This is the first meaningful choice you’ve had to make, and if you pick the option What the heck! Let’s FIGHT! you’ll blow your cover and have to thrash two weakling Galbadian Soldiers, while on the other hand if you pick …Try to talk my way out you’ll get two more options, either of which will give you an opportunity to neutralize them without blowing your cover.
Play it cool near the guard in front of the launcher bay to avoid suspicion
then engage in some drudgery
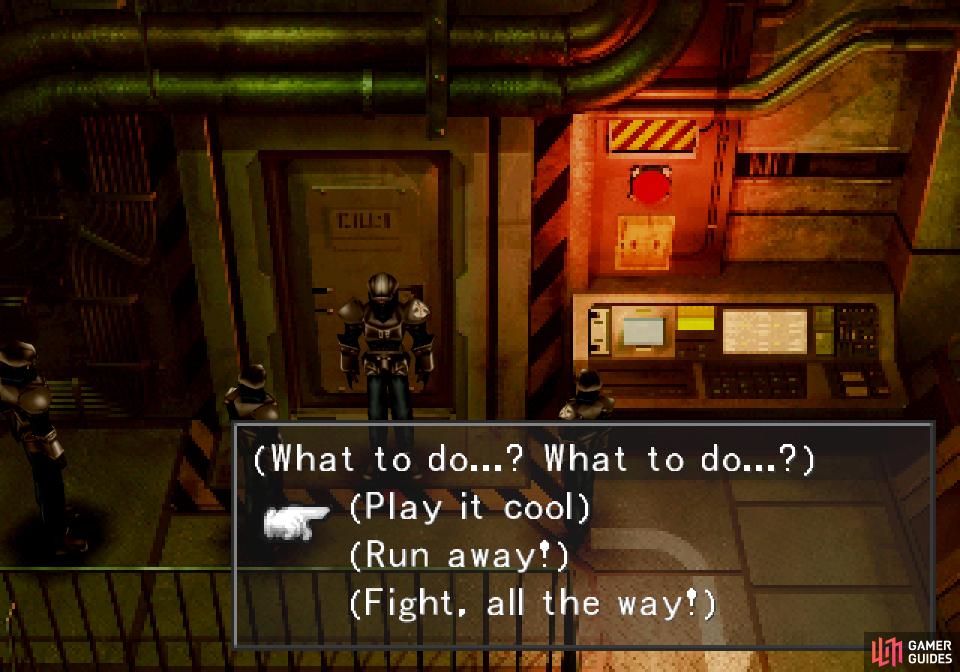
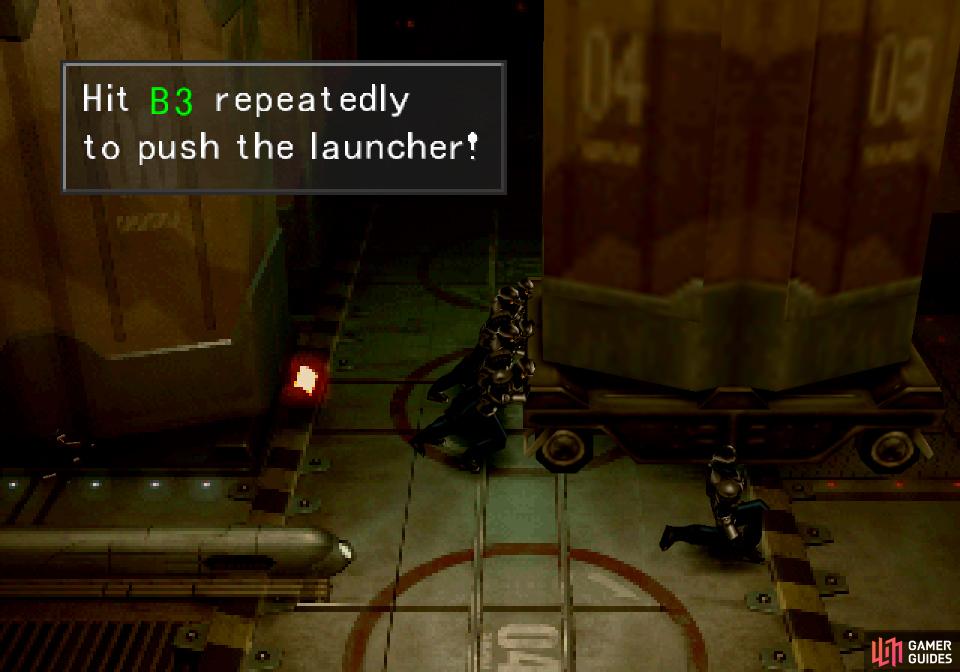
Assuming you didn’t blow your cover, head back to the Save Point to the right and approach the launch bay door, where you’ll get caught by yet another soldier. Pick the option Play it cool and Help out to avoid arousing suspicion and you’ll find yourself in the launch bay. Talk to the one soldier not engaged in pushing the missile and he’ll instruct you on how to lend a hand. Go between the soldiers pushing the missile and mash the [Talk] (default Square) button to push the missile in place, then talk to the soldier who directed the pushing and he’ll tell you to “confirm the coordinates on the control panel”.
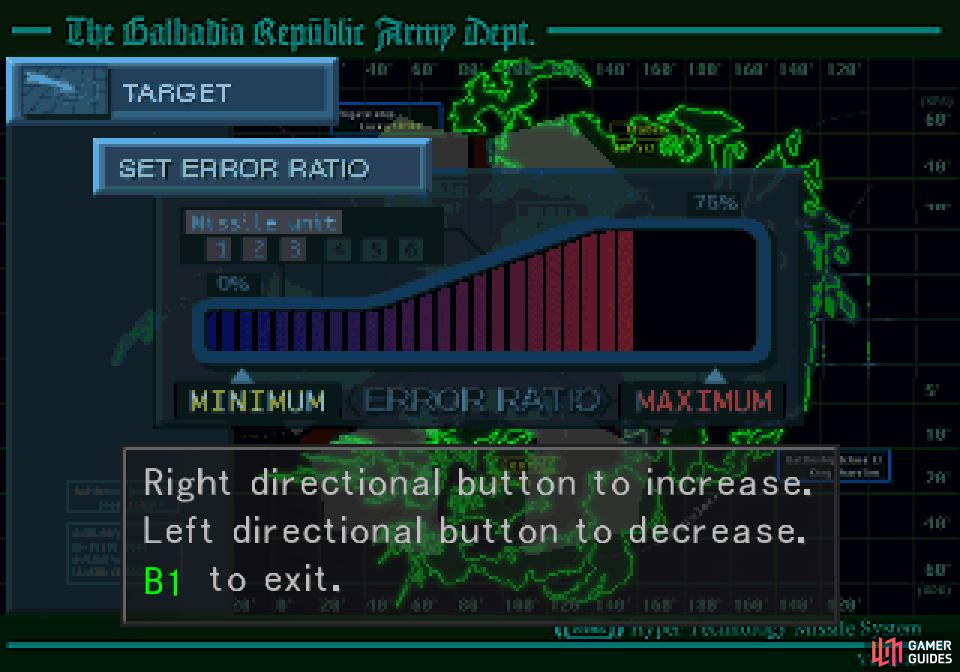
Use the coordinate terminal to give Balamb Garden a fighting chance
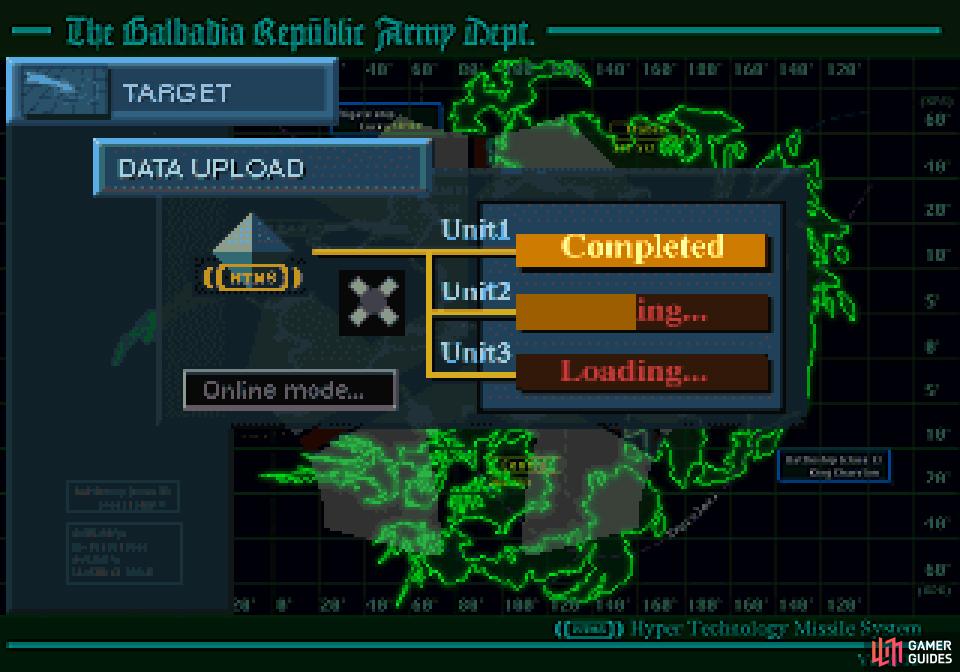
then upload your mischief
Leave the launch bay, head right and mess with the console nearby and when it loads pick the “Target” option, then the “Set Error Ratio” option and hold down the [Right] button the D-Pad/Analog stick to set the error ratio to maximum. Once done, exit out and pick the option “Data Upload”, then “Yes” to confirm the new settings. This should help give Balamb Garden a fighting chance, even if everything else goes awry.
Exit the control panel and head down, then go up to the stairs to the bottom right. The soldier will stop you as usual (he was gone if you blew your cover) but you’ll be able to bluff your way past him. Such tricks won’t work against the commander, however, and after a magical flash of convenient white light you’ll be back in your normal clothes. Again, if you blew your cover earlier you would have had to just run here, so whether you blew your cover then or preserved it until now, you should be at the same place - fighting the commander and his goons!
Battle - Base Leader and Base Soldier x2
You’ll find yourself in battle with the Base Leader (Elite Soldier model) and two Base Soldiers (Galbadian Soldier model), and while they’re somewhat different from the standard foes you’ve fought of the ilk before, they’re not a significant challenge. The Base Leader will cast Thundara, Cura and use melee attacks, while the Base Soldiers will use Blizzara and melee attacks. You can draw Confuse, Reflect, Slow and Thunder from the Base Leader while the Base Soldiers yield Blizzard, Confuse and Silence. You can steal a Hi-Potion from each soldier and a Tent from the leader.
After the battle you’ll need to search the consoles in the control room. Start with the console along the upper wall, which is incorrect, but it’ll get your comrades to search the consoles to the right and left. Talk to the character messing with the console to the left to stop the missiles, then head through the door at the top of the screen and examine the console to the left to start the base’s self-destruct mechanism. As with the battle against Ifrit you’ll be able to pick a time - 10, 20, 30 or 40 minutes. If you blew your cover earlier (and hence haven’t messed with the coordinates console you might want to pick 20 minutes to give yourself plenty of time, otherwise 10 minutes will be more than sufficient.
If you set the self-destruct timer for 10 or 20 minutes a door to the right will be opened, which will take you to the first room you entered in this base. If you set the timer for 30 or 40 minutes it’ll be sealed, forcing you to run through the base, and if you blew your cover earlier you’ll need to talk to the wounded soldier by the stairs leading to the control room to gain access to the coordinates console, which will waste even more time. Even with Enc-None and no business on the coordinates console it’ll take about 2:00 to run through the base due to the scene of a soldier in the control room reversing your good deed, then another scene of all the soldiers fleeing the base when you exit to the exterior.
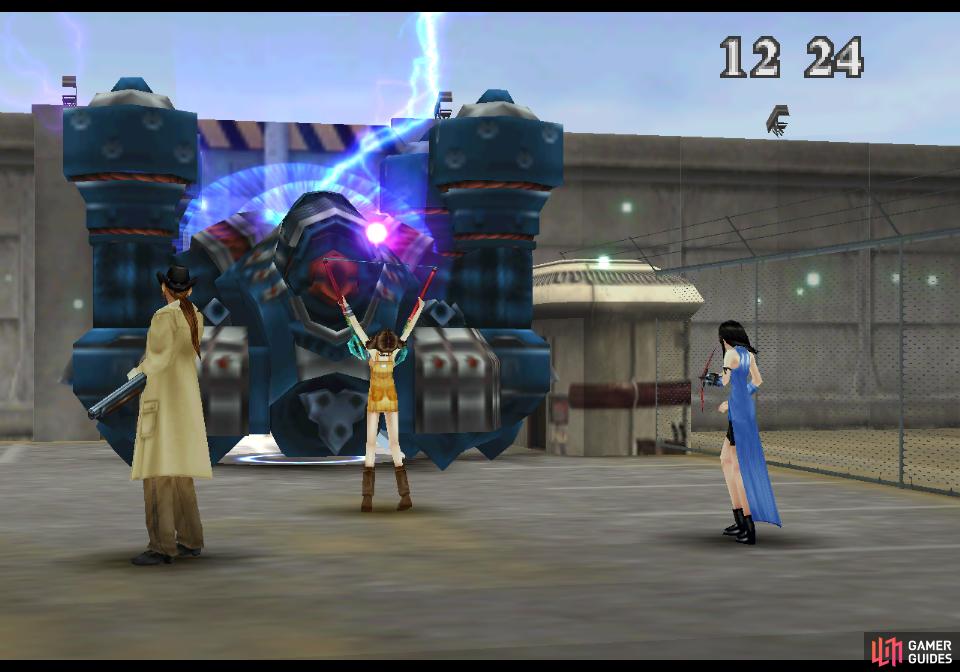
Either way, once you’re outside head right to witness yet another time-wasting scene, after which continue to the right to find the base’s last defenders, who’ve got some heavy machinery at their disposal…
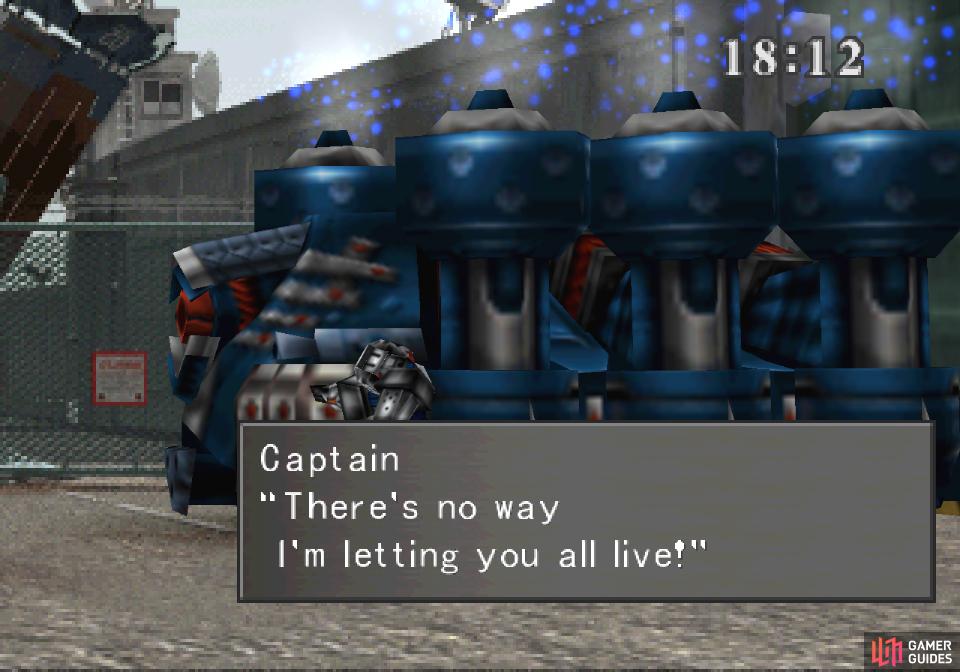
As you leave the base you’ll be confronted by some soldiers
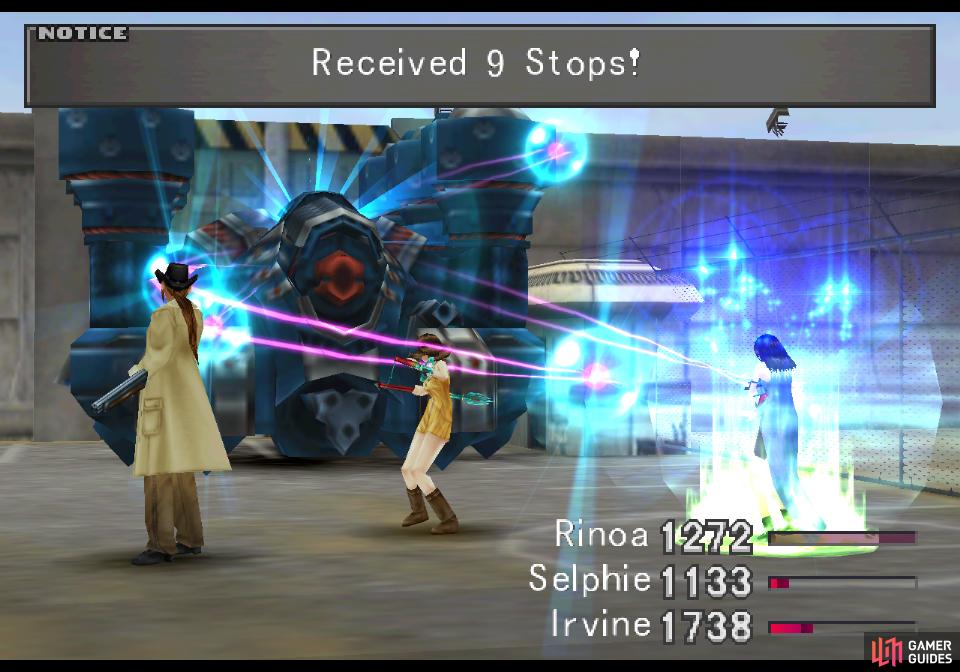
if you have the time you can draw Stop from BGH251F2
Boss - BGH251F2
This is perhaps the first really dangerous boss in the game, even if you’ve done a fair job of boosting your party! There’s a huge difference between a weak party, who will likely have to use items and spells merely to survive, and a strong party who may still have to be wary.
| BGH251F2 | . |
|---|---|
| Lv: | 1-22 |
| HP: (Lv10) | 6,000 |
| HP: (Lv22) | 8,400 |
| Weaknesses: | Earth (150% damage), Thunder (150% damage), Water (150% damage) |
| Resistances: | Gravity (immune), Poison (immune) |
| Status Resistances: | Immune to most status effects – Darkness 50% – Haste 0% – Reflect 0% – Regen 0% – Slow 10% – The End 0% |
| EXP: | -- |
| AP: | -- |
| Draw: | Protect, Shell, Stop |
| Mug: | -- |
| Drop: | Weapons Mon Jun |
This boss has a healthy store of HP that scales in a very simple fashion. At level one it’ll have 4,200 HP - which isn’t bad for a boss up to this point - and gain 200 HP per level until maxing out at level 22. That being the case, a low-level party will face a boss with around 6,000 HP, and a higher level party might have to chip away 8,400 HP, at worst.
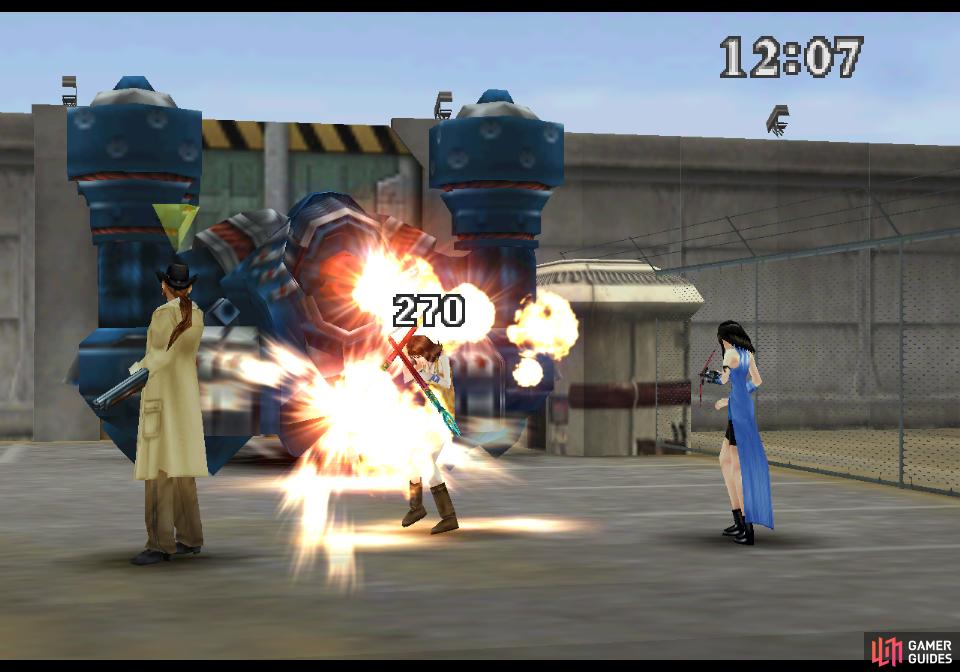
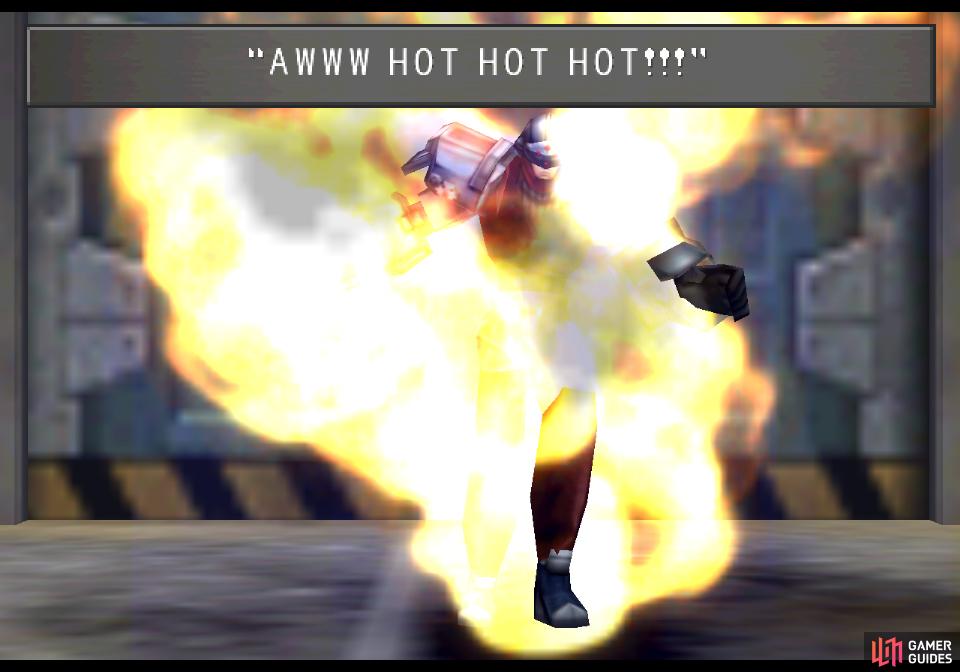
While its autocannon attack is painful enough
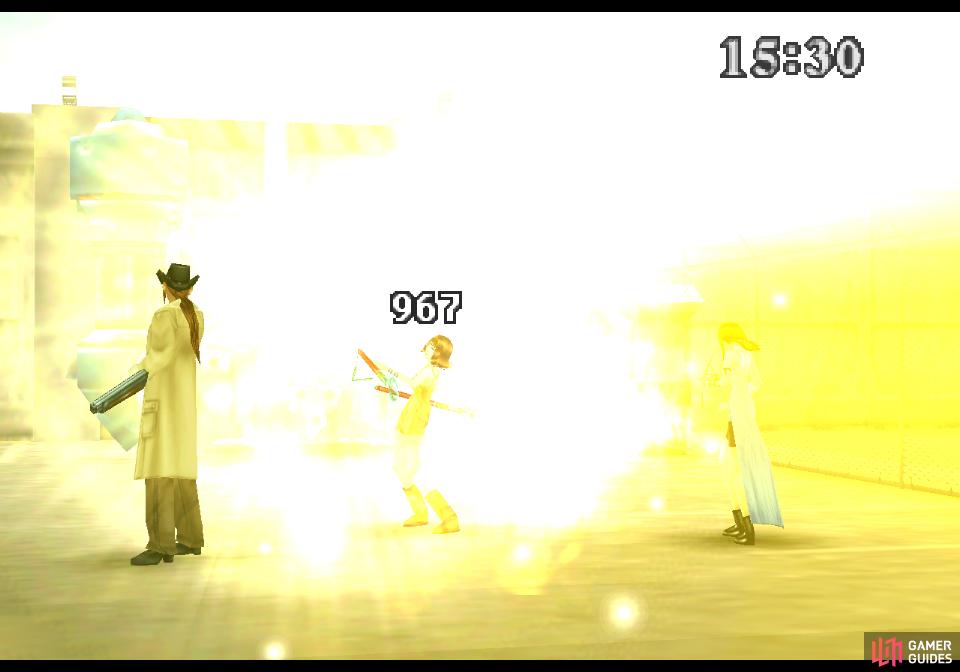
its energy beam is truly devastating
No breaks for anybody then, but what about offense? GBH251F2 only has two attacks, but before you celebrate, those two attacks are rather deadly. Its basic auto cannon attack can deal around 250~ damage to one character, which is comparable to the worst most other bosses have thrown at you thus far - excepting perhaps Edea. Every several turns, however, BGH251F2 will use its beam attack, dealing around 900~ damage to one character. Yikes. If you’ve got potent magics (like Quake) to junction into HP you may be able to weather this attack, but you’ll still feel it. Use magics or items to heal or revive afflicted characters.
Sadly you can’t draw healing from BGH251F2, but you can draw Protect, Shell and Stop, the former of which can reduce damage taken from the auto cannon attack. The Stop spell is also new, but if your party isn’t overwhelmingly powerful and time is an issue, you may want to pass on it. It’s decent enough if you really need to junction it to your Status Attack or Status Defense, but otherwise it doesn’t significantly contribute to any stats. Fortunately, perhaps, BGH251F2 has nothing to Mug.
BGH251F2 takes an extra 50% from earth, thunder and water. If you took the advice given earlier and junctioned such magics to your Elemental Attack you’ll have an easier time of dealing with this boss, but you can also resort to using stored magics or the Quezacotl and Brothers GFs should time not be an issue. Selphie’s limit also has a fair chance of rolling up multi-cast spells.
As BGH251F2 takes damage, the turrets on its sides will explode, and aside from increasingly worried chatter by the Galbadians within it doesn’t seem to affect the fight too much… at first. After four turrets are destroyed, however, the damaged machine will start to spam its beam cannon attack regularly, making the last stretch of the fight a race against both the clock and the boss’s overwhelming destructive power.
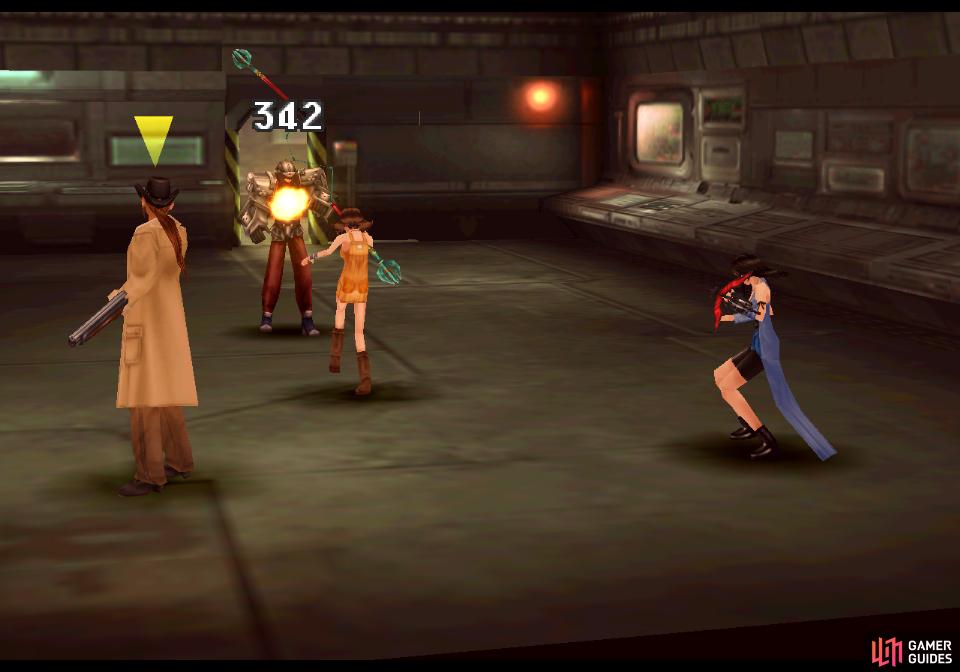
BGH251F2’s crew will escape the machine
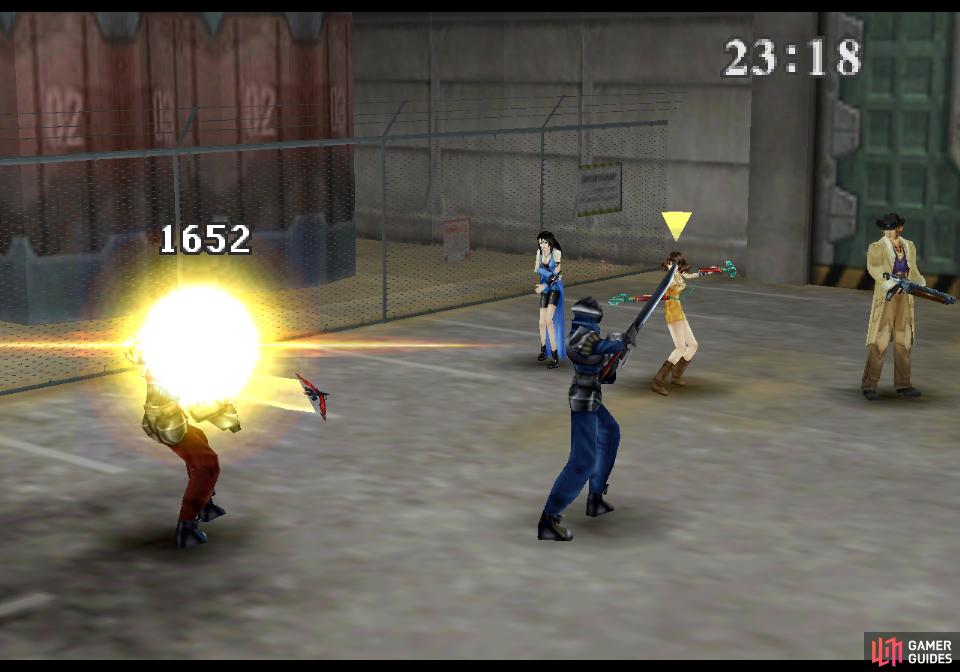
but they’re not strong enough to do more than waste your time
Keep up the pressure and with any luck BGH251F2 will be disabled before you suffer too much. Sadly, that’s not quite the end of this fight, as the crew of the machine will have escaped their weapon, as improbable as that may seem. They’re in fighting form, but an Elite Soldier and two Galbadian Soldiers aren’t really a threat, especially since you can draw restorative magics from the lesser two. Put them down to finally end the fight, your only reward of note for which is an issue of Weapons Mon Jun.
After the fight you’ll have nothing to do but wait for the timer to wind down, after which you’ll need to run around the middle of the base until the end comes. If you’ve got time to burn, peruse the issue of “Weapons Mon Jun” you got, which details how to craft the Flame Saber, Gauntlet, Morning Star and Red Scorpion weapons. Most of these should be old news now, and it’s not like you can craft them anyways, so… Anyways, watch the following scenes and focus will shift to Squall’s team.
No Comments