
Timber Maniacs 1
You’ll make the journey from Dollet to Balamb uneventful, after which you’ll be told by Quistis that you have some free time… basically until you return to Balamb, you’re free to do what you wish. This is good news, as there’s a bit of loot worth gathering here in Dollet, and perhaps some grinding to do…
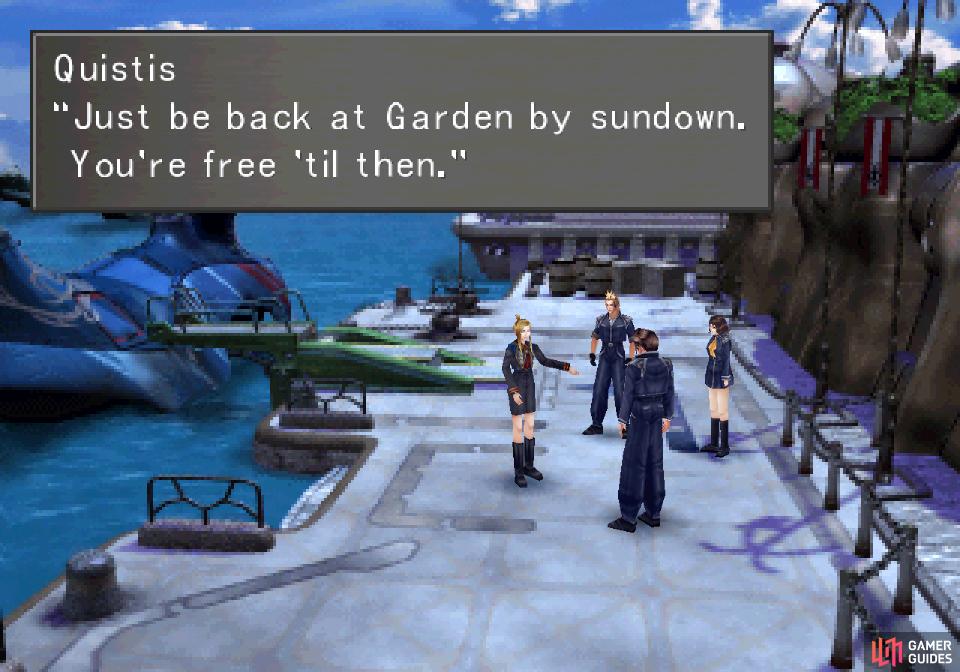
You’ll be given free time when you return from Dollet
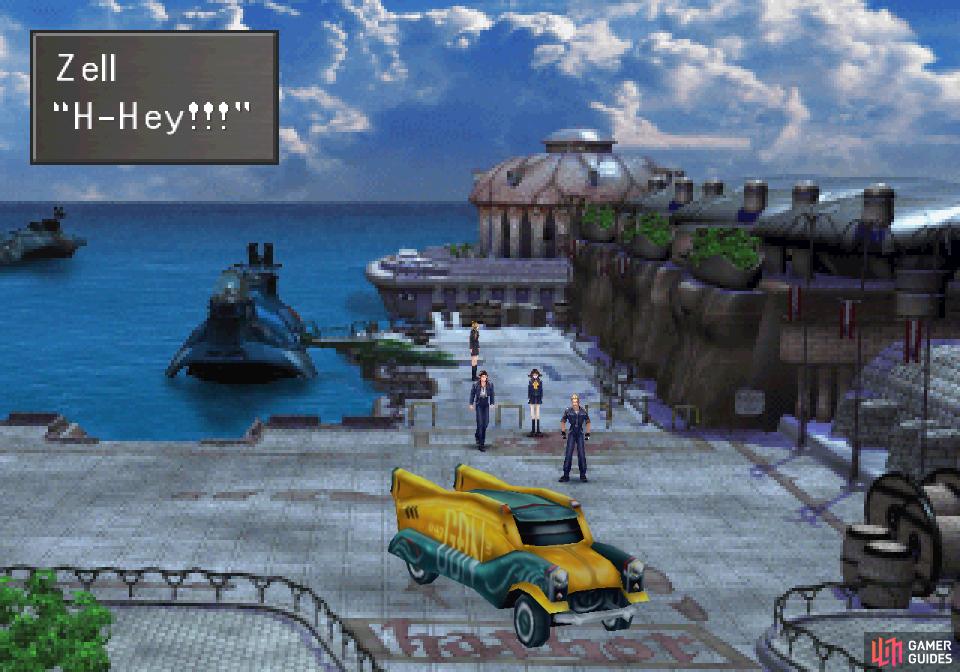
which is good, since Seifer strands you in Balamb
First things first, however. Leave the port and Seifer will make off with the car, forcing you to return on foot. Fair enough, we had errands to run in Balamb, anyways! Jerk. First up you can find the Timber Maniacs 1 magazine lying in two places around Balamb. While there’s not much gameplay incentive to find them all, you do get a Steam achievement for it, as well as some info on a character later on. This particular magazine can, if read, marginally change the way things play out in the future, although it’s a trivial difference.

Timber Maniacs I can be found in two locations, on a desk in the 2nd floor of the hotel
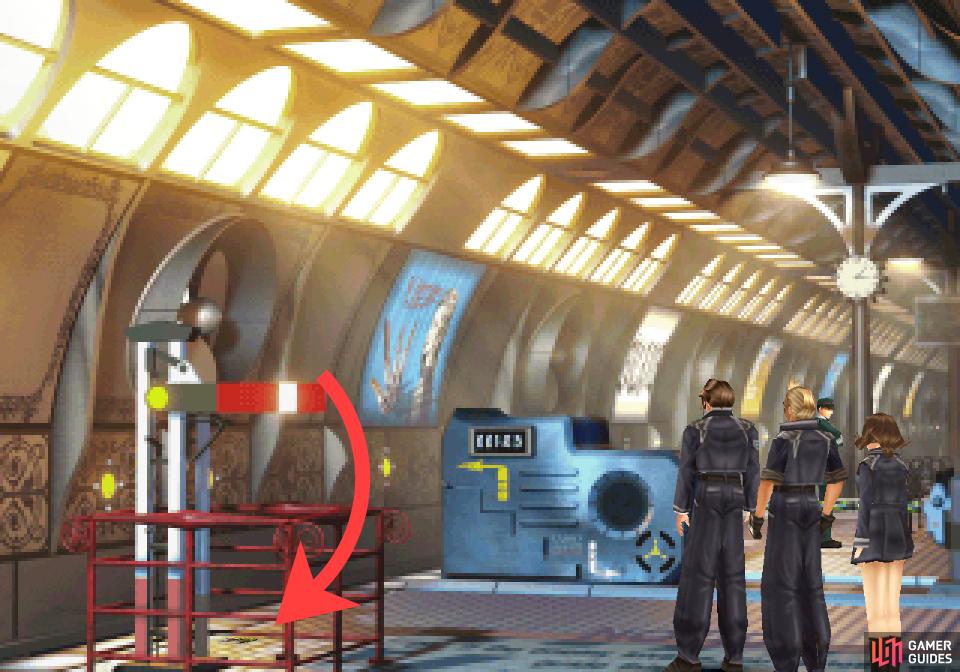
and on the floor of the train platform.
To find these magazines, either make your way into the Balamb Hotel (the blue building on the screen adjacent to the port) and head up the stairs to the left. In the hotel room on the second floor you’ll find Timber Maniacs I on a desk to the right of the Save Point. The other place you can find this magazine is on the train platform. Just head left from the hotel, exit the town square to the left to reach the Balamb Station, then exit the screen by heading up past the conductor (the man in a black suit and cap). You’ll find this copy of Timber Maniacs 1 on the ground to the left near some red railing.
Challenge Ma Dincht to a game of cards
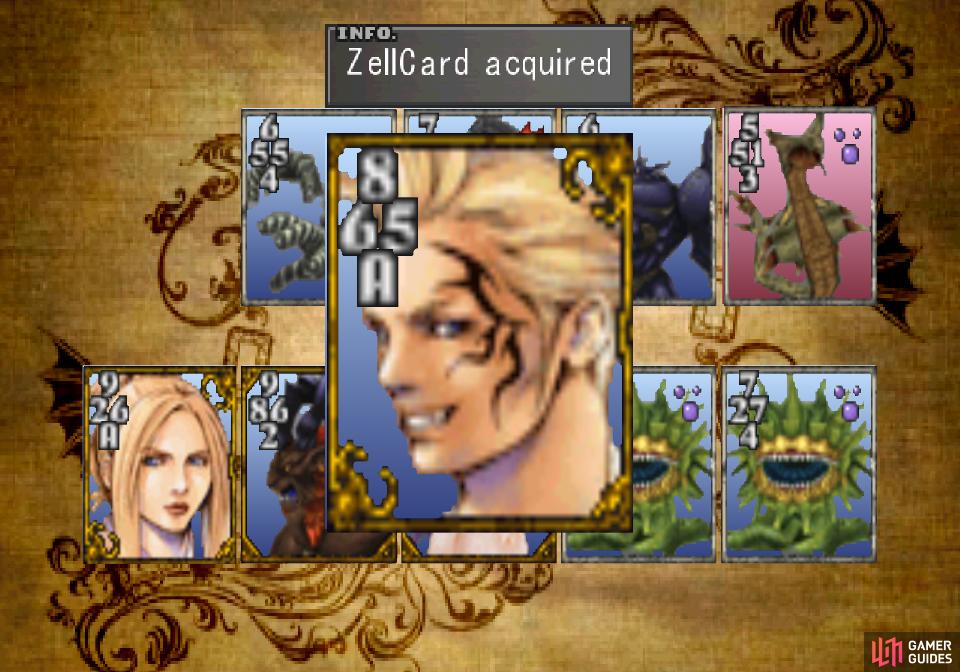
and win the Zell card from her
Zell Card
Next up, a bit of Triple Triad is in order - don’t worry, it’s a super short session this time. Make your way to the town square (the area just south of the gas station, where a Thunder Draw Point can be found) and note that there are two houses to the right. Enter the lower one (the one closer to the camera) and you should get some chatter between Zell and his mother. Leave the house and return, then challenge Ma Dincht to a game of cards. She’s got a mediocre deck with a health spread of Level 1-5 Monster cards, and while she can play things like Iron Giant, Malboro and Elastoid, her hand will almost always be hindered by weaker fare. The card you’re looking for is the Zell card, so play her until you get it. If you’ve been following this guide you could have as many as four rare cards, which is a fine start indeed.
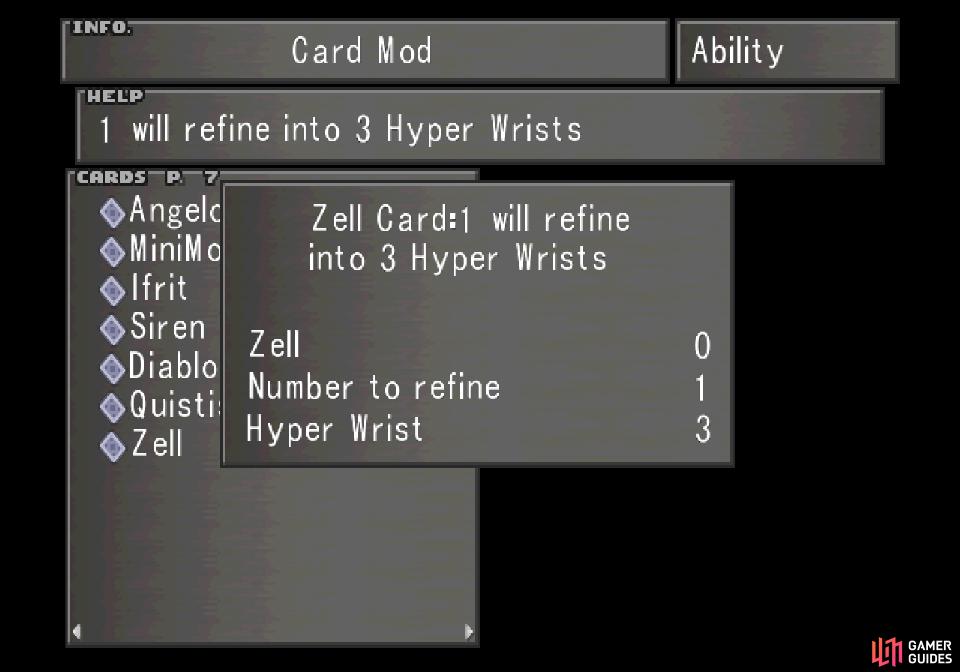
You can use Card Mod to refine Zell into three Hyper Wrists
which you can then use to teach GFs the wonderful Str+60% ability
As far as Card Mod goes, Zell refines into three Hyper Wrist items, which will teach a GF the Str+60% ability. This is… actually rather appealing. Who wouldn’t love a Strength boost of that magnitude? We’ll leave this one to you, as the Zell card is good enough to play with, but it’s hardly essential. That said, if you’re doing a low-level run and have powerful spells junctioned to Strength, you’re probably freakishly over-powered already.
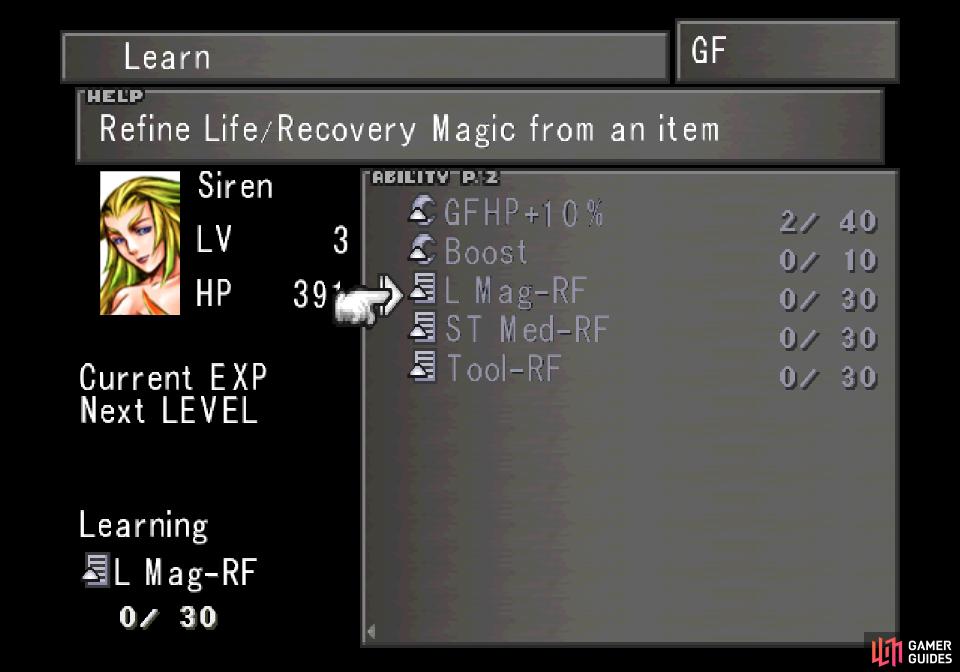
Learn the L Mag-RF ability with Siren
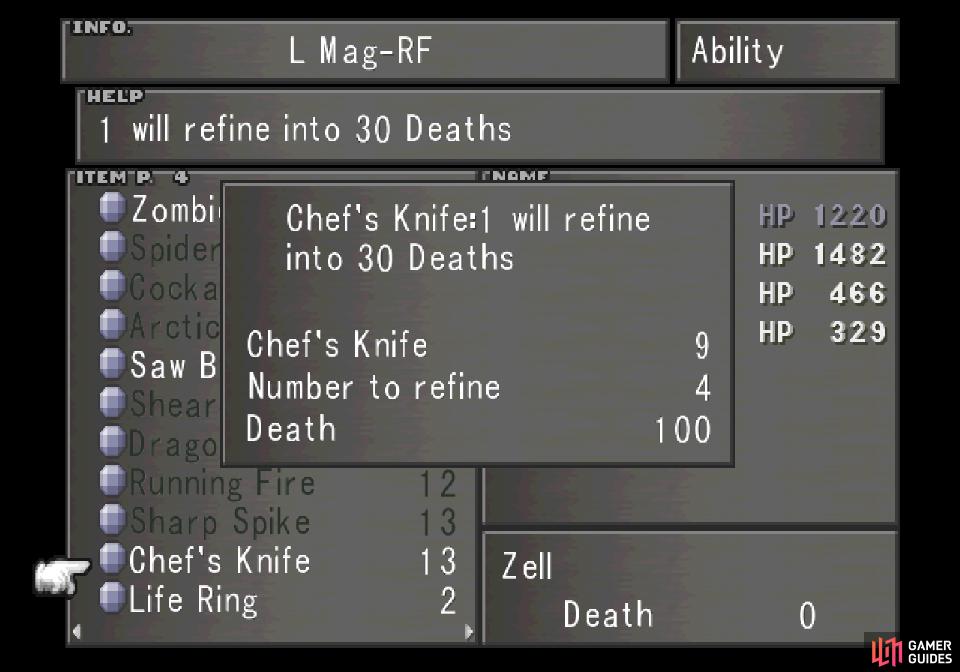
to obtain various curative/status magics
L Mag-RF
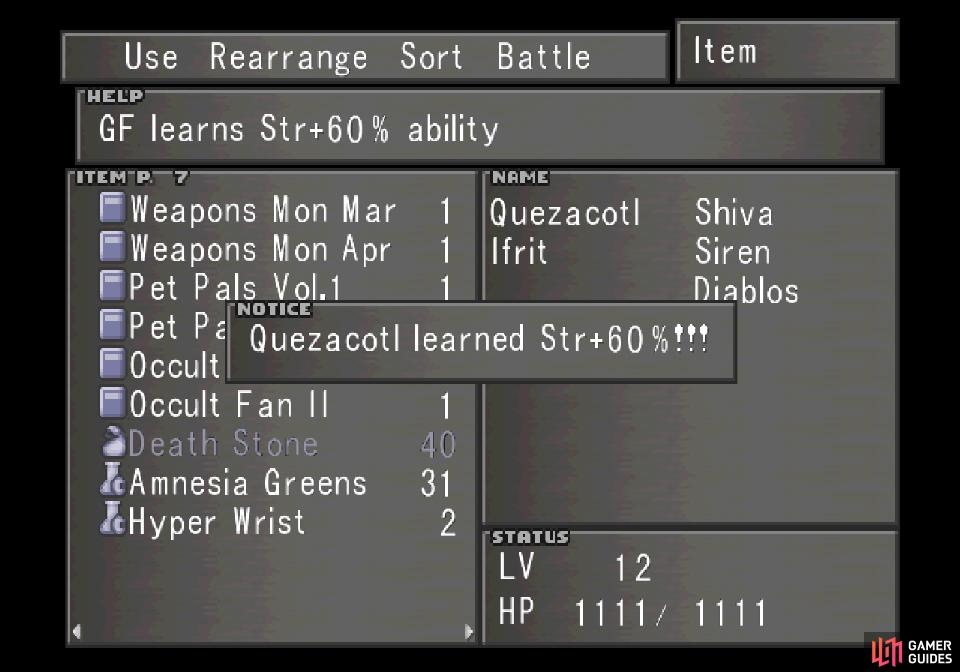
With that, you’re done in Balamb and free to return to Balamb Garden, but… well, of course there are grinding opportunities that need to be pointed out. Now that you have Siren, you have new abilities you can learn with that GF, and the two most immediately interesting are the L Mag-RF and Tool-RF abilities. The former will allow you to turn items into restorative magics from items while the latter will let you turn items into… well, other items, some of which can be further refined into powerful magics later in the game.
You should already know how this works, go grind Fastitocalon-Fs on the beaches (use Card to avoid getting any experience if you’re shooting for a low-level run) and get these two abilities. Once you’ve learned L Mag-RF you can use your trust Card Mod ability to obtain the following items and spells:
| Card | Card Mod Items | Magics Acquired | Ability |
|---|---|---|---|
| Belhelmel | 1 = Saw Blade x1 | 1 = Death x10 | L Mag-RF |
| Blood Soul | 1 = Zombie Powder x1 | 1 = Zombie x20 | L Mag-RF |
| Chimaera | 10 = Regen Ring x1 | 1 = Full-Life x20 | L Mag-RF |
| Imp | 1 = Wizard Stone x1 | 1 = Curaga x5 | L Mag-RF |
| Mesmerize | 1 = Mesmerize Blade x1 | 1 = Regen x20 | L Mag-RF |
| Tonberry | 1 = Chef’s Knife x1 | 1 = Death x30 | L Mag-RF |
| Torama | 5 = Life Ring x1 | 1 = Life x20 | L Mag-RF |
| Turtapod | 5 = Healing Mail x1 | 1 = Curaga x20 | L Mag-RF |
| Vysage | 1 = Wizard Stone x1 | 1 = Curaga x5 | L Mag-RF |
Of course, your ability to get cards is limited right now, although you can play people in Balamb if you really want. Still, it’s worth noting this for later at the very least:
-
While Tornado is still the best option for most stats, Regen and Curaga junction admirably well into HP and are easy enough to get. Both spells are excellent junctions for Spirit and Vitality, as well.
-
Death is another incredibly easy spell to refine this way, and junctions well into Spirit and Magic, being just behind Tornado in the latter case.
-
Although Full-Life is a temptingly good spell to have, it’s requirement (effectively two Full-Life spells per Chimaera card) puts it in the same territory as Flare; really good junctioning magic, but not really worth the time to grind for. Still, if you can get some Full-Life junctions incredibly well into HP, and also gives 40% resistance to all elements if junctioned to Elemental Defense (assuming you have a full stack of 100 Full-Lifes).
While L Mag-RF can have immediate benefits, Tool-RF requires a more diverse selection of magic refining abilities to really make substantial use of. That being the case, you can safely ignore it for now. Do whatever grinding you care to do, both for AP or for cards (and hence, new magic to junction) and when you’re ready to move on return to Balamb Garden.
While L Mag-RF can have immediate benefits, Tool-RF requires a more diverse selection of magic refining abilities to really make substantial use of. That being the case, you can safely ignore it for now. Do whatever grinding you care to do, both for AP or for cards (and hence, new magic to junction) and when you’re ready to move on return to Balamb Garden.
Graduation
When you reach Balamb Garden, Zell and Selphie will leave your party. Nothing to do now but head back inside. When you get to the 1st Floor Hall, talk to Cid, Quistis and Xu if you wish (don’t worry, you no longer have to worry about demerits for talking to people). Don’t listen to what Quistis says, however, and exit the screen to the right to find Seifer. Talk to your former captain and… well, things won’t go so well for Seifer, as Xu has some harsh words for him. After some more chatter, attempt to leave and you’ll be called to the 2nd Floor Hallway.
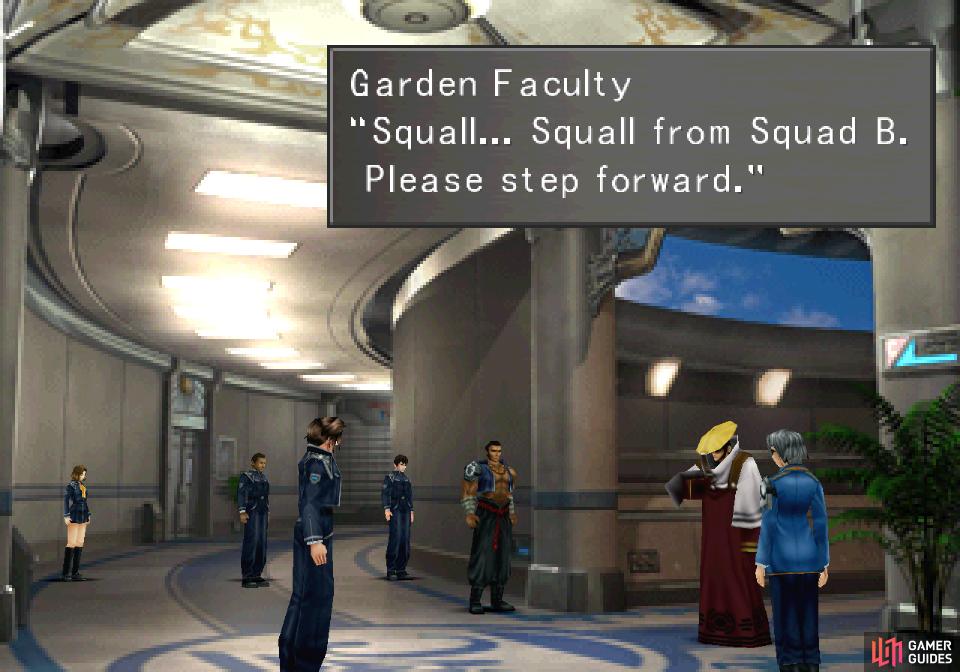
Return to the 1st Floor Hallway area with the Save Point, ride up the elevator and wait. For real this time. If you want to break up the tedium, talk to the people standing around, but few of them have anything of interest to say. After a few moments the SeeD candidates will be called up, Headmaster Cid will give an abortive speech which is hijacked by a curiously assertive “Garden Faculty” member. Imagine the maintenance worker or janitor bossing around the dean in a real college… There’s something odd about this scenario.
Oh well, nothing you can deal with now. Cid will give a short message to each graduate, including the true star of the Final Fantasy VIII universe - the anonymous SeeD #2 before dismissing everybody. Before leaving, talk to Cid again and he’ll give you the Battle Meter, which will record various stats like steps taken, battles fought, won and escaped. You can review this data by entering the menu, then selecting Tutorial, Information, Information again, and finally Battle Report.
SeeD Ranks Explained
Afterwards you’ll find yourself just outside of the 2nd Floor elevator. Make your way to the left and talk to your fellow graduates, then exit the screen to find Seifer, who has an unexpected reception for you. Once the screen fades you’ll finally get to see your grade up to this point, and your resulting SeeD rank, split into five categories.
Conduct is determined by how fast you escaped from Dollet. With a flawless escape and some practice you could have obtained 100 points in this by escaping with 25:00 or more left on the clock. In practice, however, it’s much easier to get the second or third bracket, 24:00-24:59 or 23:00-23:59, which is probably what you had to settle for if you chose to fight and defeat X-ATM092.
Judgment is determined by how much time was on the counter after defeating Ifrit, with a perfect time requiring you to have between 00:01 and 00:007 seconds left after exiting the naming screen for Ifrit. If you’re playing on PC and have a score of 0 for this, it’s because you took too long on the post-battle screens.
Attack is determined by the number of kills you scored during the field exam in Dollet, and not being conducive for a low-level run, it’s easy for a frugal player to end up with a score of between 10-50 in this. If you want a perfect score, experience be damned, you’d have had to have killed 75 or more enemies in the Dollet mission. Enemies defeated before or after Dollet do not count towards this.
Spirit is determined by how many times you escaped from battle during the field exam, with one escape being allowed (the first encounter with X-ATM092 leaving you no other option) for a perfect score. If you flawlessly evaded X-ATM092 or defeated the machine after the first encounter you should have earned a perfect score unless you fled from another encounter for whatever reason. Fleeing from missions before or after Dollet do not count towards this.
Attitude is an odd one, requiring you to have refrained from talking to nearly every character (save Seifer once in the town square) during the field exam in Dollet. Other deductions include disobeying Seifer’s orders while riding in the gunship (-1 demerit), trying to leave the town square before Seifer orders it (-1 demerit), jumping off the cliff like Selphie did (-5 demerits), talking to Biggs after the fight but before leaving the communications tower (-2 demerits), not saving the dog in the town square while being chased by X-ATM092 (-10 demerits) or hiding from X-ATM092 in the cafe (-20 demerits). 18-24 demerits is enough to reduce your score here to 0, while 50+ demerits will give you a score of -100. You need 0 demerits for a perfect score. Curiously, if you defeated X-ATM092, this will be replaced by the Point(s) Deducted category, which is apparently some odd bug.
Bonus For killing X-ATM092 you’ll gain 100 bonus points, which is probably enough to offset a less-than-perfect Attack or Conduct score.
In any event, SeeD rank 10 is about the highest you can expect at this point in the game, but aside from a trivial amount of Gil earned every payday (determined by the number of steps you take, not actually time played) it doesn’t play a major role. The amount of funds you can expect every payday for each SeeD rank are listed below:
| SeeD Ranks 1-10 | Salary |
|---|---|
| 1 | 500G |
| 2 | 1,000G |
| 3 | 1,500G |
| 4 | 2,000G |
| 5 | 3,000G |
| 6 | 4,000G |
| 7 | 5,000G |
| 8 | 6,000G |
| 9 | 7,000G |
| 10 | 8,000G |
| SeeD Ranks 11-20 | Salary |
|---|---|
| 11 | 9,000G |
| 12 | 10,000G |
| 13 | 11,000G |
| 14 | 12,000G |
| 15 | 12,500G |
| 16 | 13,000G |
| 17 | 13,500G |
| 18 | 14,000G |
| 19 | 14,500G |
| 20 | 15,000G |
| SeeD Ranks 21-A | Salary |
|---|---|
| 21 | 15,500G |
| 22 | 16,000G |
| 23 | 16,500G |
| 24 | 17,000G |
| 25 | 17,500G |
| 26 | 18,000G |
| 27 | 18,500G |
| 28 | 19,000G |
| 29 | 19,500G |
| 30 | 20,000G |
| A | 30,000G |


Now that you have a Seed rank, the next logical question is how to change it? Your conduct can cause your SeeD rank to be raised or lowered, but these are fairly rare and story-related, and hence they won’t be covered until they occur. More generally, defeating enemies improves your SeeD rank - one enemy, one point towards your SeeD rank, every rank requires 100 points, and you lose 10 points every time you get paid. Thus, to maintain your SeeD rank you’ll need to defeat at least ten foes every pay period, which shouldn’t be difficult to do once you know about. Anything above that will slowly contribute to increasing your SeeD rank. Kills made by GFs don’t count towards this total, but other means (including Card) should. Sadly, this doesn’t start being calculated until after you become a SeeD, so any previous grinding you may have done will not have contributed towards your SeeD rank.
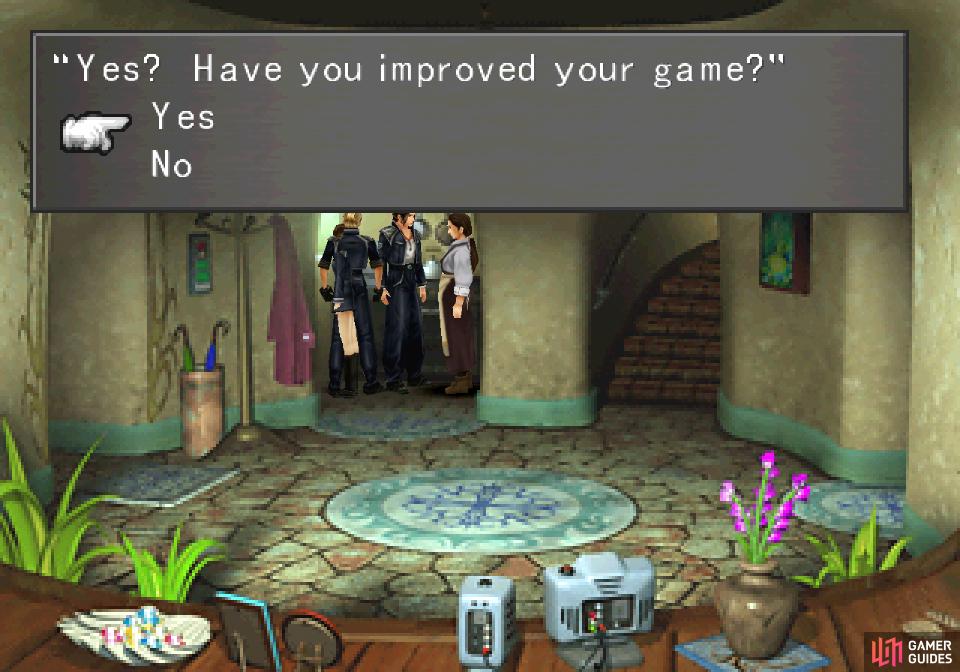
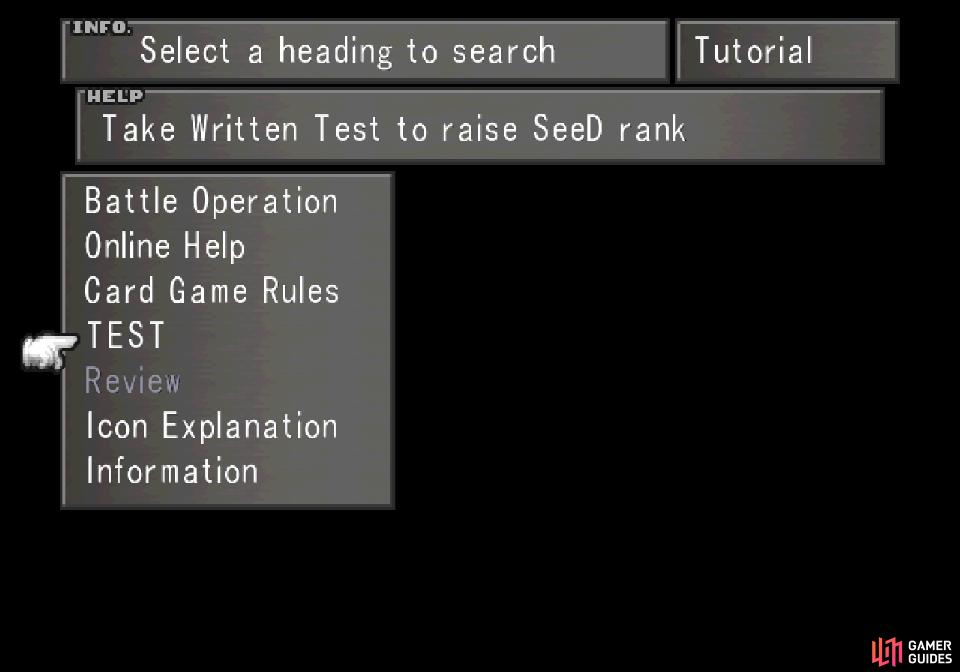
Another, somewhat quicker method of increasing your SeeD rank is by taking SeeD exams, which can be done by entering the menu and picking the Tutorial option, followed by TEST. Each test consists of ten yes/no questions that must be answered perfectly to increase your SeeD rank, and since some generous guide author can just give you the answers, it’s a pretty simple way to increase your SeeD rank. You can only take one test per level of your character, so those trying for a low-level run might be somewhat limited in this regard. You’ll just have to make up whatever SeeD ranks you can by defeating enemies and the odd act of competence or valor as you represent your organization going forward. Or not worry about it too much, since, again, it’s just Gil.
In any event, following are all the answers to the tests:
| SeeD Test 1-10 | Answers |
|---|---|
| 1 | Yes – No – Yes – Yes – Yes – No – No – Yes – No – No |
| 2 | Yes – No – Yes – Yes – Yes – No – Yes – Yes – No – No |
| 3 | No – No – Yes – No – Yes – Yes – Yes – No – Yes – No |
| 4 | No – Yes – Yes – Yes – No – No – Yes – Yes – No – No |
| 5 | No – No – No – Yes – Yes – No – No – Yes – Yes – Yes |
| 6 | Yes – No – Yes – Yes – No – No – Yes – Yes – No – Yes |
| 7 | Yes – Yes – Yes – Yes – Yes – Yes – No – Yes – Yes – No |
| 8 | No – Yes – No – No – Yes – Yes – No – No – Yes – No |
| 9 | No – Yes – No – No – No – No – No – No – Yes – Yes |
| 10 | Yes – No – No – No – No – No – No – No – Yes – No |
| SeeD Test 11-20 | Answers |
|---|---|
| 11 | Yes – Yes – No – Yes – Yes – No – Yes – No – No – Yes |
| 12 | No – Yes – No – No – Yes – No – Yes – No – Yes – No |
| 13 | Yes – No – No – No – Yes – No – No – No – No – No |
| 14 | Yes – Yes – Yes – Yes – No – Yes – Yes – No – Yes – No |
| 15 | Yes – Yes – No – No – No – No – No – Yes – No – Yes |
| 16 | Yes – No – No – Yes – No – Yes – No – No – Yes – No |
| 17 | Yes – No – No – No – Yes – No – No – Yes – No – No |
| 18 | Yes – No – No – No – Yes – No – No – No – No – No |
| 19 | Yes – No – No – Yes – No – No – No – No – No – Yes |
| 20 | Yes – Yes – No – Yes – No – Yes – Yes – Yes – No – No |
| SeeD Test 21-30 | Answers |
|---|---|
| 21 | Yes – Yes – Yes – Yes – No – No – Yes – Yes – Yes – No |
| 22 | No – No – No – Yes – No – No – No – Yes – Yes – No |
| 23 | Yes – No – No – No – No – Yes – Yes – Yes – Yes – Yes |
| 24 | Yes – Yes – No – No – Yes – Yes – No – No – No – Yes |
| 25 | Yes – No – Yes – Yes – Yes – No – No – Yes – No – No |
| 26 | Yes – Yes – No – Yes – No – Yes – No – Yes – No – No |
| 27 | No – Yes – No – No – No – No – Yes – No – Yes – No |
| 28 | Yes – No – No – Yes – Yes – Yes – No – Yes – No – No |
| 29 | No – No – No – Yes – Yes – No – No – No – Yes – No |
| 30 | No – Yes – No – No – No – No – Yes – No – No – No |

Get changed into your new SeeD uniform

Agree to Selphie’s request at the party
The Dance
When you’re done with all that business you’ll find yourself in your dorm, where Selphie will bug you about some party. Save your game, take some SeeD exams, whatever suits you… speaking of which, when you’re ready to move on go into your room, interact with your bed and change into your SeeD uniform. Spiffy.

At the party, endure some dialogue from Zell and Selphie, and when the latter makes a request of you, respond with Yeah, I guess so. After this, a mysterious girl will try to get a dance out of a club-footed Squall, prompting a video. Afterwards, on a balcony Squall will be pestered by Quistis, who either doesn’t know what good dancing is, or is curiously shameless in her flattery of Squall. Her next words seem somewhat less ambiguous, and she’ll end by ordering you to meet her in the training center. You know, the hookup spot where unruly students go to break curfew and do certain other expellable offenses? Yeah, quite an odd request…
No Comments