
Weapon Remodeling
When you’re ready to move on, make your way to Balamb (if you were grinding as per the last section, you were probably running back and forth from here to sell stuff and manipulate the Queen of Cards into passing the “Diff” rule - pretend like this is novel!) and head past the gas station and to the town square, turn left towards the train station and stop at a weapon shop (the doorway behind and to the left of the man sitting on a bench). While you’ll be able to make the best use of this place if you did some Card Modding earlier, crafting new weapons is something everybody should become familiar with, so it’s been kept out of any subsections in favor of presentation here.
At the store you’ll be able to select between your characters and see what weapons you can craft. Instead of simply buying a stock of new weapons like… well, almost every other RPG, in Final Fantasy VIII you simply remodel one weapon. This is somewhat more lore friendly. After all, how are characters in other games carrying around entire arsenals of weapons? Then again, how are you carrying around hundreds of potions, monster bits and cards? Oh well, best not to think about it too much.
To remodel a weapon you’ll need to acquire the correct parts, and to help you figure out what parts you’ll need, you’ll need to find Weapons Monthly magazines. Right now you possess March and April, the former of which will teach you about the Revolver, Metal Knuckle, Flail and Chain Whip. Before you get too excited, these are simply the base models of your weapons… presumably in case you wanted to downgrade in the future, for whatever reason. Weapons Monthly April will introduce you to the Shear Trigger, Maverick, Pinwheel and Valiant weapons, only two of which are immediately useful. Fortunately, you don’t actually need the magazines to remodel your weapon - so long as you possess all the parts required to remodel, the option will appear, but more on that in a bit…
As far as actual remodeling goes, take the Shear Trigger as an example. It requires a Steel Pipe and four Screws to craft, along with a trivial Gil fee. The best way to gain materials for crafting (at least at this stage of the game) is, of course, Card Mod. Is there anything you can’t get via Triple Triad? …probably, but not much. You can get a Steel Pipe by using Card Mod on an Elastoid card and Screws from a Geezard card, both of which are trivial to obtain.
All weapon upgrades give small but welcome boosts to Strength and usually accuracy, although Squall’s 255 Hit% rating really can’t get any higher. To compensate for this, Squall’s gunblades unlock more powerful limit breaks as you create superior models, making his weapons by far the most useful to create. It is in fact possible to create Squall’s ultimate weapon before you make it too far through the game, but it takes a bit of doing to get. This guide will point out how to do so as you come across opportunities, but it’s by no means required.
Dedicated card players may have the components necessary to create a much better weapon for Squall

the benefits of which will be obvious to see
On that note, it’s actually possible to make some pretty impressive gains with Squall right now, as dedicated card players may have (or can get) the materials required to remodel his gunblade to the second strongest type of gunblade in the game. Here’s a list of all the weapons you can potentially craft at this point in time:
| Weapon | User | Materials | Cost | Str | Hit% |
|---|---|---|---|---|---|
| Revolver | Squall | M-Stone Piece x6, Screw x2 | 100G | 11 | 255% |
| Shear Trigger | Squall | Steel Pipe x1, Screw x4 | 200G | 14 | 255% |
| Cutting Trigger | Squall | Mesmerize Blade x1, Screw x8 | 400G | 18 | 255% |
| Flame Saber | Squall | Betrayal Sword x1, Turtle Shell x1, Screw x4 | 600G | 20 | 255% |
| Twin Lance | Squall | Dino Bone x1, Red Fang x2, Screw x12 | 800G | 22 | 255% |
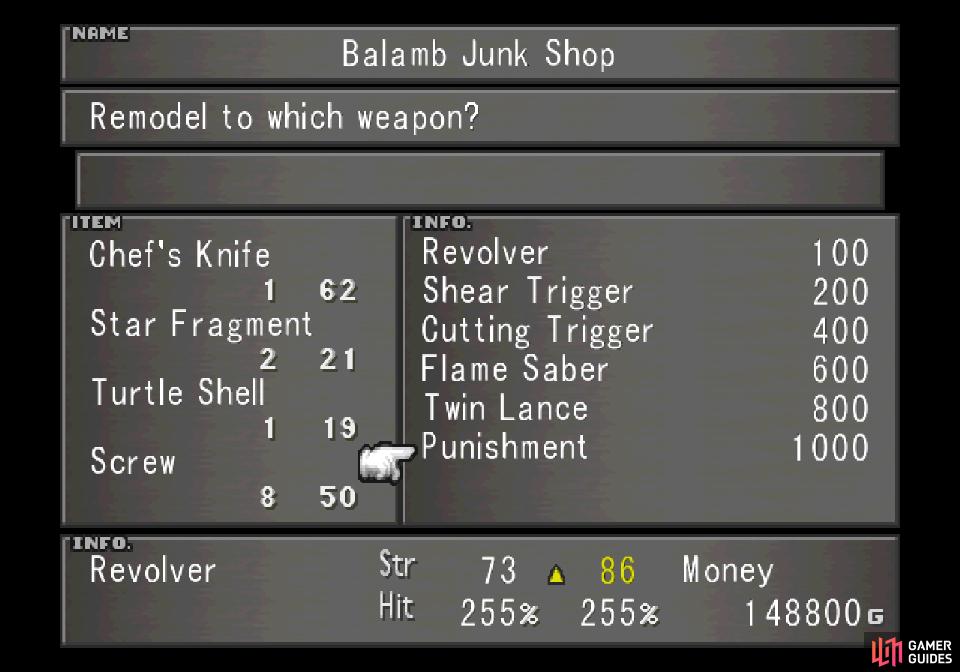
| Punishment | Squall | Chef’s Knife x1, Star Fragments x2, Turtle Shell x1, Screw x8 | 1000G | 24 | 255% |
| Metal Knuckle | Zell | Fish Fin x1, M-Stone Piece x4 | 100G | 12 | 98% |
| Maverick | Zell | Dragon Fin x1, Spider Web x1 | 200G | 15 | 99% |
| Chain Whip | Quistis | M-Stone Piece x2, Spider Web x1 | 100G | 12 | 103% |
| Slaying Tail | Quistis | Magic Stone x2, Sharp Spike x1 | 200G | 15 | 104% |
| Save the Queen | Quistis | Energy Crystal x4, Malboro Tentacle x2, Sharp Spike x4 | 800G | 25 | 107% |
| Flail | Selphie | M-Stone Piece x2, Bomb Fragment x1 | 100G | 12 | 98% |
| Morning Star | Selphie | Steel Orb x2, Sharp Spike x2 | 200G | 15 | 99% |
| Crescent Wish | Selphie | Inferno Fang x1, Life Ring x1, Sharp Spike x4 | 400G | 20 | 100% |
The big winner here is Squall’s Punishment weapon, which requires a Chef’s Knife (Card Mod a Tonberry or Tonberry King), Star Fragments (3 Iron Giants = 1 Star Fragment), a Turtle Shell (3 Adamantoise = 1 Turtle Shell) and Screws (1 Geezard = 5 Screws). At the worst you’ll need twelve cards, one Tonberry/Tonberry King, six Iron Giants, three Adamantoise and two Geezard cards, which isn’t hard to get at all. It’s a worthy upgrade, and one you should consider.
To upgrade to Zell’s Maverick you’ll need one Fish Fin (kill, Mug or Card a Fastitocalon-F on the nearby beach) and a Spider Web (Card Mod Caterchipillar).
Quistis’s next weapon, the Slaying Tail, requires two Magic Stones (Card Mod any combination of two Grat, Buel or Jelleye) and a Sharp Spike (Card Mod a Death Claw or Grand Mantis).
Finally, Selphie can skip ahead to her third (out of four) weapons if you acquire an Inferno Fang (10 Ruby Dragons = 1 Inferno Fang), a Life Ring (5 Toramas = 1 Life Ring) and four Sharp Spikes (Death Claw or Grand Mantis). These are a bit of a chore, and it’s… it’s rough to let an Inferno Fang go to a weapon mod instead of turning it into twenty Flare spells. If you want to skip Selphie’s, that’s fine. Her ultimate weapon actually isn’t too hard to make. In fact, you should be able to make it around the same time you can make Squall’s, as the two share an ingredient.
If you plan to get Selphie’s ultimate weapon in the (relatively) near future, ensure you stock an extra three Star Fragments (3 Iron Giants = 1 Star Fragment) and two Cursed Spikes (Death Claw or Grand Mantis). For Zell’s ultimate weapon, consider stocking a Fury Fragment (4 Blue Dragons = 1 Fury Fragment) and for Squall you’ll need two Energy Crystals (10 Elnoyles = 1 Energy Crystal) and the Ammo-RF ability from Ifrit (Ifrit can only learn this ability if he’s level ten or higher), which might take a bit of doing, but is glorious overkill if you can manage it.
As for Quistis’s ultimate weapon… well, she requires four Energy Crystals, and grinding out forty Elnoyle cards probably isn’t worth the time it’ll take, so you might just want to wait until you can acquire Energy Crystals more easily. Other components she’ll require includes four Sharp Spikes (Death Claw or Grand Mantis) and two Malboro Tentacles (4 Malboros = 1 Malboro Tentacle). While a bit of work, you might want to ensure you have the Malboro Tentacles. Not only are they good mid-tier cards, but… you really don’t want to have to get these the hard way.
Without going into too much more detail while also striving to provide you with the information you need to plan ahead, all the components you’ll need for each character’s ultimate weapon are listed on the table below, along with how you can obtain them via Card Mod. Some components can’t be obtained just yet, and some that can probably aren’t worth your time (nobody wants to get the Energy Crystals necessary for this, right?). You’ll be informed about how to acquire new weapon components as they become available.
| Materials Required | Card Mod |
|---|---|
| Adamantine x3 | Not Available Yet |
| Curse Spike x2 | 1x Tri-Face |
| Dino Bone x2 | 1x Armadodo or 2x T-Rexaur |
| Dragon Fang x4 | – |
| Dragon Skin x4 | – |
| Energy Crystal x6 | 10x Elnoyle |
| Force Armlet x1 | – |
| Fury Fragment x1 | 4x Blue Dragon |
| Malboro Tentacle x2 | 4x Malboro |
| Moon Stone x1 | – |
| Pulse Ammo x12 | 10x Elnoyle (Tool-RF Energy Crystal) |
| Regen Ring x1 | 10x Chimera |
| Screw x18 | 1x Geezard (5x Screws per) |
| Sharp Spike x4 | 1x Grand Mantis or 1x Death Claw |
| Star Fragment x5 | 3x Iron Giant |
| Windmill x2 | 1x Windmill |


The Queen of Cards - Rules and Regions
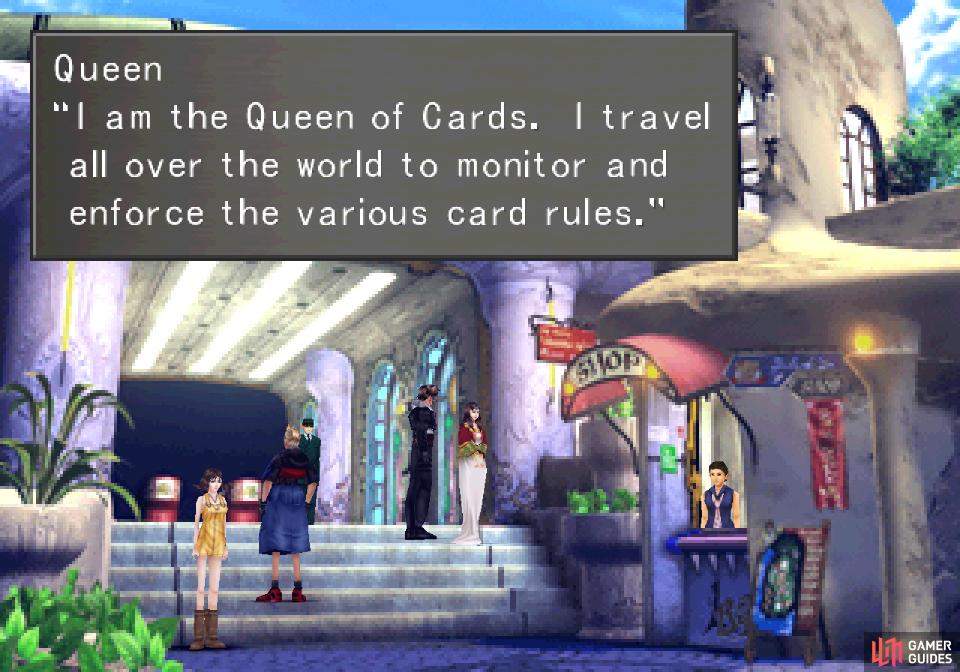
When you’re done playing Triple Triad and have all the spells and materials you care to get via Card Mod, make your way over to the train station in Balamb, where you’ll find the Queen of Cards. You may have made use of the Queen of Cards to manipulate Balamb’s trade rules, ideally by spreading the “Diff” rule or to restore the “One” rule in the odd case that “Direct” starts to take over. If you haven’t interacted with her before, she’s the woman standing on the steps leading to the train station, attired in a red and white dress.
You’re not just here to manipulate trade rules, however, so a more in-depth chat about the Queen of Cards is in order. Simply talk to her and she’ll tell you about her lofty title, claiming to be the guarantor and referee of Triple Triad rules in various areas. You can also ask her a variety of questions; checking the rules active in a current area (in Balamb the only rule should hopefully be “Open”), the trend of the region’s trading rules and how rules are passed on.
The last one is basically… well, Triple Triad rules are rather like an infectious disease, and as you travel and play cards in new regions some rules may be exchanged between the two players, which will influence the entire region. Squall, of course, is the primary vector of this particular disease, so a bad rule (like “Random”) picked up in one region may unwittingly be transferred to other regions, resulting in quite a mess. Generally, the fewer rules in play the easier the game will be, as keeping track of all these rules and complicating the otherwise straight-forward numbers game that is Triple Triad is naturally something a computer will do better than you.
Fortunately the act of trading rules between regions isn’t always a negative one, as new regions may end up adopting a rule you bring with you or abolishing one of their own rules. Naturally this can mean quite a bit of save/loading until you get the results you want, but if you plan to complete your Triple Triad collection it’s something well worth doing. You’ll be advised on when this is possible (we daresay necessary?) as you explore, but generally you should be wary of playing cards with people going forward and refrain from doing so until you’ve manipulated the rules in the region, first. You’ll be told who to challenge for what cards and how and what rules to abolish in the process as you follow this walkthrough.
The Queen of Cards may be a bit grandiose and theatrical
but she can actually influence card rules… for a price.
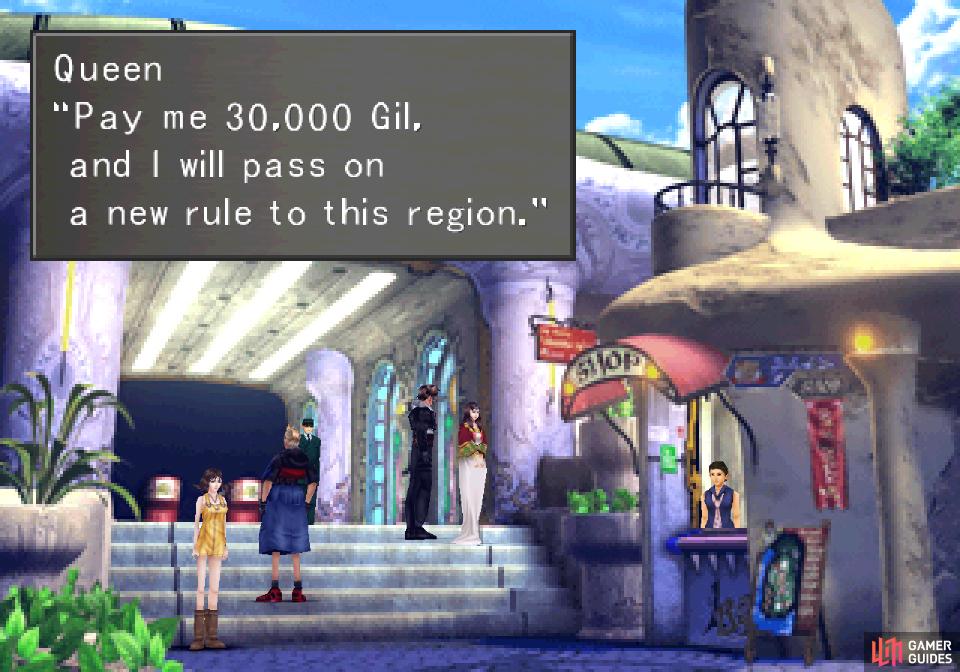
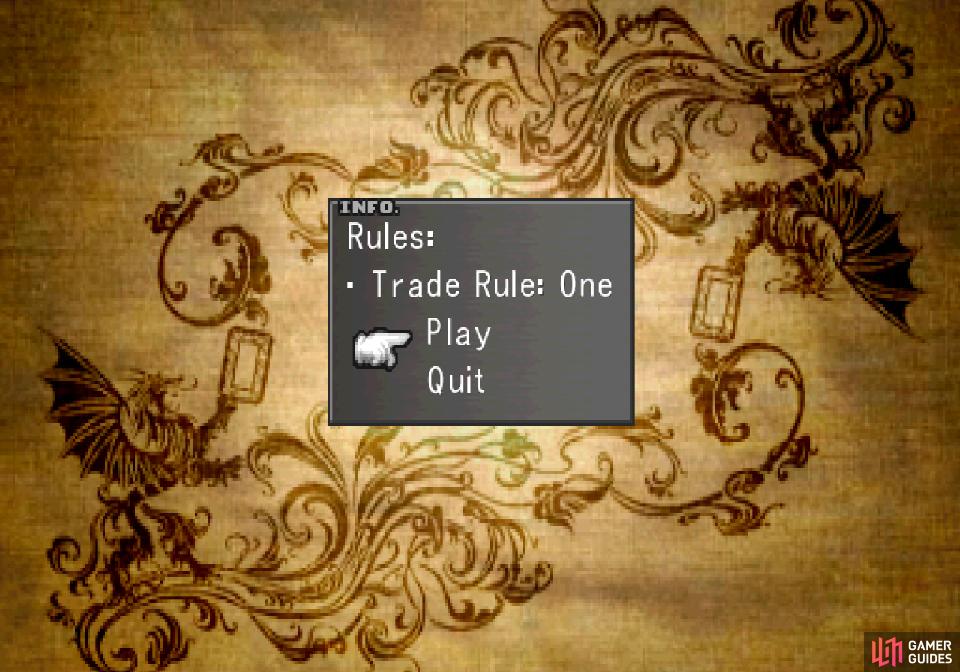
Back to the Queen of Cards, if you talk to her and pick the option (This region’s rules) she’ll tell you about the rules in play and offer to spread another rule, in this case the “Same” rule. This rule will add the extra complication that allows cards to be flipped if the played card has the same numbers on at least two sides as two other cards already on the board. So say you play a Malboro card (seven on top and right, four on bottom, two on left) adjacent to two other cards so that two of the Malboro’s sides (7, 7, 4, 2) are touching the same numbers of at least two other cards on at least two sides. This will result in the adjacent cards with the same numbers being flipped (if they’re the opponent’s cards). The “Same” rule also comes with the “Combo” rule, which always accompanies the “Same” and “Plus” rules. When “Combo” is in play, any cards flipped by triggering the “Same” or “Plus” rules count as if they were just played themselves, hence checking their numbers against the numbers of adjacent cards and potentially flipping them, too.
Sound a little more complicated than just checking for the bigger number? You betcha. You don’t want to pass these - or really any other - rules along. Worse yet, she charges you 30,000G for the privilege of shooting yourself in the foot! Pass.
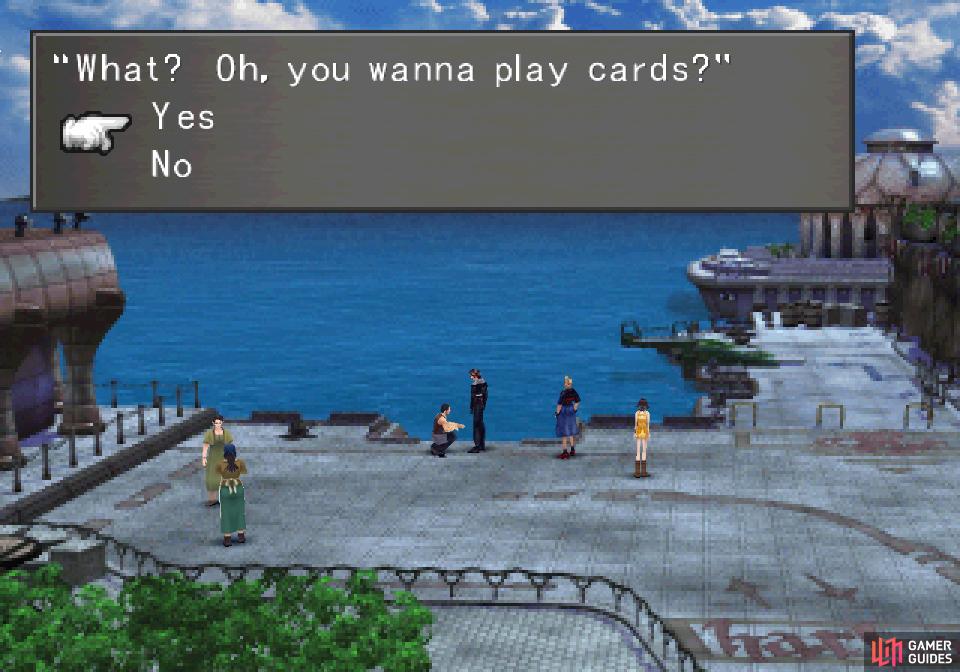
The crouching man in Balamb’s docks will play cards
and if you play with him it’ll abolish all active rules in the region
Anywho, you’ve been familiarized with the basics of Triple Triad rules and how they can be spread across regions. You’ll soon get a chance to see this in action, but generally all you need to know about Triple Triad rules is that the more of them there are, the more difficult the game will become. Don’t dwell on it too much now, as mentioned earlier, you’ll be told how to become the master and arbiter of Triple Triad rules as you travel, hopefully ensuring you’re rarely playing with rules you dislike.
The Queen of Cards - Travel and Trade Rules
The Queen of Cards will appear in various regions, moving between them whenever she acquires a new, rare card. Since you’re the only mover and shaker in this game, that means to get her to move on you’ll need to lose or win a rare card to her. Why would you want her to move on? Well, aside from a side quest involving her that necessitates this (more on it in a bit), if you wanted to play serious cards in another region, having the Queen of Cards around makes it much easier to manipulate the trade rules. After all, why suffer through “Direct” when you don’t have to, and why be content to nab only one card per game when “Diff” allows you to score two, four, or all of the opponent’s cards?
While the act of losing a rare card to her probably seems pretty unappealing, when you’re later able to freely travel around to any region this will become a minor concern, as you can lose any rare card you’re not using at the time, travel to the region she goes to (which is hopefully also the region you want her to be at) and simply play her until you win the card back when you’re done playing cards with others. Unfortunately the region she moves to is somewhat random, but she does tend to tell you where she’s going, and the odds aren’t usually so low as to make this randomness a serious impediment… if you’re willing to save/load to get the results you want.
Anyways, a list of the regions she can move to (dependent on luck and the region she was played in) can be found below:
| Current Location | Destination |
|---|---|
| Balamb | Deling City (62.5%) or Dollet (37.5%) |
| Deling City | Balamb (12.5%), Dollet (12.5%), Fisherman’s Horizon (62.5%) or Winhill (12.5%) |
| Dollet | Balamb (37.5%) or Deling City (62.5%) |
| Esthar | Dollet (12.5%), Fisherman’s Horizon (12.5%), Lunar Gate (50%), Shumi Village (25%) |
| Fisherman’s Horizon | Dollet (12.5%), Esthar (62.5%) or Winhill (25%) |
| Lunar Gate | Random |
| Shumi Village | Balamb (25%), Dollet (50%) or Lunar Gate (25%) |
| Winhill | Deling City (37.5%), Dollet (37.5%) or Fisherman’s Horizon (25%) |
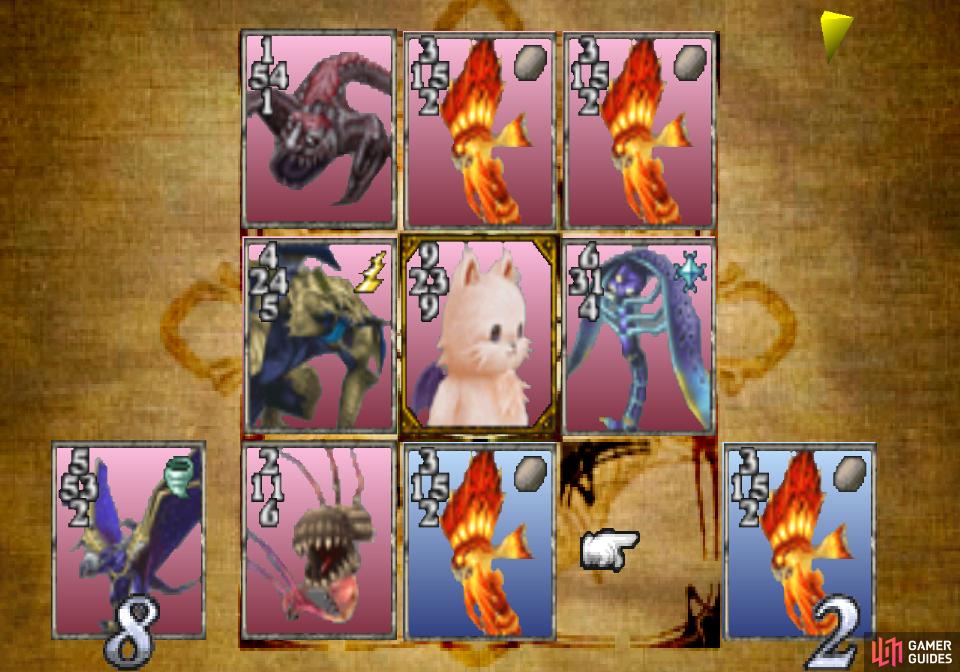
(1 of 3) Play a game with the Queen of Cards including a bunch of junk cards and MiniMog
The Queen of Cards - MiniMog
With that, it’s time to advance a little side quest with the Queen of Cards that involves actually playing - and throwing - a game with her. Not only does she move around when she wins or loses rare cards to you, but losing specific rare cards will allow you to win new rare cards later. Don’t fret, nothing lost is permanent and you’ll be able to win the card back later.
The victim you need to sacrifice in this instance is your precious MiniMog, which, if you’re like me, hasn’t seen much play lately. That being the case, it’s easy enough for forfeit for now. Play the Queen of Cards, make sure the trade rule is not “Direct”, and when she’s playing by any other rule (preferably “One”, stack your hand with four junk cards and MiniMog. Simply play stupidly and lose the game, at which the Queen of Cards should snipe your MiniMog card.

Of course, having lost a rare card to her the Queen of Cards will decide to move on. Talk to her afterwards and she’ll declare Balamb boring before stating her next destination - either Dollet or Galbadia (Deling City). If it’s the later, reload and try again, as you want her to travel to Dollet next, as it’ll allow you to more quickly acquire new rare cards. If she’s being stubborn and won’t move to Dollet, simply beat her at a game of cards, save your game, then try losing MiniMog to her again. Repeat until she does what you want.
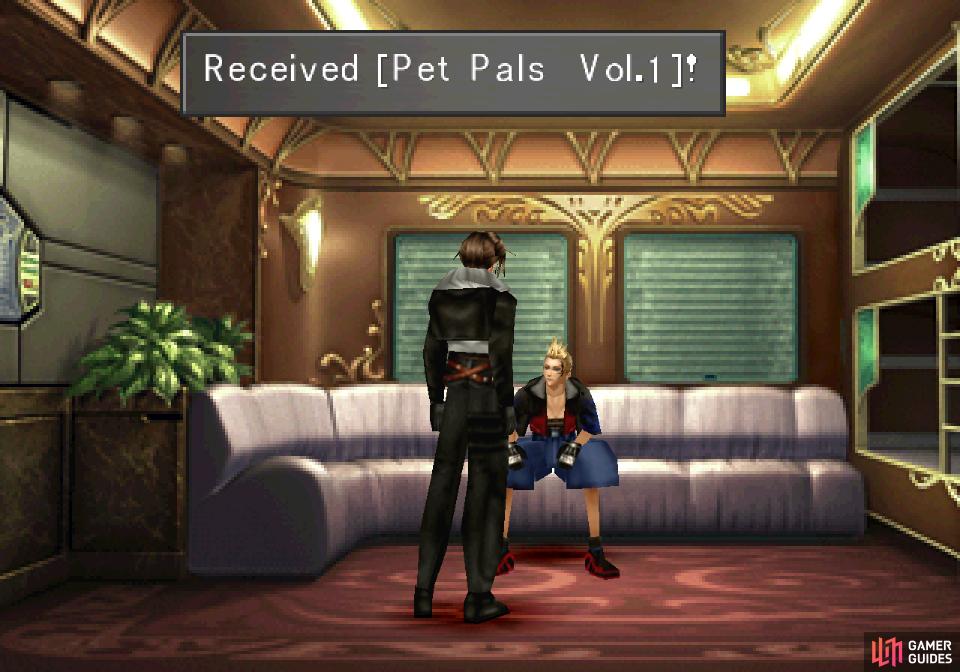
Zell will hand over Pet Pals Vol.1
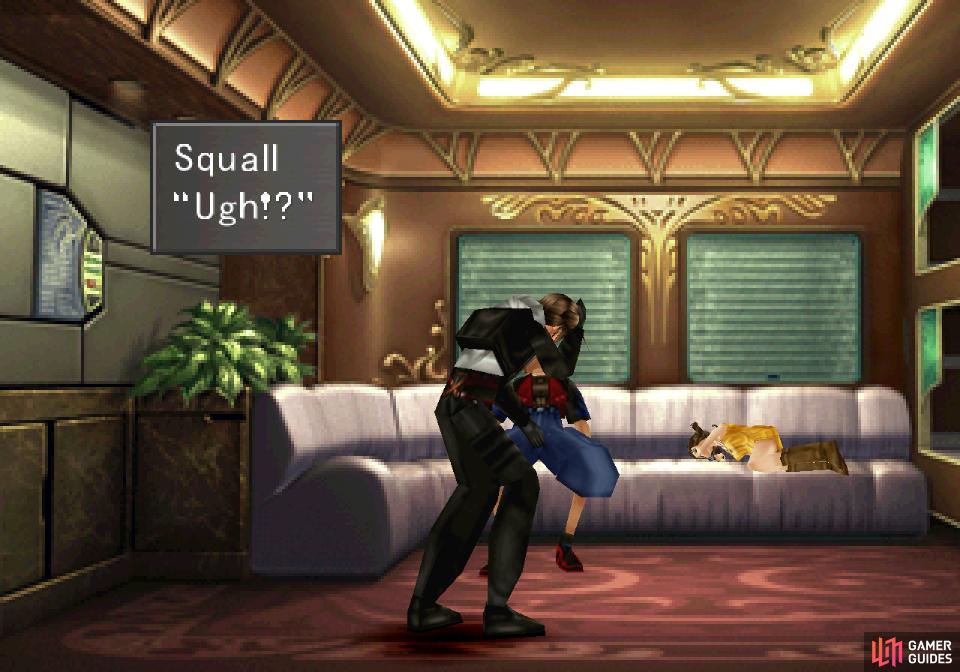
after which a mysterious slumber will settle upon the party
All Aboard!
Whew. When you’re finally done with the Queen of Cards, continue to the train station. The conductor will inform you that the train to Timber is here, and you purchase a ticket for a mere 3,000G. That’s right, you have to pay for your own damn train ticket! Lazy SeeD! Make sure your characters have GFs and magic junctioned, buy your ticket, then board the train. Once aboard, endure the exuberance of your companions and when you’re in the private cabin Zell will give you Pet Pals Vol.1. Easily impressed, isn’t Zell? When he asks you about Timber you can reply with I don’t care to blow him off or Not too much to gain some insight, your call. Shortly afterwards, a most decidedly unnatural bout of fatigue will overwhelm everybody…
No Comments