
General Preparations
The upcoming, optional fight with the game’s second superboss - Omega Weapon - is no push-over. There’s no “if you’re low level, you shouldn’t have much trouble” this time. Every party at every level must make specific preparations for the fight ahead. You can view Omega Weapon as a bigger, badder version of Ultima Weapon, but it doesn’t really do Omega Weapon justice.

Before getting into any specifics, however, there are a couple of general preparations you should make:
- 9,999 HP on each character. 9,998 is not enough. This can be mitigated somewhat by using Holy War items, but ideally you shouldn’t rely on Holy War items entirely. The top three junctions for HP-J are Ultima (6,000 HP), Full-Life (4,800 HP) and Meteor (4,600 HP), and if that’s not enough you can teach GFs the HP+80% ability via Gaea’s Rings. The Brothers and Diablos GFs can learn this natively, and you can teach it to another GF via a Gaea’s Ring item, which you can obtain by defeating Jumbo Cactuar, by refining the Ward Card, or by refining Giant’s Rings. This is a harder goal to reach for the low-level party, as they’ll probably need Full-Life (or even Ultima) and HP+80% to get there, hence possibly weakening their offensive output… but on the plus side their opponent will have far fewer HP.
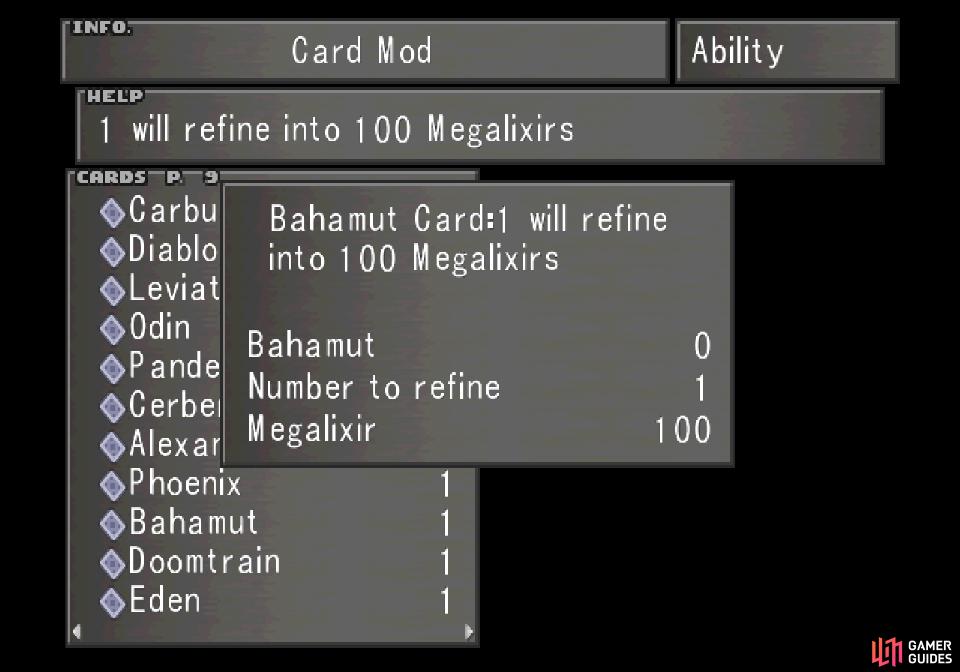
Cards like Bahamut and Giglamesh can be refined into Megalixirs and Holy Wars, respectively.
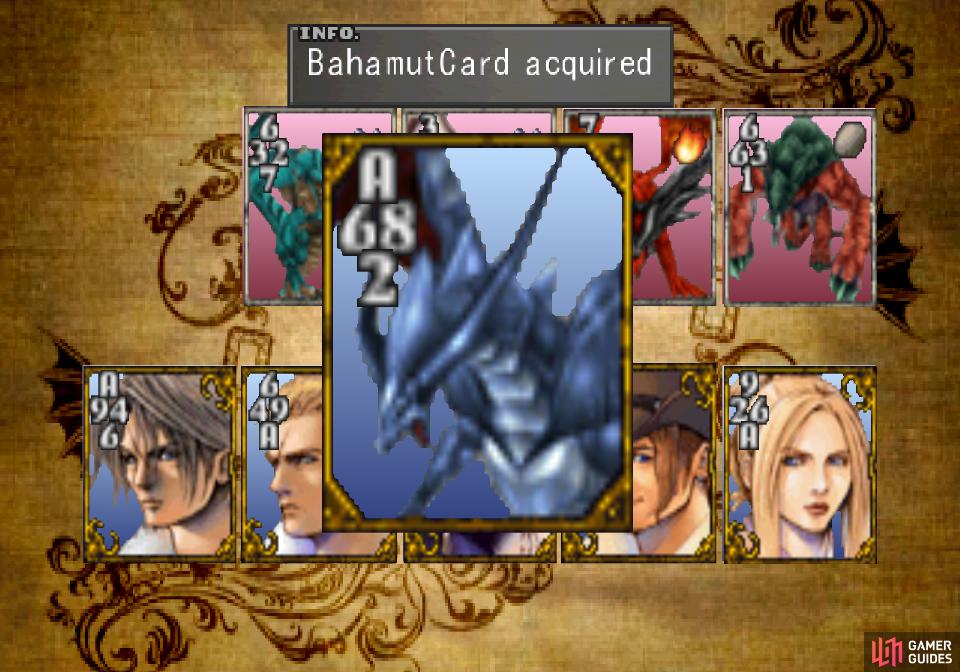
You can win these cards back repeatedly, so stocking up should be easy enough.
-
Holy War items. You shouldn’t need many - refine the Giglamesh Card via Card Mod to get ten, which should be more than sufficient.
-
Megalixirs. The more the merrier. There’s no faster way to heal your entire party, and when 9,998 HP isn’t enough, a fast way to heal everybody is much appreciated. You can refine the Bahamut Card for 100x Megalixirs, which is overkill. Glorious, highly-recommended overkill.
-
Sufficient, high-tier spell stocks. Don’t go into this fight without full stocks of the best spells in the game. There’s no good reason not to have 100x Ultima, Full-Life, Triple, etc. This is almost exclusively for junctioning purposes, and it will ensure your HP, Str and Spd are up to snuff.
-
Castable stocks of Meltdown and Aura. You should have been abusing these spells for a while now, and this fight is no different.
-
If a character’s level is a multiple of five (10, 15, 20… 100, etc.) they’ll need Death junctioned to Status Defense. Going into this fight without immunity to Death is just begging for failure.
-
Auto-Haste on every character. Refine the Kiros Card into 3x Accelerator items, then use those to teach GFs Auto-Haste.
-
Spd-J on every character. The faster you act, the more likely you are to win this fight. Cerberus, Eden and Pandemona all learn this natively, so you’ve no excuse to not have this. Failing that, you can refine the Irvine Card into 3x Rocket Engines. 10x Rocket Engines refine into one Spd-J Scroll, so you’ll have to win and refine the Irvine Card several times to get an extra Spd-J scroll.
-
Auto-Protect on every character. Not mandatory, but pretty helpful. It’ll help mitigate the damage your opponent deals between its bigger attacks.
-
Do not junction anything to Elemental Attack. Your foe absorbs all elements.
-
Adjust your inventory so Megalixirs, Holy Wars, Mega Phoenixes and Phoenix Downs are near the top. Adjust your spell stores so Aura, Meltdown and Full-Life are near the top. The less time you waste in inventory screens, the better. Turning the Battle Speed option all the way down will help, too.
-
If you’re playing the Playstation version, or if your level is high, make sure Cactuar and Brothers are on different characters and give both of these characters the Defend command. These two GFs are the only sources of this ability, and you might just need it to survive one of Omega Weapon’s attacks.
If you followed this guide, you shouldn’t have any trouble getting 100x Megalixirs and 10x Holy Wars, and while a bit time consuming, it’s also trivial to strap Enc-None on and run around the Islands Closest to Heaven/Hell to boost your spells stocks.
A level 100 character who was leveled with Cactuar’s stat boosts
will have significantly higher stats than a low-level character, but both are viable.
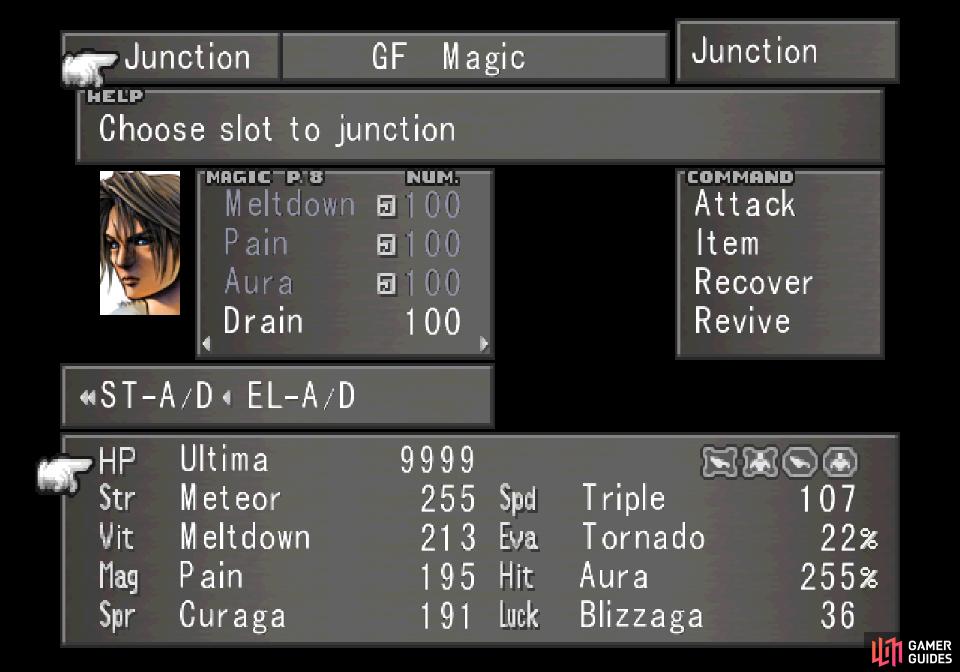
A high-level party will have no trouble hitting 9,999 HP with each character, especially if they leveled with Cactuar’s stat bonus abilities. In the latter case, a high-level stat-boosted character could easily end up with 9,999 HP, 255 Str, and around 200 Vit, Mag and Spr, not to mention 100~ Spd with good spell junctions (Ultima, Meteor, Meltdown, Quake, Pain, Curaga and Triple, respectively). Furthermore, they can achieve all this without the use of any stat-boosting abilities (HP+80%, Str+60%, etc). They’ll still have their work cut out for them, as they’ll have to win an endurance fight with a foe that likely has around or over 1,000,000 HP.
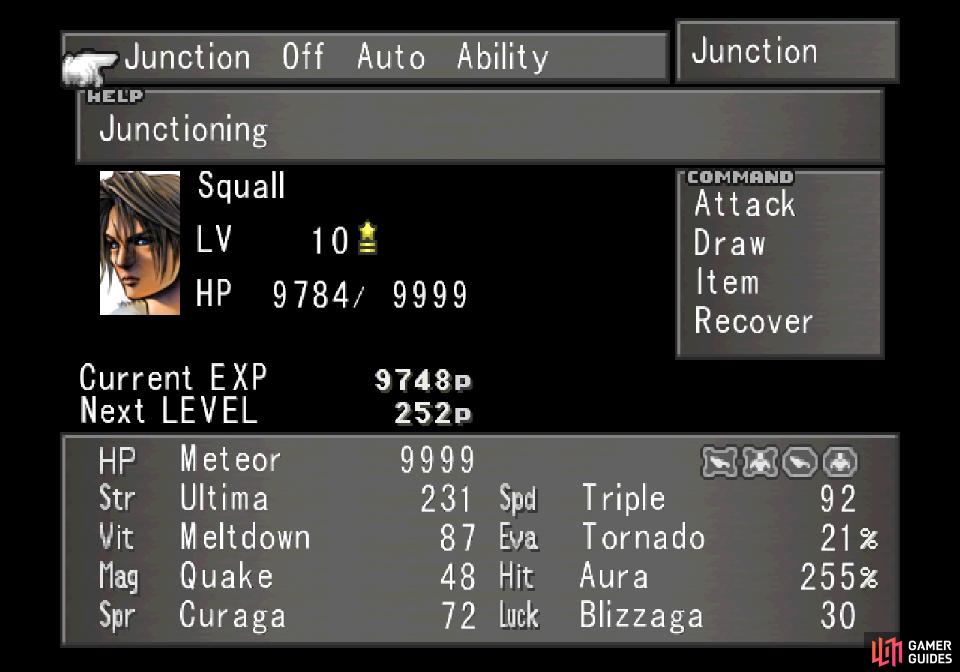
The low-level party will have to make some compromises, and generally won’t have as high stats or as many abilities to play with. With Full-Life or Meteor junctioned to HP-J, the HP+80% ability and a bit of winning and refining the Ward Card for HP Ups they should be able to hit 9,999 HP as well, and with Ultima junctioned to Str-J and the Str+60% ability they should be able to get comfortably over 200 Strength. With Triple junctioned to Spd they should just be a step behind their level 100 counterparts, and while they’re severely behind in Vit, Mag and Spr, the enemy they’re facing also has lower offensive stats… assuming the low level party is below level thirty, anyways. The biggest boon, however, is that a low-level party could be facing an Omega weapon with a fraction of the HP a high level Omega Weapon would have.
All in all, the low-level party has an easier time of things, as their offensive power isn’t anywhere near as low in relation to Omega Weapon’s HP. As long as you can get their HP up to snuff… well, Omega has a nasty habit of wiping parties regardless of their level, so aside from having max HP, survivability is more of a matter of predicting and preparing for Omega Weapon’s attacks, and/or the use of Holy Wars and Megalixirs.
Make those general preparations, after which we’ll discuss the strengths of each character in this fight, and specific preparations you might want to make so each character can contribute the most.
Character Roles
It’s going to take two parties to summon Omega Weapon, but only one can fight him. The easy answer is to just take all the male characters and run with a limit-focused strategy, the goal being to lay down as much damage as possible in a short amount of time with your limit breaks. Still, each character’s unique merits will be discussed below so you can make an informed decision:
Irvine
For some reason, the male characters were granted excessively powerful limits in this game, so Irvine is one of your best possible sources of DPS. Hit Omega Weapon with Meltdown, cast Aura on Irvine and use Fast Ammo with his limit break. There’s no reason he can’t be dealing 1,000 - 2,000 damage per shot, or double that with a critical hit, and he can easily fire off 40+ shots in a good limit - that’s the arithmetic of victory, there. The only downside is it’s quite possible Irvine will eat through his Fast Ammo in a limit break or two, so he’s not quite as reliable in the long-run as Zell or Squall.
Quistis
Not a bad choice if you want a third character to tidy up while the other two use limit breaks or are otherwise indisposed. Quistis’s Shockwave Pulsar can deal appreciable to Omega Weapon, or she can use White Wind to heal, although she’s probably better off just tossing Megalixirs and Holy Wars - a task any character can perform.
Rinoa
Possibly the least useful character in this fight, Rinoa’s optimal damage-dealing output relies on her getting her Angel Wing limit to trigger. This will make her randomly cast offensive spells she has stocked without expending them - at greatly magnified potency, mind you! Still, there are some important considerations - when she’s under the effects of this limit, you won’t be able to control her, and having one fewer character capable of responding to Omega Weapon’s attacks is… well, just seems like a bad idea, no? Also, you can’t control what spells she’ll cast aside from removing all other offensive spells from her inventory. Ideally you would leave her with Meteor, which can inflict some pretty good damage, but it’s probably only viable (stat-wise) for a high-level party that used Cactuar to stat-boost. If you go with this strategy, boost Rinoa’s Mag-J instead of Str-J.
Selphie
Selphie’s got one redeeming quality: The End. Due to the somewhat wonky nature of limit breaks in Final Fantasy VIII, she can only get this outcome if she’s below level 40, or above level 80. Even with that, it’s quite rare, and there are probably better things you can do with your time than search for this limit.
Squall
Squall is one of your primary damage dealers. Make sure he has the Lionheart weapon, and with any luck he’ll use the Lionheart finisher during his limit break. Cast Aura on him and sic him on Omega Weapon to deal massive damage. Again, there’s a lot of luck here, but a high-powered, low-level Squall can potentially dispatch Omega Weapon with one good Renzokuken/Lionheart combo.
Zell
Zell’s right up there with Squall when it comes to damage output. Cast Aura on him, use his limit, and spam Punch Rush, Booya and Heel Drop as quickly as possible to rack up a silly amount of damage.
To summarize: pick your party, make sure they’re junctioned up so they’re immune to death, not dealing any elemental damage, each have 9,999 HP and as high of a Str score as possible, unless you’re using Rinoa and going for her Angel Wing + Meteor combo, then focus on Mag for her. Sacrifice Mag for Spd by junctioning Triple, equip Auto-Haste and Auto-Protect if possible, and make sure everybody has access to the Item and Magic commands (Revive and Recover are also good). Adjust your inventory/spell stocks so the Megalixir, Holy War, Mega Phoenix and Phoenix Down items are near the tops, and are the Aura, Meltdown and Full-Life spells.
When you’re ready, save your game (no reason to go through all that trouble again, right?) and deploy your chosen party.
Ring the bell with your secondary party
then rush to the chapel to confront Omega Weapon.
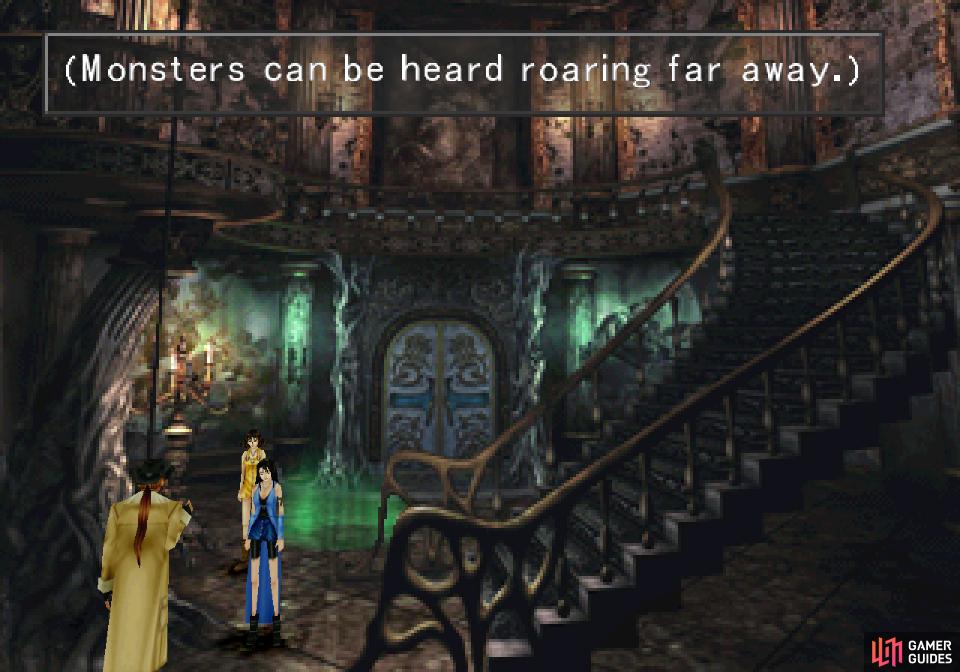
Confronting Omega Weapon
Take your party through the doors beyond where Sphinxaur/Sphinxara once reclined, ride the chandelier down to the lower level, then go through the double doors to reach the courtyard. Use the party switch circle to switch to the other party and have them go up to where Sphinxaur/Sphinxara lurked, then through the door to the right. This familiar room, which leads to the art gallery, usually isn’t very interesting, but it houses a feature you’ve as of yet not had a reason to mess with yet.
Along the left-hand side of the screen is a rope, and if you head downstairs you’ll be able to grab this rope and ring the bell suspended from the ceiling. When you do, you’ll hear some monsters causing a ruckus in this distance, and will have sixty seconds to find the source of the commotion. Ten seconds will be wasted by the game focusing on the bell, but it’s still plenty of time. Ring the bell and move your secondary party into the party switch circle, then switch back to the primary party and run into the chapel to find Omega Weapon waiting for you. You’ve got more than enough time to switch junctions back to the first party (only swap out the character with Enc-None), pop a Megalixir to heal and run to the chapel, so there’s no reason you should be worrying about enemy encounters or going into this fight at less than full HP.
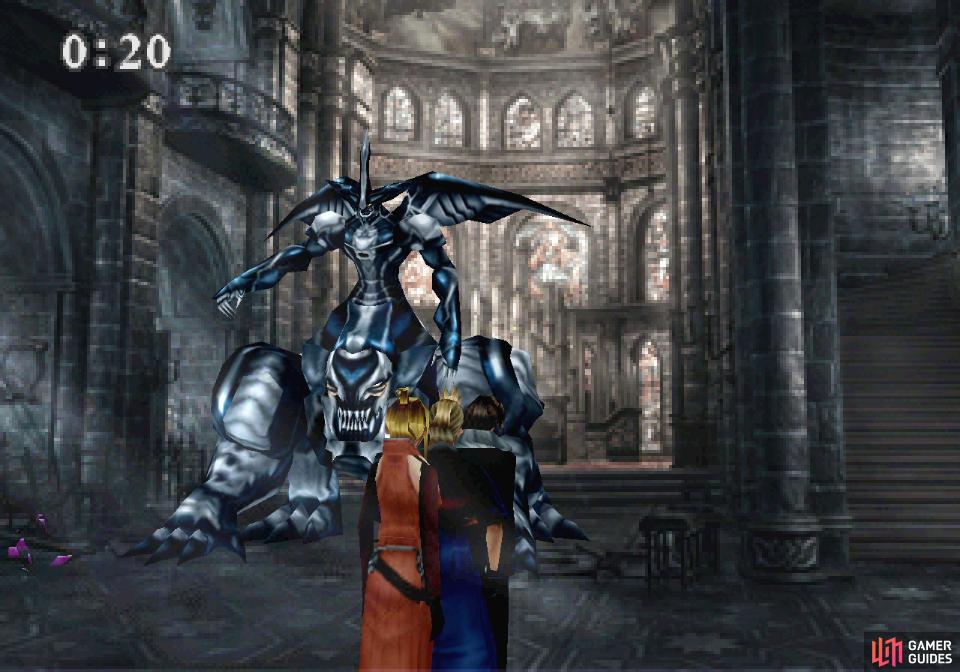
When you’re ready to fight, just run into Omega Weapon.
| Omega Weapon | |
|---|---|
| Lv: | 1-100* |
| HP: (Lv10) | 202,500 |
| HP: (Lv20) | 305,000 |
| HP: (Lv30) | 408,500 |
| HP: (Lv100) | 1,161,000 |
| Weaknesses: | – |
| Resistances: | Absorbs all elements. Gravity (immune) |
| Status Resistances: | Immune to most status effects; The End 0% |
| EXP: | – |
| AP: | 250 |
| Draw: | Flare, Holy, Meteor, Ultima |
| Mug: | – |
| Drop: | Three Stars |
- In the original Playstation version of the game, Omega Weapon will always be level 100. This makes for a more significant - and fitting - challenge, but the same strategies work either way.
Omega Weapon is significantly stronger than Ultima Weapon, especially on the original Playstation version as Omega Weapon will be level 100 by default. That means a whopping 1,161,000 HP and 255 Str and Mag. Low-level PC players have it relatively easy, but it’s still worth pointing out that Omega’s Str will still cap out at around level forty, while its Mag will hit the maximum value at level thirty. Aside from HP, then, there’s not a whole lot of difference between Omega Weapon at level 40~ and level 100, so in this case, “low level” should really be understood to mean between levels 10-20.
Some of Omega Weapon’s attacks are greatly hindered by being lower level, especially Terra Break, but Megiddo Flame and Light Pillar are just as effective. Either way, it’s very much a race against the clock, or more accurately, a battle between two heavy-hitters - both you and your foe are capable of dealing immense amounts of damage. It’s all a matter of who overpowers the other first.
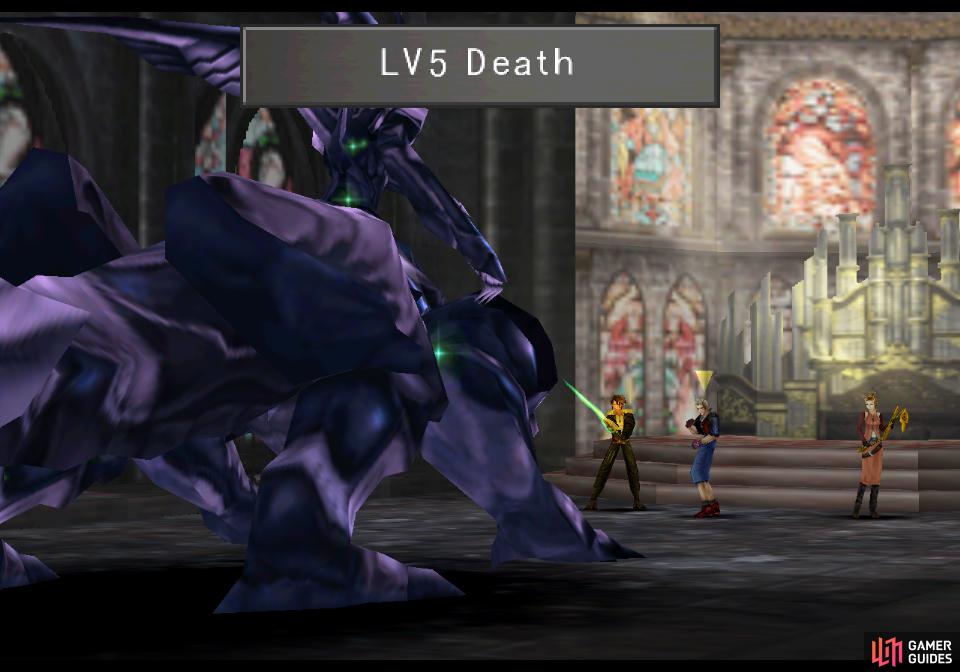
Fortunately, Omega Weapon’s attack routine is pretty standard, as he’ll always perform five specific attacks in a set order. The only aberration to this rhythm is its first attack, which is always Lv5 Death, and it’ll intersperse a random number of melee attacks in between these more significant moves. This grants Omega Weapon the illusion of spontaneity, but considering that these attacks aren’t remotely equally threatening, it’s comforting to know Omega Weapon won’t throw out a Megiddo Flame or Terra Break any time it wants to. It also can’t randomly spam Light Pillar like Ultima Weapon could, for what that’s worth.
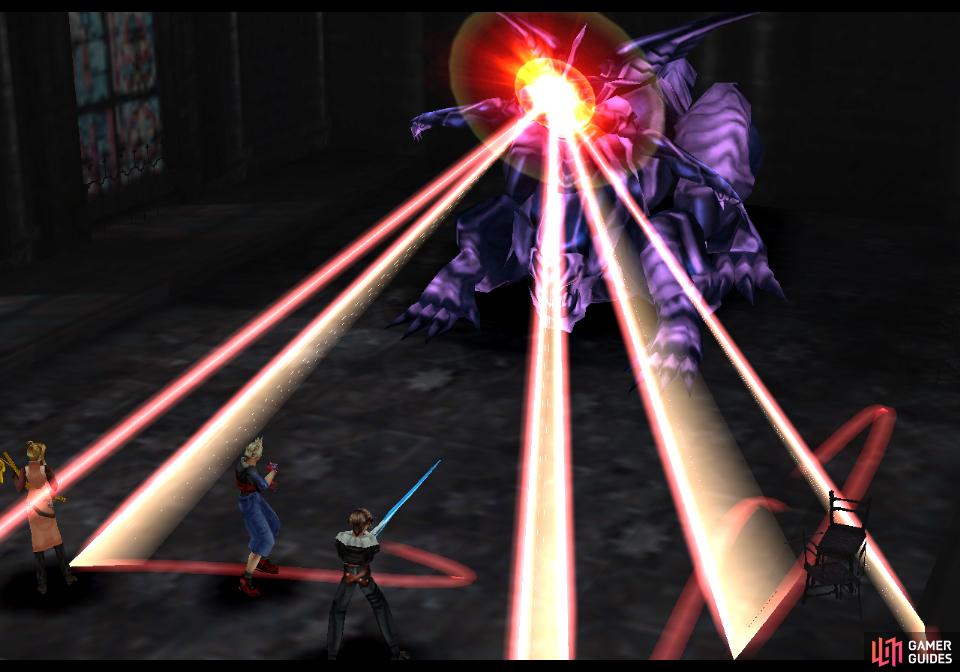
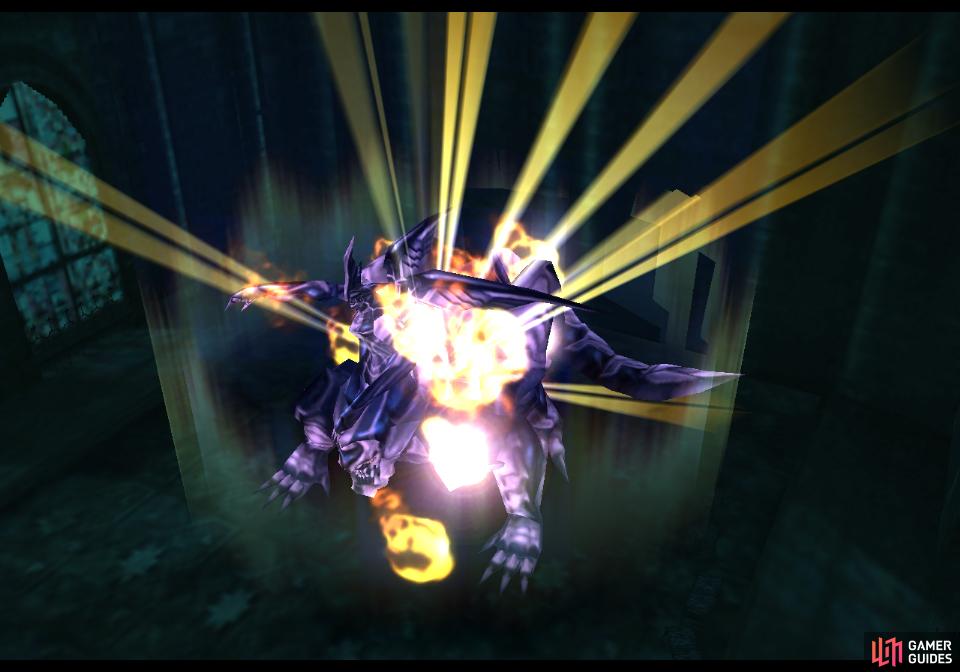
(1 of 6) Omega Weapon’s Megiddo Flame will deal exactly 9,998 damage to the entire party.
Anyways, here are Omega Weapon’s attacks, and some suggested responses:
Lv5 Death: Omega will always use this at the start of battle, and will only use it once. If your level is a multiple of five, you die… unless you are immune to the Death status effect, which you can (and should) accomplish by junctioning Death to your Magic Defense. If you’re immune to this, it’s basically free time for you to do whatever you please for a bit - take the opportunity to cast Meltdown on Omega Weapon, then buff yourselves with Aura and start laying into the superboss with limit breaks.
Meteor: Omega Weapon’s mileage will vary based on its level, but either way, this attack shouldn’t be a serious threat. Immediately toss a Megalixir and keep spamming limits.
Megiddo Flame: Hits the entire party for exactly 9,998 HP. If you healed after Meteor (and weren’t hit by any following melee attacks) you should be fine. Toss another Megalixir, revive any fallen characters, and keep using limit breaks.
Gravija: Another familiar attack, this will chip away 3/4 of your current HP, so it can’t kill you. Still, the melee attacks following Megiddo Flame can, so another Megalixir down the hatch. After this attack you might want to prepare for the upcoming Terra Break. If you’re on PC and your level is low… keep using limit breaks, as Terra Break won’t be that painful. Otherwise you’ll need to use the Defend command to mitigate damage (especially if you don’t have Auto-Protect) or failing that, use a Holy War.
Terra Break: Shoots numerous projectiles that hit each party member a random number of times, often split unevenly. Omega Weapon’s level drastically influences the damage output of this attack - if you’re low level and have Auto-Protect, each projectile can end up dealing a few hundred points of damage. Painful, but not a significant threat. If Omega Weapon is higher level, each projectile will potentially deal thousands of damage, becoming Omega Weapon’s most dangerous attack.
To survive it in these conditions you’ll need to toss a Holy War after healing following Omega Weapon’s Gravija attack, which should protect you for a while… although you won’t know it has worn off until you start taking damage again. Alternatively you can equip the Defend command and use that with two characters (it can be learned natively by the Brothers and Cactuar GFs). They’ll survive, and a quick bout of Full-Life and an odd Megalixir will get you back in shape.
Ultima: You’ve been hit by 255 Magic Ultimas before. It hurts, but you’ll survive it. Use a Megalixir and keep chipping away with limit breaks.
Light Pillar: A familiar and unwelcome attack from Ultima Weapon’s arsenal, it deals 9,999 damage to one target. Period. Use Full-Life to bring them back and keep using limits. Unlike Ultima Weapon, Omega Weapon will only use this once before moving back to Meteor and continuing his assault from there.
Start out with Meltdown, use Aura on your heavy-hitters and have them spam limit breaks. Toss a Megalixir after pretty much every major attack to ensure you survive the next one (not to mention the odd physical attack Omega Weapon throws your way). Use the Defend command or a Holy War to survive Terra Break, and if a character falls, use Full-Life to bring them back fully healed. If multiple characters are KO’d, use a Mega-Phoenix followed by a Megalixir. The higher your level (or if you’re on Playstation) the longer this fight will take, and we’d be lying if we didn’t admit RNG can be a factor. If Squall uses Lionheart twice in a row, that can shave off around half of level 100 Omega Weapon’s HP right there.
Persist, respond to Omega Weapon’s attacks accordingly, and you should eventually bring the beast down. On PC this can be something of a lackluster win due to… well, it just doesn’t take Zell and Squall long to smash through 200,000 HP. On Playstation you’ll score the Proof of Omega, showing off to all your friends that you did the thing in a 20+ year old game. On PC you’ll get the achievement “Omega Destroyed”. For somewhat less dubious rewards you’ll also get a Three Stars item and a whopping 250 AP.
With Omega Weapon defeated, you’ve proved you’re the baddest thing in Final Fantasy VIII, taking down Ultimecia should be little more than a formality. Speaking of which…
No Comments