
Ultimecia’s Castle may ostensibly be moored outside of Edea’s House, but like all civilized locales caught amidst the throes of time compression, there’s a magical barrier keeping you out. That being the case, you’ll have to go through one of the portals dotted across the map to return to the interior of the orphanage, and by extension, to the outskirts of Ultimecia’s Castle.
One you should know, as it’s the one you took en route to recovering the Ragnarok - just fly north of the Centra Ruins until you find it. Another can be found along a beach off the northeastern coast of the Esthar continent, just outside of Grandidi Forest. A third can be found west of Deling City and a fourth can be found near the Kashkabald Desert. The first three correspond to the middle, upper, and lower portals near Ultimecia’s Castle, respectively, while the one near the Kashkabald Desert, if used, will summon a fourth gate outside of Ultimecia’s Castle (to the right of the chain).
Final Preparations
Before you go to Ultimecia’s Castle, you should make sure your characters are in top shape. You can leave Ultimecia’s Castle at any time, so you don’t need to worry on that front, but there’s no reason you need to subject yourself to an ignominious retreat if you can go in prepared. Most foes have been fairly easy up until this point, but there’s a bit of a complication in Ultimecia’s Castle that can make otherwise trivial foes more challenging. The only way to counter this is by having as many junction options as possible (this means possessing GFs) and of course having high-tier magic to junction into your stats.
If there are any GFs you missed but can still acquire outside of Ultimecia’s Castle (Brothers, Diablos, Doomtrain, Bahamut, Cactuar, Tonberry, Eden), consider going back and doing so now. If you don’t have adequate stocks of the best spells in the game (Ultima, Triple, Meteor, Full-Life, Aura, Holy, Flare, etc.), go to the Islands Closest to Heaven and Hell and stock up. If you completed the CC Group quest and can play them on the Ragnarok, take advantage of this by refining cards into useful items for use in battle, or to teach your GFs abilities. Useful abilities include:
-
Auto-Haste - learned natively by Cerberus, can be taught via Accelerator items (Card Mod the Kiros Card).
-
Auto-Protect - learned natively by Bahamut, can be taught via Steel Curtain items (refine 20x Adamantine, Mug Adamantine from high-level (30+) Adamantoise on the beaches west of Dollet, or Card Mod the Minotaur Card).
-
Auto-Shell - learned natively by Doomtrain, can be taught via Moon Curtain items (Card Mod the Alexander Card, or refine 20x Magic Armlets, which in turn can be refined from Force Armlet items, which can be purchased from the Esthar Pet Shop via Tonberry’s Call Shop ability).
-
Enc-None - learned natively by Diablos.
-
HP+80% - learned natively by Brothers and Diablos, can be taught via Gaea’s Ring items (Card Mod the Ward Card, dropped by Jumbo Cactuar, or refined from 10x Giant’s Ring items, which can be purchased from the Esthar Pet Shop via Tonberry’s Call Shop ability).
-
Mag+60% - learned natively by Bahamut, can be taught via Royal Crown items (Card Mod the Edea Card, dropped by Tonberry King, or refined from 10x Hypno Crown items, which can be purchased from the Esthar Pet Shop via Tonberry’s Call Shop ability).
-
Str+60% - learned natively by Bahamut, can be taught via Hyper Wrist items (Card Mod the Zell Card, dropped by or stolen from Bahamut, or refined from 10x Power Wrist items, which can be purchased from the Esthar Pet Shop via Tonberry’s Call Shop ability).
Given your level and the amount of grinding you may have done, you might be able to dispense with some of these. Ideally, if you have all the GFs and full stocks of high-tier spells, you don’t need Mag+60% handy. If your Strength score is at 200+ (or better yet, nearing the max of 255) without Str+60%, you can safely dispense with it. If your HP are at or above 8,000 without HP+80%, you don’t need that ability, either. A party with 200+ Strength, 8,000+ HP who can go into battle with Auto-Haste, Auto-Protect and Auto-Shell equipped, who have the GFs and spells to make themselves nearly immune to all elements and several choice status effects are in a condition to defeat anything that stands before them, and in most cases, with contemptuous ease.
Much more attainable, however, a low-level party can go into the castle with roughly the same stats, but with Auto-Haste, HP+80% and Str+60% equipped, which is more than sufficient to utterly trounce most foes. Even that’s not necessary, however - so long as your characters have 200+ Strength, 8,000+ HP and the ability to respond to specific elemental and/or status effects, you should be fine. If not… well, there are plenty of ways you can still boost your stats, including by acquiring the aforementioned GFs, spells and abilities.
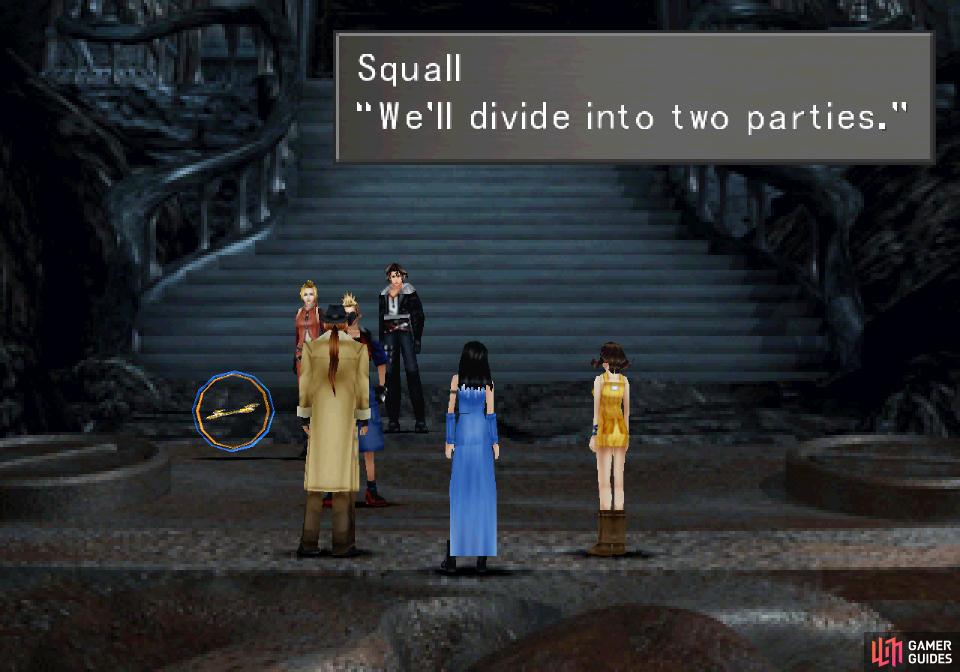
(1 of 3) When you approach Ultimeca’s Castle you’ll be forced to split into two parties.
Sealed Powers in Ultimecia’s Castle
When you’re ready, cross the massive chain to reach Ultimecia’s Castle, where you’ll have to endure some chatter and form up into two parties, after which enter the castle and you’ll be informed that almost all of your “powers” have been sealed. By “powers” they mean various actions you can take in combat, including the following:
-
Command ability - this includes all optional, equippable commands, including Absorb, Card, Darkside, Defend, Devour, Doom, Kamikaze, LV Down, LV Up, Mad Rush, Recover, Revive, and Treatment.
-
Draw - cannot use the Draw command.
-
GF - cannot use the GF command.
-
Item - cannot use the Item command.
-
Limit Break - cannot use limit breaks.
-
Magic - cannot use the Magic command.
-
Resurrection - all means of recovering from KO unavailable.
-
Save - save option at Save Points will not be accessible.
So, where does this leave you? Well, in the confines of Ultimecia’s Castle you can currently only use the Attack command. You cannot save, and if somebody is KO’d, you cannot bring them back. Every time you defeat one of Ultimecia’s servants, however, you’ll be able to choose a “power” to unlock. Also, if you leave the castle these restrictions will be lifted, allowing you to save and revive fallen companions without losing any of your progress. If it seems pretty generous to the point of being almost trivial… well, then you’ve been following this guide, built up a strong party, and have Enc-None. If that’s not the case, the aforementioned restrictions can be quite restrictive.
Last warning - go get yourself spell stocks, junction spells so that you have 200+ Strength, 8,000+ HP and Enc-None.
Also the green circle just to the left of where you entered the castle. When you find these you’ll be able to switch junctions, switch party members in and out of your party, and switch between parties at these spots. Navigating this castle isn’t just a matter of defeating the foes within, as there are some puzzle elements that need to be cleared. Most of this can be done with one party, but at some points you might need to switch parties to solve a puzzle… or just switch to a party closer to the exit for quicker egress.
With that out of the way, let’s start exploring this castle, destroying Ultimecia’s pets, unlocking abilities, and making our way towards Ultimecia herself. Your first targets should be Sphinxaur and Sphinxara, whose power (or lack thereof) makes them easy first targets.
No Comments