
To move on with things, leave the Deep Sea Research Center and return to the Ragnarok (you actually have to return to the cockpit, not just fly around in the ship), then land on the Deep Sea Research Center again and head inside. You should now find a Save Point in the room where you fought Bahamut, and better yet you can climb down the hole in the ground to reach the lower levels. Save your game and take the plunge. If you want to avoid random encounters, equip Enc-None and if you want to mitigate XP gain, keep LV Down handy. You should also bring Zell along - not just because his limit break is excellent, but because his presence can help make an upcoming puzzle more forgiving, and give you another option besides simply reaching your destination.
When you reach the depths, your party will split up. Note a Dispel draw point, then either talk to your party members to have one possibly spot a terminal under some rubble, or just search the bottom left of the screen to find the same terminal. Either way, you’ll start up the steam puzzle - if that’s the correct word - that’ll get you to the bottom of the Deep Sea Research Center, where some “excavation site” can be found. Thus far nothing good has come from being excavated in this game, but where there’s trouble, there’s also profit.
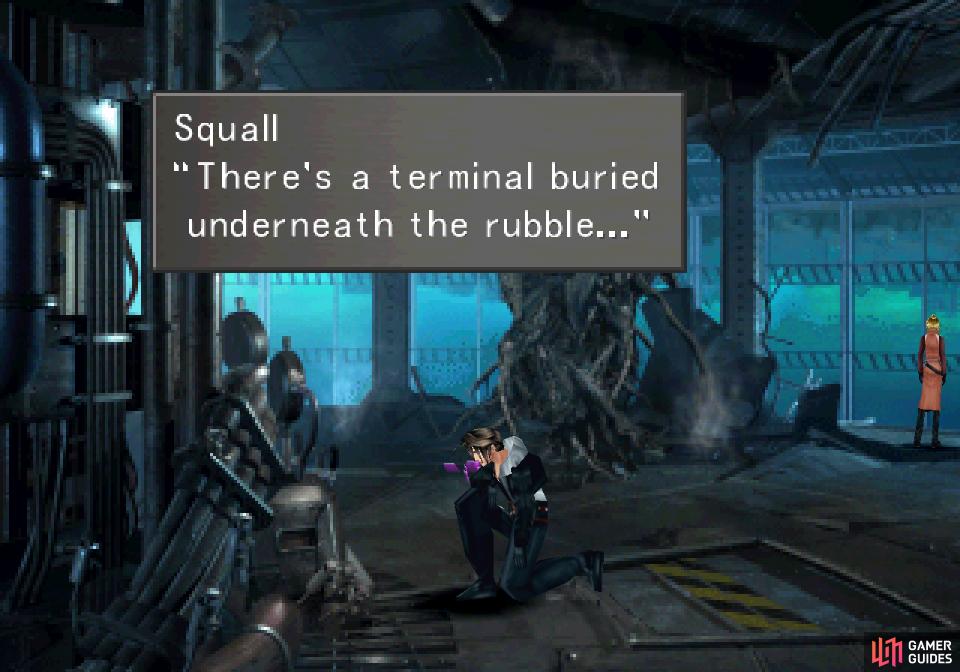
Find a terminal to learn about the puzzle ahead
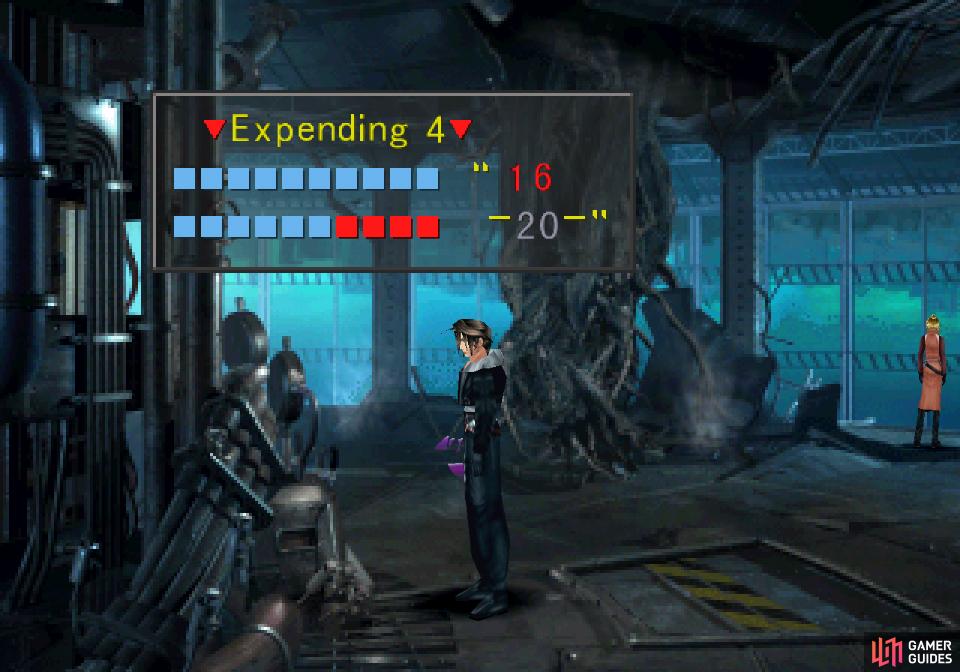
and you’ll automatically use 4 RSP to get to the next floor.
To simplify the in-game description of the task at hand, you have twenty units of “Reserve Steam Pressure’’ (RSP) that can be expended to open doors to lower levels. The amount of steam expended affects the route you’ll take, and while complicated-seeming, you generally want to expend as little RSP as possible while descending… save for the first time you get a choice. After the overly-long tutorial you’ll automatically expend 4 RSP to open the way to the next level, and before you descend… well, nothing is ever quite as simple as merely reaching your destination.
Below we’ll discuss The Cursed Spike Grind, which is something to consider for the gains you can make from it. If you don’t want to min-max to an absurd degree, however, skip ahead to “Descending To the Excavation Site”.
The Cursed Spike Grind
Not only will you consume RSP while descending through the depths of the Deep Sea Research Center, but you’ll also need ten RSP to achieve your ultimate goal once you reach the bottom of the excavation site. A deciding point awaits you at the bottom of the Deep Sea Research Center, where some machinery controls a door that leads to the excavation site. This door will consume four RSP to open, but if you have Zell with you, you can opt to let him tinker with the machine (pick the option Well… Zell’s pretty good with machinery). This will only be offered to you if you have between 10-13 RSP, and hence you’ll need Zell’s assistance to reach the bottom with enough RSP to complete your objective. If you use Zell, however, the monsters in the excavation site will be roused and you’ll have to fight through them to reach the bottom - Enc-None will not bypass them, although it will still avoid other random encounters along the way.
The monsters you’ll fight can be tough, but a well-prepared party can defeat them with little trouble. With LV Down you can even avoid gaining much XP while doing so! These fights do include rare monsters, however, and the encounters are fixed and repeatable, making it a prime spot to hunt for some choice gear. The real consideration here is the first set of fixed encounters, where you can fight some Tri-Face enemies, and particularly the Curse Spike items they yield:
| Tri-Face | |
|---|---|
| Lv: | 1-100 |
| HP: (Lv10) | 6,390 |
| HP: (Lv20) | 7,040 |
| HP: (Lv30) | 7,950 |
| HP: (Lv100) | 21,600 |
| Weaknesses: | Fire (250% damage), Holy (300% damage) |
| Resistances: | Poison (Absorbs) |
| Status Resistances: | Immune to Berserk, Confuse, Float, Poison, Silence, Slow-Petrify; Card 0% – Darkness 60% – Death 60% – Doom 20% – Drain 0% – Eject 20% – Haste 0% – LV Down 0% – LV Up 0% – Reflect 0% – Regen 0% – Sleep 20% – Slow 10% – Stop 80% – The End 0% – Zombie 40% |
| EXP: | 130 - 4,090 |
| AP: | 8 |
| Draw: (lv1-19) | Blind, Silence |
| Draw: (lv20-29) | Blind, Bio, Silence, Slow |
| Draw: (lv30+) | Bio, Flare, Pain, Stop |
| Mug: (lv1-19) | Curse Spike x1-2 |
| Mug: (lv20-29) | Curse Spike x2-3 |
| Mug: (lv30+) | Curse Spike x6-8 |
| Drop: (lv1-19) | Poison Powder x3, Dead Spirit x2, Curse Spike x2 |
| Drop: (lv20-29) | Poison Powder x6, Dead Spirit x4, Curse Spike x2-3 |
| Drop: (lv30+) | Poison Powder x8, Curse Spike x8, Star Fragment x3 |
They’re not terribly challenging foes, and at lower levels a single powerful strike can kill them or leave them weak enough to card. The reason they’re interesting to fight as static encounters, however, is the fact that you can Mug up to 8x Curse Spikes from one (the higher the level, the better), and 100x Curse Spikes can be refined into Dark Matter, which in turn can be refined into a variety of rare and useful items like Shaman Stones and Luck-J Scrolls, which in turn… well, just peruse the table below:
| Item | Refines Into | Ability |
|---|---|---|
| Curse Spike | 100 = Dark Matter x1 | Tool-RF |
| Dark Matter | 1 = Luck-J Scroll x1 | GFAbl Med-RF |
| Dark Matter | 1 = Shaman Stone x1 | Tool-RF |
| Dark Matter | 1 = Ultima x100 | Forbid Mag-RF |
| Luck-J Scroll | 1 = Luck Up x1 | Forbid Med-RF |
| Shaman Stone | 1 = LuvLuvG x1 | Tool-RF |
| Shaman Stone | 1 = Rosetta Stone x1 | GFAbl Med-RF |
| Shaman Stone | 10 = Hero-Trial x1 | Forbid Med-RF |
The real takeaways here are the Luck-J Scrolls, which in turn can be refined into Luck Ups. This is the only even remotely viable way to boost your Luck in a significant manner, and if you’re a hardcore min-maxer, it should be your goal to get Zell to open the door to the excavation site for you so you can reliably and repeatedly encounter Tri-Face enemies. Being able to get more Rosetta Stones (in case you need to teach more GFs Abilityx4), somewhat easy stocks of Ultima (if you’re too lazy to draw them from the Islands Closest to Heaven/Hell or the Shumi Village) or if you just want to score more Hero-Trial items are also considerations.
Either way, you’ll need 100x Curse Spikes to get Dark Matter - the prerequisite for any of these refines - and at the absolute quickest that’s thirteen Tri-Face enemies per stock of Curse Spikes. Thirteen Tri-Faces (again, at best) per Luck Up with a maximum Luck score of 255 means you’ll conservatively need to get around 200x Luck Up items for a level 100 character with Death junctioned to Luck-J to reach the stat cap. That’s 2,600 Tri-Faces to max out one character’s Luck.
Whether that’s a wise investment of time we leave up to you, but it’s certainly not required to beat the game. If your goal is to gain strength sufficient to conquer all that stands before you, there are better stats worth grinding, and keeping your level low will assist more than boosting your Luck stat. On the other hand, if you just want to max everything out, and that’s your goal entirely detached from any other consideration… well, it’s a choice you’ll have to make, as once you conquer this place you won’t have the reliable Tri-Face battles anymore.
Whether you intend to grind Curse Spikes or if you just want to provoke the fixed monster encounters for whatever reason or if you just want to reach the bottom of this place as quickly, safely and directly as possible, continue on with the following section “Descending To the Excavation Site”. Either way, you’ll be told when to take varying actions to achieve your goal.
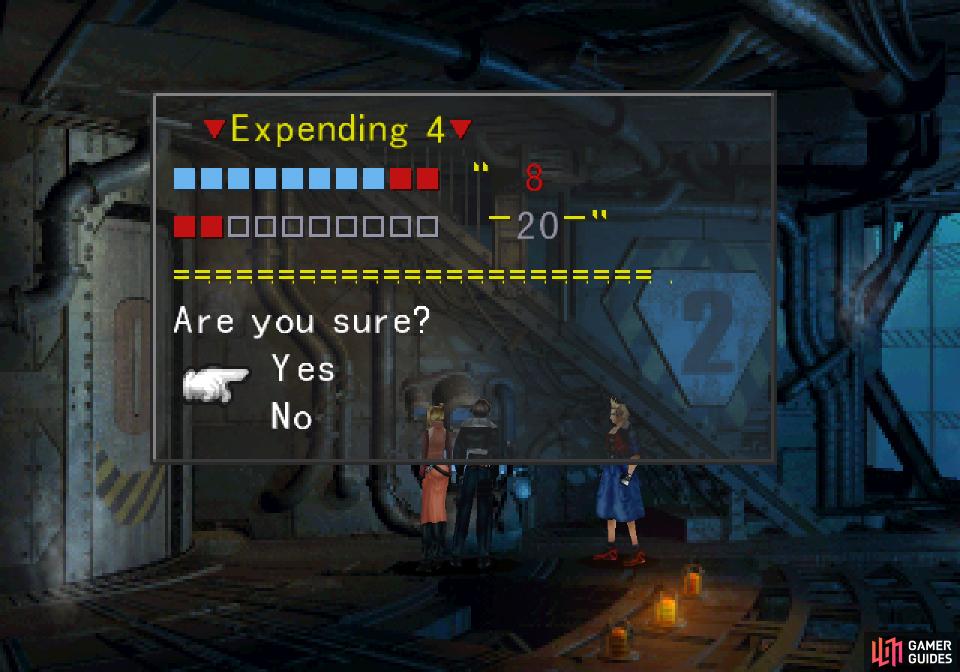
Expend some RSP to open a side door
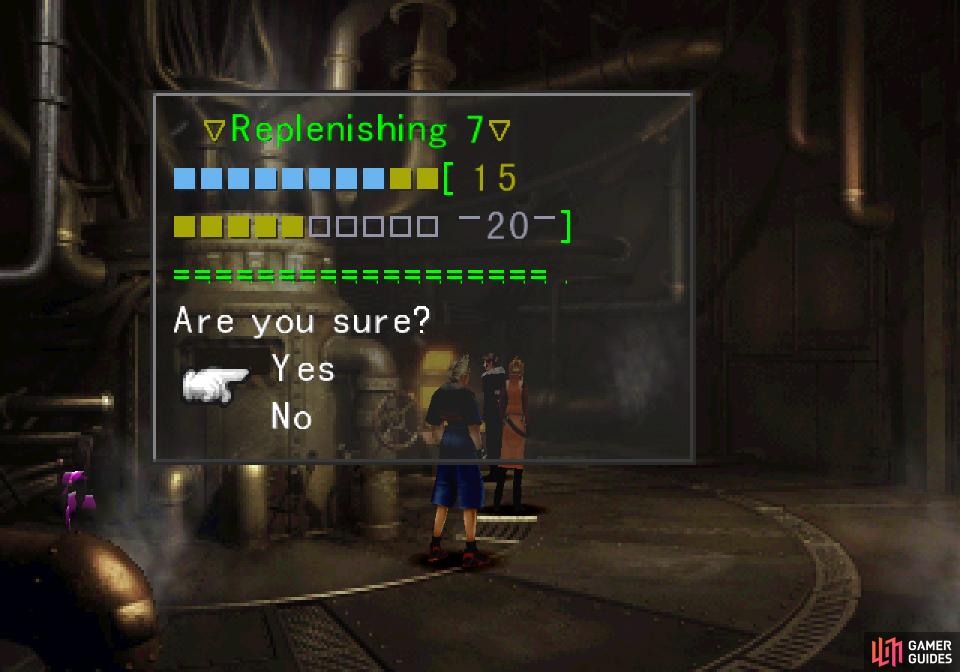
inside of which you’ll be able to stock up on more RSP!
Descending To the Excavation Site
You should have expended four RSP to open to the door to the 2nd floor, and there’s a lot of repetition here, so let’s do a quick rundown of how to reach the excavation site:
-
Floor 1: You’ll automatically expend 4 RSP to open the way to Floor 2.
-
Floor 2: Use the terminal to the right of the stairs and use 2 RSP to open the way to Floor 3.
-
Floor 3: Use a terminal under the stairs and expend 4 RSP to open a door to the left. Go through the door and use a terminal to recover 7 RSP (note the Esuna draw point in this room). Return back to the room to the right and use a terminal to the right of the stairs, where you’ll need to make a choice. If you want to force monster spawns in the excavation site (you want to grind Tri-Face enemies, for example), expend 2 RSP to descend to Floor 4. If you want to avoid monster spawns in the excavation site, use 1 RSP to descend to Floor 4.
-
Floor 4: Use the terminal to the right of the stairs and expend 1 RSP to open the way to Floor 5.
-
Floor 5: Use the terminal to the right of the stairs and expend 1 RSP to open the way to Floor 6 - ride the elevator down.

(1 of 3) If you reach the door to the excavation site with between 10 and 13 RSP, Zell will offer to assist.
- Floor 6: Machinery dominates this room, and if you have between 10-13 RSP and have Zell in your party, he’ll interrupt you when you investigate said machinery. Pick the option Well… Zell’s pretty good with machinery and he’ll end up strong-arming the door to the left without expending any RSP. If you have 14 RSP, Zell won’t offer to help and you can just use 4 RSP to open the door to the left. If Zell opens the door, you’ll face a series of unavoidable encounters as you descend through the excavation site, otherwise Enc-None can get you through unmolested. Either way, you need to have at least 10 RSP reserved when you pass through the door if you want to finish this area.
Proceed how you wish and when you pass through the door to the left you’ll be out of the Deep Sea Research Center and in the excavation site. Don’t get too excited, however… your goal is still a long way down.
Descending Through the Excavation Site
In the next screen you’ll find yourself in some ruins. Hooray! Ruins! Continue left to reach a much-appreciated Save Point and if you get into a fight with a Tri-Face long the way… well, you probably used Zell to open the door. If so, you can expect many more fights ahead, even if you keep Enc-None on. If that’s your goal and you want to grind Tri-Face enemies, just kill the three on this map by running around to their invisible spawn spots (one is near the Save Point and two more are en route to the lower level, so you should easily find them all just by running through), exit the screen, return, and do it again.
Spend as much time grinding Tri-Faces as you wish, and if you really intend to boost your Luck, you might as well consider your expedition through the excavation site over. If you proceed to the end, you won’t be able to trigger the fixed encounters anymore, and everything you can obtain at the bottom of the excavation site you can acquire elsewhere later.
Assuming you do plan to continue on (which you should as long as you’re a player who doesn’t care to obsessively min-max for relatively small gameplay benefits), however, it’s a rather linear shot to the bottom that’ll force you to descend through several screens. If you didn’t use Zell to open the door earlier and have Enc-None equipped, it’ll be a leisure stroll downstairs, but if you used Zell to open the door, expect plenty of fights ahead:
-
The first level (with the Save Point) is guarded by three Tri-Face enemies.
-
The second level will force you to fight three battles with a Grendel and Imp combo. If you want to keep your XP low, junction Berserk to your Status Defense to make yourself immune to Berserk, which should prevent any accidents. The Imp can also inflict Blind.
-
The third level features three Behemoth enemies. Their minimum HP are rather high (35,000~ at level 1), so expect them to withstand some punishment, even at low levels.
-
On the fourth level you’ll encounter three Ruby Dragons.
-
On the fifth level are three encounters, each consisting of a pair of Iron Giants.
Again, you can’t avoid these encounters with Enc-None, nor can you flee from them. You can, however, use LV Down to reduce the levels of the enemies to ensure you get 1-2 XP per kill, which should mitigate your leveling. Aside from the enemies, the only things of note is the Triple draw point during your descent (Ruby Dragon floor) and a hidden Ultima draw point near the end of the Iron Giant floor.
When you reach the bottom use the hidden Save Point (Move-Find is pulling its weight, here!) and make sure you’re ready for one hell of a fight. There’s not much in the way of elemental or status weaknesses you can target or defend against, so just ensure your HP and Str stats are high, then investigate some machinery and ensure at least one character has the Draw command. Other useful commands include Revive and Recover, and it’s not a bad idea to have Magic and Item commands ready in case you need some healing.
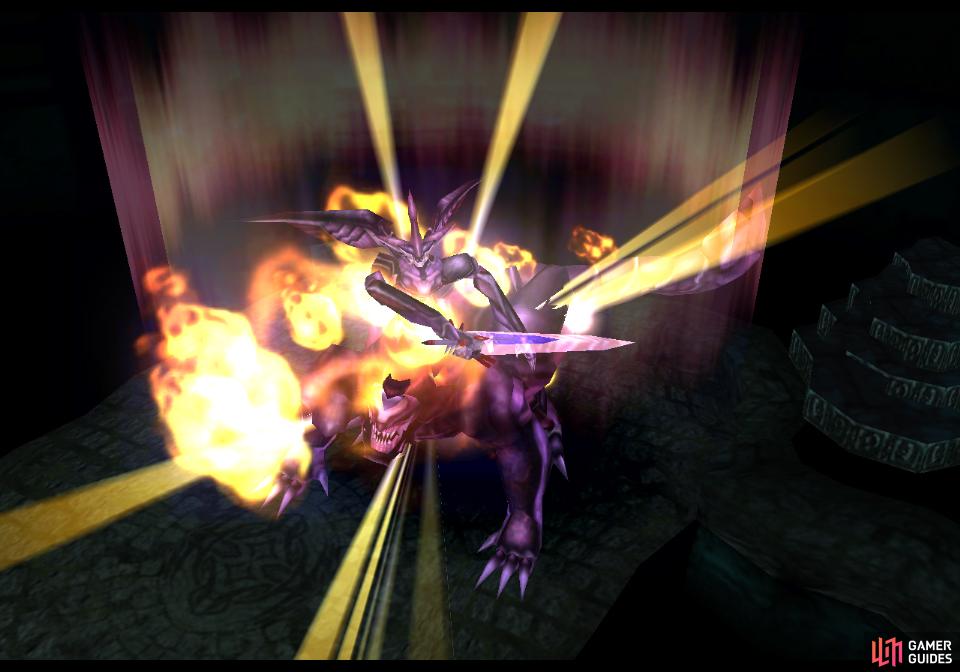
When you’re ready, interact with some machinery to the right and expend 10 RSP. Whatever was built here will activate, the air will grow heavy, and a beast of unimaginable power will emerge from the depths…
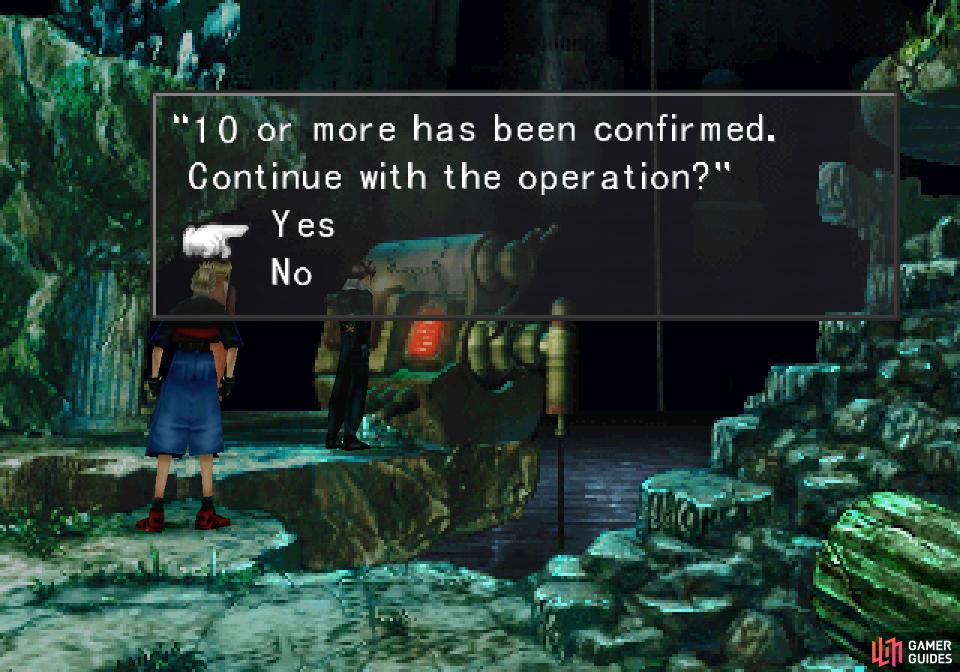
Reach the bottom of the excavation site with 10 RSP and you’ll be able to continue the work of whomever built this base.
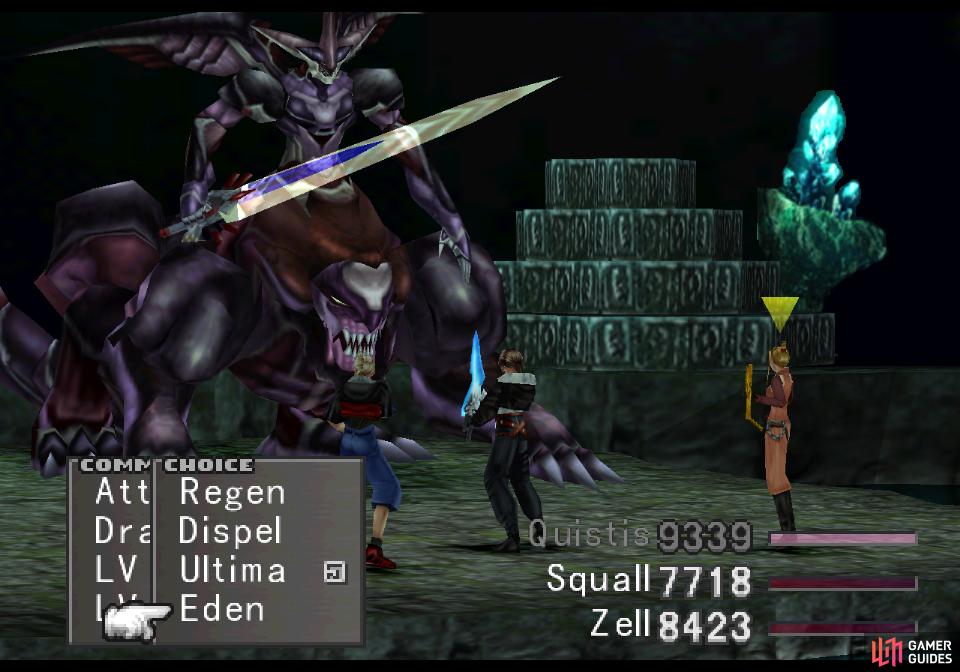
This summons Ultima Weapon, from which you can draw the Eden GF.
Boss - Ultima Weapon
One of the game’s two superbosses, Ultima Weapon is no joke. There’s no “but a low-level party won’t have much trouble” this time around, as Ultima Weapon can wipe the floor with any party, regardless of their level or strength.
| Ultima Weapon | |
|---|---|
| Lv: | 1-100 |
| HP: (Lv10) | 61,000 |
| HP: (Lv20) | 72,000 |
| HP: (Lv30) | 83,000 |
| HP: (Lv100) | 160,000 |
| Weaknesses: | – |
| Resistances: | Gravity (immune) |
| Status Resistances: | Immune to most status effects; The End 0% |
| EXP: | 130 - 4,090 |
| AP: | 8 |
| Draw: | Dispel, Eden, Regen, Ultima |
| Mug: | Three Stars x1 |
| Drop: | Ultima Stone x100 |
Speed is of the essence, as Ultima Weapon has an attack called Light Pillar. There’s no dodging it, no mitigating its damage, if Ultima Weapon uses it, somebody dies, as it deals a whopping 9,999 to any one character. Ultima Weapon can be shameless about spamming it, too, and will sometimes use this spell in quick succession. If he uses it, immediately drop everything and respond by reviving the downed character with the Revive ability, Full-LIfe, or failing that, a Phoenix Down.
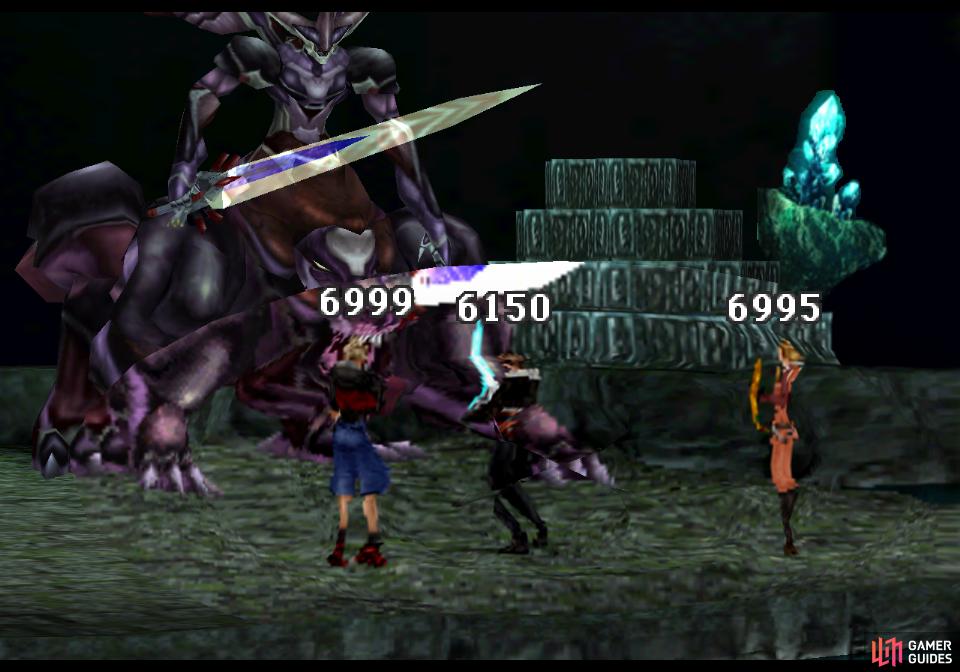
Ultima Weapon’s two most dangerous attacks are Gravija, which will reduce the entire party’s HP to 3/4 of their current total
and Light Pillar, which will deal 9,999 damage to one character - no exceptions.
Ultima Weapon also has Gravija, which reduces a character’s HP to 1/4 of its current amount. This can’t kill anybody, but it does leave them vulnerable to other attacks. These other attacks include Quake (earth elemental damage to the entire party), Meteor (multi-hit to random targets, non-elemental damage) and a normal melee attack, which is moderately powerful, at worst… but enough to worry a character weakened by Gravija, at least if you’re not low level.
Start out the fight by drawing Eden from Ultima Weapon. This is what you descended into these depths for. Once done, cast Meltdown on Ultima Weapon to obliterate its defenses, then cast Aura on your characters - anybody who has a potent limit break (again, Irvine, Squall and Zell) are candidates. Once done, spam limit breaks and revive characters as they’re struck down by Light Pillar. If you’re low level and lucky, Ultima Weapon could fall in a single Lionheart, otherwise it could take quite a few shots to whittle down Ultima Weapon’s HP, which at the high end are 160,000.
When Ultima Weapon is vanquished you’ll earn 100 AP, the Eden Card and 100x Ultima Stone items, provided you didn’t steal a Three Stars from Ultima Weapon. Considering your odds of stealing a Three Stars is 3%, it’s probably not worth your time - not when you can just Card Mod the Squall Card to achieve as many as you’ll ever need. Congrats! One of the game’s superbosses has fallen to you - you’re by far the baddest thing on disc 3. More importantly, you’ve got the Eden GF, which should be the last GF in the game, assuming you’re following this guide.
Eden opens up some serious grinding possibilities, which will be gone over in more detail an upcoming section, Max Stat Boosting, but first, let’s find Eden a home, shall we?
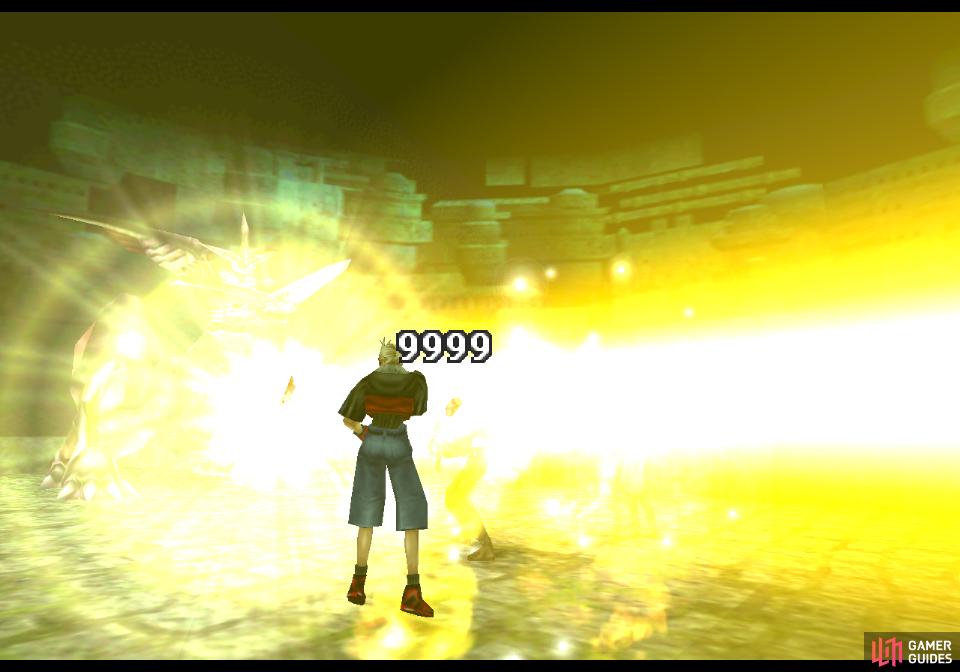
GF - Eden
First thing to note about Eden is it’s one of the few ways to break the damage limit with a single attack - Eden’s the only GF who does so. Its lengthy attack animation gives you plenty of time to boost, and a high-level, well-boosted Eden can deal tens of thousands of damage in a single hit. A low-level party might not get the most out of Eden (and anybody playing on PC might have trouble boosting for top damage), but otherwise, it’s a fine consideration as another source of damage - one that might determine who you junction Eden to. Irvine, Squall and Zell certainly don’t need another way to deal massive damage, after all.
As for abilities, Eden comes with Spd-J as well as the rare Eva-J and Hit-J already learned. By now, every character should have Spd-J (Pandemona, Cerberus and any one Spd-J Scroll, while Hit-J is known by Diablos and Cerberus. Eva-J is only on Cactuar, but you can acquire Aegis Amulets shortly which can teach the ability to other GFs. There is, however, no other way to learn Hit-J, so Eden should go to whomever doesn’t have either the Diablos or Cerberus GF - for us, that’s the Ifrit-user. Not that Hit-J is a terribly vital stat, mind you, and Eden can be shifted around as needed if you wanted to, say, use its Devour ability to boost a character… But in any event, here’s how our junctions ultimately end up:
Character 1: Ifrit + Carbuncle + Leviathan + Alexander + Tonberry + Eden
Character 2: Shiva + Siren + Diablos + Pandemona + Doomtrain
Character 3: Quezacotl + Brothers + Cerberus + Bahamut + Cactuar
Speaking of Devour, Eden has other abilities beyond the ones that justify where you junction it. For starters there’s the aforementioned Devour ability, which allows you to consume enemies (yum!) in an attempt to gain stat boosts. This will be covered in greater detail in the upcoming Max Stat Boosting, but for the broad strokes: Devour is one of several ways you can boost your character’s stats.
In this regard, Eden is the gift that keeps on giving, as Eden can also learn the mighty GFAbl Med-RF ability, which will allow you to turn some humble, store-bought goodies into permanent stat-boosting items. Boosting your character stats without having to fight, earn XP or any of that nasty business… it’s good stuff, but tedious. Also something to be saved for the upcoming Max Stat Boosting section.
Finally, Eden possesses the Expendx3-1 ability, which will allow you to use Triple to cast three spells while expending only one of your spell stocks per cast. Not a bad ability if you fancy a spell offensive, but you can also teach it to other GFs with Three Stars items, which you can obtain via a side quest that’ll be covered later, or by using Card Mod on the Squall Card.
As for the Eden Card, it’s a fine playing card, with strong left (A) and bottom (9) sides. You can use Card Mod to refine the Eden Card into three Monk’s Code items, which will teach a GF the Counter ability. Rather dubious, really, so just keep ahold of the card, unless you fancy refining the Monk’s Code item into some Str Up items via Forbid Med-RF.
Now that you have Eden, we’re almost ready to get around to min-maxing, but there are a few more quests to do and some idle-grinding for items that you can consider via Rinoa’s Angelo Search ability. Generally the prizes you’re looking for from these upcoming sections are items to teach GFs the following abilities: Eva-J (Aegis Amulet), Luck-J (Luck-J Scrolls), Auto-Protect and Auto-Shell (Steel Curtain and Moon Curtain, respectively) and possibly Devour (Hungry Cookpot).
To that end, let’s talk about Angelo Search.
No Comments