
This section will be somewhat card-and-quest heavy, and light on the combat, but there’s still some solid gains you can make here. First, if you haven’t won the Seifer card from Cid yet, challenge him to a game and do so now. His cards are somewhat better than they would have been if you did that at the earliest opportunity (after being given your first mission but before boarding the train to Timber), but then again, so is yours. Aside from the excellent Seifer card he’ll now play Level 7 Boss cards and lesser cards, but he’s by no means unbeatable.
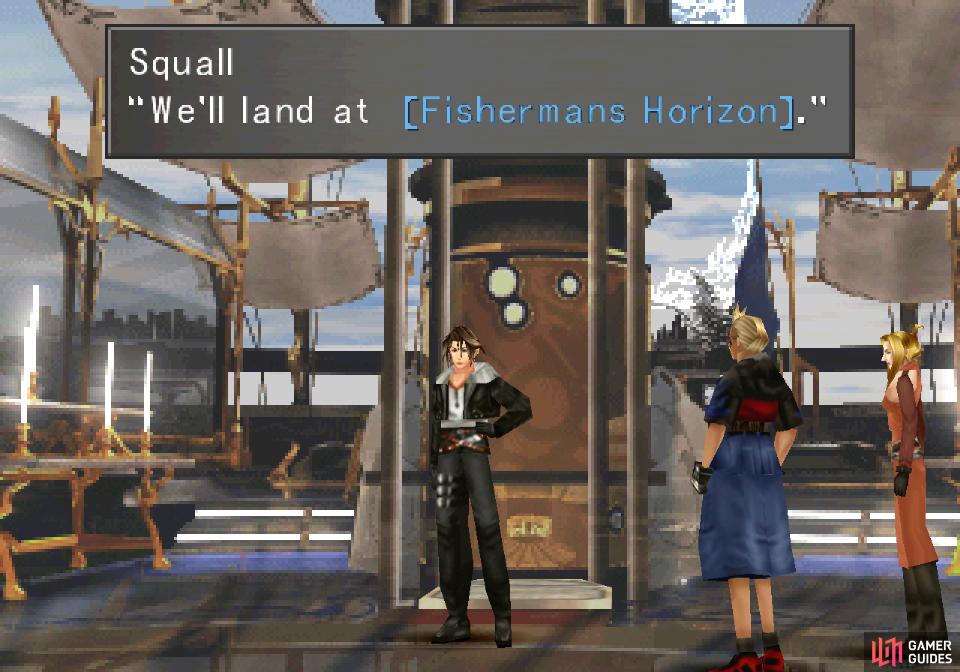
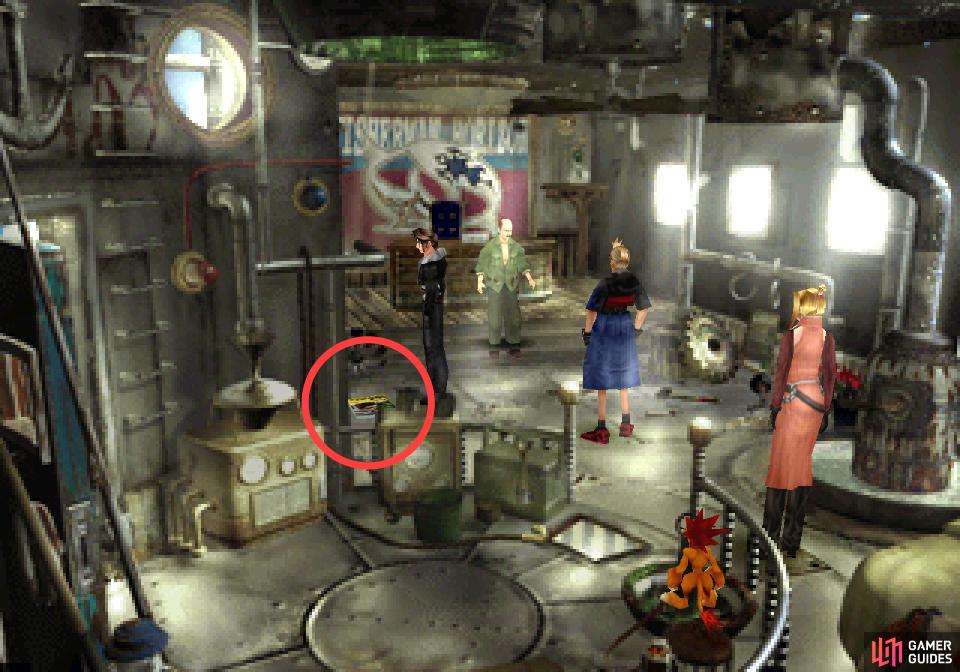
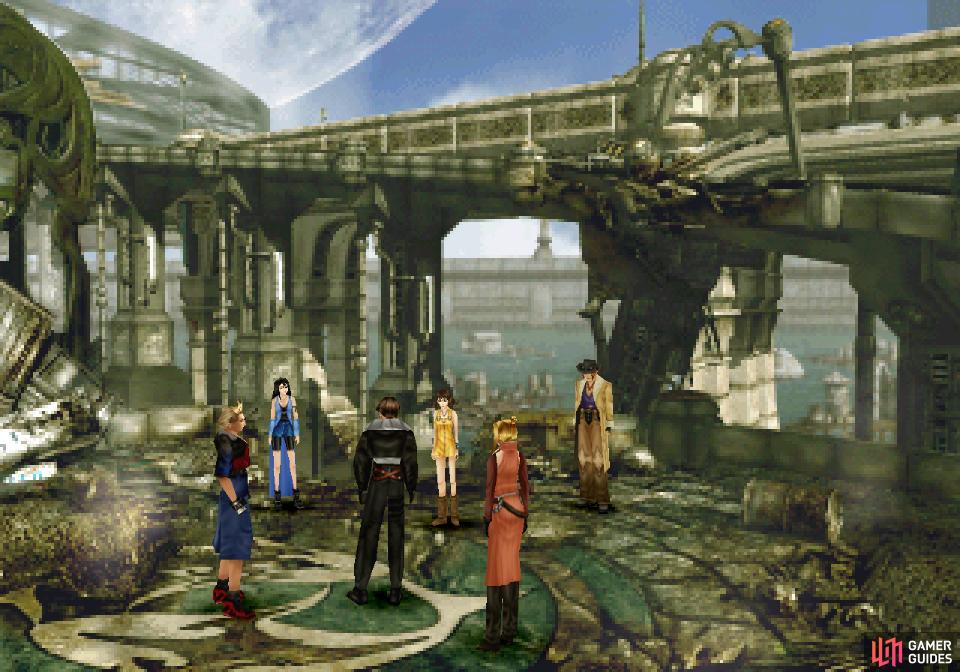
(1 of 2) After meeting with Cid, gather you party
After meeting with Cid, gather you party (left), and venture out to meet the residents of Fisherman’s Horizon (right)
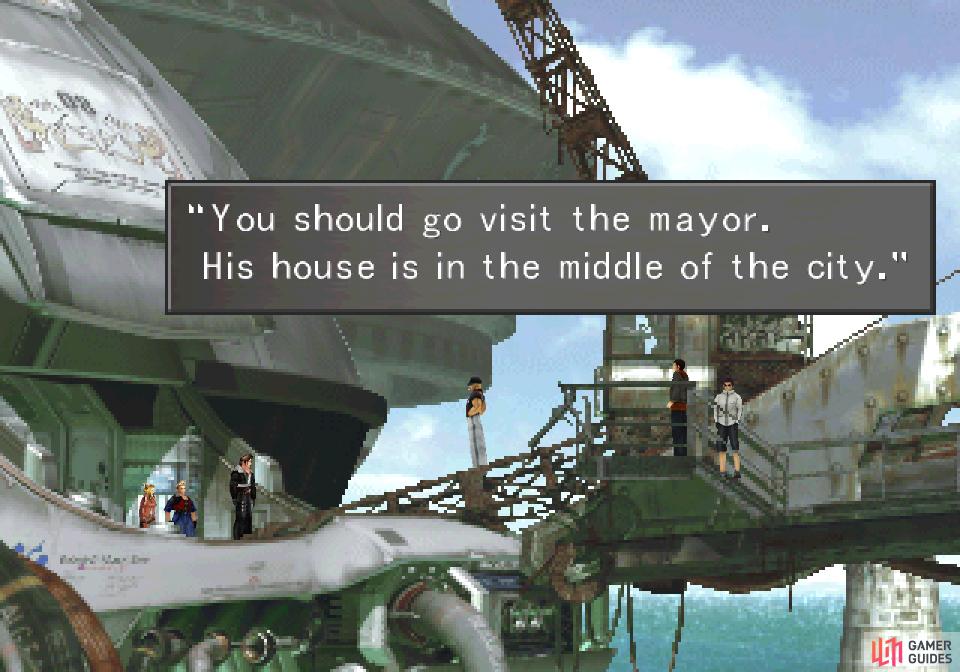
When you’re ready to move on, head to the 2nd floor balcony and you’ll meet some of the locals whose home you crashed into. Given the circumstances they’re pretty chill, only requiring that you remain peaceful while you’re in Fisherman’s Horizon. They’ll also direct you to their mayor, presumably to deal with the more detailed diplomacy regarding the incident.

(1 of 3) Climb down a hard-to-see ladder
Occult Fan III and the Fisherman’s Pupil
Continue right through this screen and the next until you’re on a walkway encircling a massive silo. Tower? Whatever it is, on the right-hand side of the walkway you’ll find an elevator leading down, which is where you need to go to meet the mayor, but first search for a very hard-to-see ladder on the left-hand side of the walkway.
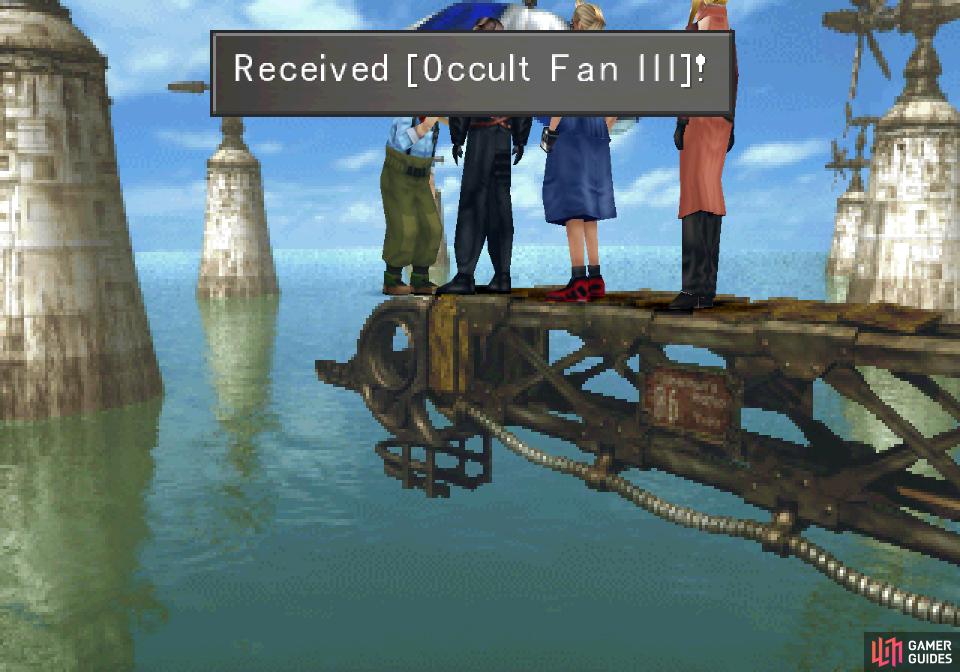
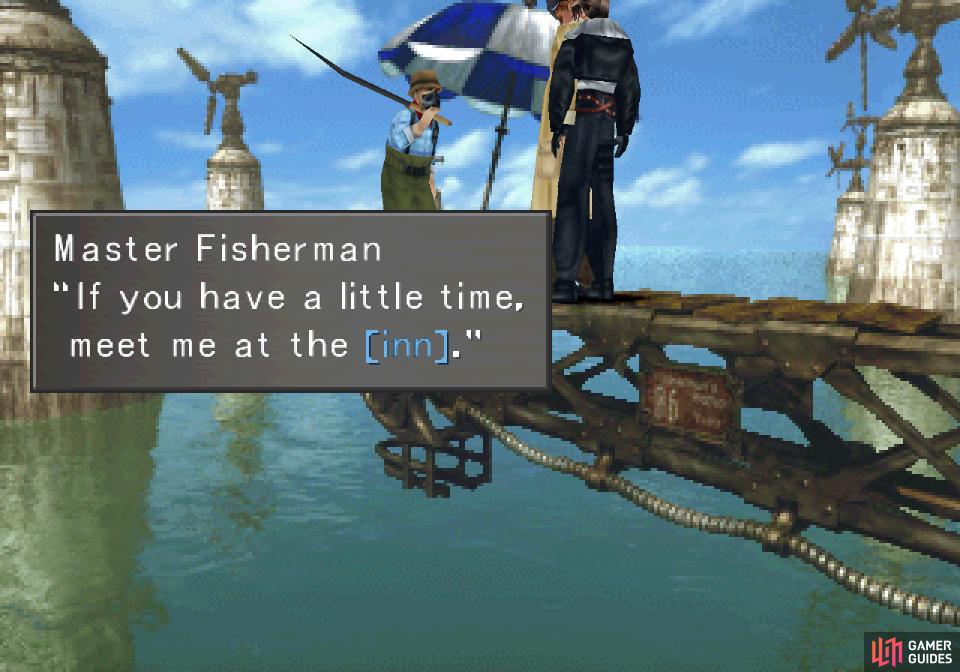
Climb down to reach a lower walkway, then head left and up to find another ladder (still quite hard to see - grays and browns with low resolution, and all) then head left, climb up again and exit to another screen to find a fisherman sitting at the edge of a… crane? Whatever it is, he’d better hope he doesn’t hook anything too large, else he’s going for a swim. Talk to this Master Fisherman and answer as you will and he’ll give you a rare copy of Occult Fan III. Score.
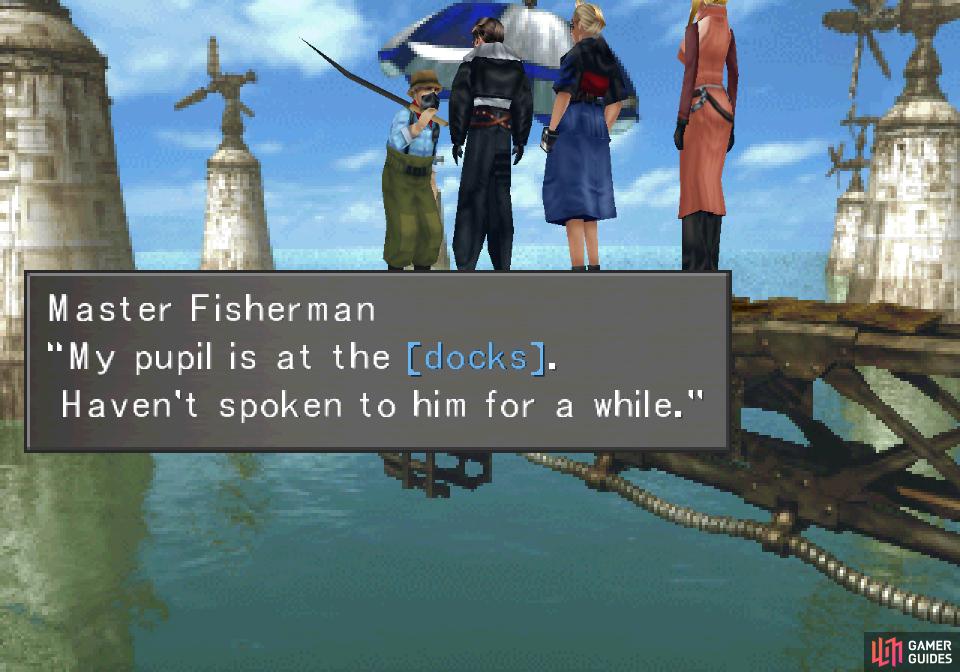
Talk to him again and he’ll give you another errand, which you can complete as you explore Fisherman’s Horizon. He’s got a pupil at the docks (everything seems like a dock in this place) he wants you to talk to. Keep it in mind as you go about your business.
Return back right and climb up to the walkway above, then continue right and let the elevator operator - “Familiar Face” - take you down. Once he’s done talking about Esthar and you ride down the elevator, head right a screen, then when you find yourself overlooking the solar dish continue right. Exit to the right again to find a Save Point and a Regen draw point, then exit to the right one more time.
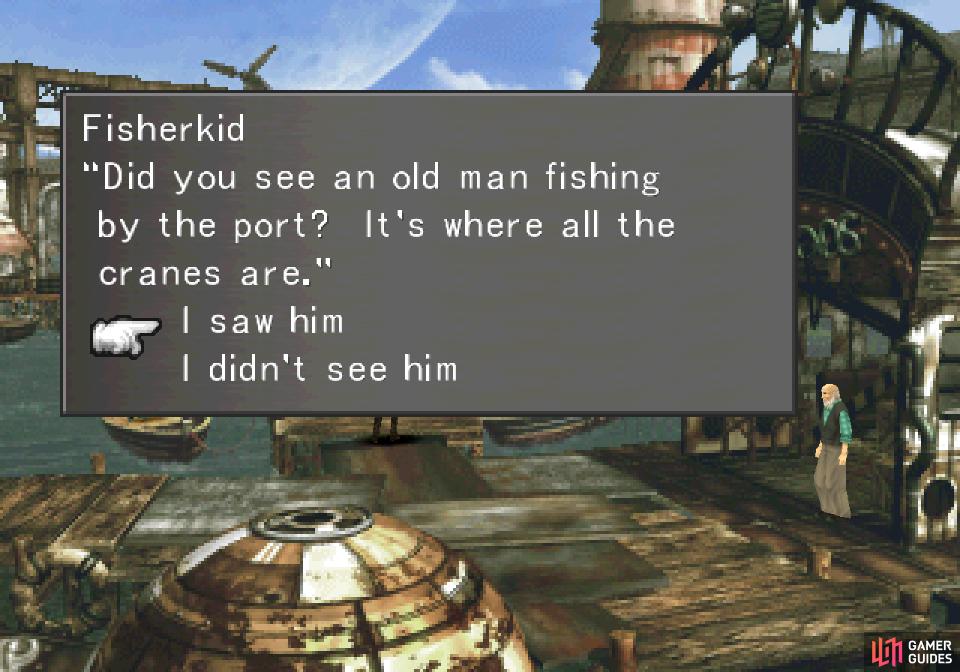
(1 of 2) Talk to the Fisherkid near the docks
Talk to the Fisherkid near the docks (left), until an unlikely fishing debacle nearly ends in tragedy (right)
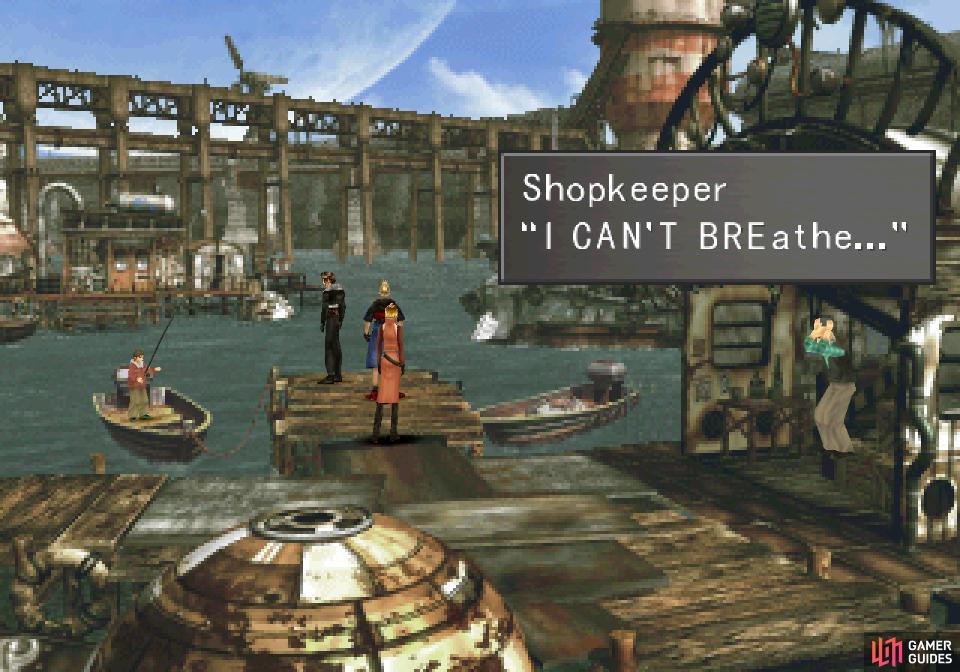
You’ll find yourself on a screen with some tracks running just above the water. Ignore the inn to the upper left for now and instead use a dock to exit to the right again, then on the next screen head up to the end of another dock and talk to a boy - “Fisherkid” - on a boat. There are multiple skits you can view here involving the boy and the shopkeeper to the right, so just keep talking until the boy starts repeating himself, responding with Sort of, I saw him and I was sort of… impressed, in order.
Once the Master Fisherman’s quest is primed, continue right and talk to the old shopkeeper who nearly died due to what can only be described as impressive fishing incompetence. He runs the FH Junk Shop, so if you can craft any new weapons… well, here’s your first real chance in a while. Use a Shell draw point nearby, then exit back to the left.
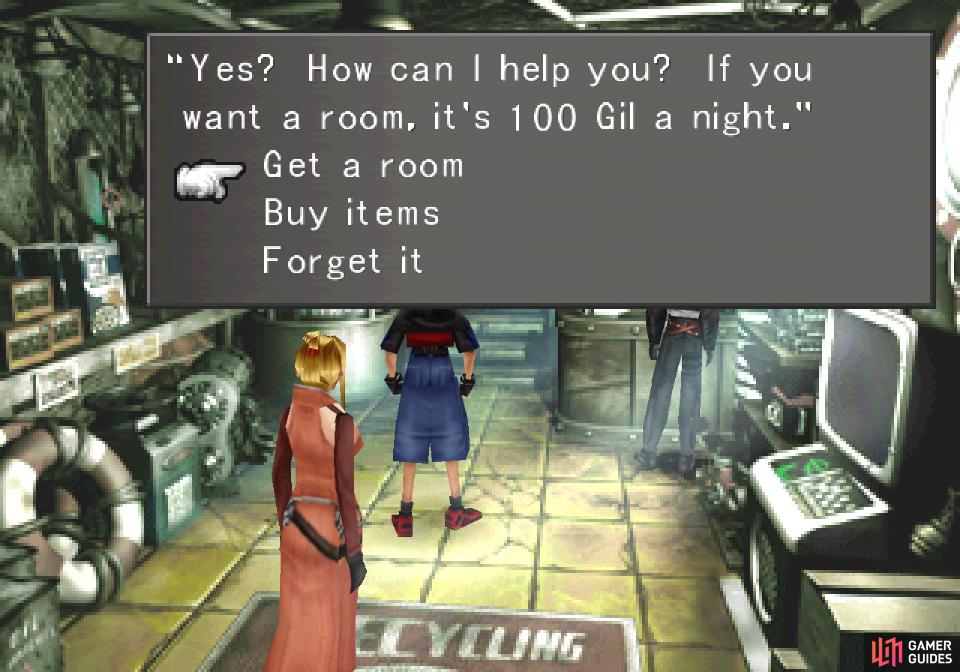
(1 of 2) Rest at the Fisherman’s Horizon inn
Rest at the Fisherman’s Horizon inn (left), and pick up an issue of Timber Maniacs 5 (right)
Timber Maniacs 4 and 5
Back on the tracks, enter the inn to the left and pay 100G to spend the night, then when you’re in your room search the floor near the dresser by the bunk beds to find Timber Maniacs 5. Been a while since we found one of those, eh?
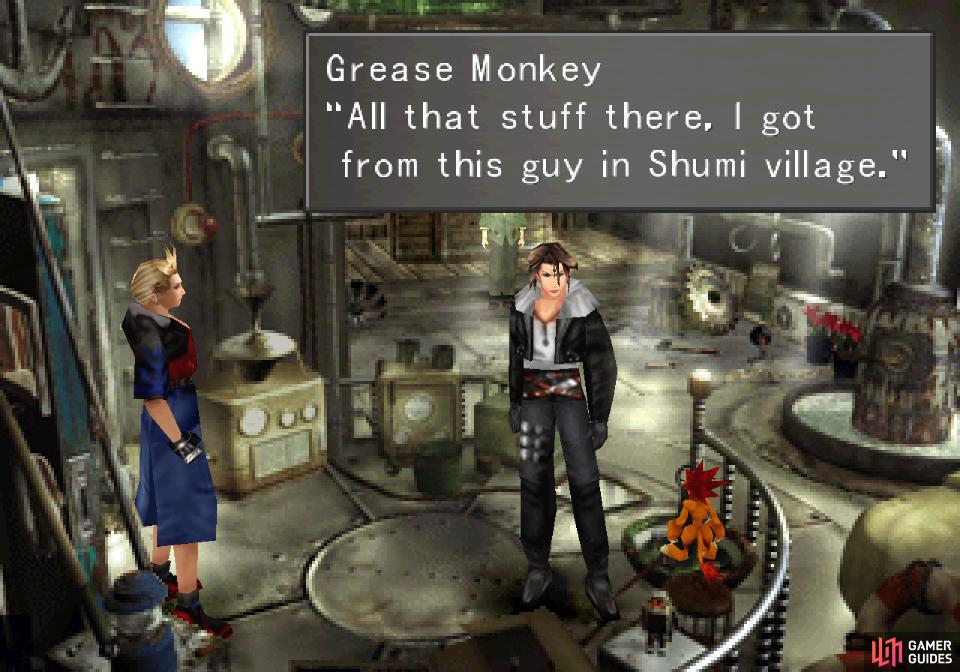
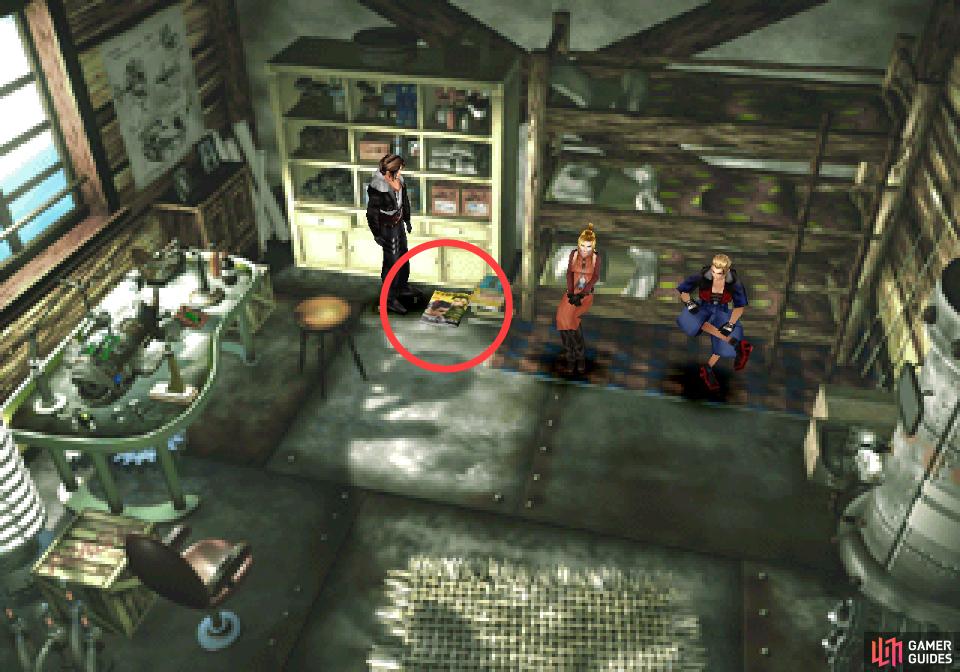
(1 of 2) In the Grease Monkey’s house you’ll find an odd statue…
In the Grease Monkey’s house you’ll find an odd statue… (left), more interesting, however, is an issue of Timber Maniacs 6 on the floor (right)
Exit the inn and continue up the tracks to exit the screen, then enter a house to the right and search the floor to the left a “Grease Monkey” to find Timber Maniacs 4. When it rains, it pours. If you go near a Moomba statue near the exit it’ll prompt some dialogue, but otherwise there’s little to do here.
Exit the shop and note that if you head down some junk to the left, then go up some stairs and exit to the left you’ll reach a train station where you can find a Haste draw point. Draw if you need to, then return back to the screen with the Save Point and save your game.
Card Rules in Fisherman’s Horizon
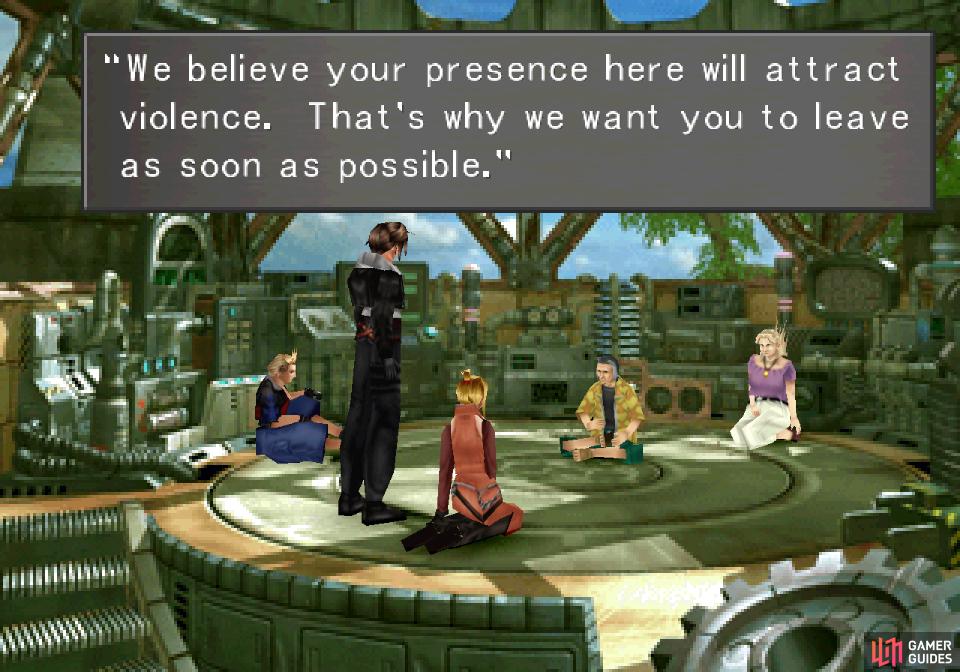
From the Save Point exit to the left, then go down some stairs towards the heart of the solar farm. Keep going right until you reach the house, then turn right again to find a man sitting on the edge of the platform the mayor’s house is on. Those with a keen eye will recall him as Martine, the former headmaster of Galbadia Garden. Now that Edea stole his school, he’s fallen on hard times and received the hospitality of the good folks at Fisherman’s Horizon.
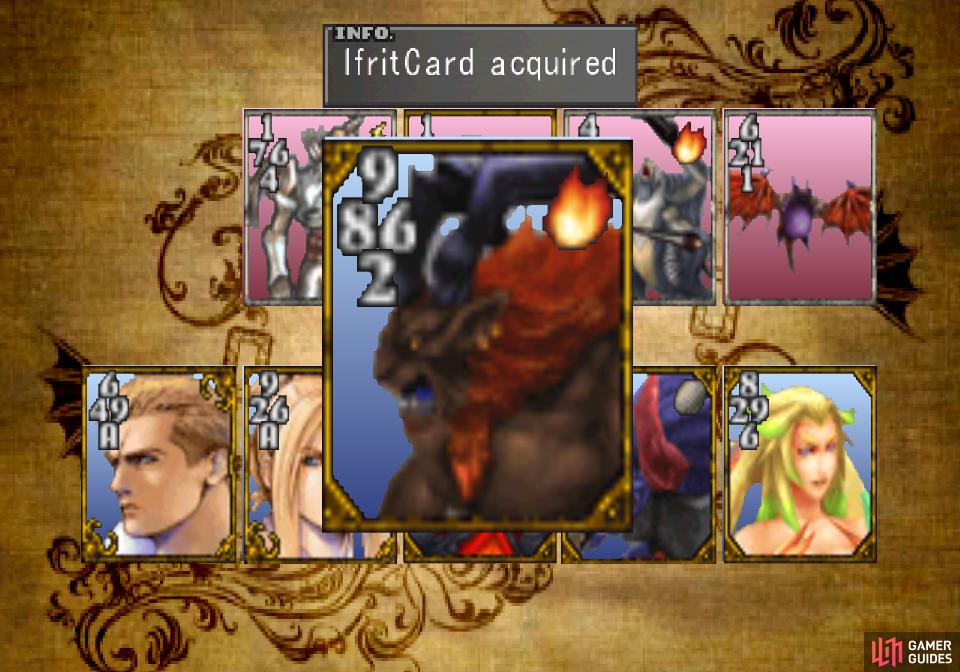
More importantly, he plays cards, and if you lost Ifrit to Caraway earlier, Martine will now possess it. No good reason why you shouldn’t win your precious Ifrit back, but there’s a complication - new region, new rules. If you’ve been following this guide keenly, Balamb should still only have the Open rule, while Fisherman’s Horizon starts with the Elemental and Sudden Death rules. Elemental is a bit of a nuisance, and you may have encountered it while playing cards in Dollet earlier, but it’s nowhere near as bad as the dreaded Random.
Sudden Death is relatively benign, if a game is tied at the end, another round will start with each player keeping the cards they had at the end of said round. Not ideal, to be sure, but draws are rare enough to make it a trivial rule. You shouldn’t spread it to Balamb or elsewhere, but you might want to keep it in Fisherman’s Horizon so you can use it as an easy rule to pick up and travel with, which will then let you abolish more obnoxious rules from other regions.
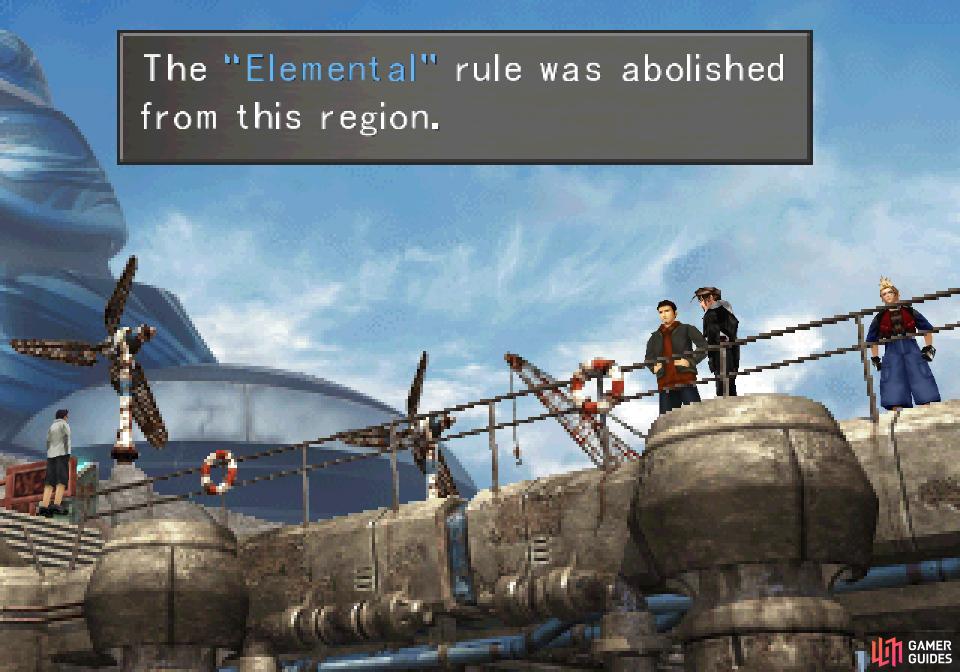
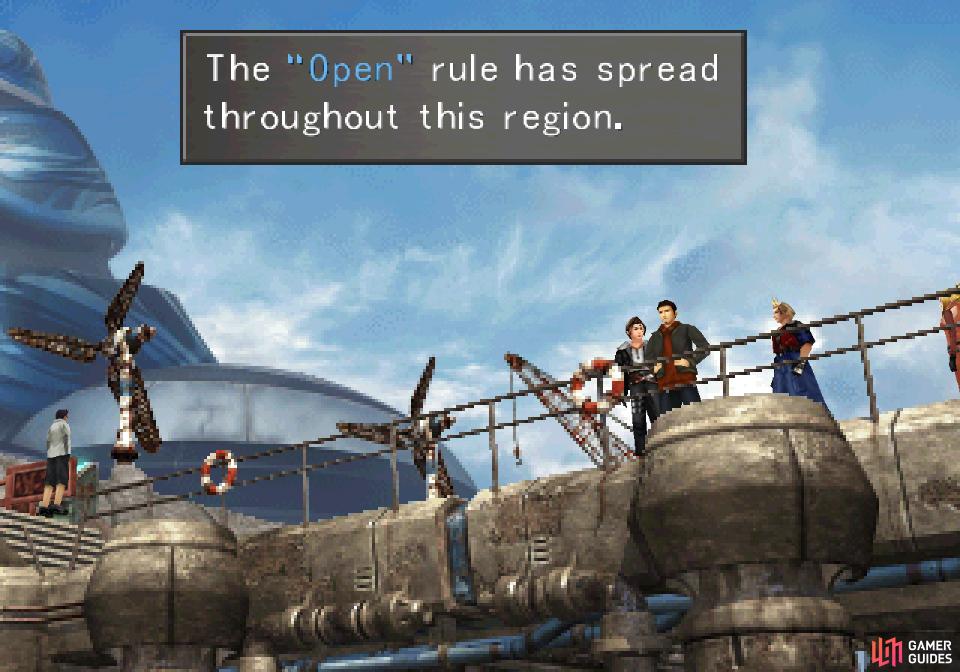
(1 of 3) You should endeavor to abolish the Element rule in Fisherman’s Horizon
You should know how this works by now, but in case you need a refresher, challenge Martine to a game, and he should (if you’re playing with rules unfamiliar to this region - in this case, Balamb’s Open rule) mention that you have unfamiliar rules. If he doesn’t say this you won’t be able to abolish or spread any rules until you pick up a foreign rule. In any event, assuming you’ve got mixed rules enter the Triple Triad screen, then exit before actually starting the game. If nothing happens, try again. If the Open rule spreads or Sudden Death is abolished, reload and try again. If Elemental is abolished, save your game, return to Balamb Garden, challenge somebody to cards until they stop asking to mix rules to adopt Balamb’s rules, then go challenge Martine and spread the Open rule.
Again, there may be RNG-related complications - if the same undesired rules keep spreading or getting abolished, play a game with somebody without changing rules (even if it’s in Balamb Garden), save your game, then try again. At the end of this process Fisherman’s Horizon should be left with the Open and Sudden Death rules. This will set you up well for the future. Oh, and be sure to win the Ifrit card back from Martine.
(1 of 4) Talk to the mayor to find out that you have some insurmountable differences
Meeting the Mayor
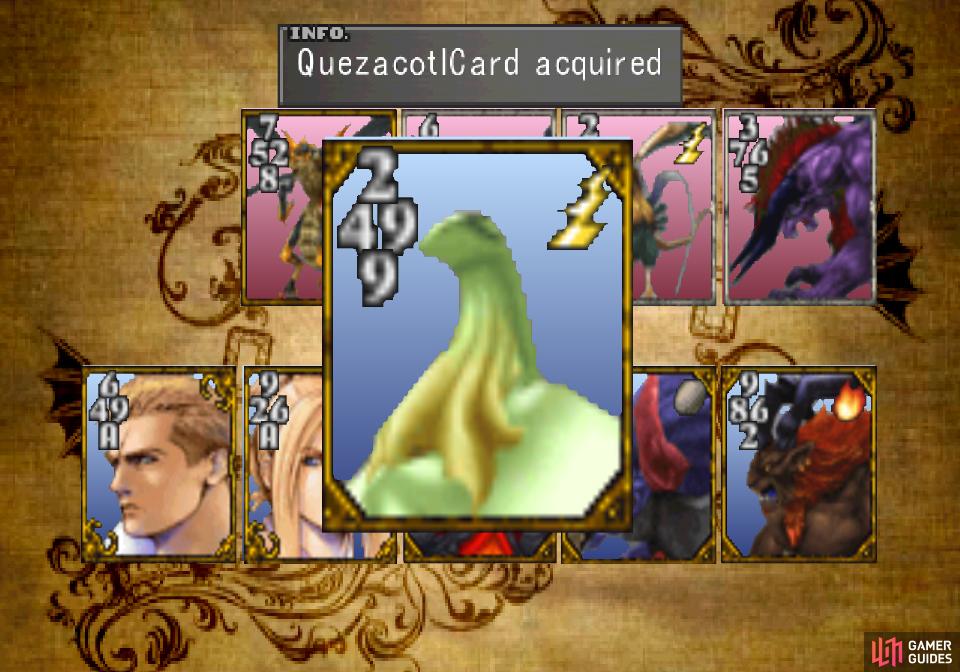
Once the card rules have been set to your liking and your precious Ifrit card is back in your possession, enter the mayor’s house and head upstairs to have a rather prompt and direct meeting with the mayor. After the meeting, challenge the mayor to the only sort of battle he condones - a battle of cards! Play him until he uses his Quezacotl card and win it from him.
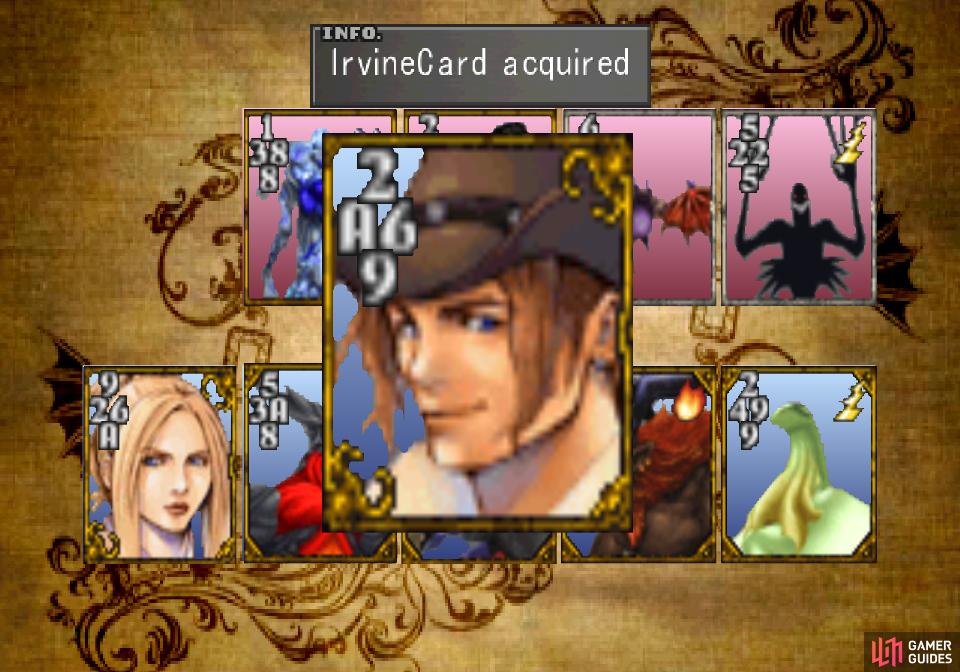
If you lost the Sacred card to the Queen of Cards you can also challenge Mayor Dobe’s wife, Flo, who may play the Irvine card. If you didn’t lose the Sacred card, she won’t have the Irvine card, so you won’t have any good reason to play her.
As far as Card Mod goes, Quezacotl will turn into one hundred Dynamo Stones, which you don’t need nearly that many of. Each Dynamo Stone turns into twenty Thundaga spells, and you could have refined them from Blitz cards much, much earlier. At this point in the game, there should be no need for them.
Irvine on the other hand will refine into three Rocket Engines, which teaches GFs the Spd+40% ability. It’s a nice (and somewhat rare) boost to the Speed attribute and not entirely unwelcome, but without Spd-J this ability will likely give you… what, +10 Speed? Not nearly as effective as Auto-Haste. You’ll find two GFs who can innately learn Spd+40% (and coincidentally Spd-J) soon-ish, so you probably don’t need to go out of your way to refine Irvine.
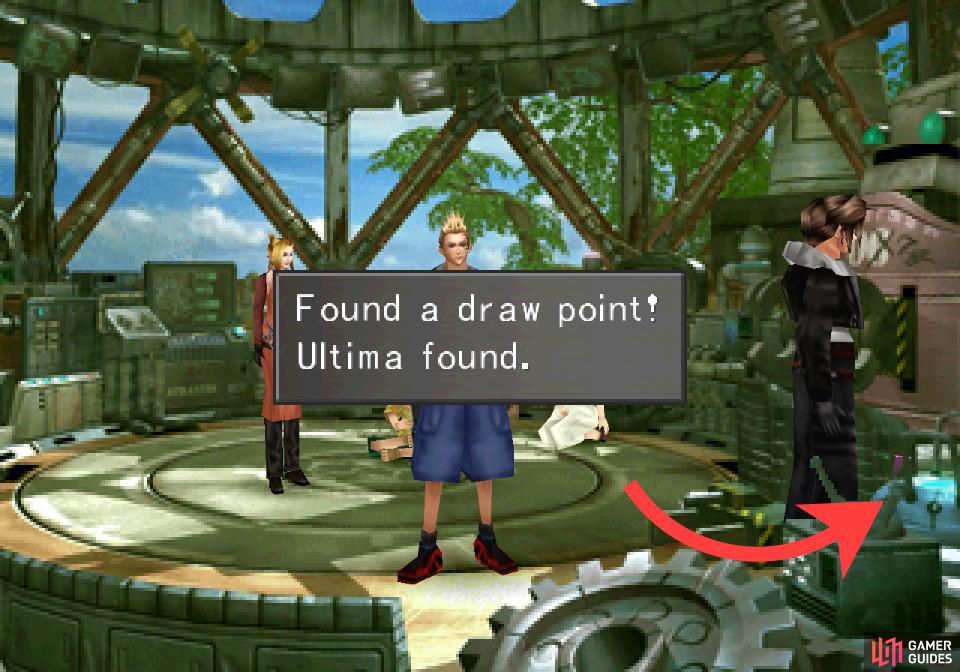
Finally, search the bottom right corner of the room for a very, very rare Ultima draw point - the best junctioning magic in the game for most stats. This draw point will never replenish, so ensure whomever is going to draw from it has Pain junctioned to Magic and has the Mag+40% and Mag+20% abilities equipped, even if just for as long as it takes to draw. Luck is a factor, too, but there’s no reason you shouldn’t buff your Magic stat so you can hopefully score as many Ultima spells as possible. From such humble beginnings…
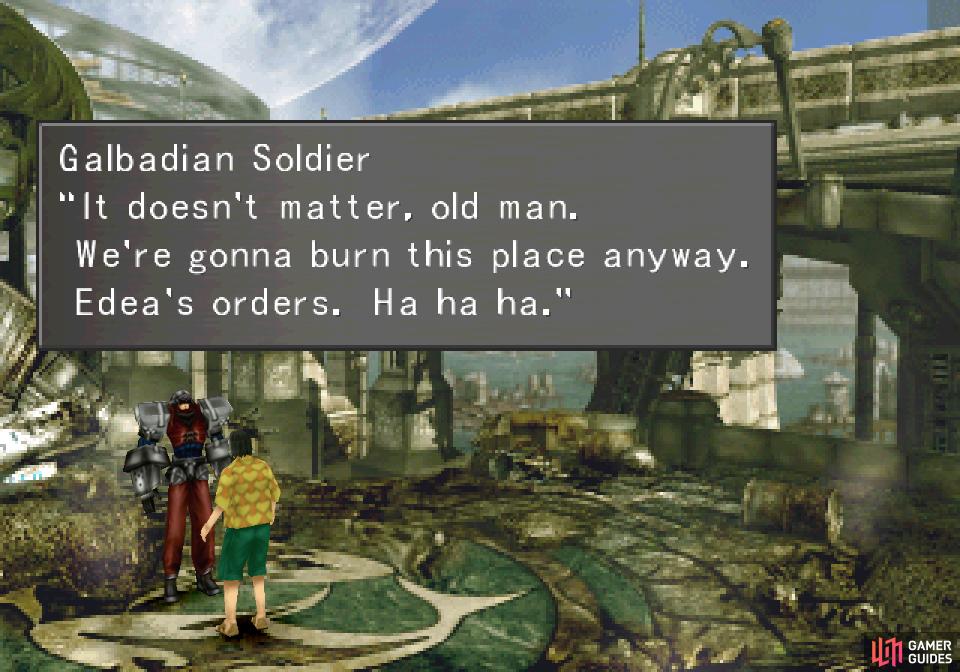
Leave the mayor’s house and return to the Garden, and when you reach the train tracks you’ll be stopped by the mayor’s wife who demands you deal with some Galbadians who have arrived - presumably because of you. The mayor, for his part, foolishly puts his principles to the test by going to have some words with the Galbadians. Guess we’ll see what happens when ideology meets reality. Continue right and save your game at the Save Point, junction Water to your Elemental Attack if you can, then continue right and up to bear witness to the mayor’s attempt at diplomacy. When given a choice, intervene immediately, then run over and help the mayor.
(1 of 2) Follow the mayor and witness his misguided attempt at diplomacy
Follow the mayor and witness his misguided attempt at diplomacy (left), then step in and fend off the Galbadians (right)
Boss - BGH251F2
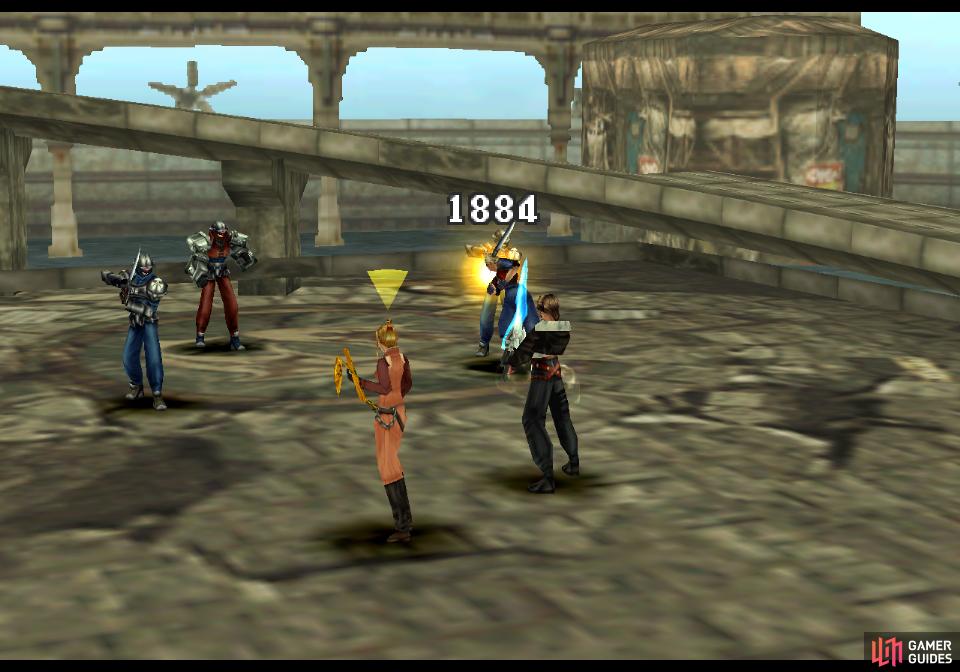
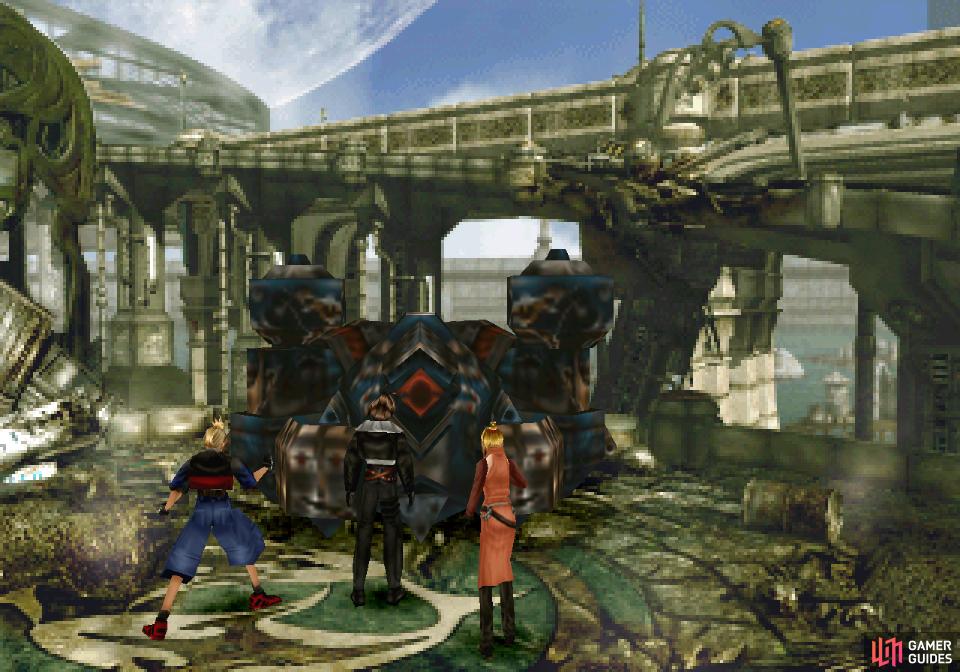
So much for pacifism. Defeat two Galbadian Soldiers and an Elite Soldier, after which their “Ironclad” will show up. This machine should look familiar - it’s the BGH251F2, the boss the missile base team fought! Either that base explosion must not have been as devastating as it looked, or that machine’s far sturdier than it has any right to be…
| BGH251F2 | |
|---|---|
| Lv: | 1-28 |
| HP: (Lv10) | 6,000 |
| HP: (Lv20) | 7,000 |
| HP: (Lv28) | 7,800 |
| Weaknesses: | Earth (150% damage), Thunder (150% damage), Water (200% damage) |
| Resistances: | Gravity (immune), Poison (immune) |
| Status Resistances: | Immune to most status effects – Darkness 50% – Haste 0% – Reflect 0% – Regen 0% – Slow 10% – The End 0% |
| EXP: | – |
| AP: | 20 |
| Draw: | Protect, Shell, Stop |
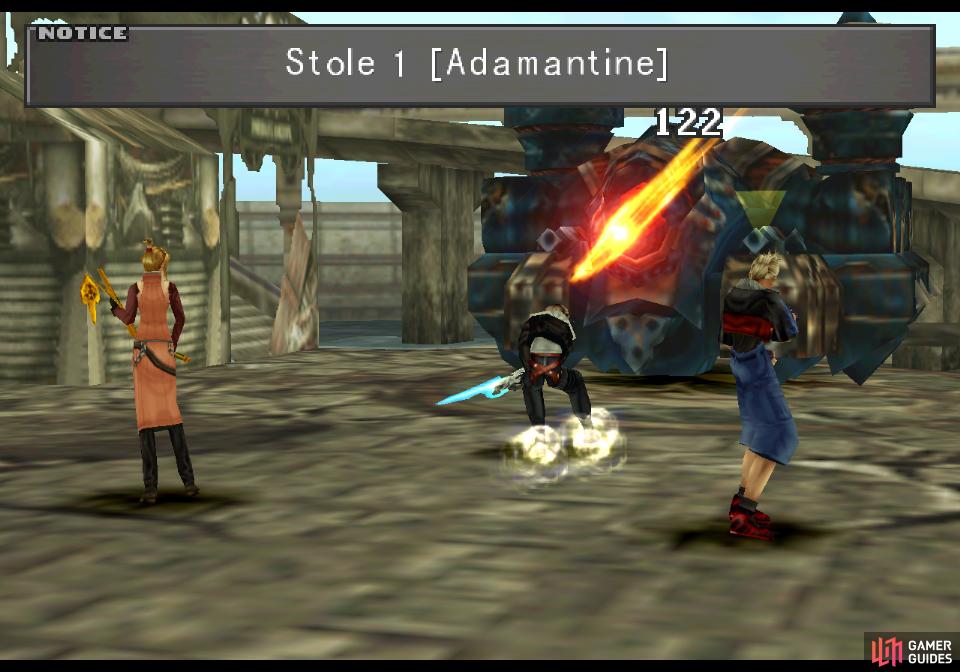
| Mug: | Adamantine x1 |
| Drop: | Running Fire x8, Missile x8 |
(1 of 3) After chasing off the Galbadians, a familiar machine will arrive
This fight is much the same as the last one, save BGH51F2 doesn’t have any turrets left and is weaker to water this time than it was last time, taking 200% damage from such sources. Earth and thunder both still deal 150% damage, and BGH251F2’s HP cap out slightly lower than before, boasting at most 7,800 HP despite potentially being several levels higher. You can inflict darkness and slow on your foe, and still have to worry about the same attacks as last time and can draw the same spells - Protect, Shell and Stop.
The only thing of especial note this time aorund is that you can steal a hunk of Adamantine from BGH251F2, which you may have acquired enough of from the Minotaur card earlier. Still, it’s a rare enough item to make it worthwhile for you to steal, so attempt to Mug it from this boss before you defeat it.
After the fight, talk to Rinoa if you sent her to the Missile Base and answer how you wish. Next talk to Mayor Dobe (or talk to him straight away if you didn’t send Rinoa off) and answer with I want him to understand us then Try to continue and Squall will have the most genuine, mature chat of the entire game so far. Hooray, character growth!
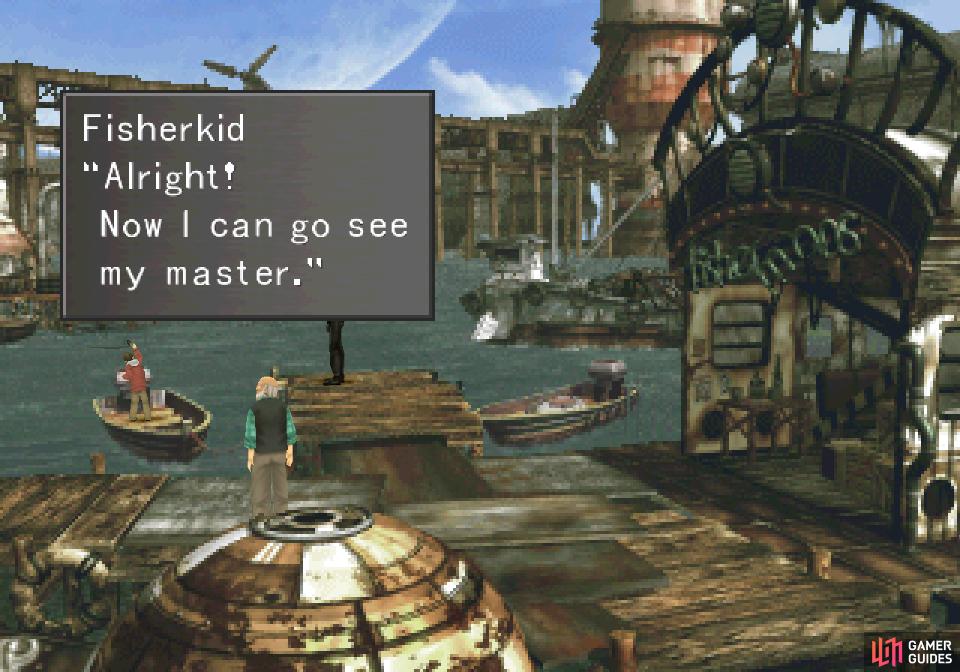
(1 of 3) Go back to the docks to witness the Fisherkid’s success
Quests in Fisherman’s Horizon
Exit back down to the screen with the inn, then exit to the right to return to the docks and talk to the “Fisherkid”, who has been busy since you last talked to him. In that time he apparently learned the art of… casting a fishing line and hitting the water in front of him! Whatever, it’s improvement. After his demonstration he’ll ask you to tell the Master Fisherman, and there’s no reason not to finish this quest up before you leave.

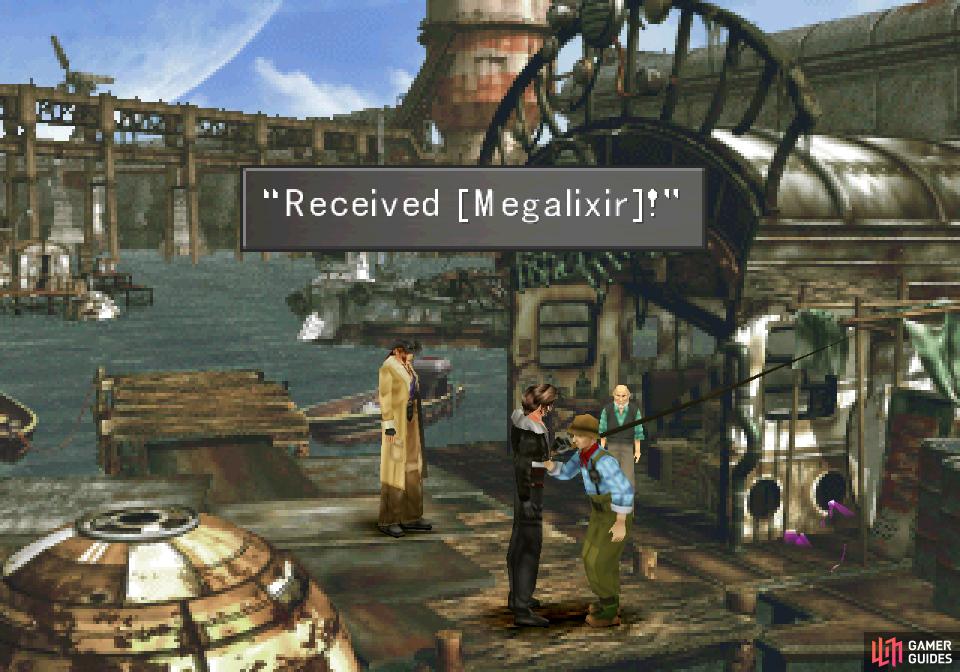
(1 of 2) The Master Fisherman, the junk store owner and the Fisherkid will babble quite a bit
The Master Fisherman, the junk store owner and the Fisherkid will babble quite a bit (left), but at the end of all this chatter you’ll be given a Megalixir (right)
Return to the Master Fisherman (along the way Irvine will stop you, ask you a question, then join the party) and he’ll ask you to meet him at the inn. Damn running about! Go to the Fisherman’s Horizon inn and head upstairs and the old man will detail the past of Fisherman’s Horizon and Mayor Dobe’s glory days in Esthar. When you get a chance to respond, pick the option Why not…?, then follow him outside and through town to the docks, where the reaction of the villagers will indicate in what regard this Master Fisherman is held. In the next screen, the Master Fisherman will talk to the Fisherkid and the shopkeeper, and when they stop chatting, talk to the shopkeeper to continue the conversation. Reply however you wish the two times you have a choice to make, then talk to the Master Fisherman again to get a Megalixir. Very nice.
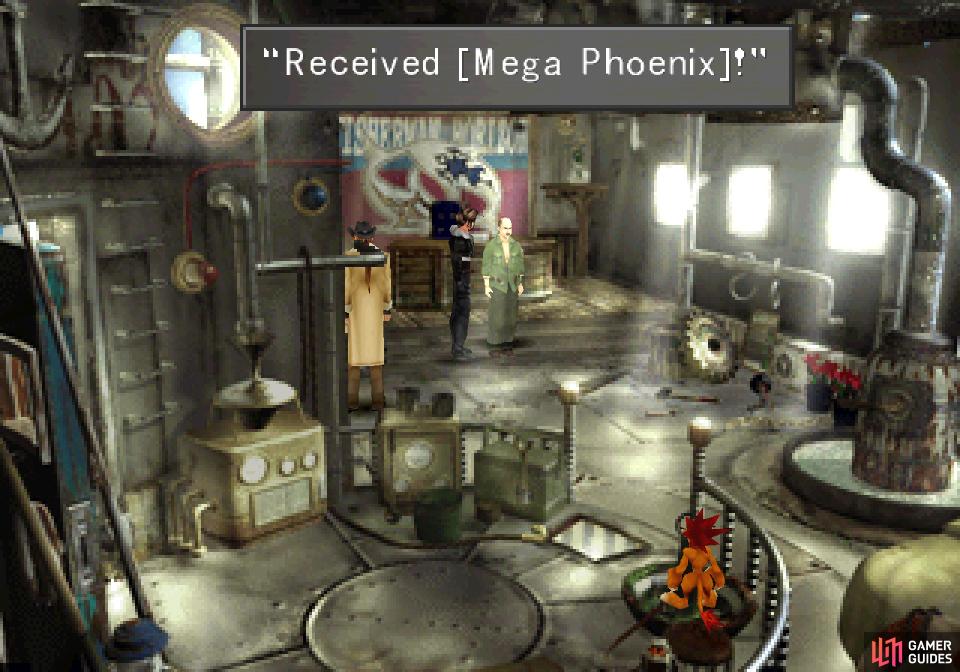
(1 of 3) With Squall and Irvine, head to the Grease Monkey’s house to find a rude visitor
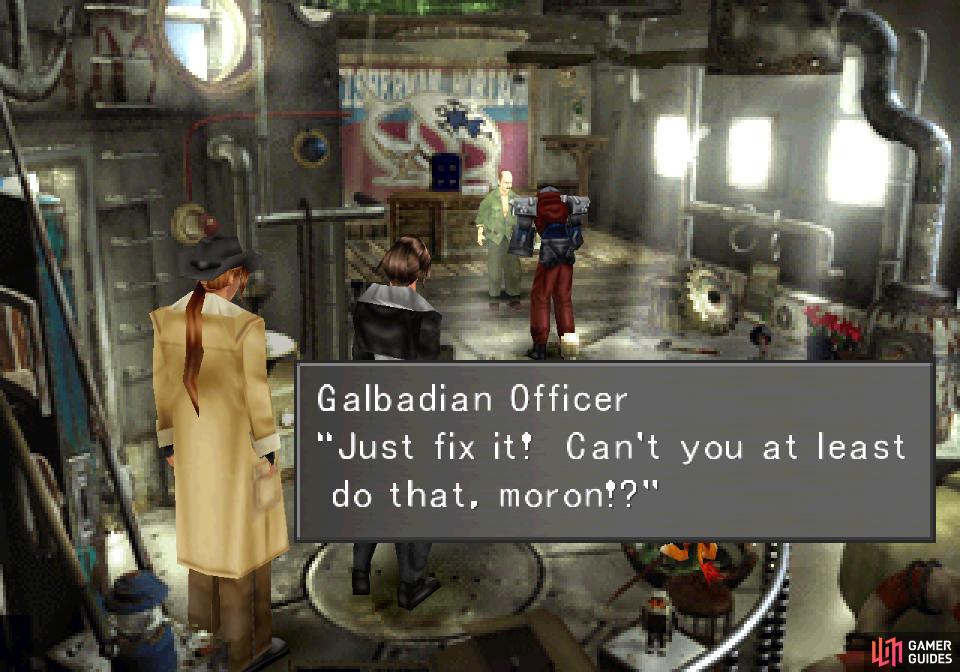
There’s one more item you can grab while you’re here, so long as you have Squall and Irvine in your party. No use passing up free, high-quality items. Return to the train tracks and head up to the screen where you recently fought the Galbadians again and enter the “Grease Monkey’s” house to the right to find he’s attracted the wrong sort of attention. Talk to the Galdbadian Officer and he and Squall will resolve to settle their differences outside. Exit the house and return to find the Galbadian Officer gone, then head back inside the Grease Monkey’s house and talk to the engineer to find out that the Galbadian Officer was all talk, no action. Oh well. For running him off you’ll be gifted a Mega-Phoenix.
(1 of 3) As you return to the Garden, Irvine will tell you about Selphie’s mood
The Garden Festival
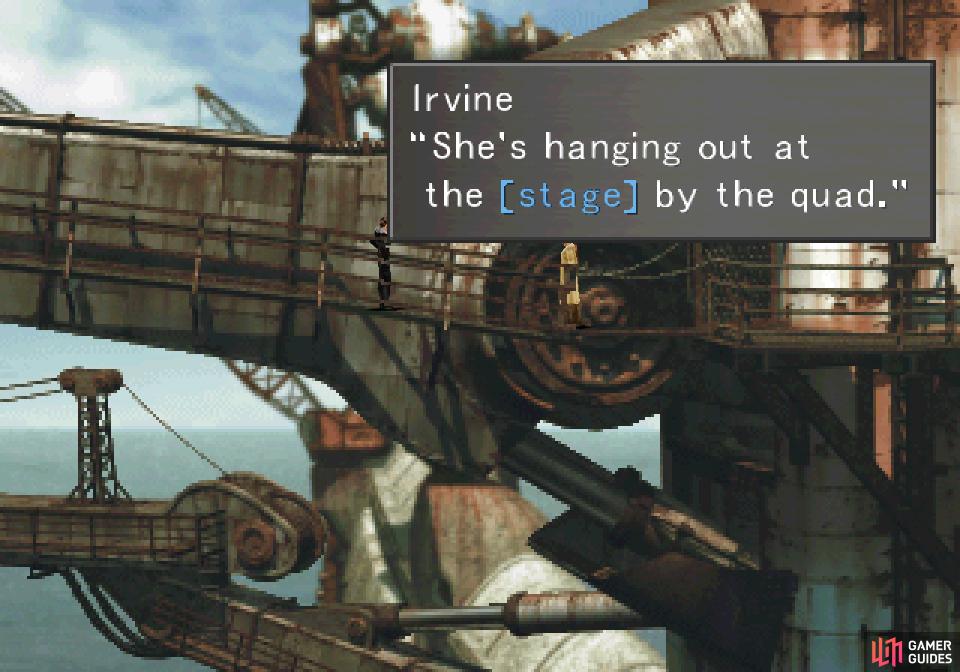
You’ve pacified the locals, the party is reunited, Garden isn’t under immediate threat of destruction, and technicians are working on getting you moving again. Not much for you to do but see to some unfinished business in Balamb Garden. As you approach the Garden, Irvine will tell you that you should try to cheer Selphie up, but like him and shooting, you’re not temperamentally fit for the role so he’s tagging along. Yeah - shots fired, which is more than can be said for Irvine.
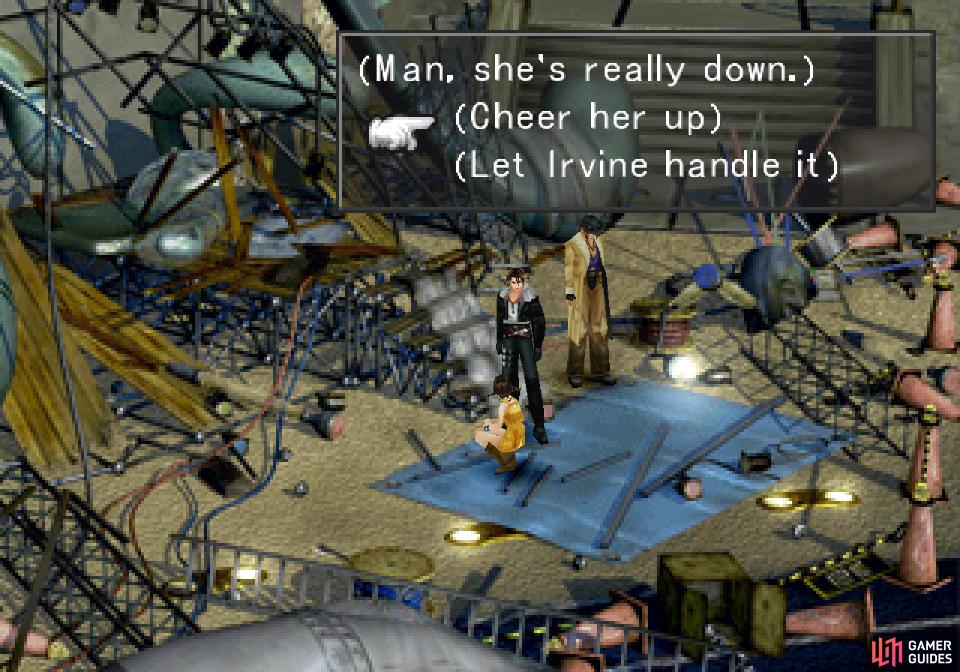
Return to Balamb Garden, head to the Quad, talk to Selphie and pick the option Cheer her up. After some chatter, Squall will wither under his juvenile misanthropy before being rescued by Cid, get a promotion, then immediately start to whine and worry about his new role. Makes sense, kid’s seventeen and has been on two missions, neither of which can be called terribly successful. Still, he’s the only reason Balamb Garden is still functional and the one of the few with actual combat experience against the sorceress, so perhaps it’s not as silly as it seems?
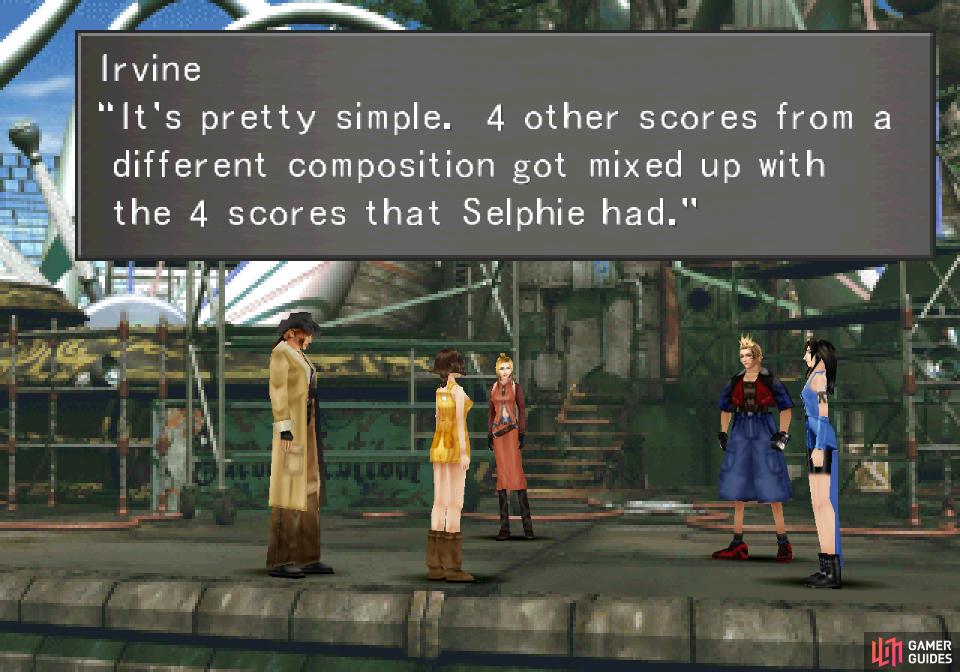
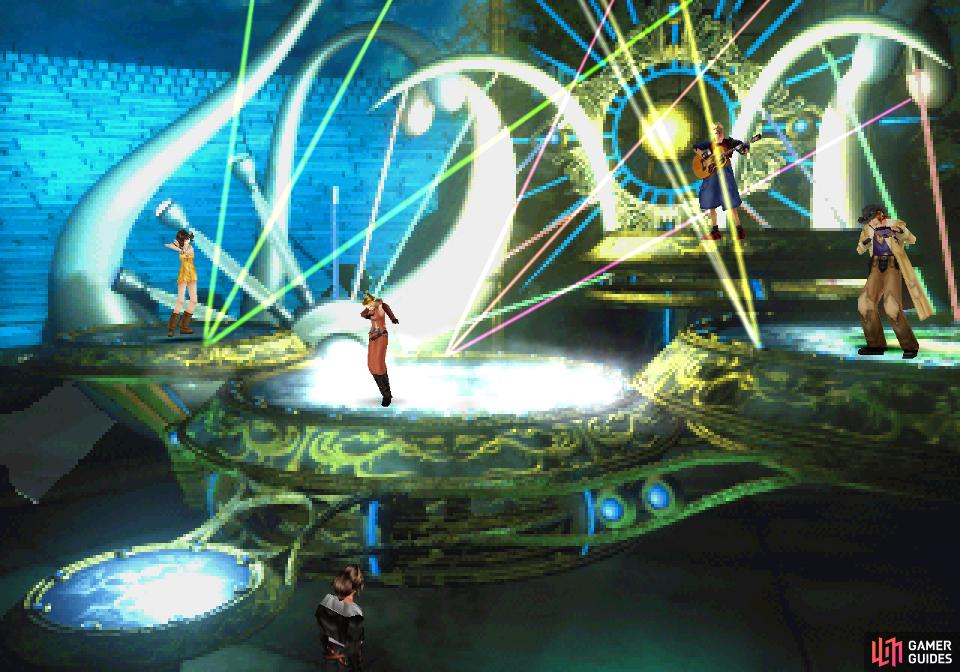
(1 of 2) Irvine and Selphie will explain that you need to combine four instruments into a working composition
Irvine and Selphie will explain that you need to combine four instruments into a working composition (left), Which you’ll do by assigning one instrument to each available character. (right)
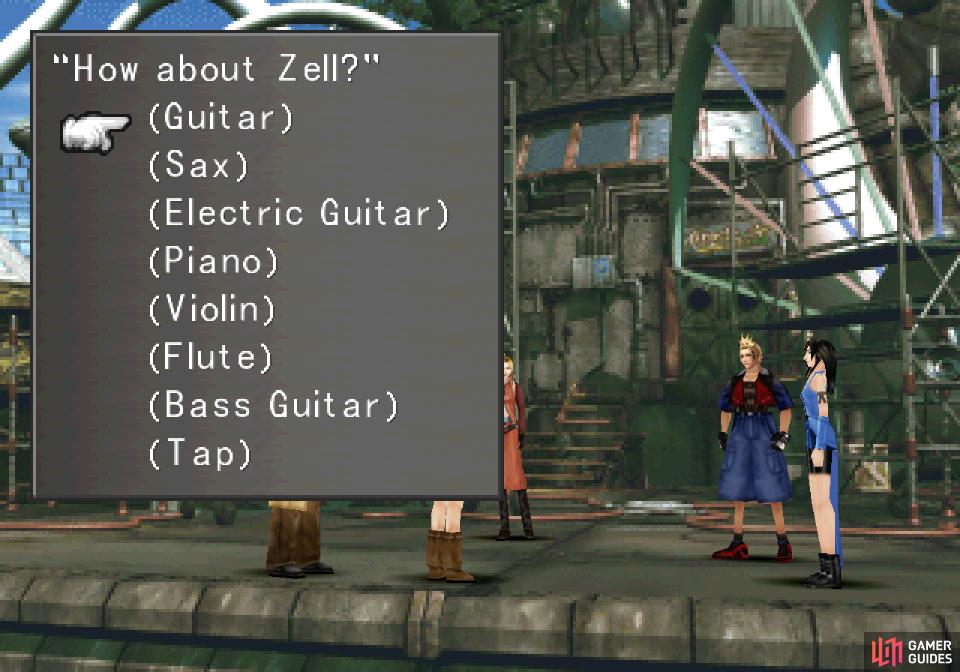
Back with the rest of the group, Selphie and Irvine will detail a musical mishap that occurred and you’ll be left to sort things out by assigning one of eight instruments to the four participants. Two sets of four produce something acoustically appealing:
“Eyes on Me”: Bass Guitar, Electric Guitar, Piano, Sax
Irish Jig: Flute, Guitar, Tap and Violin
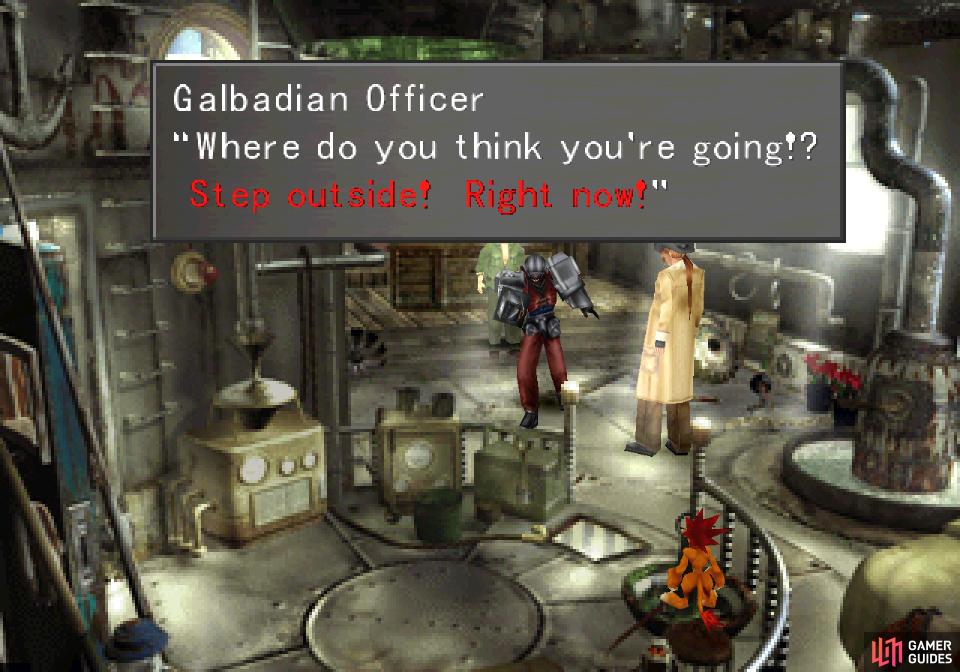
(1 of 3) After assigning one of the instruments, return to the Grease Monkey to find the Galbadian Officer up to his old tricks
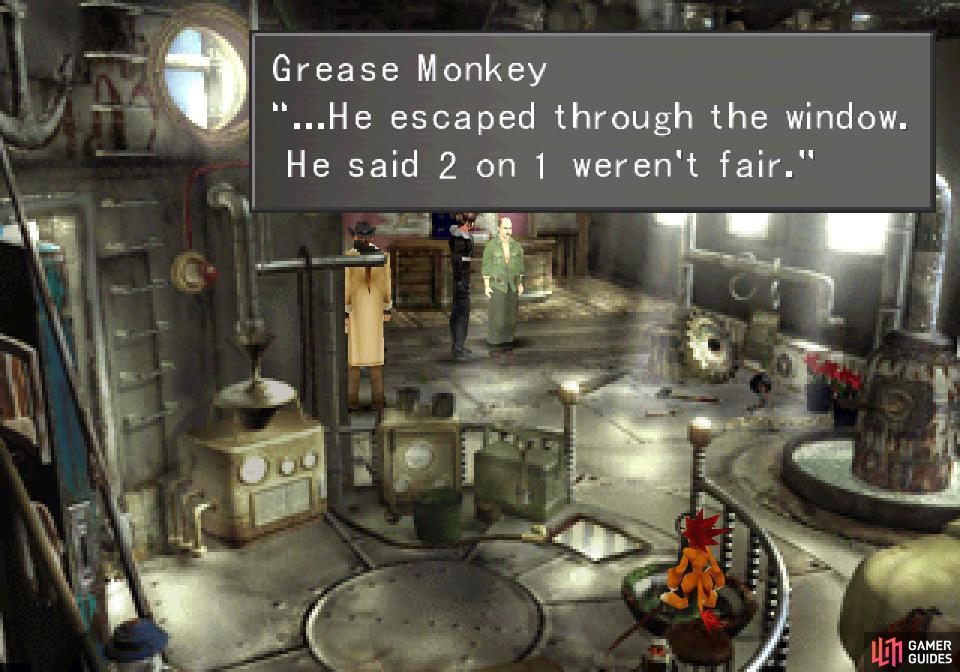
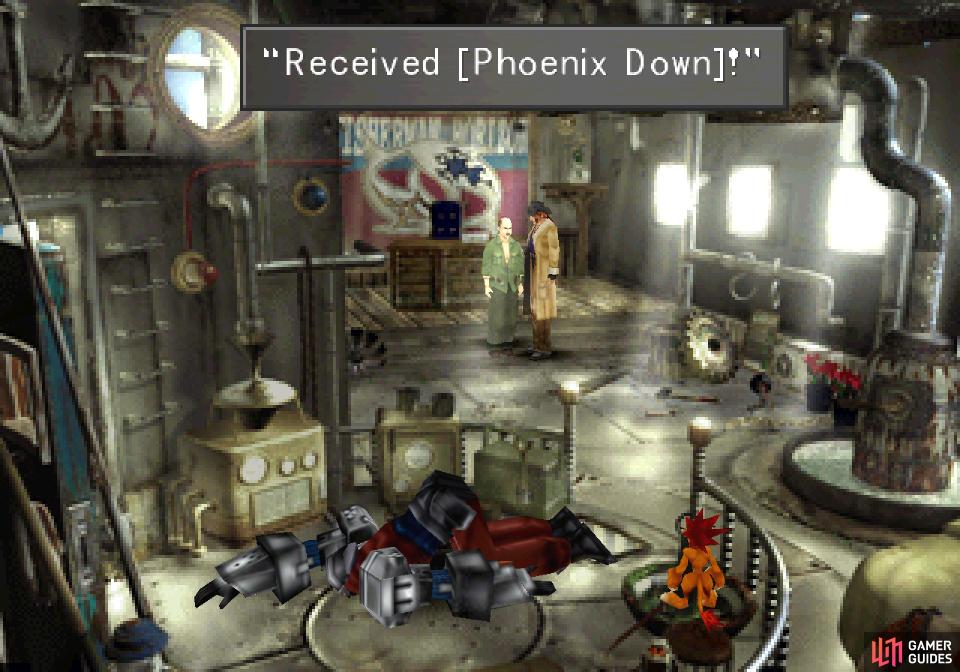
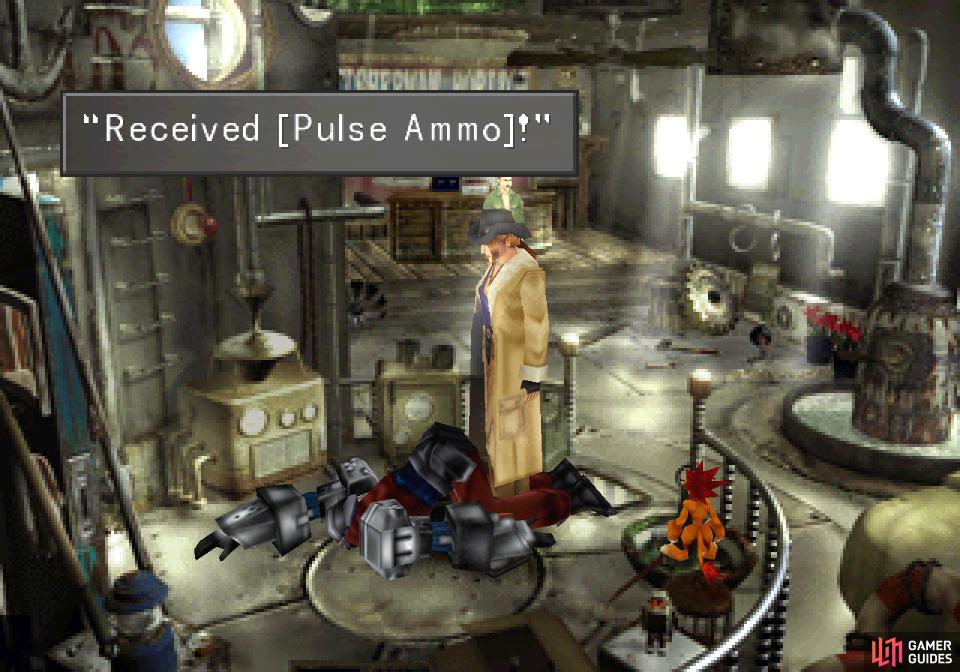
Assign Zell’s instrument, and while he’s practicing with it you’ll be in control of Irvine, where there’s a very, very limited time quest you can do. Press any directional button to stand up, then head to the train tracks, follow them right, then up and return to the Grease Monkey’s house to find out that the Galbadian Officer is at it again. Talk to him and… well, Irvine’s no Squall. Exit the house and return to find out that your interference was unnecessary. Talk to the Grease Monkey to score a Phoenix Down, then interact with the Galbadian Officer to score some Fast Ammo, AP Ammo and some Pulse Ammo. Very nice!
Return to outside the mayor’s house and talk to Zell - who has presumably been practicing this entire time - and pick Ok, sounds good to move on to the next instrument choice. Pick any combination of the four listed above (order and assignment doesn’t matter, just that you have all four of the instruments listed) and the focus of attention will shift to Squall.
(1 of 3) Squall will be ambushed and forced to go on a date
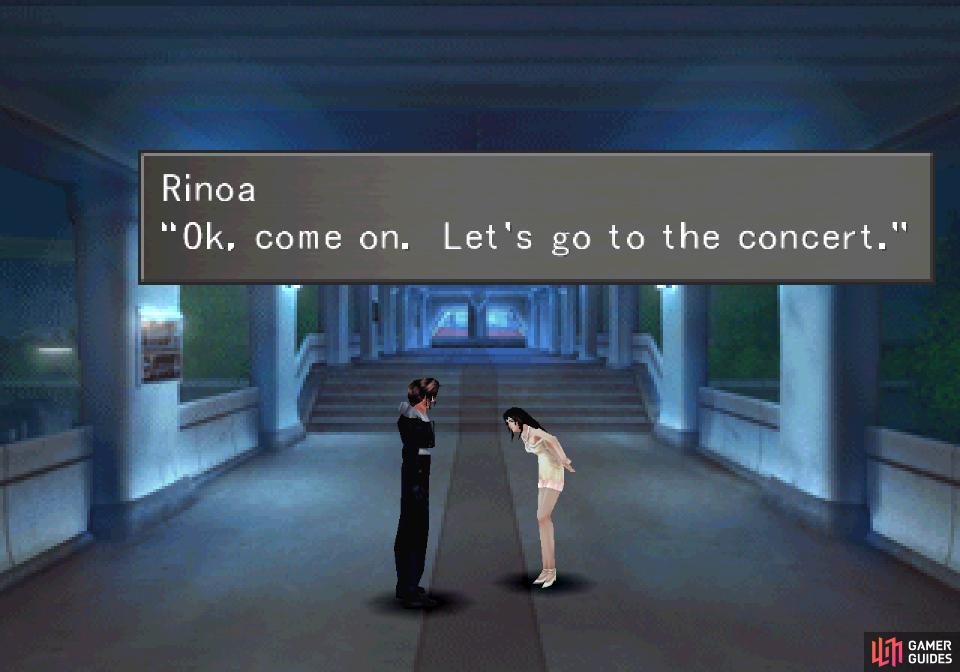
As Squall, leave your room to find out that your companions have brought you a date. Breeze through the dialog, then in the next screen talk to Irvine, who will lay on some thinly-veiled innuendo. Talk to Irvine again to sabotage his approach to Selphie, then had towards the mayor’s house, witness the band perform, then exit to the right and examine the magazine Irvine mentioned earlier. Classy, Irvine. He’s the one mote of light in this affair. You’ll get some chatter with Rinoa and when the scenes ends you’ll be back in your Dormitory.
Future Plans with a Mobile Garden
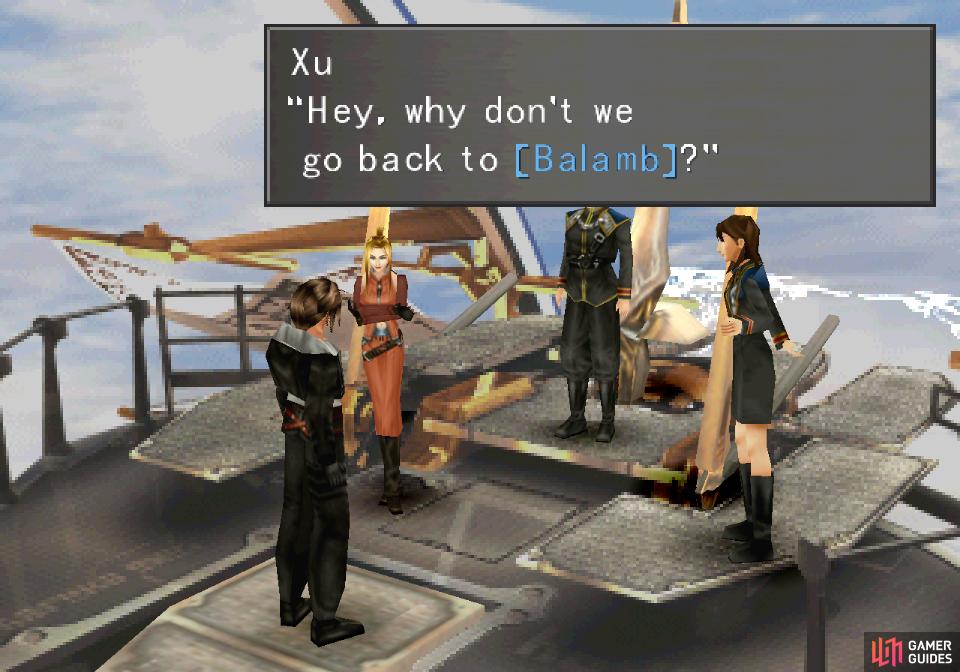
Squall will have another flashback, which is thankfully interrupted when you’re called back to the bridge. Leave your dorm, head to the elevator and ride up to 3F to get some good news - the Garden is finally repaired and mobile. The present SeeDs will declare their roles, with Nida being the Garden’s pilot. Remember him? He graduated with you! Yeah, nobody remembers him.
This is a huge development, as it means that finally - halfway through the game (give or take) - you’re in control. You can travel about most of the world map at will and choose your party (well, save for burnt-out Selphie), and while your next objective is Balamb, there’s a ton of opportunities that have opened up now that you have a mobile Balamb Garden under your control.
This necessitates some planning, or at least some discussion so you’ll be aware of what opportunities lie before you, after which you can just follow the guide chronologically (recommended) or pick and choose as you please.
First up, now that Balamb Garden has been saved, stabilized and mobilized you can finish the CC Group questline. You could have started it earlier and played Jack, Joker, Club, Diamond and Spade, but now you can defeat the higher ranking members - Heart and King. You’ll find the full quest covered in the Challenging the CC Group section below. If you hate cards, it’s not for you, unless you’re willing to stomach it for the gain, in which case the gains are very good, indeed, including a few more rare cards. It’ll also allow you to later win back any rare cards you’ve used up via Card Mod, and to reiterate: you must complete the CC Group quest to get these cards back later! This should be incentive enough for anybody, but if you refrain, don’t blame the guide when everybody who played cards regularly has all kinds of nifty abilities on their GFs and a stockpile of top-tier items that you lack.
Sermon over. After that… actually going to Balamb isn’t a bad idea, as it’s short and you can snag a new GF there, which is always welcome. This is covered in the Occupied Balamb section of the guide.
Third up is the Centra Ruins, where you can acquire another useful GF. It involves a bit of fighting, however, so you’ll want to make sure your party is in peak fighting form for this - and it won’t hurt to have the GF from “Occupied Balamb” handy to earn AP while you do this. This is covered in the Centra Ruins - Tonberry King section of the guide.
Once you have both GFs (or possibly three GFs, although you should probably ignore Odin for now), we’ll discuss a great grinding opportunity that’ll allow you to learn new skills in record time - grinding Cactuars in Kashkabald Desert! You’ll find more information on this in the Cactuars in Kashkabald Desert section of the guide.
Less important, yet still interesting, is the Shumi Village, which is covered in the Shumi Village section of the guide. It’s good for some items and another Ultima draw point (albeit with strings attached), but any chance to stock up on Ultima is welcome. You can also explore the Chocobo Forests in the game for some more items (mostly spell stones you can refine) and another rare card, which will allow you to continue the Queen of Cards questline. This is covered in the Chocobo Forests section of the guide.
After dealing with Balamb city you’ll have to go check on Trabia Garden - the rest of the aforementioned business being option, but lucrative, side quests. To finish up this section, after Trabia Garden you can go take care of some trivial business in Winhill.


 Sign up
Man, what did Rinoa do to the family of the author? Can't imagine why else they hate her so much. It sure is a bummer to be playing through this for the first time and really enjoying it only for the guide's author to be negative for a surprisingly large portion of the story.
Apologies, just trying to inject some humor into the guide so it's not too bland. Forced romances angles... not really my thing, but reading it back, it does come off a bit too mean-spirited and frequent.