
Treno is a fairly busy city and there’s quite a few ATEs here, but it can be a little difficult to view them all. Likewise, there is a pretty nice item you can get for doing things in a certain order, so this walkthrough will initially concentrate on the ATEs and that item. When you regain control, you find yourself with just Steiner and there are two ATEs you can view right away. Ignore the Ambition one, as it will be viewed later, and start with the Treno Tradition ATE. This one has a time-sensitive event, where you can press the action button to cut the Gil taken from you in half, so keep an eye out for the exclamation point above Dagger’s head.
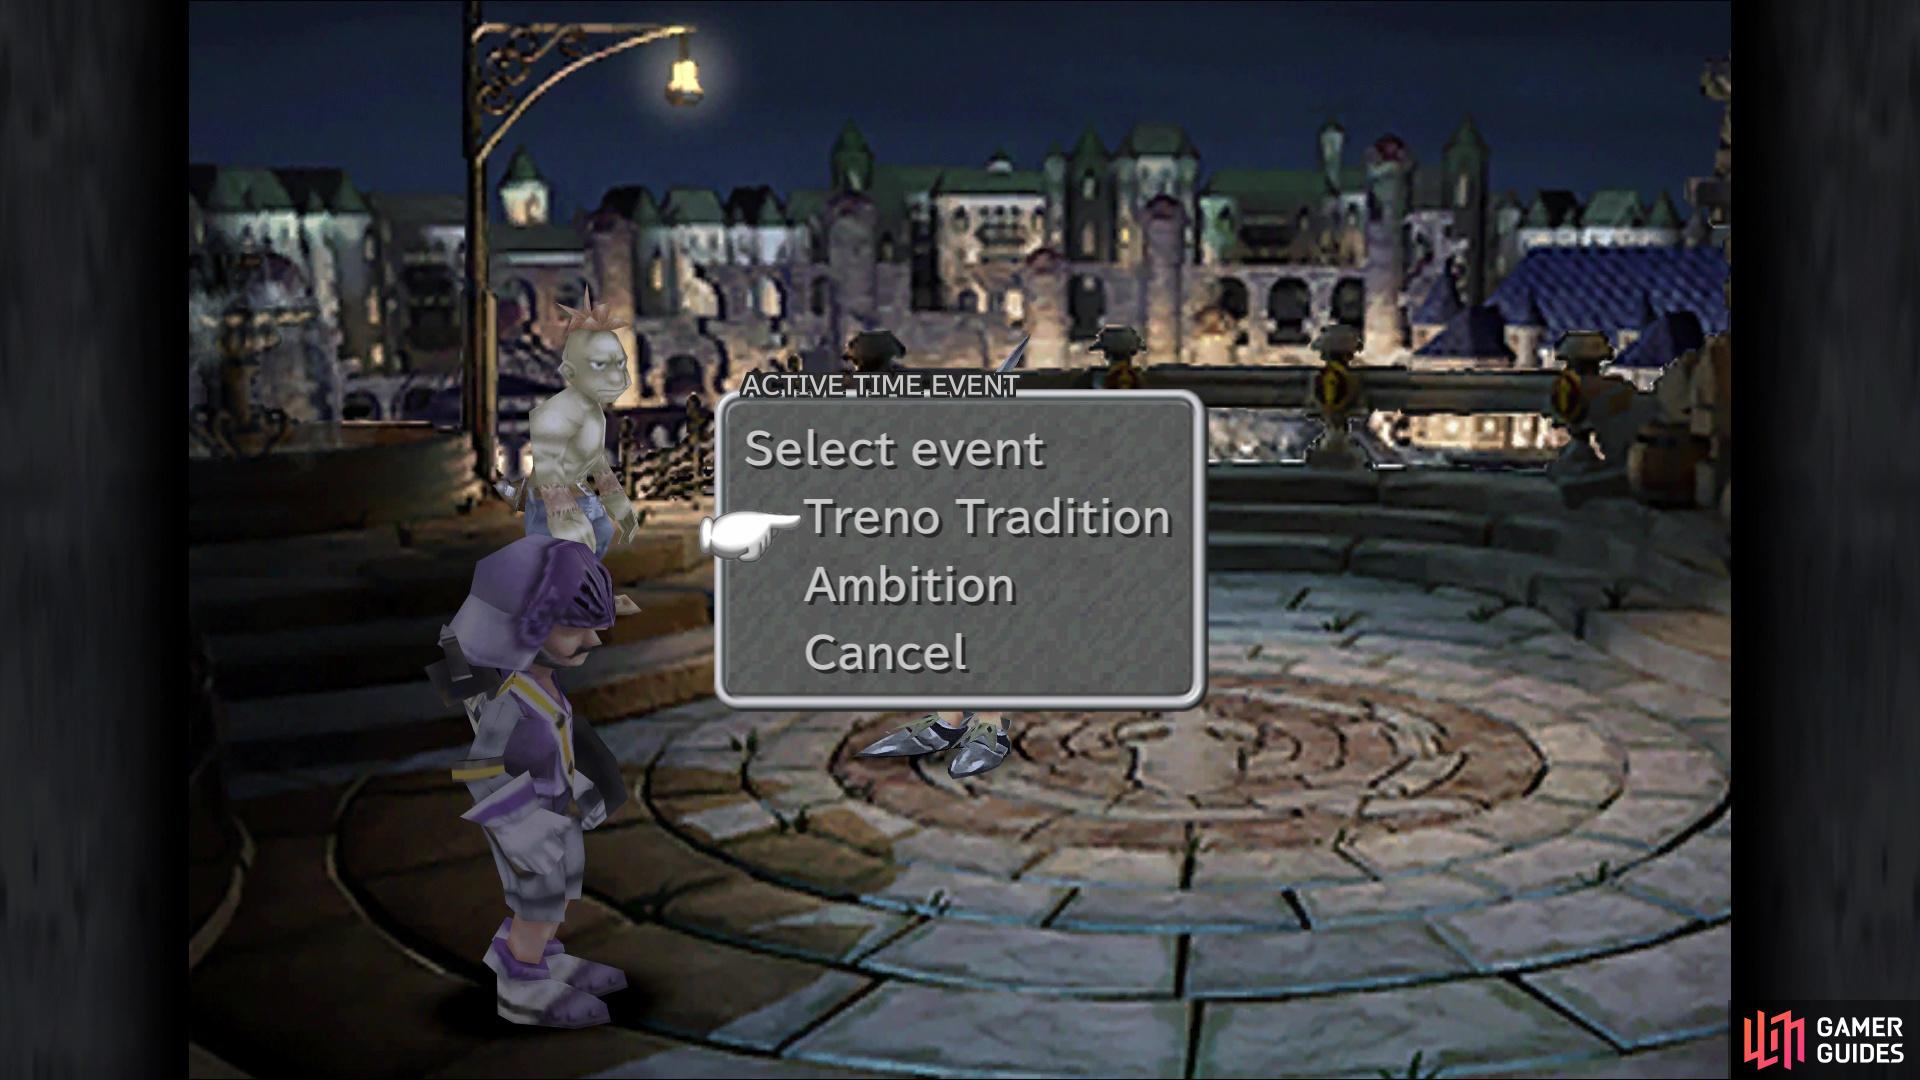
Pick the Treno Tradition ATE first when you have the option
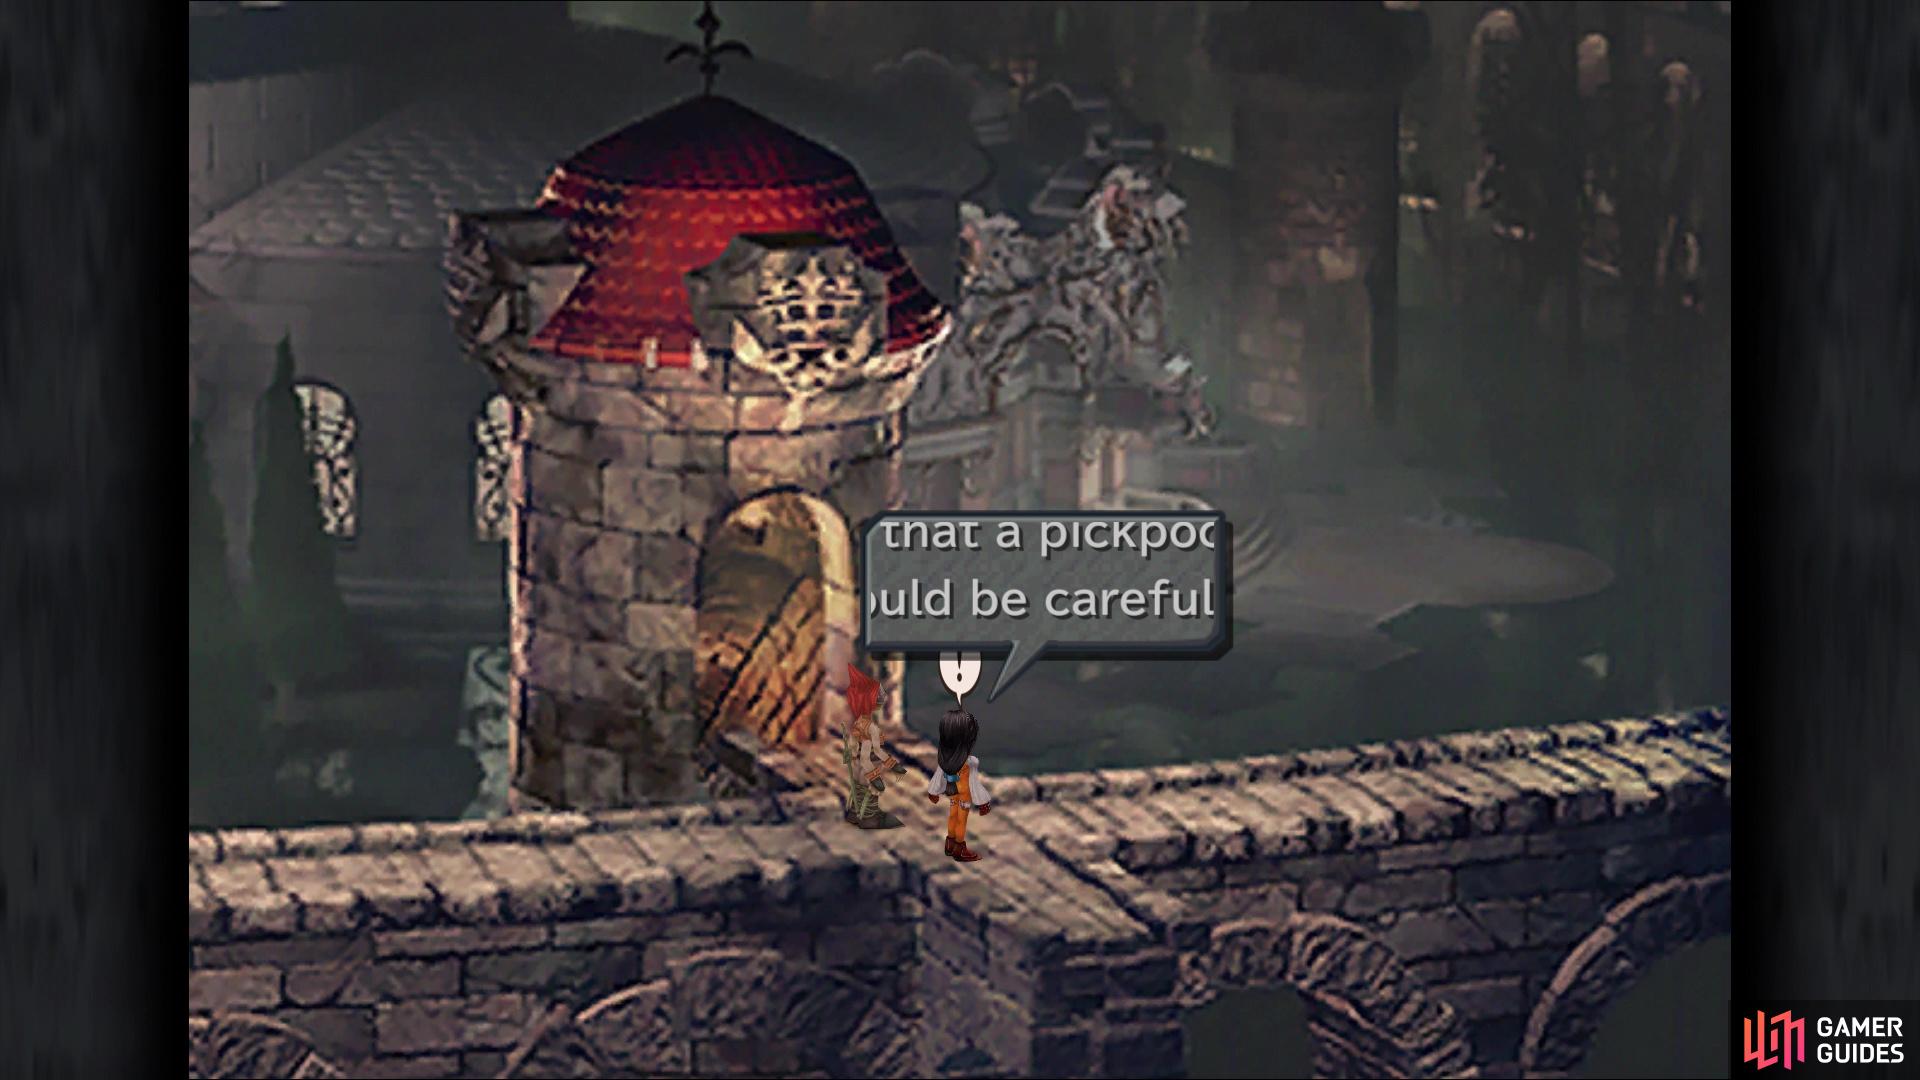
The prompt to reduce the pickpocket amount is very, very quick
After viewing that first ATE, go left and watch the Pursuit ATE next. Head down the stairs for the next ATE, which will be Confusion. You’ll be following Dagger at this point, so head south once that ATE ends and pick the Ambition ATE to look at next. You will now be standing in front of the card stadium, so backtrack all the way to the entrance of Treno and go up the stairs on the right side this time. Once again, you can view two ATEs here, so choose Meeting Place. Go north after that one, into the next screen, and you can watch the final ATE in Treno, Unexpected Visitor.
That sums up the ATEs, but there is the matter of the item mentioned above, which is the Power Belt. From the final ATE you viewed, go down the stairs and take the southern exit. This places you back at the card stadium, so exit to the left to be back in the area where you last saw the Four-Armed Man in the ATEs. Head north and when you see the door on your left, which is where you’ll be heading. Now, as soon as you enter, you will see the Four-Armed Man walking in the hallway, so make sure you stop and talk to him here. Should the Four-Armed Man get past you and leave the building, the Power Belt is lost. Speaking to him will yield the Power Belt, though, which is an extremely useful accessory.
Exploring Treno
Now that the little runaround is done, it’s time to finally explore Treno at your own leisure. Go back to the entrance once more and locate the fountain on the left side of the screen. Interacting with this gives you the opportunity to toss 10 Gil in the fountain. Do this a total of 13 times to receive the Gemini Stellazzio. Go up the stairs on the right side again, then descend the ladder in this area to reach the lower section. There are two chests down here, one to the left of the item shop (Yeti Card) and another in the lower right (1 Gil). Behind the item shop’s tent, by the one crate, you will find the Taurus Stellazzio.
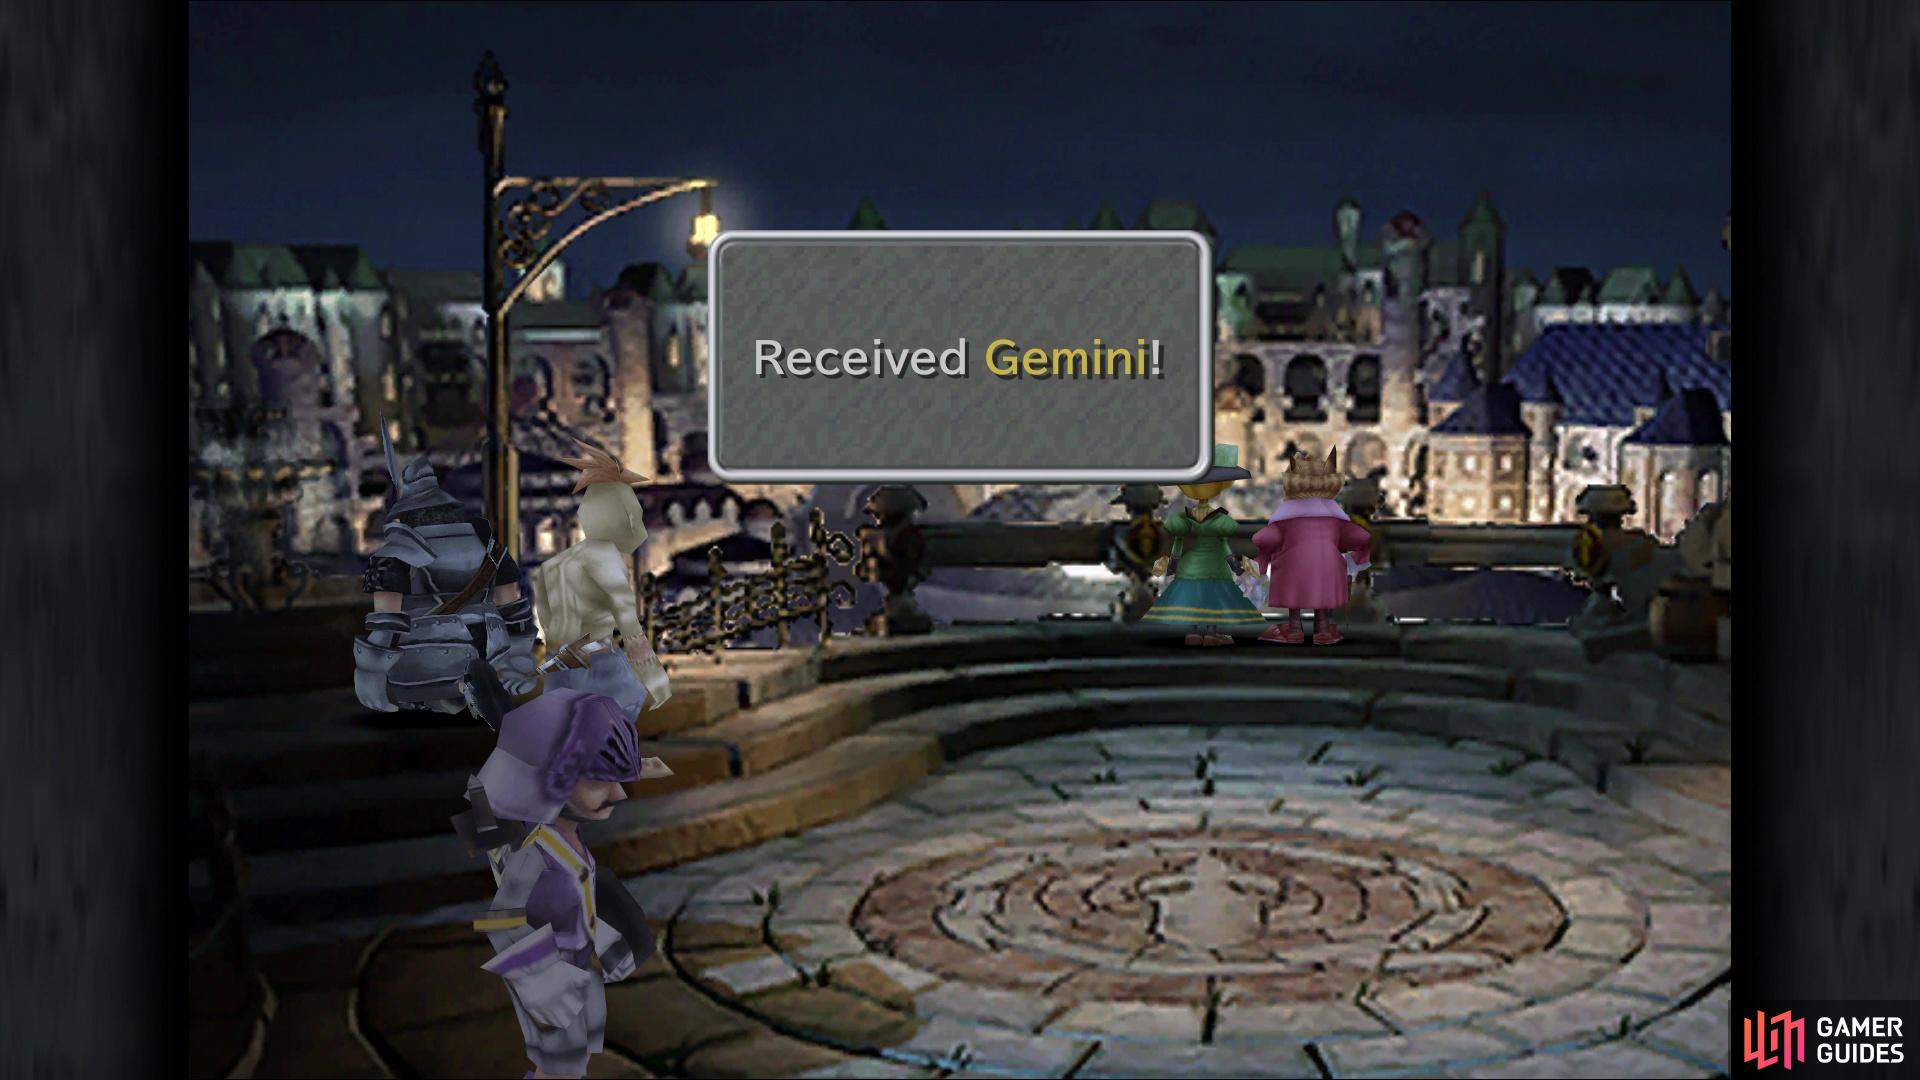
Throwing in coins in the fountain at the entrance will eventually net you the Gemini coin
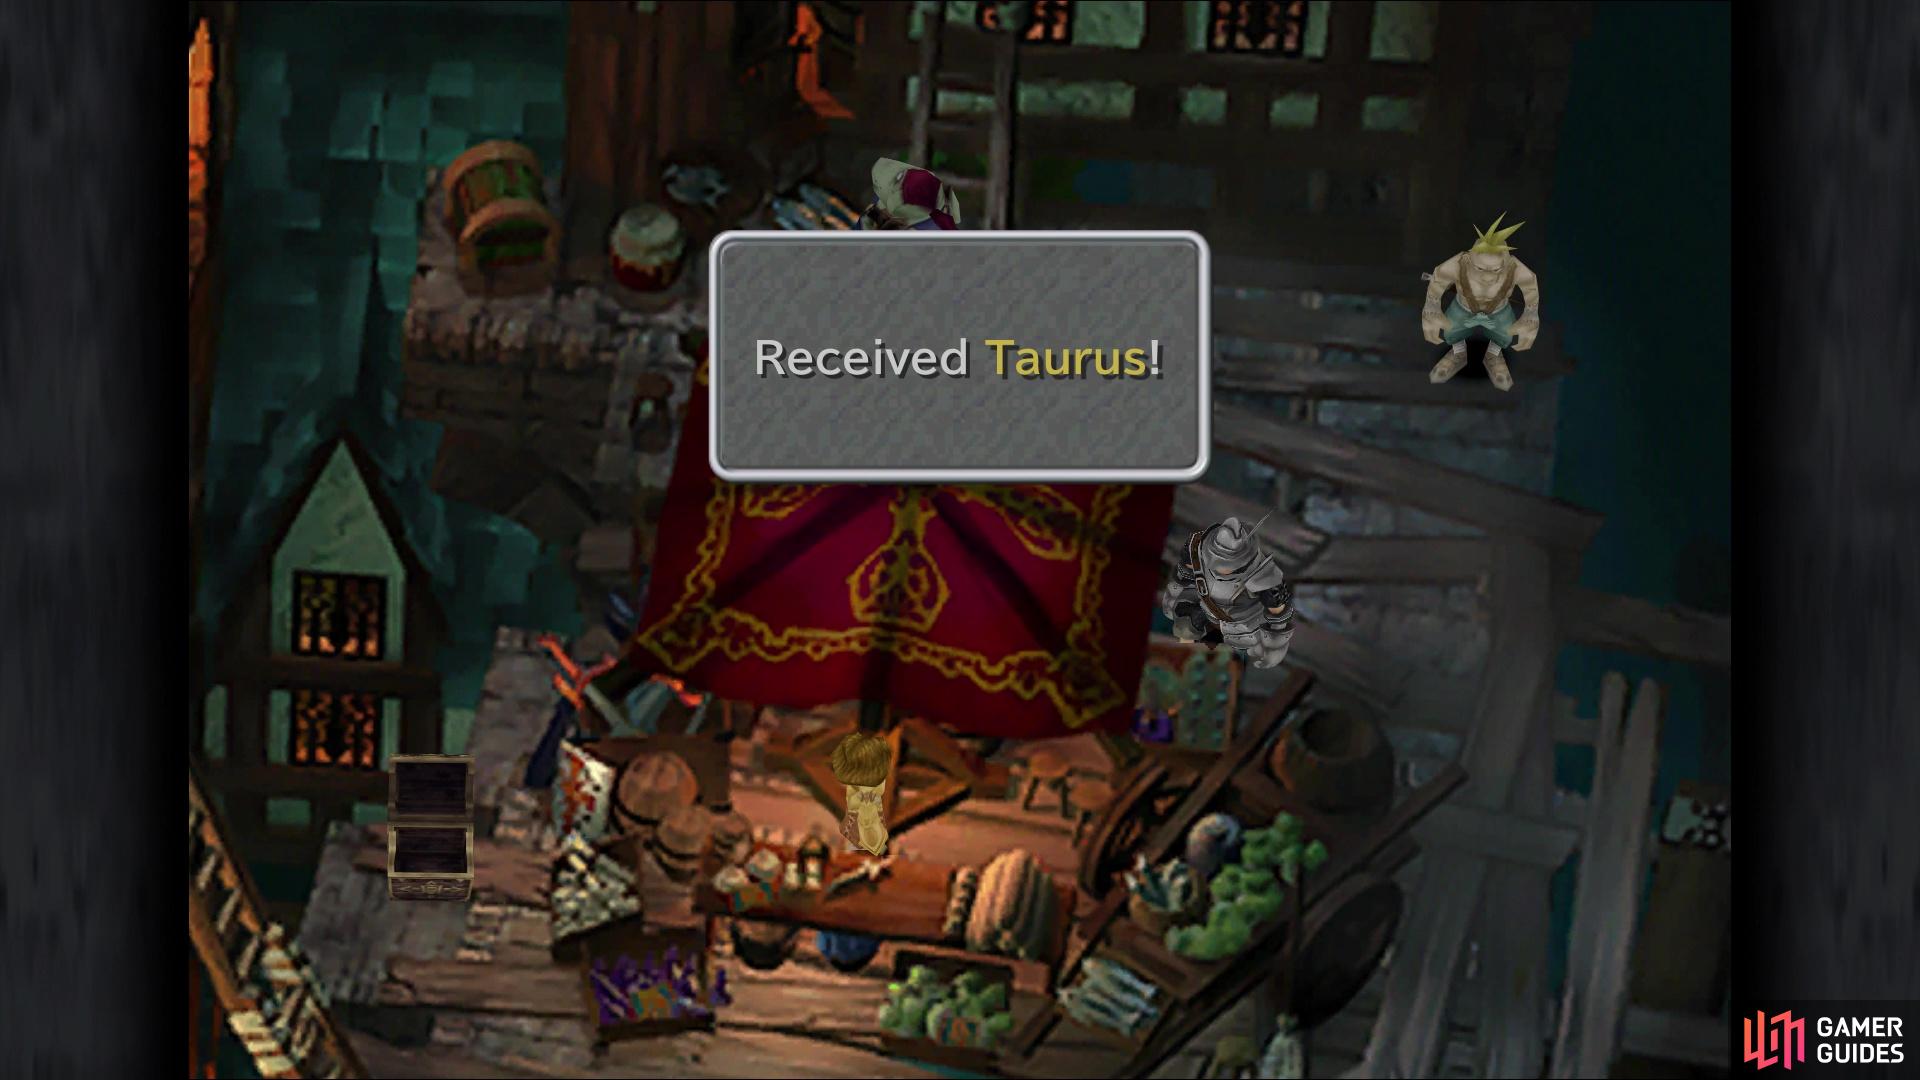
Look behind the item shop in the slums to get the Taurus coin
Climb back up the ladder now and head north to the next screen. You probably saw this earlier, but as you pass through the tower, a moogle will appear. Mogrich has a letter from Stiltzkin, so feel free to read it, then enter the building on the right. Ignoring the monster below the grating (and that option when speaking to the shopkeeper), speak to the person behind the counter to see their wares. The Mythril Sword will be an upgrade for Steiner and is his only source for his Armor Break ability. If you didn’t get the Flame Staff from Black Waltz 3, then get one of those, too. You should also upgrade some of your armor, like the Bone Wrist, Bandana, and Chain Mail.
Exit the shop and continue north to the King’s House, which is the auction place. Do not go inside just yet, but search by the window on the left side to find 2225 Gil. Double back to the previous screen, go south to the card stadium, then continue to the left to arrive back at the Bishop’s House, which is where you saw the Four-Armed Man in the ATE. Travel north of here to arrive at the Queen’s House, so go inside. Speak to Queen Stella, who is collecting the star-shaped coins, or Stellazzio, you’ve been finding. Hand over the coins you’ve found to receive rewards. Since you found five of the coins, you should get a total of 8,000 Gil, a Phoenix Pinion and a Blood Sword.
Travel back to where you confronted the Four-Armed Man inside of the Bishop’s House, and follow the hallway to the end, where you will enter the synthesis shop here in Treno. Most of the items are the same, but there are a few new ones, one of which is the Coral Ring. Being able to absorb thunder attacks is nice, but you need a Lightning Staff (can be bought in Treno) and Rod to make it, with the latter not sold in Treno. Other items of interest are the Gold Choker and the Cachusha, with the latter having Ability Up on it, so definitely grab at least one of those. You can also do the second running of the Cotton Robe money trick at this time, provided you got the necessary items when mentioned in the walkthrough.
Monster Challenge
If you were doing the Cotton Robe trick, then the last stop should be back at a merchant, most likely the weapon shop. Should you not be there, head there now. Equip Steiner with a Gold Choker, as well as the Blood Sword, then speak to the shopkeeper, choosing the second option. Basically, the equipment shop in Treno doubles as a little monster arena, where you can challenge monsters with one of your characters. There are four different monsters you can fight, with you being rewarded if you win. Should you fail, then you will be kicked back to the shop, with that character having 1 HP left.
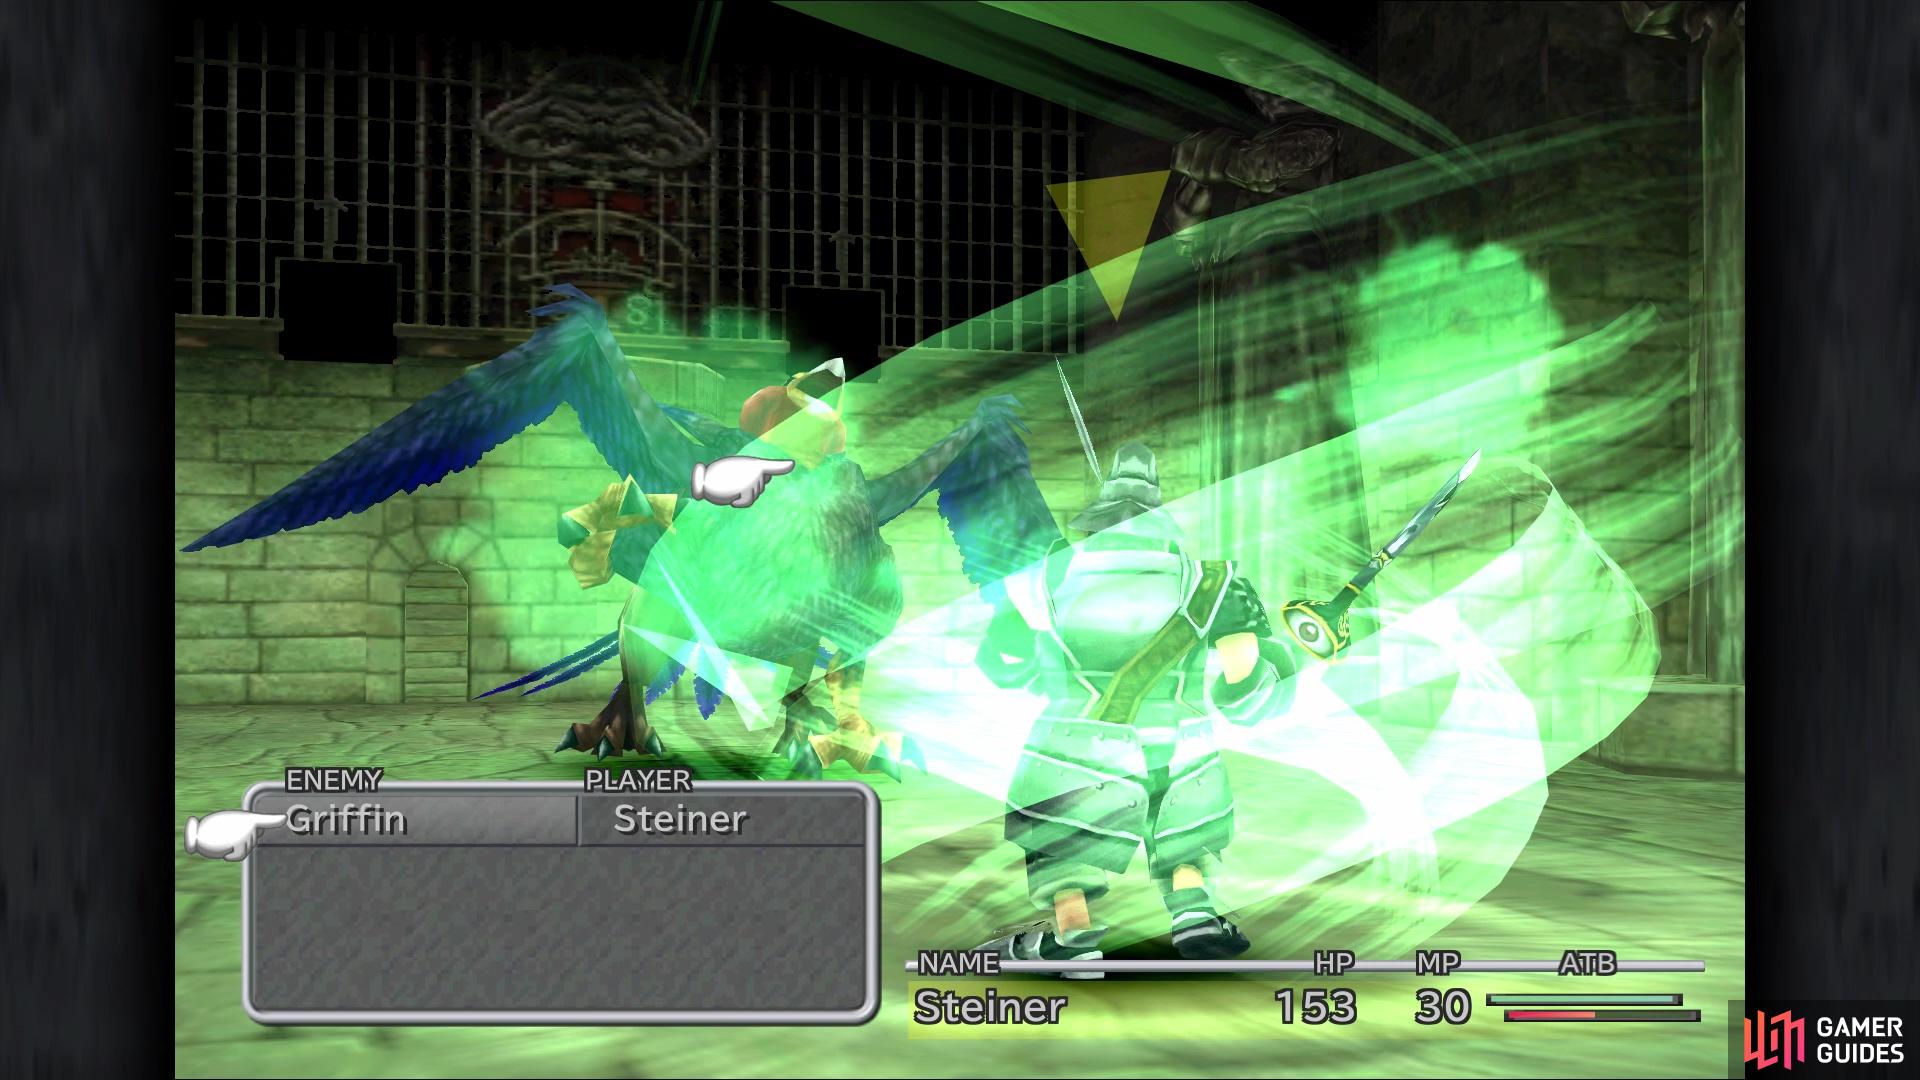
The Griffin will use wind attacks quite often
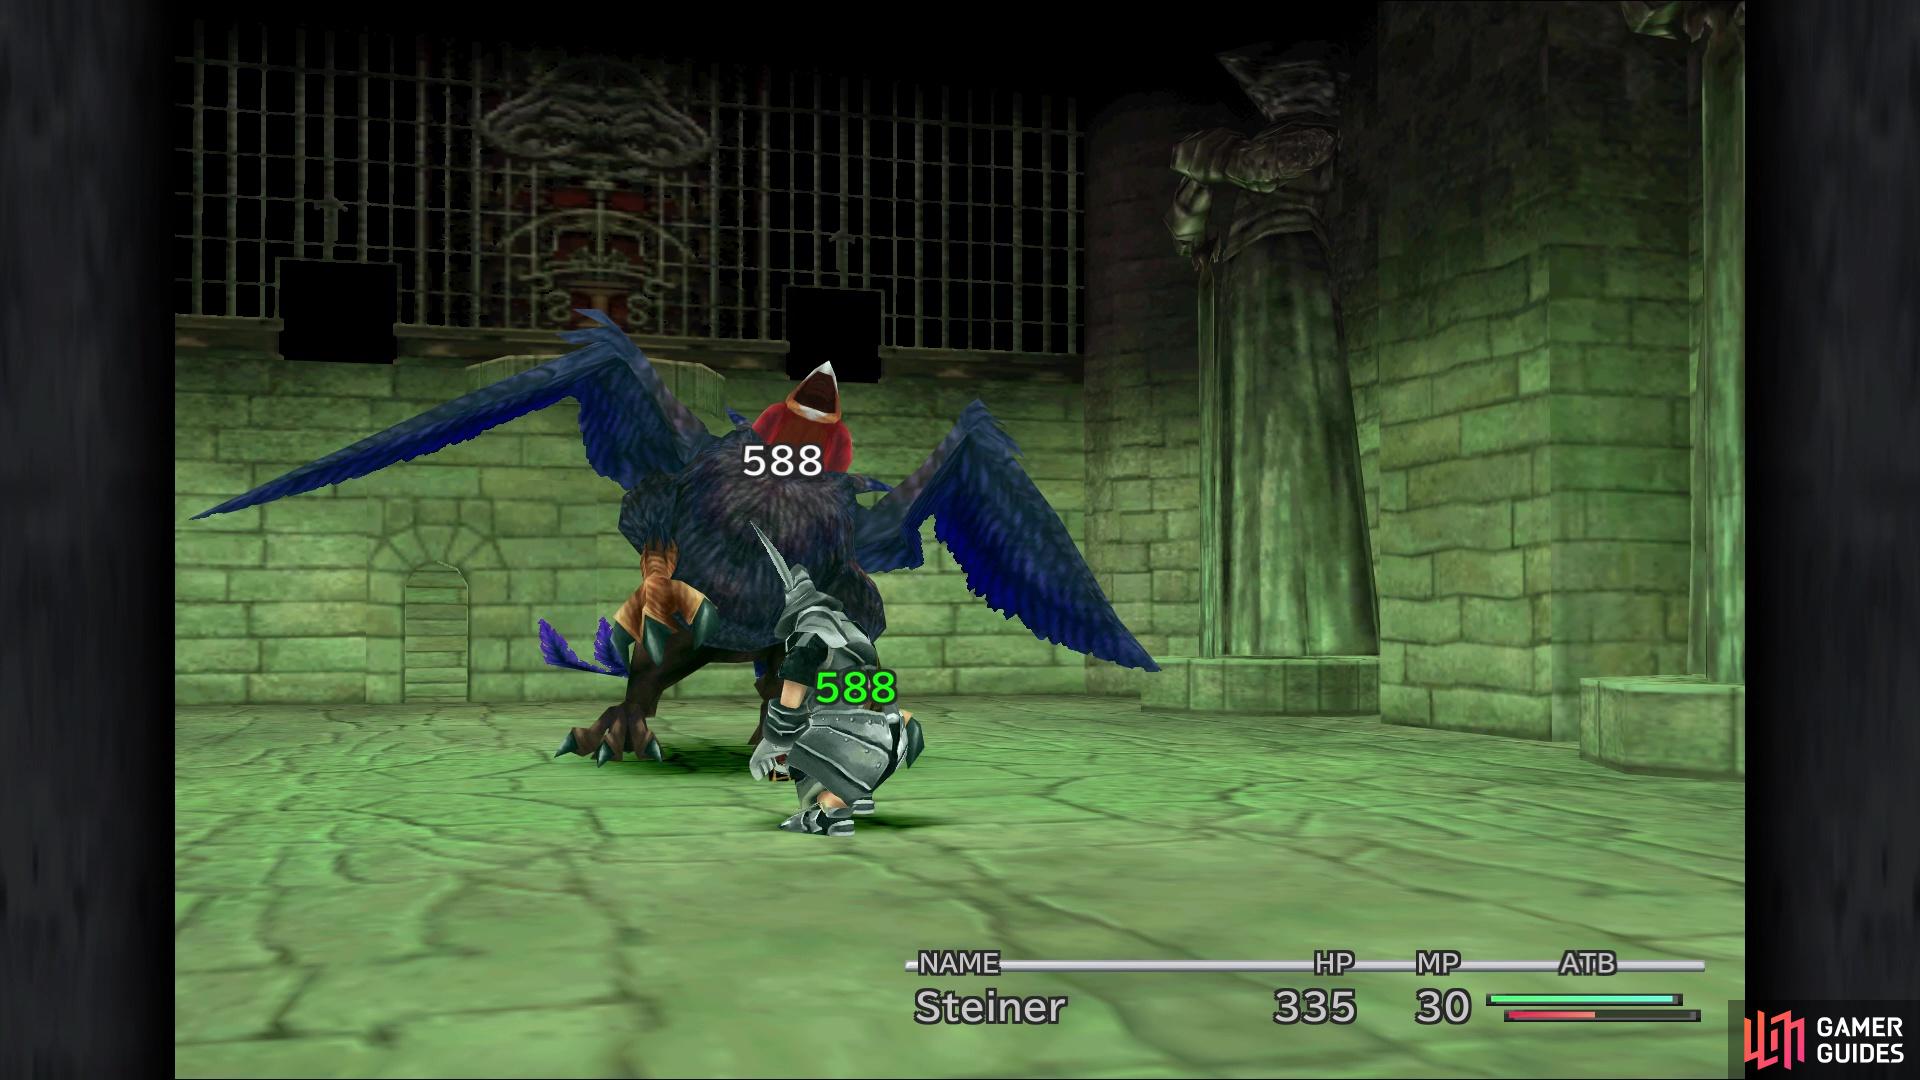
The Blood Sword makes this battle very easy
The first monster you will be facing is the Griffin, which uses wind attacks, so the Gold Choker will help in mitigating some of that damage. The other attacks will also hurt a lot, but the Blood Sword will help take care of that, healing you back to full from any damage you take. For winning the battle against the Griffin, you will receive the Tonberry Card as your reward.
Treno Auction House
That sums up all of the optional content (for the most part), so it’s time to carry on with the main story now. The auction house, where you will need to go, is one screen north of the equipment shop. Go inside to find Dagger and after the scene is over, you will have her back in your party. Equip her with all of the goodies you now have, then feel free to go back inside of the auction house. Whenever you enter this place, four items will be announced that they are up for bid. If you’re looking for something specific, exiting and re-entering will reset the items.
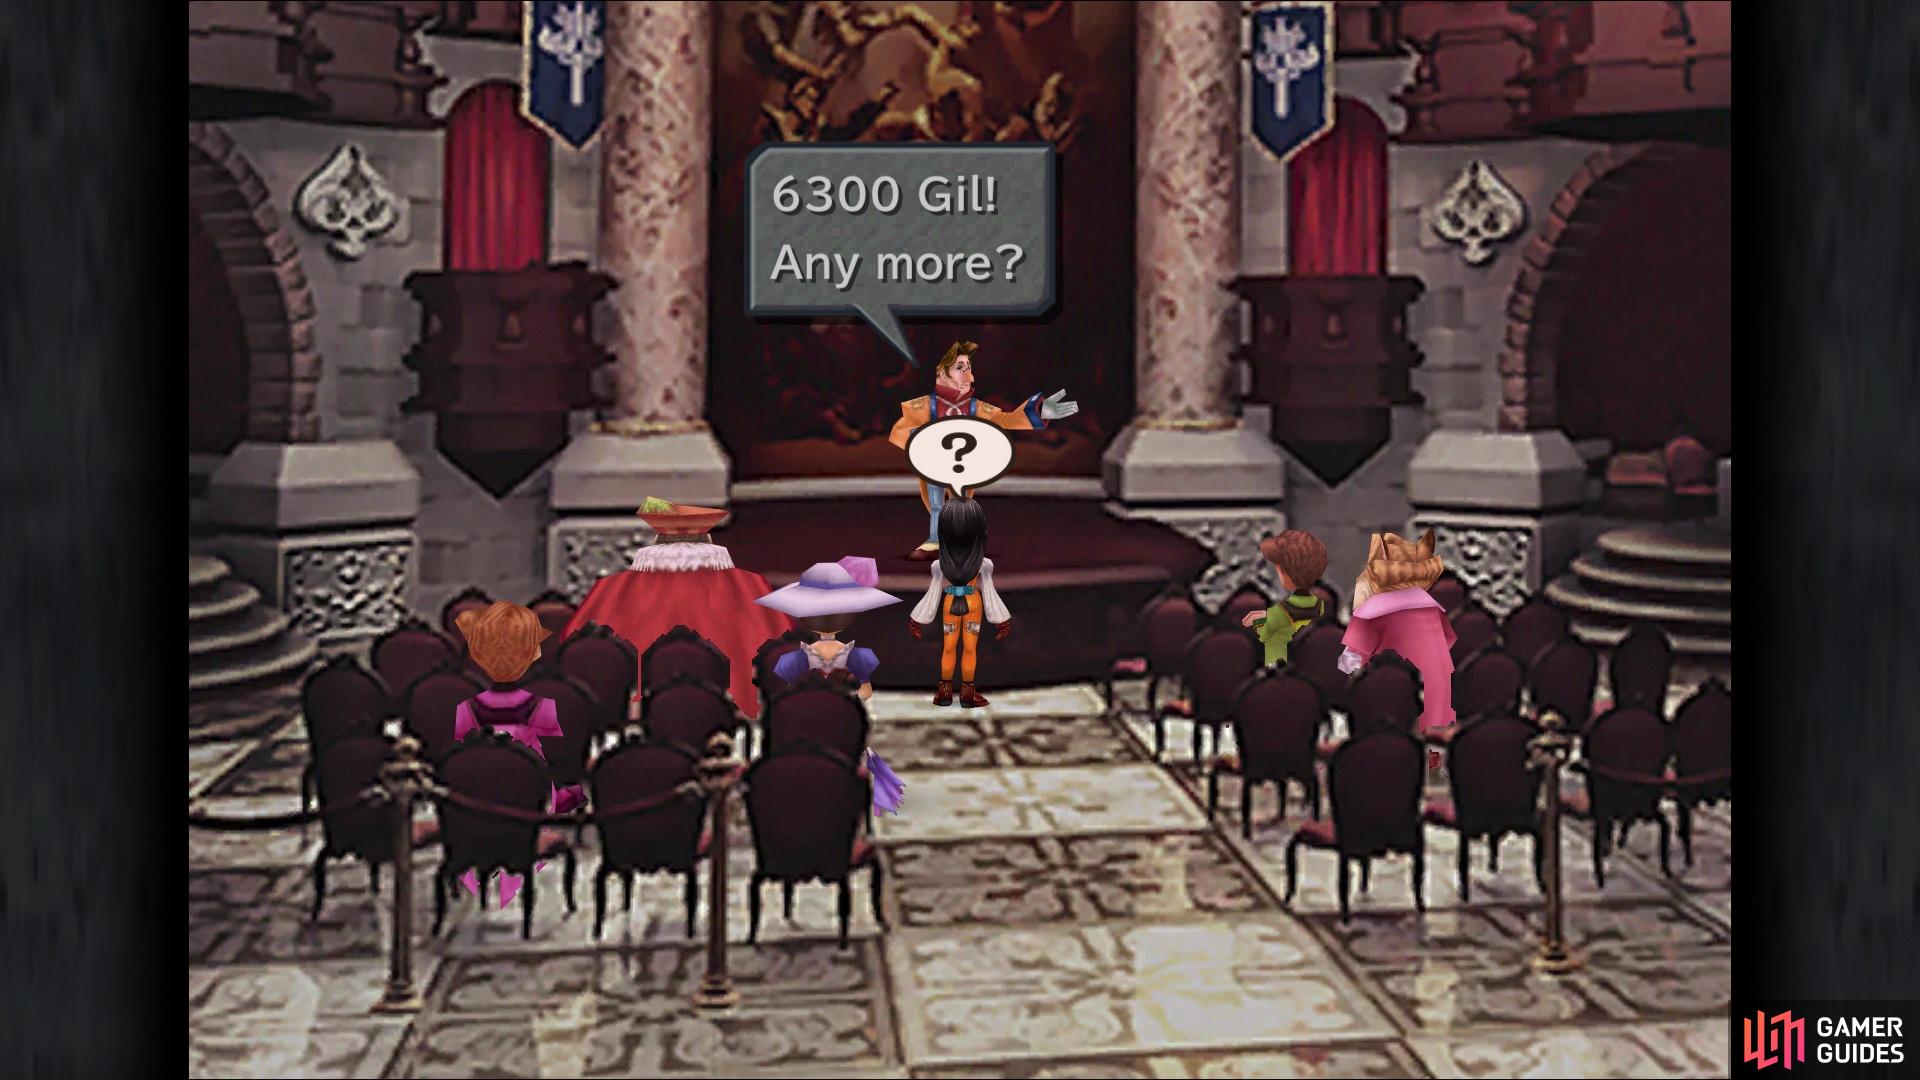
The auctioneer will go through each item, one-by-one, doing the typical auction stuff. The best time to usually bid on an item is whenever you see the auctioneer go “Any more?” Now, there are four items that seem useless, but can be sold to NPCs in Treno for a higher price than what you paid for them. These are Doga’s Artifact, Une’s Mirror, and Griffin’s Heart. All of them, except for the Doga’s Artifact, can fetch for a higher price by negotiating with the NPC for a second offer (Doga’s should be sold on the first offer). The Mini-Cid item is just an extra Key Item that you can get, if you want it; it’s relatively inexpensive and might be better to get to remove it from the item pool.
Other items you might want to purchase are the Madain’s Ring for the Body Temp passive, as well as the Fairy Earrings for another chance at Body Temp, as well as Level Up. You should already have a Magician Robe, so you don’t need another one, and the Pearl Rouge might be a tad bit expensive right now. The last item is the Reflect Ring and while it may be expensive, as well, it’s nice to have it in case. That’s all of the items you can get from the Treno Auction House right now, so it’s time to get back to the main storyline.
With all of that out of the way, return to the entrance of Treno and go right to visit the slums again. Enter the building on the left to find Marcus on the lower level, so speak to him and tell him you’re ready to go. Ignoring Rusty following you, follow the trail all the way to the bottom to find Baku. After a few scenes, you will be back in control at the slums. Return to the entrance once more and head left one screen, then continue left. There will be a chest to the left of the tower’s entrance, which contains a Mythril Dagger, so grab it and go inside. Climb to the top of the tower to find Doctor Tot, who got you the Supersoft you need to rescue Blank.
You’re free to explore Tot’s place, but there’s nothing here, so speak to him again and once he’s done, then leave the tower, going back into Treno for a brief moment. When you do this, there will be one final ATE titled Crime and Punishment, so view it then take the hole in Tot’s tower to arrive in your next dungeon, Gargan Roo.
No Comments