
Gunitas Basin
Now that you’re on the world map, your next destination will be the Ice Cavern, which is to your south. However, let’s take a short diversion to the west, where you will see a gate at the far end. This is the North Gate and upon entering, there will be a short scene between your party, after which, you will gain control and be able to explore the small area. On the right side of this area, you can find a gap in the fence, where there will be a chest right there, containing some Eye Drops. A little further back, up against the wall, is another chest that holds a Potion. The last thing you can do here is go up to the gate, call out to someone and buy Potions from the lady vendor. That’s all you can do here, so exit and make your way over to the Ice Cavern.


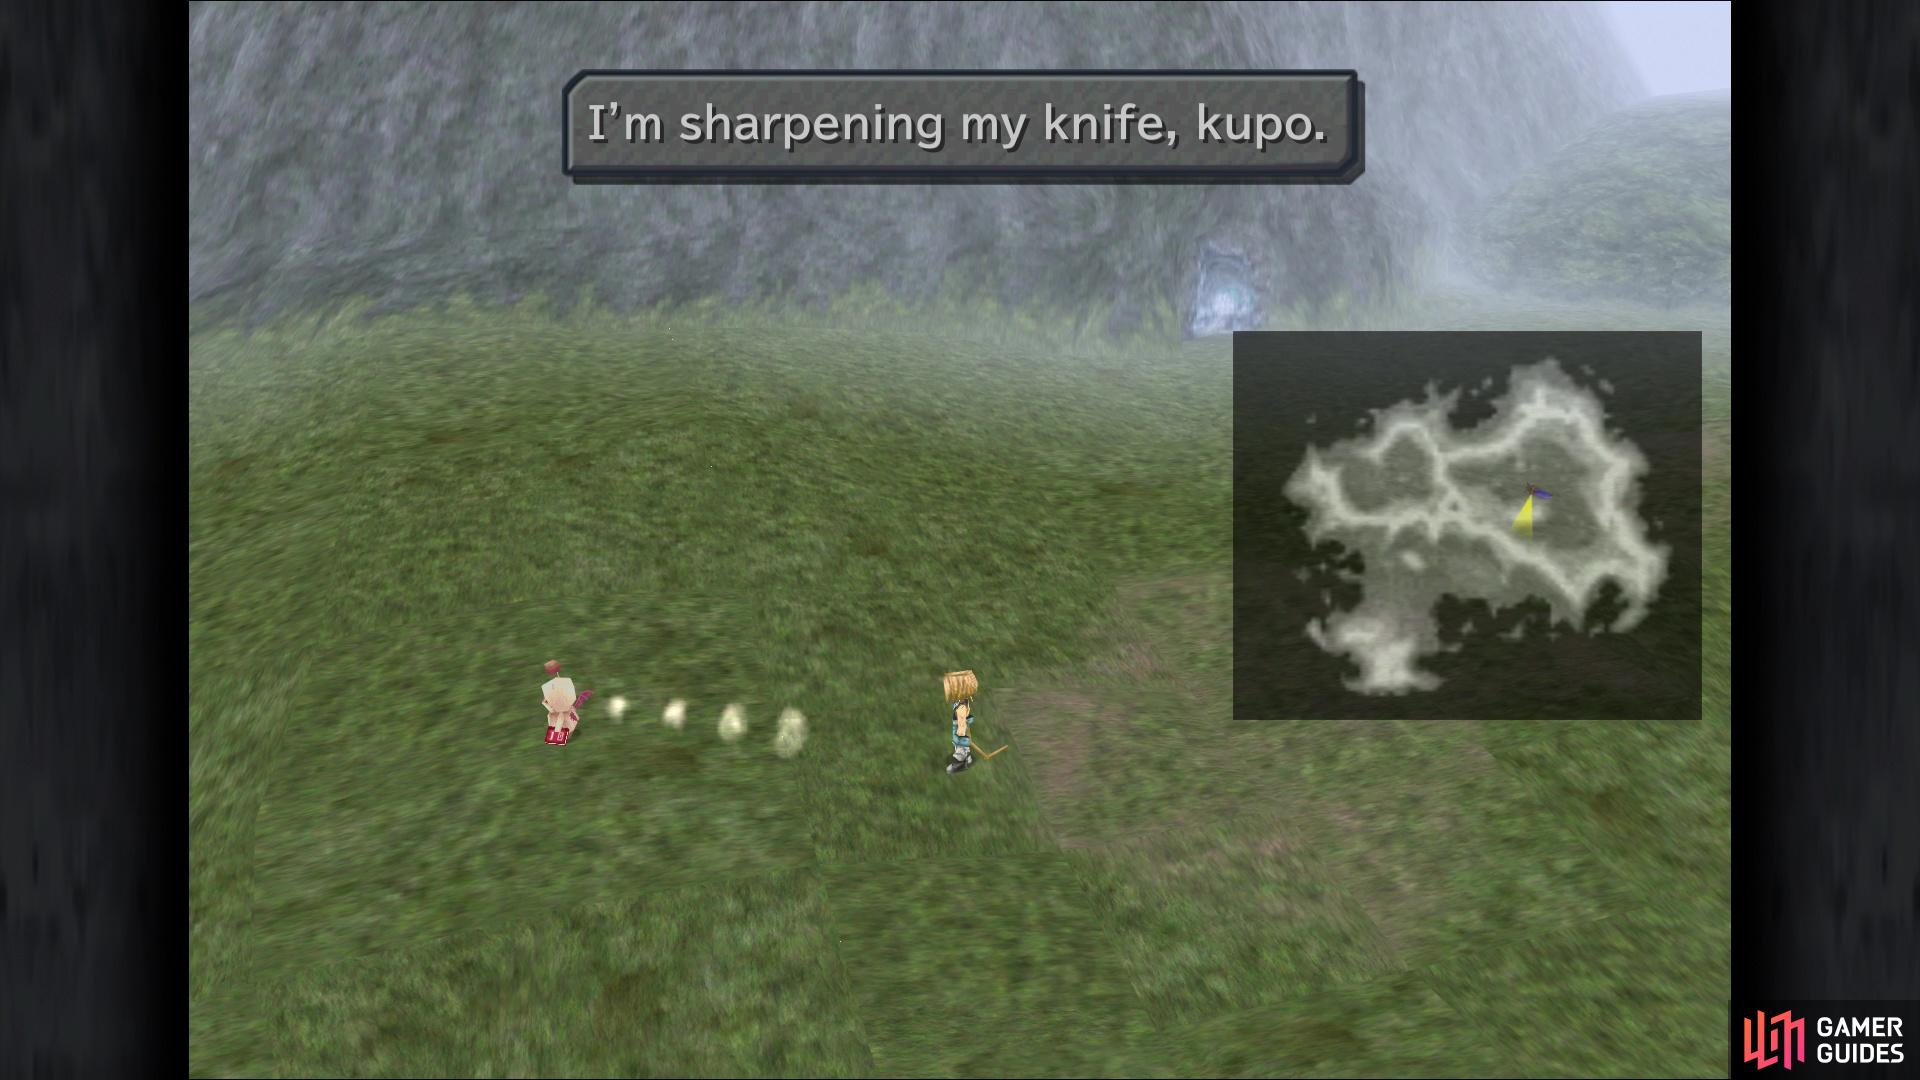
The moogle starts getting ticked off from calling him one too many times
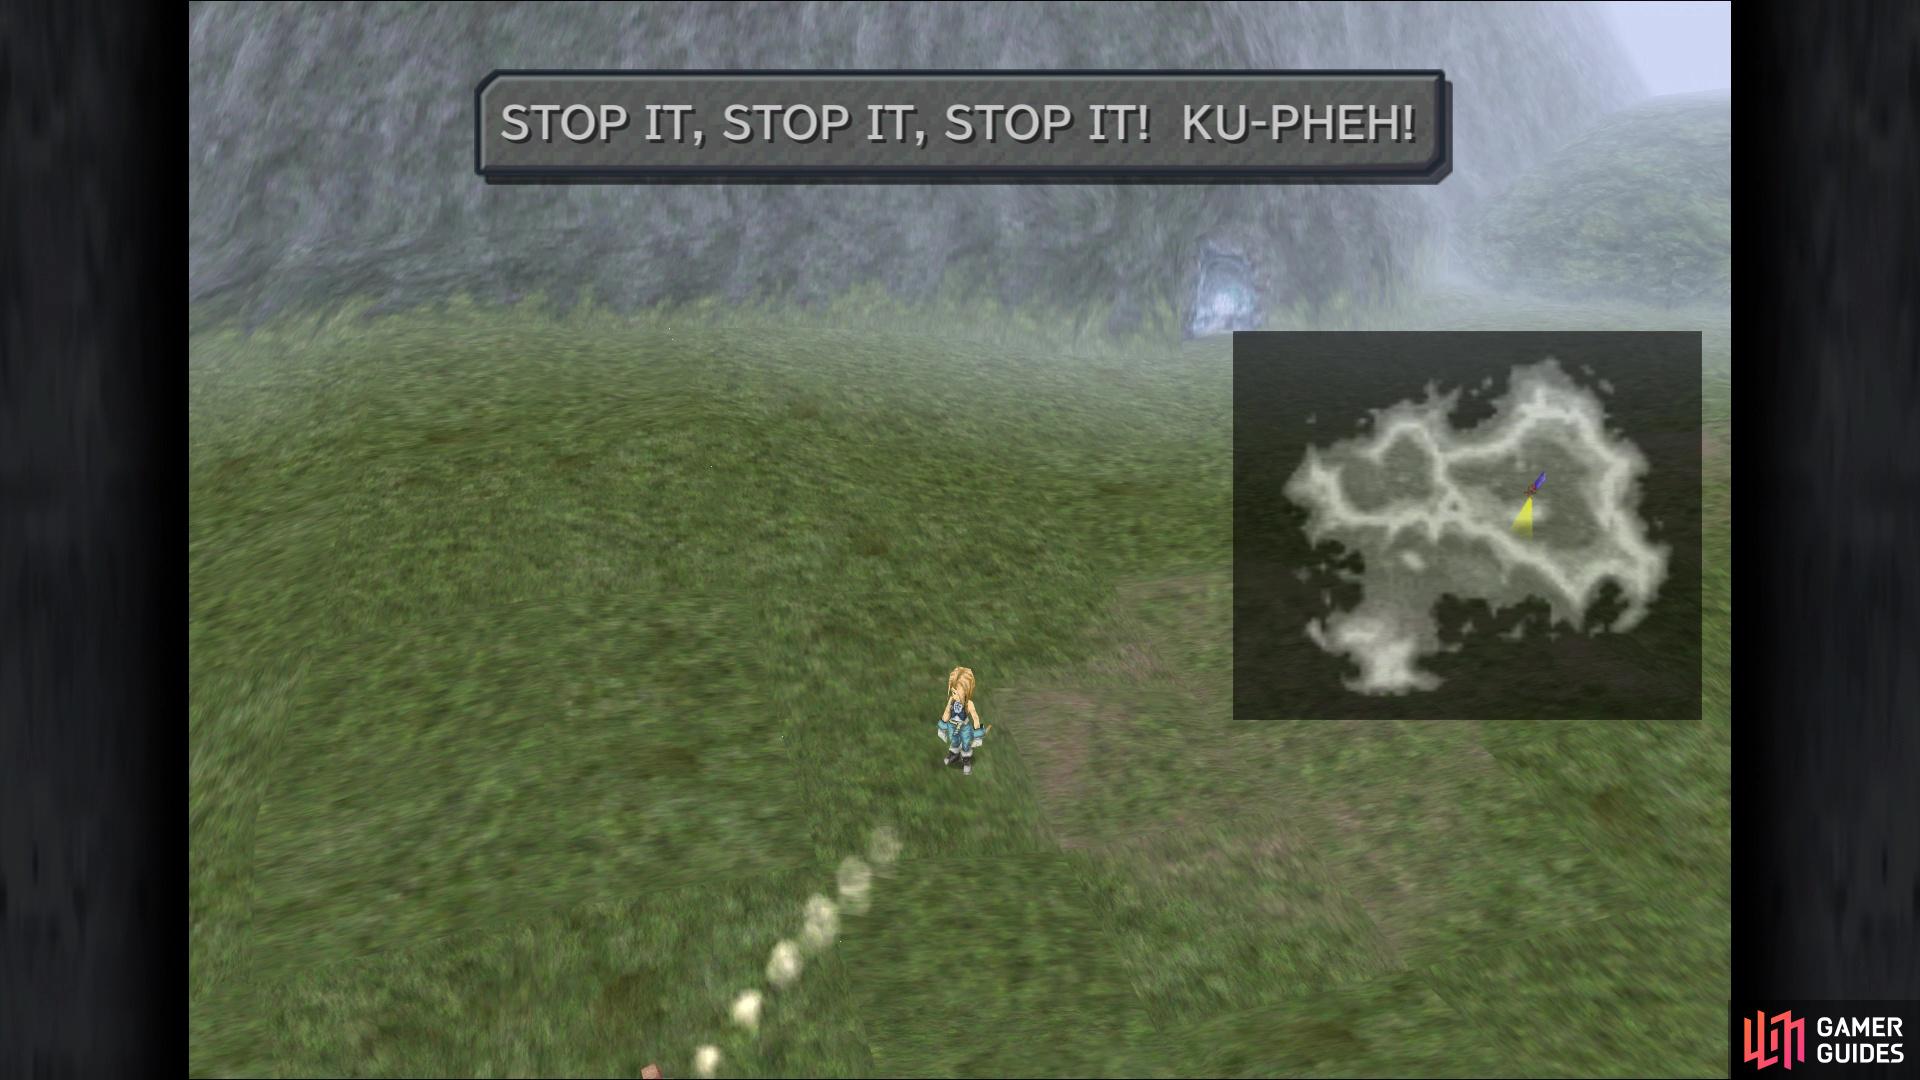
When you see this pop up, then you’ll earn the trophy/achievement
Ice Cavern
As you step into the Ice Cavern for the first time, the party will discuss some things, then you will have free reign over the place. It should be mentioned that there are jets of steam coming out of the walls in some places in this dungeon. Should you get hit by these, then the game will force an enemy encounter on you, so try to avoid them at all costs. In the first actual room, you should see a chest on a ledge a little higher than the ground, so look for the “!” on the right side to hop up to it and open the chest (Tent). Continue north, making sure to wait until the mist stops spraying, then enter the next screen.
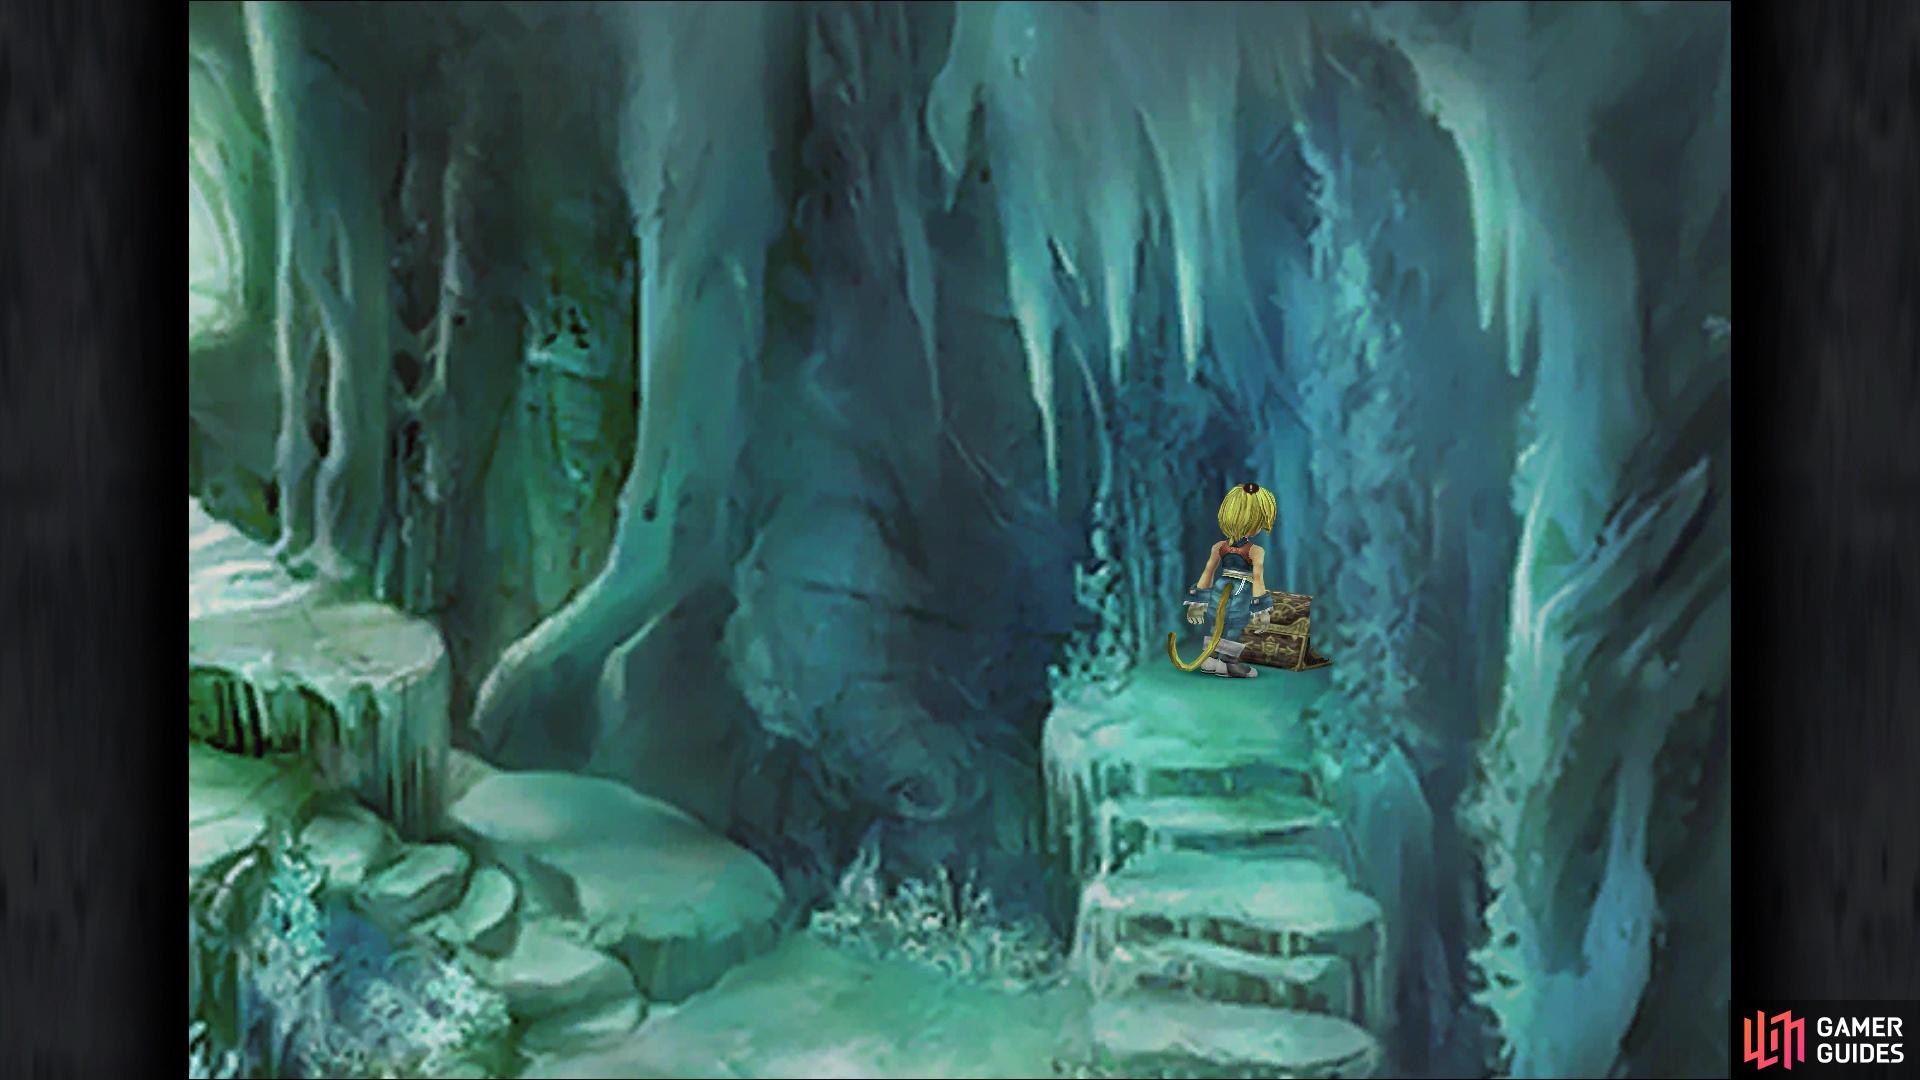
When you enter here, you should spot another chest on your left, but ignore it for right now and time your movement up the stairs on the right side. Approach the wall and inspect it, having Vivi melt it with his magic, revealing a chest behind it (Ether). There is a path to the right of the other set of stairs, that bring you around to the first chest you saw, which contains a Potion. Head to the next room to the north, where you see a few paths ahead of you. Go to the right side and open the obvious chest for another Potion, then approach the base of the icicle bridge to have Vivi knock it down.
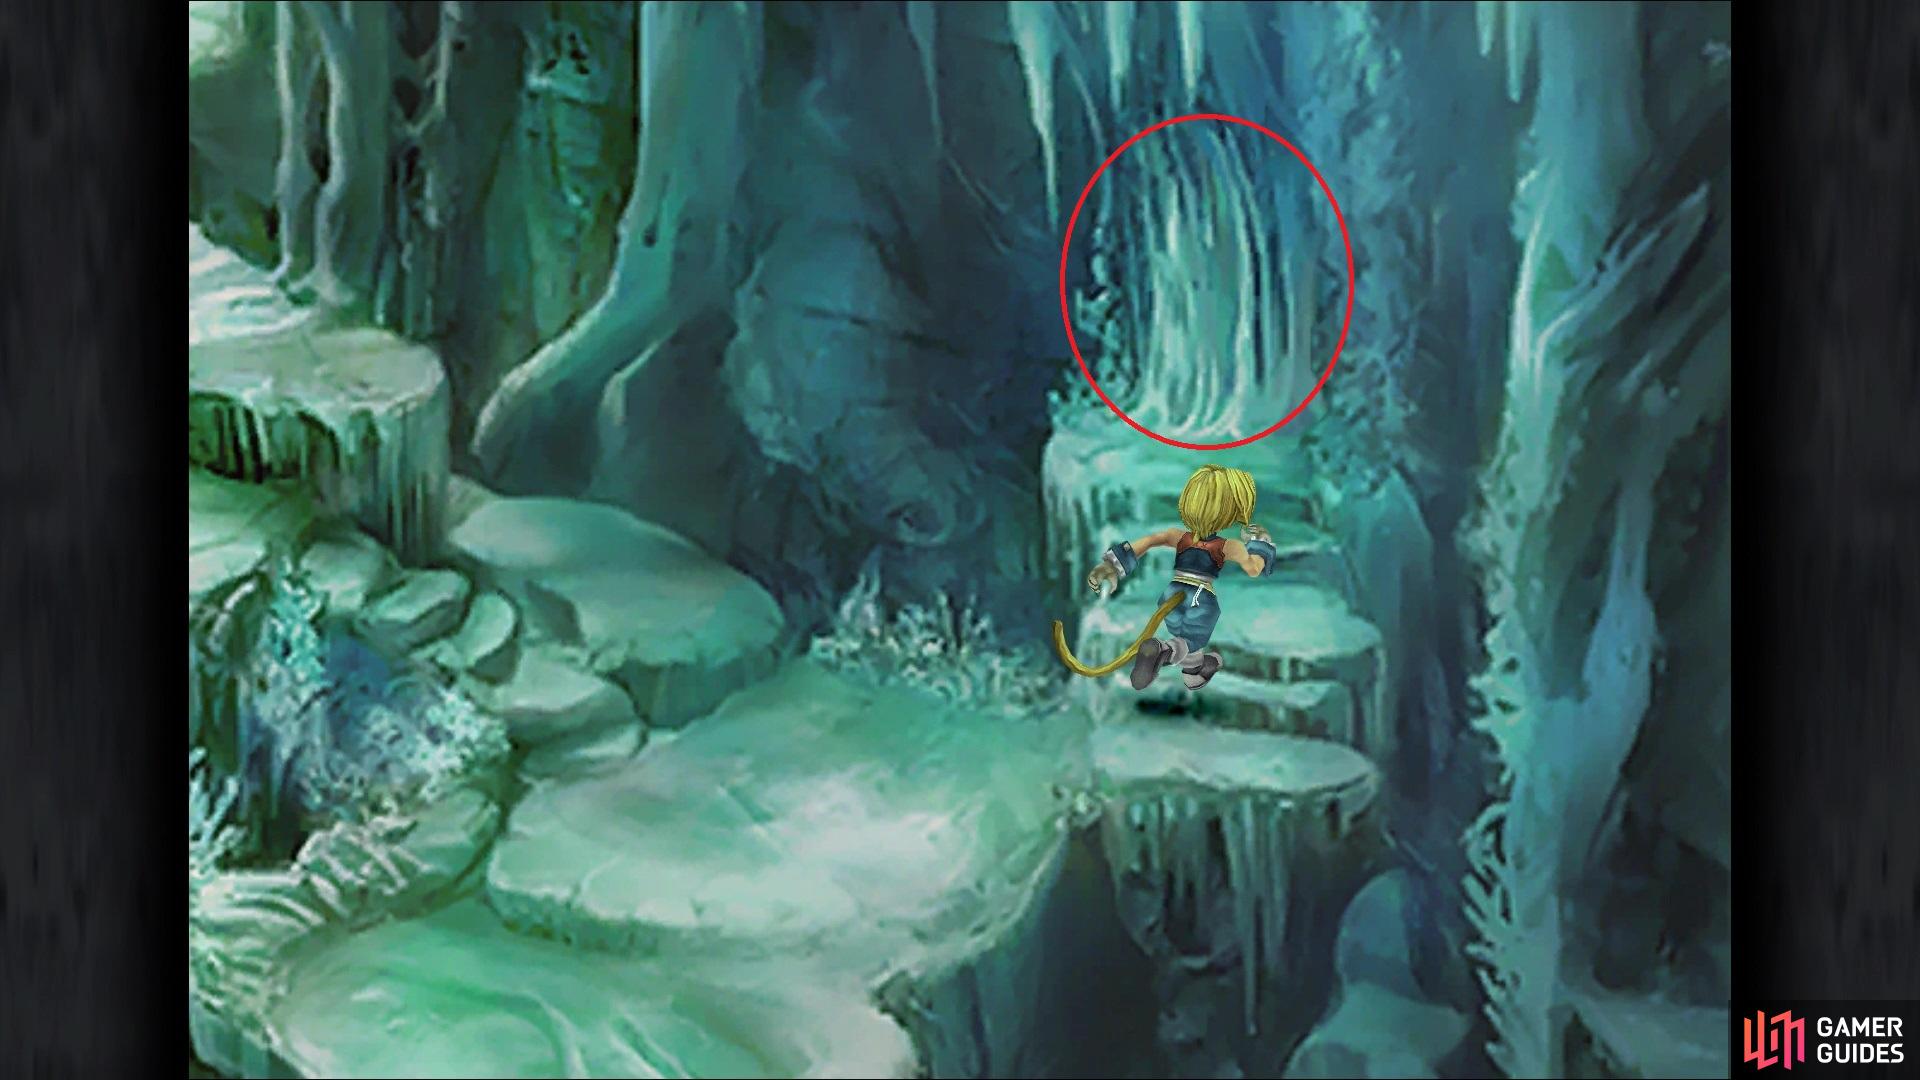
There are a few ice walls like the above throughout the dungeon
Have Vivi torch them to reveal chests behind them
This creates another bridge to reach the chest in the lower right, which holds a Mage Masher. Despite the fact you should already have one, it will come in handy later on, so make sure you don’t sell it. There is another wall Vivi can blast open in the far back, revealing a chest that contains an Elixir. Exit to the northeast and open the chest to your northeast, for a Phoenix Down. You want to go to the northwest corner, to the supposed dead end, and have Vivi open the wall here, leading to the chest in the lower left (Leather Wrist).
Make your way to the exit at the top of the room, where you’ll come to a fork. For now, go left to find a frozen moogle. Vivi will thaw him out, triggering another ATE that will give you some more tutorials. Look at the Elemental Properties and Status Ailments ones for more information on those, as they can be very important. Back at the moogle, use a Tent, if needed, then save your game. Select Mognet to get a letter from Mois to Gumo, who will be in Make sure Zidane is equipped with your best armor and weapons, then return to the previous screen. Go up the right side and into the next screen, where a scene will take place and Zidane will end up in a solo boss fight.
BOSS - Black Waltz 1 and Sealion
This is definitely a challenging boss fight, make even more as you only have Zidane. If you have a Trance almost ready here, then things get a lot easier, but your main goal is to get rid of the Black Waltz before anything. The reason for this is if you attack the Sealion, then the Black Waltz will target it with Blizzard and heal it. Black Waltz can only use Blizzard and Fire on Zidane, neither of which should deal much damage. Should Trance activate, then you want to use Tidal Flame to pretty much one-hit the Black Waltz and deal major damage to the Sealion.
Moving on to the Sealion, its attacks will change as its health gets lower, which can be monitored by the color of the jewel on its chest. Note that the monster can use Wing in all phases, a physical attack that shouldn’t cause too much harm. When the jewel is blue, it will use Blizzard and when it’s yellow, the beast will add Blizzara. The latter of these two spells will hurt a lot, dealing 60+ damage to Zidane. The biggest threat is when the jewel turns red, which is when the Sealion can use Tsunami, dealing more damage than Blizzara. You should use a Potion on Zidane if his health ever drops below 100 HP.

Zidane’s Tidal Flame can make short work of the Black Waltz in this battle
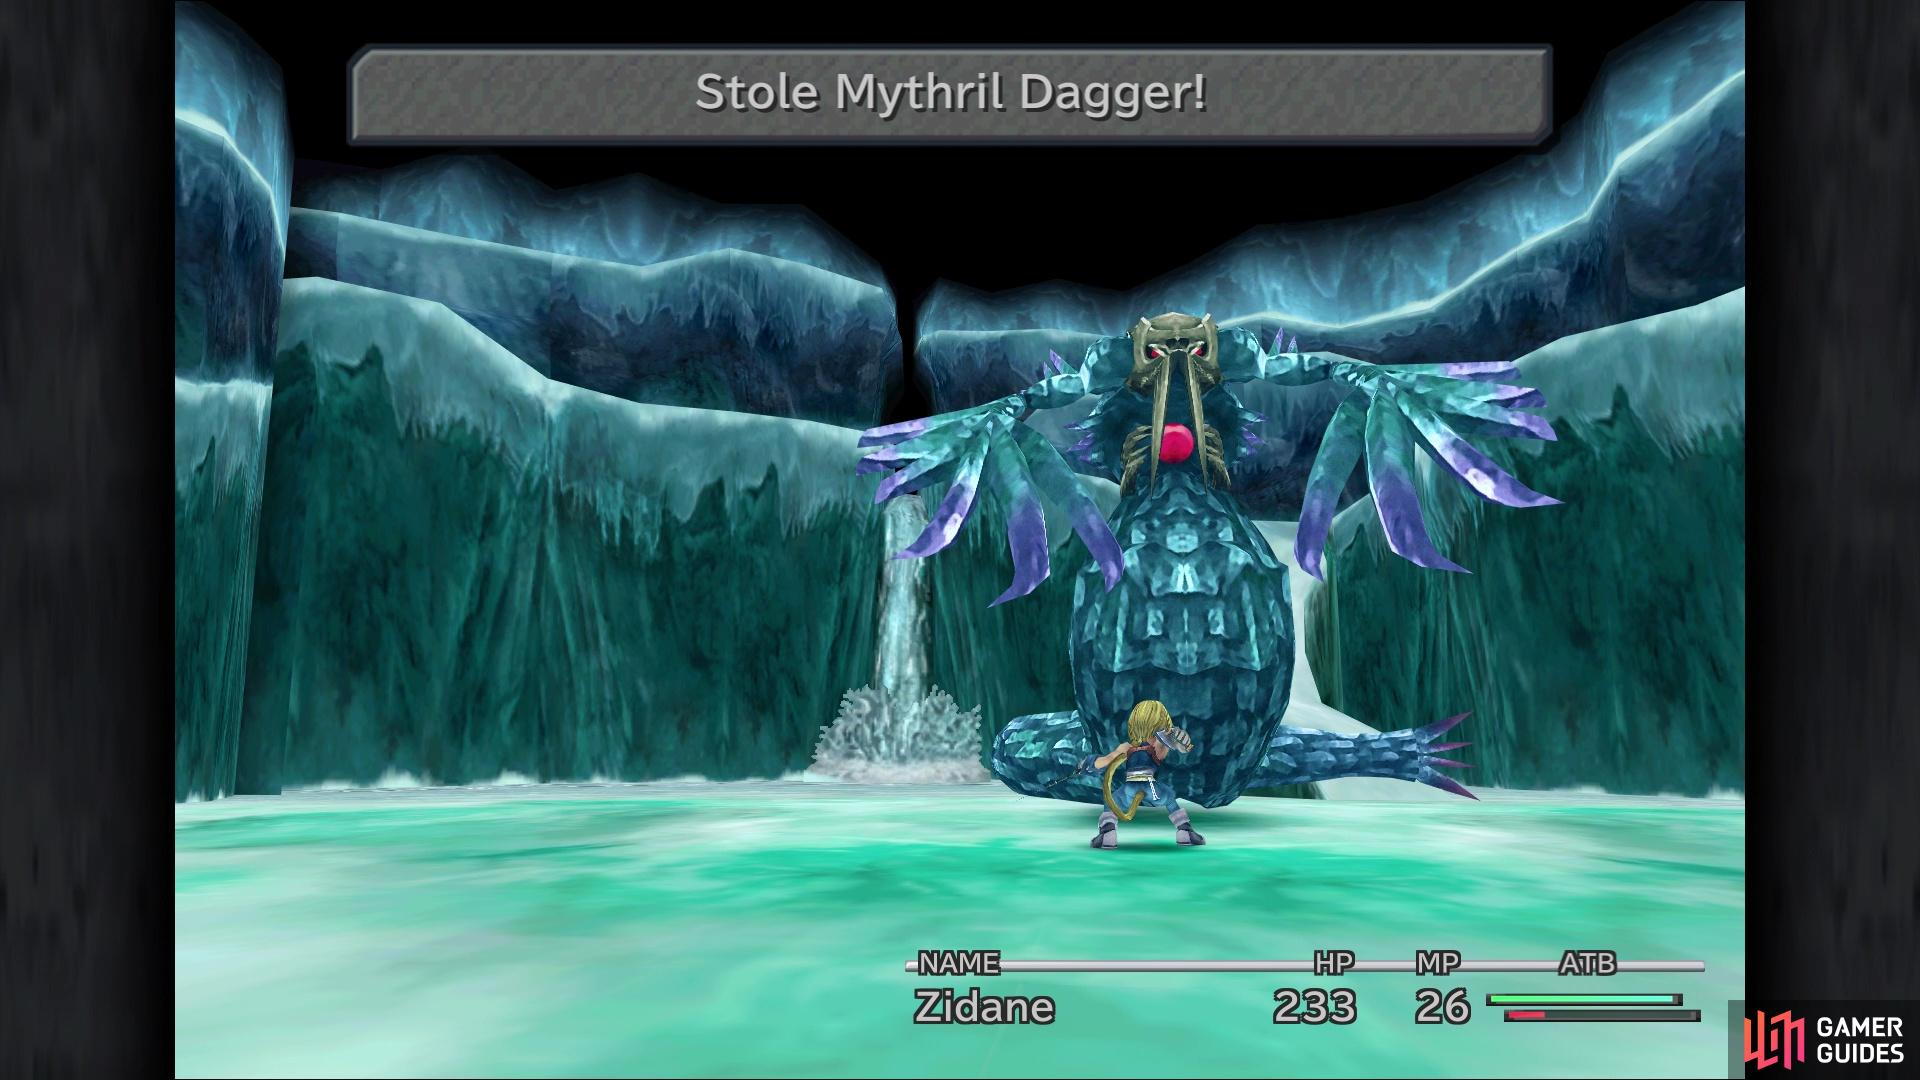
You definitely want to make sure you steal the Mythril Dagger from the Sealion
Should you not have a Trance trigger in this battle, then you want to focus on the Black Waltz with physical attacks until he goes down, then you can turn your attention to the Sealion. The Sealion does have a nice weapon to steal, the Mythril Dagger, but it’s the uncommon steal and you should wait until the Black Waltz is dead before trying to get it. With your damage output, it shouldn’t take too long to fell the Sealion.
The party will regroup after the battle is finished, so head to the back of the Ice Cavern, where you fought the boss, and head up the walkway. You’ll soon reach the exit, where another scene will take place and you’ll be able to name Princess Garnet’s new identity, with the default being Dagger. With that, you will return to the world map, but on the other side of the Ice Cavern, ready to journey to some nearby town.
No Comments