Starting off from where you fought Tiamat, travel through the eye and keep going until you reach some stairs going down. There will be another phantom on the landing below, named Strong Phantom, so feel free to play some Tetra Master if you want. There’s nothing else on the next screen and when you reach the twisted path, there will be a short scene that shows Gaia and Terra. Continue past that until you reach a save point on a bridge before a waterfall. Now, an optional boss is approaching, which should be done, but you want to make some preparations before you trigger the fight.
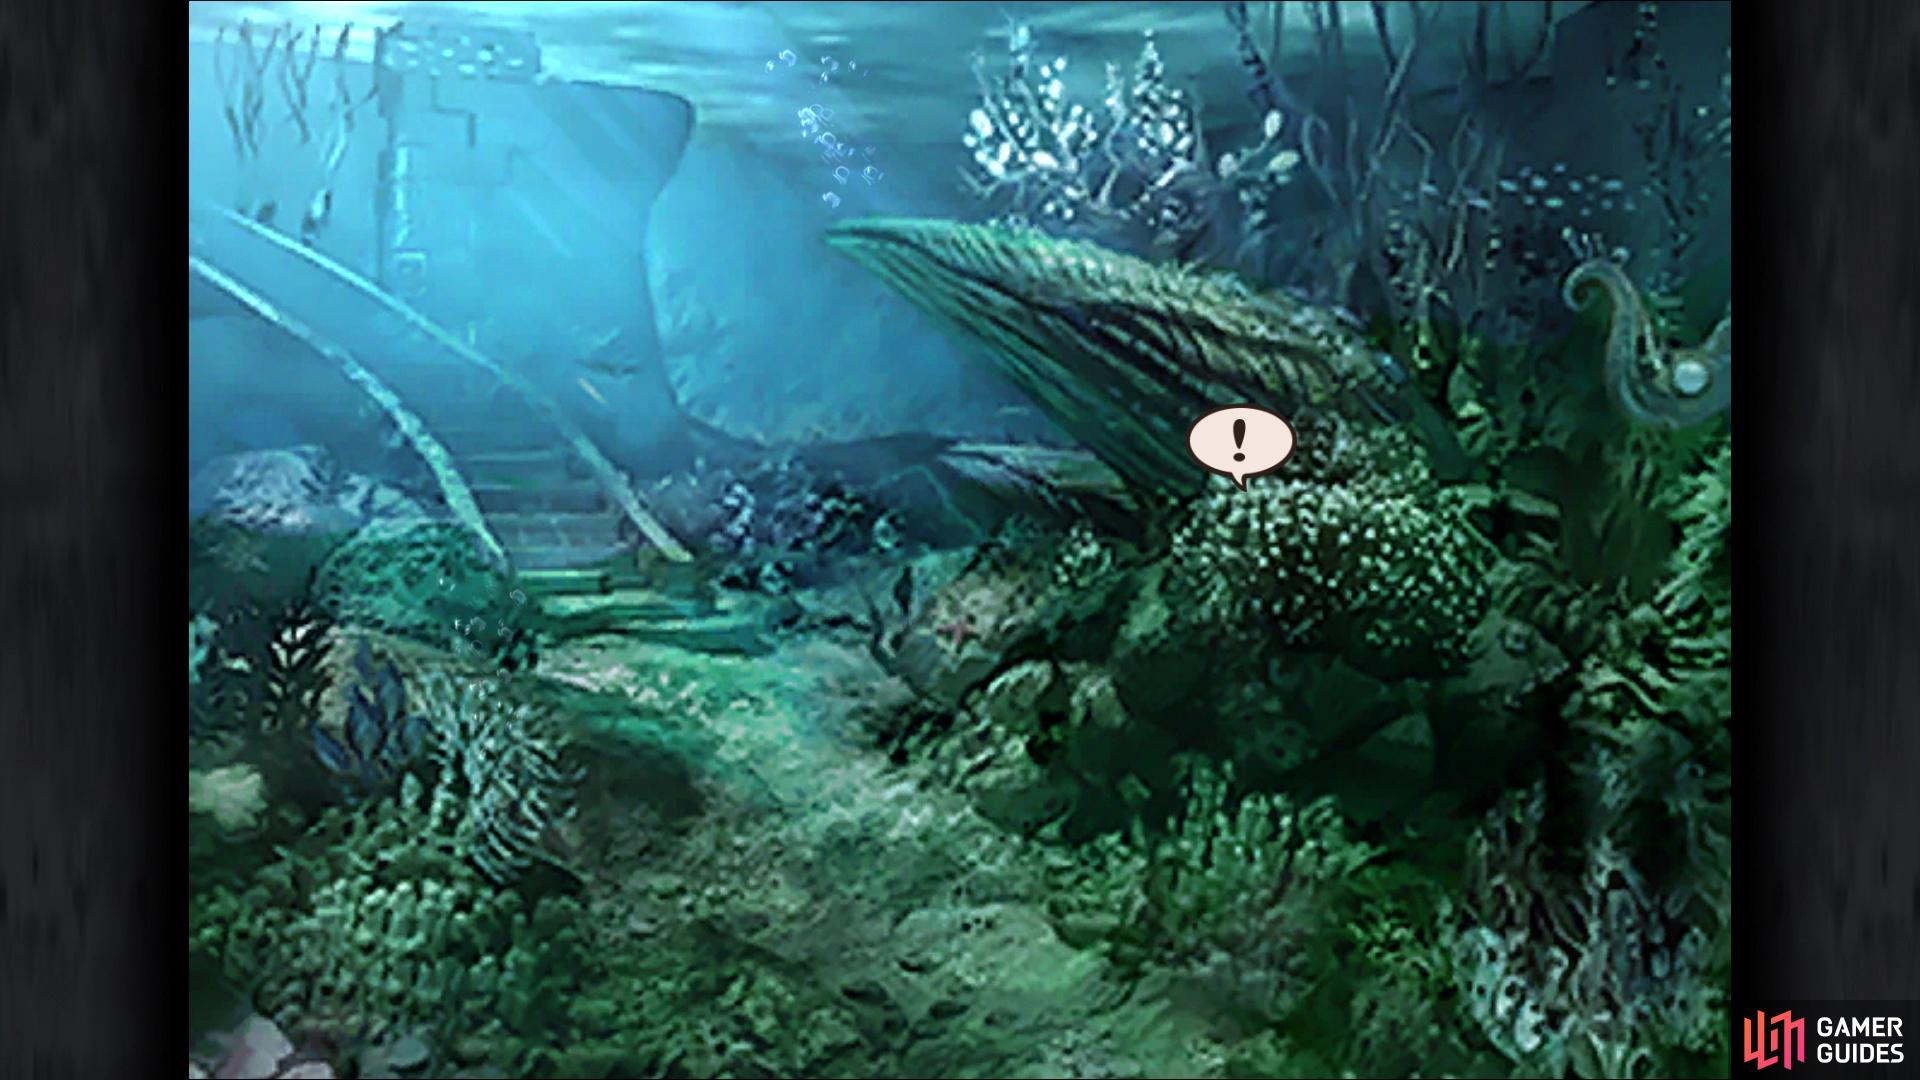
Every character should have Body Temp, Antibody and Clear Headed equipped, with the melee characters also putting on Bright Eyes. Auto-Haste will help take care of the slow he can inflict, but nothing can protect against Mini. The only element you have to protect against is darkness, so equipping Egoist’s Armlets, Pumice Pieces, and such will definitely help if the fight takes too long. Once you’re prepared, save your game and head forward into the water, where a short scene with Quina will play. After that’s over, head behind the rocks on the right side and keep pressing the button until you trigger a conversation. Choose not to leave to initiate a boss fight.
Hades can be found behind the rock, on the right side
BOSS - Hades
Hades can be a troublesome boss, since he likes to try and pile on status ailments on your characters. He has access to both Freeze and Mustard Bomb, but Body Temp will take care of both of those. One of the more annoying moves in Hades’ arsenal is Judgment Sword, which reduces a single character’s HP down to 1. It’s imperative that you heal this character as soon as possible, as Hades is quick and you want all the firepower you can get in this battle. Using magic against Hades can be a bit of a problem, too, since he likes to use Reflect on himself. Hades also has access to Cleave, a move you might be familiar with from the Iron Man enemy in Memoria.
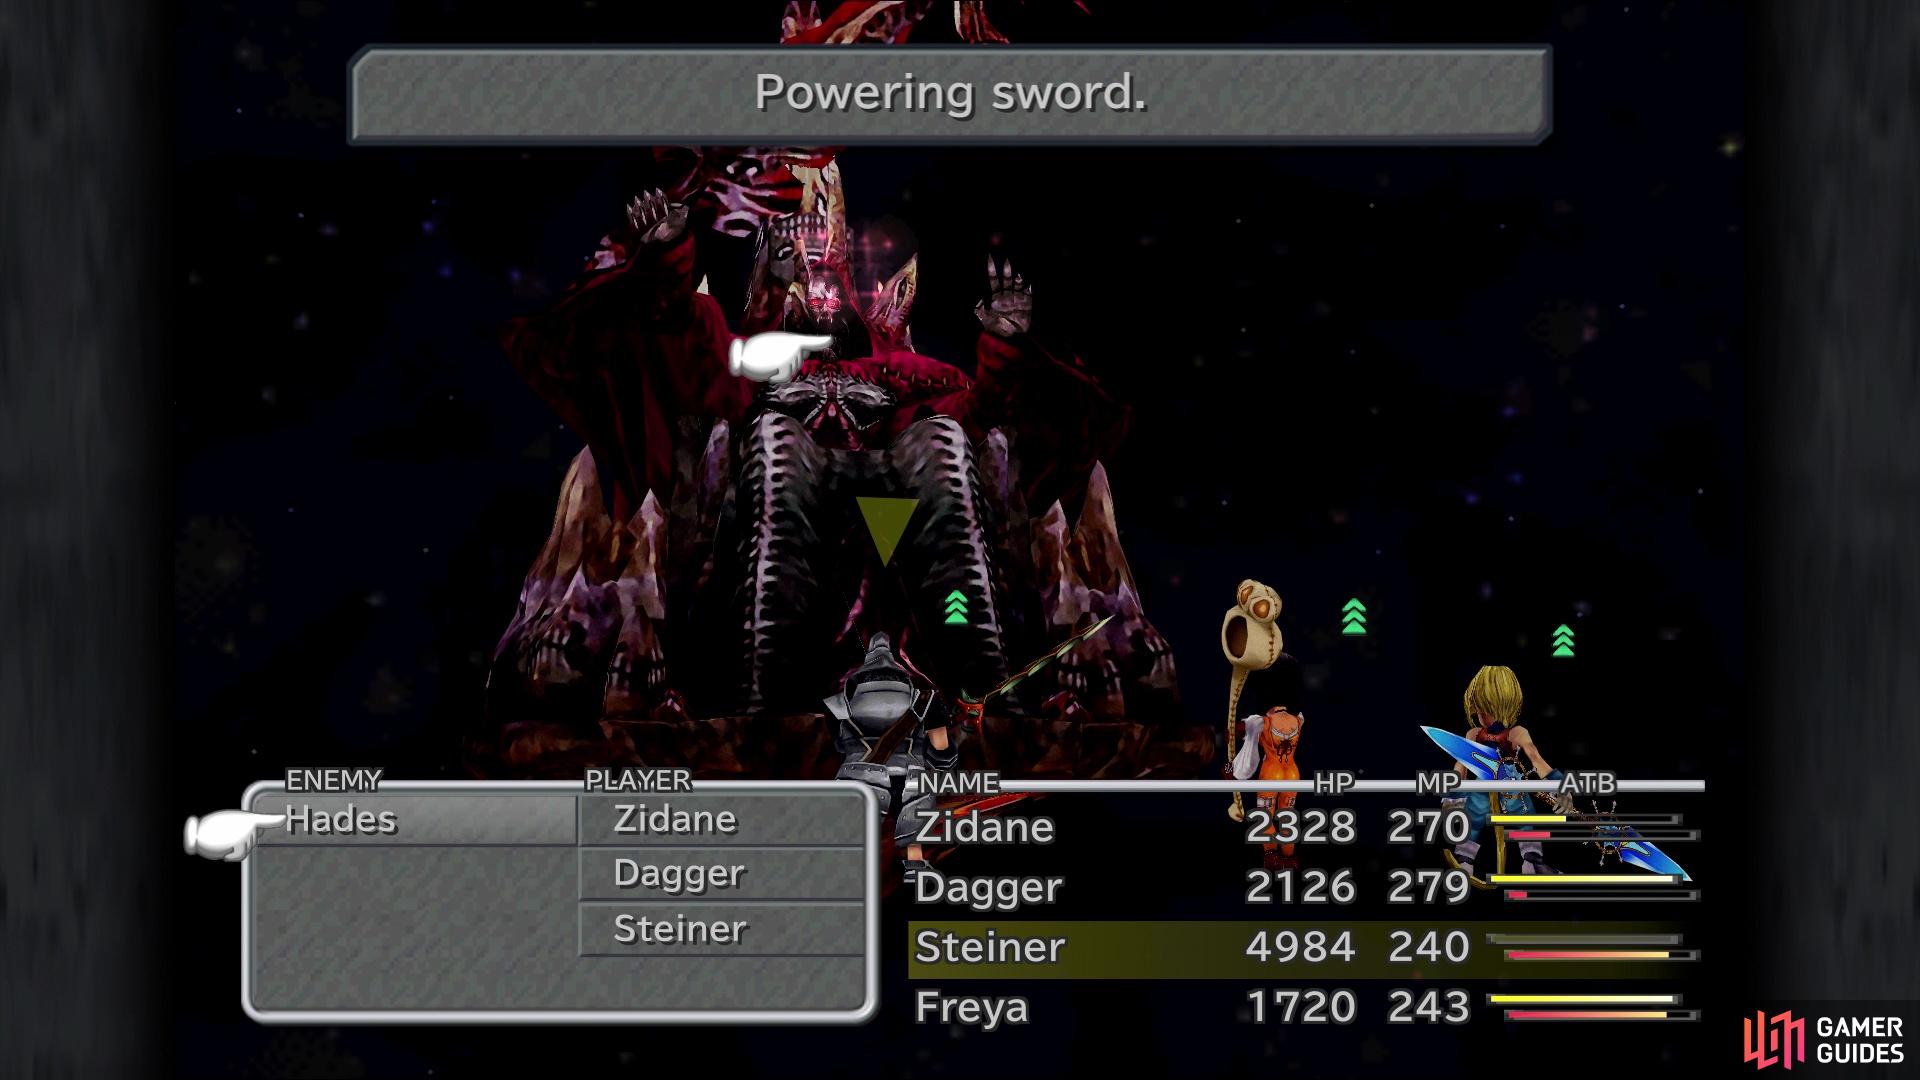
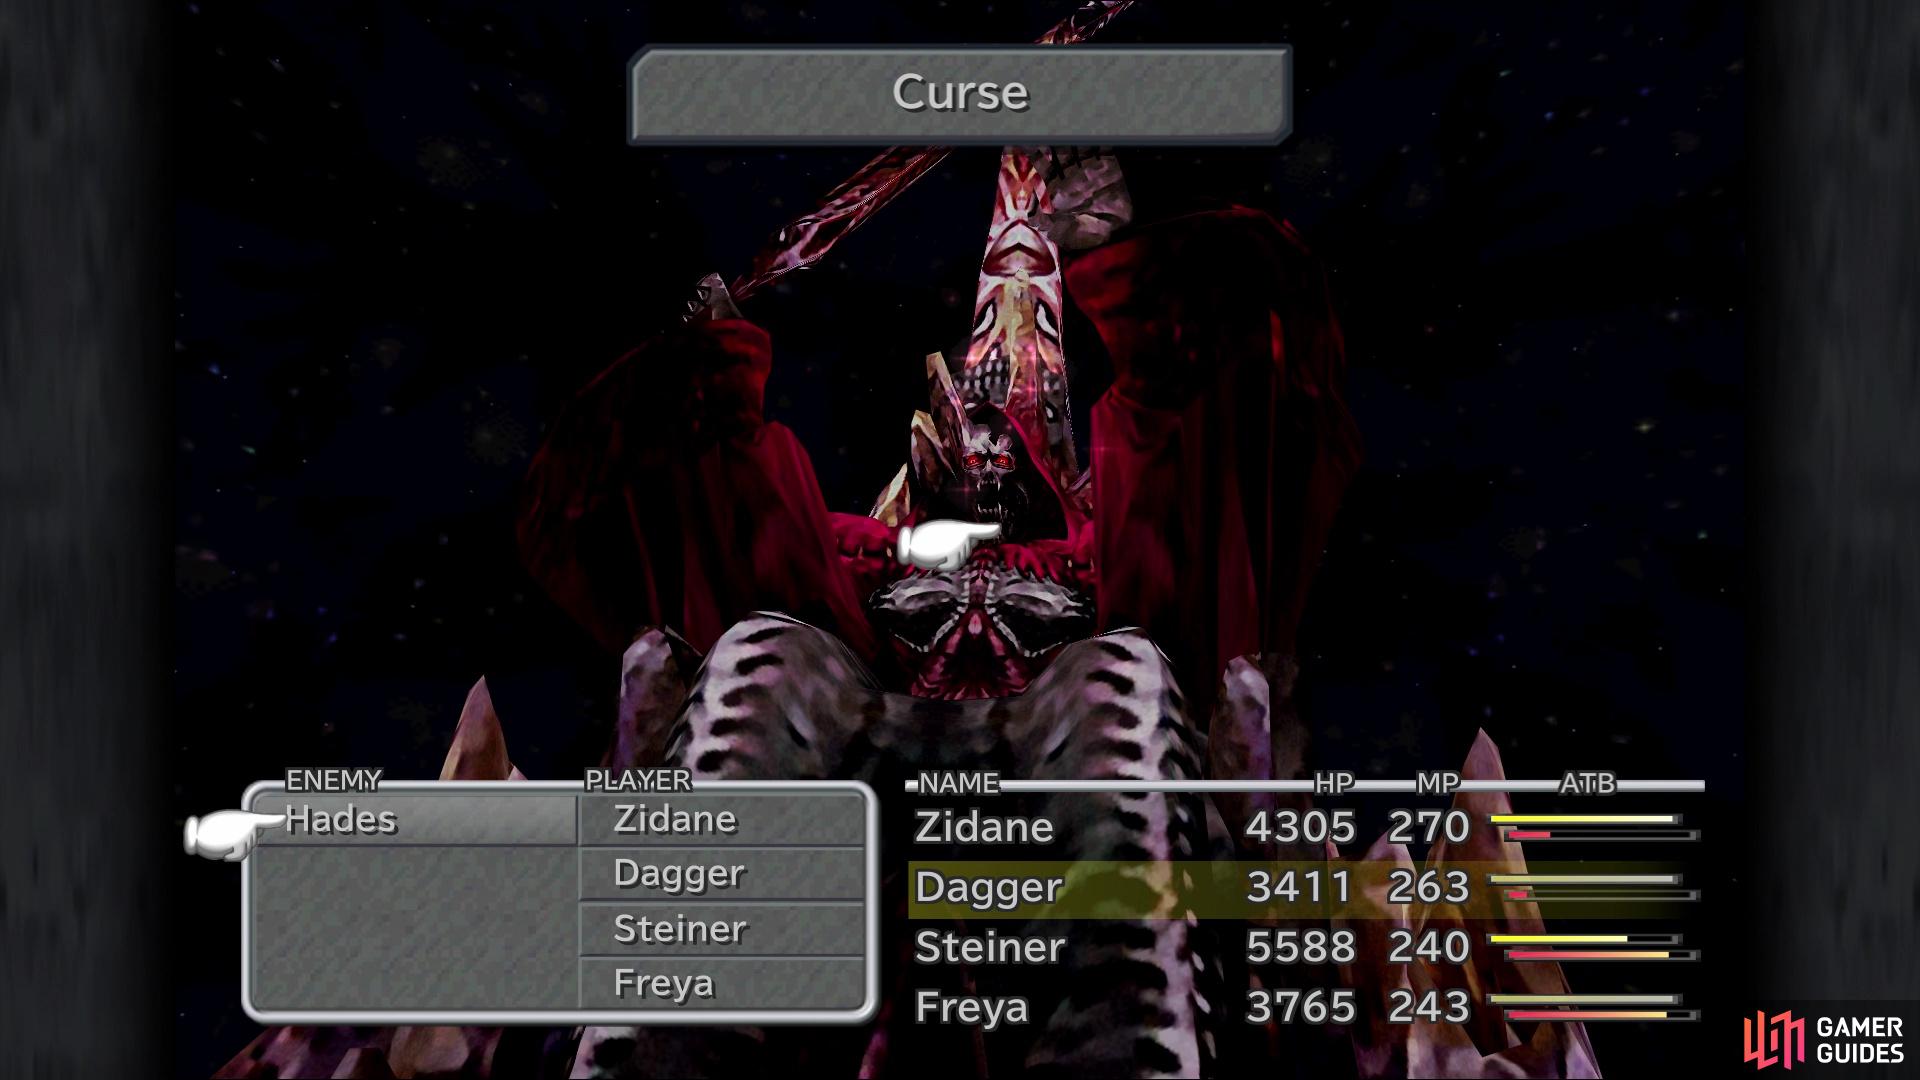
By far, the two worst moves coming from Hades will come after he powers his sword. This begins a countdown and once it reaches the end, he will either use Curse or Doomsday. If you’ve already done Ozma, then you might be familiar with Doomsday. This is a shadow-elemental attack that hits not only your entire party, but also the caster. Unlike Ozma, though, who can be made weak to it, Hades will absorb it. Curse, on the other hand, deals random damage and will inflict the following ailments: Confuse, Mini, Darkness, Slow and Poison. The only one you can’t do anything about is Mini, so you’ll have to use Remedies to cure that one.
(1 of 2) Be ready for something powerful when Hades powers his sword
Be ready for something powerful when Hades powers his sword (left), like the ailment-inducing Curse (right)
Hades can be a challenging fight, as you can see from his abilities, but the proper protection makes things a lot more manageable (all outlined above). If you wish to steal his goods, have Zidane snag the Reflect Ring, Running Shoes, Battle Boots and Robe of Lords.
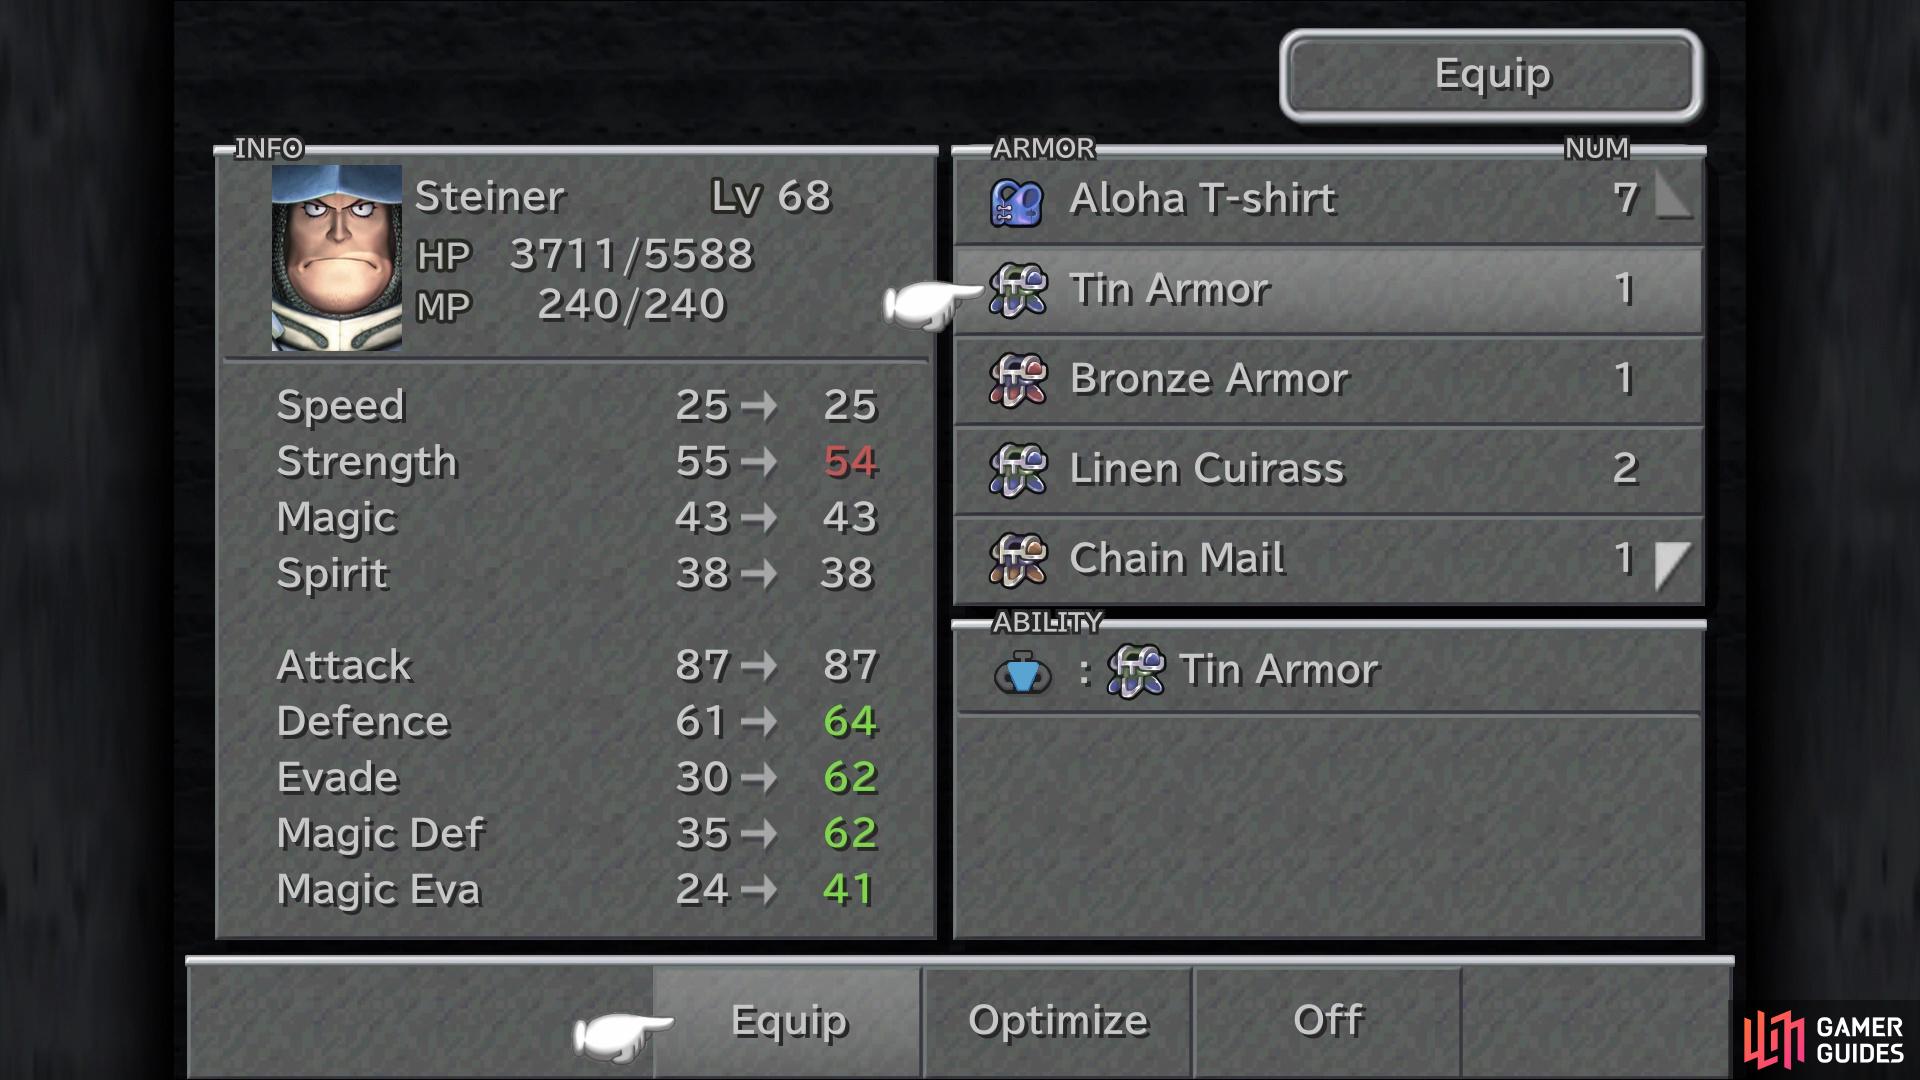
Upon finishing off Hades, he will congratulate you for besting him and offer up his synthesis shop as a reward. While the majority of the items aren’t anything special, you can make a Robe of Lords here, a Pumice, and something called the Tin Armor. That last one is special and requires the Hammer from the Stellazzios quest; this armor is only equippable by Steiner and it is the best one in the game. Note that while the Save the Queen is tempting to make, it is useless, as no one in your party can wield it. If you didn’t defeat Ozma yet, you will get a Pumice from him, so you might want to hold onto the Pumice Pieces until you do.
Once you’re finished, it’s time to get ready for the next actual boss, who will be on the screen past Hades. You want protection against water, as well as Body Temp and for the melee characters, Bright Eyes. When you’re ready, make sure you save your game after the previous battle, then head past where Hades was located. There will be a short scene on some stairs, then as you’re climbing them, you’ll be thrown into the next boss battle.
The Tin Armor is by far the best item to synthesize with Hades
BOSS - Kraken
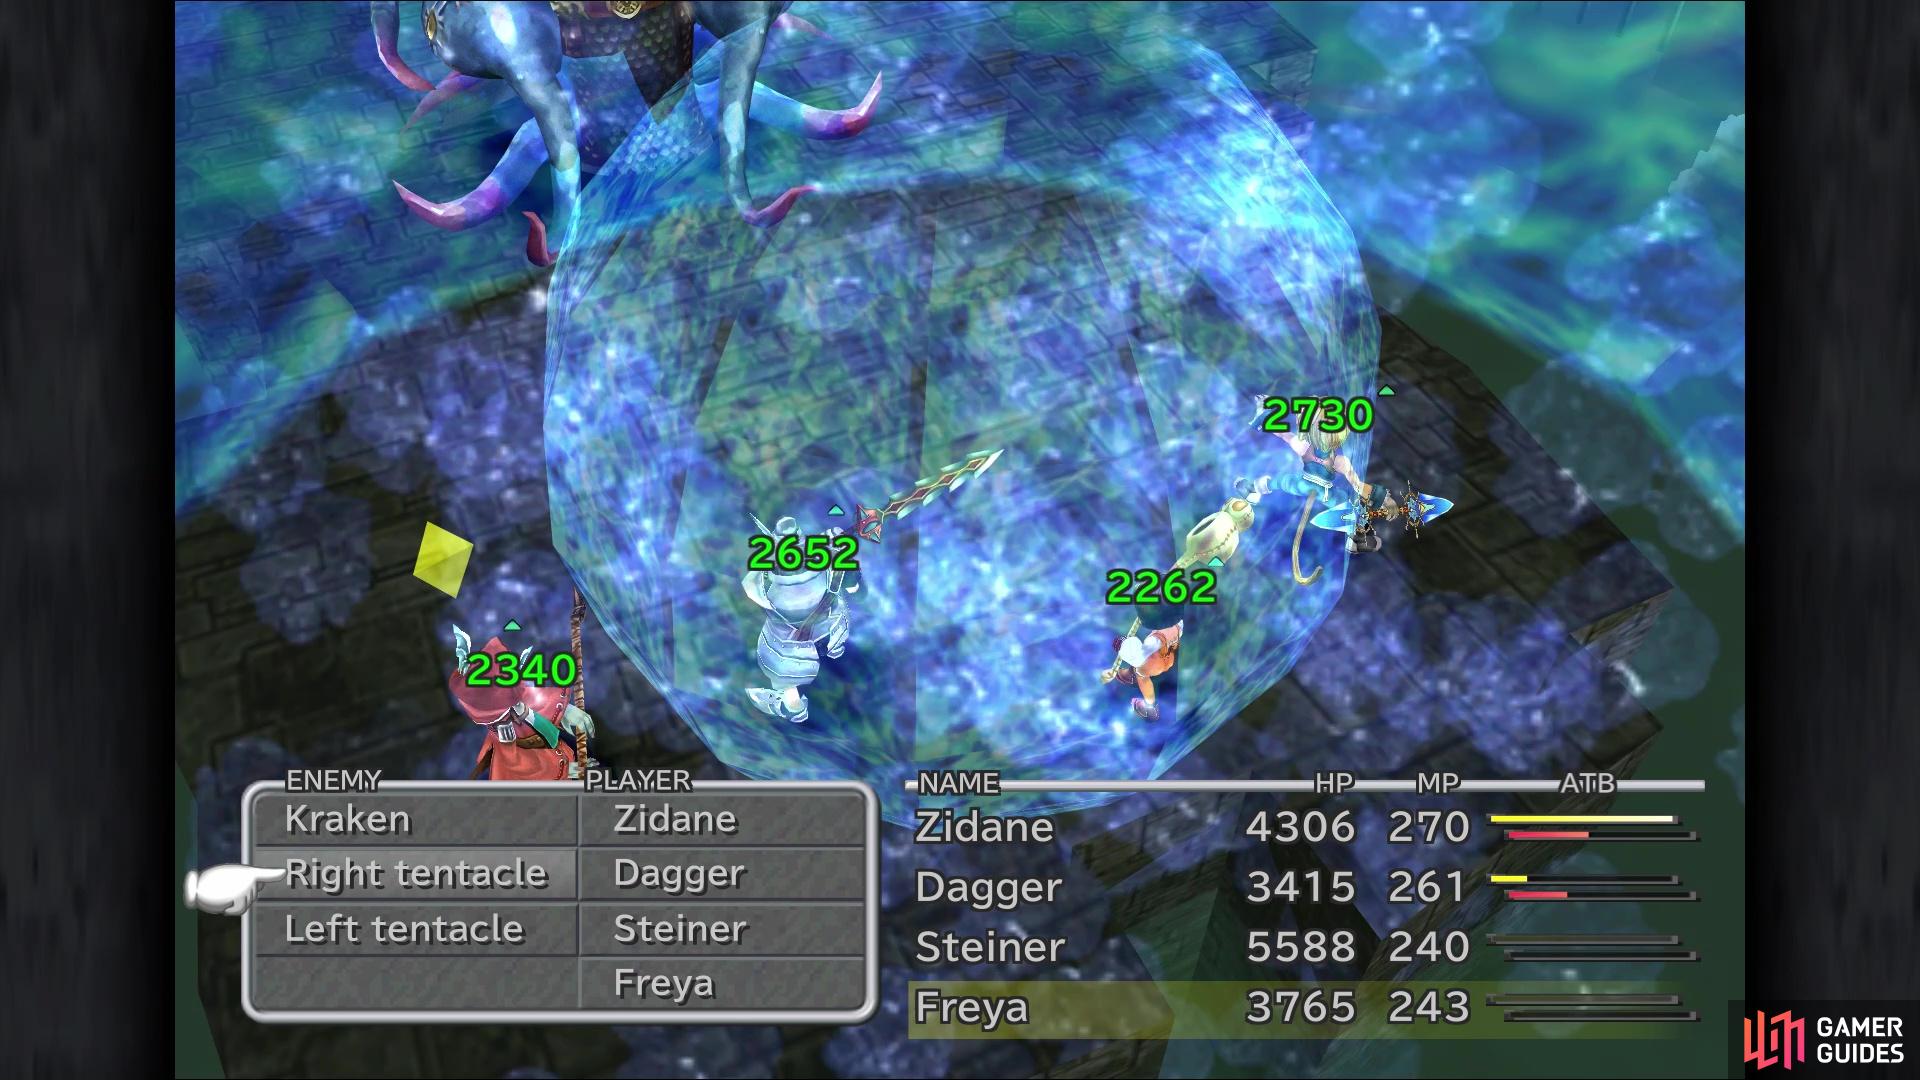
Kraken has the potential to be the easiest of the fiends, or he could be one of the hardest, all depending solely on whether you mitigate water damage. At the beginning of the battle, Kraken will have two tentacles that you can actually target. Each one has their own ability attached to them, with the left one (from your angle) using Water Gun and the right tentacle using Ink; Ink can inflict Darkness on a character. Meanwhile, the main body will use Freeze and Waterga on you.
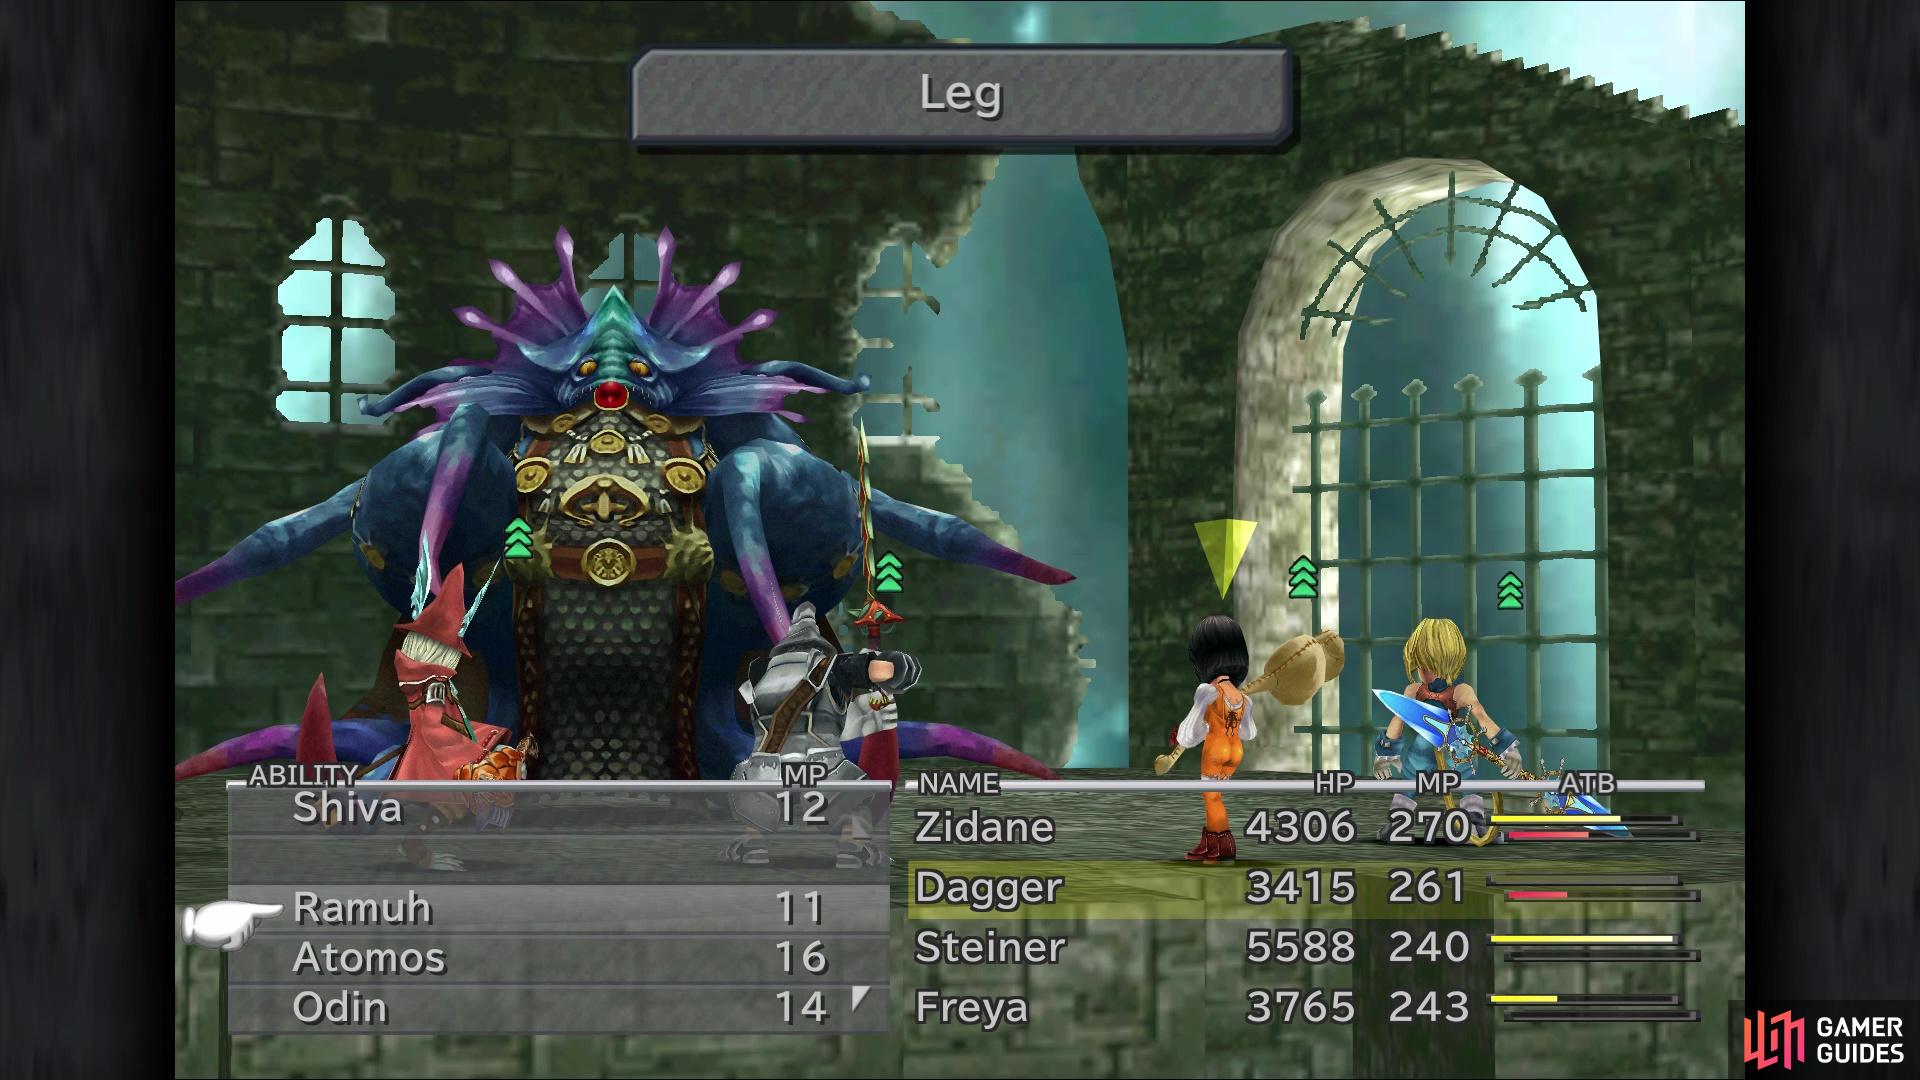
It’s not really needed to take out the tentacles, but you want to do it anyways to avoid a long drawn out battle, especially if you don’t have full protection against water. Like all other bosses up to this point, Kraken is quite quick and it almost seems like he counters attacks with either of the two above abilities. Concentrate on the tentacles and take them out of the picture, then you can begin working on Kraken himself. Note that when you do take out the tentacles, Kraken will begin using Leg (a physical attack) as a counter and normal move.
With Ribbons equipped and Body Temp on all characters, this battle is a breeze and the only thing that will hurt is Leg. Also, if you have any characters with Return Magic on, it’s in your best interests to remove it, as Waterga will naturally heal Kraken. Kraken takes more damage than usual from lightning, so if you have Vivi, use Thundaga and Dagger can also use Ramuh for big damage. If you want his items, you’ll find Kraken has a Genji Helmet, Wizard Rod and Glutton’s Robe up for stealing.
(1 of 2) Waterga can be brutal without Ribbons equipped
Waterga can be brutal without Ribbons equipped (left), With both tentacles gone, Kraken will begin using Leg (right)
That’s another boss down and if you’ve been paying attention, you’ll know more will be coming. Feel free to go back and save your game, then you can continue through Memoria.

 Sign up

No Comments