
Ipsen’s Castle is located on the northern end of the Forgotten Continent, inside of a large canyon. You can use either the airship or your Chocobo to reach it, so enter it once you do. At the entrance, there will be a scene and you’ll have a choice to either let Amarant go by himself or not. It doesn’t really matter, though, as he will go it alone whether you choose yes or not, so this means he will be unavailable for this dungeon. Once he’s gone, it’ll be your turn to pick your three members, so do that and then enter the castle.
The stronger the weapon, the weaker it will be in Ipsen’s Castle
You will find lower attack weapons to help with slaying monsters inside the dungeon
It should be noted that this place is unusual, as your high-attack weapons will hardly do any damage to the enemies inside. That’s because the lower the attack on the weapon, the more damage it will do to foes inside of Ipsen’s Castle. So, for any physical attackers in your party, you will want to equip their weakest weapon for right now. Skills and magic remain the same, so you don’t have to worry about those in here. Once inside of the castle, look behind a pillar on the left side to find a chest that contains a Dagger. On the right side of the room will be another chest, this one containing the Aquarius Stellazzio.
Head through the opening in the back and into the next area, where you will find a moogle named Kumool in the bottom left corner. You should have a letter for him, from Mogki, so hand it over. He also has some items for sale, mostly weaker weapons, in case you didn’t have any of those in your inventory. When you’re finished with the moogle, open the chest at the top of the room for some Cat’s Claws. On the right side of the room is a pole, so hop on it and slide down into the next room. Head to the upper part here, where there will be a ladder, so climb it and at the top, continue left and through the doorway at the end.
Although it might be a little hard to see, there is another doorway just north of the one you exited. Go through here to find another ladder waiting for you, so get on it, climb upwards and jump off to the left when presented with a choice. This path will eventually lead you to a chest that contains a Javelin. You can’t access the other chest right next to the Javelin from this side, so return to the ladder and jump off the right side at the same height (you will have to go down to change the camera angle first). At the end of this walkway will be another chest, this one holding a Broadsword.
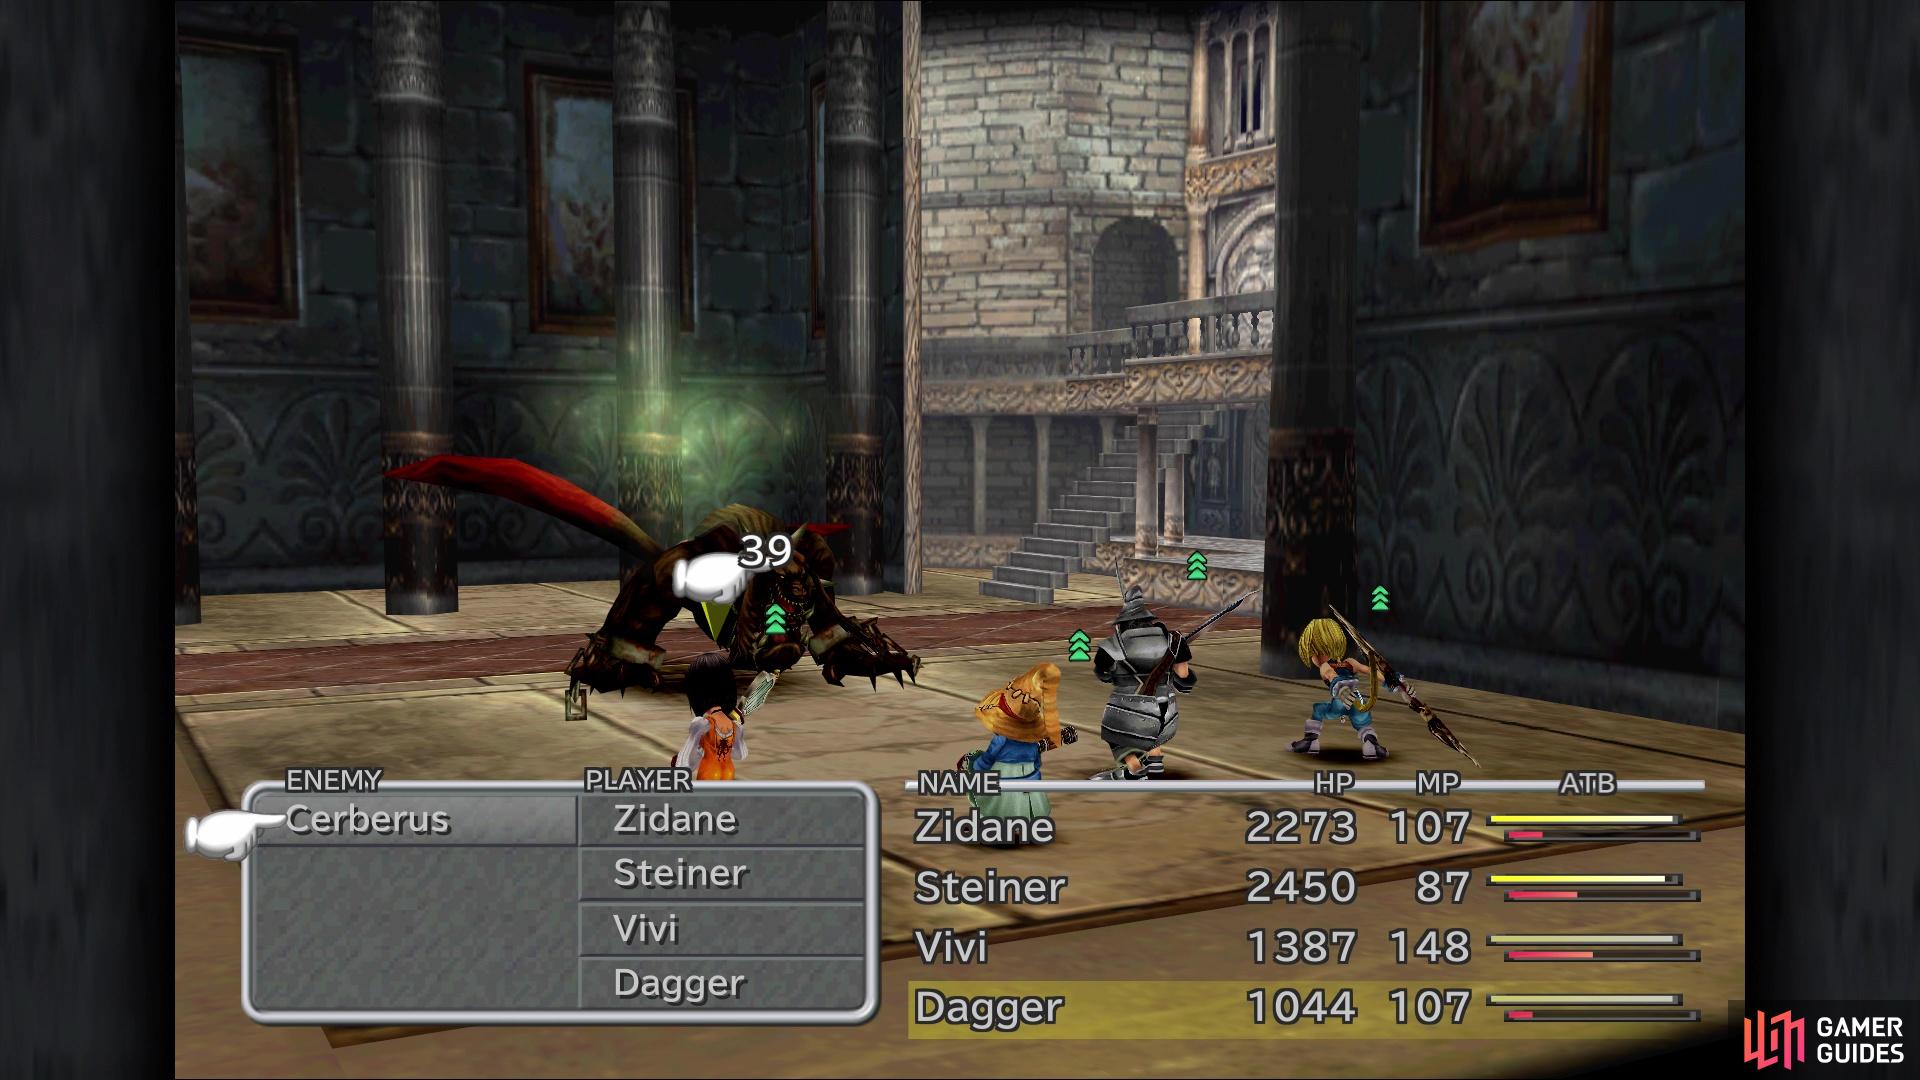
Double back to the ladder now and head all the way to the bottom, going to the right to find yet another ladder. Climb the ladder to the next screen and right away, jump off to the right, running to the end to open that other chest you saw earlier (Rod). Head back to the ladders and go up the rest of the way, entering the doorway at the top. At this point, you might have run into Tonberries, who can be nasty little creatures, especially to those familiar with the series. They have high physical defense and a good amount of health, but skills that ignore defense and magic will help. They typically move about and slowly towards a character, using Knife on them to deal 9,999 damage. After using this, they will teleport out of the battle.
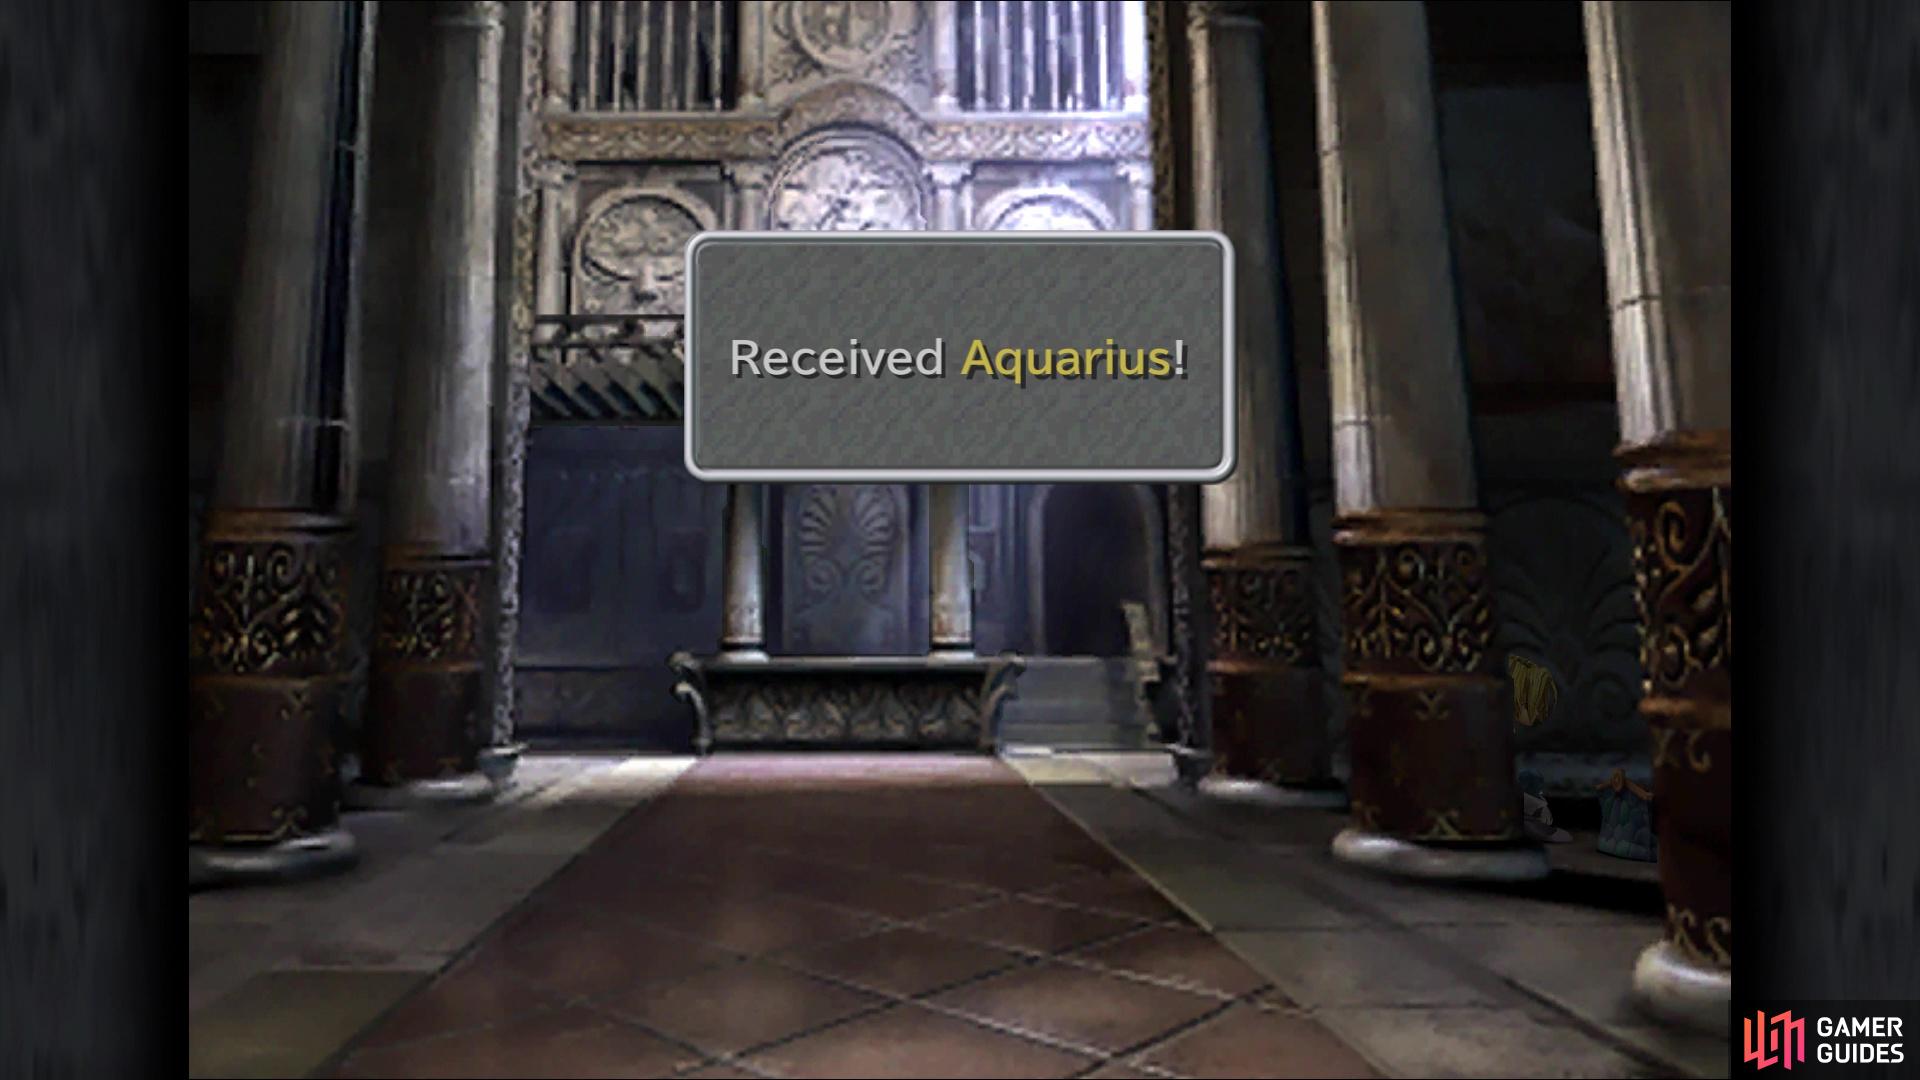
You can find the Aquarius Stellazzio at the beginning of the dungeon
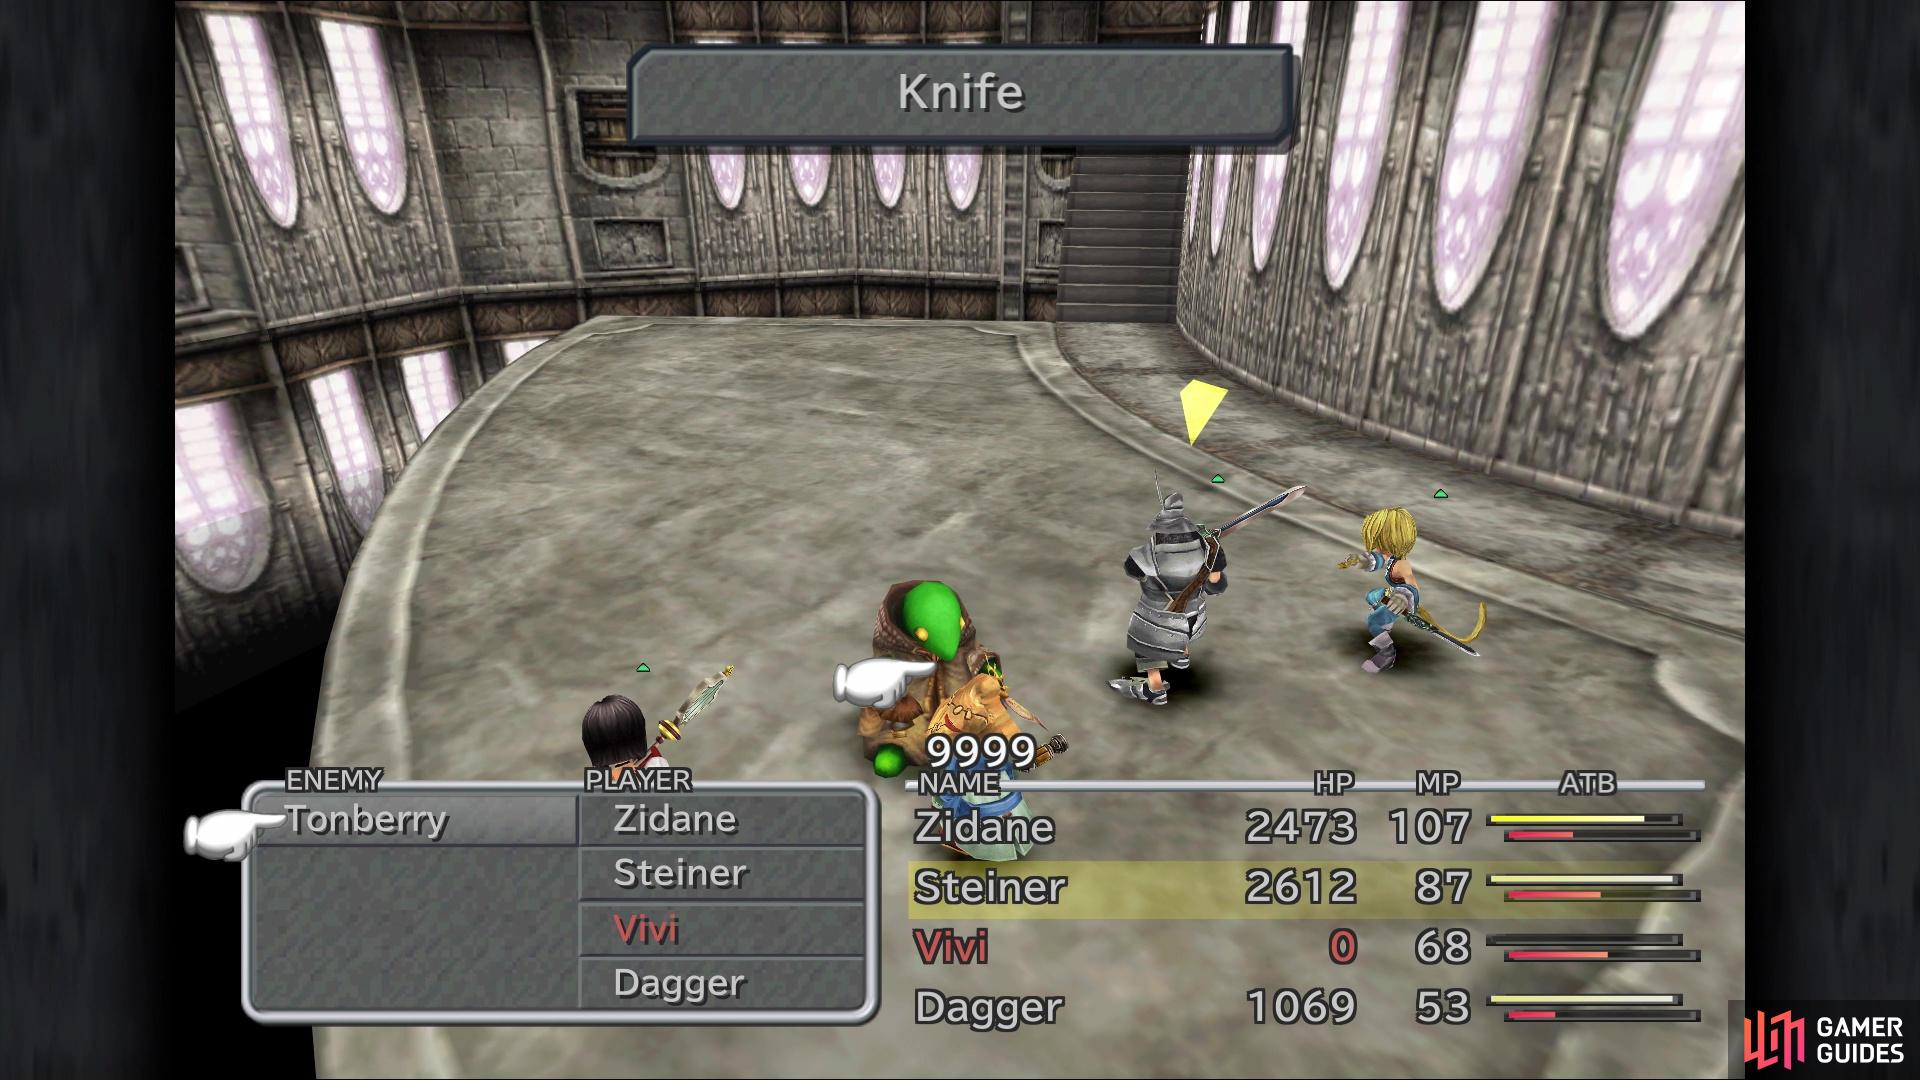
Tonberries will deal 9999 damage to a character with Knife
Anyway, in this new room, there is some kind of structure on the right wall in the foreground, so approach it to see that you can interact with it. Do the actions in the following order to trigger something:
- Examine
- Push
- Pound
- Think
- Push
- Pound
- Try something drastic
- Rest
This will make the structure open up, leading to the balcony overlooking the entrance. On the right side of the balcony will be a chest with a Barette inside of it. Return to the previous room and move towards the chain in the back of the room, which is actually an elevator. This will bring you to a new room, where you meet up with Amarant again, but he will run off at the end. Walk up to the map thing and interact with each of the glowing bits to get some Mirrors, four in total. Before leaving, make sure that Zidane is equipped with both Bandit and Master Thief, as you will want them for the upcoming battle. As you attempt to leave the room, you will be forced into a boss battle.
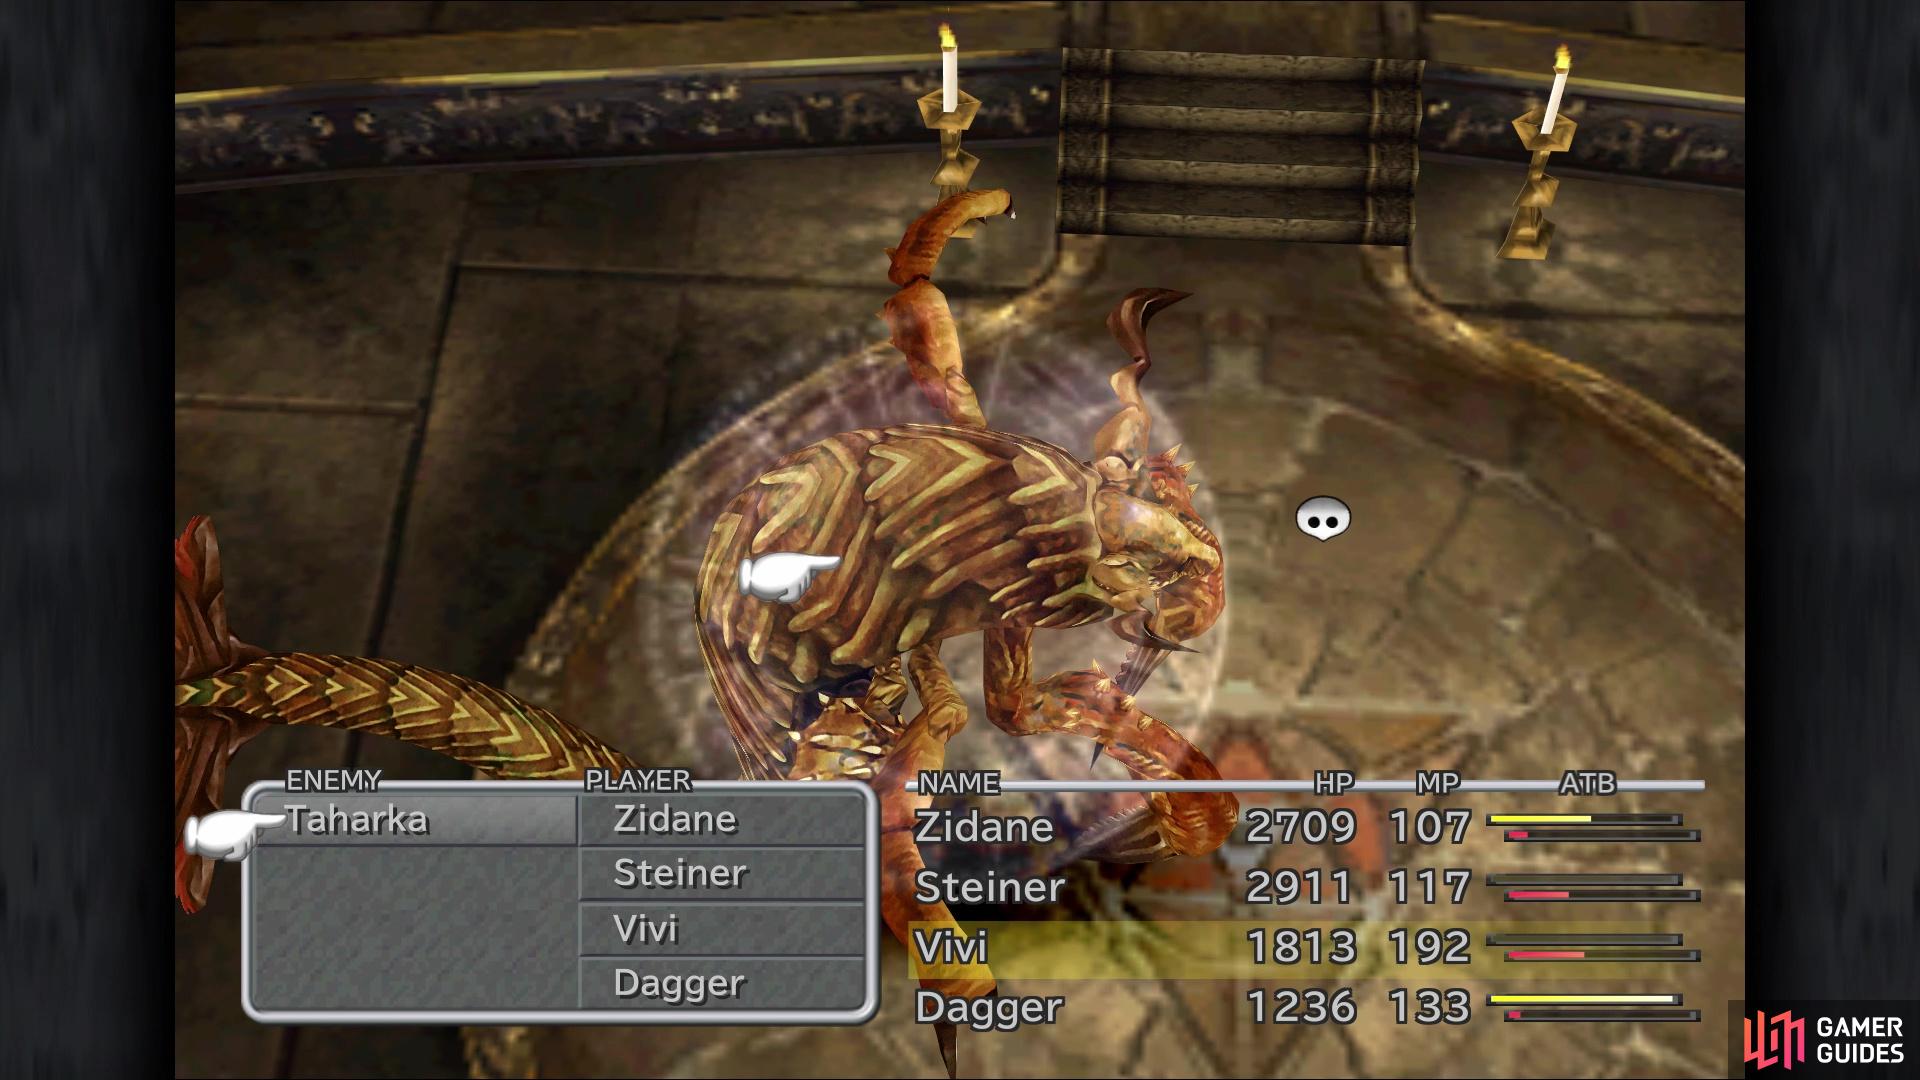
BOSS - Taharka
At this point in the game and with your current equipment, Taharka shouldn’t really provide much of a challenge. It has the ability to curl up to reduce physical damage, similar to Ralvuimago when escaping Alexandria Castle on Disc 2. The upside is that it doesn’t seem to counter with anything, unless you count Ram as one, but that’s fairly weak. It also has access to Blizzaga and Chop, the latter of which is another physical attacks. It is weak to both wind and fire, so use those elements against it.
Silencing Taharka will keep it from using Blizzaga
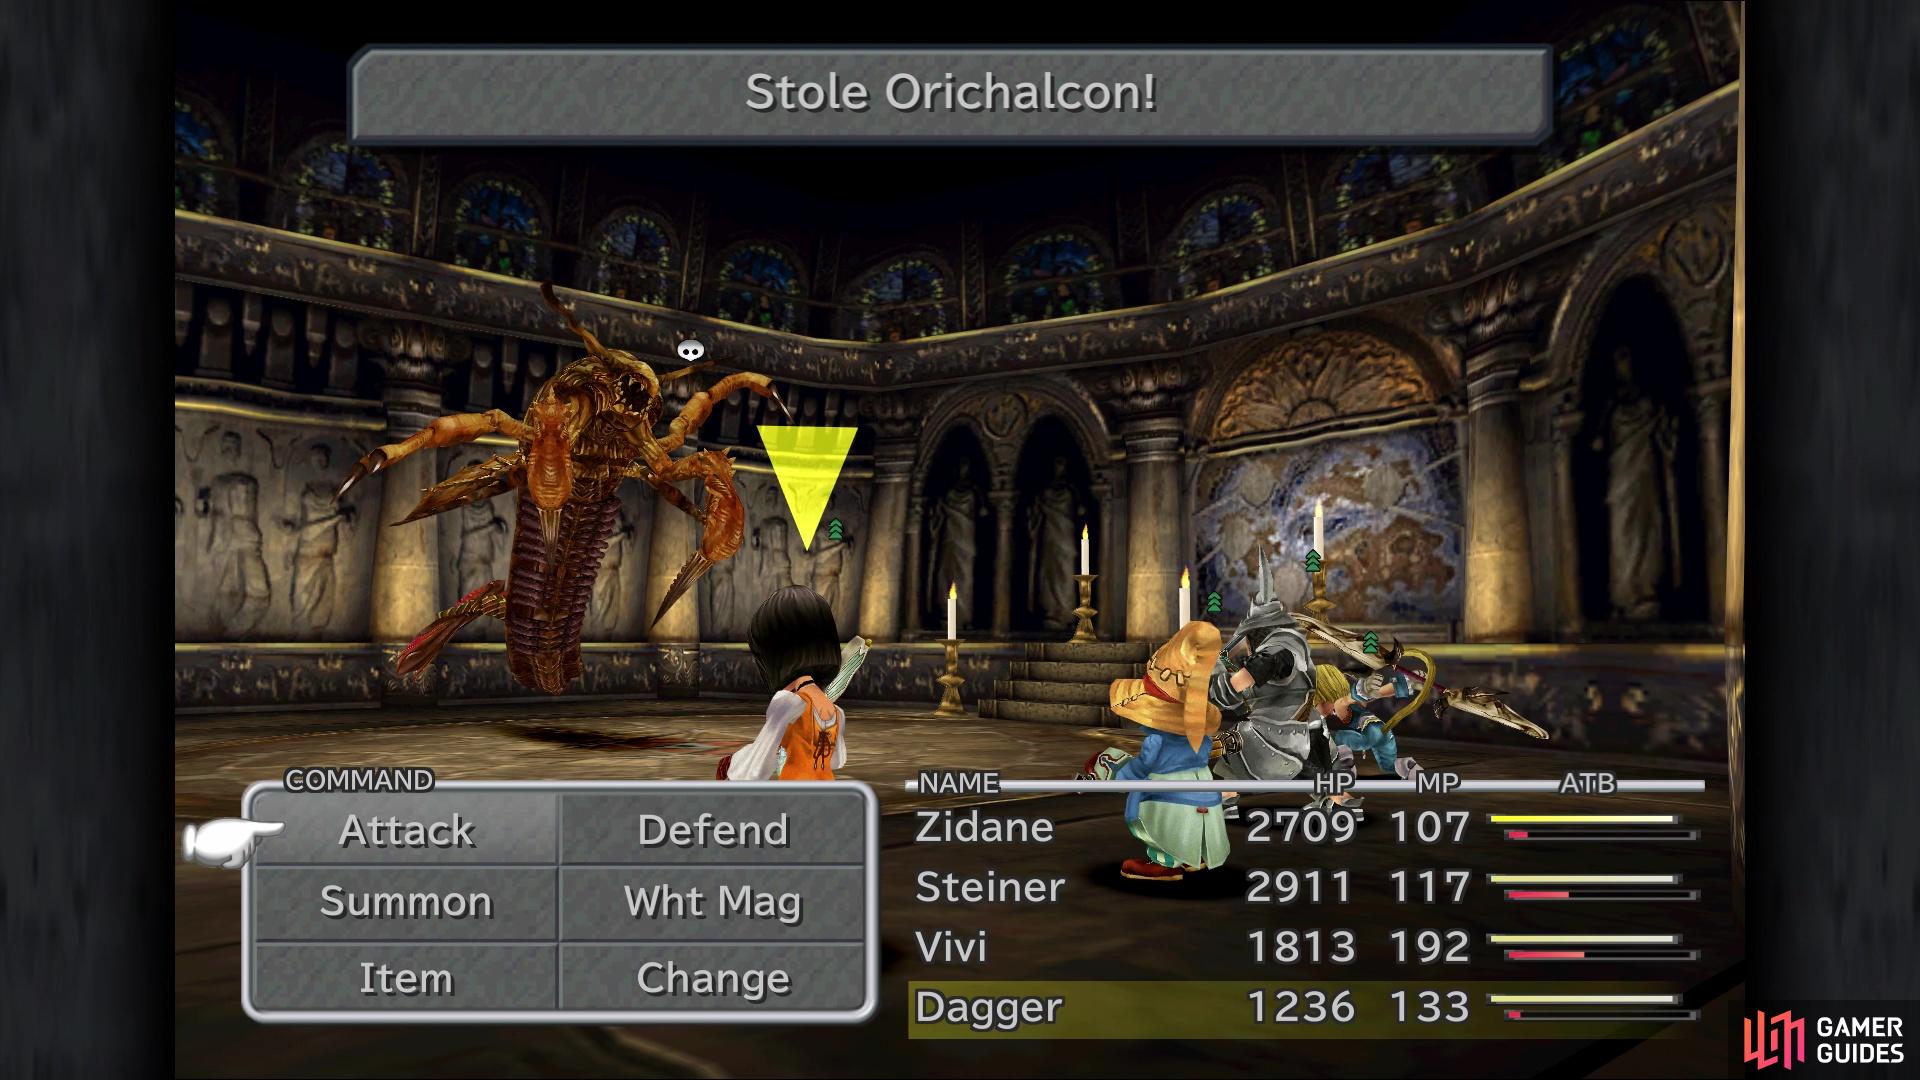
Make sure you steal the Orichalcon daggers from Taharka before you finish it
Zidane should concentrate on stealing the items from Taharka, with an Elixir, Mythril Claws and Orichalcon being available, the last of which is the stronger dagger in the game. You can cut off one source of damage from the boss by using Silence on it, plus Taharka is also vulnerable to Sleep and Heat. The last ailment is interesting, as if you can get it on the boss, its next move will instantly kill the thing. Heat can be afflicted with Quina’s Mustard Bomb or by using Steiner’s Flame Sabre with the Added Effect skill.
More Ipsen’s
The boss may be dead, but there’s still a bit left to do in Ipsen’s Castle. Make the trek all the way back to the room with Kumool the moogle to watch a scene. There are now traps on the floor here and if you look closely, you can see the outline of one near the top of the room. Step over it and intentionally fall into the trap to land on the chandelier in the room below you. Open the chest in front of you for a Maiden Prayer, then jump off the chandelier via the right side. Climb the pole to return to the previous room, then take the exit in the bottom left to go back to the main entrance.
If you solved the one puzzle earlier in the dungeon, then some stairs should be on the left side, as well as some stairs in the middle. Go up those middle stairs and when you reach the next exit, stop and return to the room with Kumool. Climb the pole on the right side and you’ll jump onto the chandelier, where you can open the two chests there for a Fork and Mage Staff. Go back through the middle doorway in the beginning again and follow the path until you enter a large room with some contraption in the middle. On the left side of this room is another chest, this one containing an Air Racket.
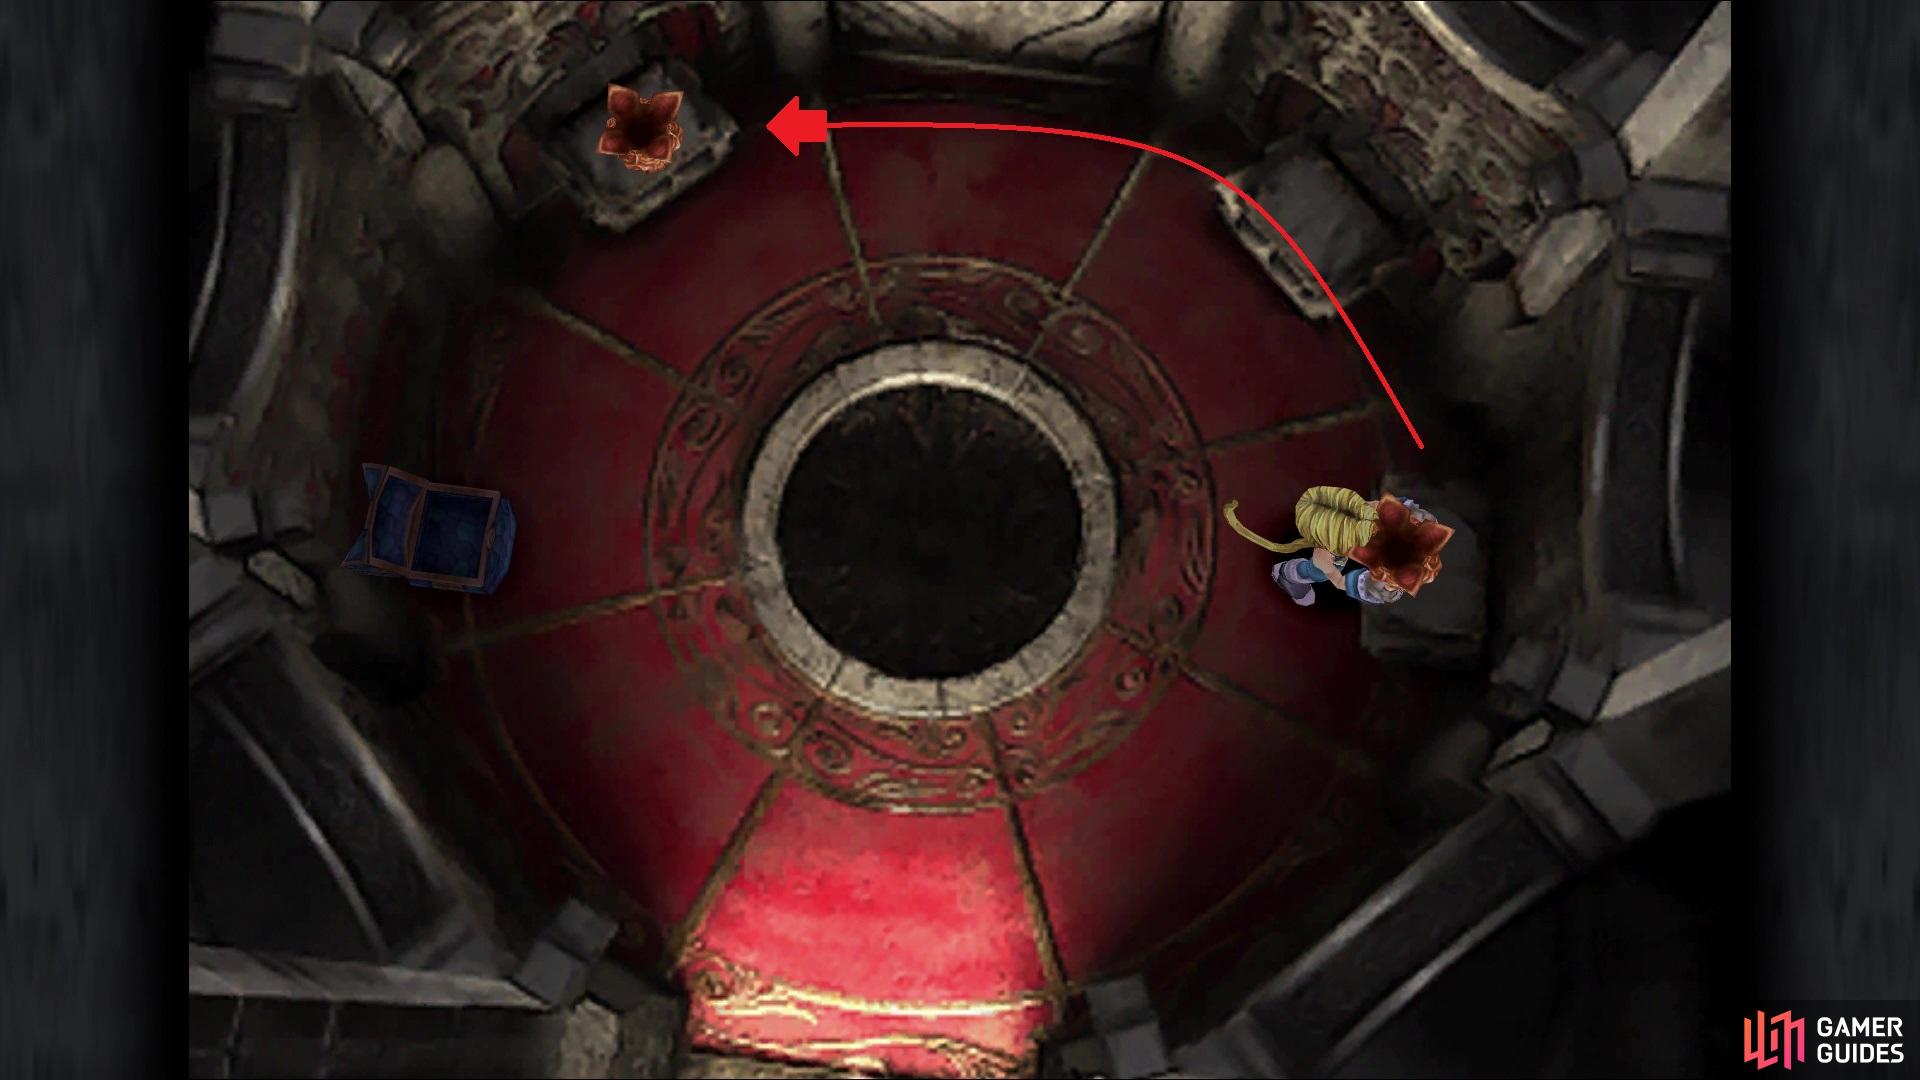
The contraption in the middle is an elevator, so step on it to be lowered into a room with a red floor. Pry open the chest you see for a Golem’s Flute, then let’s get going on this mini-puzzle. You can pick up the pots here, but there isn’t any clue on what to do with them. Basically, just pick up each one and move it one spot counterclockwise until the electricity flows into one of the pots. Pick this up to receive an Ancient Aroma, then backtrack to the elevator.
Move each pot one spot counterclockwise
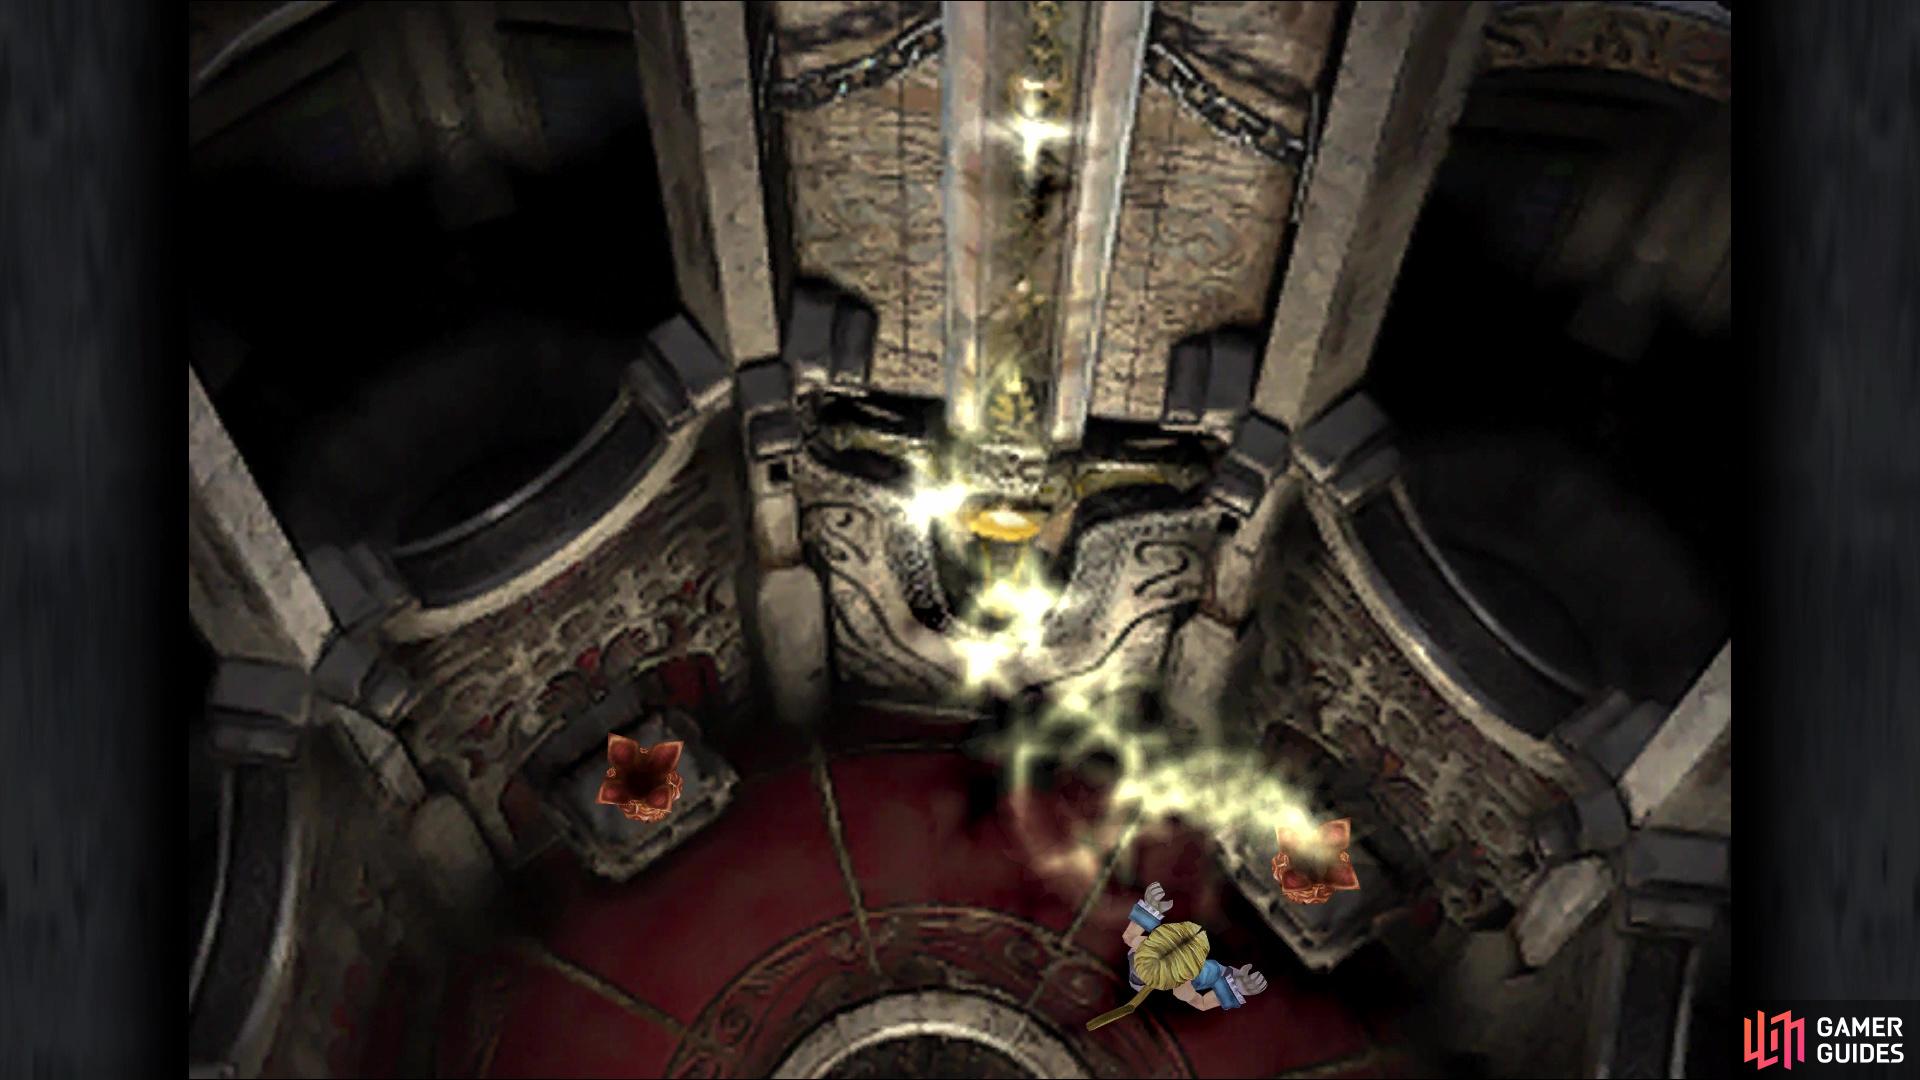
and if done right, the electricity will flow into the pot
That’s all of the items inside of Ipsen’s Castle, so find your way to the exit and you see that someone is missing. Zidane rushes back into the castle, solo mind you, to find Amarant. Make your way back to the room with Kumool and slide down the pole. You will find Amarant in the bottom left corner of this area, and he’ll rejoin you after a short conversation. Equip him with some Cat’s Claws, just in case, then leave Ipsen’s Castle for good.
No Comments