
Before setting off for the final dungeon, it should be known that there is a side quest that runs along with your progress in the dungeon. To begin this, head to Lindblum and to the Theater District, where there will be a scene right outside of Tantalus’ hideout. Once this scene is over, you are free to actually head towards the final dungeon. For more information on the Nero Family Side Quest, check out that page.
As previously mentioned by your party, but in case you forgot, it seems the Iifa Tree is your destination. Approaching it will make the sky darken and you should see a giant ball of energy on top of the tree. Go up to this ball and you will see the option to enter, but don’t do that just yet. You will want some protection against both wind and water for an upcoming boss and if you’ve been following this walkthrough, you should have four Ribbons, which do both. If you’ve done the superbosses already, then you might not have too much trouble with the final dungeon, but it can still prove to be a pain if not prepared. Once you have the Ribbons (or ample protection), fly up to the ball and enter. Watch the scene, then get ready for a boss fight.
BOSS - Nova Dragon
The Nova Dragon can be a problematic fight, as it is quick and can dish out some damage. Thankfully, three of its attacks can be negated simply by wearing Ribbons, as two are wind-based and the third is water-based (Ribbon absorbs these elements). Nova Dragon’s other attacks include Death, which can instantly KO a character if it connects, Shockwave (hits entire party for damage) and Psychokinesis, which only hits a single character. It also seems like the Nova Dragon can counter physical attacks, but it doesn’t seem to trigger all the time.
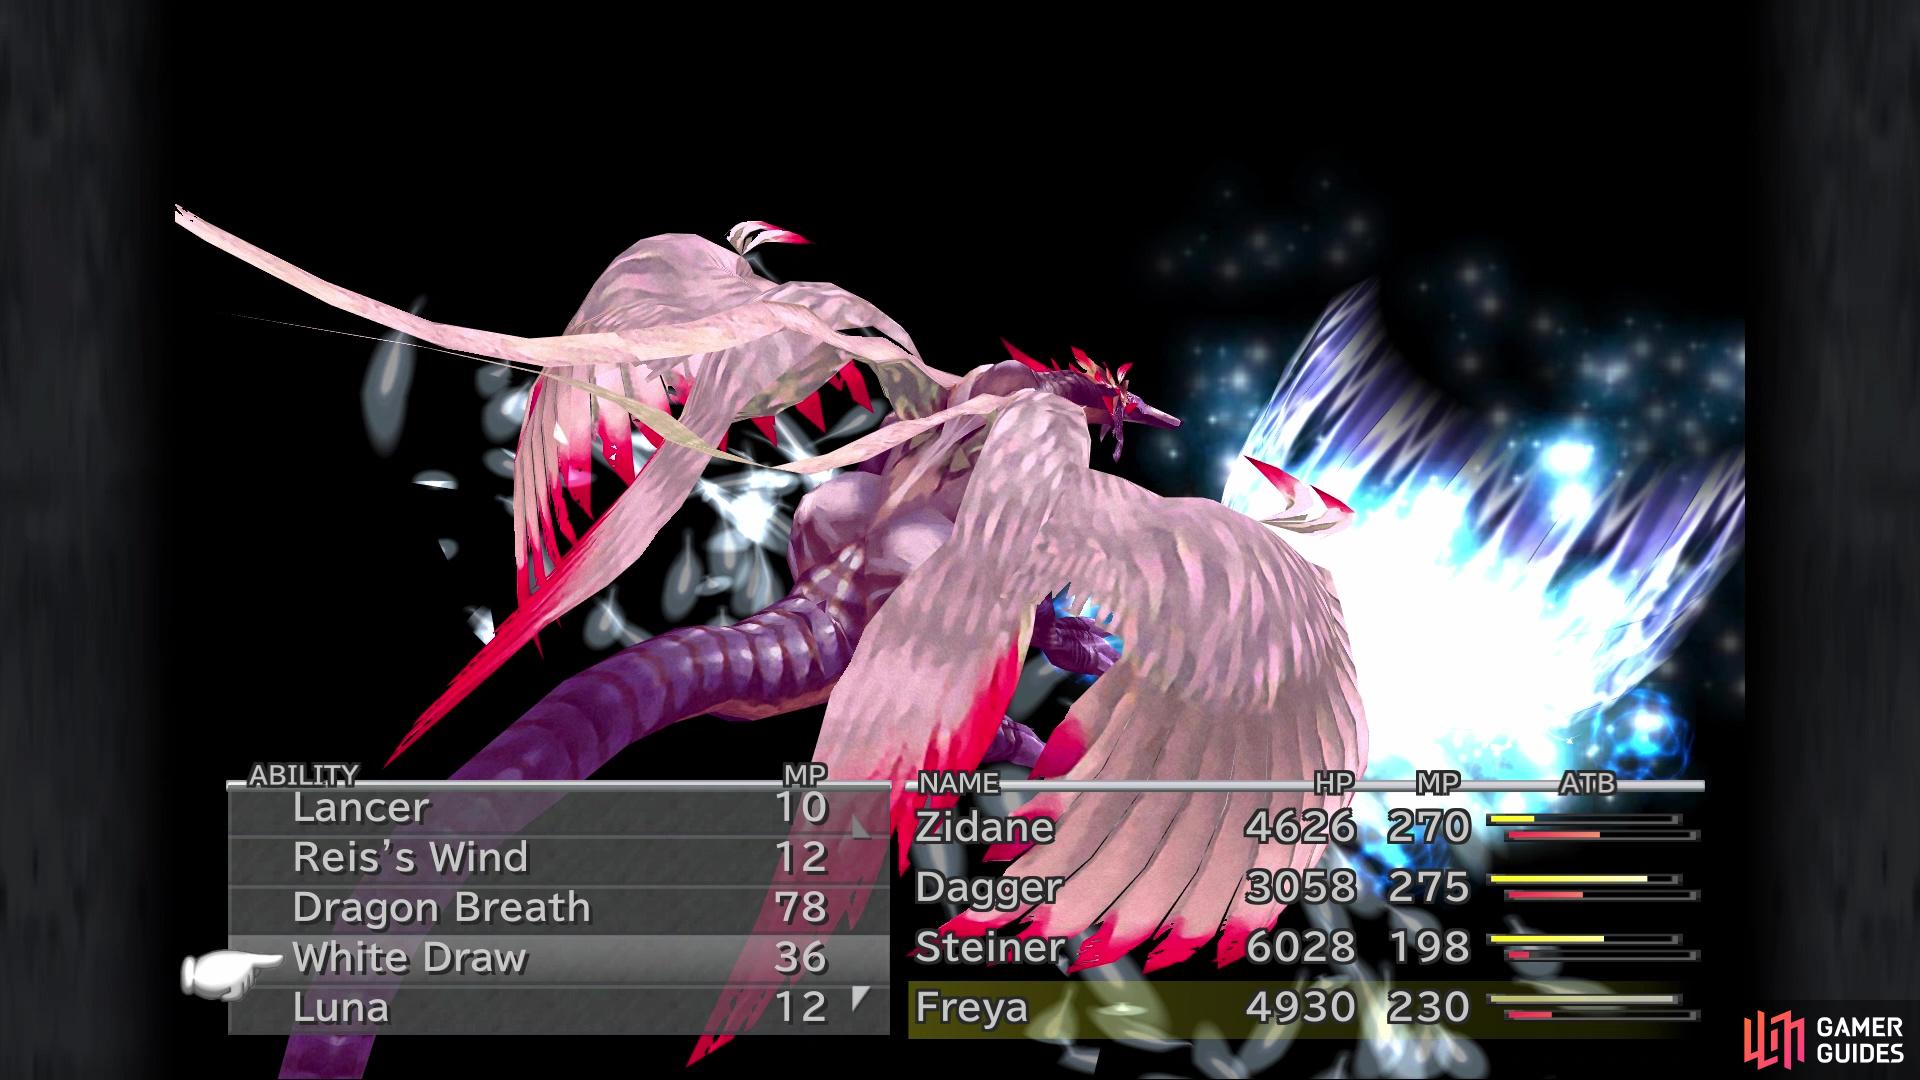
Ribbons make this battle a lot easier
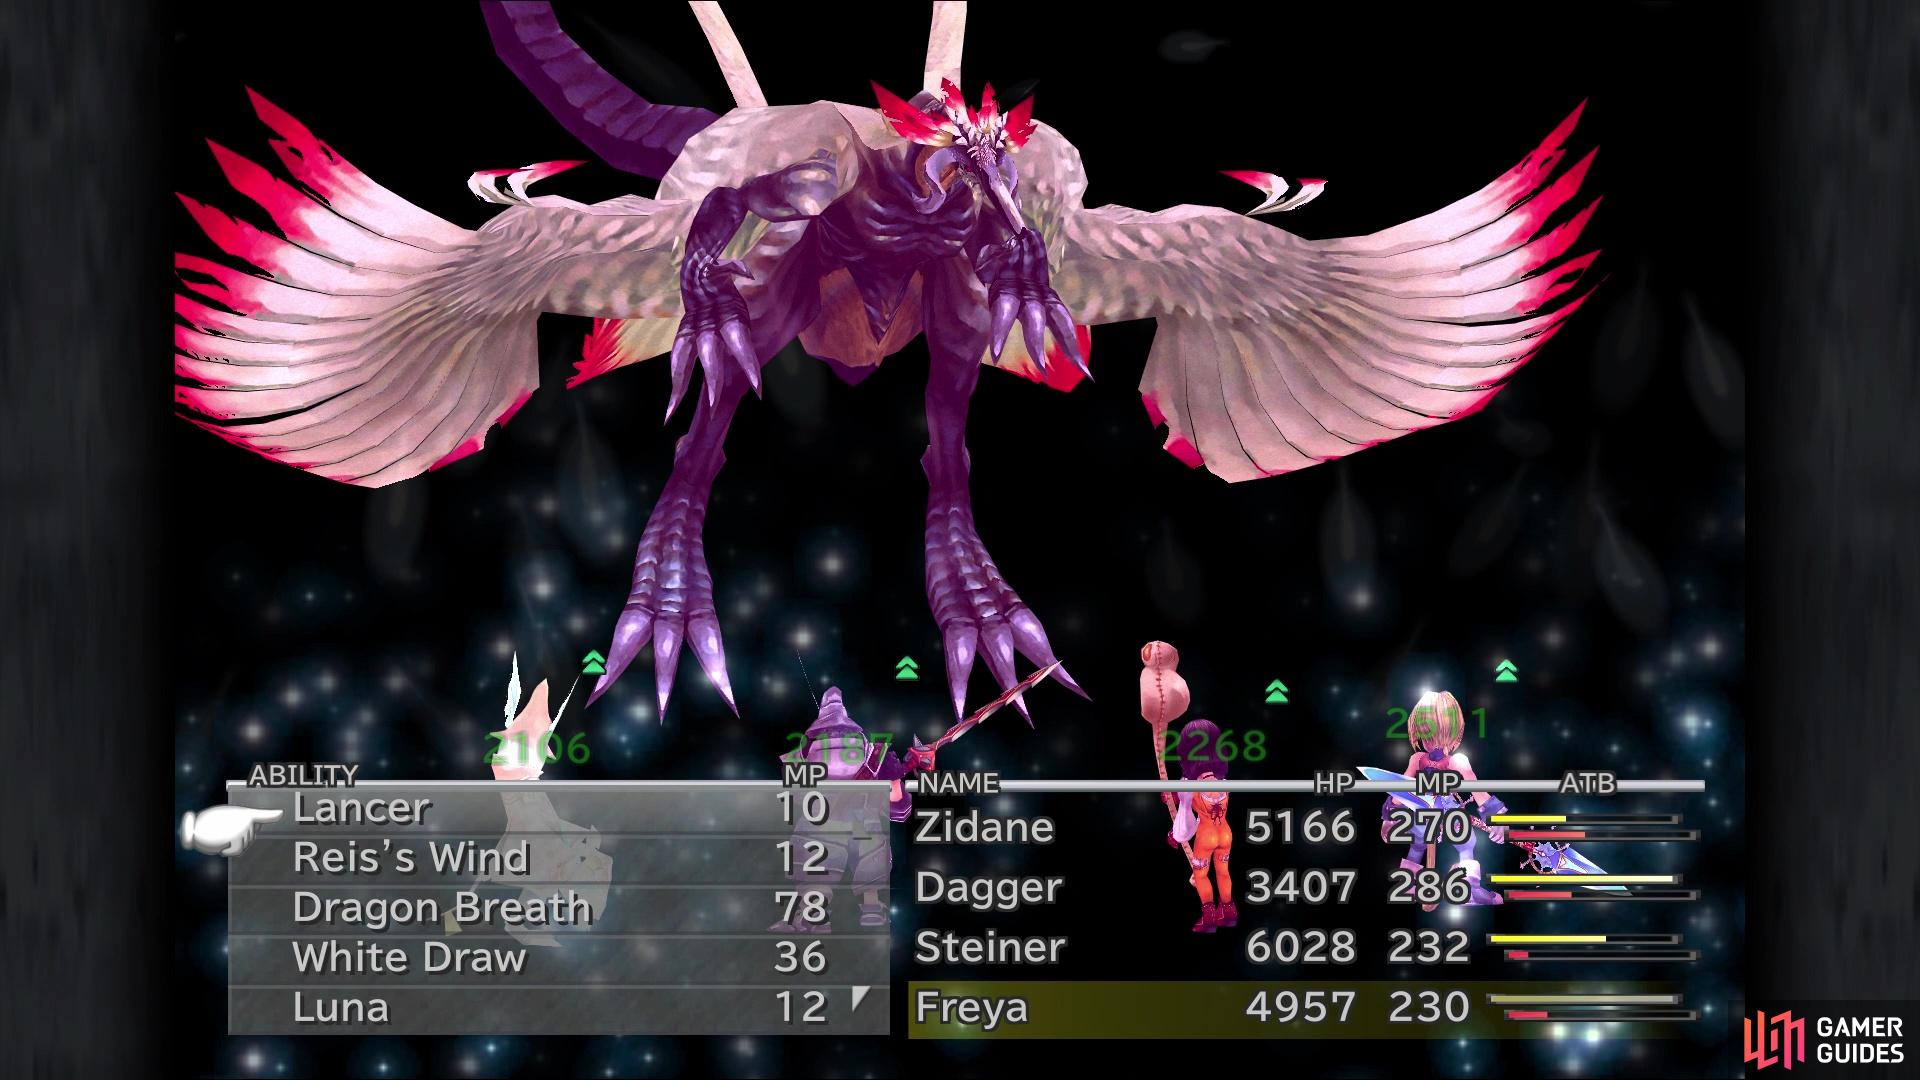
as even the Tidal Wave attack will be absorbed
As already mentioned, Ribbons on each of your characters will make this battle much more manageable, but if you don’t have four of them, other equipment that hinders wind/water damage helps. There’s really not much else you can do to mitigate the damage taken from the boss, other than high magic/physical defense. The Nova Dragon is susceptible to sleep, darkness and slow, plus it is weak to ice and wind. If you want the goodies that the Nova Dragon has, then have Zidane steal a Remedy, Dragon Wrist and a Grand Armor. Note that the final item is in the very rare slot, so you will definitely want both Master Thief and Bandit equipped on Zidane.
Memoria
With the Nova Dragon finished, you will finally be able to enter the final dungeon, Memoria. Pick your party and take the long path to the actual dungeon, where on the next screen, you will see a prompt right where you begin. This will allow you to go back to the Invincible, in case you want to leave, which you might if you want to do the Nero Family side quest (or if you need to level up or restock on items). Head up the stairs and on your left will be some kind of sphere; this functions as a save/tent spot and you can also change your characters with it.
Do what you need to do and begin moving north while hugging the right wall, where you should eventually find an item there (Kain’s Lance). This is considered Freya’s ultimate weapon, but it’s not as strong as the Dragon’s Hair, although it has the ability to inflict Confuse with Add Status. Before diving any further into Memoria, let’s take a quick moment to talk about the normal enemies you will find here, as some of them can be a pain. Iron Man can reduce a character’s HP to 1 with Helm Divide, buff its attack with Might and increase its defense with Protect; it also has a party-wide physical attack called Cleave.
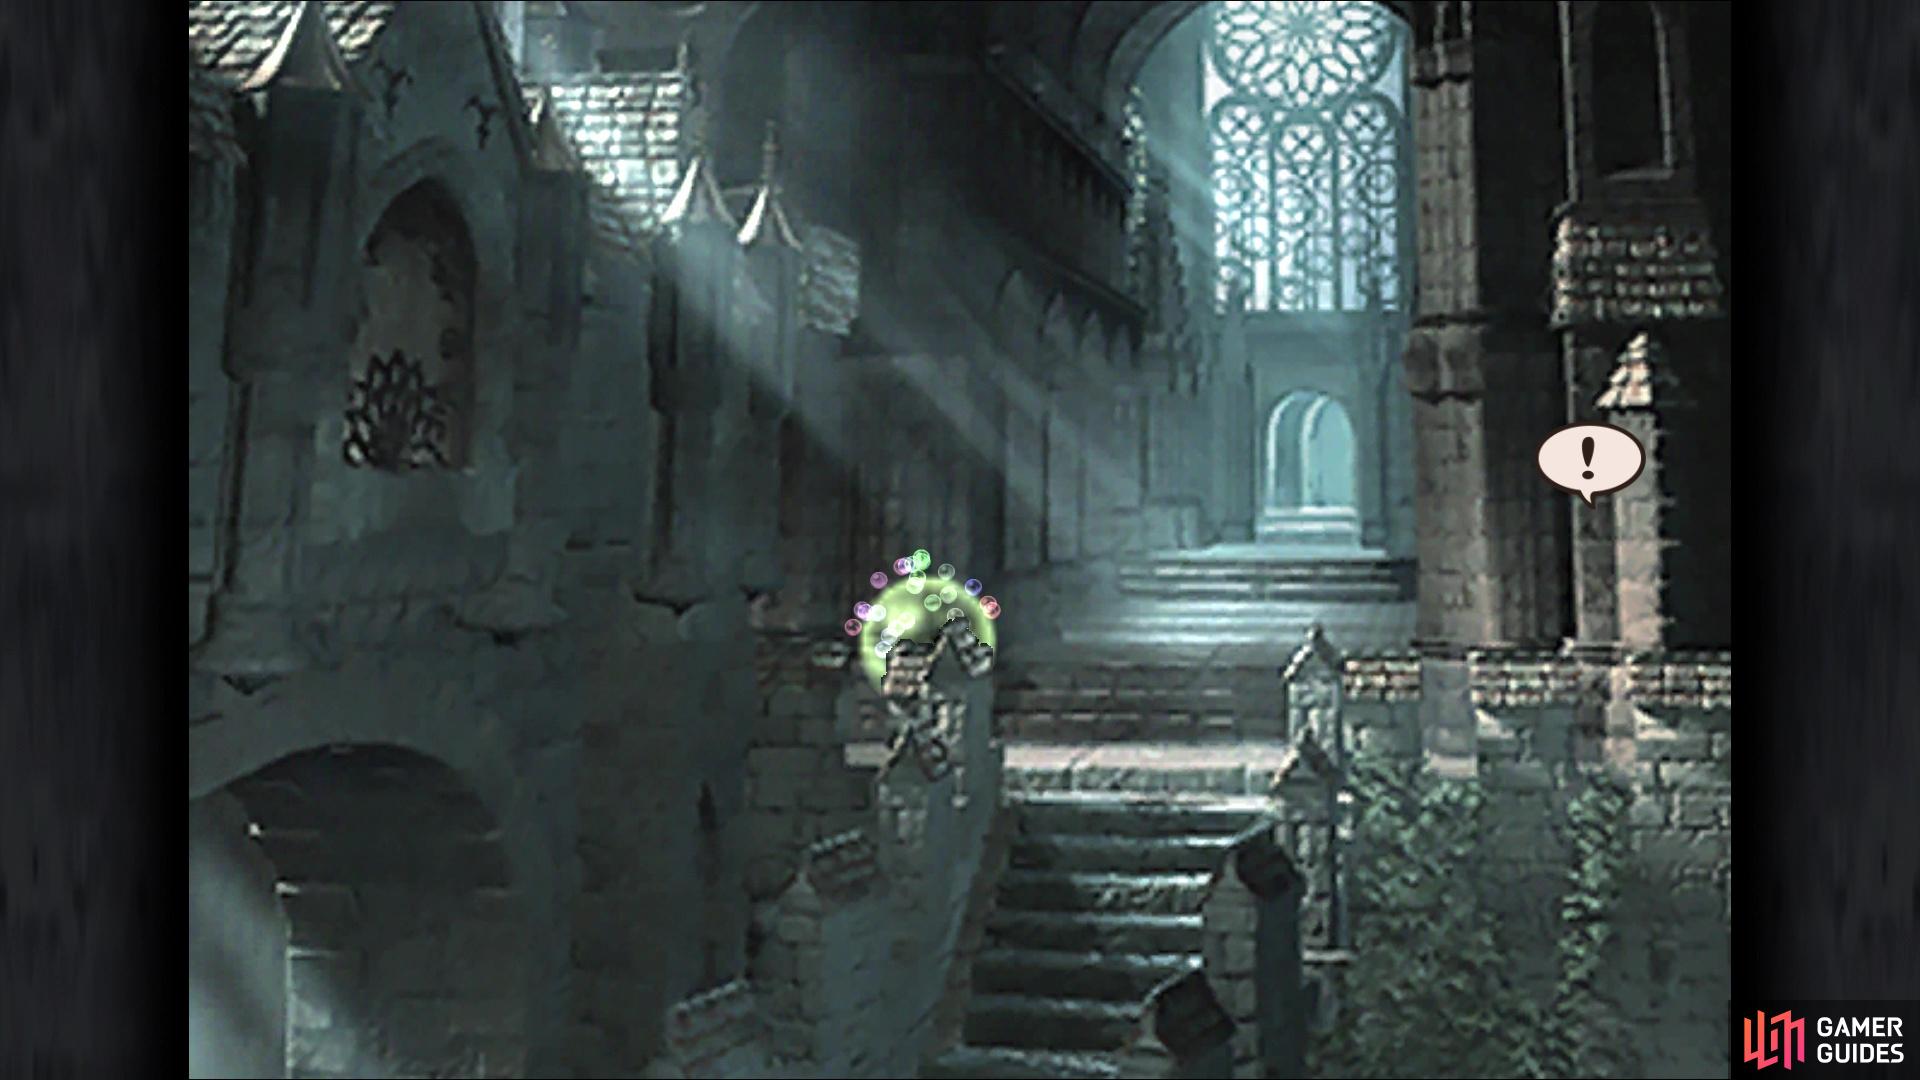
The location of Kain’s Lance at the beginning of Memoria
The phantom card masters will hold some rare cards if you want to try and win them


One of the more troublesome enemies in Memoria is the Chimera, as it will counter your attacks with specific ones of its own. These counters will be in order, too, so you’ll know what’s coming. Venom Breath will be first (equip Antibody), then Cold Breath (equip Body Temp), then last will be Virus Crunch (nothing you can do to prevent this). The Ash enemy will use Reflect on itself, then bounce off spells like Stop, Doom and Death, plus it has access to a party-wide ice-elemental spell called Snowstorm that could deal some good damage. If you happen upon a Behemoth, be sure to be careful with physical attacks, as it will counter them with Meteor. The last enemy that needs talked about is the Stilva, which has strong fire skills.
Back on track, after retrieving the Kain’s Lance, pass through the doorway to the north to arrive in a room with a large set of stairs. There appears to be nothing in this room, but if you check the bottom left corner, you should see what appears to be an invisible NPC. Talking to this NPC does nothing, but challenging it to a game of Tetra Master reveals it as a Master Phantom. This is one of give Phantom NPCs in Memoria, who have a number of rare cards in their possession. If you feel like playing some Tetra Master, then go ahead; otherwise, let’s continue with the dungeon.
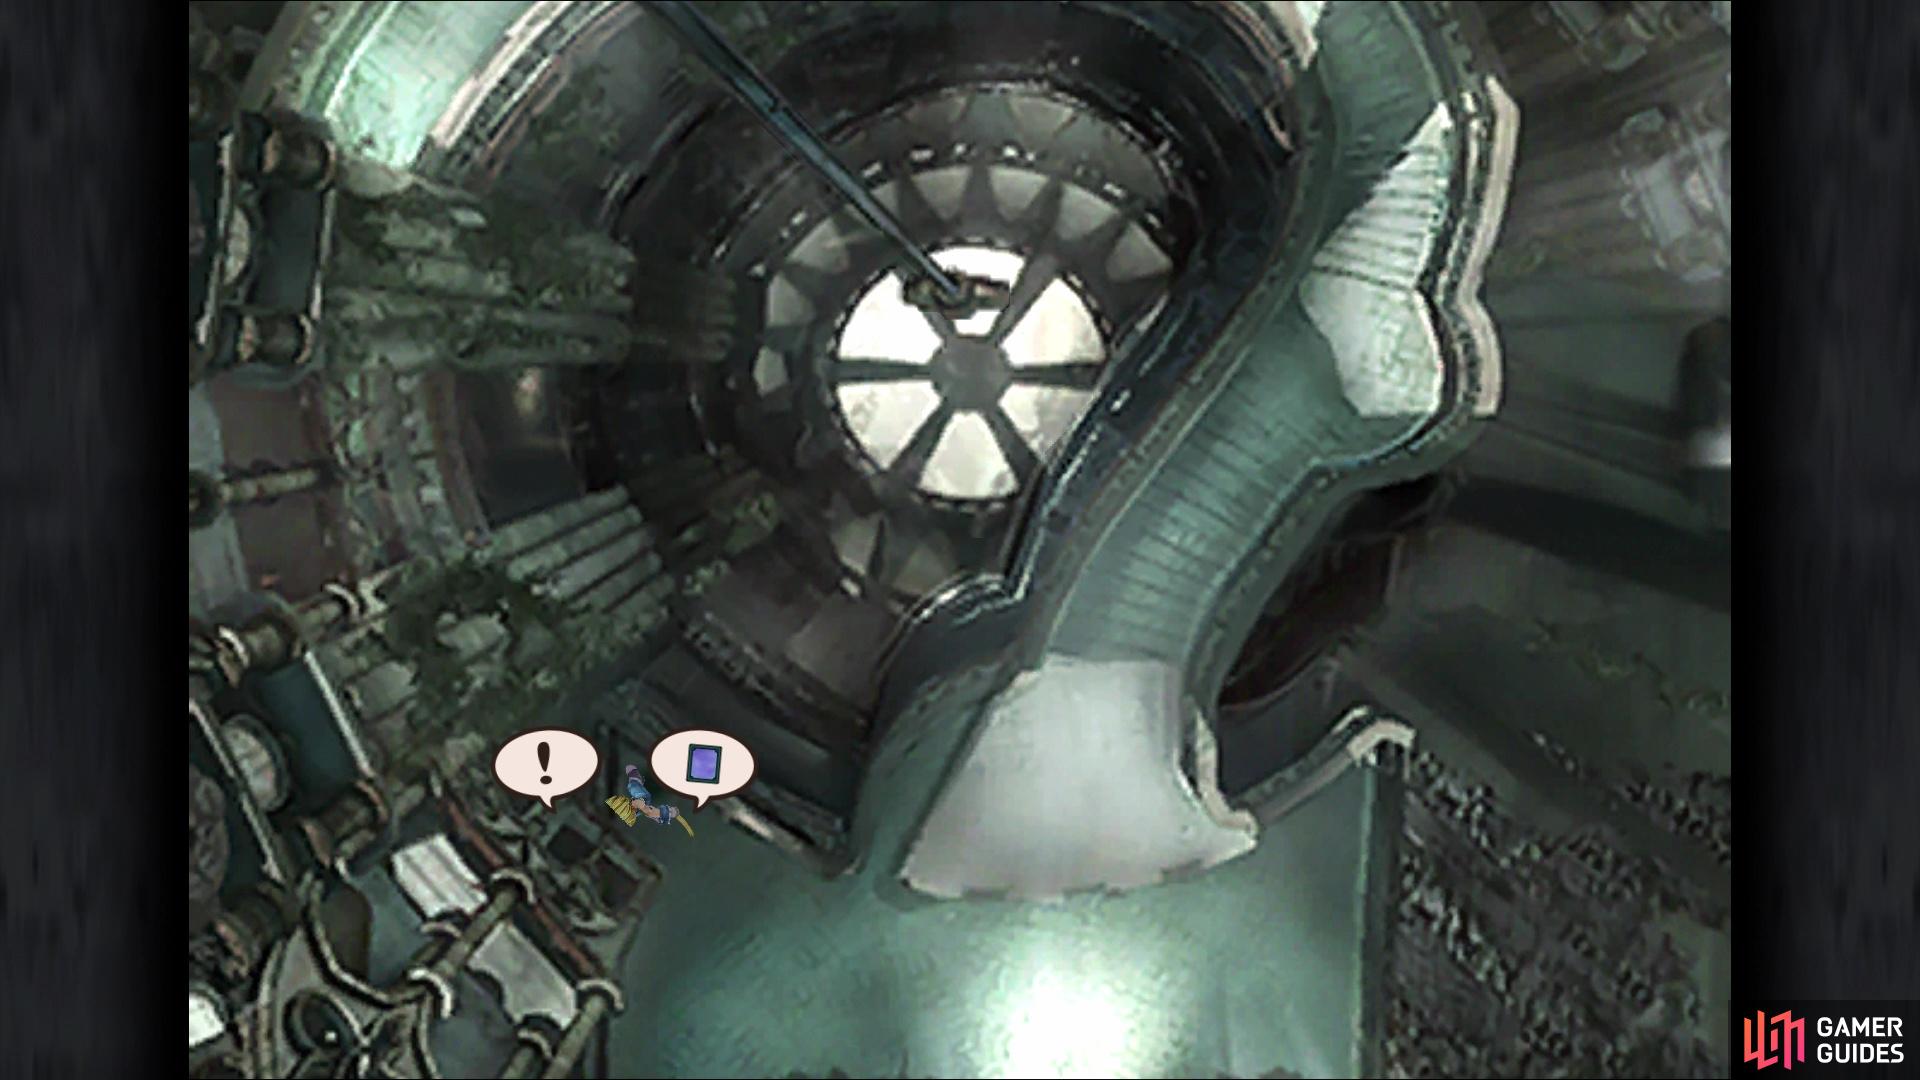
Climb the stairs and enter the next room, where you’re at the bottom of it. When you get to the top, look for the little overhang and step onto it. In the bottom right corner of this overhang, you should see another prompt, which can be a little bit annoying to find. This prompt is another item, The Tower, a weapon for Zidane, although the Ultima Weapon you found earlier is more powerful. Exit via the top left and you should now be on a long path. There will be a boss on this path, so you will want to do a little bit of preparation beforehand. Fire-elemental gear is good here, plus Body Temp will be needed to make sure you don’t have Heat applied to you.
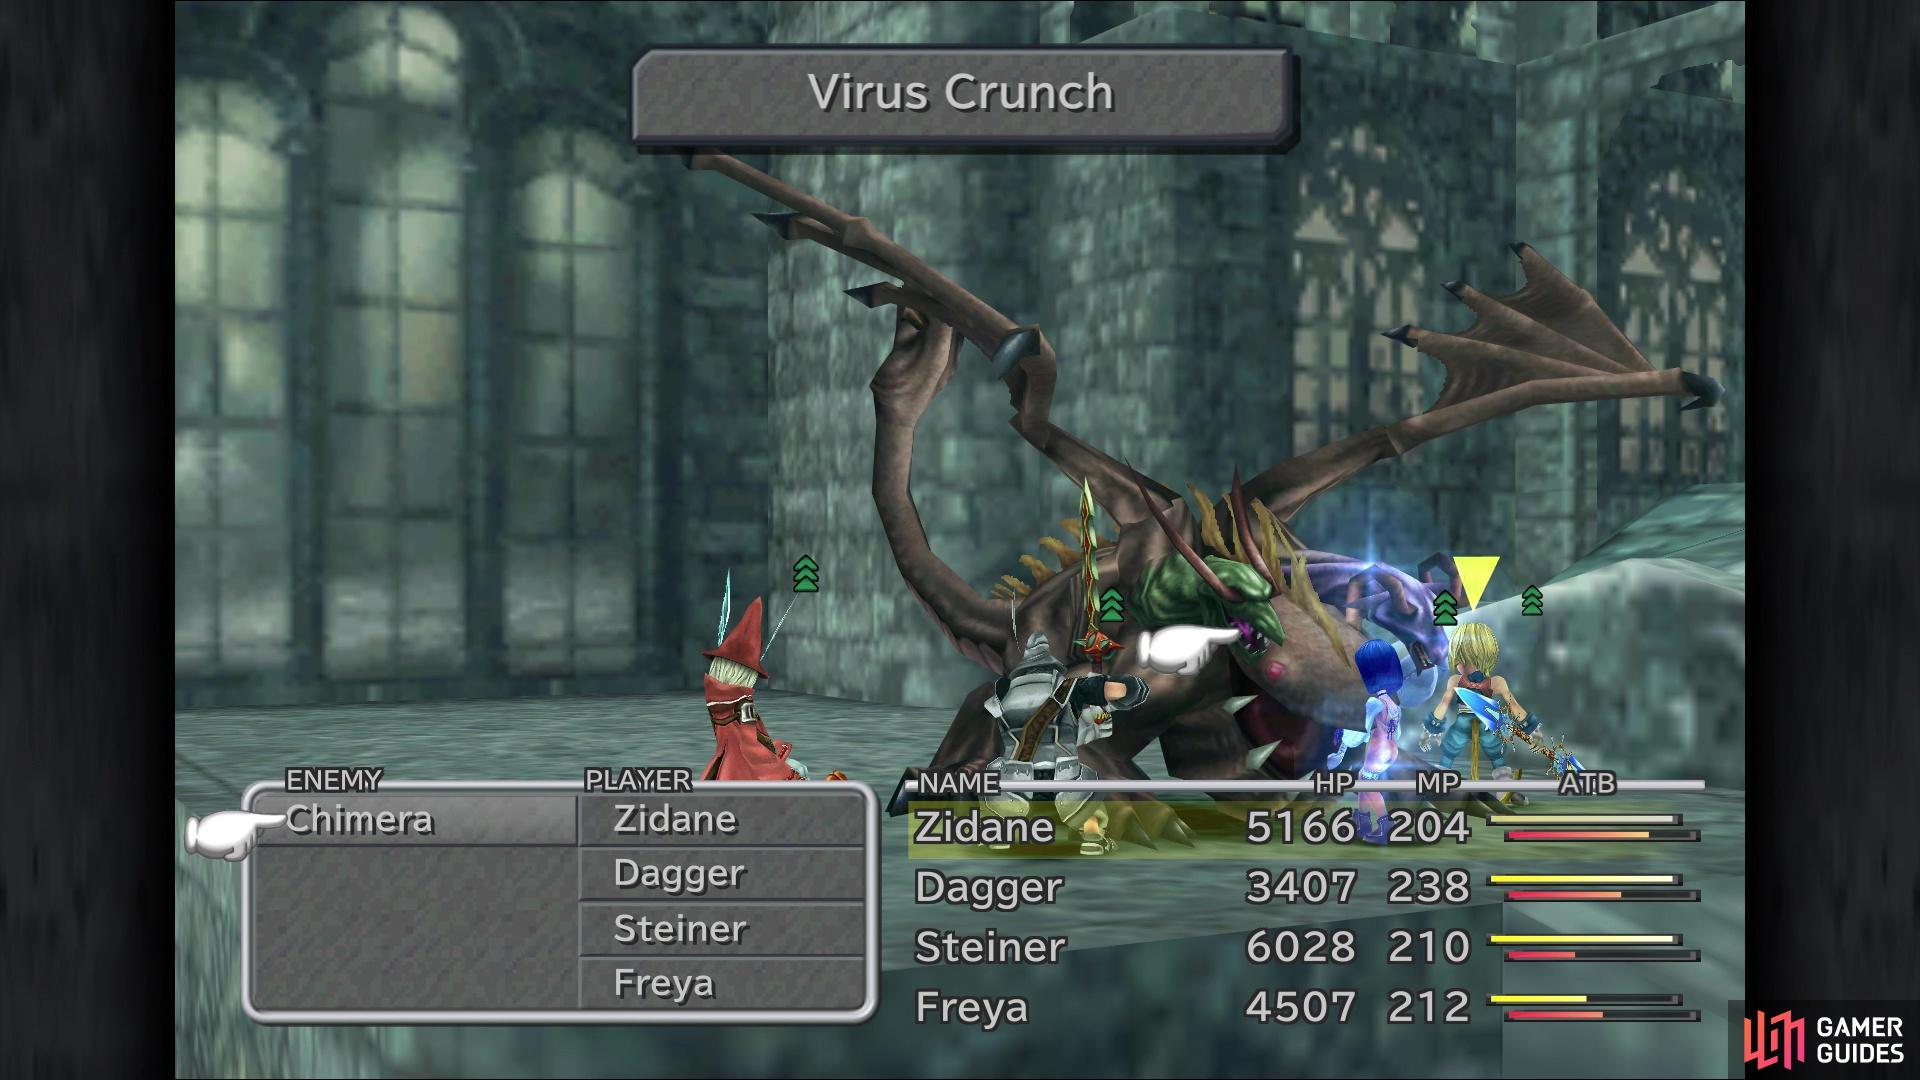
The Chimera will always counterattack in a pattern
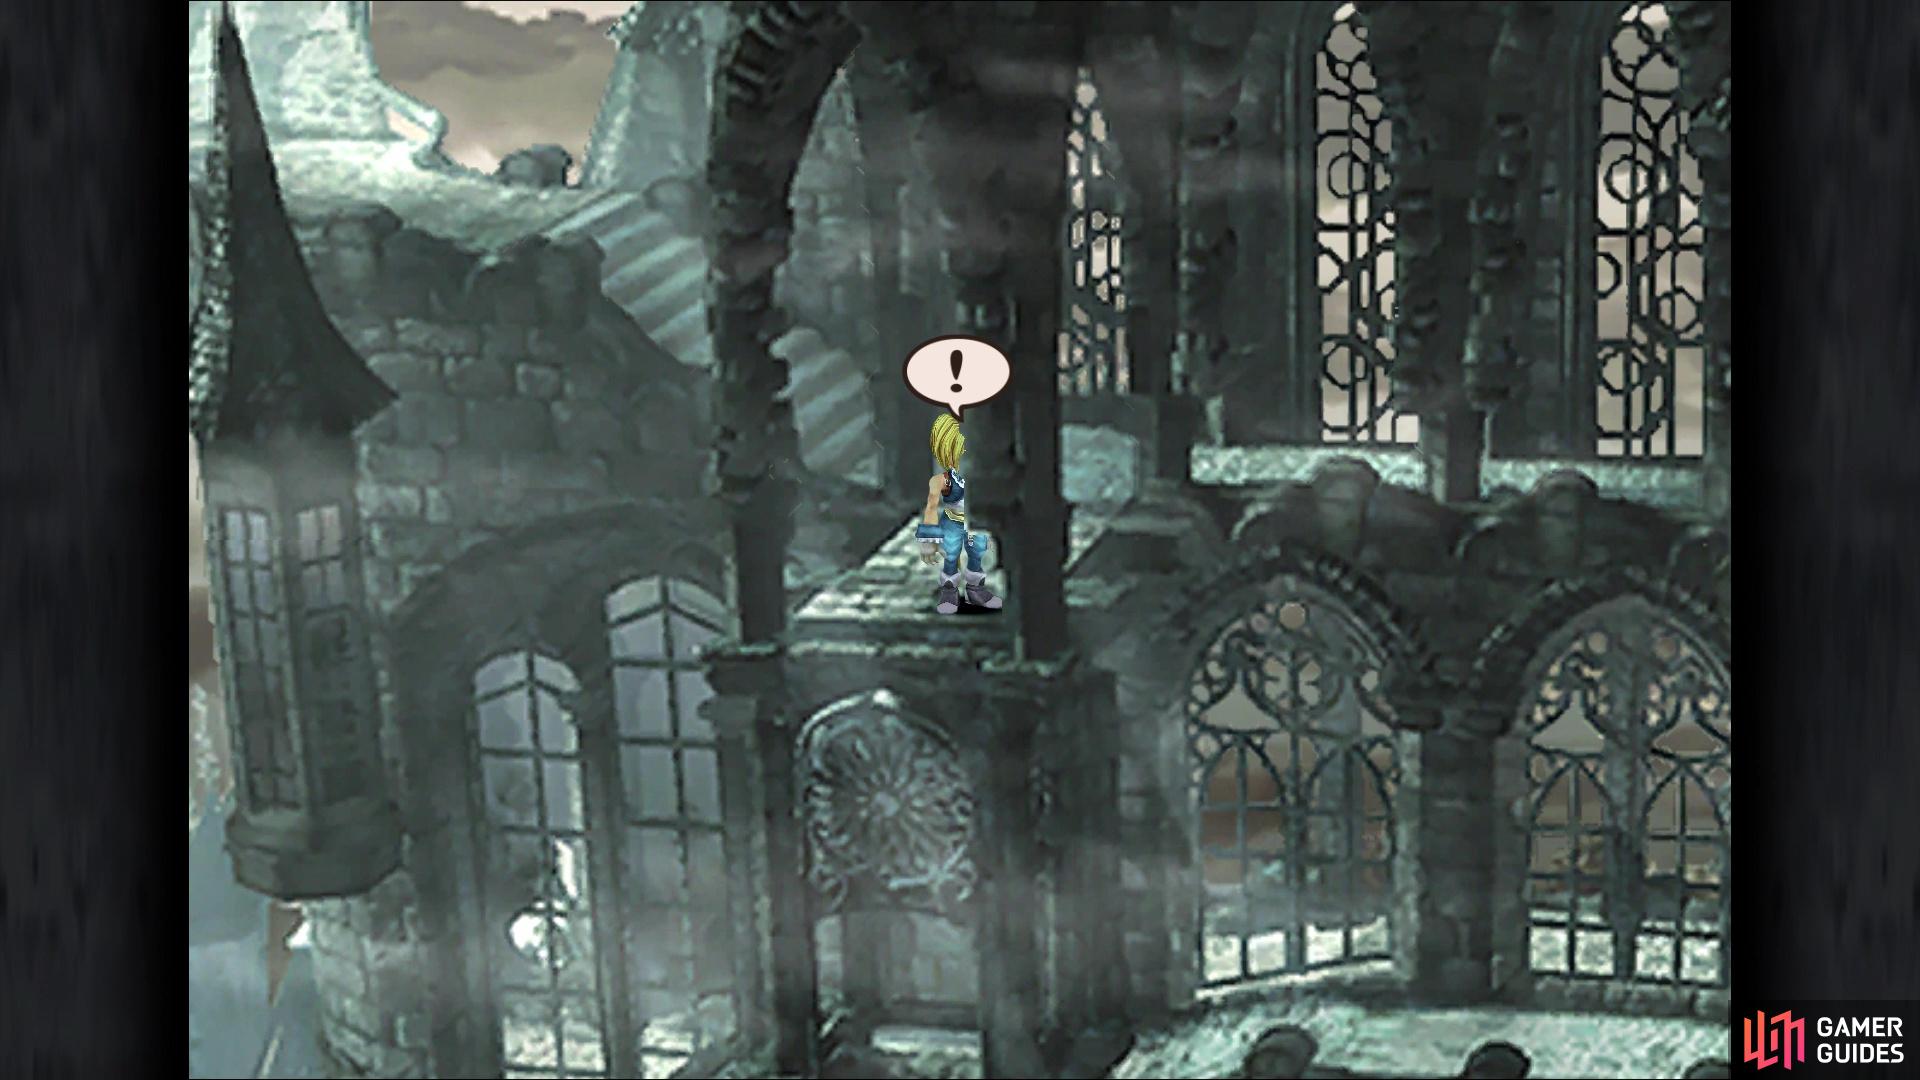
The location of The Tower weapon in Memoria

Walk along the trail and you will be thrown into another boss battle.
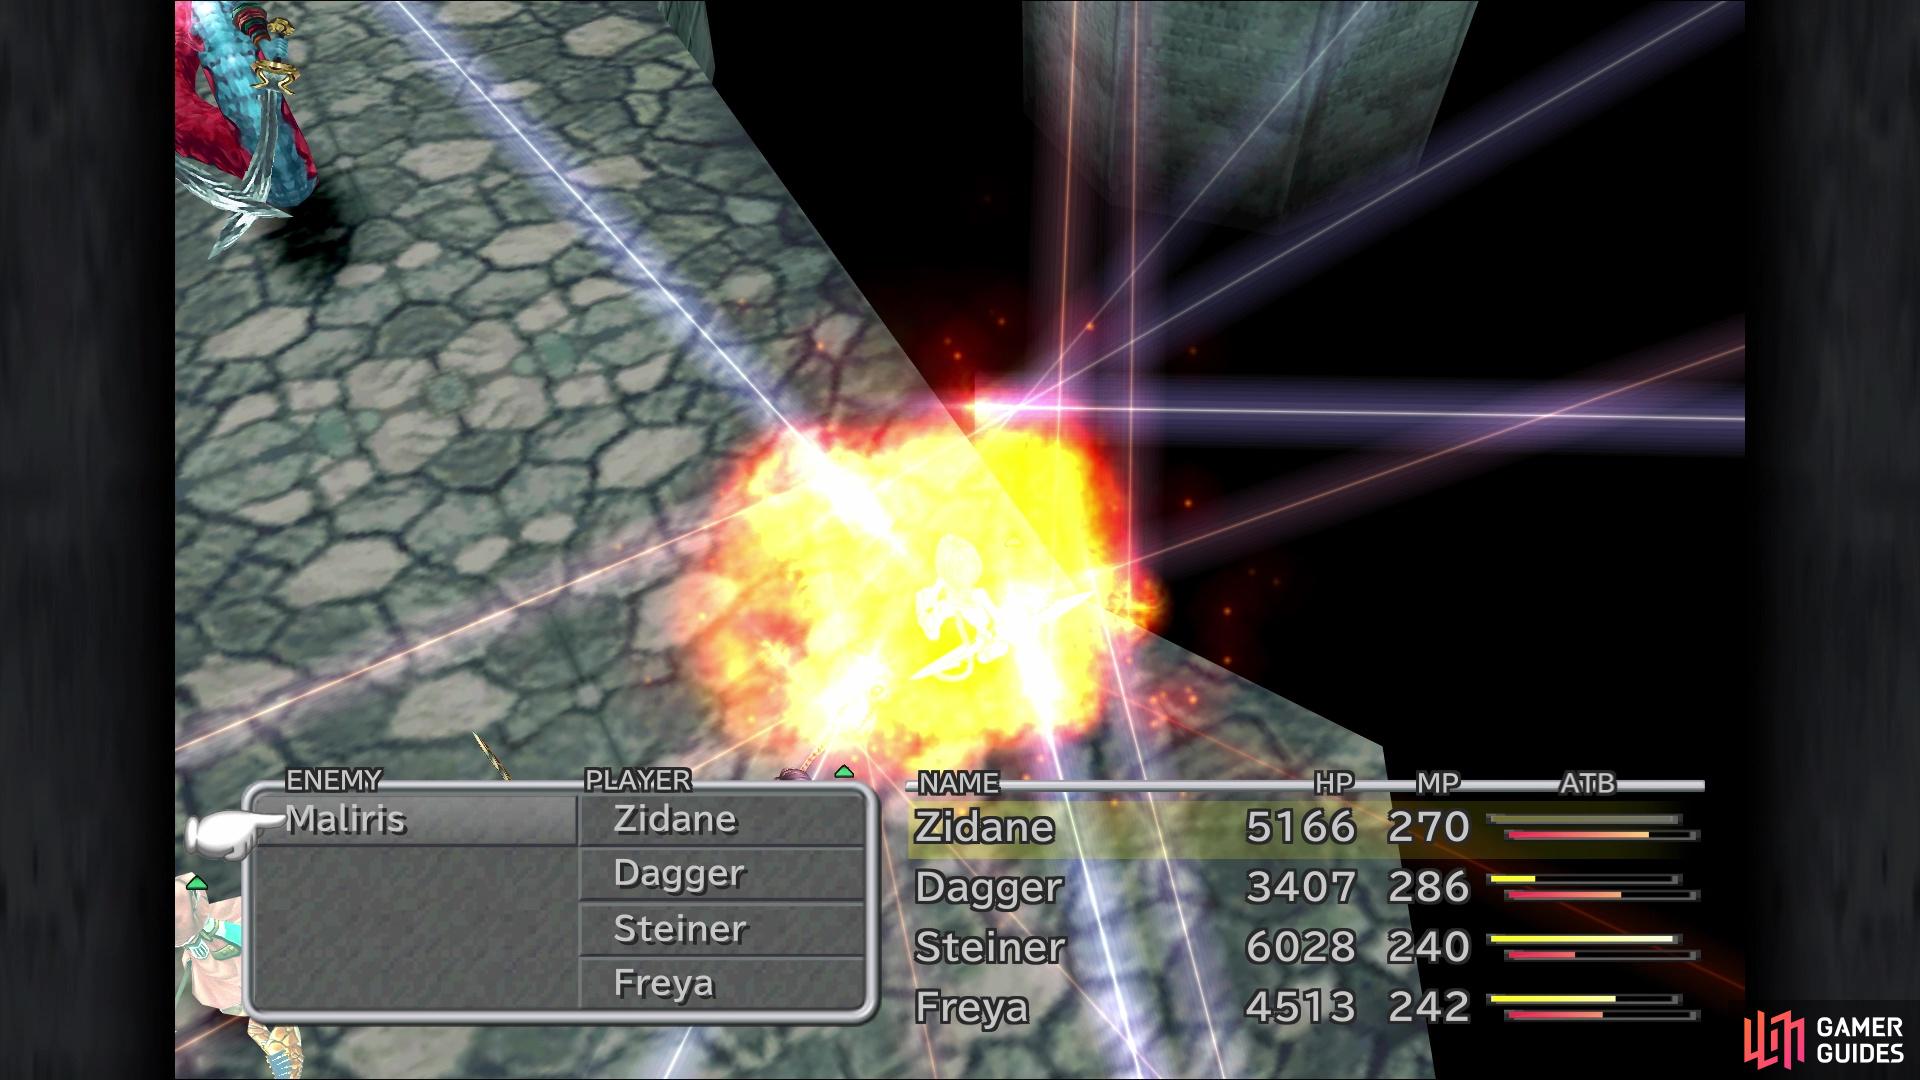
BOSS - Maliris
Maliris is a mixture of both fire attacks and physical, with a minor dash of an ailment thrown into the pot. If you have high defense and protection against fire, then this battle should prove to be on the easier end. Mustard Bomb is something you might be familiar with, but it can inflict the Heat ailment on a single character. If you don’t know this, then anyone who takes an action with this ailment on them will be instantly KO’ed. Other attacks include Sword Quiver, a single-target attack that can deal some good damage, Firaga, and Flame Slash, a fire-elemental attack against a single character.
Like some other bosses in the game, Maliris can cast Reflect on herself and then try to bounce Firaga back on your characters. Of course, you can do the same thing with your characters, but it’s not entirely needed. Other than slow, Maliris is susceptible to sleep, meaning you could potentially blast her with spells of your own, although you need to worry about her Reflect. Being a fire-elemental boss, she is naturally weak against ice and absorbs fire. As you whittle her health down, you want to make sure your own characters are topped off on HP, as Maliris will end the battle by using Raining Swords. This attack can deal 2,000+ damage to all of your characters, so you want to be at least above 3,000. Note that you could always have someone with Auto-Life, in case of an emergency.
Mustard Bomb has a chance of inflicting Heat on a single character
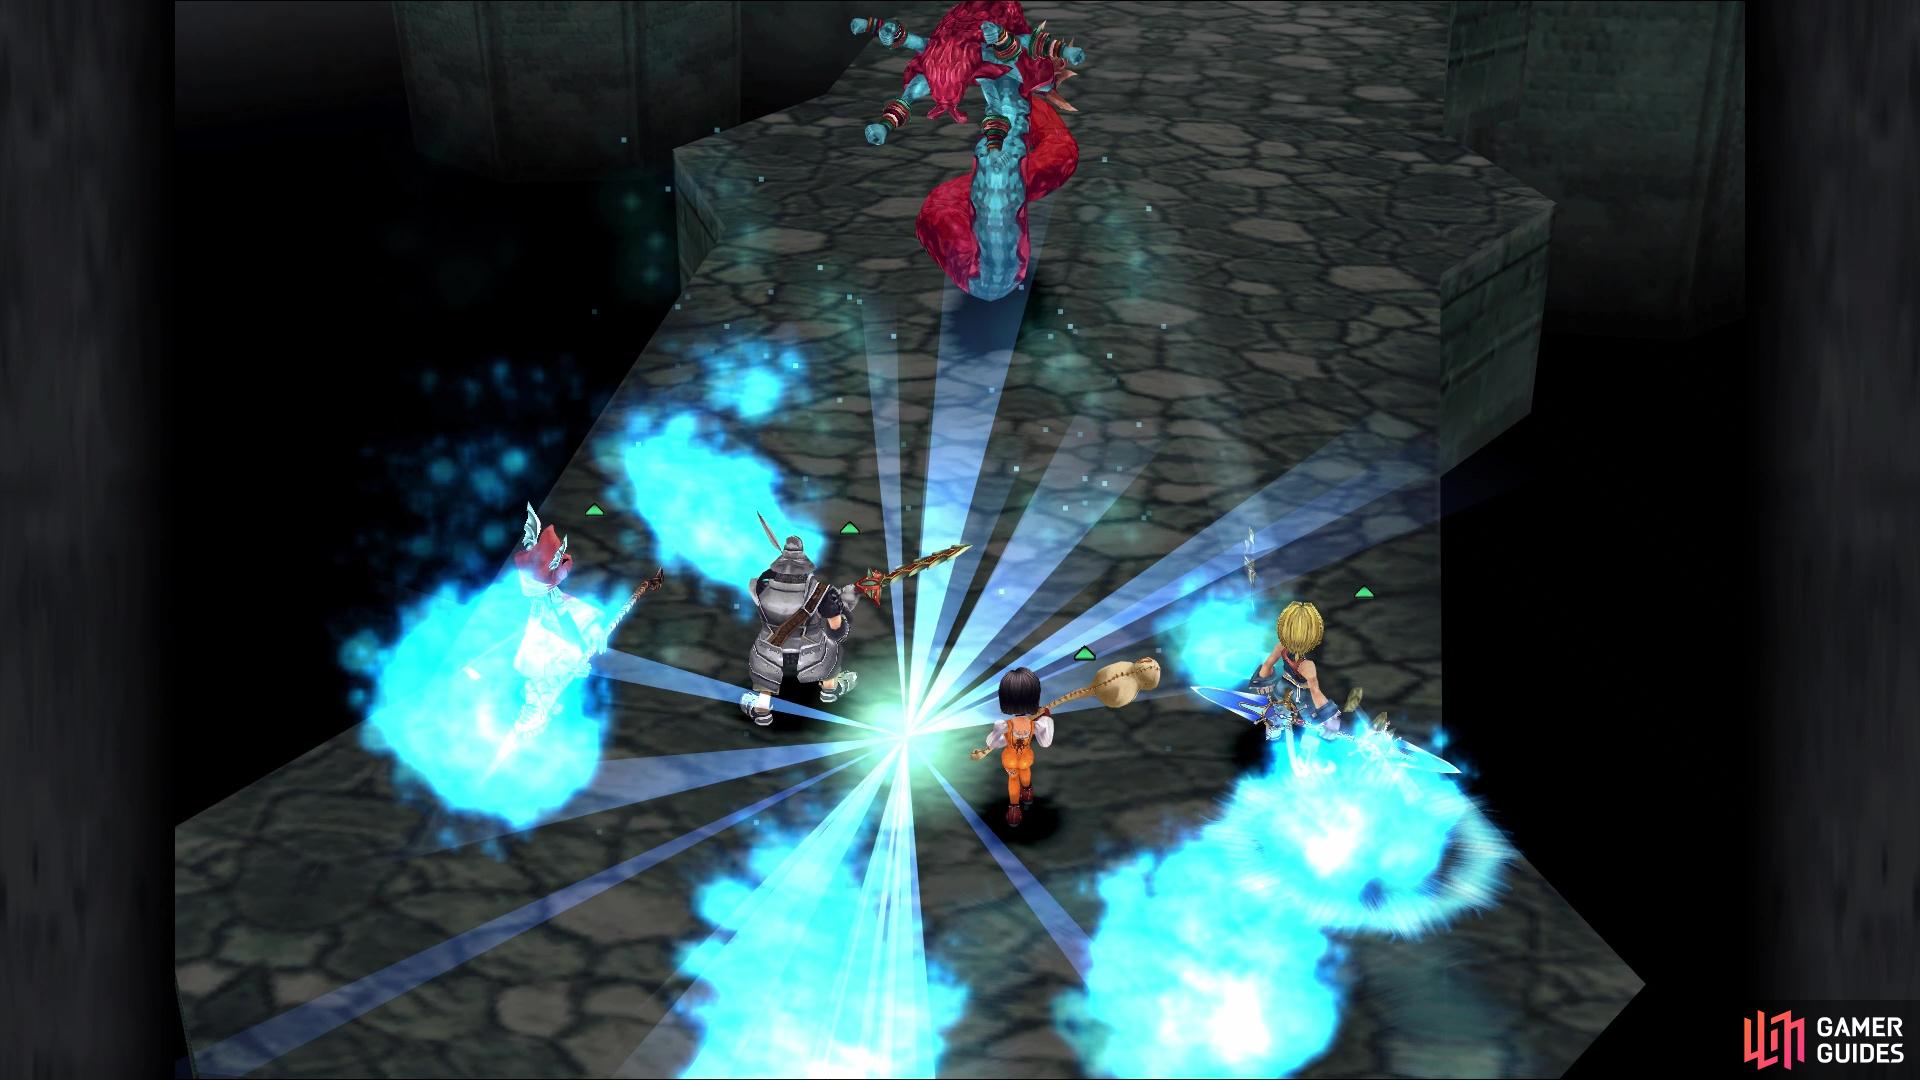
Maliris will use Raining Swords as a last resort attack before being defeated
With the boss dead, you can continue on through Memoria.
No Comments