
The Monsters are Friendly
You should have already been on the Lost Continent when doing some side questing earlier. From where the game puts you in control, there are some chocobo tracks just to the north. Wander around on these tracks until you happen to run into the Feather Circle Friendly Monster; you will likely have more luck on the actual tracks, but be prepared for a bit of a wait, as this monster can be elusive. It wants a Moonstone (this won’t affect the Over the Moon trophy/achievement), so hand one over and you’ll be rewarded with a Lapis Lazuli and 30 AP.
Despite the game forcing you here, you are still free to explore the game’s world, so let’s go after another of the Friendly Monsters. Call Choco while standing on the tracks, then make the journey all the way back to Gizamaluke’s Grotto. Enter from the north and pay a visit to Moguta, the moogle in the one back room. Hand him a Kupo Nut and you should receive an Extension add-on (this is the Disc 3 item for the Kupo Nut side quest). Make sure you heal and save your game, then take the nearby exit to Popos Heights. If you remember, this is the area with the Grand Dragons, but you’re not here for those.
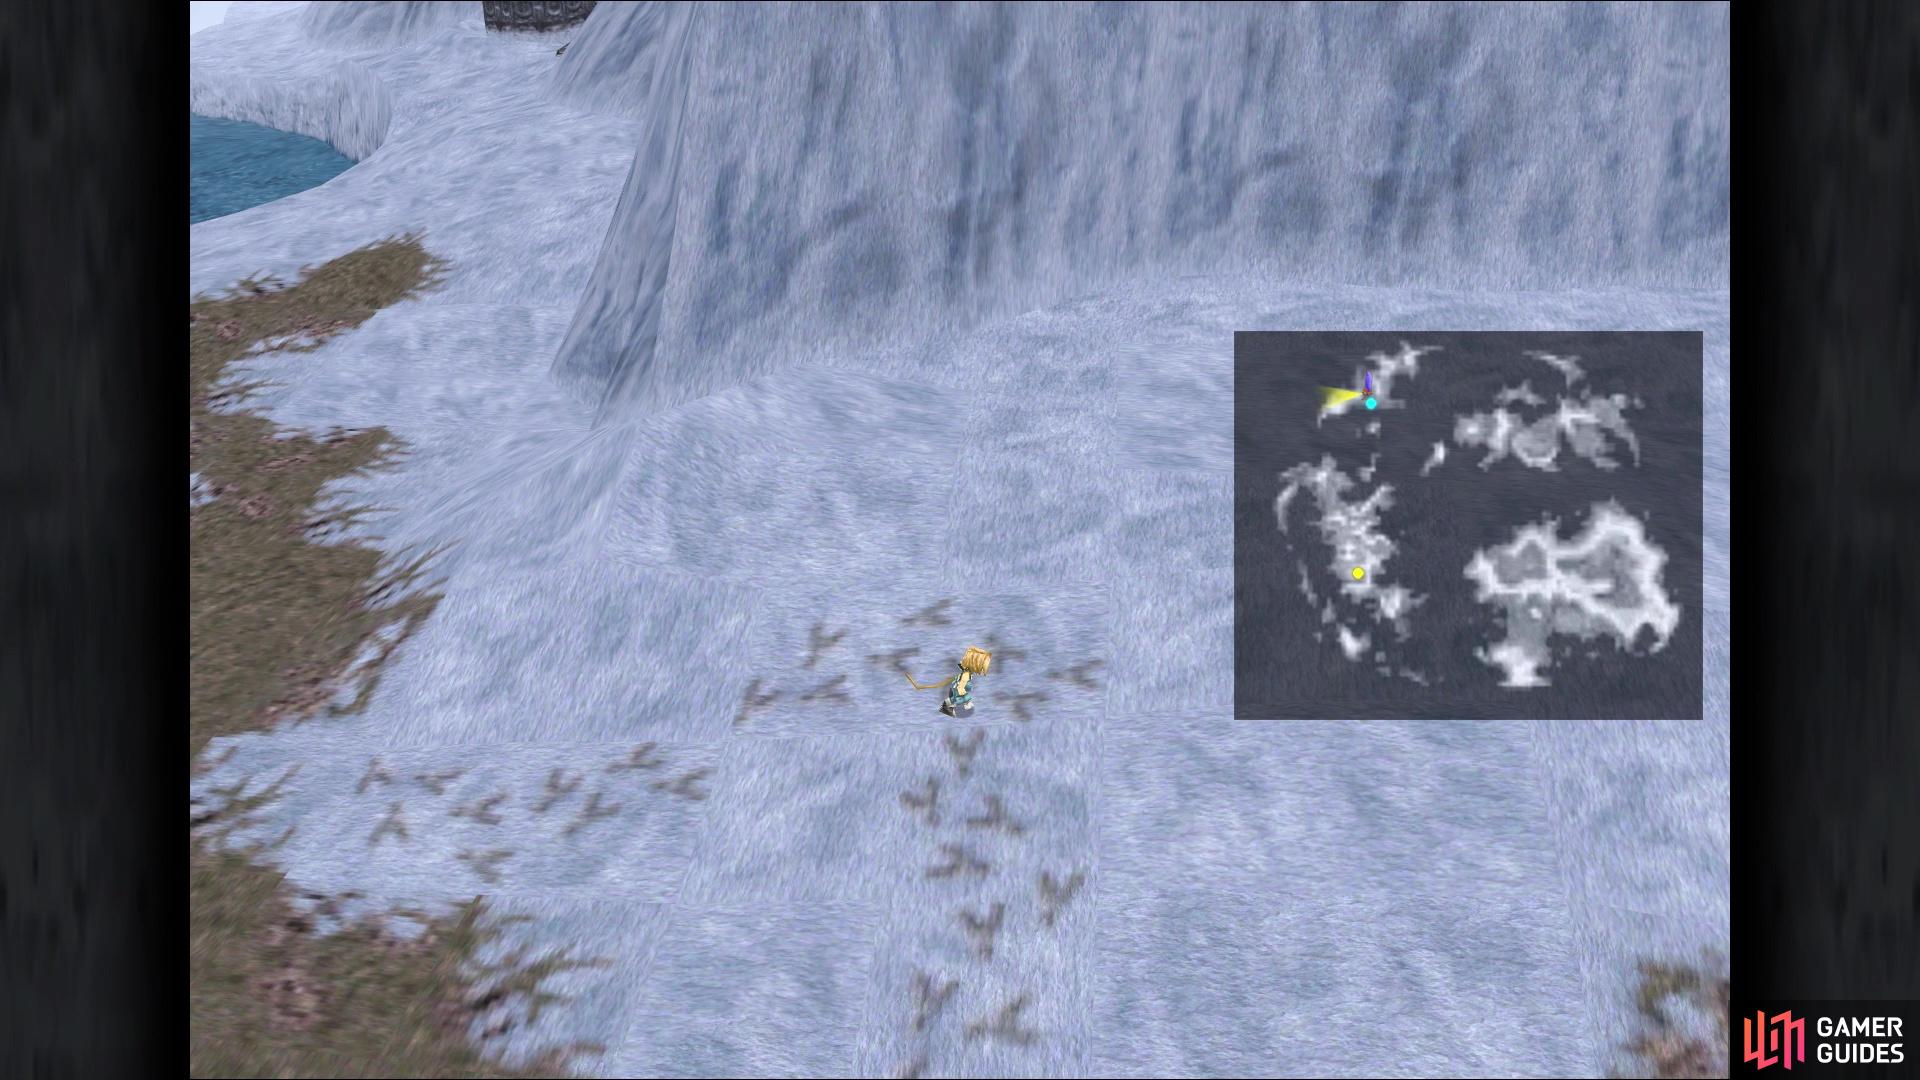
Stick to the chocobo tracks on the Lost Continent
in order to find the Feather Circle friendly monster
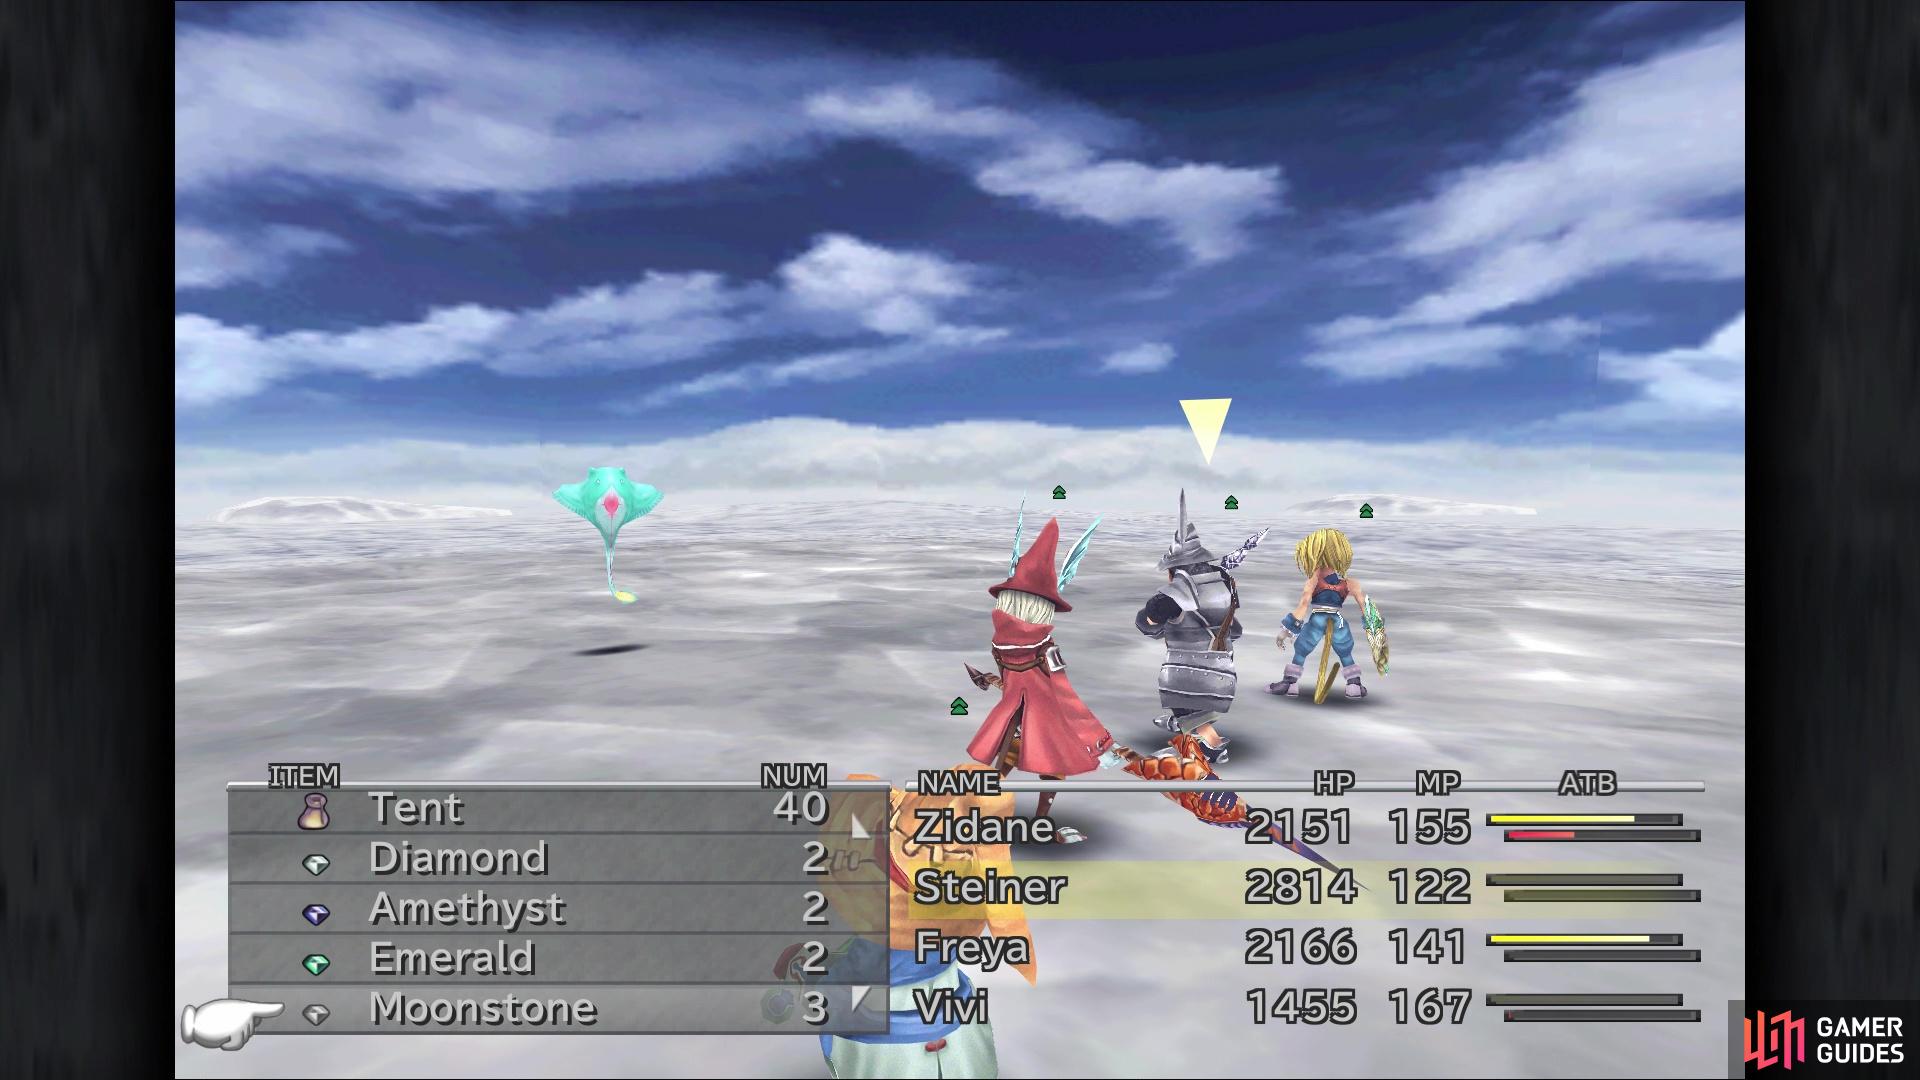
Stay in the forested areas and keep fighting until you find the Garuda Friendly Monster. It will want a Lapis Lazuli, so toss one at it and the creature will reward you with a Diamond and 40 AP. That should be all but one of the Friendly Monsters now, but you can’t quite reach the final one right now. If you haven’t done all of the Chocographs outlined in Side Questing 2, go and do that now. Otherwise, follow the coastline to the west to find the town of Esto Gaza.
Esto Gaza
There isn’t really much to Esto Gaza, so approach the central building for a scene that tells you your next destination, Mount Gulug. Before setting off for that place, go to the right of the bishop to find the shops, where you can find some new gear available. Purchase two Zorlin Shapes and a single Gladius, both of which will be used for synthesis later on, then get some of the other gear there. The Octagon Rod for Vivi is especially nice, as it will teach him the third tier of the elemental spells (Firaga, Blizzaga and Thundaga). If you go behind the shop to get behind the counter on the right side, you can find a Wing Edge.
Return to the previous screen and head north, where you’ll find a moogle named Mogrika. Choose the Mognet option twice, one to read a letter to her from Artemicion, then a second time to receive a letter to Moolan from her. To get to Mount Gulug from here, take the path on the right and you will get there in a jiffy.
Mount Gulug
At the beginning of the dungeon, enter the building to your left and look in the bottom right corner for 9693 Gil. There is also a note in the upper left corner of the bottom portion, which talks about some lever. Climb the ladder and search the junk in the middle of the room for an Ether, then exit to your left. Descend the long ladder here and search the upper right corner for a Red Hat, then retrace your steps back to the entrance. Enter the building on the right this time and as you make your way across, you will see something flying overhead.
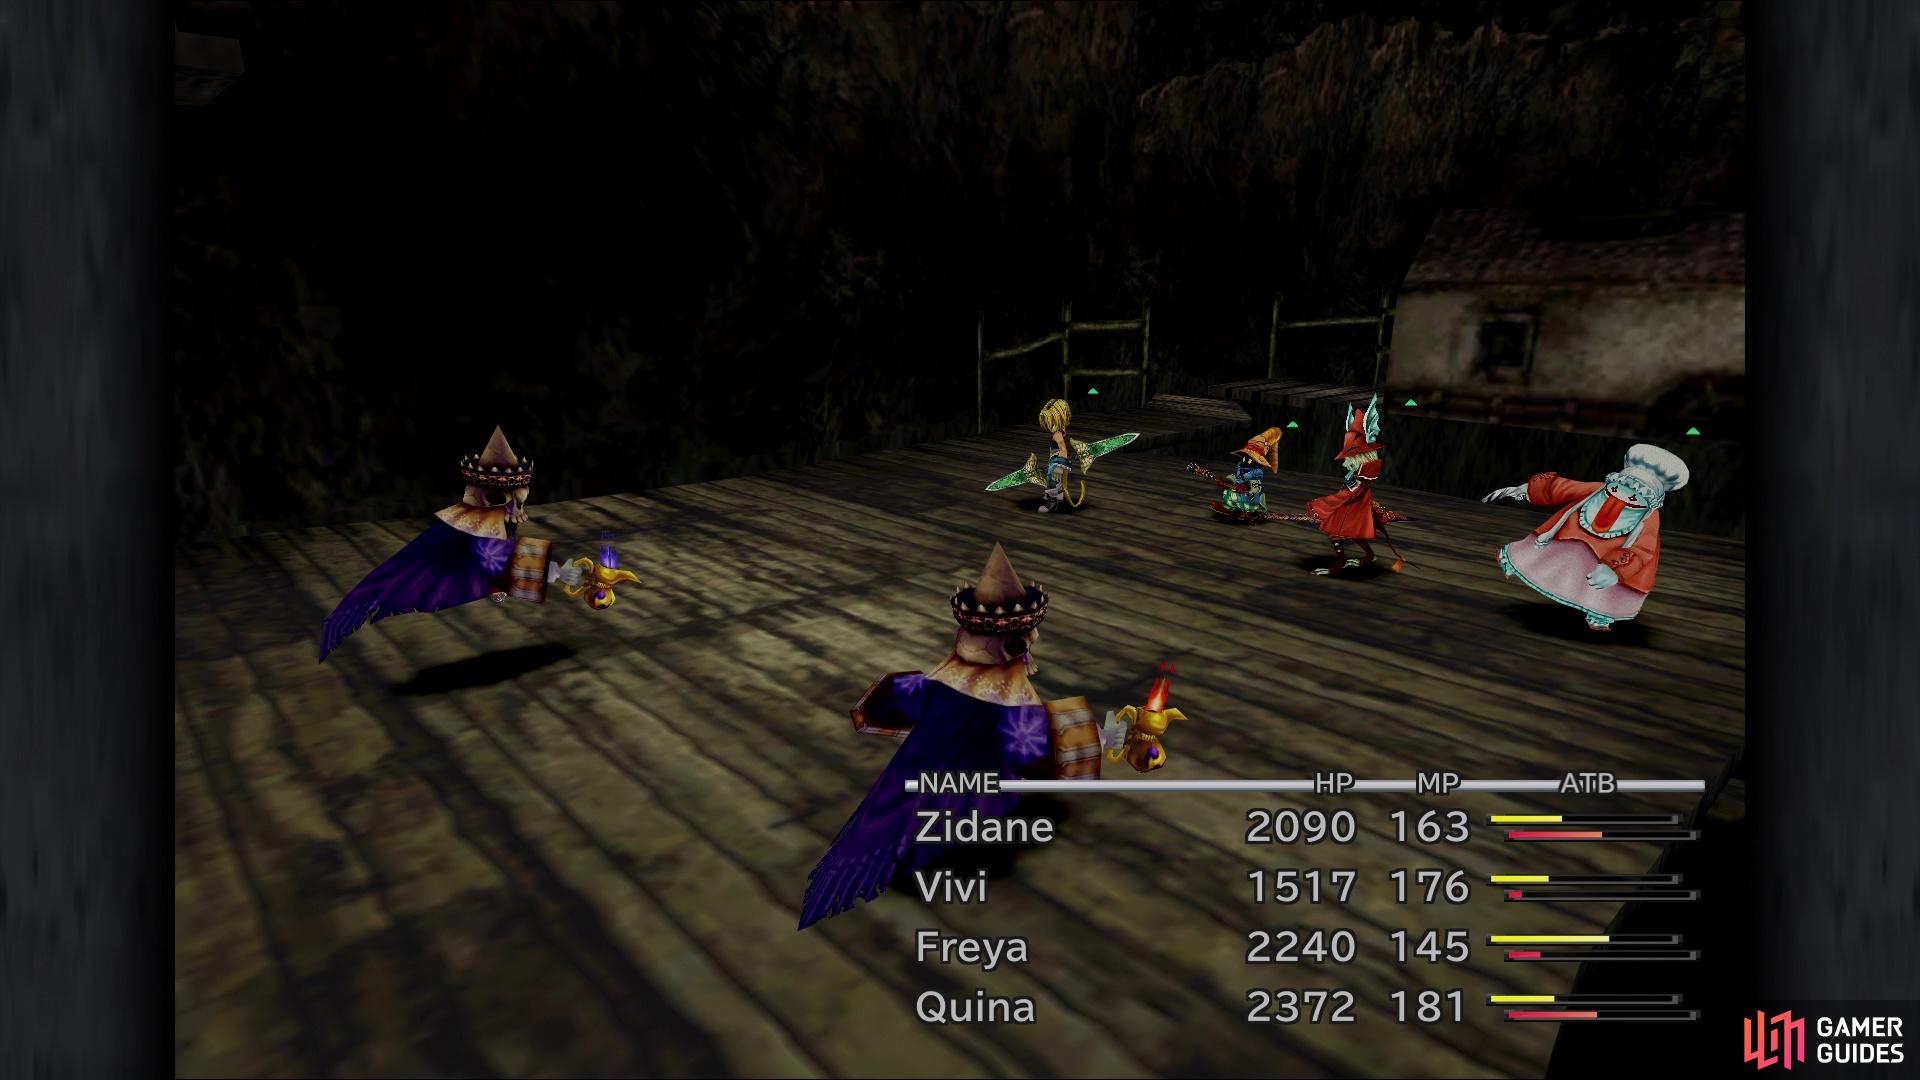
The Wraith with the blue candle is the one you want to Eat
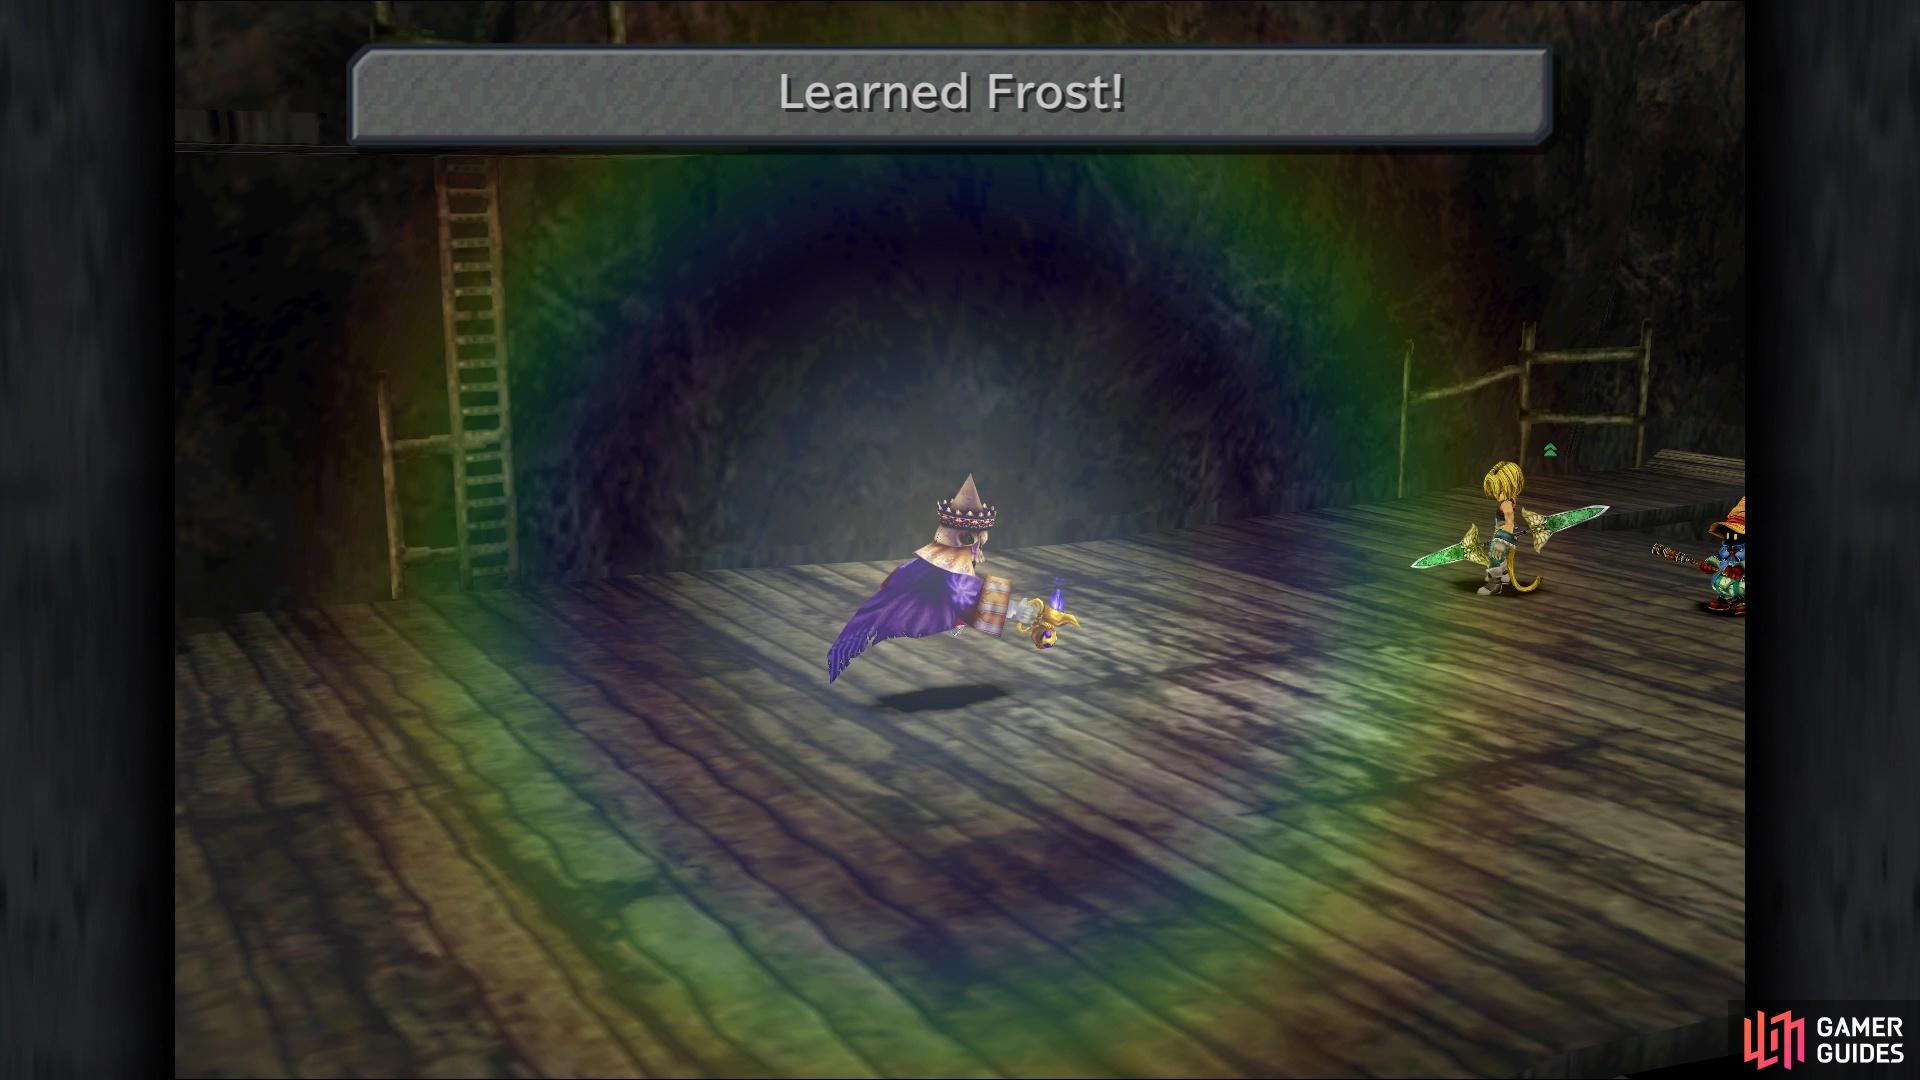
as it will teach Quina the Frost Blue Magic spell
Continue to the right and out the door, where you want to run past the well and to the right-most edge. If you see the icon above your head, then you’re good, so press the button to hop up to the ledge above you. Keep going in that direction, until you come to the dead end, where a chest with a Golden Hairpin is waiting for you. Double back to the well and find the spot where you can slide down the rope. At the bottom, you will find a moogle named Moolan to your right, who you can give a letter to from Mogrika. He also has a letter for Mogtaka, so make sure you pick the Mognet option again.
It should be brought to your attention that there are two new Blue Magic spells that can be learned inside of Mount Gulug. The first is from a Wraith enemy, but only those holding a blue candle. It has around 4,686 HP and can teach Quina the Frost Blue Magic. The other enemy, the Red Dragon, will be talked about in a little bit, so make sure you push it in the back of your mind. Heal up and save, then search the bottom right corner for a Wing Edge. Exit to the right and continue on this path, until you reach a dead end, which is where you’ll find a Gaia Gear.
On the way back from this little excursion, you will be ambushed by two Red Dragons, the other enemy mentioned above. These enemies are limited, so you’ll only have a few chances to learn Twister from them. Speaking of Twister, that skill can be a nuisance for your party, as well as Aerial Slash, both wind-based skills. With around 8,000 HP, make sure that Quina uses Eat on one to get the Blue Magic. Backtrack to the well and journey to the left this time, going inside the building at the end.
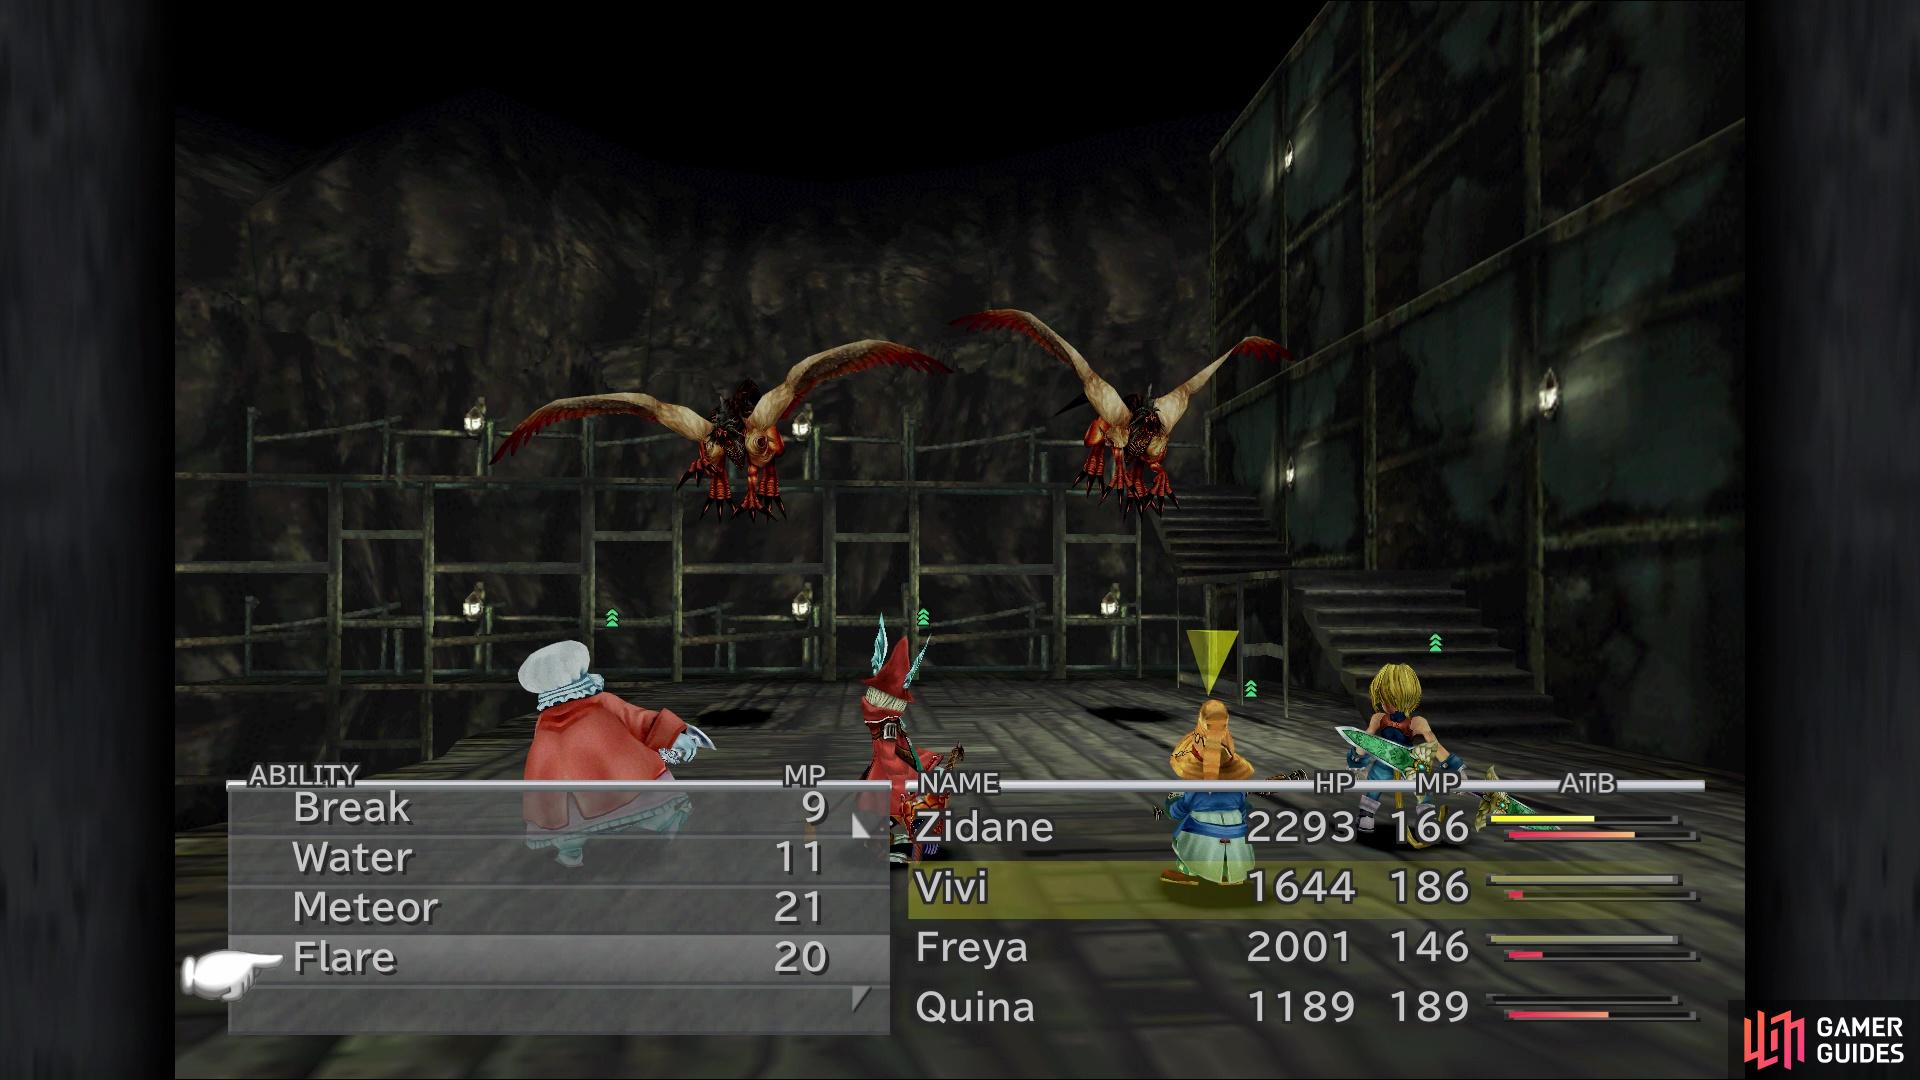
Red Dragons are limited
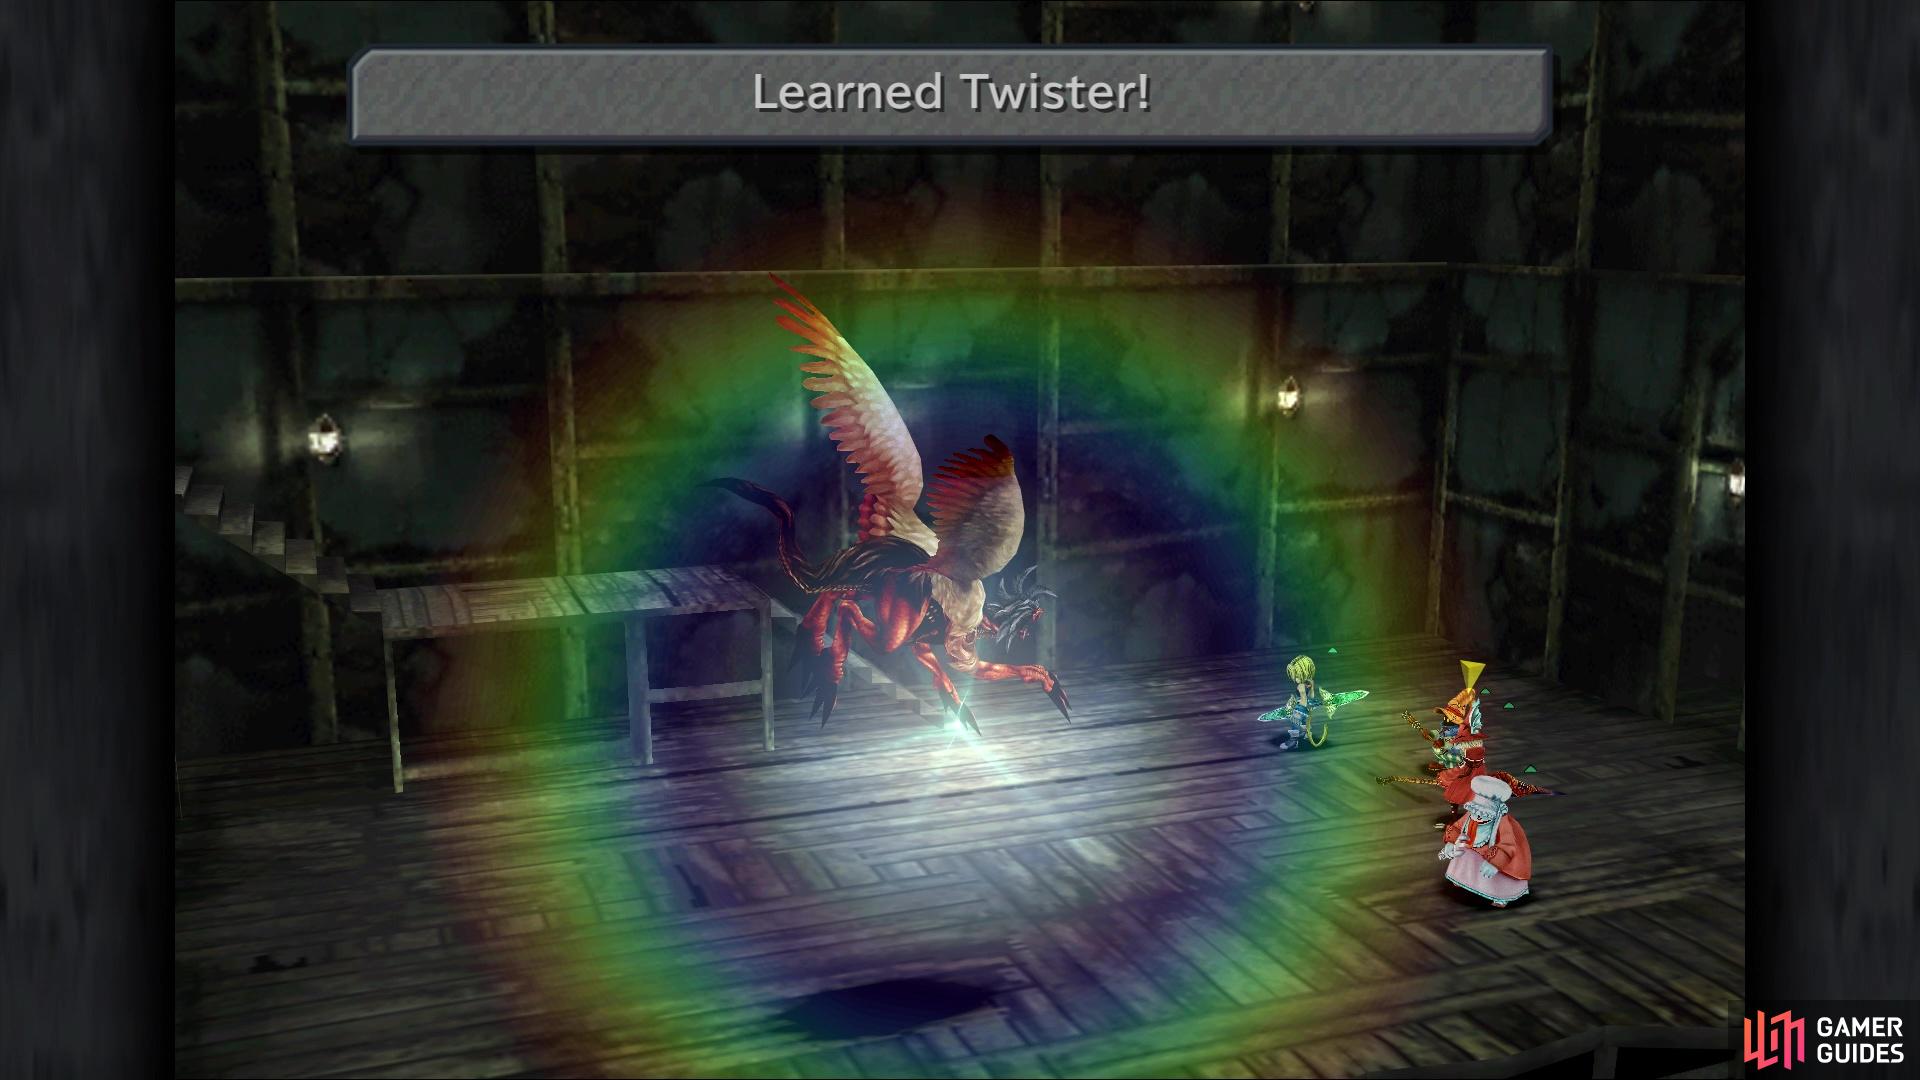
but they are the easiest from which to learn Twister
Open the chest for a Demon’s Mail, then go back outside and head north this time, via the path just next to the previous building. Inside, there will be another moogle, named Mogtaka, so hand over the letter from Moolan. Take a look at his wares, although it’ll just be the basic items. Climb the stairs next to Mogtaka and enter the next building, with a chest waiting for you at the opposite end. However, as you approach it, another Red Dragon will bust through the wall, so get ready for the battle. If you didn’t get Twister in the previous battle, try to get it now, as there’s only one dragon.
Empty the chest after the battle (it’s an Elixir), then run back to the well. You may have seen the prompt before, but there’s a lever on the left side of the well, with which you can interact. Pull it down three times, then climb the rope down to the bottom, where two more Red Dragons will decide to cause a ruckus. This is your last opportunity to learn Twister from the Red Dragons, so make sure you have it (you can get it later on, from another enemy in the final dungeon). Before passing through the broken wall, take this opportunity to equip Antibody on everyone.
Once you pass through the broken wall, there will be some scenes, then you’ll be thrown into a boss battle.
BOSS - Meltigemini
This boss can be annoying, as it will likely introduce a new status ailment, Virus. While not particularly dangerous in combat, it will prevent any character afflicted with it from earning AP after the battle is over. Luckily, you should have bought some Vaccines, which will cure the ailment. Virus will come attached with Viral Smoke, a skill that does damage, too. Outside of that, Meltigemini has access to Venom Powder (Antibody takes care of that), Bio, and Wings; the last one is a physical attack.
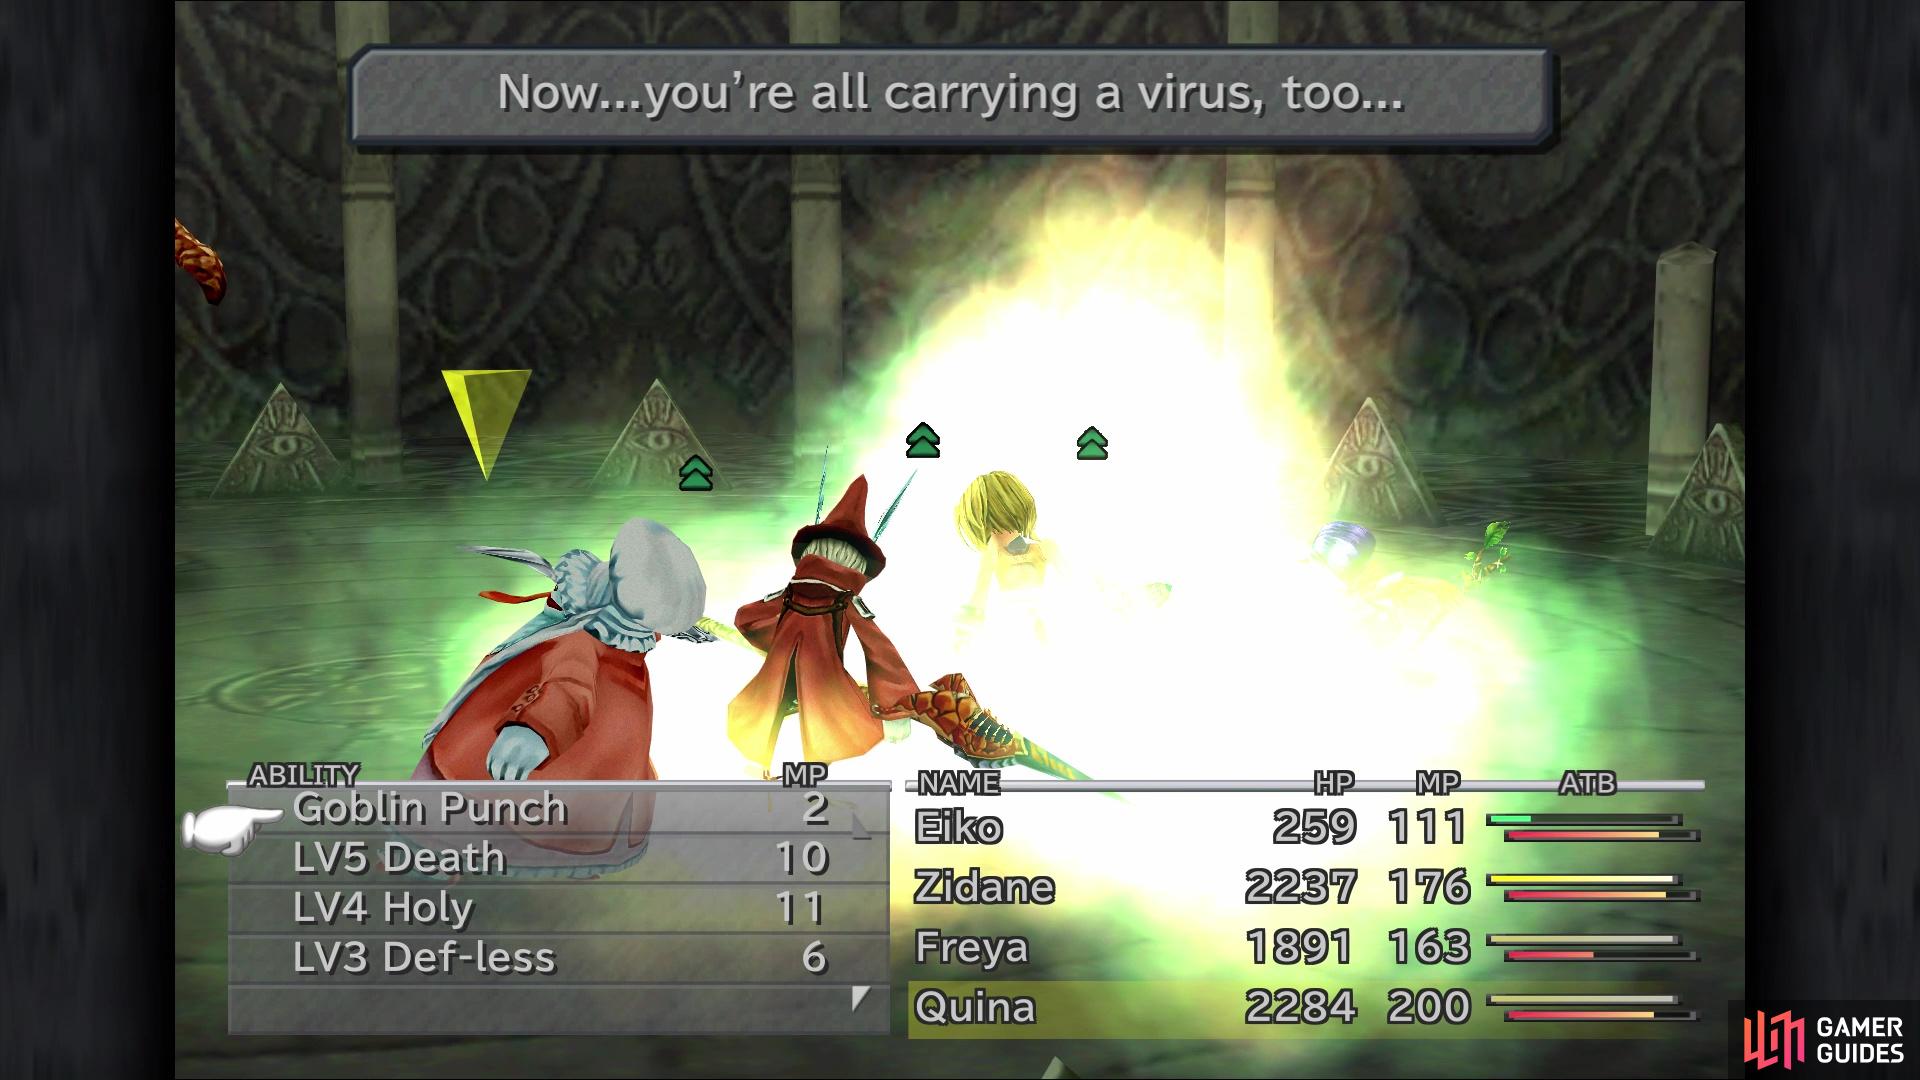
Viral Smoke inflicts Virus, an ailment that you want to cure with Vaccines
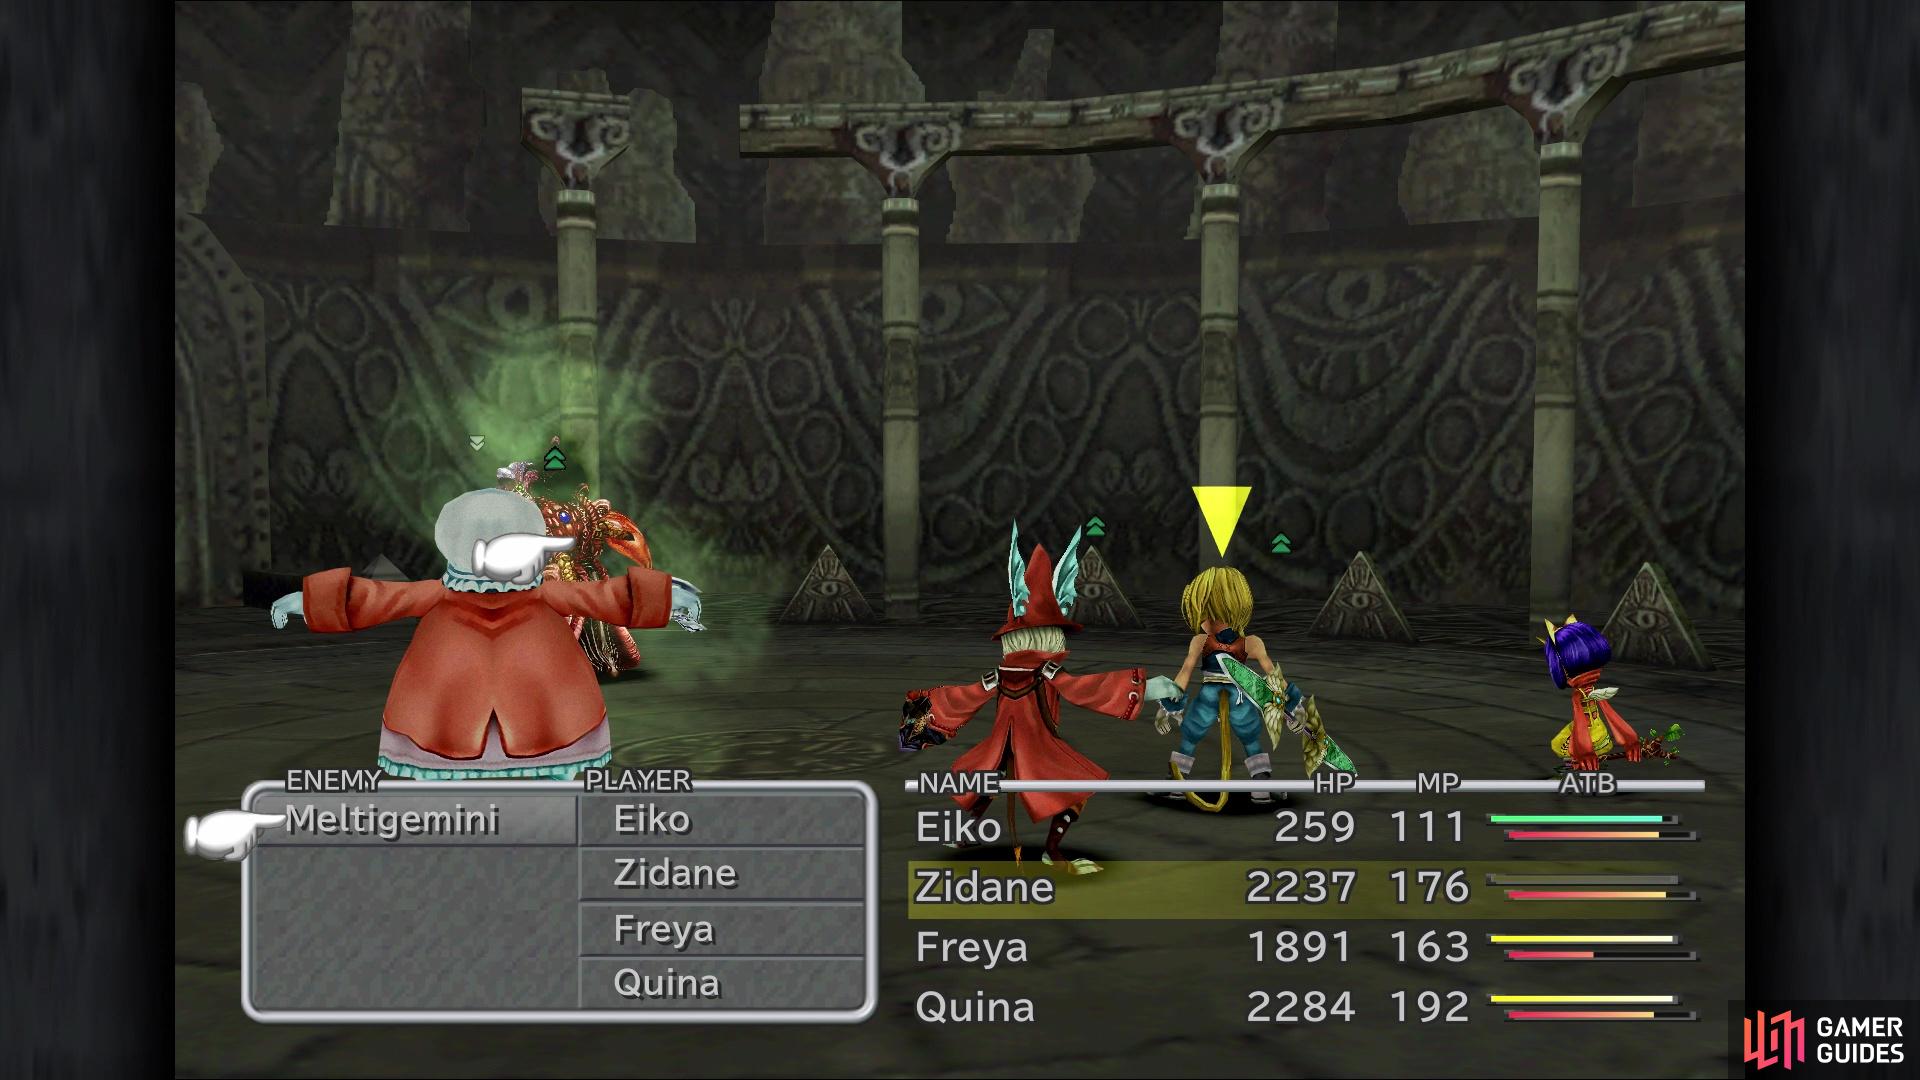
Quina’s Bad Breath makes this battle a lot easier
Note that if you had Vivi in the party, he will be replaced with Eiko, so you will likely lack a bit of firepower, in exchange for proper healing. This battle comes a lot easier if you have Quina, as Bad Breath can be used to inflict a few ailments on the boss, such as Blind, Slow and Mini. That last one will especially help, as it will cut the boss’ damage output in half. That’s the gist of the battle, so if you’ve been keeping up with everything thus far, Meltigemini is fairly simple. If you wish to steal his goods, the boss has a Vaccine, Golden Hairpin and a Demon’s Mail.
After the battle is over, there will be a number of scenes, with the game returning to Lindblum.
No Comments