
Disc 4 begins with your party in Black Mage Village, where some scenes will occur. Once they are over, you will be back on the world map, but you will be in control of the Invincible airship. This is similar to the Hilda Garde III, but you can actually land this on any piece of flat land, except for forests. Now that you’re on Disc 4, a bunch of things have opened up for you, as you will be able to pretty much finish all remaining side quests, including the game’s superbosses, if you want.
The Final Stellazzios
Let’s start things off by finishing up the Stellazzio side quest. You most likely saw a chest inside of the Invincible, but if you didn’t, board the ship and go inside to the bridge. Once in the airship, go south one room and on the left side will be the chest with the Pisces Stellazzio. With that in your possession, make the trek to Treno and go pay a visit to the Queen. Hand over the Pisces and Aquarius to her to receive 30,000 Gil and Robe of Lords. That’ll be a total of 12 Stellazzios.

Pisces can be found on the Invincible airship
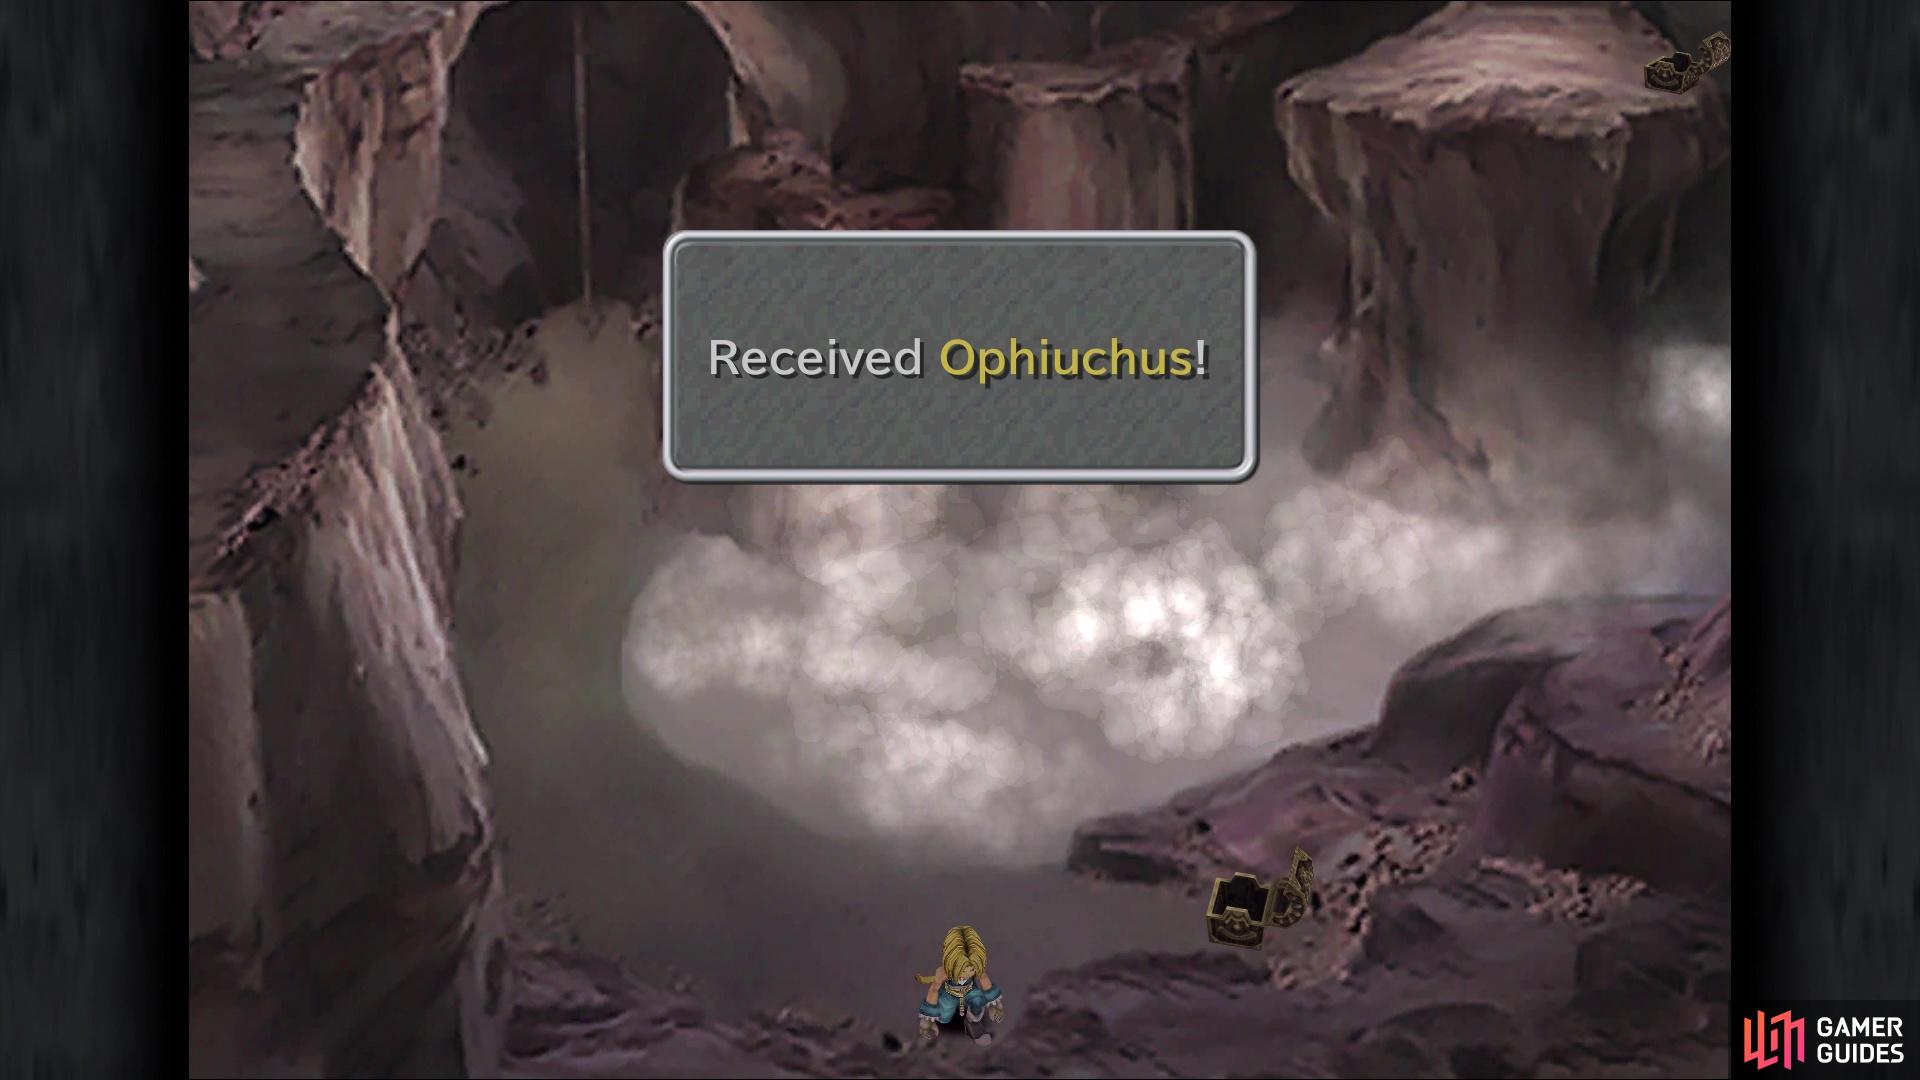
Return to where you first found Scorpio to find Ophiuchus
Speak with the Queen again and she tells you that something is off, so reply that there’s one more Stellazzio. This causes her to hand you the ones you’ve gather, and suggests that you check them for clues. Well, the clues aren’t exactly something that can be quickly deciphered, but the final Stellazzio is in a spot you should know. Return to Quan’s Dwelling, to the spot where you got the Scorpio coin earlier in the game. In the exact same spot will be the Ophiuchus Stellazzio. Return this to the Queen to be rewarded with a Hammer, which will bring an end to this side quest for good.


Mognet Central
All of those letters you’ve been delivering since the beginning of the game will take fruition with this side quest. Of course, this particular side quest is not affected at all by those other letters, so you don’t have to worry if you missed any of them. To begin this side quest, head to Alexandria and make your way to the chapel, where you will see two moogles and Stiltzkin. Speak with the latter first and he should offer one final set of items for 5555 Gil, so purchase it to get a Moonstone, Ruby and Elixir. If you bought all other item sets up to this point and have gotten all other Moonstones, then this will unlock two trophies/achievements. Speak with Stiltzkin one more time to receive a bonus, a Ribbon.


To begin Mognet Central, speak with Kupo (the male moogle on the left) and choose the Mognet option. After exiting out of it, he will ask you to deliver a letter to Atla. This moogle will be in Burmecia, so that’ll be your next destination. Now, Burmecia is still riddled with monsters, so you’ll get into a few fights along the way to the moogle, who can be found all the way in the back of the former city, right before the end, so it will be a bit of a trek. The moogle will be in one of the two side rooms back here, so deliver the letter to Atla and he will give you one for Mogryo.
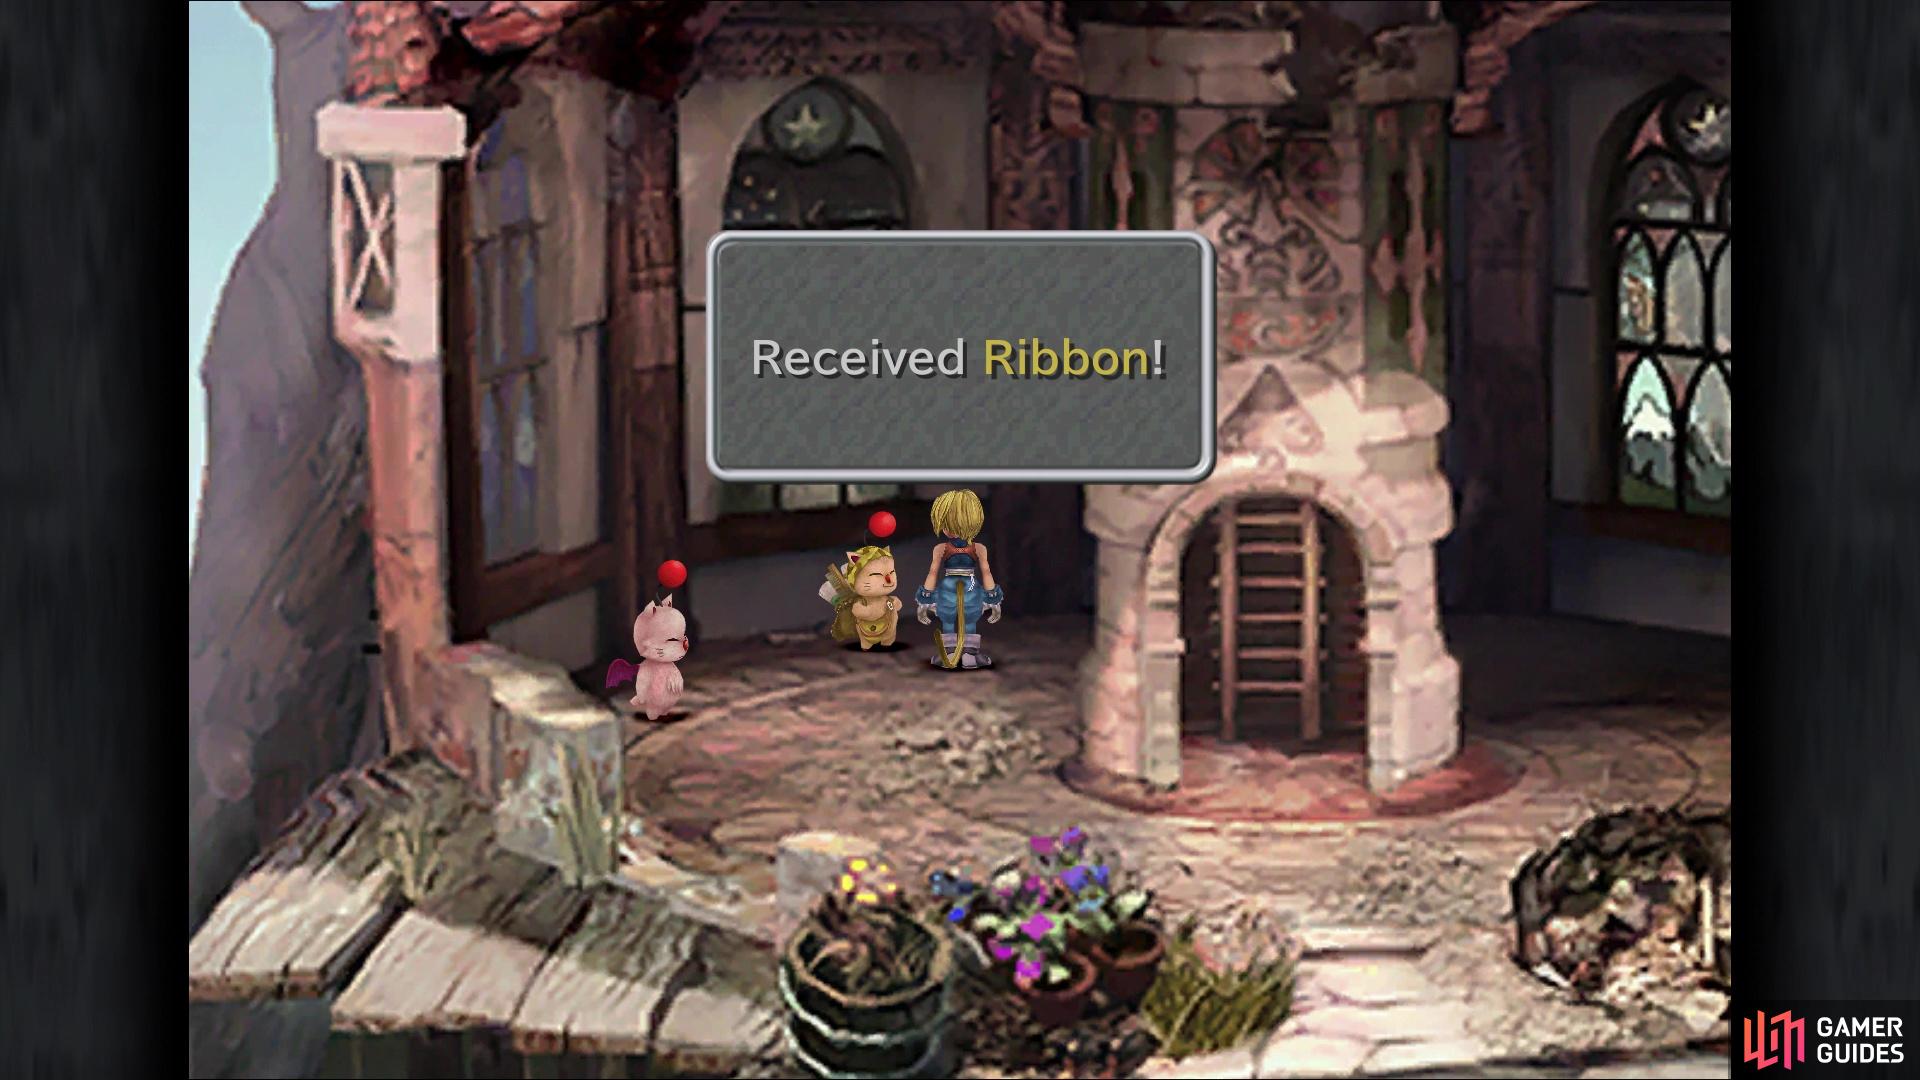
Stiltzkin will give you a Ribbon if you bought everything off of him
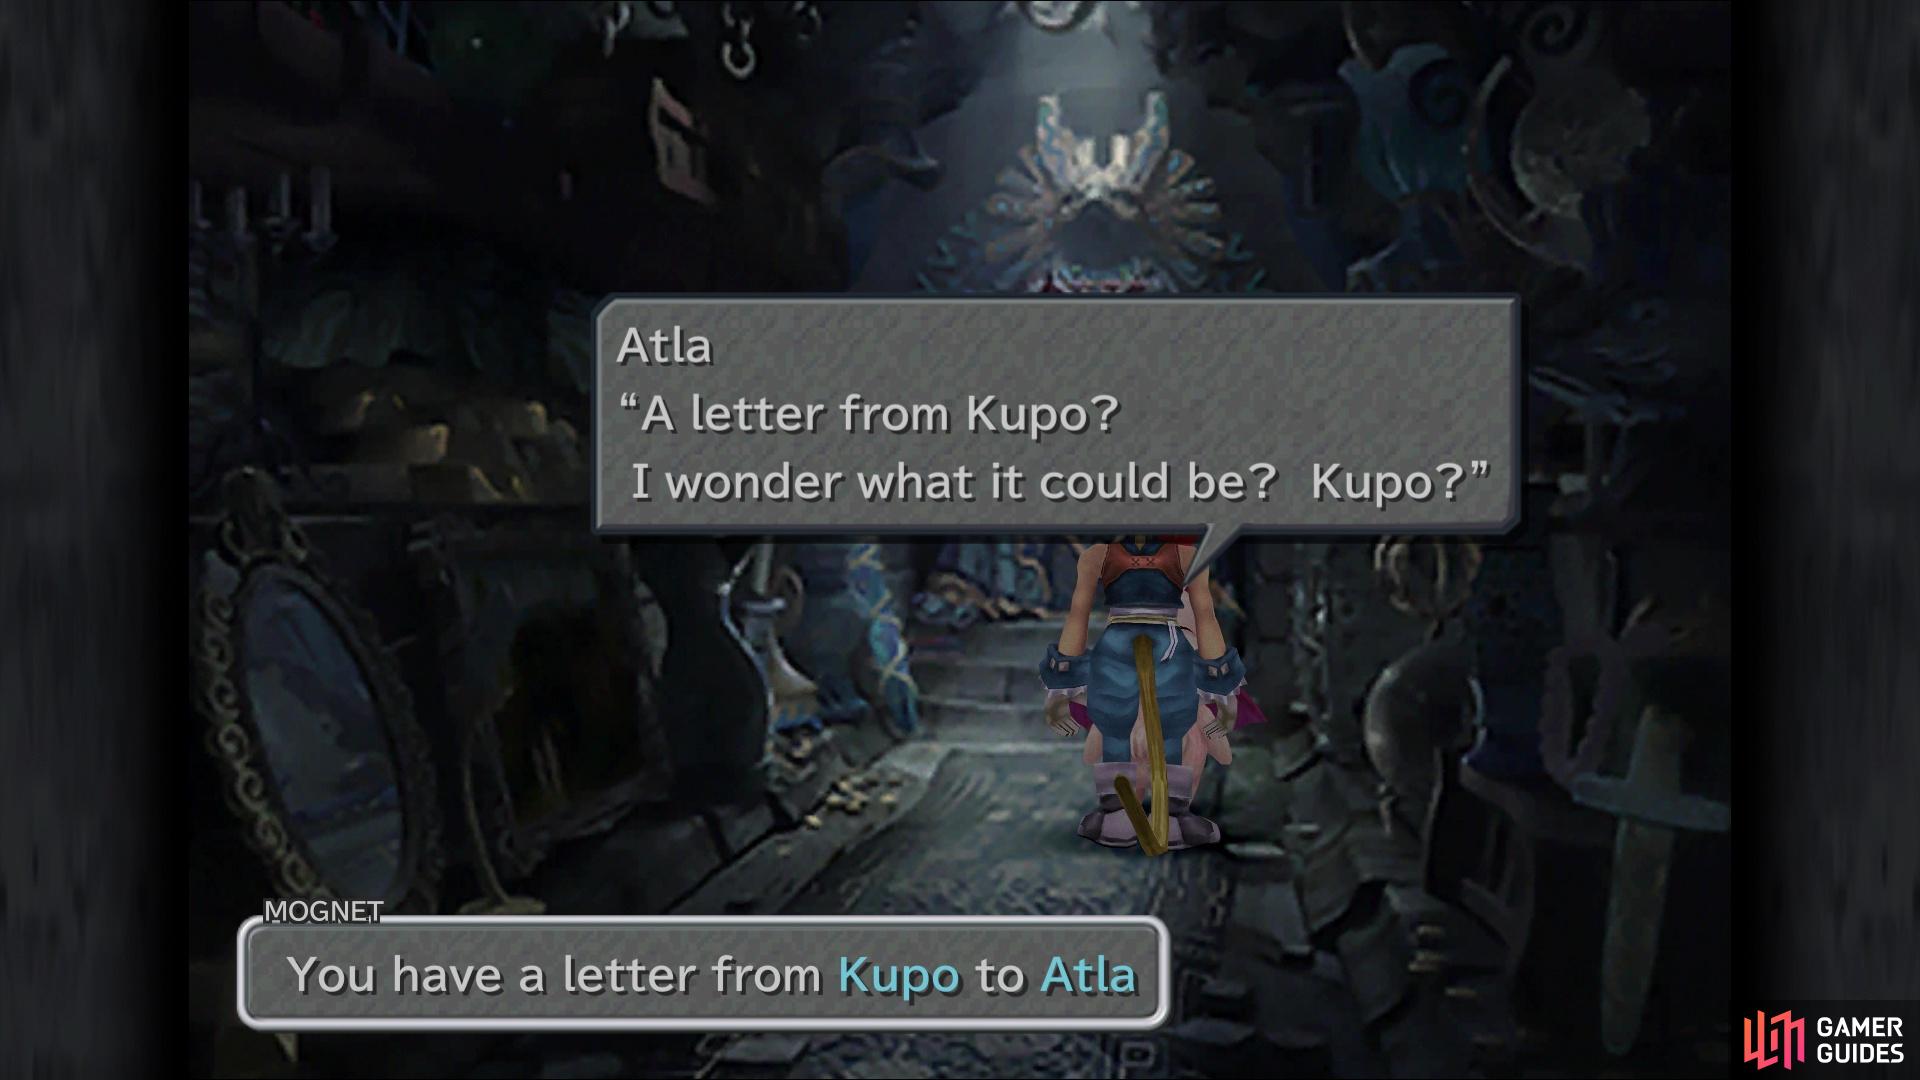
Atla is found all the way in the back in Burmecia
That’s all there is to do in Burmecia and you will have to exit the same way you entered, so it’s a long run. Mogryo, the next moogle, is found in Black Mage Village, near the Chocobo stable. Give him the letter and he will give you one for Kumool, who’s inside Ipsen’s Castle. While you’re still in Black Mage Village, however, check out the shops, as they have been updated with new stock. The equipment shop has a few things you haven’t seen before, although none of it is particularly, besides the Thief Hat for Zidane.
Head for the Black Cat Synthesis Shop to see a bunch of new goodies, although you might not be able to make everything right away. There’s a new weapon for Zidane, the Masamune, although it’s weaker than the Orichalcon, which is actually needed to make it. There’s also the Duel Claws for Amarant, Bracer for a few characters, Golden Skullcap for some party members, Grand Helm for Steiner/Freya, Brave Suit and Grand Armor. The last item might not be better than stuff you have now, though. This synthesis shop also allows you to create gems, but you should have more than enough from doing the Chocographs.
Let’s carry on with Mognet Central by flying to Ipsen’s Castle, where Kumool will be in the second room. Hand over the letter and you’ll get one addressed to Mois, who will be near the entrance to Fossil Roo on the Qu’s Marsh side. Note that it appears you need Quina in your party, so switch out someone for him/her if you don’t, then head to the place you first met Quina. Go to Quale’s house that’s north of the frog pond, then exit to the east. There will be some paths in the weeds here and you want the eastern one to get to the entrance of Fossil Roo. Hand over the letter to Mois, to receive another letter, this one to Noggy.
You’re getting close to the end here, so there’s not much more. Noggy will be found in Daguerreo, on the second level on the right side from the entrance hall. The letter you receive from him will have you returning to Alexandria, to Kupo. While you’re still in Daguerreo, you might as well check out the weapon/synthesis shops, plus you can begin another side quest here, for the Excalibur While on the second level with the moogle, exit to the left and look for the old man on the left side in this room. Speak with him and he’ll ask you to find something called a Magical Fingertip, which is something you’ll get to in a bit.

The location of the Old Man who wants the Magical Fingertip

Ruby is the one who has the Superslick item
Leave Daguerreo and take a flight back to Alexandria, returning to the chapel to deliver the letter to Kupo. The game gives a hint as to what to do now, since this side quest isn’t finished quite yet. The item you’re looking is called Superslick and rumor has it that someone in Alexandria has it. Of course, that’s the only hint the game gives you, but it’s someone Zidane knows really well that has the item, so let’s mosey on over to Ruby’s theater in the alleyway. Speak to Ruby, who’s right in front, and she’ll hand over some Superslick, unlock the Well Lubricated trophy/achievement.

With that out of the way, it’s time to get Mognet Central back up and running. To do this, you will need at least the Ocean Ability for Choco, since the location for Mognet Central is on an island. Specifically, you want the island that’s north of the Outer Continent, northeast of Madain Sari. Look for the long mountain range on this island and find the U-shaped part of it. There will be a crack in the mountain there, so use a Dead Pepper while riding Choco to blast a hole in the mountain (this will be the final Mountain Crack). Inside will be Mognet Central, so head to the second floor and speak with Artemicion, handing over the Superslick item you got from Ruby. This will get the machine running again, finish up this side quest, and you will receive a Protect Ring for your troubles.
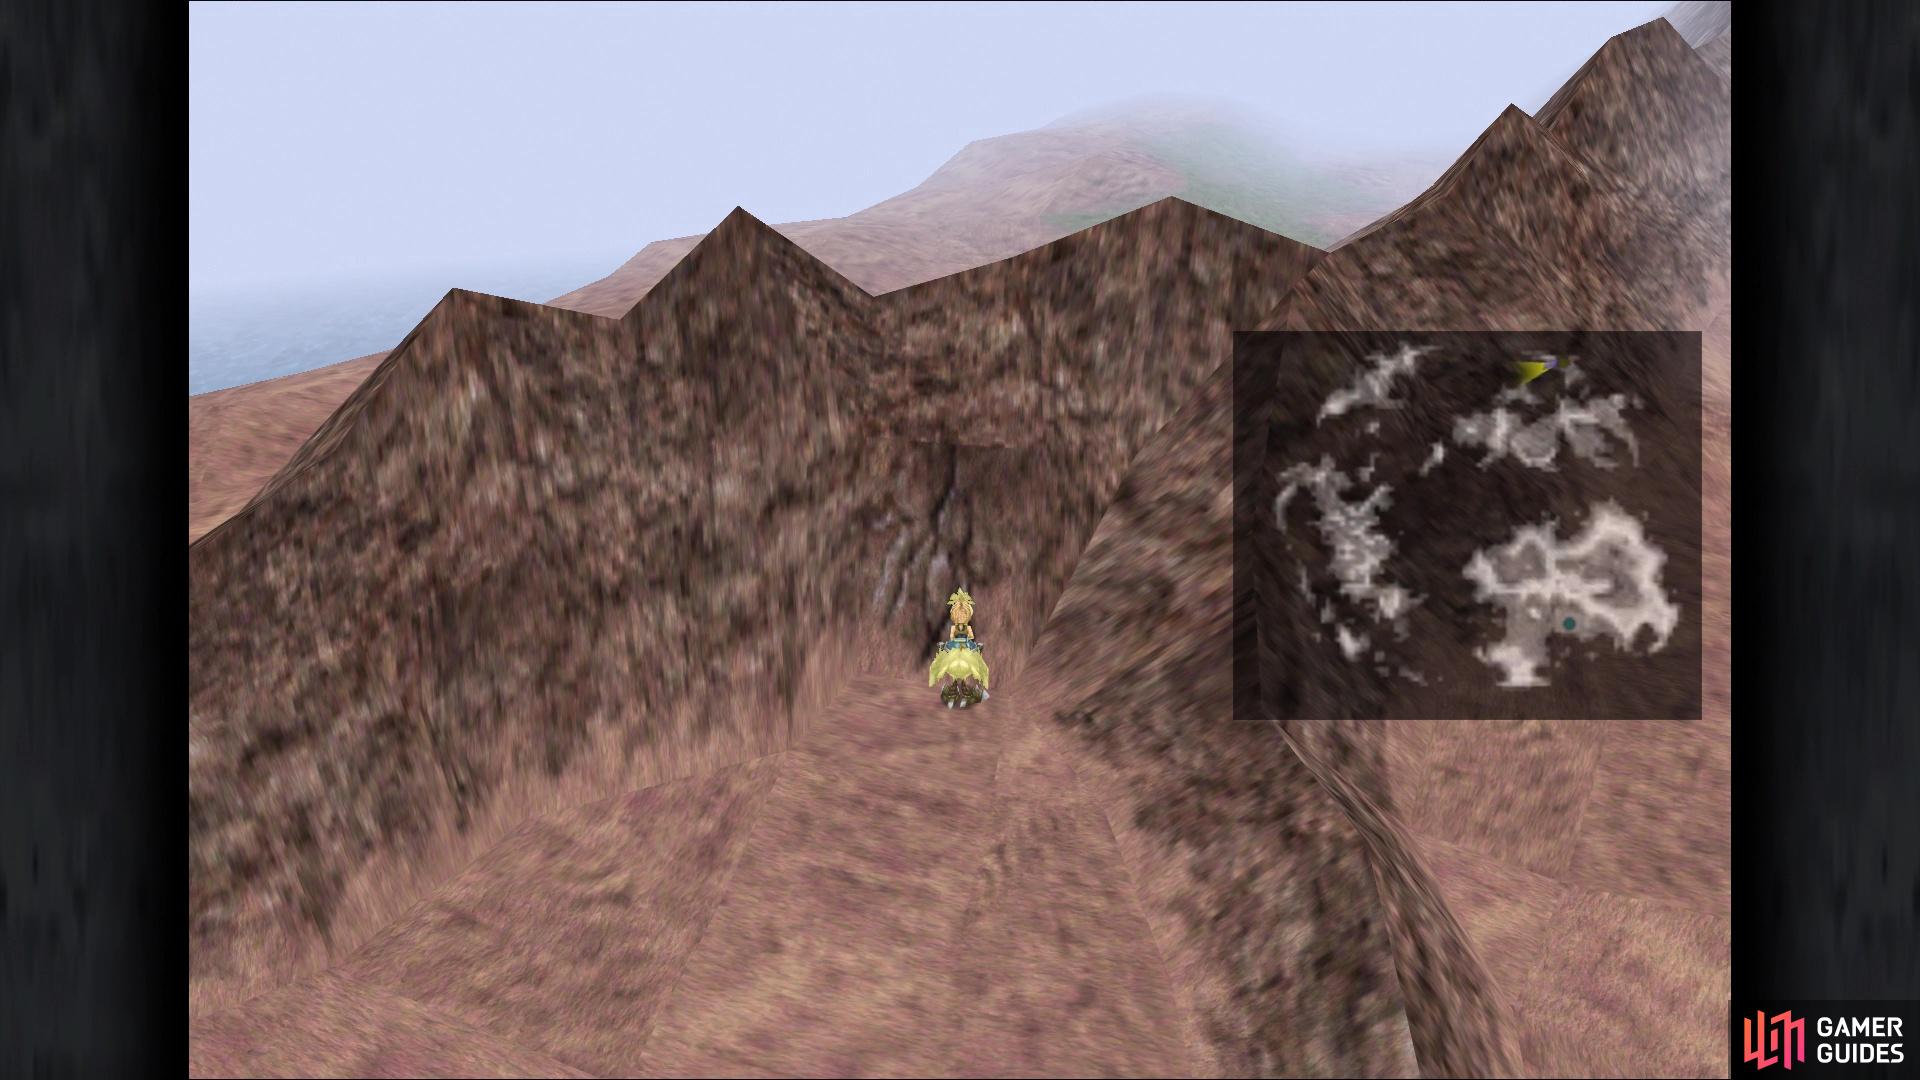
Use a Dead Pepper here to bust open the mountain and find Mognet Central

The Holy Sword, Excalibur
In order to get this weapon for Steiner, you will need to find the Magical Fingertip. If you haven’t talked to the Old Man in Daguerreo (mentioned above), then go and do that now. Once you do, travel to Treno and head to the auction house. You will need to have won the auction for four items before the Magical Fingertip will appear, which includes the Griffin’s Heart, Une’s Mirror, Doga’s Artifact, and the Rat Tail. When you have gotten those, you will have to sell each one to a specific NPC inside of Treno. Visit the Treno Auction House page for more info on those NPCs. After selling those four items to NPCs, head to the auction house again and the Magical Fingertip should show up as one of the items up for sale. This will probably set you back around 55,000 Gil, so make sure you have the money for it before heading there. With the Magical Fingertip in your inventory, you can return to the Old Man in Daguerreo to receive the Excalibur.
Before setting off from Treno, though, there is one more thing you can do here, which is go after the last monster battle inside of the weapon shop. Note that it’ll be a Behemoth and if you want the Dragon Lady trophy/achievement, then Dagger must be the one to do battle with this creature. Note that any time the Behemoth takes damage, it will counter with Meteor, which can be a problem for someone as fragile as Dagger. Despite this, the Behemoth is vulnerable to pretty much every single ailment in the game, so you can do something like cast Mini on it to cut its power in half.
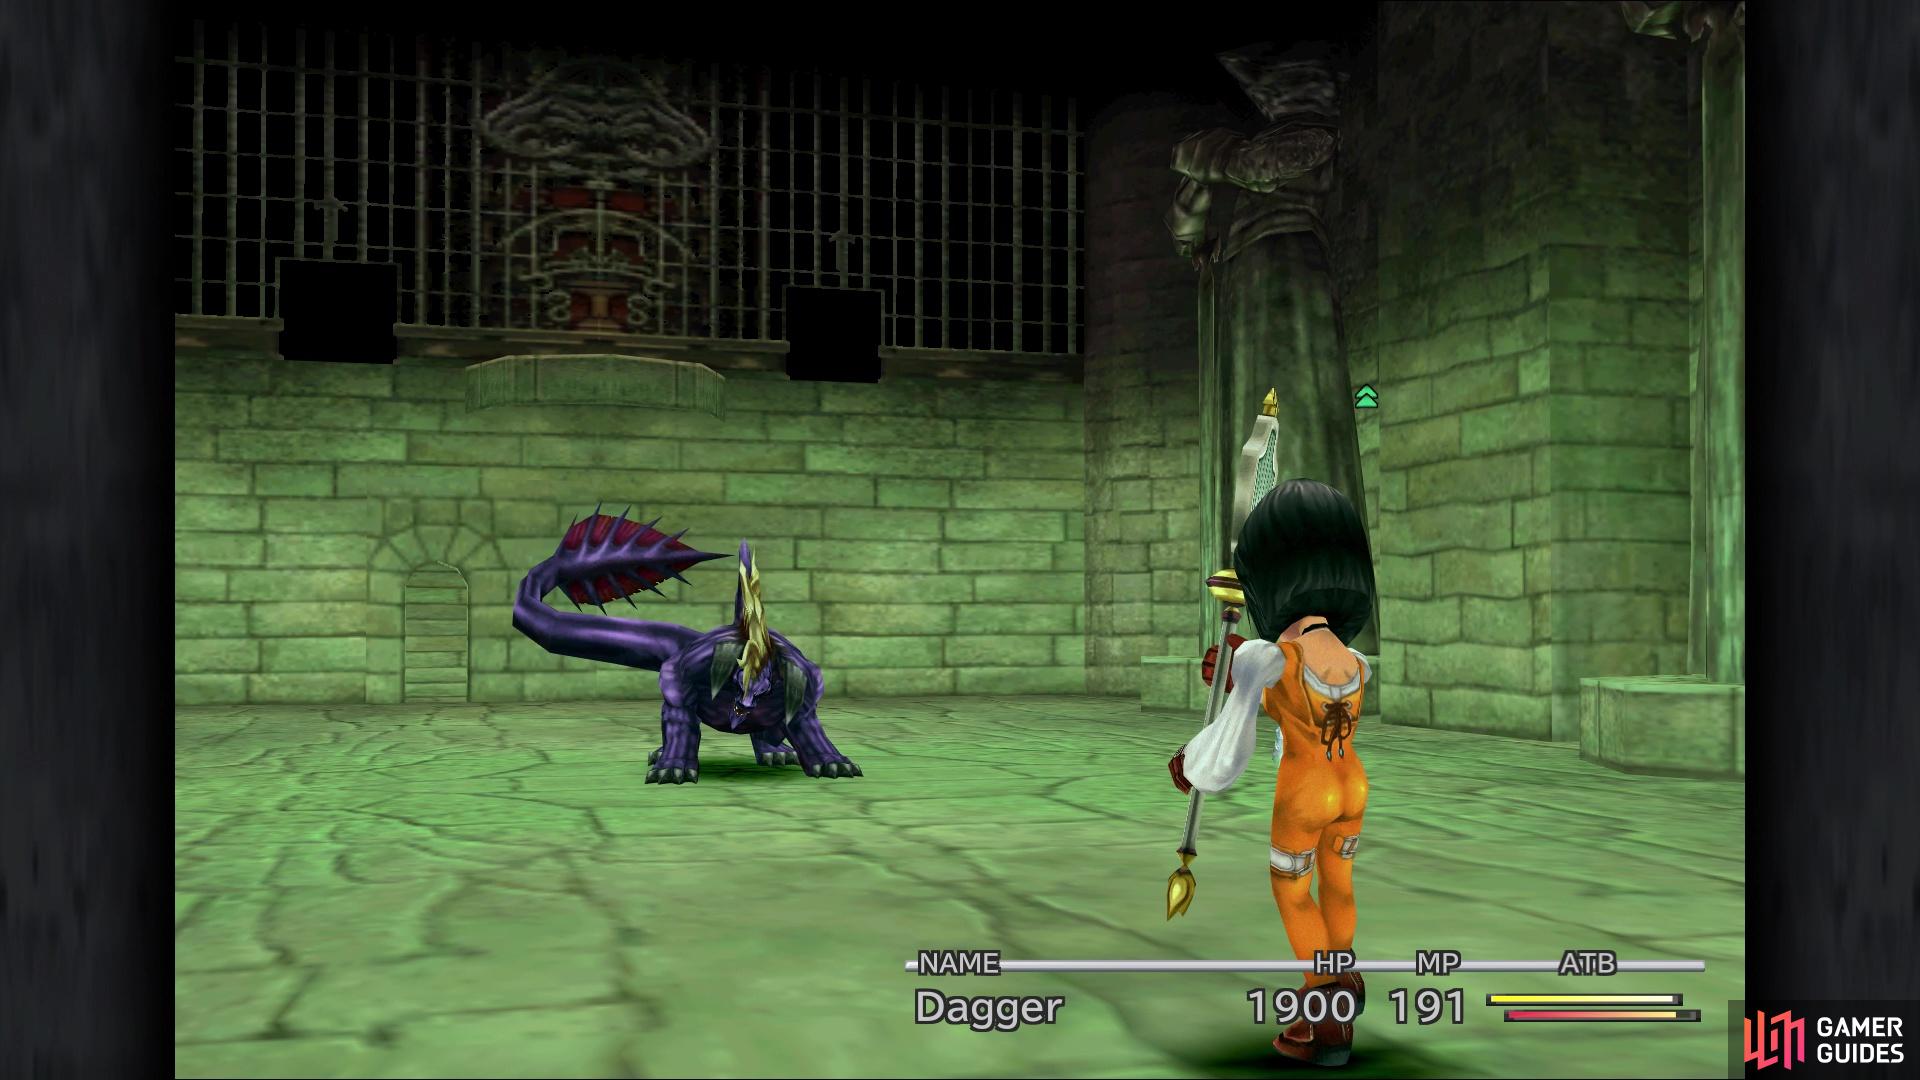
Using Mini on the Behemoth will help in surviving its attacks
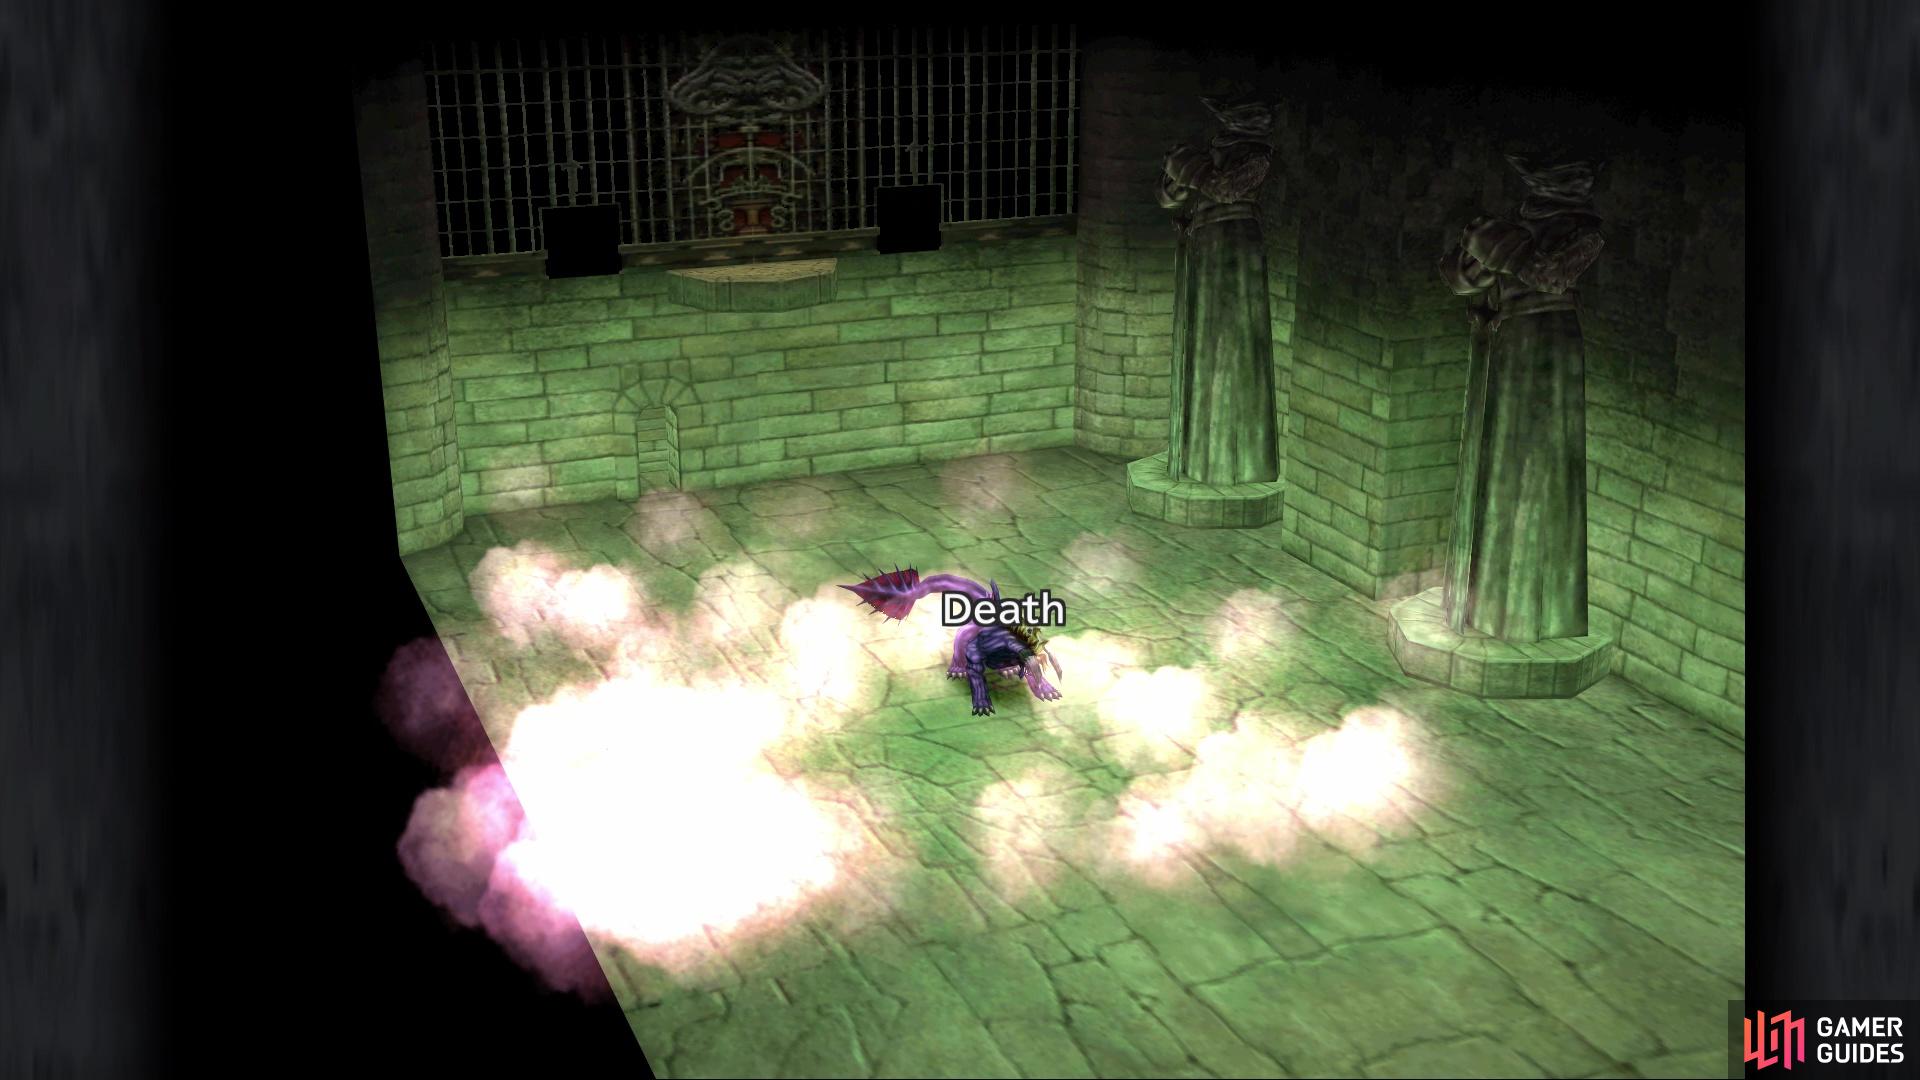
Odin can instantly kill the Behemoth
Despite this, there is a very easy way to defeat the Behemoth, which involves Odin. You learn Odin from the Dark Matter add-on, so just summon him and he should finish off the Behemoth if it connects. To be on the safe side, start the battle by using Blind and Mini to ensure Dagger doesn’t get smacked around, then continually summon Odin until you see the Behemoth get defeated. Your reward to beating the Behemoth will be the trophy/achievement above, as well as a Circlet.

Chocobo Beaches
For this side quest, you will need to have found the treasures for all 24 Chocographs and also did all of the Dead Pepper Dig Locations. If you’ve been following this guide, you should have gotten all of the treasures and all but one dig location. For the final one, you need to travel to the former location of the Shimmering Island on your map (it’s no longer there). Oddly enough, Shimmering Island is still marked on your big map, so you can use that to track down the actual location. Despite that, though, you will likely use a few Dead Peppers in trying to find the final Dive Spot.
The dig spot is actually just a bit northwest of the white dot for Shimmering Island on the map. It’ll be a little bit away from the smaller glacier there; dig up the treasure to receive 10 Aquamarines, a Ultima Weapon, a Maximillian and an Invincible Card. Once you have all that, take Choco and fly to the northwest corner of the world map, where you should find a small island that isn’t marked on your map. Land and use a Dead Pepper on the crack in the small mountain there to uncover Chocobo’s Paradise. Enter it and go to the right side, where you can use the pool to shoot up to another area with the Fat Chocobo.
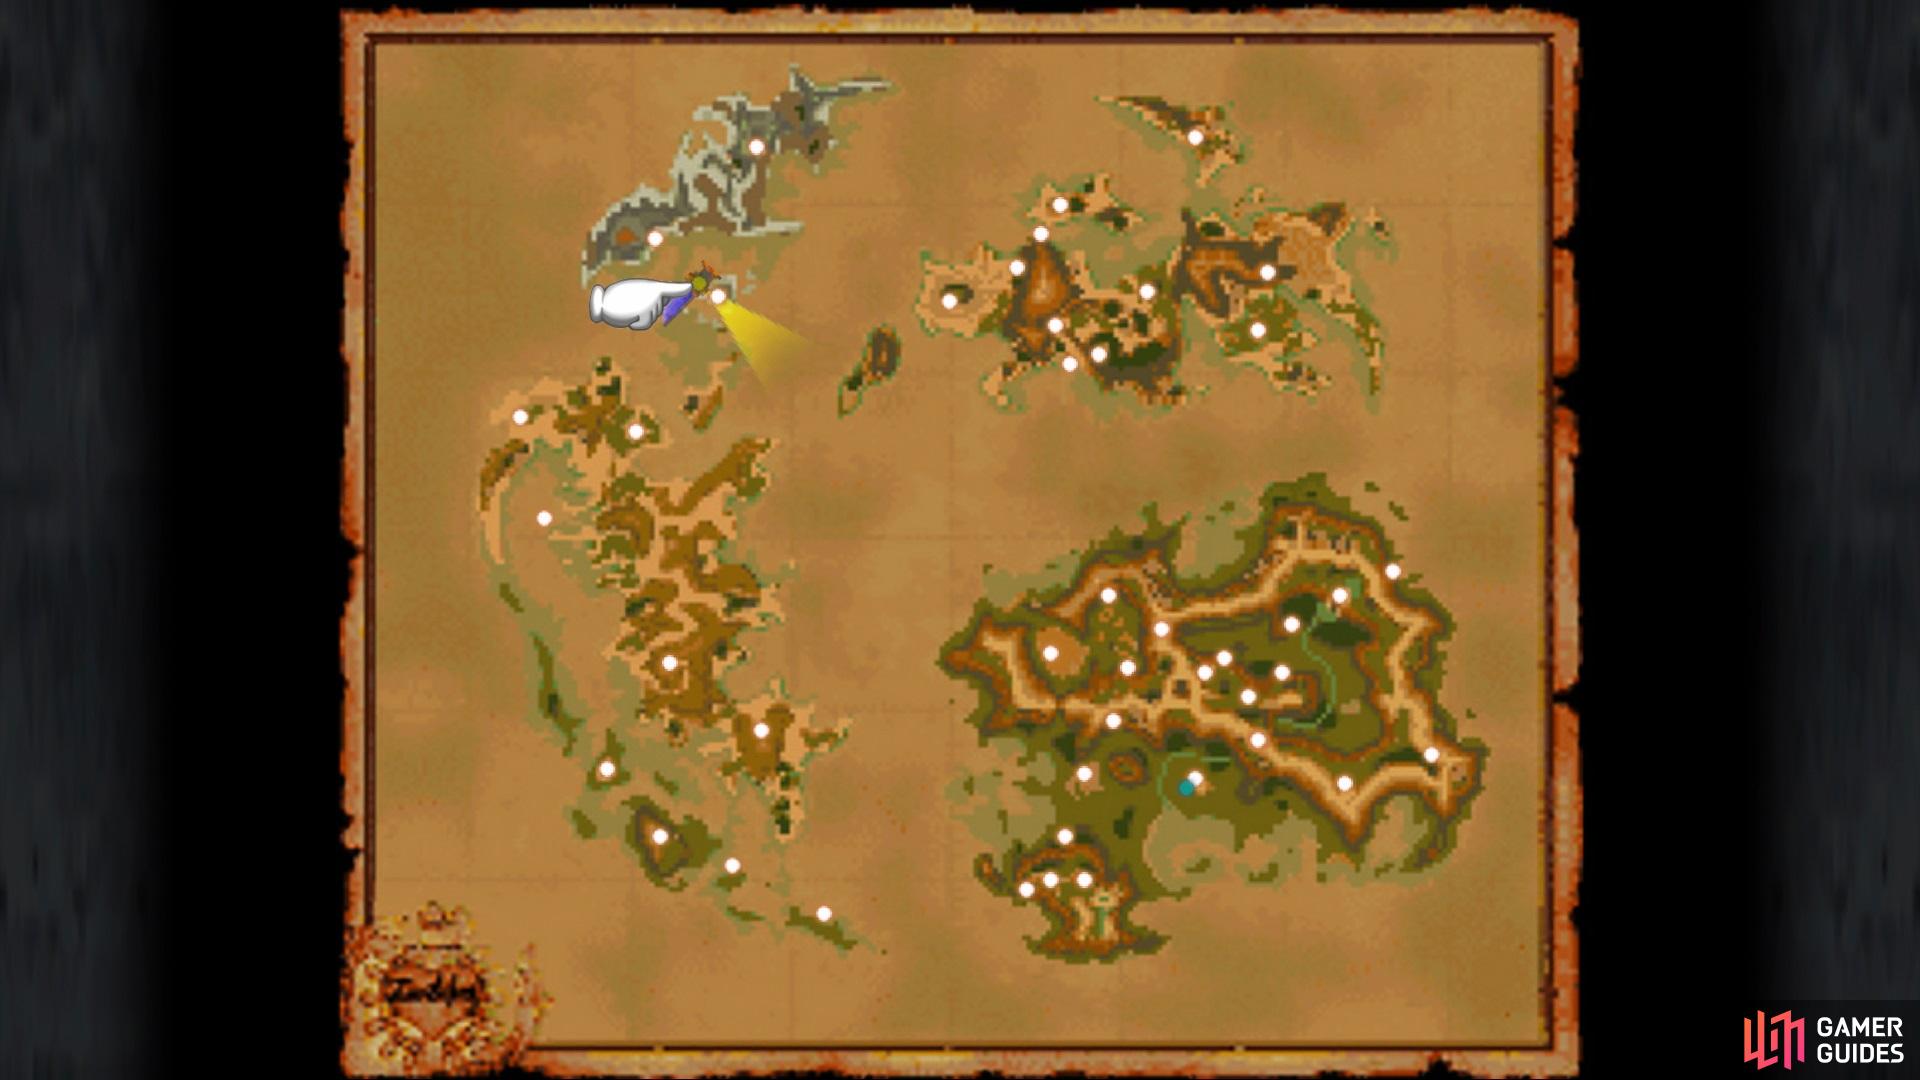
Speak to the Fat Chocobo and a scene should happen with Mene, with the Fat Chocobo giving you a Fat Chocobo Card. You’ll be forced out of the place, but re-enter and challenge the Fat Chocobo to a card game. He will talk about the world’s beaches, saying you should visit all of them. If you do this, then you will be able to restore the party’s HP/MP by visiting a beach. Whenever you visit a beach and are on foot, you will see a weird icon on your screen. Press Circle (Playstation)/B (Xbox)/A (Switch) while seeing this symbol to confirm that you’ve found the beach (it will make the symbol disappear). Once you’ve found all 21 beaches (look at the map below for their general locations), you can press the same button on a beach to heal the party’s HP/MP whenever you see the same symbol as before.

Cracking the Code
This little side quest is for the Cracking the Code trophy/achievement, which takes place in Madain Sari. Your destination is the dock in Eiko’s kitchen in the back of the town, as you will be looking for Lani. However, if you have either Dagger, Eiko or Amarant in the party whenever you try to approach Lani, she will run away and you’ll have to exit Madain Sari to respawn her. So, without any of those three in the party, you will be able to speak with Lani. Do this until she repeats the same message, then head to the Eidolon Wall in the northern part of the village.
Once inside, from where the entrance to this place is, walk around clockwise until you hear a small, almost inaudible beep; basically, once you reach the entrance again is when you should hear the beep. As soon as you make one round, turn around and move counterclockwise. Switch back and forth between the two for a total of nine times, after which, the game will restore your HP/MP and remove status effects. Now, walk around the room and reach the inscriptions on the wall, of which there should be 9. Once you’ve read those, return to the Ifrit one and you should learn the true name of Dagger and be rewarded with the trophy.

There is one more side quest to be talked about, but it runs in tandem with the final dungeon, so more details will follow when you get to that point. For now, though, it’s time to move onto the optional bosses of the game, of which there will be two, according to this walkthrough.
No Comments