
You should already know where Conde Petie is located, so head back and enter the village once more to be greeted by a short scene, detailing that some dwarves are blocking the way to Sanctuary. Head to the equipment shop and speak to the two guards there blocking your way, who mention to speak to His Holiness, although they don’t know where he is right now. The NPC you’re looking for is David Heavenguard and he is roaming about in town. You will find him right outside of the inn; so speak to him to get things started.
So, the ceremony is a wedding one and Dagger agrees to go through with it to get past the village. The next bit is very important, so pay attention to your answer. When you have a choice after the ceremony is over, choose “Why don’t you guys get married, too?” This will trigger an ATE called Nuptial Joy, which is missable if you don’t pick the previous option. While this is going on, there will be another scene that occurs, highlighting some food thief that ends up getting away from the dwarves. Anyway, you’ll be meeting her soon enough, so exit via the nearby path to reach the Mountain Path.
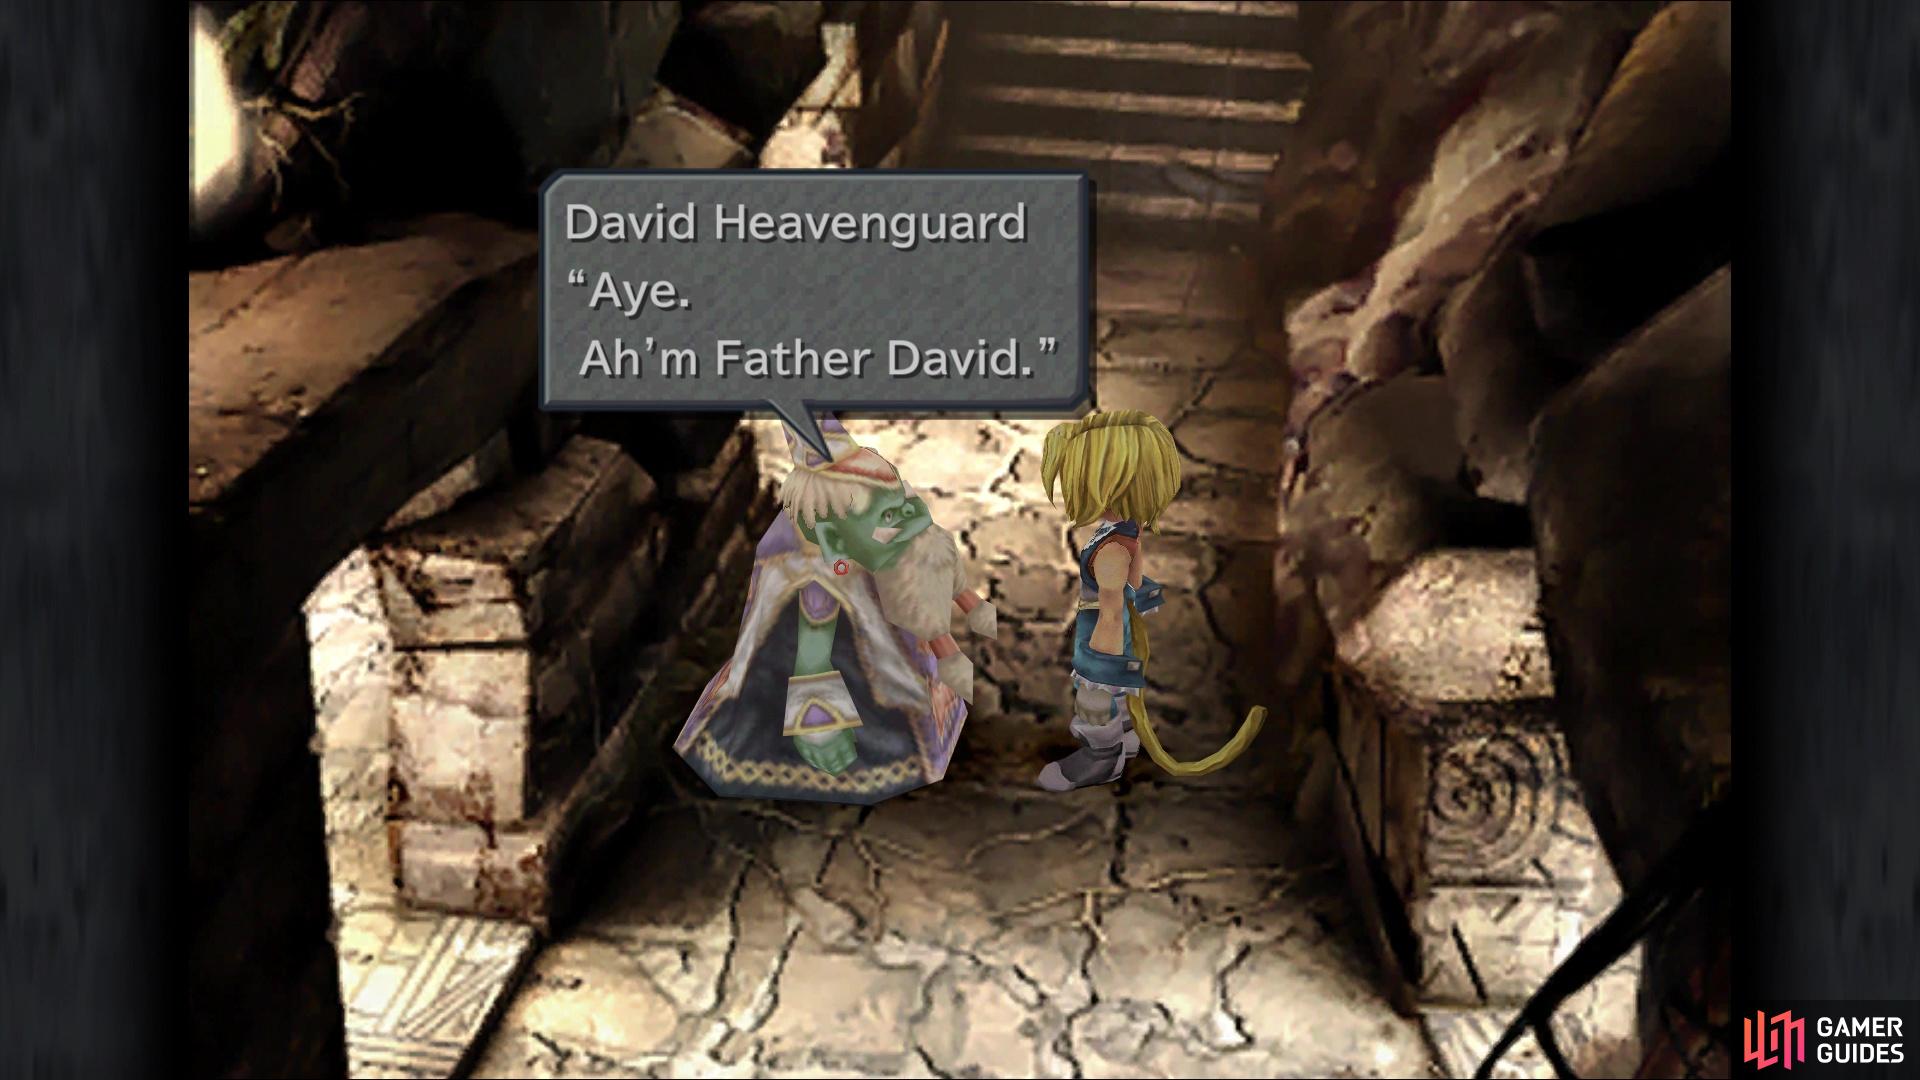
You can find “His Holiness” in the hallway right next to the inn
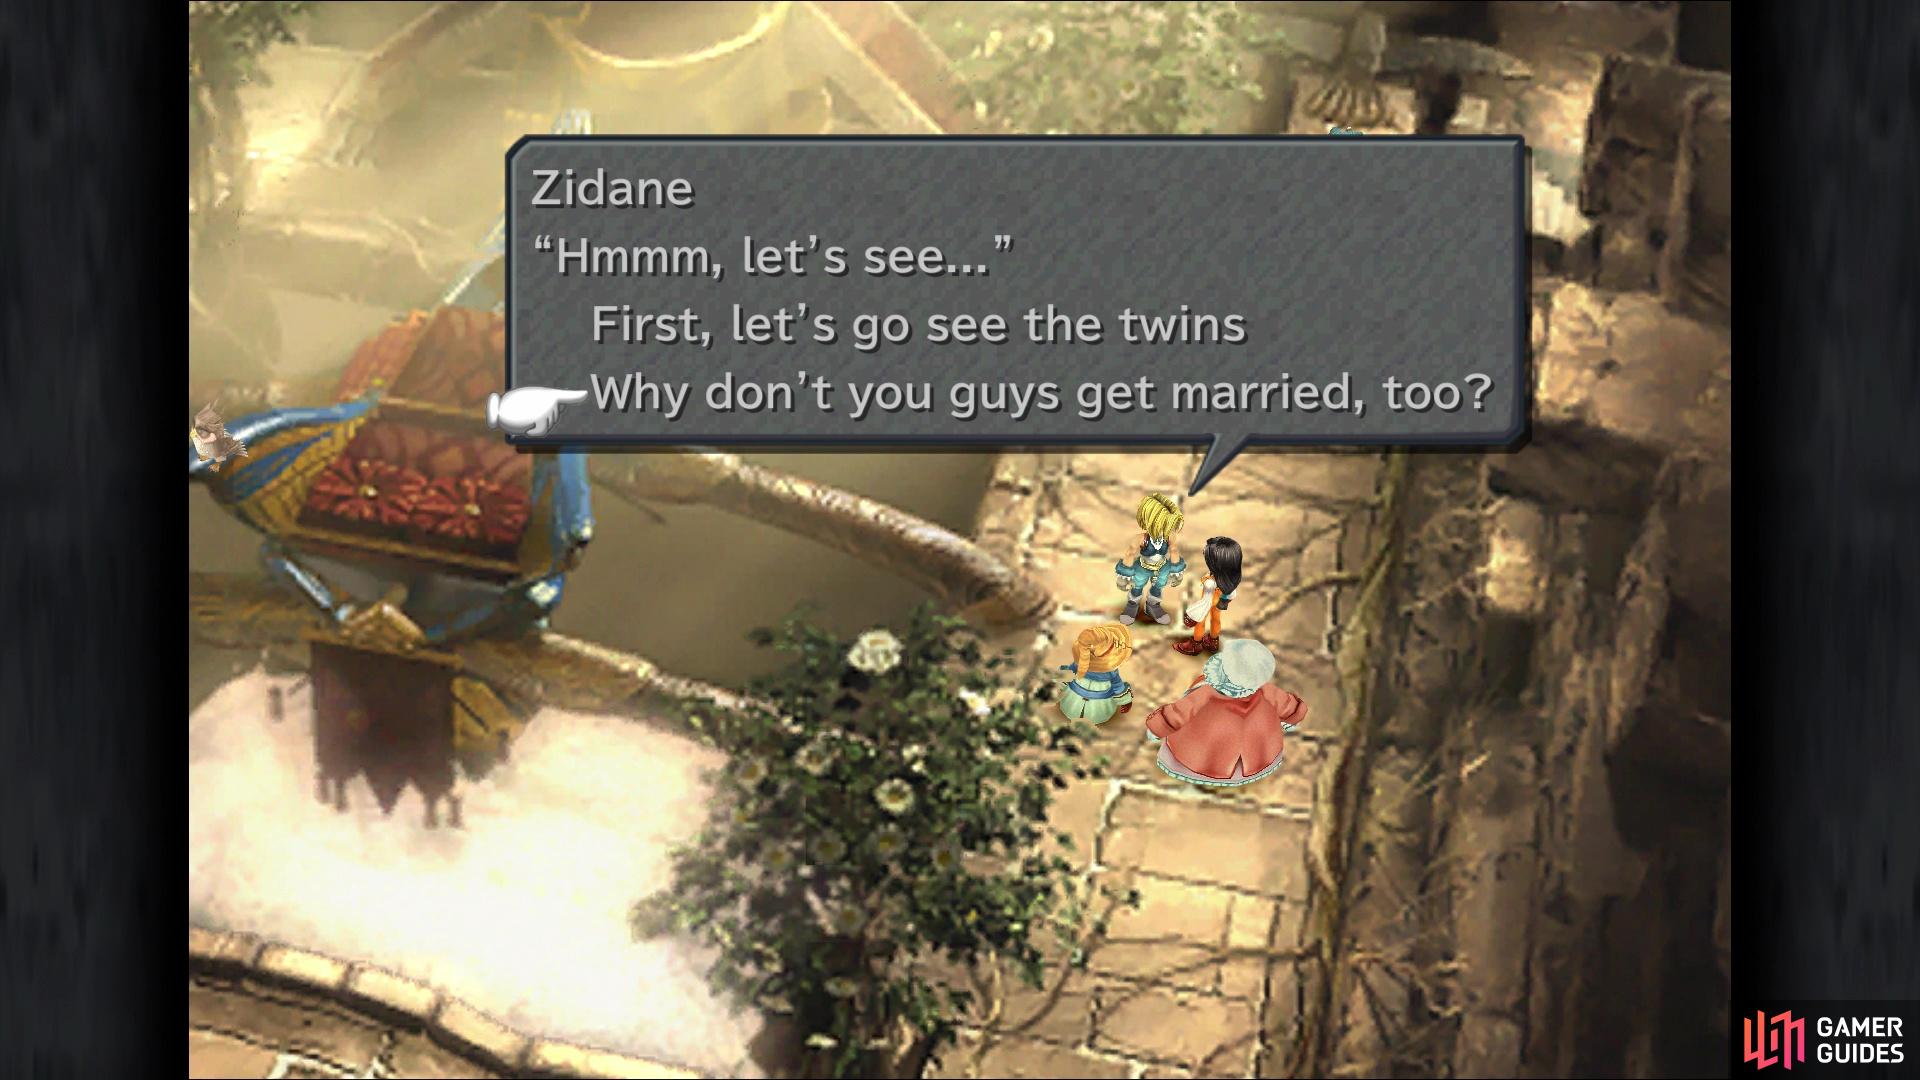
Choose the second option here to get a missable ATE
Mountain Path
As you enter the Mountain Path, you will find the little thief hanging from a vine. Quina will run off after the moogle, leaving the girl, whose name is Eiko, to join your party. Eiko is the other white mage that joins your party, so she will have a similar function in battle to Dagger. Once you regain control, equip her with some proper equipment, prioritizing the more important passives and abilities first (like Ability Up). When you’re finished, go to the platform above, where Quina initially was, and climb the vine to open the chest above you (Remedy).
Continue right of the chest and onto the next screen, where you will find some sort of pedestal at the end. Inspect it to find a Blue Stone, so take it out when given the choice and return to the previous screen. Go back to the bottom path and exit in the bottom right. On the next screen, approach the “stairs” and press the action button to climb that root, which will let you get to that chest you saw on the first screen (Tent). There is another pedestal right next to this chest, so take out the Red Stone. Go back to the other screen, climb down the vine and carry onwards.
Note that there are some oglops on the one screen, and you can actually capture one, if you are fast enough. Just treat it like a frog in Qu’s Marsh and mash the button as you run up to it. This is completely optional, but you can bring it back to an NPC called Bryan Rootrunner in Conde Petie to receive an Oglop Card; he’s right outside of the item shop and you may have to speak with him a second time for him to recognize the oglop. Double back to where you caught the oglops, if you did, and you will encounter some moogles on the next screen.
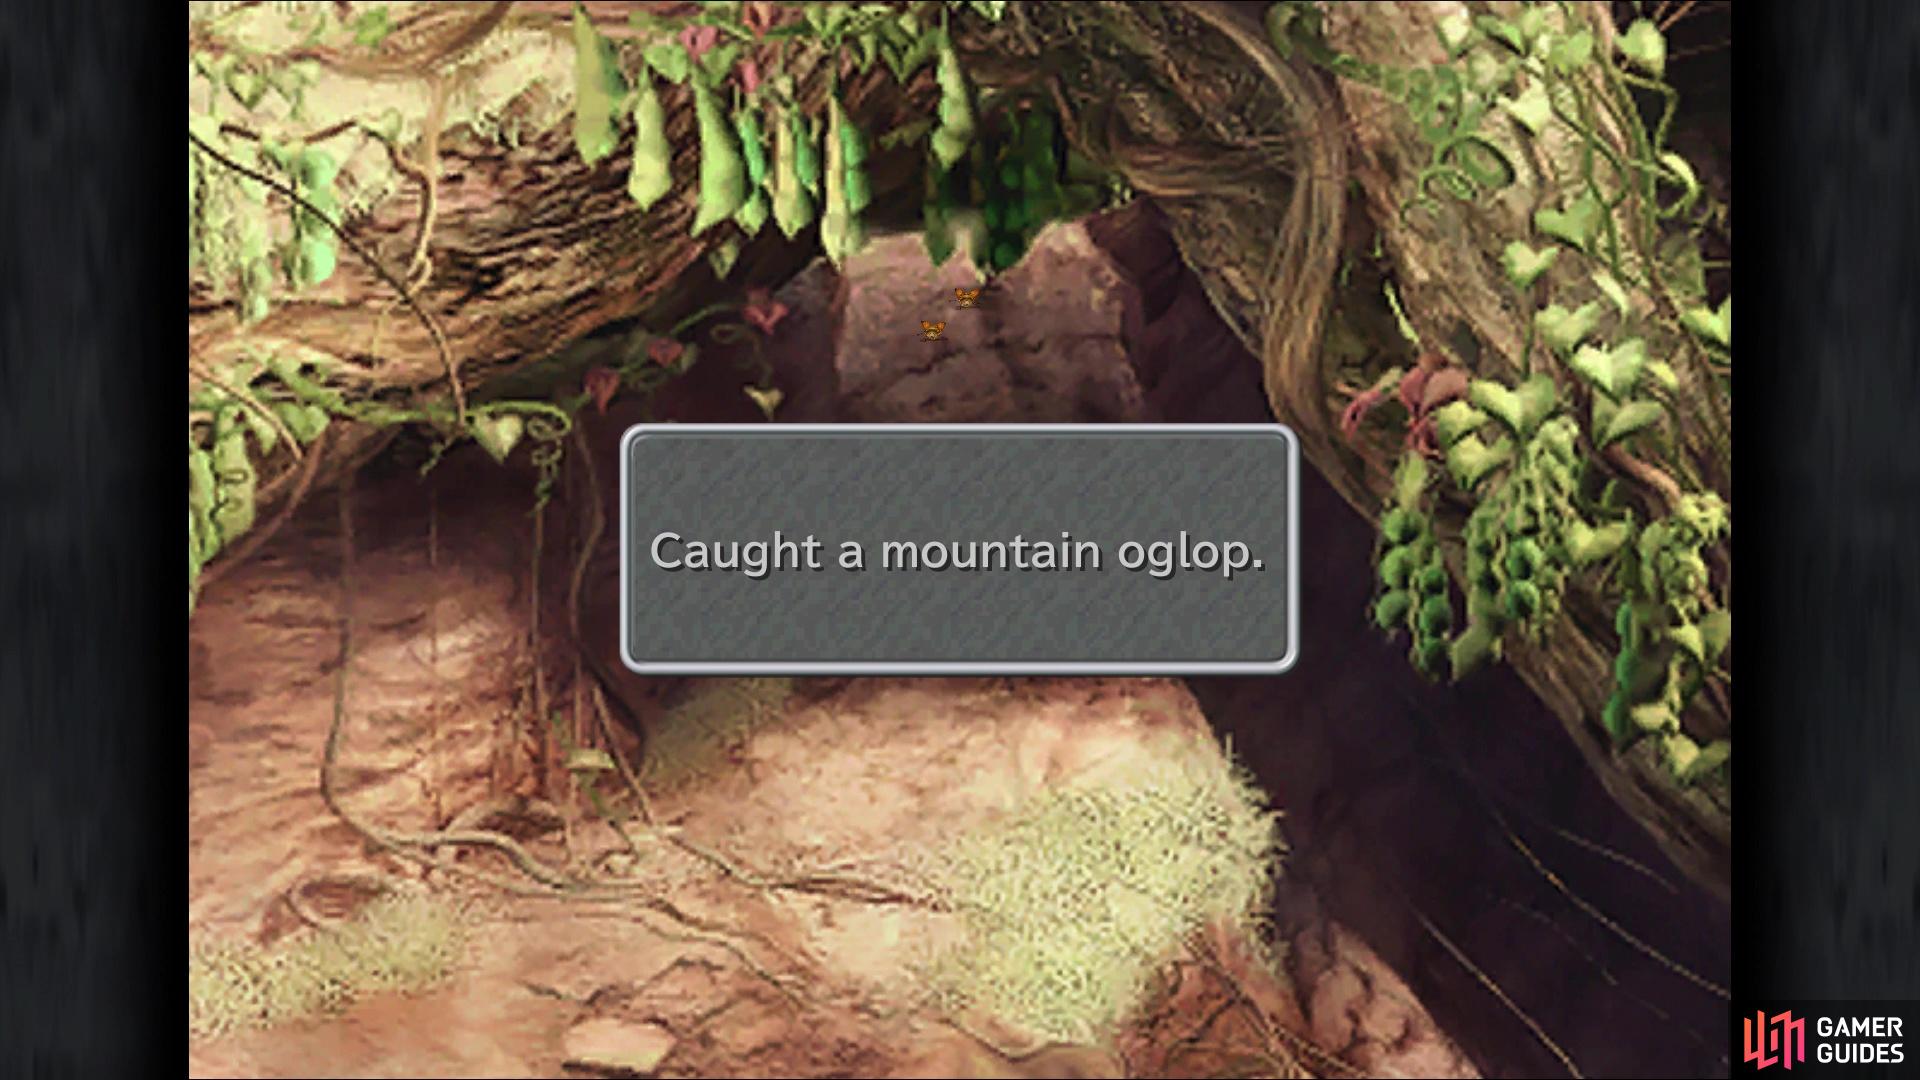
If you run up to the oglops and mash the button, you can catch one
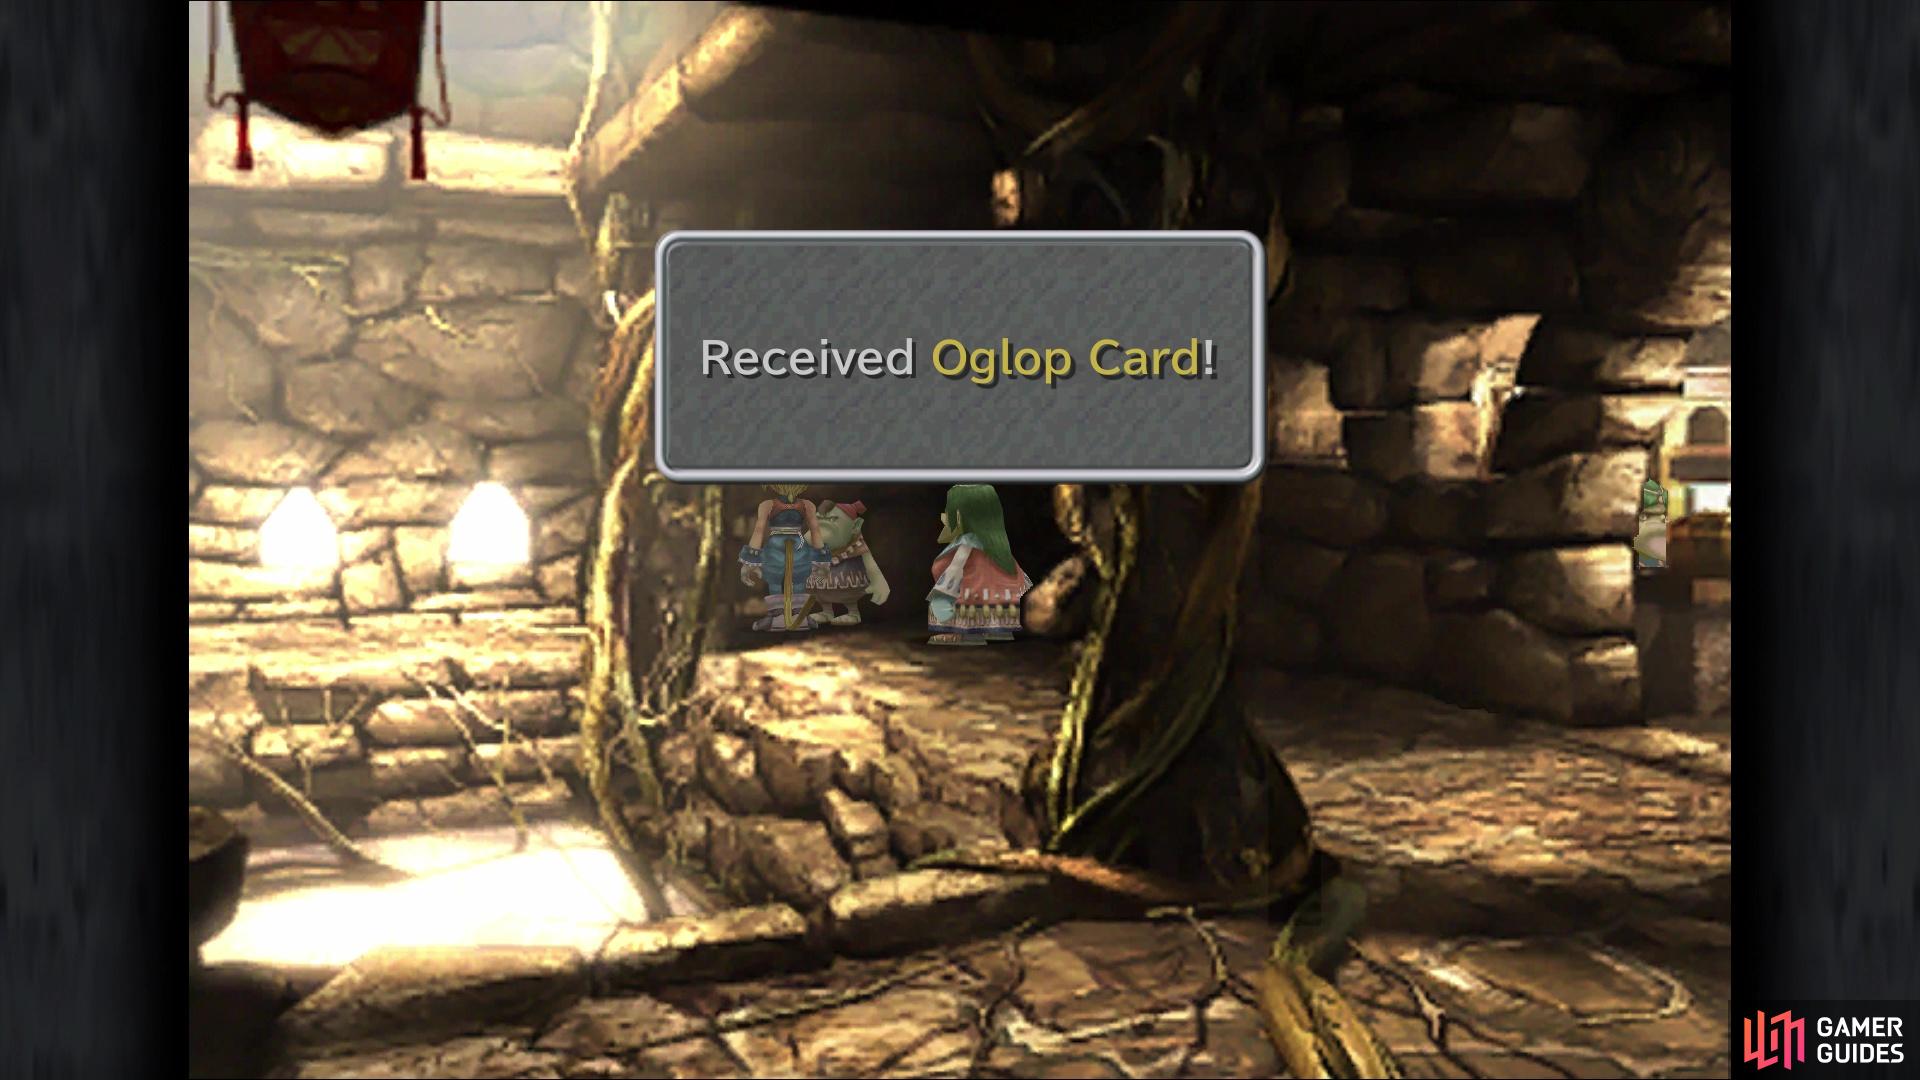
Bring the oglop back to this NPC in Conde Petie to get a Oglop Card
Give Suzuna the letter from Mogmatt, then speak to Stiltzkin and purchase the next item set for 666 Gil, netting you a Magic Tag, Tent and Ether. Don’t forget that you need to purchase all item sets in order to unlock the Driving the Hard Bargain trophy/achievement. Take this opportunity to heal by using a Tent, then save your game and follow the path to the left. If Dagger doesn’t have Float available to her, equip the Stardust Rod, as it will be extremely useful in the upcoming battle. After a brief showing of a big tree, you will be forced into a boss battle.
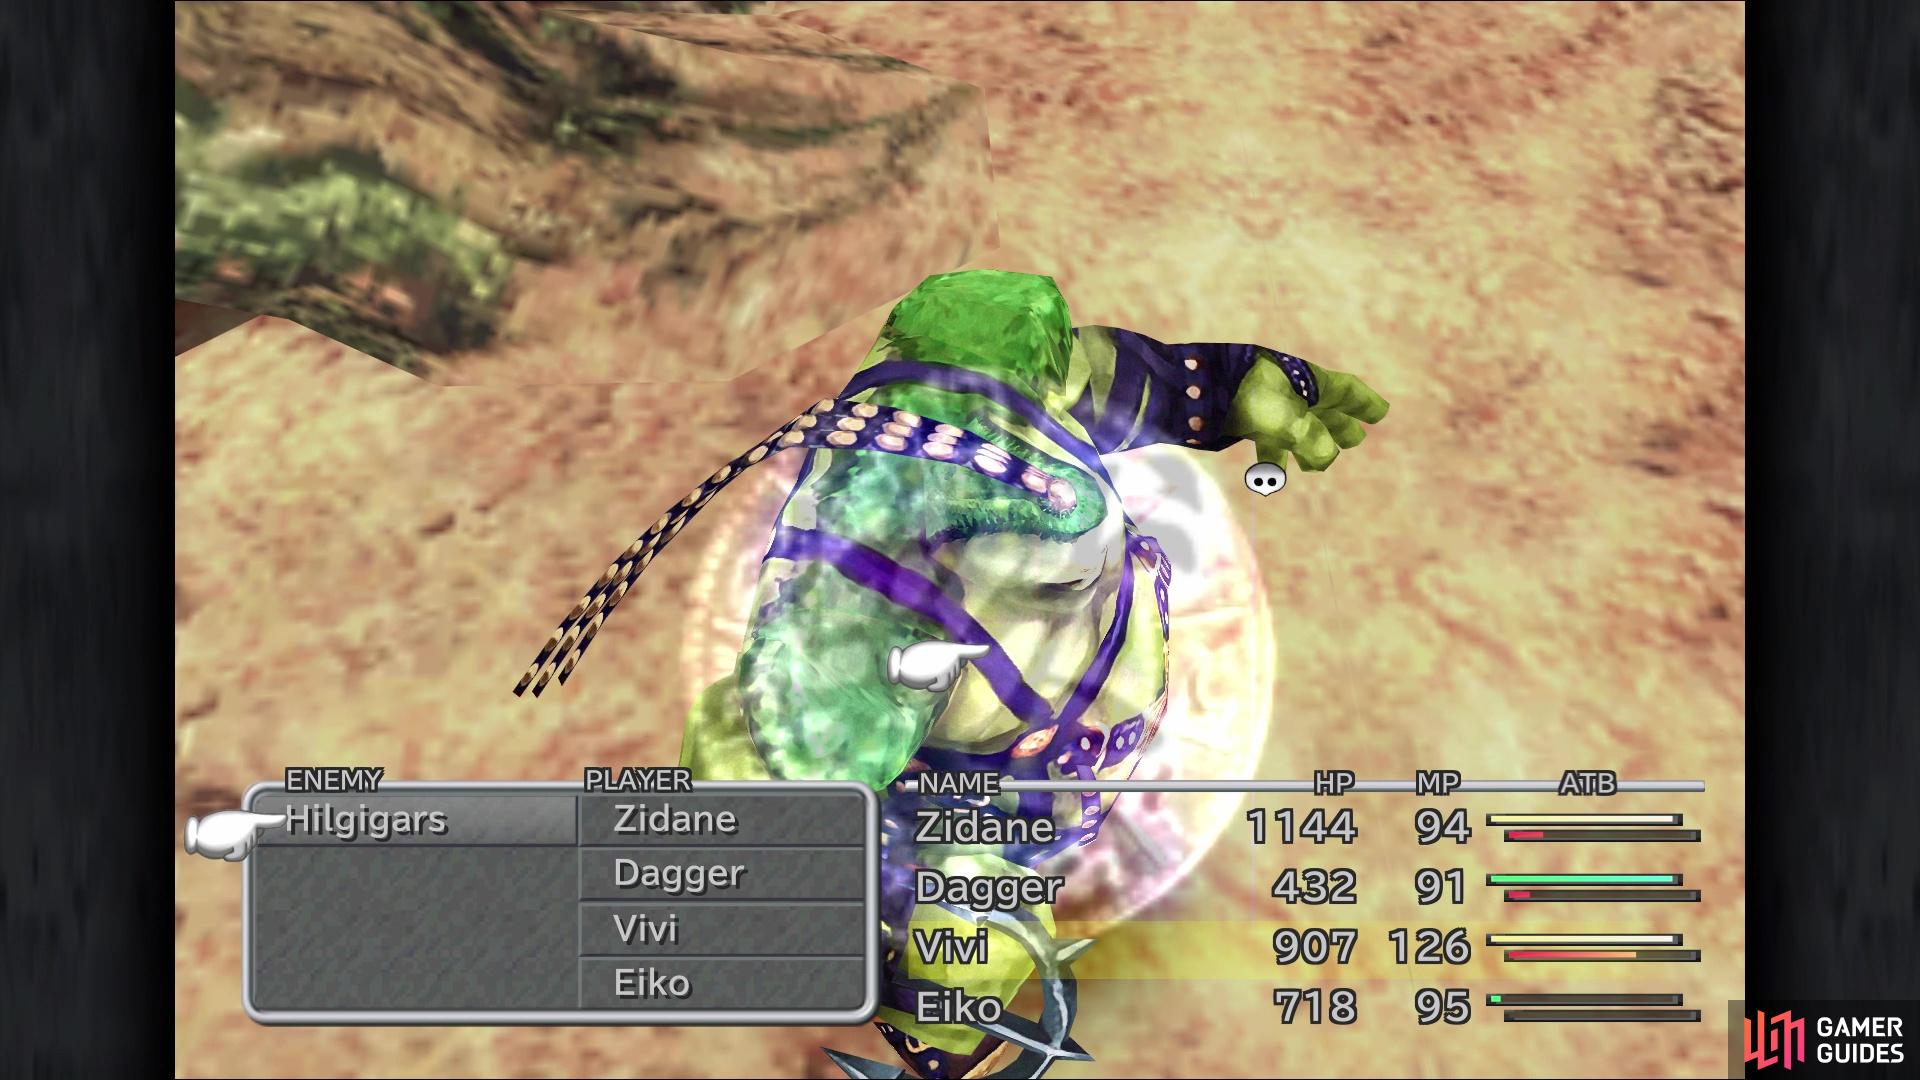
BOSS - Hilgigars
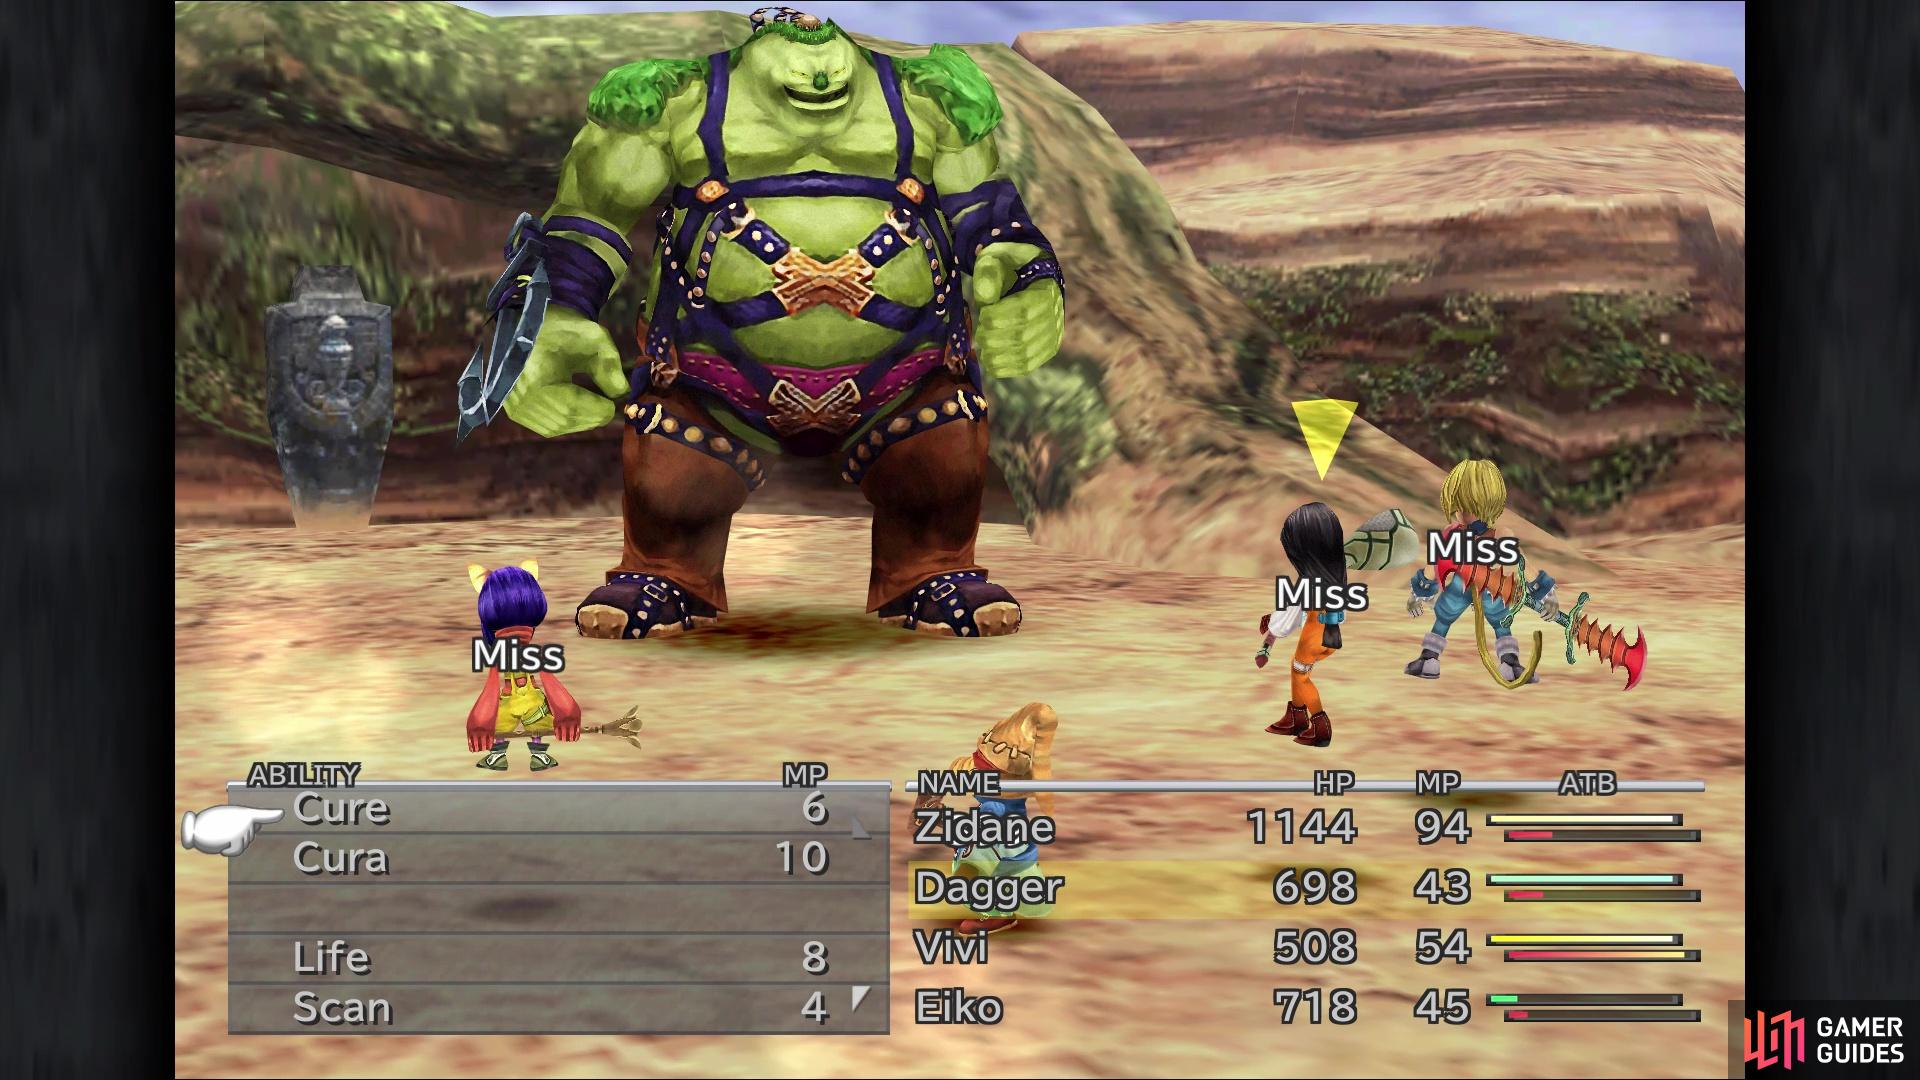
An annoying boss for two reasons, Hilgigars can dish out some damage while being able to heal himself with Curaga. His most damaging attack is called Earthquake, which as you could guess from the name, is an earth-based move. Of course, Float can be cast on everyone to ensure this move does absolutely no damage whatsoever. Hilgigars also has two other attacks in his arsenal, called Knock Down, a moderate physical attack, and Hiphop, which hurts more than the previous one. Luckily, they only target a single character, so you shouldn’t have to worry about having to heal everyone.
The other reason why Hilgigars is annoying is that he has a nice item to steal, but it’s in the very rare slot. So, that means you have a very small chance to actually getting it and there’s no way to boost the chances at this point in the game. Hilgigars has a Phoenix Down, Mythril Fork, and a Fairy Flute for stealing, with the flute teaching Esuna, Haste and Regen, three great spells for Eiko (you should have some items with Haste and Regen on it already, though). So, Zidane will concentrate on stealing, while the other focus on surviving and damaging the boss.
Note that Hilgigars is susceptible to both Slow and Silence, which will greatly help with surviving, as the latter completely negates Curaga from being used. Vivi’s Bio spell is absolutely great to use, as it should be doing a stupid amount of damage from here on out (if you happened to procure an Oak Staff, that is). The boss isn’t weak to any specific element, so you can use whatever you want. Dagger can use Ramuh, if she has it, and Eiko should have access to Fenrir and Phoenix, provided you have her equipped with one of those items. If you can’t get the Fairy Flute, don’t worry about it, as it can take a long time, but this battle shouldn’t be too troublesome in the long run.
Silencing the boss will prevent him from using Curaga
Having Float on your characters will make Earthquake not do any damage
After the battle is over, you learn that the Sanctuary is actually called the Iifa Tree and the left path here leads to it. Ignore that for now and inspect the pedestal right next to you to grab the Yellow Stone. Continue right and take the bottom of the two roots to find a chest (Ether) and another pedestal, with this one containing the Green Stone. The upper path will lead to Eiko’s home, but you’re not going there just yet. Instead, travel all the way back to where the moogle, Suzuna, was located and exit via the bottom right. A large pedestal will be here, allowing you to place all of those stones you’ve collected, so do that and your reward will be a Moonstone.
Double back to that split you encountered on the screen after fighting Hilgigars, taking the upper of the two paths this time. This will eventually put you back on the world map, with your next destination being Eiko’s home.
No Comments