
With you now in control of Zidane again, you will end up on the world map on your way to Burmecia. There are a few things you can do, though, before you step in Burmecia, like getting some more Chocographs and a few more Blue Magics. To start off, go north from the exit of Gizamaluke’s Grotto to find another gate, the North Gate. There will be a quick scene upon entering, then you can open the chests by the actual gate for a Tent and Hi-Potion. Next up will be Chocograph #4, but you need to find the tracks to summon Choco to this side of the world map. Head west from North Gate to find a giant twister in the center of a crater, but you can’t do anything there.
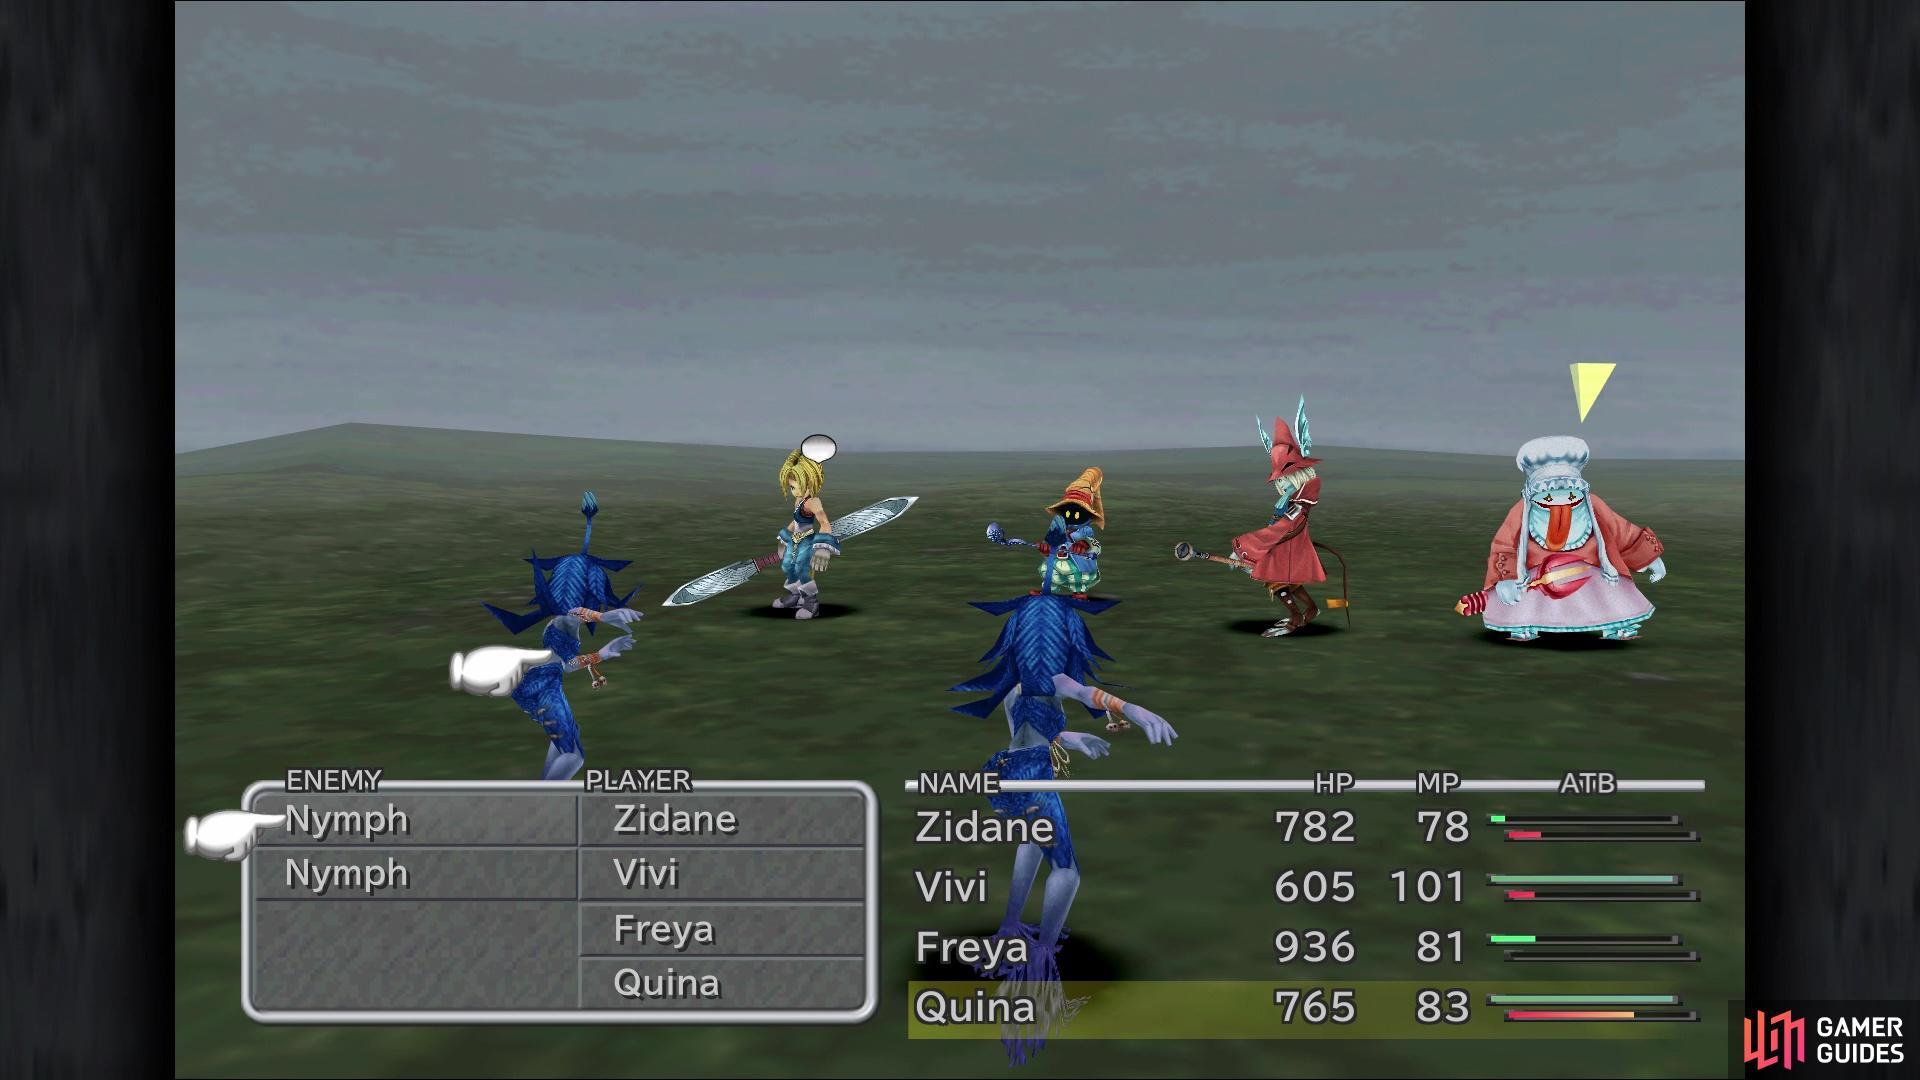
Try to get into an encounter with some Nymphs
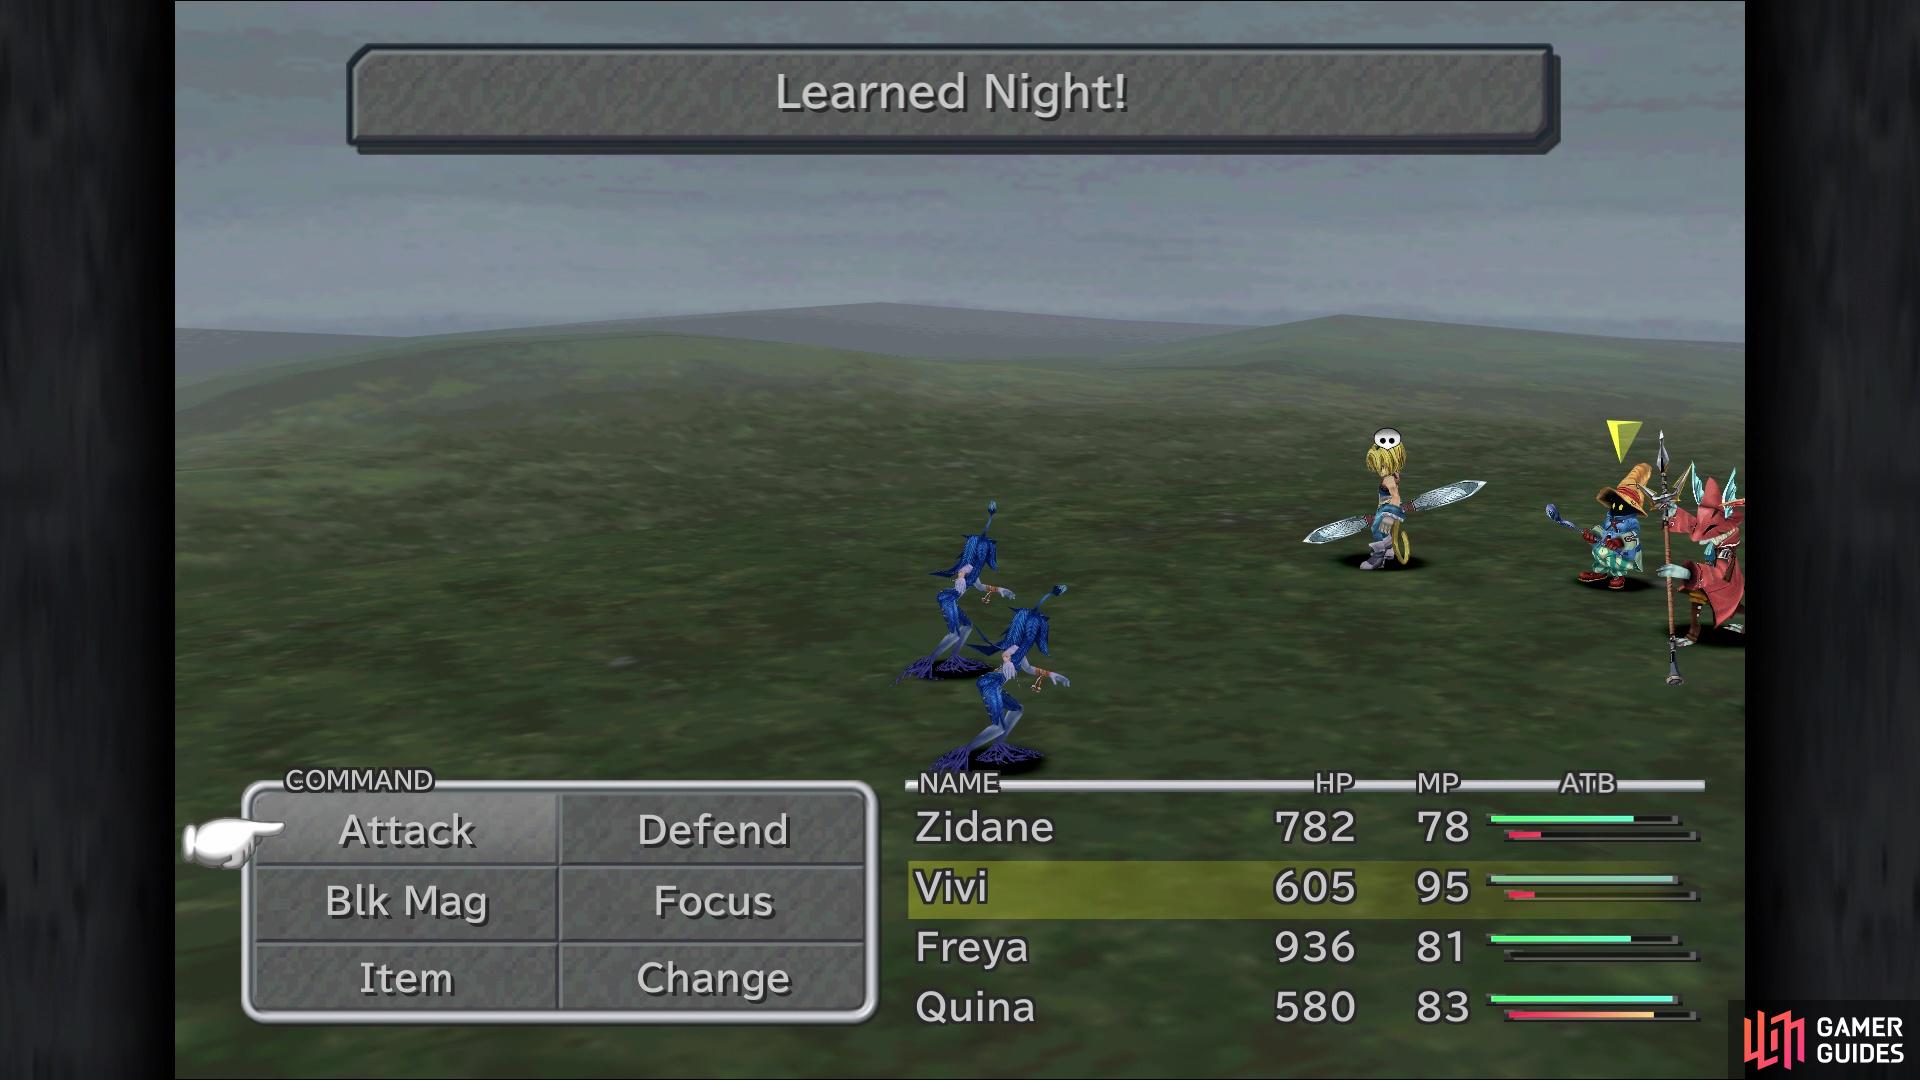
so you can have Quina learn the Night spell
Along the way, you want to keep a lookout for a specific enemy, the Nymph. Should you encounter one, you will want to whittle its HP down (around 458 HP) for Quina to Eat it; the Blue Magic you can obtain is called Night. This handy little spell is extremely useful, but it can also be dangerous, as it puts everyone (foes and allies) to sleep, provided they are not immune to it. Once you have the Insomniac ability on all party members, you can use this in a lot of places. For example, Grand Dragons (mentioned earlier) are susceptible to Sleep, so it can be used on them.
With that out of the way, you want the gap in the mountains to the north of the twister, with the chocobo tracks being on the northern end in that gap. Call Choco and locate the nearby beach, as this is where Chocograph #4 is located. It’s a little more on the grassy area than the beach, about right in line with the gap in the mountains (don’t forget to have the picture on your screen for the hint). When you open the chest, some strange smoke will come out of it and you’ll be transported to a place called Chocobo’s Dream World. Basically, specific chests will bring you here, where you will get upgrades to Choco, granting him new abilities.
Chocograph Hunting
This ability is the Reef Ability, which allows you to cross shallow areas of water, but only those accessible from beaches. This will allow you to get two more Chocographs, but this would require going back through Gizamaluke’s Grotto. It’s entirely optional, but let’s do it anyway; you’re going after Chocograph #10, by the way. Once you make it through and grab Choco on the other side, you will want to head to Qu’s Marsh. From there, there should be a beach to your west, so you can get in the water there. Follow the coastline southwest, until you can get out further out into the waters. Pass the island near the coast, then begin heading north until you come to a small, round island.
You’re close now, so look west to see the island in the Chocograph picture. You’ll have to go around the island to find the spot for digging, with the chest yielding 8 Potions, 4 Phoenix Downs, 3 Ethers and a Magician’s Robe. This piece of armor can teach the Auto-Potion ability to both Quina and Vivi, allowing them to use a Potion whenever they take damage. This can be dangerous, especially if you don’t have a healthy stock of Potions, but it’s great for keeping their health up without having to waste a turn. Plus, once you gain easier access to the higher tiered potions, you can sell your lesser ones to use those.
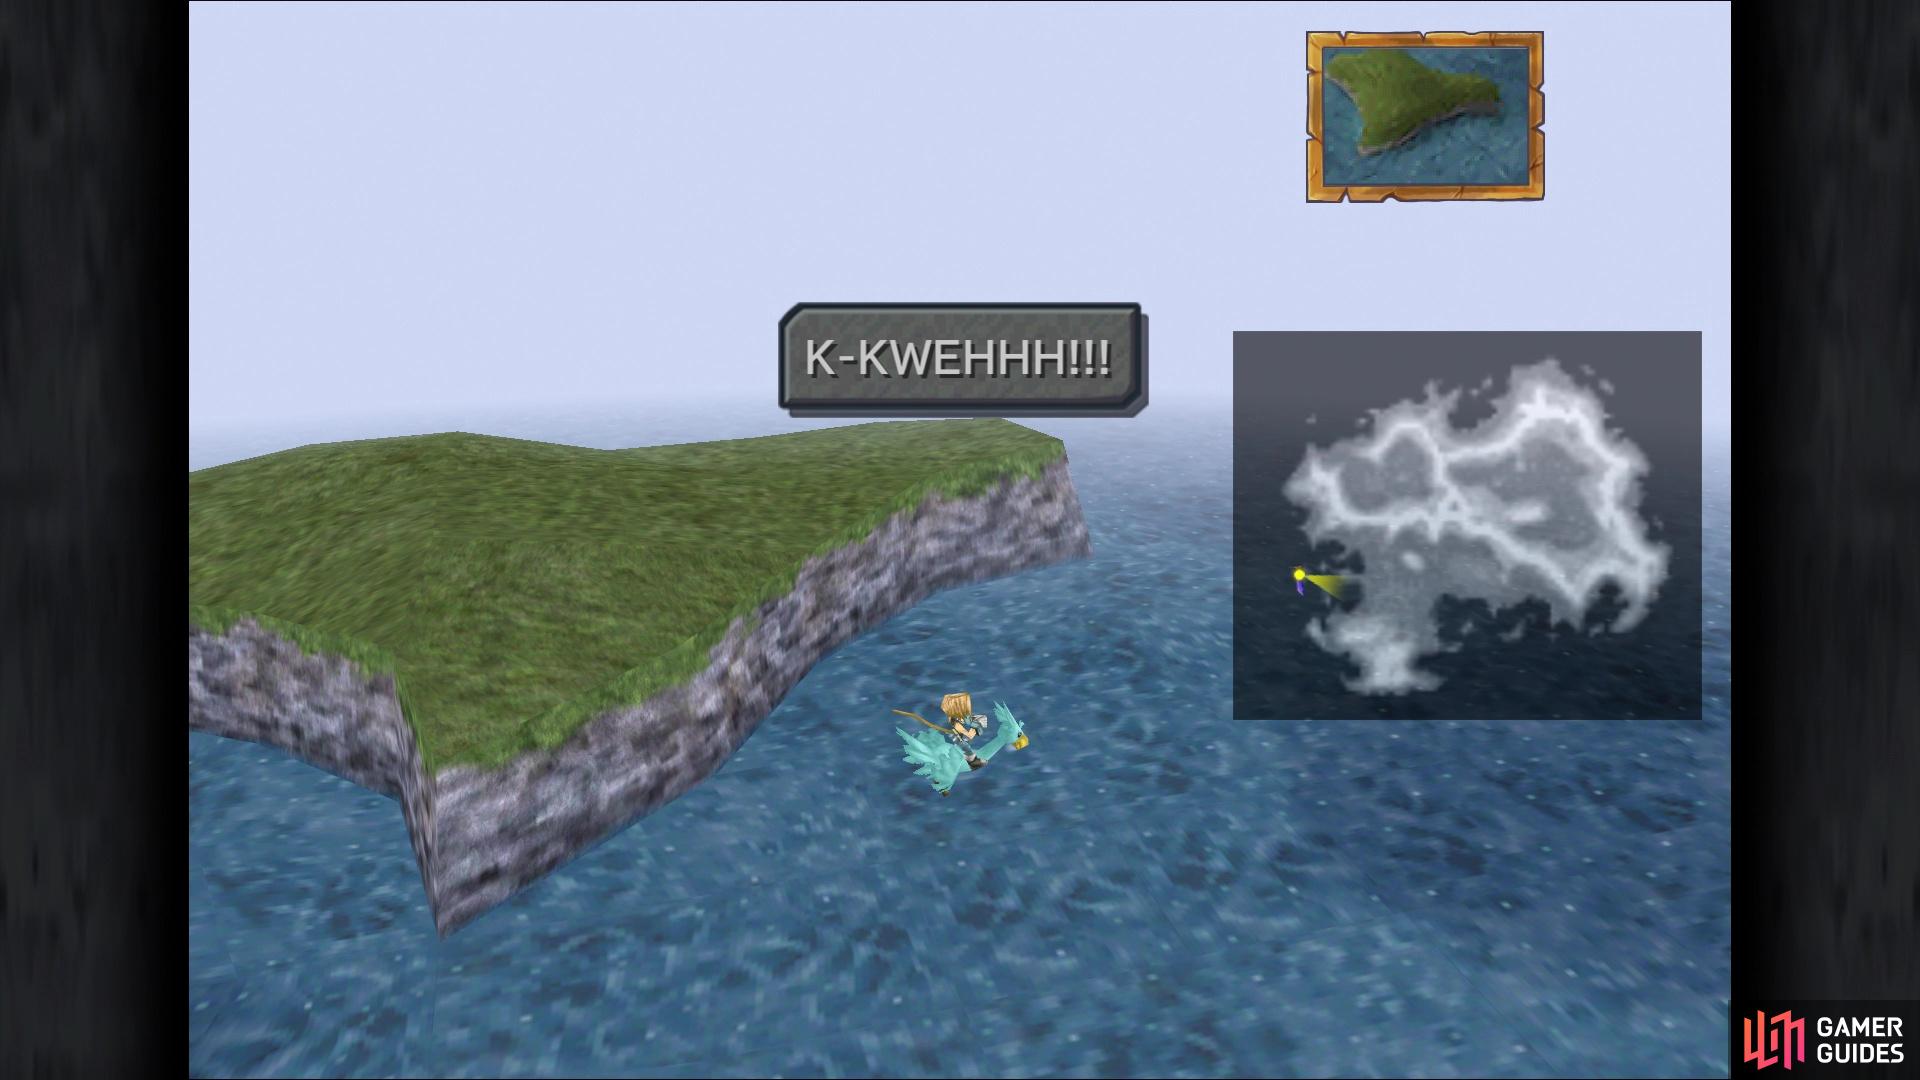
The location for Chocograph #10
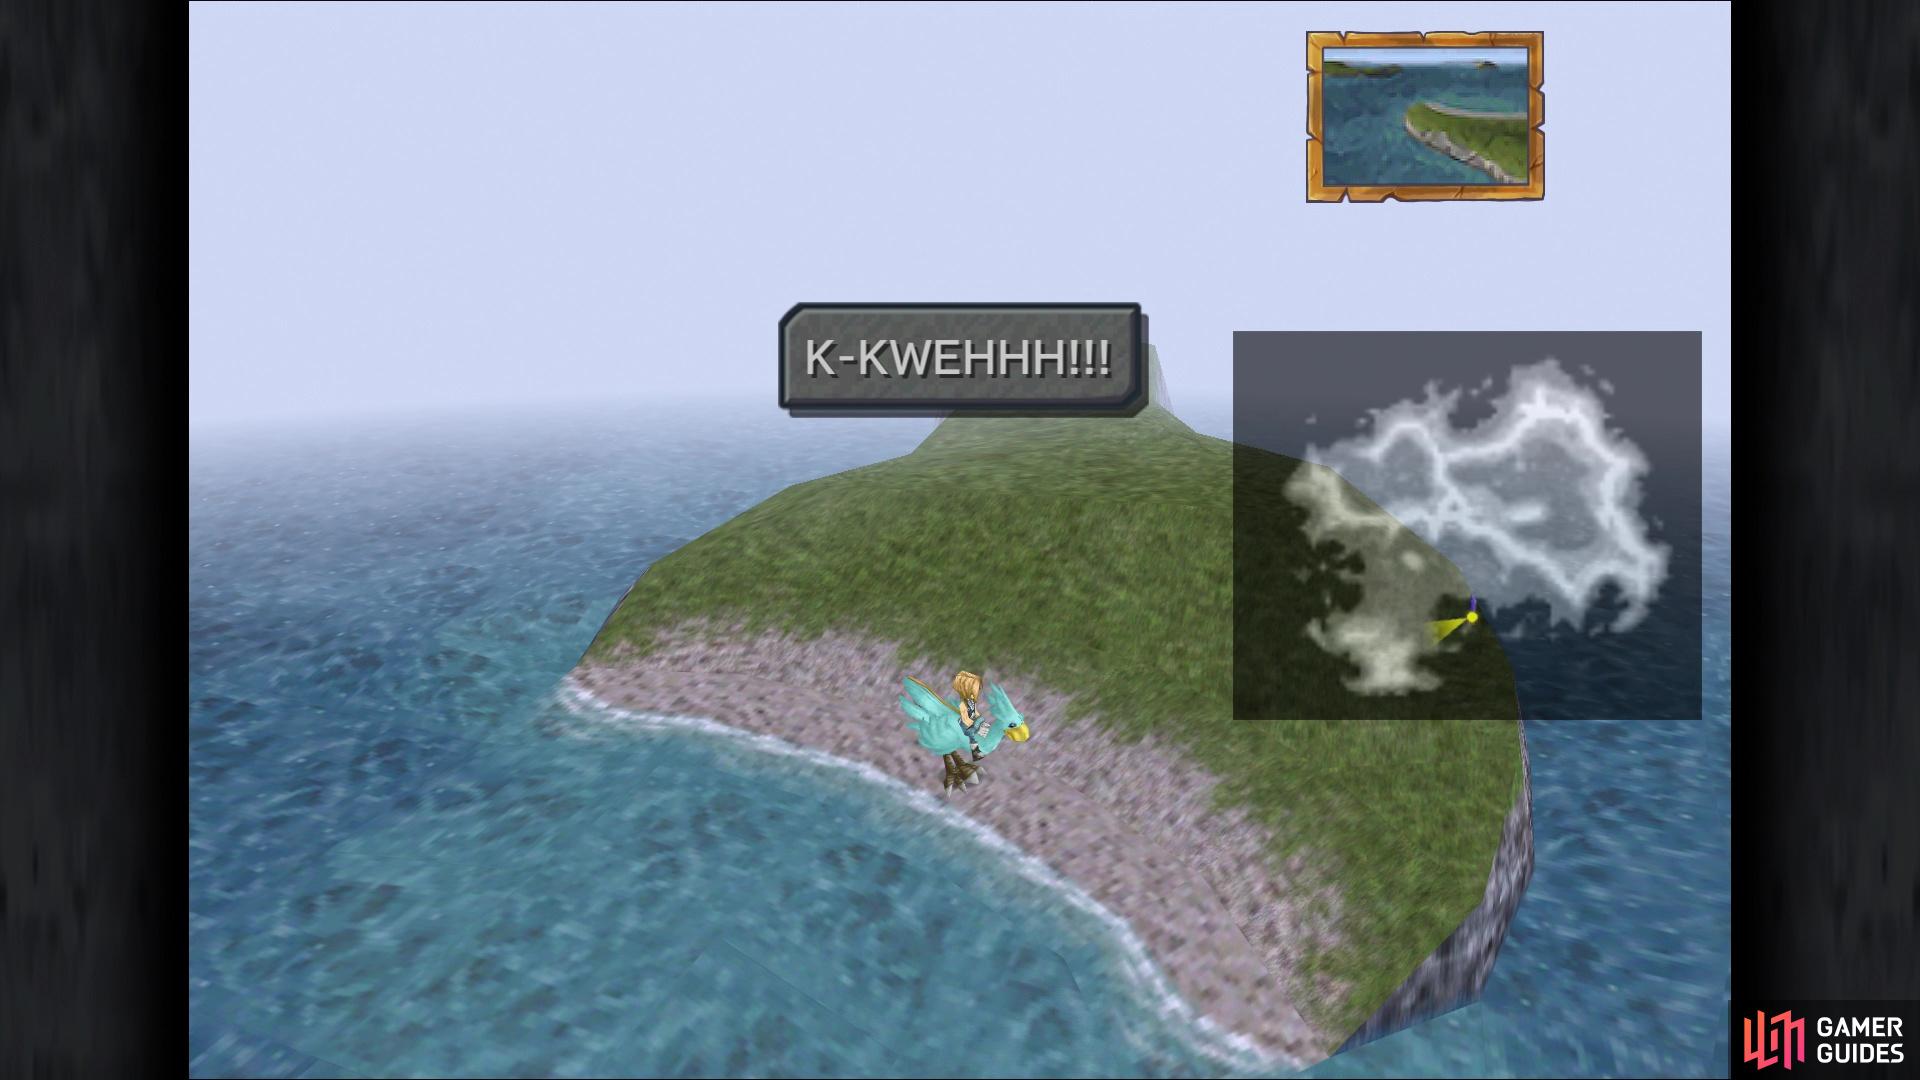
The location for Chocograph #11
The other Chocograph (#11), is found off the southern coast south of Qu’s Marsh. Once you’re in the water, follow the coastline south until you see an island with a beach on it nearby. The chest will be right in the middle of the coast, right where the water meets the beach. Your reward for this Chocograph is 4 Remedies, 2 Elixirs, 8 Rising Suns, and an Oak Staff. The Oak Staff is great for Vivi, as it teaches him three spells: Stop, Bio and Drain. While Stop and Drain aren’t particularly useful in the long run, Bio is an amazing spell, as it’s non-elemental and can inflict Poison, too; the MP cost can be a little steep at this stage of the game, though.
Catching Some Frogs
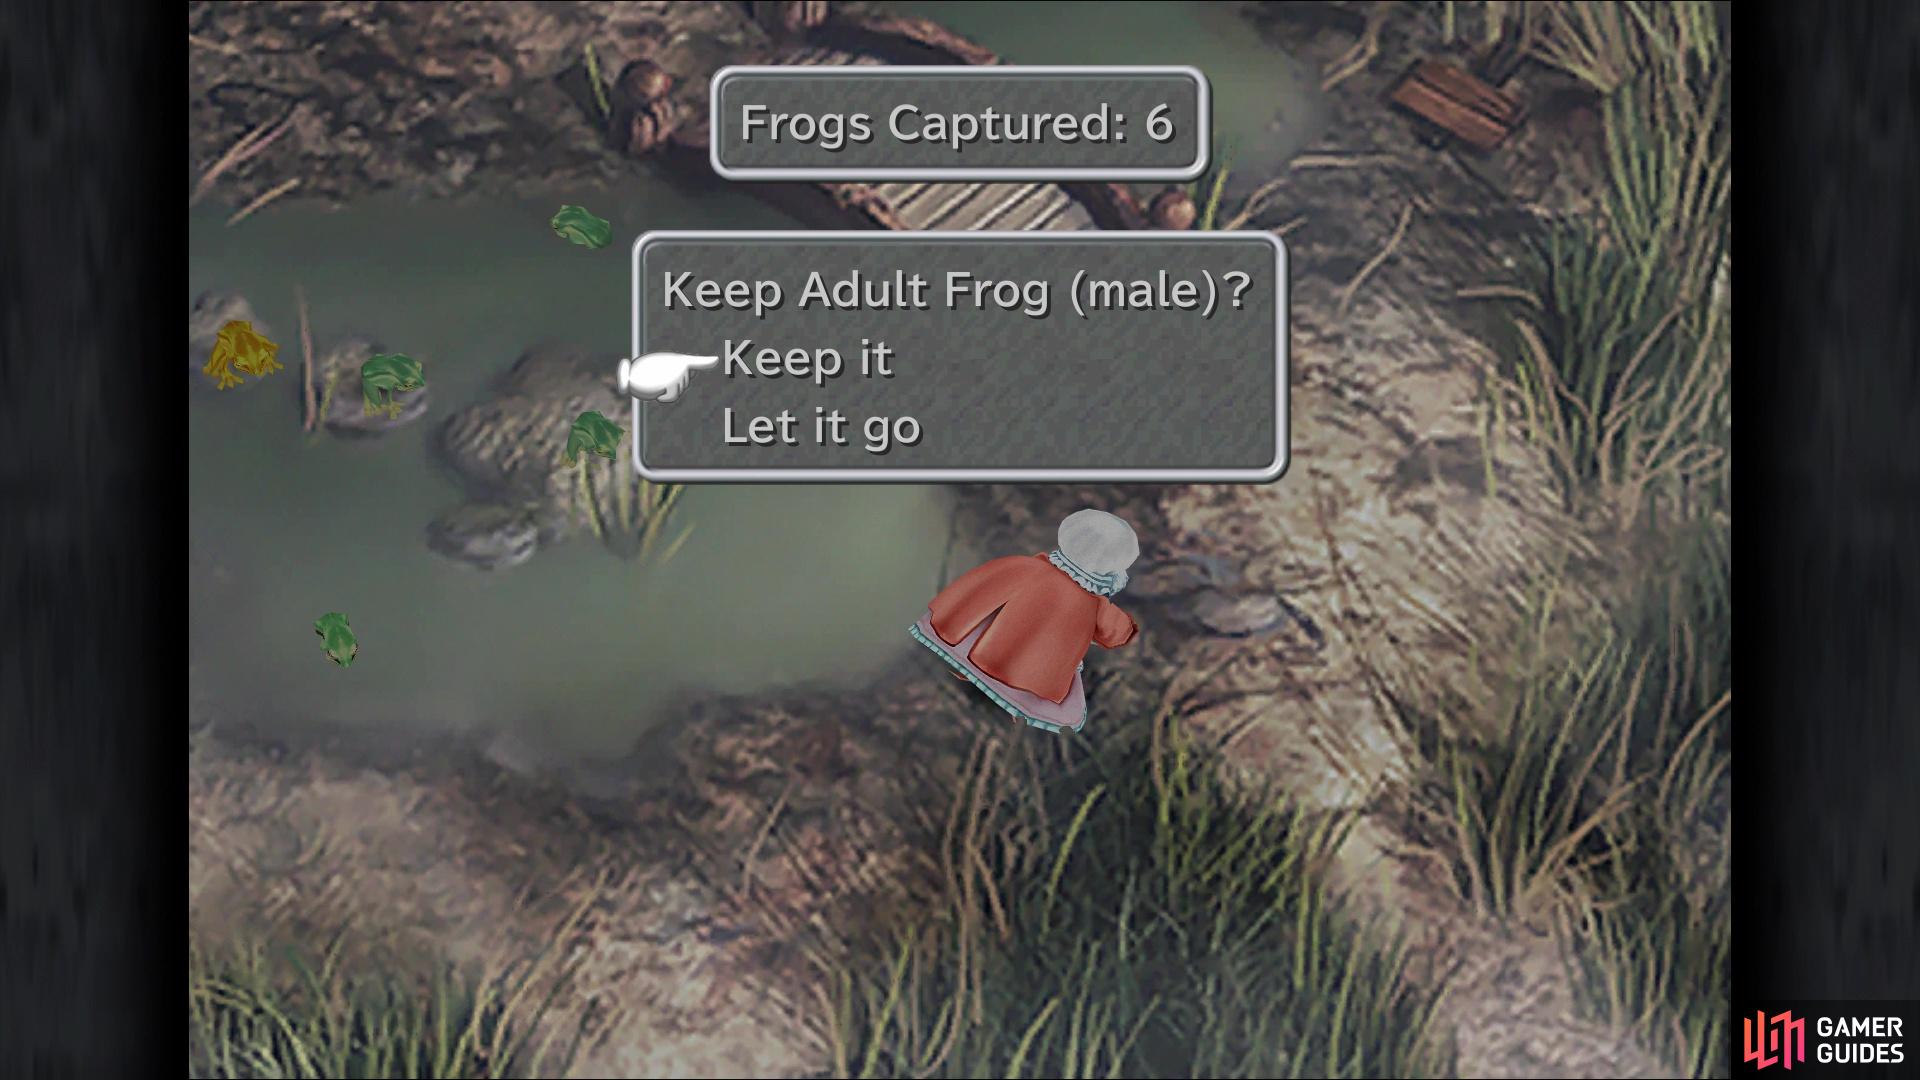
Although it wasn’t talked about earlier, since you’re still in the area, let’s have a conversation about catching frogs in Qu’s Marsh. Any time you enter the swamp section of Qu’s Marsh with all of the frogs and Quina’s in your party, you will have him/her asking you to catch some frogs. Catching frogs is simple in practice, although they can be a little annoying at times. Just run up to frogs that are on land and spam the confirm button. The problem with frog catching is that should you get all of them in the pond, then they will respawn very slowly.
As you catch them, you will notice it will say whether they are male or female, and this is important. Keeping a single male and female at the pond will ensure it will be repopulated quicker than without them. To make things even better, if you happen to have a golden frog at the pond, leaving that in addition to the other two will make them respawn even faster. So, what is the point of catching these frogs? Well, you will get rewards from Quale for doing this, all the way up to 99 frogs. Also, at 99 frogs caught, you will be forced to fight an optional boss, who is one of the stronger encounters in the entire game. Lastly, you also power up the Frog Drop Blue Magic spell.
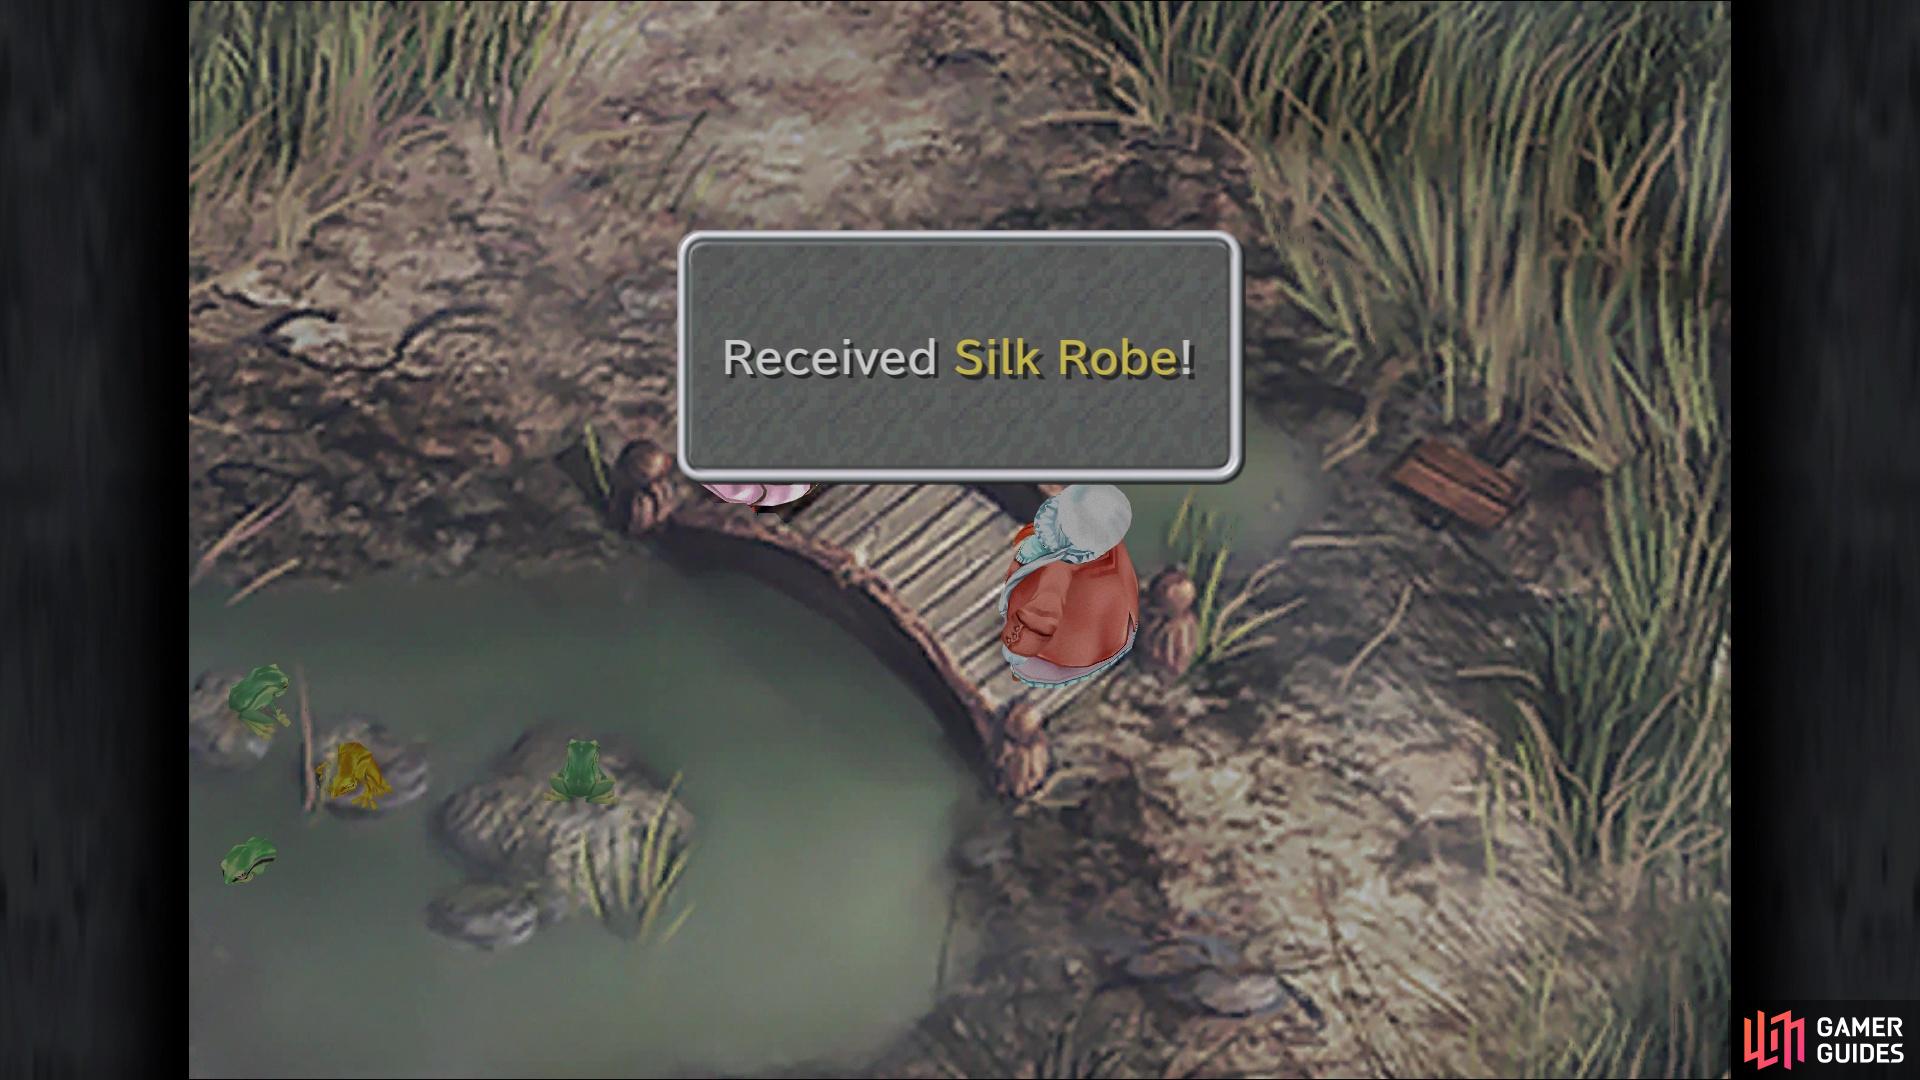
For now, though, you probably want to aim for 9 frogs, as that will win you a Silk Robe. What makes this little piece of gear good for the casters (Vivi, Dagger and Quina) is the Ability Up ability, which doubles the AP gained from battles. This is entirely optional, though, as it will probably take two to three trips to Qu’s Marsh, with a fully restocked batch of frogs, to get the necessary amount for the Silk Robe. It should be noted that the frogs will only respawn if you are outside of the marsh, so you could literally sit on the world map for a good amount of time to get them to reappear.
You’re able to see the gender of the frog upon catching it
Catch enough and Quale will give you prizes
Burmecia, Realm of Eternal Rain
It’s finally time to get to Burmecia, so head back through Gizamaluke’s Grotto and go due north from the exit to find the town. Once you gain control, head up the street and look behind the one crate on the left side to find the Cancer Stellazzio. It should be noted that the Ironite enemy is found here, so if you didn’t get the Angel’s Snack Blue Magic earlier, feel free to get it now; also, be wary of its Flame attack, as it hurts. You can also get another Blue Magic here, called Magic Hammer, from the Magic Vice enemy (around 297 HP). As you walk into the next screen, Tweedle Dee and Tweedle Dum will sic two Type A Black Mages on you.
They really aren’t any different than before, so squash them and enter the building via the door to your left. As soon as you enter, you will find a chest to your left (Potion) and another to your right (Soft). Unfortunately, you can’t reach the upstairs chest from here, so return outside and enter the building that’s up the stairs to your right. In this room, there is a hidden chest behind the stairs that contains a Soft, and the chest at the top is actually a Mimic. They will always summon a Magic Vice enemy at the beginning of the battle, so use that as an opportunity to learn Magic Hammer if you haven’t already.
Pass through the doorway to the left and ignore the big door in the outside area, as it is locked. The chest up here is “booby-trapped,” as if you run, the floor below you will crumble, so you have to walk to reach it; it contains a pair of Germinas Boots. Now, run on the floor to make it fall to the spot below and double back to that area. Unfortunately, the chest you couldn’t reach earlier is actually another Mimic, but it doesn’t hurt to fight them (they always drop an Ether). The doorway on the right is your next destination, so head through it and pass through the next room.
Some of the chests in Burmecia are actually Mimics
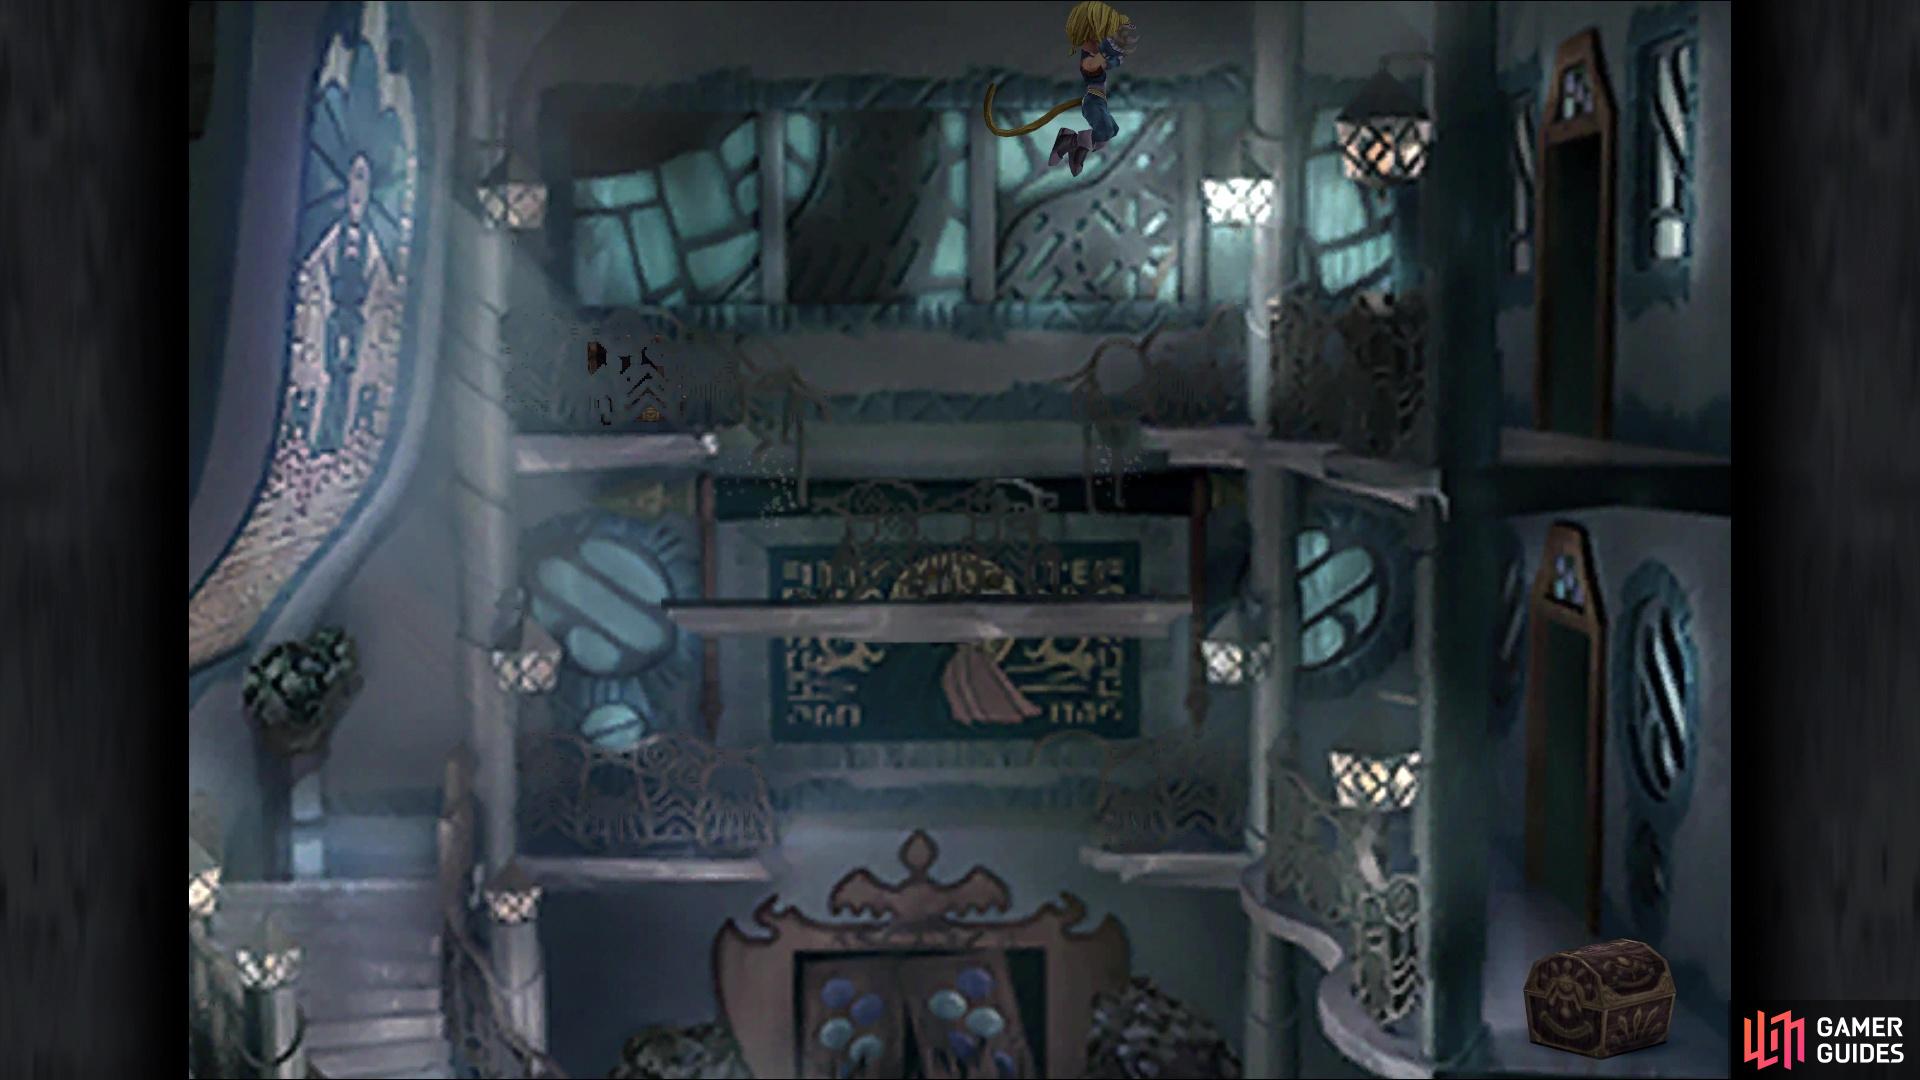
The floor at the top will give away if you run on it, making the chest missable
At the end, you have the option to go out onto the balcony or not, so go ahead and do that. Zidane will automatically jump to the next balcony and enter the next room, where you’ll find a Burmecian Soldier on the ground on the right side. He mentions a bell, which is on the far side of the bed along the right side of the room, so head there and pick up the Protection Bell. On the left side of the screen is a hidden chest that contains an Ether. It’s time to backtrack now, so go all the way back to the one locked door that was in a brief outside section. Once you get back there, you can ring the bell upon inspecting the door. There will be a scene upon entering, then you can exit at the top of the stairs to reach the uptown area.
Head through the doorway straight ahead to witness a scene between two NPCs, Wei and Kal. You will need to view this in order to get an ATE later on in the game, so don’t miss this chance. Back outside, climb the stairs to the right and use the broken statue as a bridge to reach the doorway on the left. Inside, open the two chests right in front of you for a Phoenix Down and Tent, then follow the path to its end to find another Mimic. Go through the door to find a courtyard area, with two more doors. The left door will reward you with a Mythril Spear, a new weapon for Freya. The best part about this one is that it teaches Reis’ Wind, a move that puts Regen on all of your party members.
Exit and enter the door on the right now to find a moogle. Before talking to him, go to the back of the room to find a chest, which holds a Lightning Staff. This will also make Stiltzkin, a moogle you saw at the beginning of the game, appear. He will offer you three items (Soft, Hi-Potion, and Ether) for 333 Gil, which might seem like nothing, but you want to buy it. This is the first of many item sets he will offer you throughout the game and if you purchase them all, you will receive the Driving the Hard Bargain trophy/achievement. Speak to the other moogle, Atla, and give her the letter from Mogki, then accept the letter to Monev. You will receive a Kupo Nut for delivering the letter, which can be exchanged with the one moogle back in Gizamaluke’s Grotto.
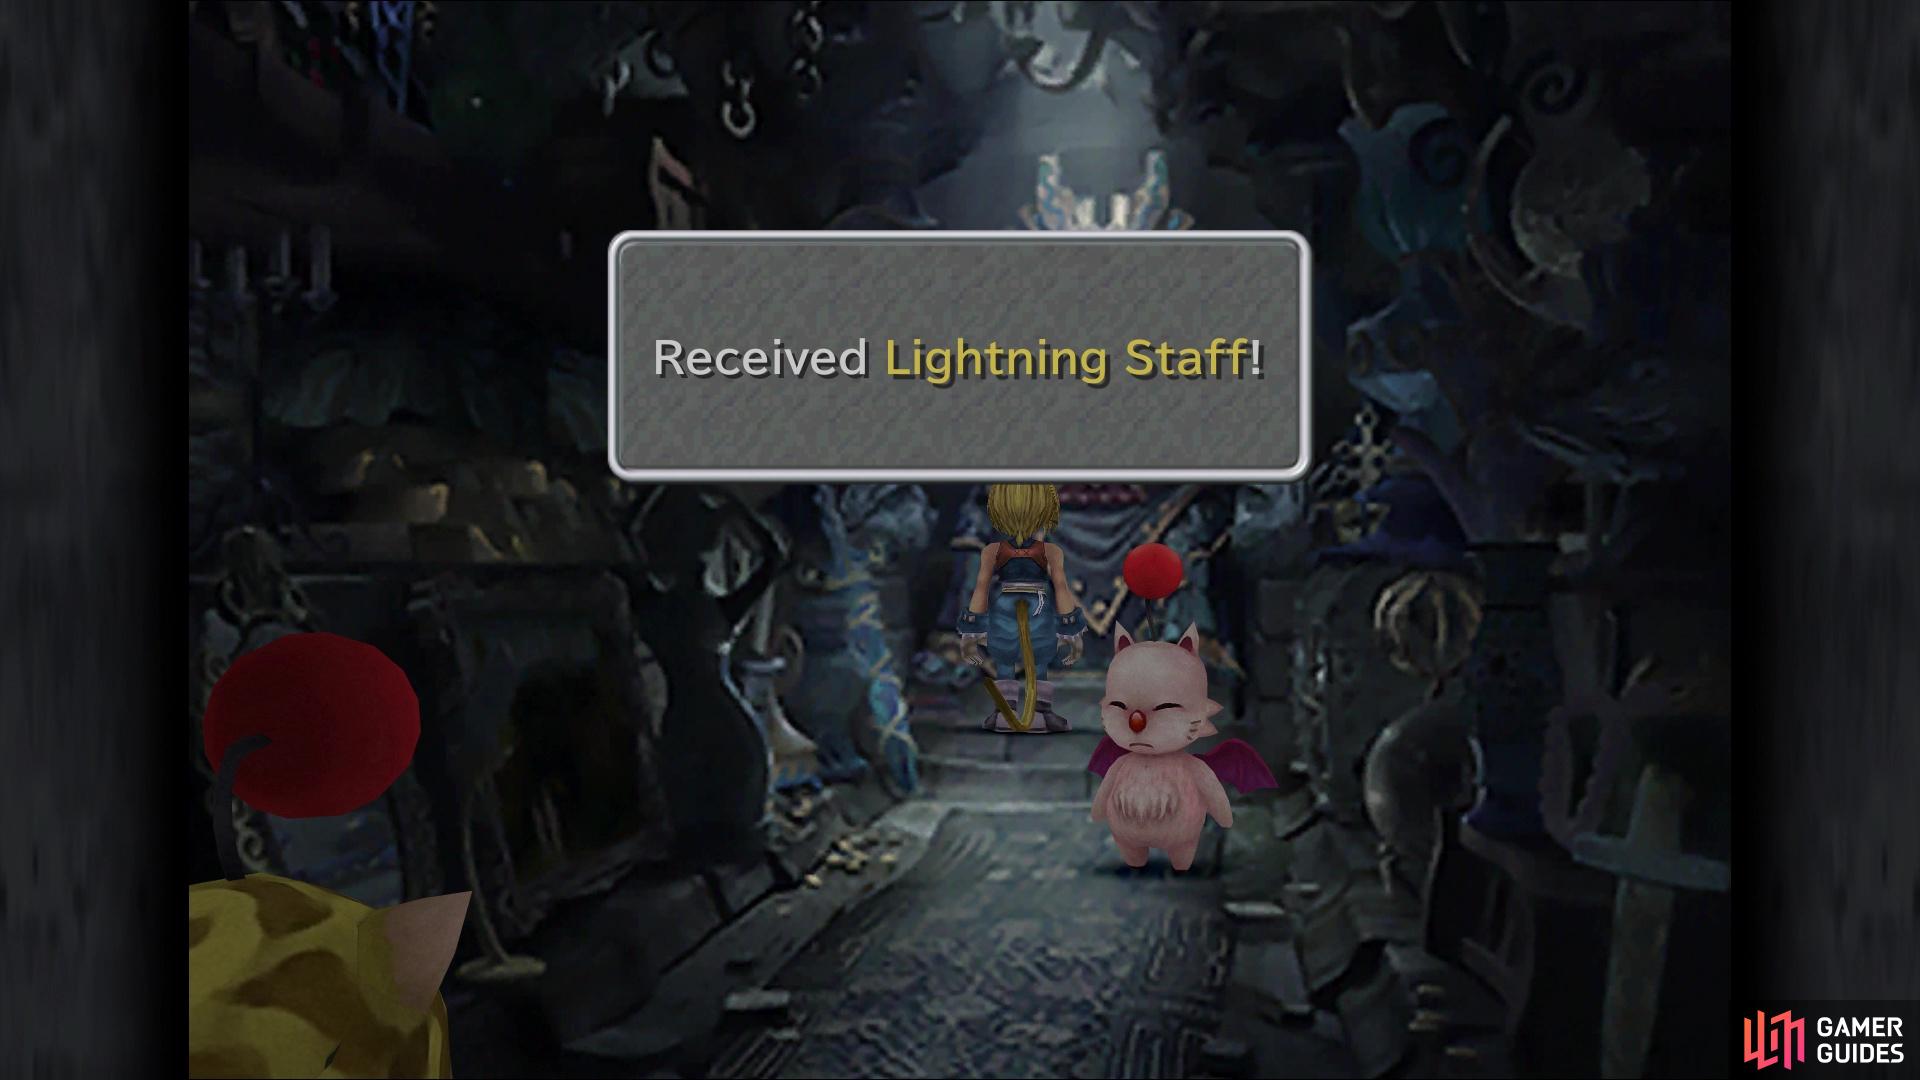
Picking up the Lightning Staff will make Stiltzkin spawn
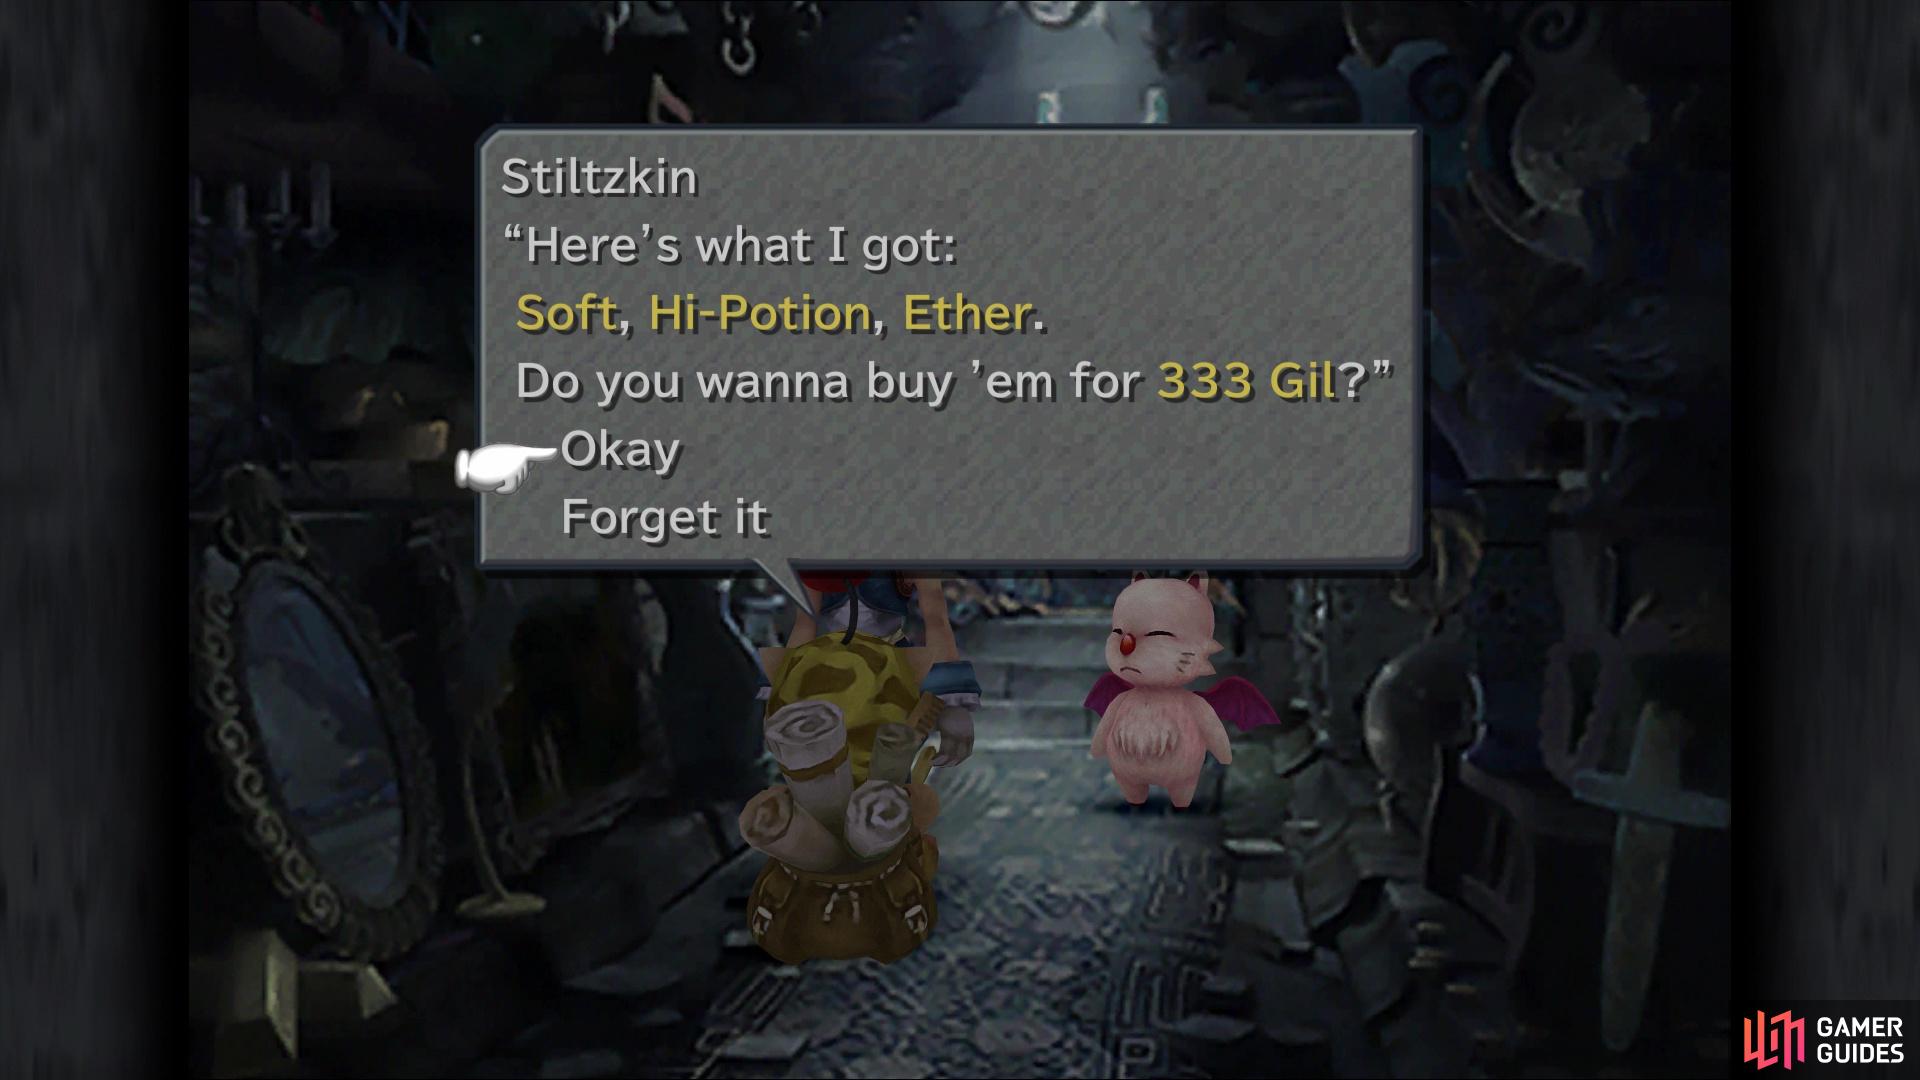
Make sure you purchase the item set from Stiltzkin for the trophy/achievement
Unfortunately, this a long trek and the item you would receive for doing such a thing is random (either a Tent, Phoenix Pinion or Ether), so forgo that and select the Mognet option to see the wares Atla has. There isn’t much here that you don’t already have, but you can get a Barbut for Freya and stock up on a few things for future synthesizing. If you have the funds, purchase another Needle Fork, as well as some more Barbuts, a Linen Cuirass, and a few Magus Hats. The biggest prize is the Steepled Hats, so save some money to get a full stack of those for more Cotton Robes. Use some Tents to restore your HP/MP and save your game, as there’s a boss coming up very soon.
Exit the room with the moogles and head up the central path, where some scenes will play out. When you have the choice to say something to Freya, choose “Leave her alone” to continue the story. Eventually, you will be forced to fight Beatrix.
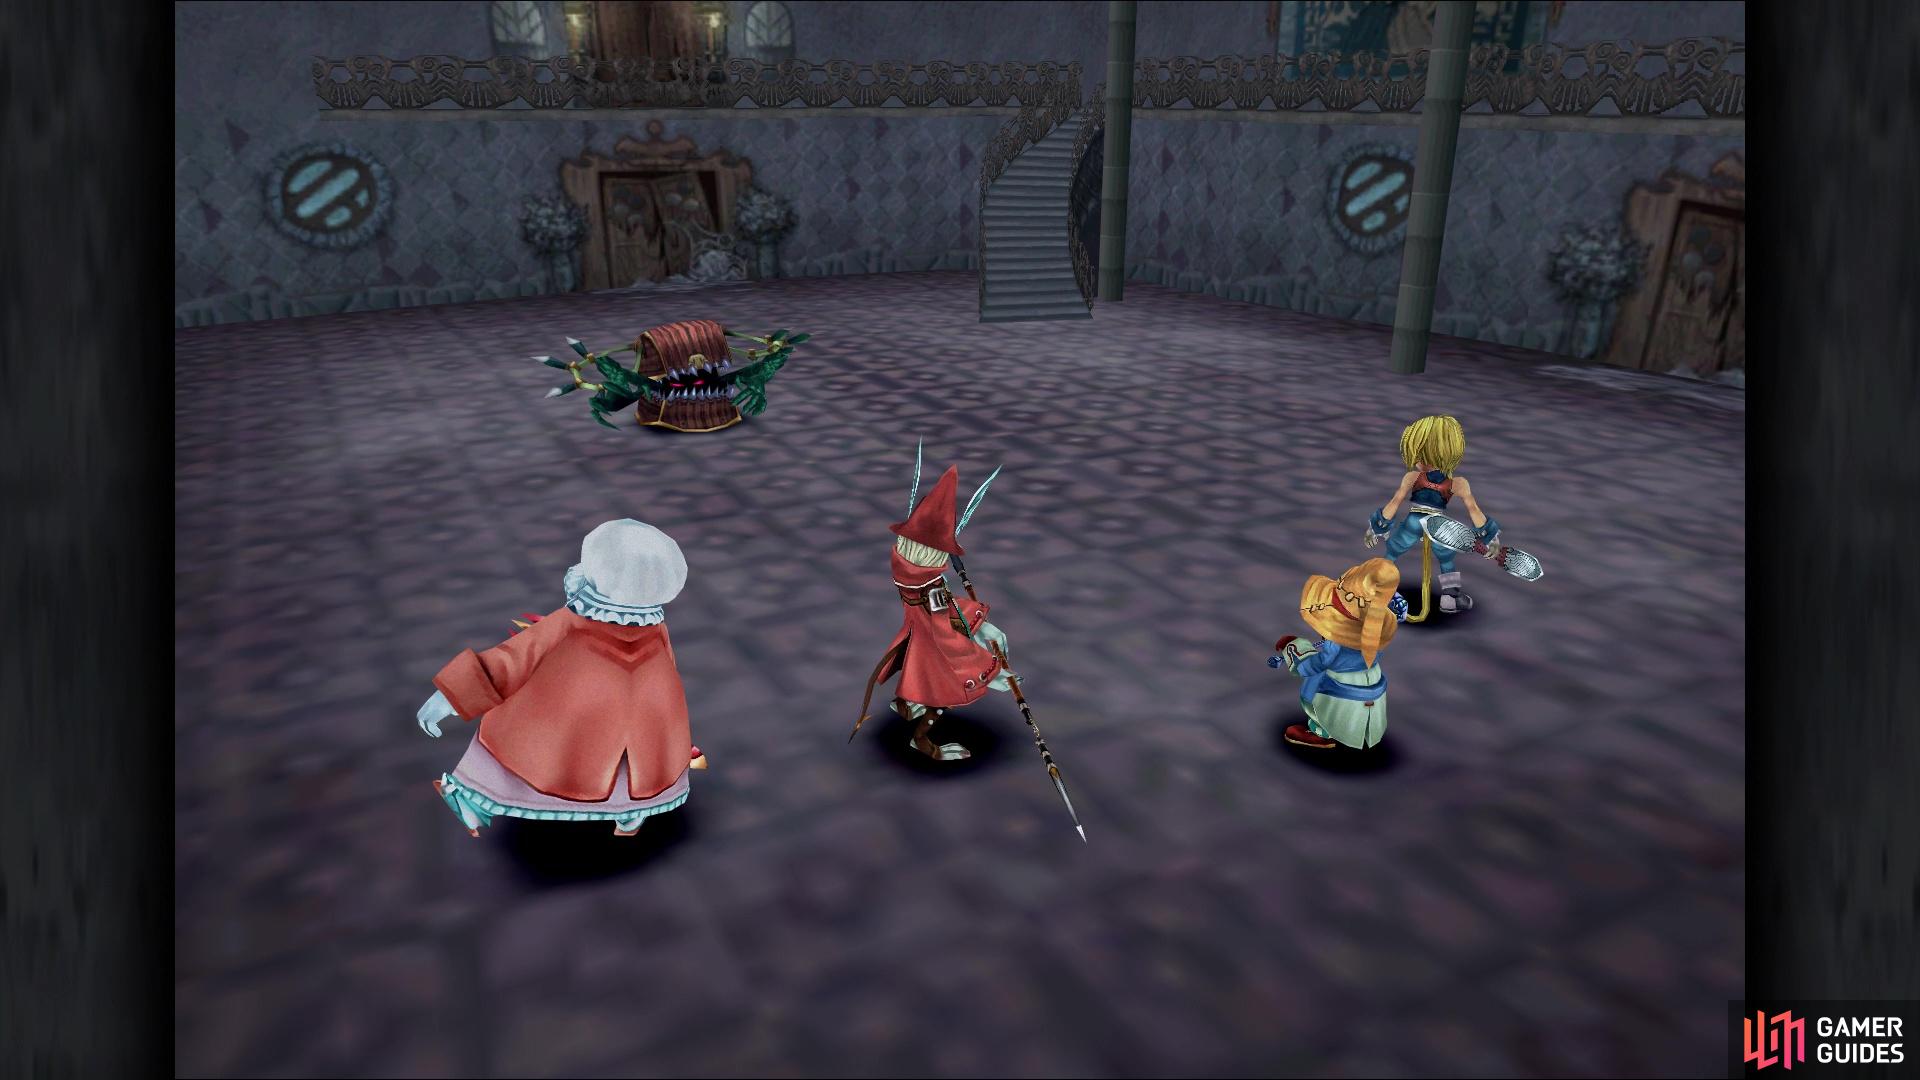
BOSS - Beatrix
Welp, Beatrix is one tough cookie and ultimately, you won’t be able to actually defeat her, although it’s possible to drain her HP to end the battle that way. Alternatively, the battle will also end on its own after Beatrix has a total of ten turns. This is much easier and allows you to focus on other things, like staying alive or stealing all of the goodies she has on her. Beatrix’s normal attack will probably deal around 120 or so damage, while Thunder Slash will do around 200+ damage to a single target. By far, her worst move is Shock, which will likely deal lethal damage to any party member.
Thankfully, all of her attacks hit a single target, so if someone dies, then you only need to use a Phoenix Down to revive them. If you can get it to land, have Vivi cast Slow on Beatrix to limit her turns, as you want to steal her items, which are a Phoenix Down, Chain Plate and a Mythril Sword. The sword is in the very rare slot, so it would take a long time to get it, which is something you don’t have in this battle, so the first two items are more than enough, unless you get very lucky. The battle will end when she says “You’re no match for me” and she uses Stock Break to reduce all characters’ HP to one.
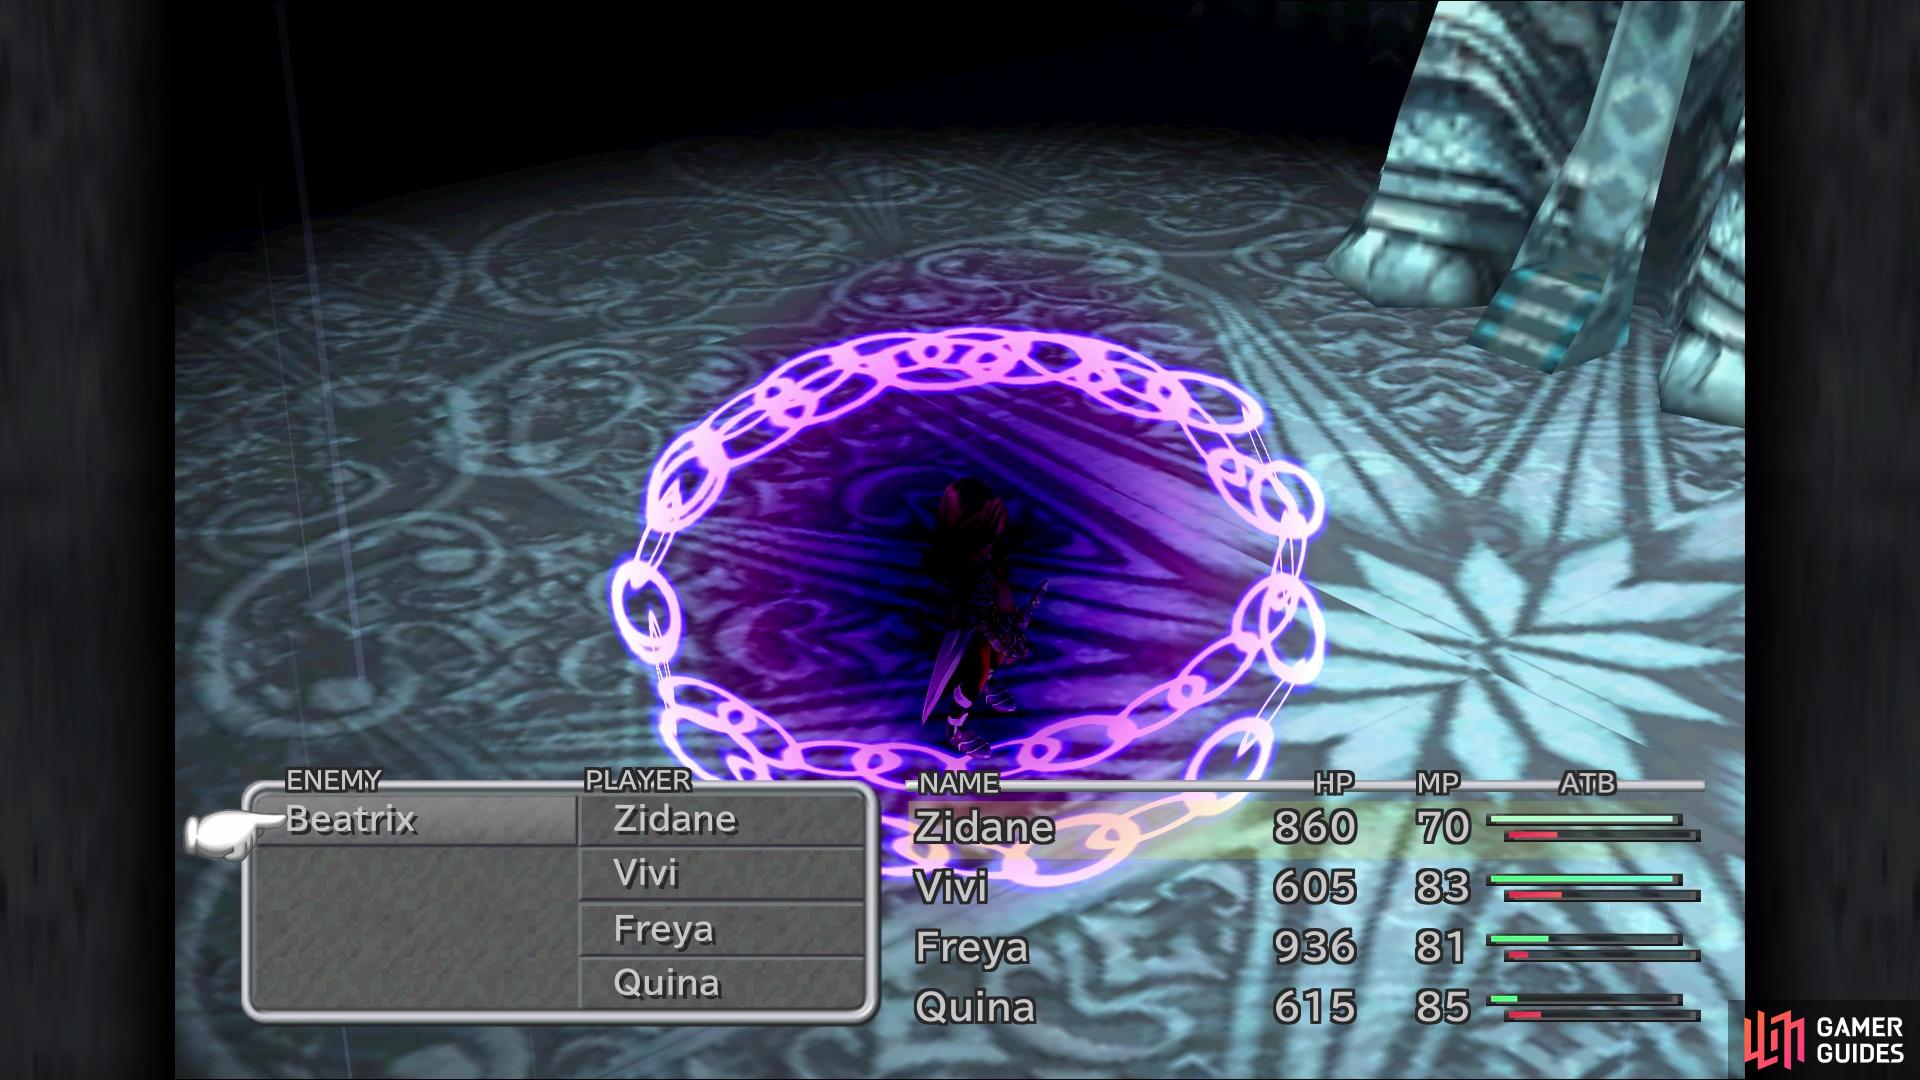
Inflicting Slow on Beatrix will allow you more turns for surviving and stealing
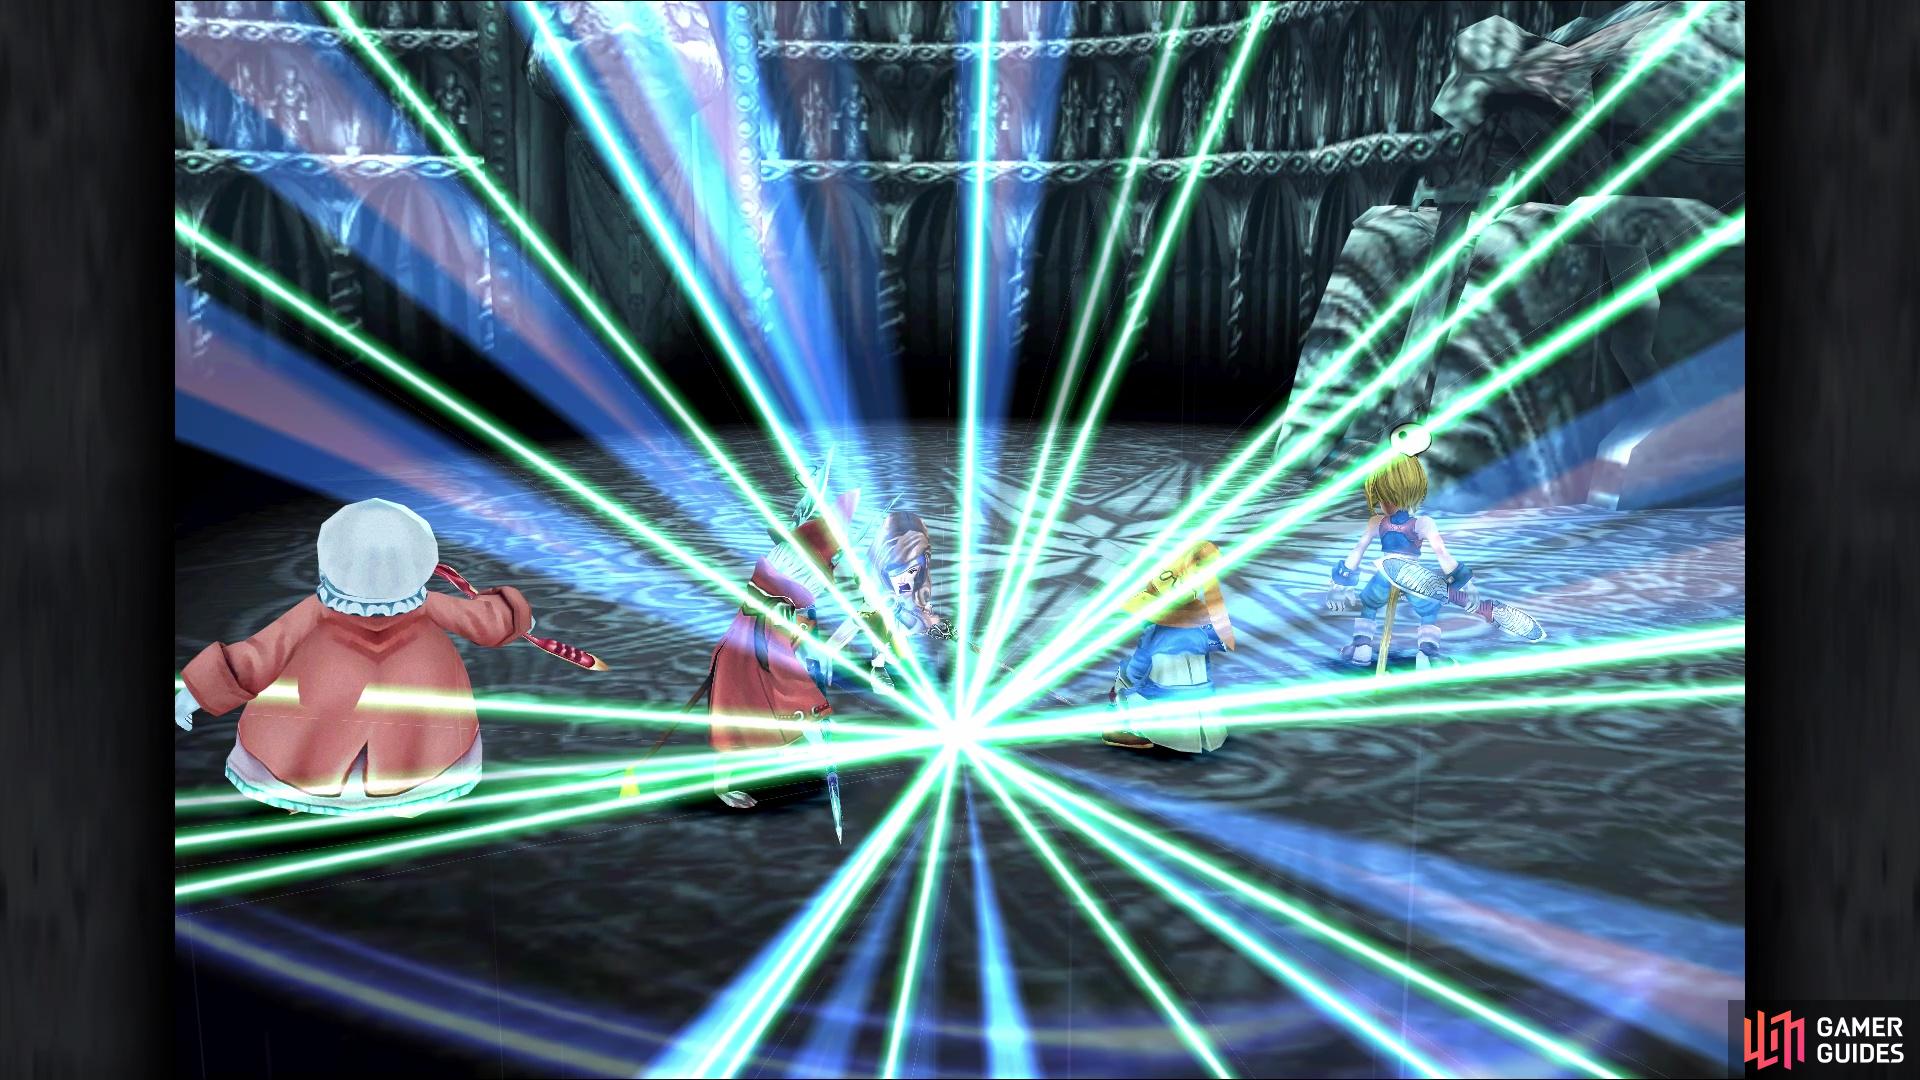
She will finish the battle by reducing all characters’ HP to 1
Watch the scenes after the fight and this will bring an end to Disc 1 of the game.
No Comments