
The Iifa Tree is your next stop on your journey and to get there, you have to head back to the Mountain Path. Backtrack two screens and you should notice the one path leading off to the north, which is the one you want to take. You should now be in the Pualei Plains section of the world map and there’s one thing to do before actually going to the tree. Take a step into the forest right by the Mountain Path exit and run around until you encounter the next Friendly Monster, Nymph. She will ask for three Ores and you will be rewarded with a whopping 30 AP and an Emerald.
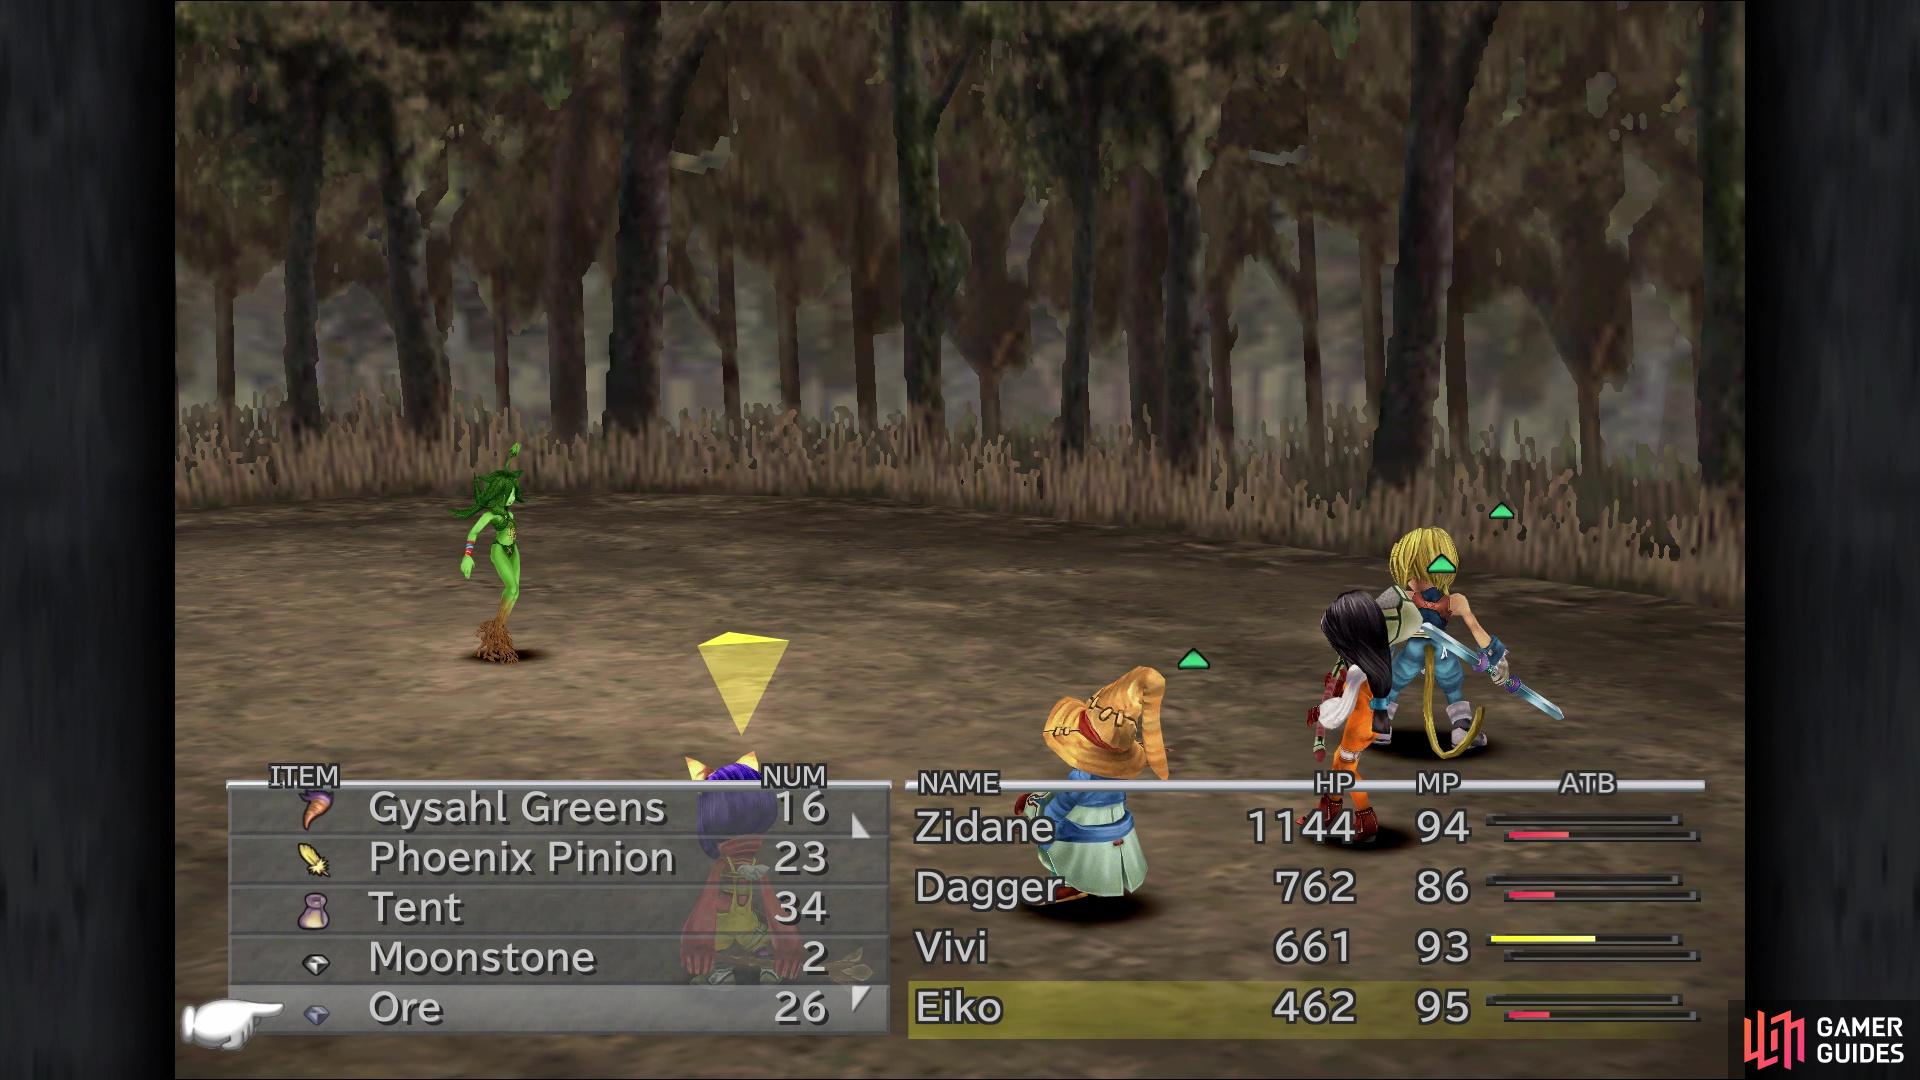
Nymph will ask for three Ores
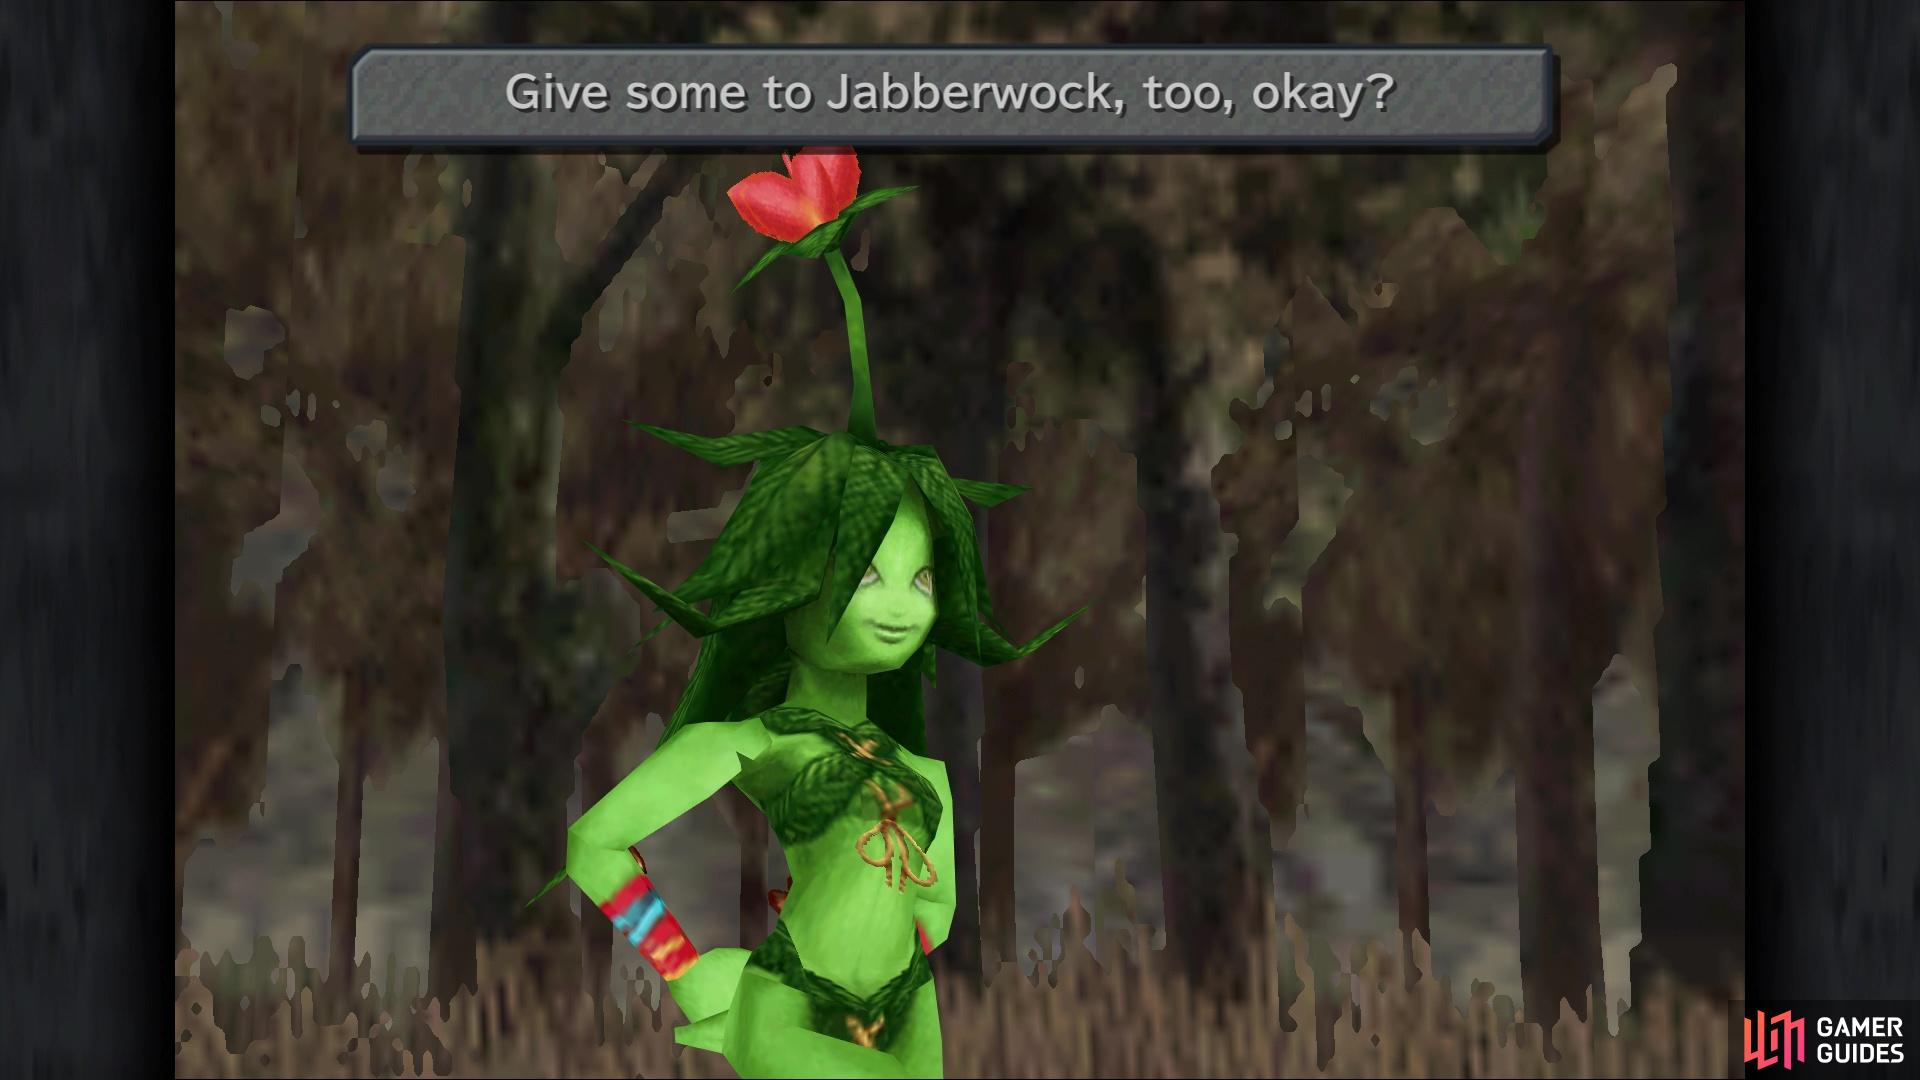
She will tell you that Jabberwock is your next Friendly Monster
That’s all the side questing here, so walk up to the tree and enter the place.
The Ancient Tree of Life
There will be a scene upon entering and you have a choice of doing a few things here. After the scene is over, you will receive a Ruby, which will teach the Carbuncle Eidolon to Eiko. The beginning of the Iifa Tree is a straight shot, so just follow the paths until you eventually find a moogle named Mocchi. You should have a letter for him, from Mogryo, so hand it over. Heal, save your game, and follow the path past the moogle to what looks like an elevator. When presented with a choice, pick to step on the device to set things in motion and officially enter the dungeon.
The first screen is a straight shot, but on the second screen, go to the second branch on the right side to find a hidden object. Push it to cause a chest to fall down on the branch above you, so go and open it for a Phoenix Down. Continue to the bottom, stopping on the branch jutting out to the south for another chest (Hi-Potion). Exit to the next screen and hug the left side as you make the journey down to find a small alcove with another hidden “switch.” Return to the previous screen and there will be a chest in the open, so grab its contents (Healing Rod) and double back.
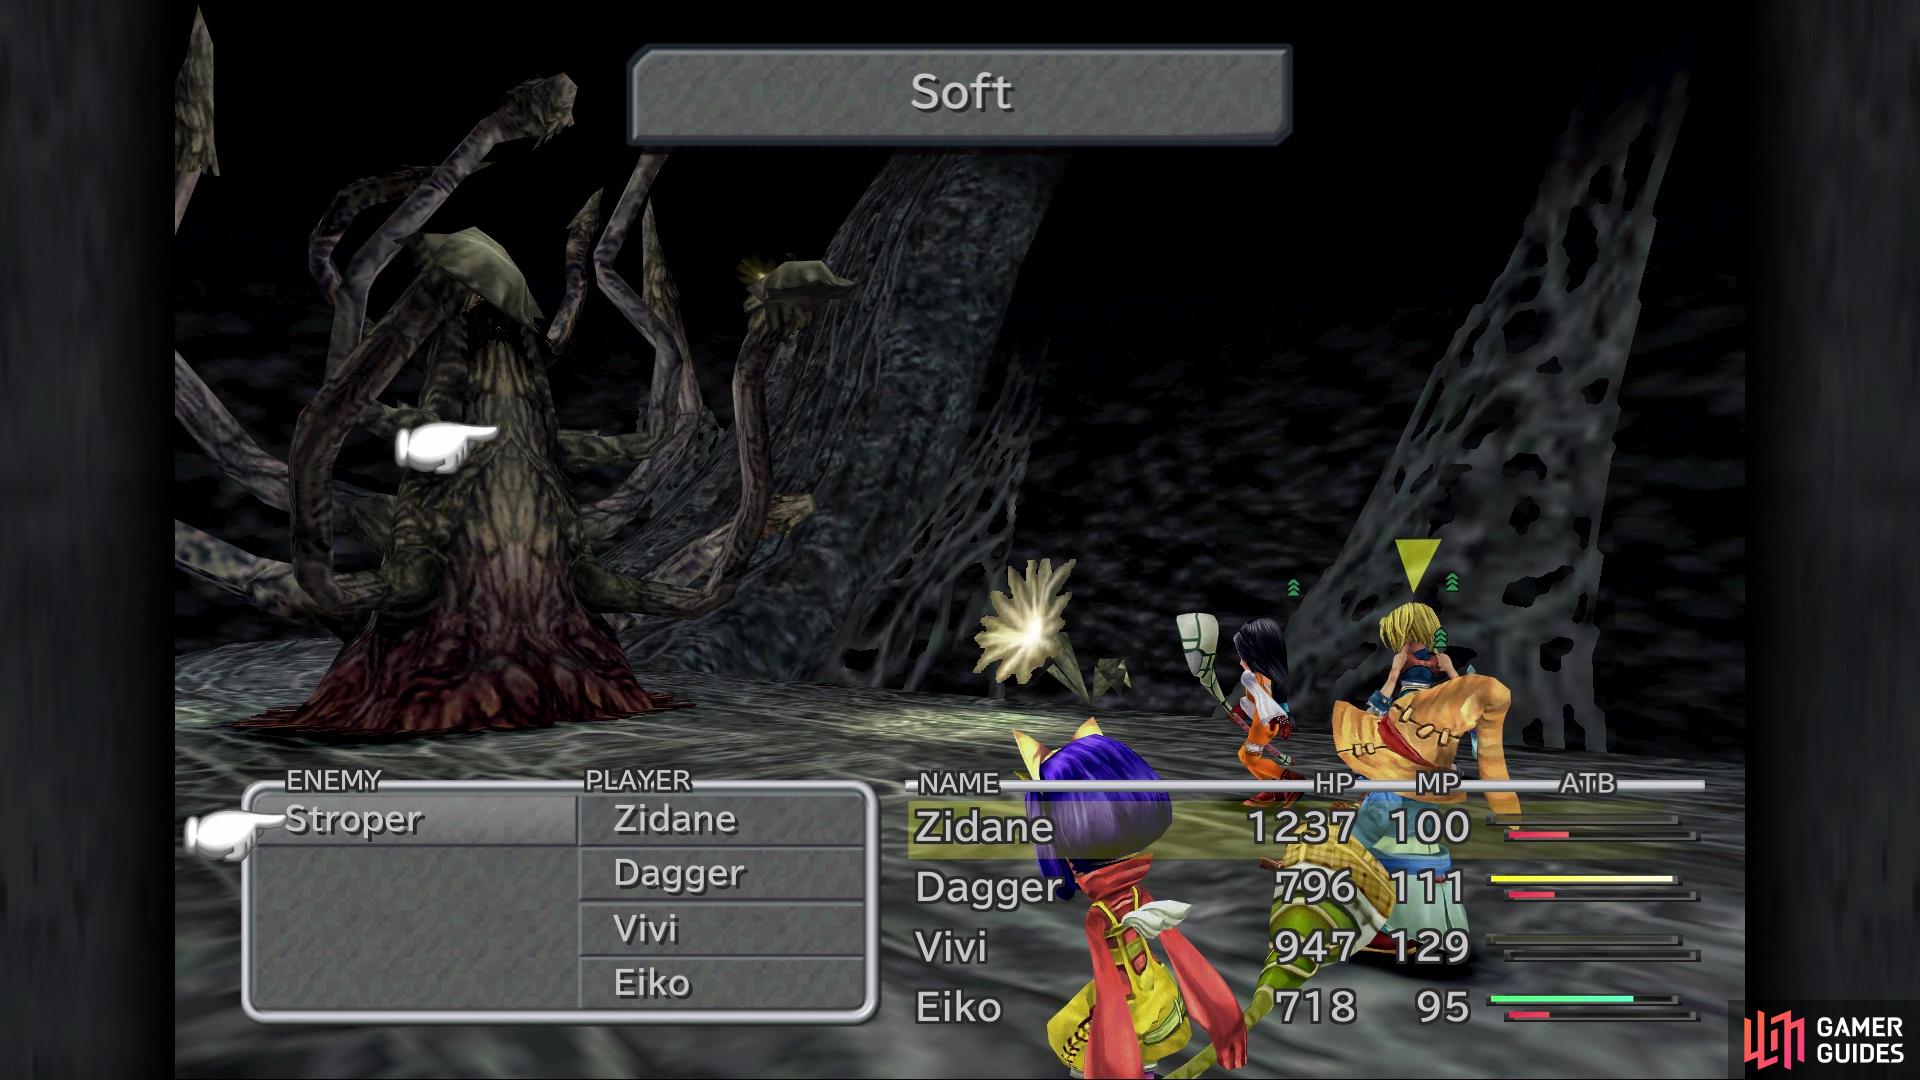
You can toss a Soft at the Stroper enemy

which will instantly kill it
As you keep going down from the previous spot, you can take a side path to open another chest, which contains a Lamia’s Flute. If you glance to the left of that chest, there’s a bit of another just off-screen and you can get that one too, with this chest holding a Remedy. There will be a short scene on the next screen, and the party will get on a platform, riding it down the tree. Along the way, there will be two scripted battles, the first being against three Zombies. After that fight, you will have to speak with Vivi to continue the story, then the other scripted battle against a Dracozombie will occur.
This thing can inflict the Zombie ailment on a character, which basically means they will not earn EXP/AP after winning a battle; you can cure this with a Magic Tag. Also, Zombied characters’ Trance gauge will function normally, they cannot be revived (outside of Auto-Life triggering), and all curatives will harm them. More scenes will happen, then you will gain control at the bottom of the tree. Descend both sets of stairs, then look next to the second set for a chest (Elixir). There is one more chest on this screen, behind the wall that Vivi and Eiko are standing in front of at the bottom there; this chest contains a Brigandine.
At this point, you will be fighting a boss soon and it is capable of inflicting the Heat ailment on your characters. Equipping everyone with Body Temp is highly recommended, as any actions taken with Heat applied will instantly KO them. Check the lower left corner of the screen when you’re ready to fight.
BOSS - Soulcage
Soulcage can be a challenging boss, should you want to fight it normally. Soulcage has access to LV5 Death, which instantly KOs anyone who’s level is divisible by five. Mustard Bomb is the move that inflicts Heat on a single character, with it only being cured by either using Blizzard on that character or letting it run off on its own. Do not perform an action with a character inflicted by this, as that character will be instantly KO’ed. Soulcage has a couple of area-of-effect skills in its arsenal, like Shockwave and Leaf Swirl. Although it is weak to fire, you do not want to cast fire spells/summons on it, as this can cause the boss to use Fire Blades, a move that can deal a lot of damage to the whole party.
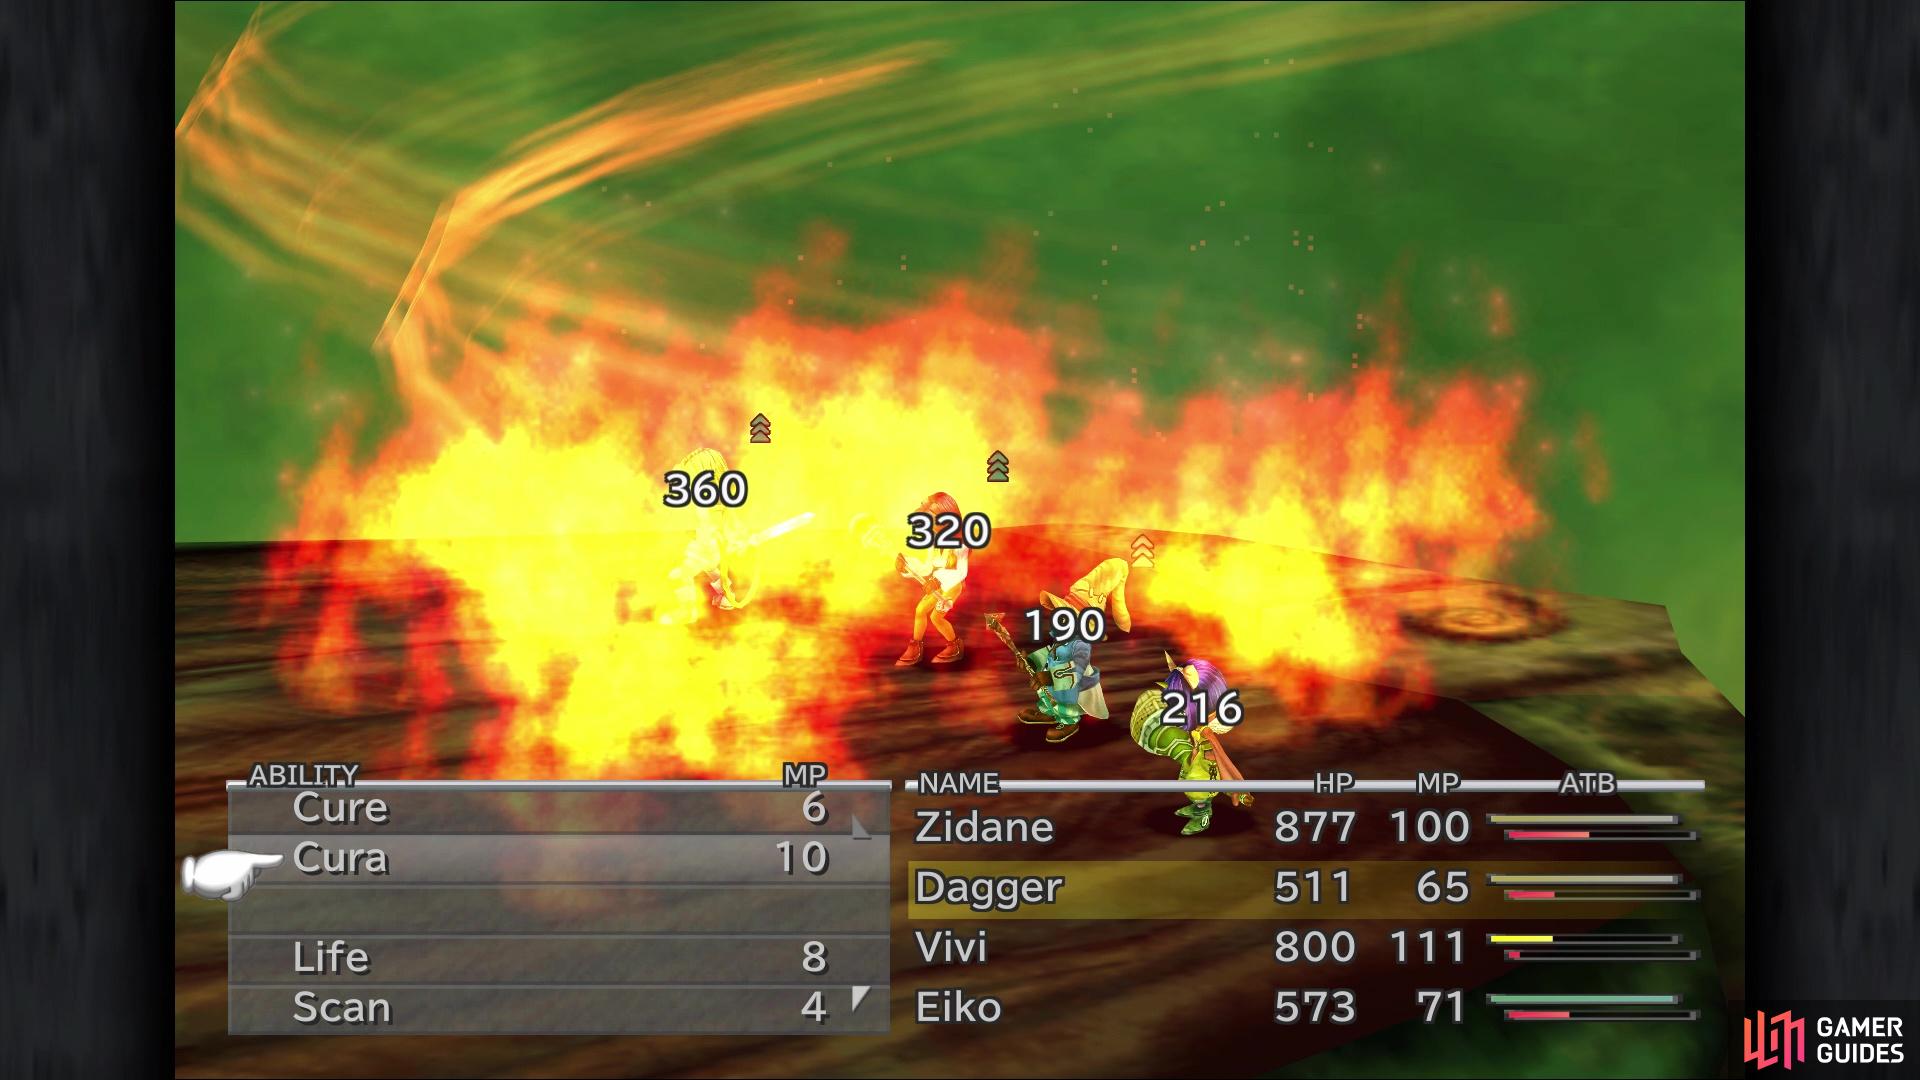
If set on fire, Soulcage will use Fire Blades to do some big damage to your party

You can extinguish the flames by using ice spells
If you accidentally use fire on the boss, cool it off by following up with Blizzard/Blizzara. Lastly, the boss has access to Fira, which it only casts on a single target, although it can hurt a lot. Since you can’t use fire on it, have Vivi use Bio instead, which should deal a lot of damage to the thing. If you want the items it has (Oak Staff, Magician Cloak, and Brigandine), then have Zidane steal the entire time. However, you should have grabbed the Brigandine right before the boss, so you shouldn’t really need another one right now. This will allow Zidane to attack. Dagger and Eiko can use their eidolons and heal whenever necessary.
Well, that’s the normal way to fight Soulcage, but there is a very quick and easy method to dispatching this foe. Considering it is undead, you can simply use Life or an Elixir to instantly kill the thing, with a Phoenix Down reducing its HP to single digits. The boss is susceptible to Slow, Darkness and Sleep, so those can help a lot in keeping things under control for the normal fight.
After the fight is over, the mist surrounding the tree will clear and the party will discuss their next move. Once everything is over with, it looks like returning to Madain Sari is the plan.
No Comments