
At the entrance to Ipsen’s Castle, the party will discuss what they learned, leading them to split up and tackle the four shrines needed to break the seal. Note that you will only have to actually go to one shrine, the Earth Shrine, with Zidane and Quina making up your party. Your best bet is to equip them both with Feather Boots, as this will absorb earth damage. For now, though, you will be forced to pick a party of three, as you won’t be heading straight towards your destination and will be allowed to freely roam. There isn’t really much you can do, though, other than catch some frogs (make sure Quina’s in your party).
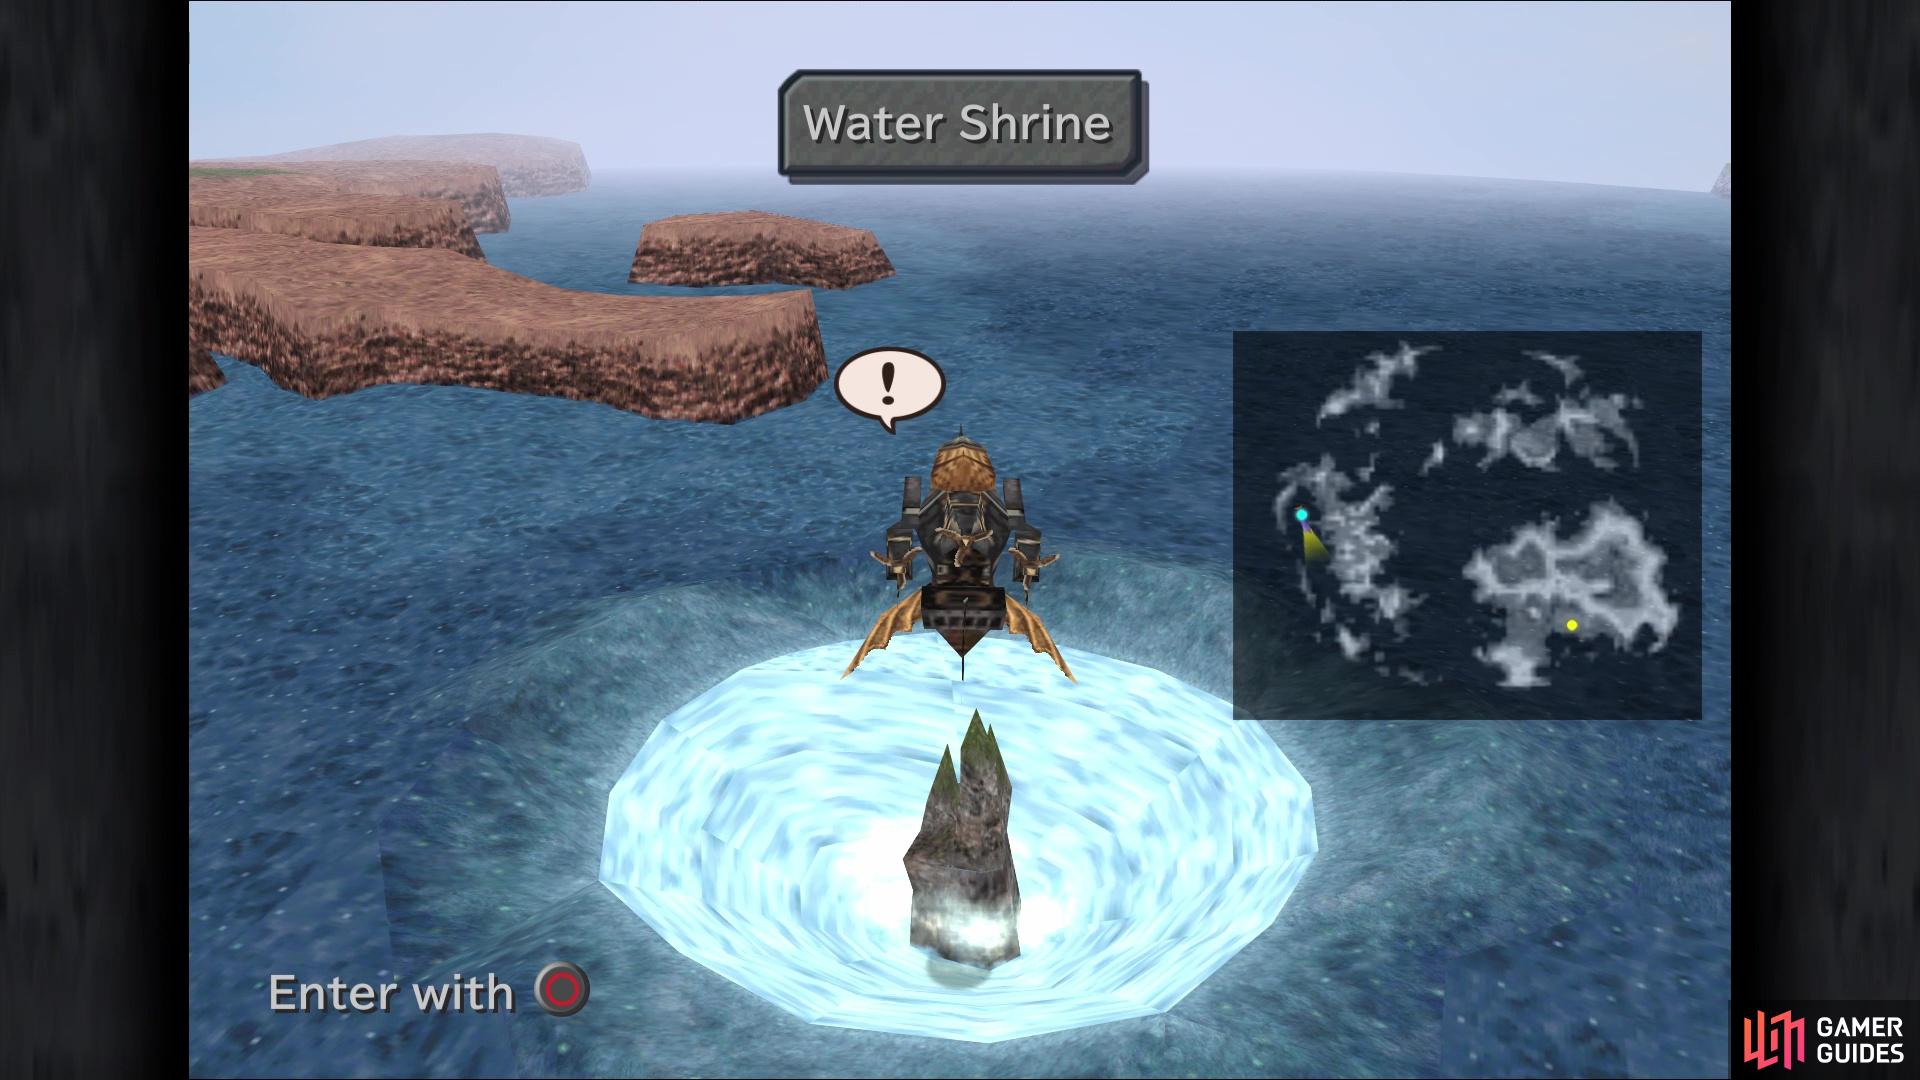
To get back on track, you will actually have to drop off your other party members at their respective shrines. The Water Shrine is south of Ipsen’s Castle, and is easily distinguishable by the large whirlpool. Next up is the Fire Shrine, which will be located on the Lost Continent (frozen one), northeast of Esto Gaza; just look for the smoke coming out of the volcano-like mountain there. The Wind Shrine is also on the Forgotten Continent, southeast of Oeilvert. Despite the hint given to you, there is no actual whirlwind/tornado, as the shrine is in a chasm in the cliffs.
That leaves just the Earth Shrine left, with Zidane and Quina making up your party. While the others won’t have actual battles you’ll participate in, these two will, so you want to make sure they are wearing good armor and weapons. Naturally, since it’s the Earth Shrine, having protection against earth magic is ideal, so just toss some Feather Boots on them both to avoid having to sacrifice good armor (Circlets are also good). You also want some protection against fire, lightning and ice (Auto-Reflect can also work). When you’re ready, you will find the Earth Shrine on the eastern side of the Outer Continent, not far from the Desert Palace. You’ll know you’re in the right spot, as the screen will shake.
Head inside and onto the next screen, where you want to be ready to press the action button whenever you see the prompt on the screen. After some scenes, you’ll be in the main room, so place the mirror on the pedestal for more scenes, then be prepared for a boss fight.
BOSS - Earth Guardian
The difficulty of this battle solely depends on how you built Quina, as if s/he has the majority of the Blue Magics up to this point, then you can make this fight a breeze. In fact, Bad Breath alone can inflict Mini, Blind and Slow on the Earth Guardian, meaning his physical attack (Double Slash) miss more often. Also, all of his attacks will deal half damage, thanks to Mini. The other attacks include Blizzaga, Thundaga and Firaga, as well as Earthquake. If you heeded the warning prior to this, then you should have earth protection and won’t have to worry about that.
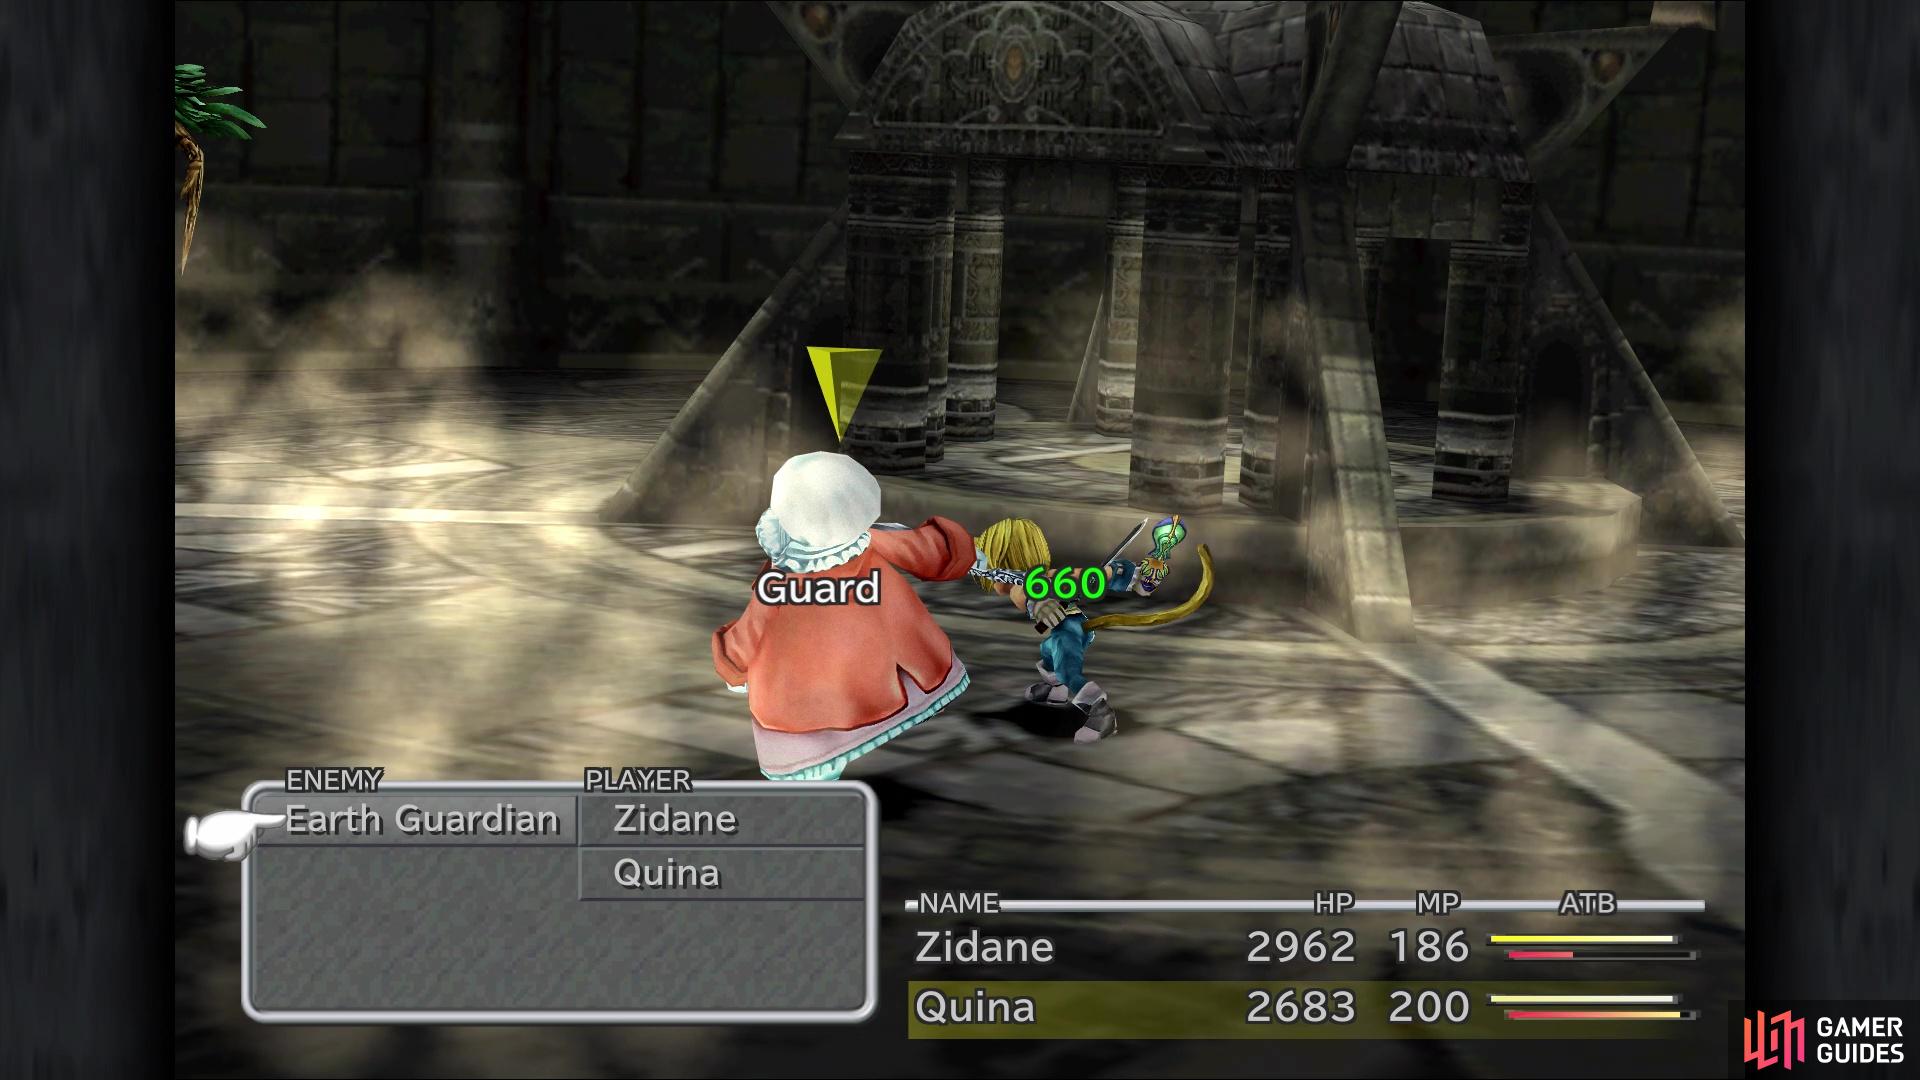
With the right equipment, Earthquake can do nothing
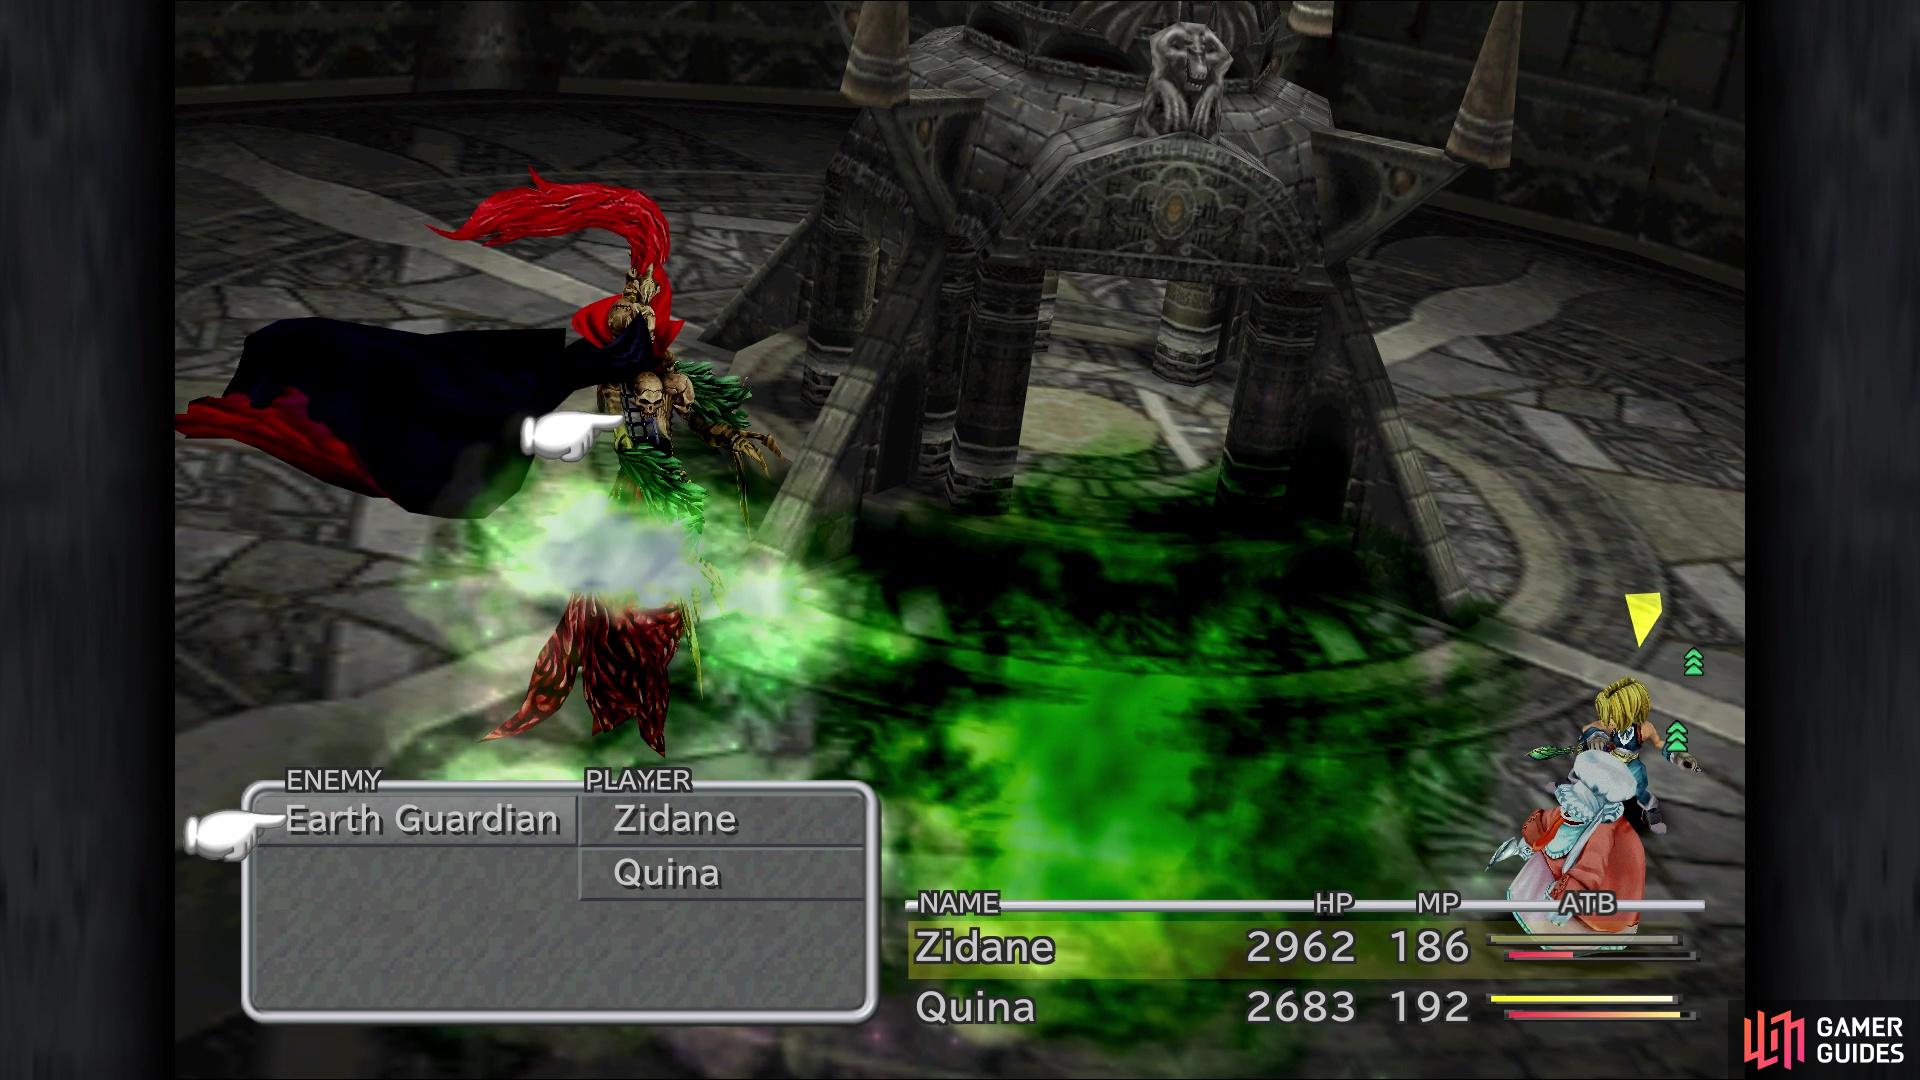
Bad Breath can inflict a bunch of ailments on the boss
With Bad Breath, you can have Quina concentrate on dealing damage, while Zidane tries to steal the Avenger and Rubber Suit. Once he nabs both of those, then he can go on the offensive, too. Note that the Earth Guardian can be eaten by Quina, which would net you the Earthquake Blue Magic, if you didn’t happen to get it earlier in the game.
With that fight over and done with, there will be a few more scenes and the party will get back together on the airship. Your next target is the Shimmering Island, but there are a few things to be cautious about before heading there. Some areas of the map will get closed off, meaning that some things will be inaccessible, some of which are side quest related. As an example, the Rare Coffees is one such side quest that will be permanently missable after you move on with the game, as will being able to defeat the Amdusias in Treno’s weapon shop. The following locations will also become unavailable (including the treasures within those locations):
- Conde Petie
- Conde Petie Mountain Path (get the Moonstone there if you haven’t already)
- Desert Palace
- Esto Gaza
- Fossil Roo
- North and South Gates
- Ice Cavern
- Iifa Tree
- Mount Gulug
- Observatory Mountain
- Oeilvert
- Pinnacle Rocks
This missable stuff also extends to some of the equipment sold in a few places. The ones you really want to concentrate on are those that give abilities/skills to characters that can’t be gotten elsewhere. The following table lists all of the gear (with abilities/skills) or can be used later that becomes unavailable once you finish the Shimmering Island.

This is your last chance for the easy Cotton Robe trick to make some money
| Item | Location | Notes |
|---|---|---|
| Trident | Oeilvert/Desert Palace Mogshops | Luna ability |
| Diamond Sword | Esto Gaza | Power Break ability |
| Flame Saber | Esto Gaza | Magic Break ability |
| Heavy Lance | Esto Gaza | Six Dragons ability |
| Black Hood | Esto Gaza | Death ability |
| Hamelin | Esto Gaza/Daguerreo | Jewel ability |
| Obelisk | Daguerreo | Cherry Blossom/Initiative (Not exclusive to weapon) |
| Octagon Rod | Daguerreo | Firaga/Blizzaga/Thundaga abilities |
| Rune Blade | Daguerreo | Iai Strike ability |
| Tiger Fangs | Daguerreo | Used in synthesis |
| Zorlin Shape | Esto Gaza/Daguerreo | Used in synthesis |
| Mythril Vest | Black Mage Village | Used in synthesis |
When you’re ready, it’s time to fly over to the Shimmering Island, which requires the airship and is located south of Esto Gaza.
No Comments