
Preparation for the Superbosses
The two big superbosses of the game are locked behind two of the side quests, but you might want to level up a little bit. At this point in the game, your levels are probably in the low-to-mid 30s and you might want them in the upper-to-low 40s. One of the better places to do this is against the Grand Dragons, although you want to make sure you have certain skills equipped first. Every character should have Antibody equipped, because of Venom Breath and Poison Claw, as well as Level Up to expedite the process. Melee characters who have access to MP Attack should use that, while those with Distract can use that to help avoid Poison Claw. Coral Rings help with negating Thundaga, but you can also reflect it back at the enemy to inflict some damage.
There are two main spots where you can encounter Grand Dragons, either in Popos Heights or on Lanar Island, which is one of the islands in the southwest corner of the world map; it’s the same island with the Qu’s Marsh on it. This place is great, especially if you’ve finished the Chocobo Beach side quest, as you can heal up on this island. Note that you will also encounter Gimme Cats on this island, who can be annoying with their constant begging for Diamonds; either run away from them or defeat them, but be careful of their Comet counter on the first attacker. Also, stick to the grassy plains for the Grand Dragons, as you will encounter Adamantoises in the swampy tile (they are good for money, especially with Quina’s Millionaire equipped).
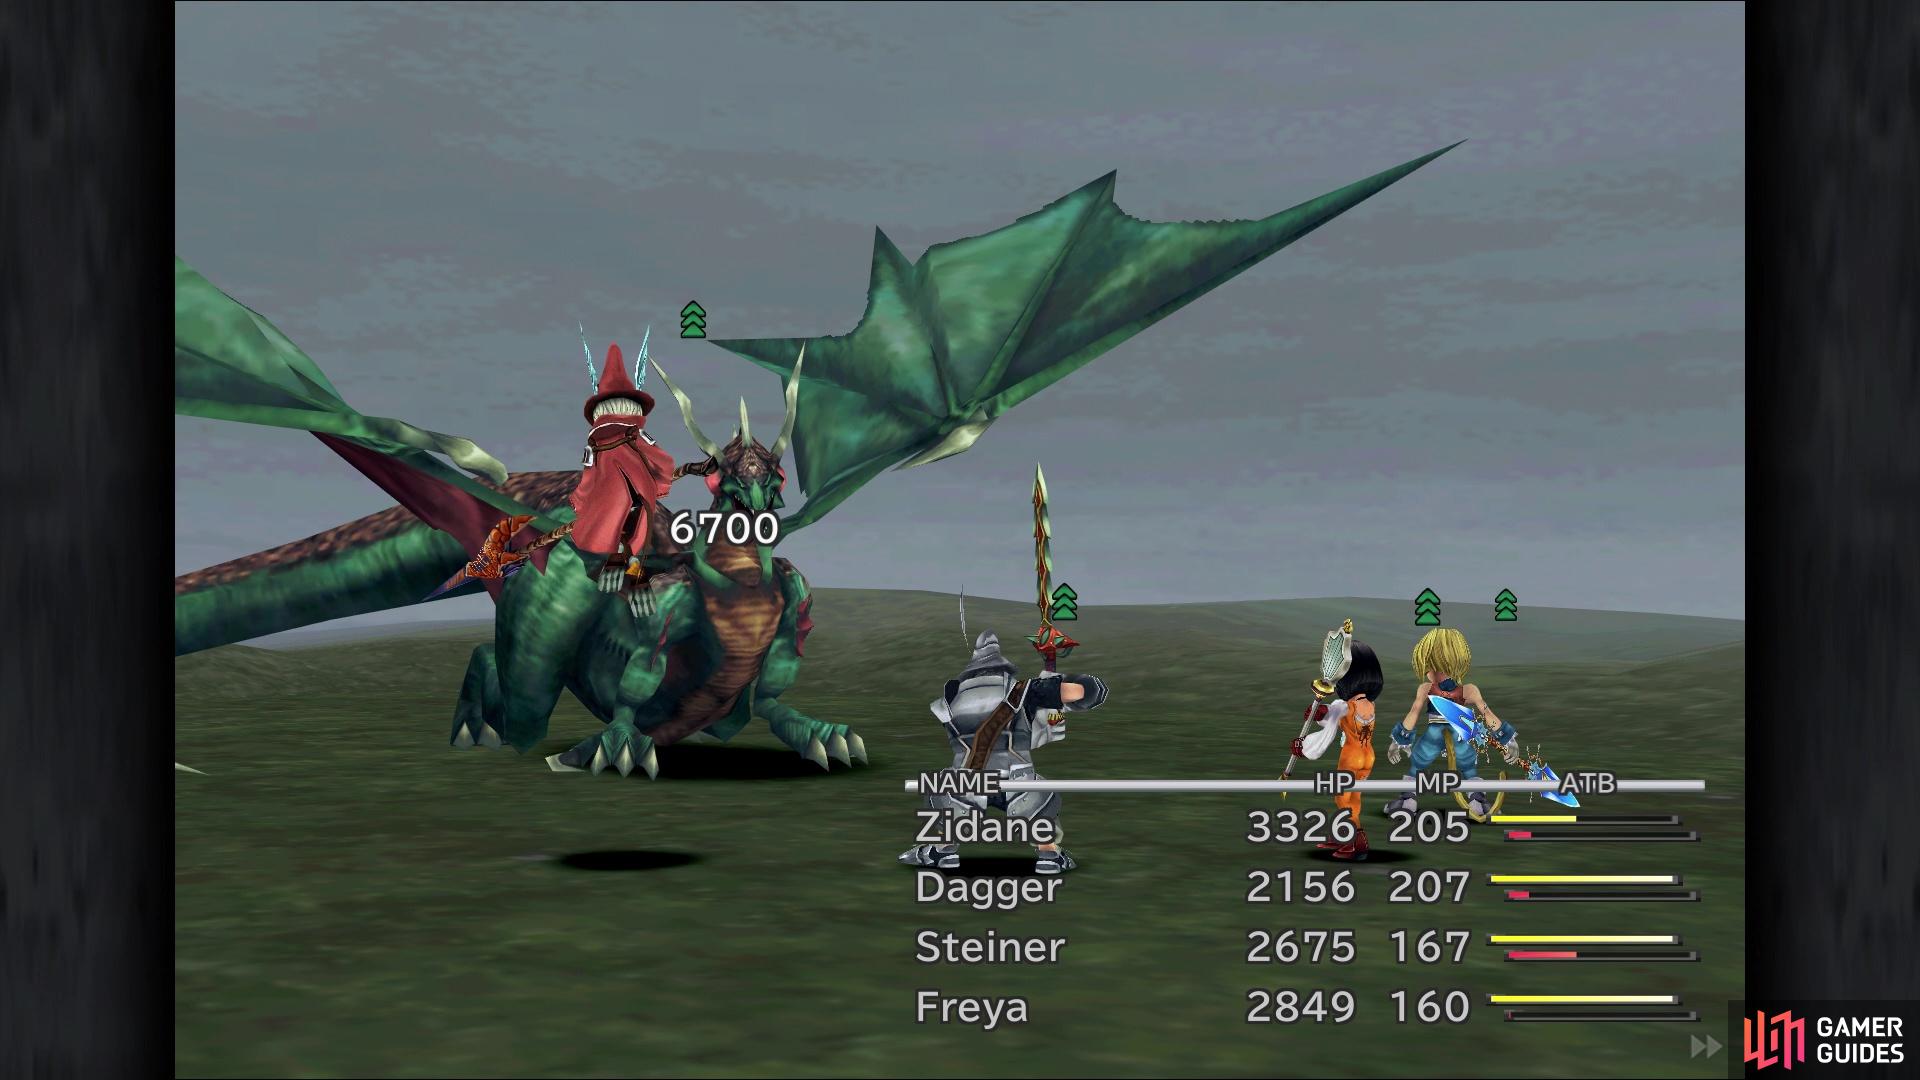
Grand Dragons are still some of the best experience for leveling
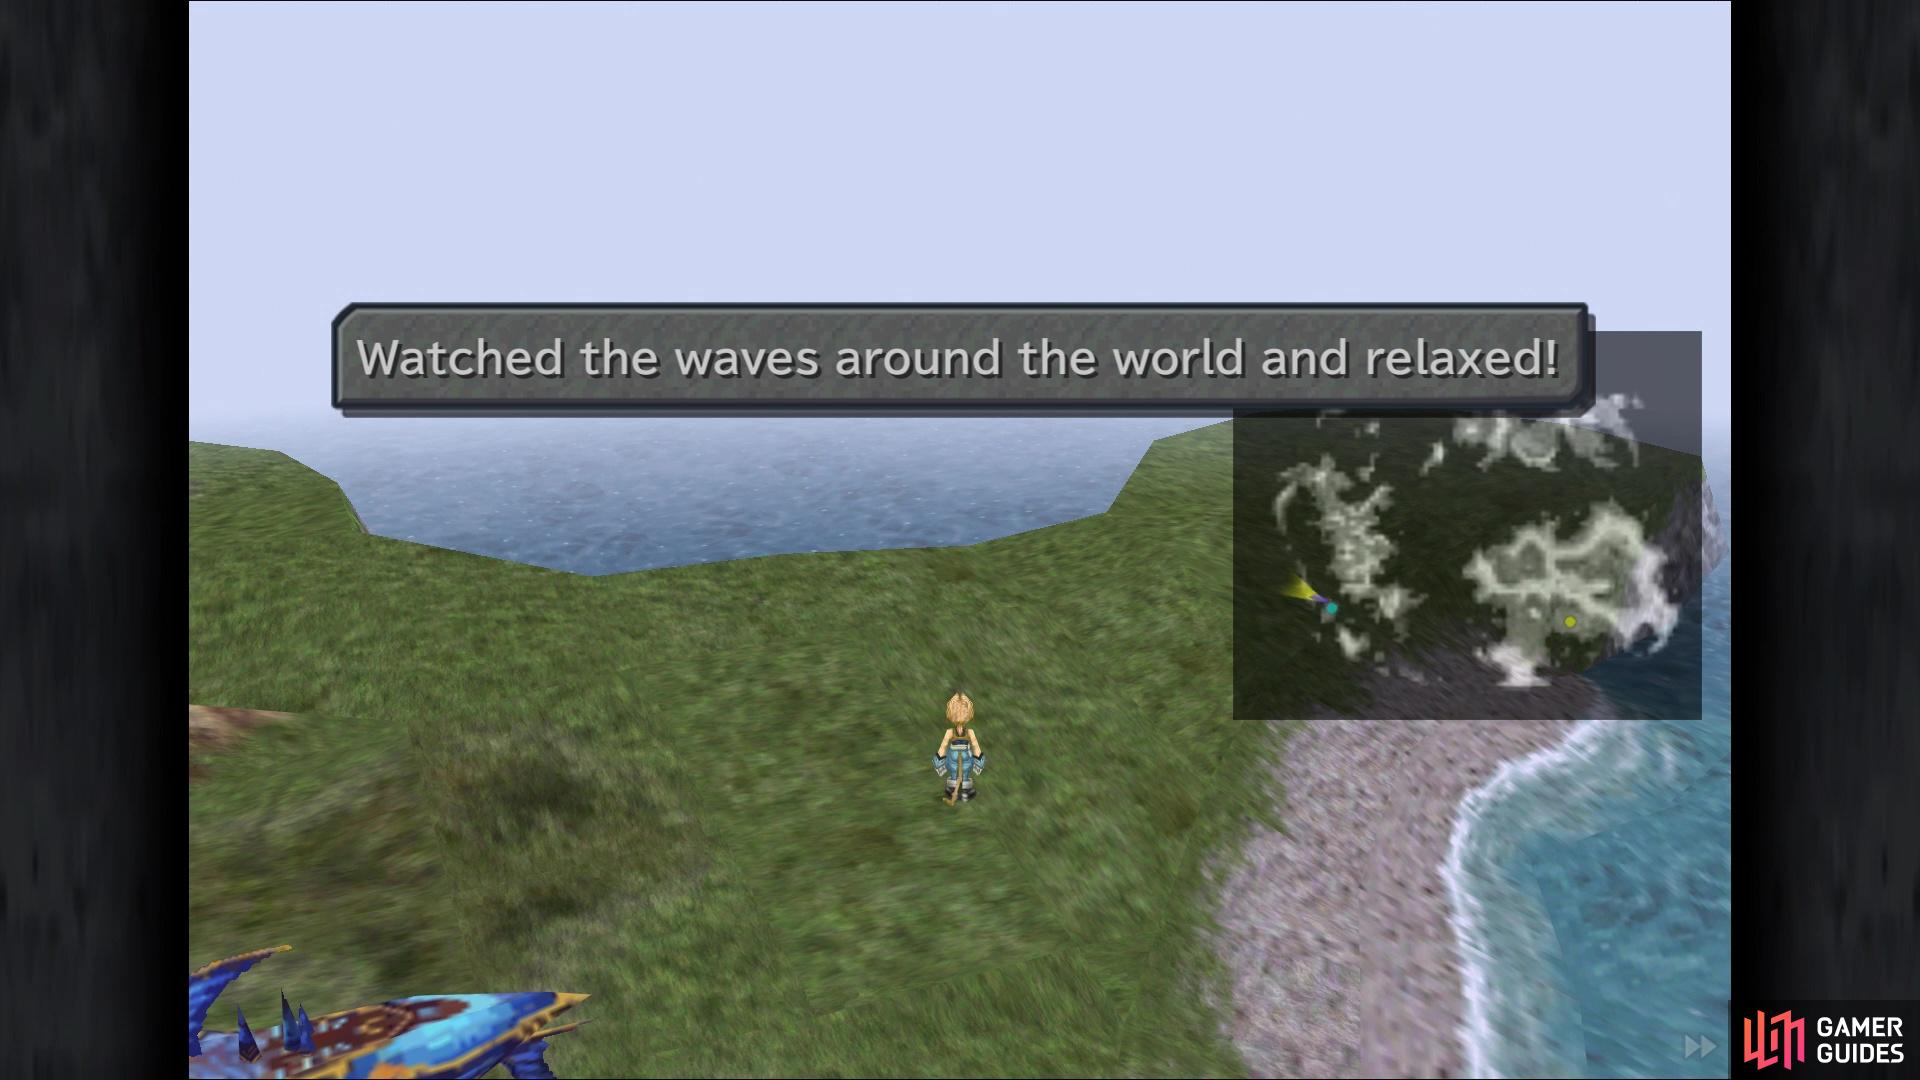
You can use the beaches to refill HP/MP if you’ve done that side quest
The first boss is at the end of the Catching Frogs minigame. To get this one, you will need to have caught a total of 99 frogs, but note that the boss will trigger upon catching the 99th frog. So, you will want to prepare for the boss ahead of time, making note that you will be forced to use Quina here, as s/he is needed to catch the frogs. The boss will be using a variety of status ailments, so you will need to cover for those. These ailments include Darkness, Poison, Silence and Confusion, so make sure each of your four party members can negate those with their abilities (Bright Eyes, Antibody, Loudmouth and Clear Headed, respectively), if they have the respective abilities, of course.


The only other thing needed is protection from water damage, as the boss will also use Water quite often. This can be done with Ribbons and you should have at least three of them at this point, if you’ve been following the walkthrough. There’s only one more in the game, which is located in the Treno Auction House. Note that it’ll cost a good bit of money to win it, ranging around 80,000 Gil, but is pretty good to have against the boss.
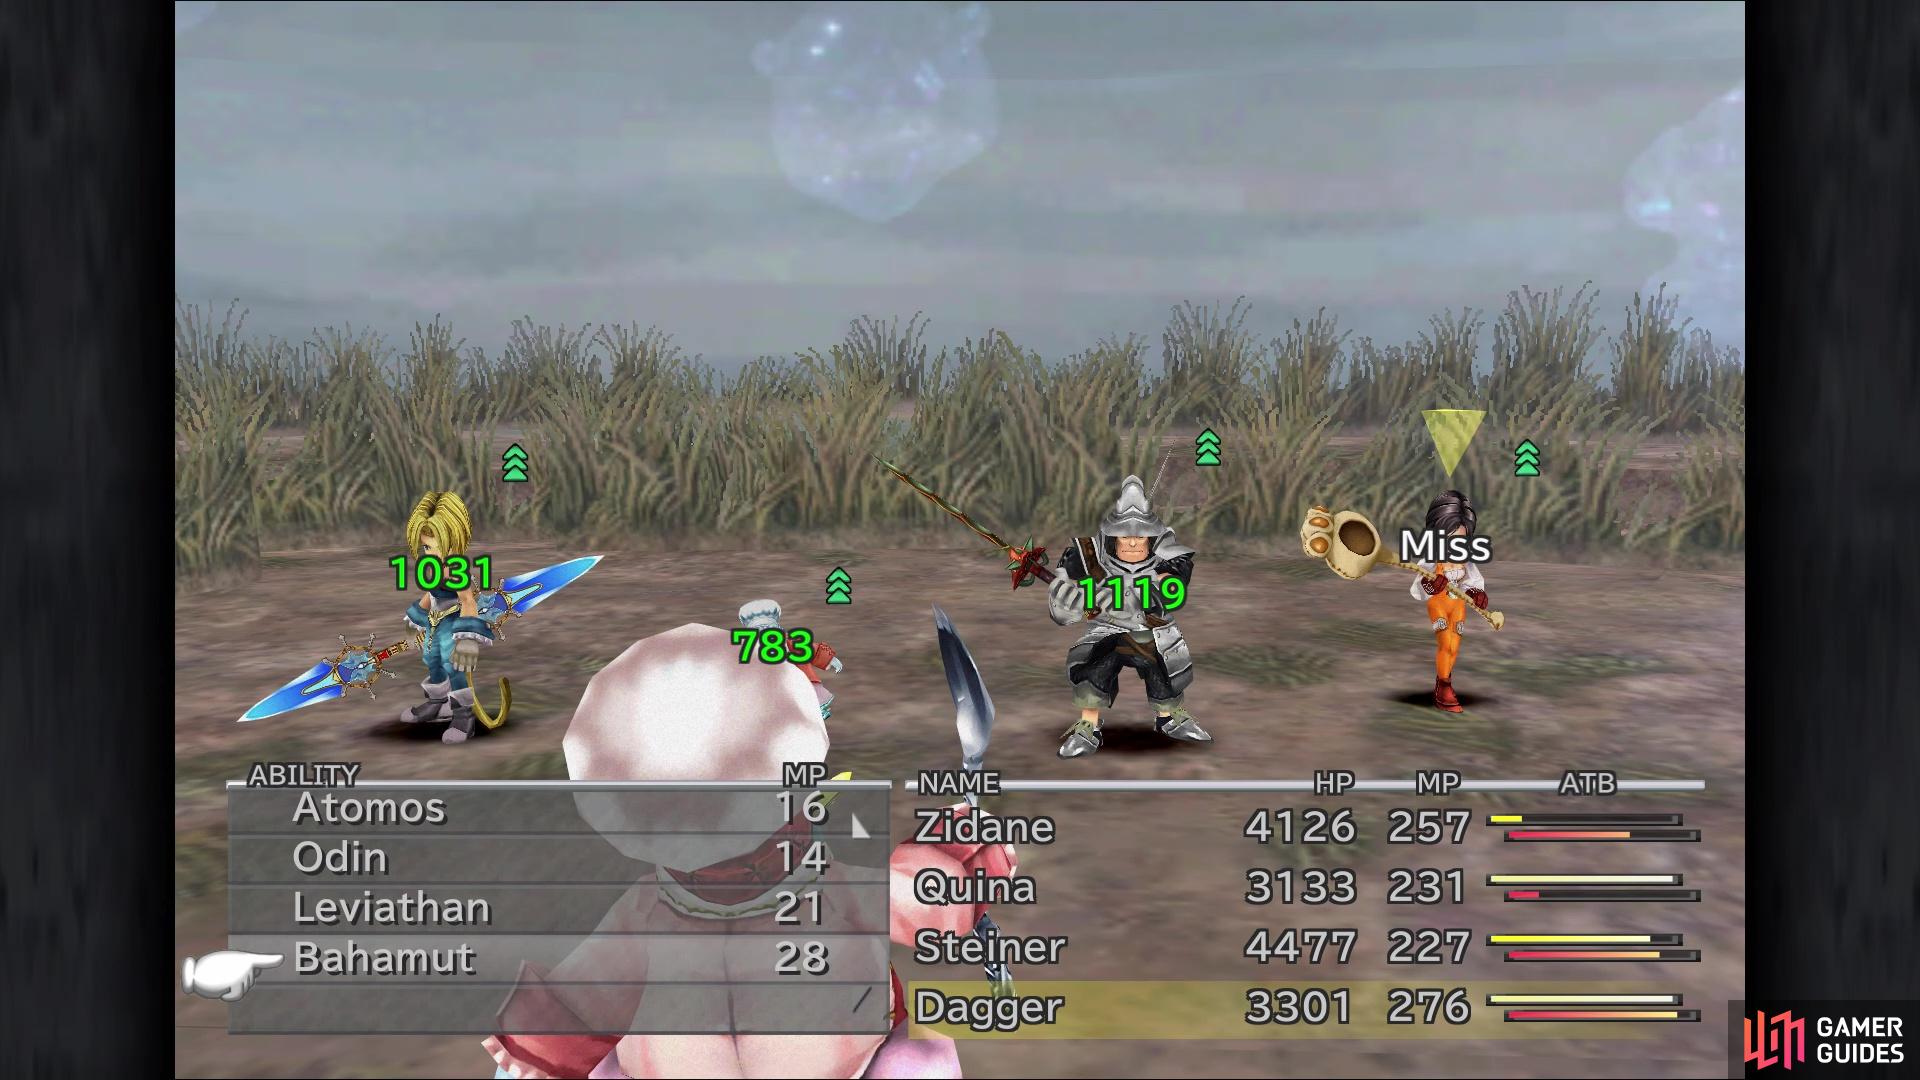
BOSS - Quale
Quale is definitely a quick boss and will not hesitate in pounding you with status ailments and water spells. Luckily, you should be protected from most of this, so the only thing that will really bother you is Mini. Quale can use this on a single person or the entire party, so the only way to cure it is with Remedies. Luckily, Quina has access to Angel’s Snack, which uses a Remedy for each person in your party, so if Quale casts Mini on everyone, use the Blue Magic to cure it. The only other skill that will be bothersome is Rolling Attack, a physical attack that’ll deal around 1500-2000 damage.
Absorbing/nullifying water damage will help a lot
as well as protecting against the plethora of status ailments Quale can use
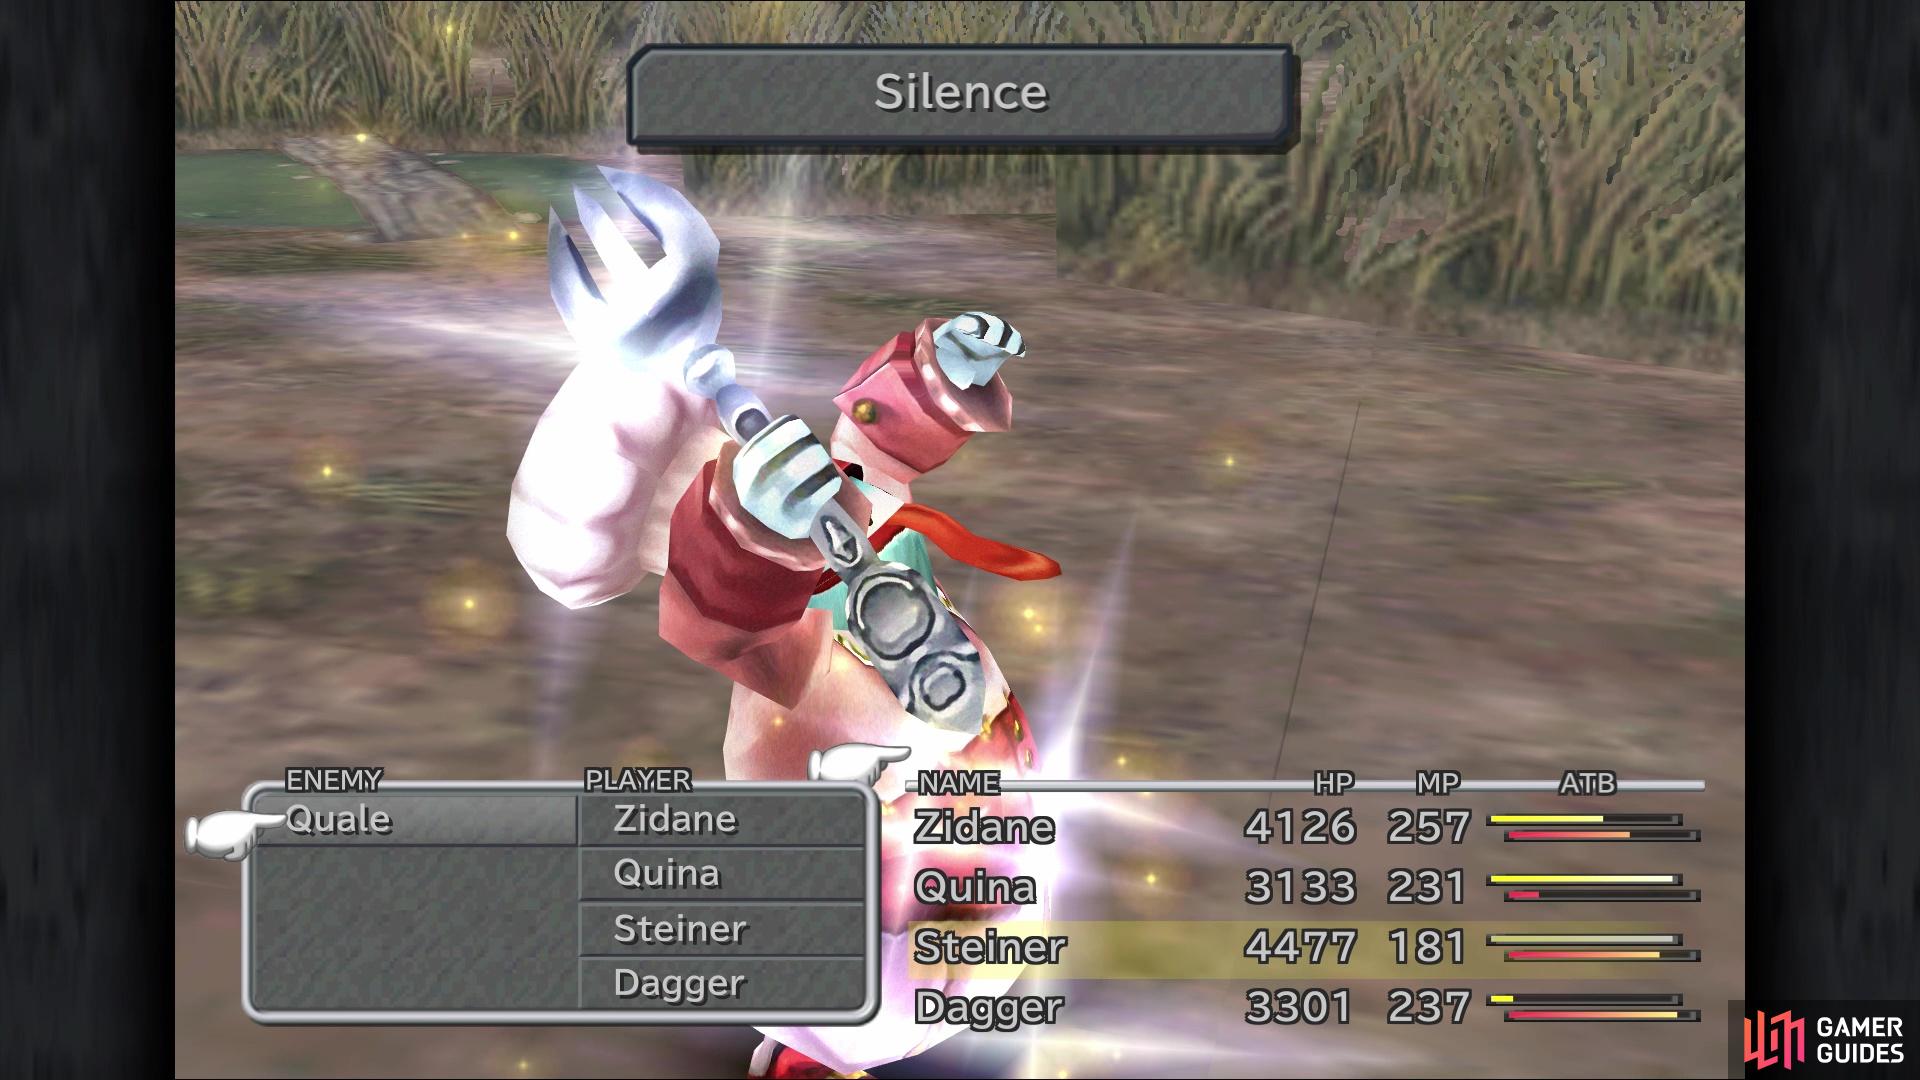
It doesn’t seem like Quale will use this often, but if you happen to come up with the idea to drain his/her MP completely, then s/he will use this exclusively. Quale has a lot of health, about 55,000 HP, so it will be a lengthy battle, but his/her defenses aren’t particularly good, so you won’t have to worry about your attacks dealing little damage. The only thing to be careful about is using water-elemental attacks, as Quale will absorb them. Apart from that, s/he is weak to thunder and does have some nice items to steal, if you want to try your hand at pilfering them - Elixir, Ninja Gear, Glutton’s Robe, and a Robe of Lords.
For winning the battle, Quale will hand over Quina’s ultimate weapon, the Gastro Fork and that’s about all there is to say about this boss.

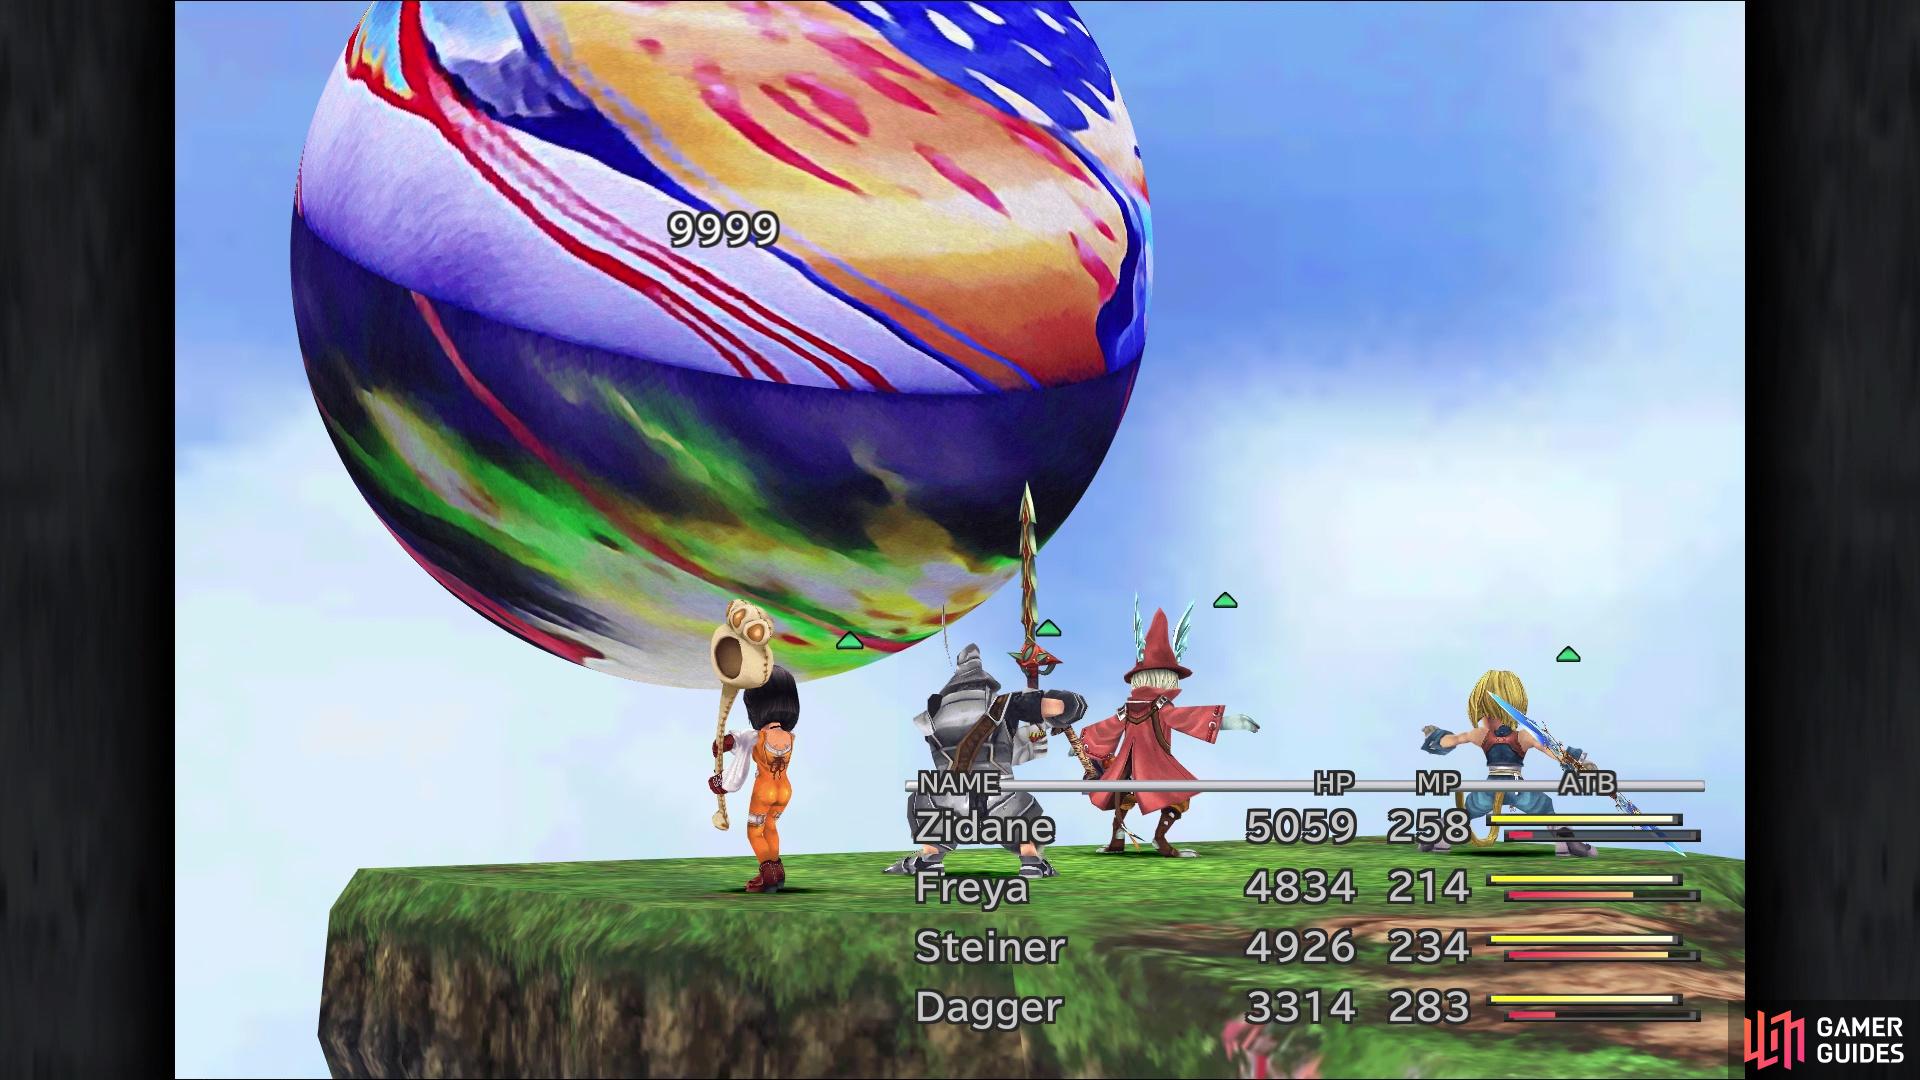
The Bouncy Ball in the Sky
The other superboss in this game, Ozma, is definitely a lot more challenging to face. In order to find Ozma, you will need to do the Chocobo Hot and Cold side quest and fish up enough of the Chocograph Treasures to procure the Sky Ability for Choco. Once you have done this, find the Chocobo Air Garden and there will be a structure in the back that you can examine. Do this twice and you will get the option to change party members and even check your equipment. Whenever you’re ready, pick to start the battle with Ozma.
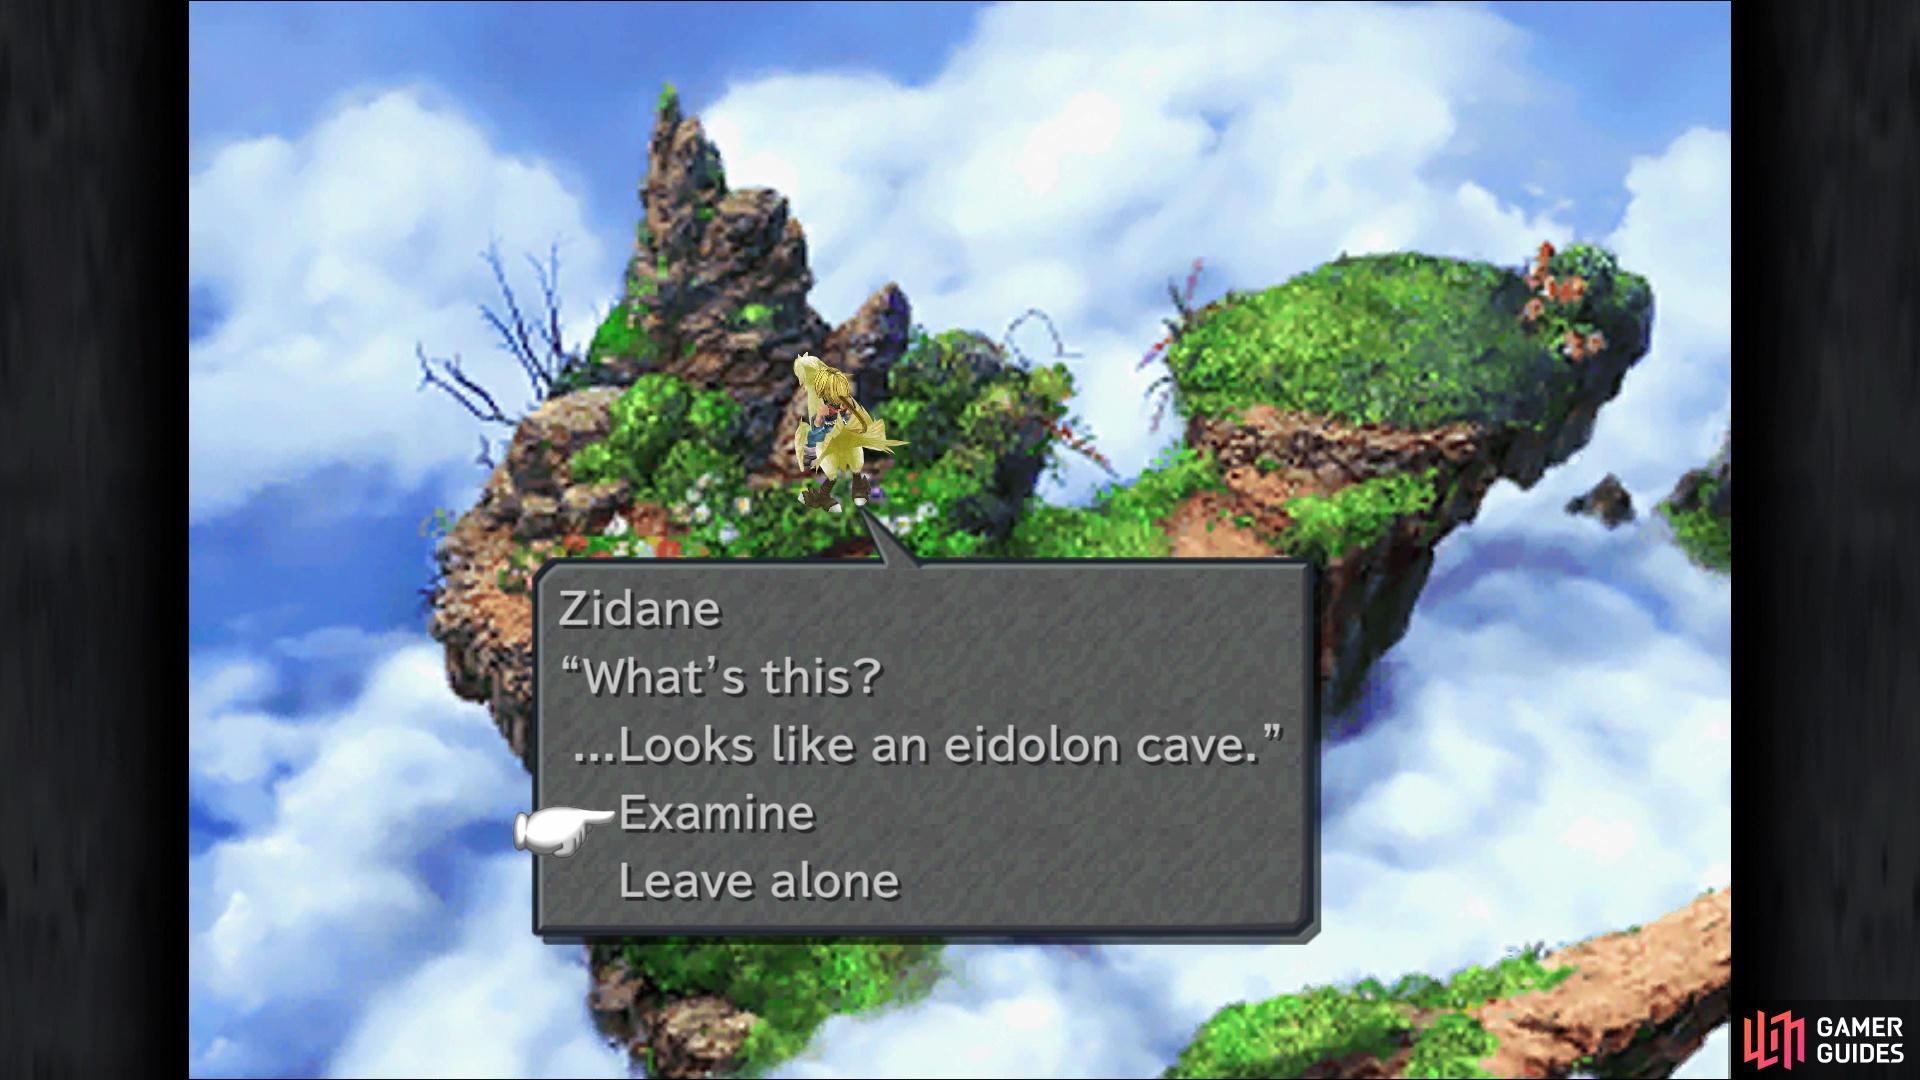
Ozma is located in the Sky Garden, at the “cave” in the back of the place
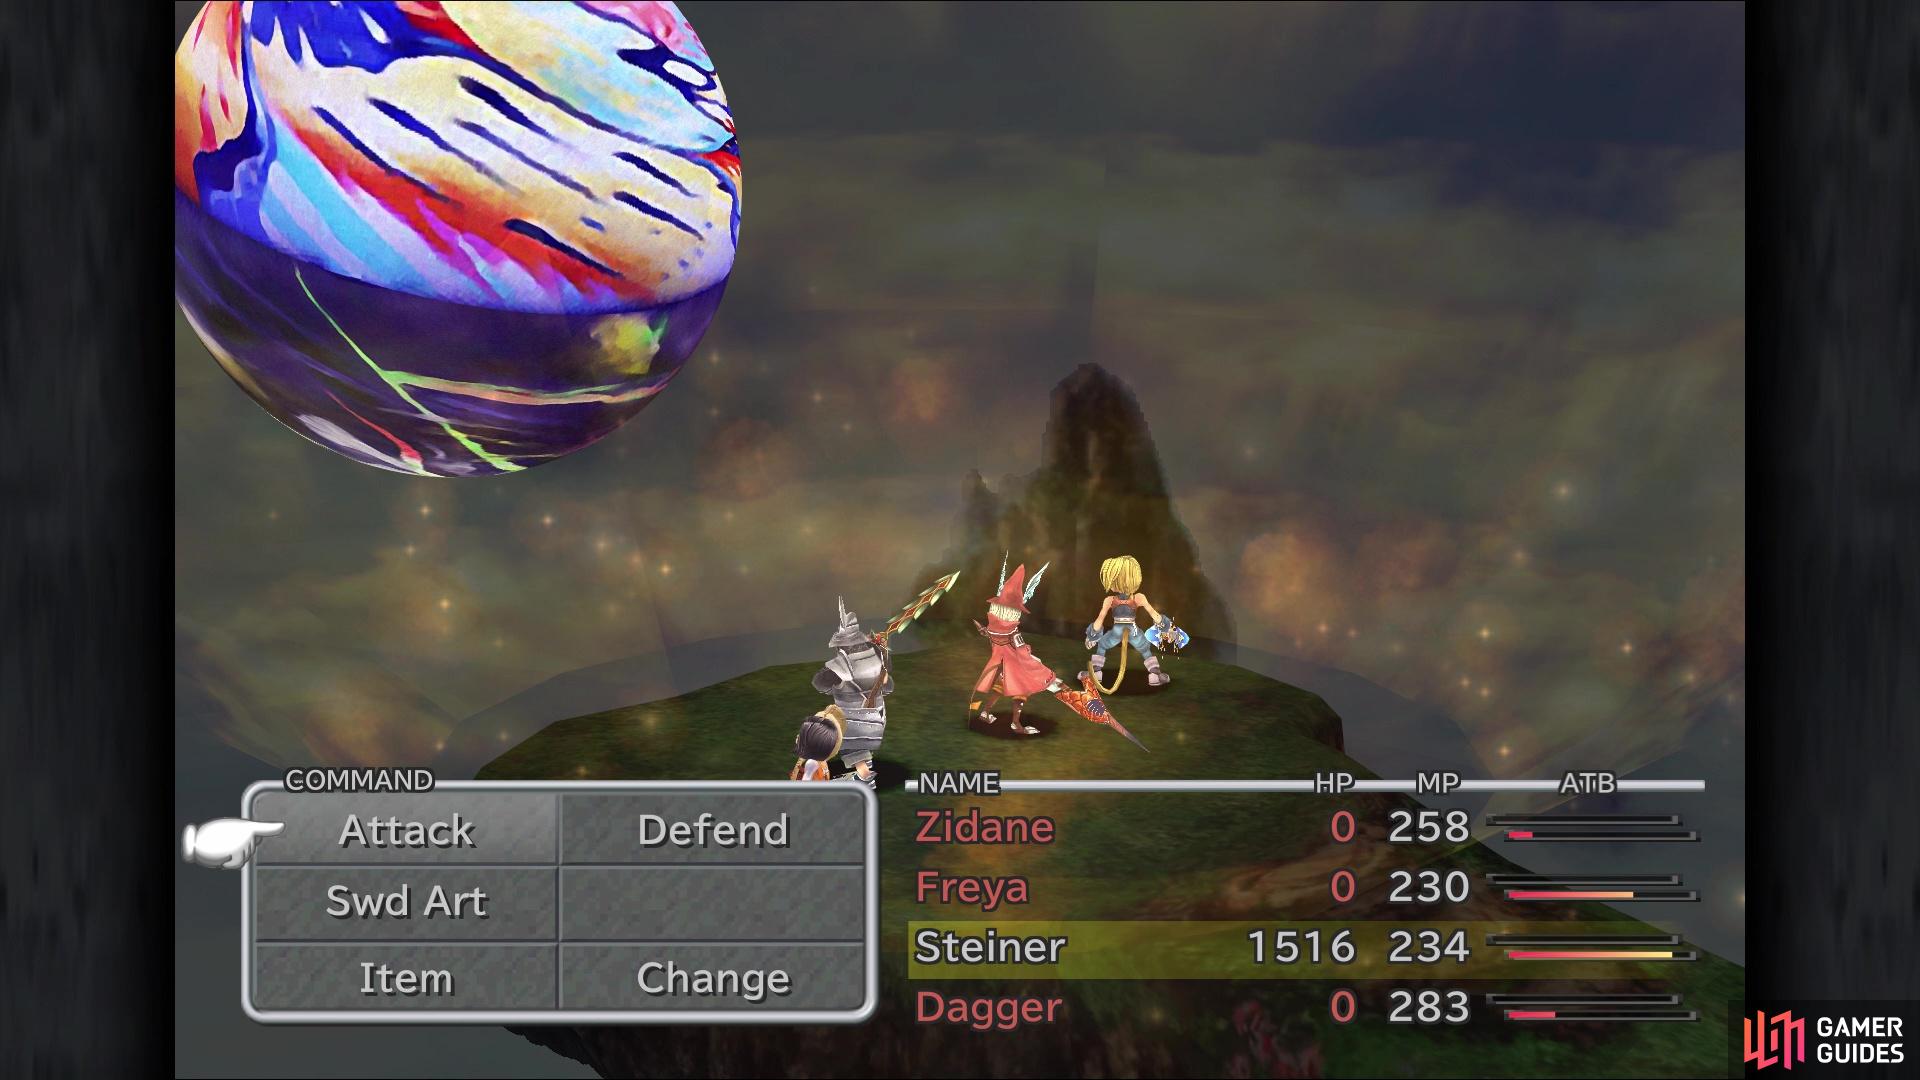
Before you actually dive in, though, let’s talk about the preparations needed for this creature. First and foremost, you want to complete the Friendly Monsters, as this makes Ozma weak to shadow damage and your melee characters will be able to reach him. Ozma has a large number of moves in his repertoire, with one of the worst ones being Curse. This does damage and can inflict the following ailments on your party - Confuse, Poison, Slow, Mini and Darkness. Auto-Haste will take care of the Slow and you should equip everyone with Antibody, Clear Headed and Bright Eyes, for those who have it. Also, you will want equipment that either absorbs or nullifies Shadow damage. Initiate the battle and let’s get down to fighting this giant bouncy ball.
BOSS - Ozma
There’s no beating around the bush, as Ozma is extremely challenging and even if you’re prepared, Ozma can dismantle your party very quickly. The catch with Ozma is that he has a hidden mechanic that basically lets him cheat in the fight. Whenever you choose an action to use in combat and Ozma isn’t performing one of his own, then his hidden ATB gauge will automatically fill up completely and Ozma will take a turn before your characters. To add onto this, Ozma will not actually use specific moves if your party absorbs an element, but this doesn’t apply to just nullifying it. Thus, it’s a good idea to make sure some characters are susceptible to these moves to avoid making Ozma use one of his more dangerous skills.
Let’s move on to Ozma’s repertoire, which includes the likes of LV5 Death, one of the moves you want to see, despite it actually KOing the character. You only need a single character vulnerable to it, as well as someone vulnerable to LV4 Holy, too. Besides the LV4 version, Ozma has access to the normal Holy spell, too, as well as normal Death spell. Flare is something you’re probably familiar with and Flare Star’s damage is based on your characters’ level. Curse was talked about above, with it dealing non-elemental damage and inflicting Confuse, Poison, Slow, Mini and Darkness. You should have protection against all of those, except for Mini. Ozma also has access to the Mini spell by itself.
Luck can play a huge part in the Ozma fight
with it sometimes not going in your favor
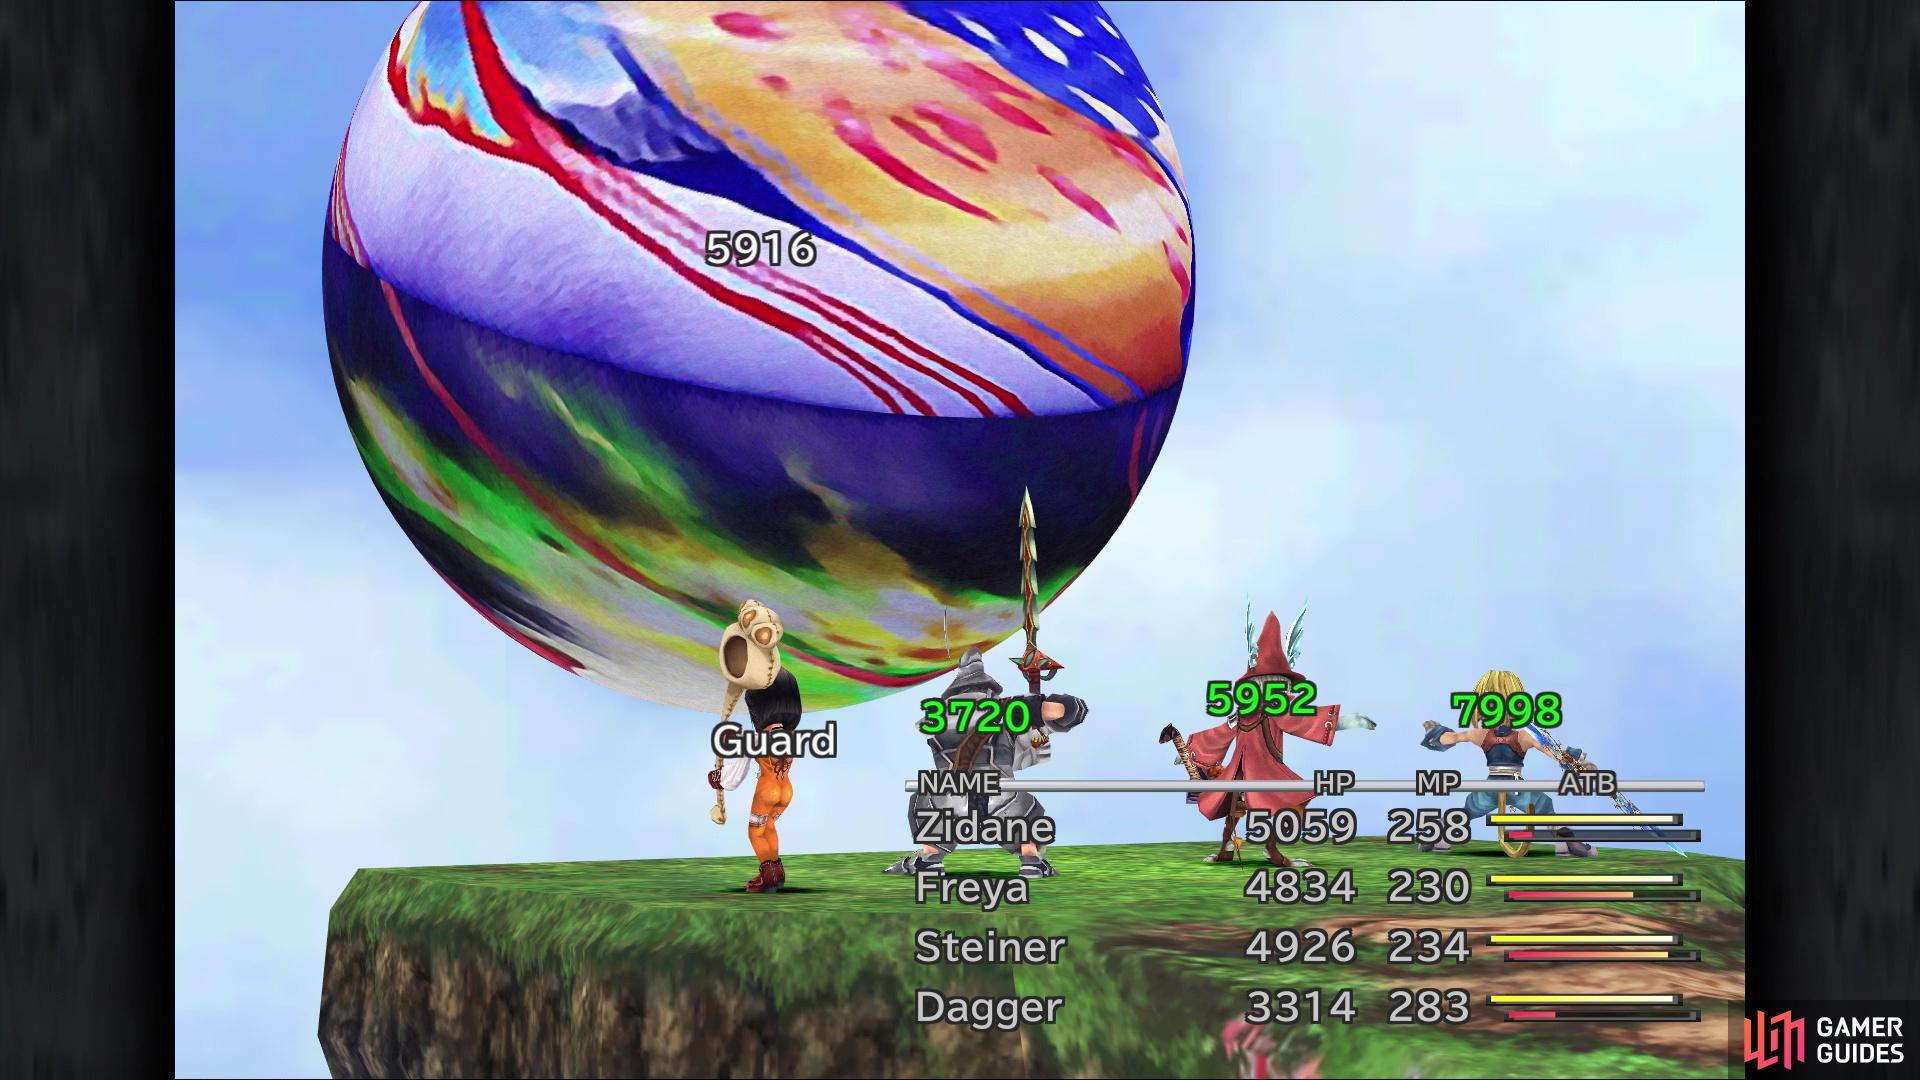
Meteor’s damage is random, but there is a chance it can inflict 9,999 damage to the entire party, which is something you can’t protect against, unless you have Auto-Life. If you wanted to have Ozma waste a turn using Esuna, the only ailment you can inflict on him is Darkness. If low on MP, Ozma can use MP Absorb to steal it from your party. The last of the normal attacks is Doomsday, a dark-elemental spell that hits both Ozma and your party. However, you can protect yourself from this damage with equipment, and if you completed the Friendly Monsters side quest, then Ozma will be weak to this attack instead of absorbing it. Lastly, Ozma has counters, namely Berserk and Curaga, the latter of which is when Ozma’s HP is low.
That takes care of the attacks and general way that Ozma works, but there’s even more. The turn order determines which of the attacks that Ozma will use, specifically whether they are odd or even numbered turns. On odd turns, Ozma can use Doomsday, Meteor, Holy, Death, Absorb MP, or Flare Star. On even turns, you can see Mini, LV4 Holy, LV5 Death, Esuna, Curaga or Curse. Despite the randomness involved in the fight, there are still a few things you can do to ensure some attacks don’t get used, like absorbing holy-elemental on everyone or not having anyone’s levels divisible by 4/5, but as said before, you kind of want those.
For attacks, you will want to use everything you have and throw it at the boss. Attacks that do the same damage, like Frog Drop/Thievery/Dragon’s Crest, are good, depending on if you powered them up to deal the maximum of 9999 damage; note that these attacks deal the same damage even when afflicted with Mini. Steiner’s Shock is also a good attack to use, although it is affected by Mini. Quina has access to other useful spells, like Auto-Life and Mighty Guard, as well as Angel’s Snack to help get rid of Mini. Amarant can use Aura to put Auto-Life on characters, which is even more helpful when used in Trance, since it affects the entire party. Remember that immunity is different than absorbing an element, so you can use this to your advantage to lessen the chance of the more devastating moves.
Finishing the Friendly Monsters side quest makes Ozma vulnerable to his Doomsday
Using moves that ignore defense will be a great help
For winning the fight against Ozma, you will receive a Pumice, allowing Dagger to learn the Ark Eidolon. Also, you will receive the Strategy Guide key item, which is entirely useless. You will also unlock the To Ozma and Back trophy/achievement for your troubles. That’s about all there is to the superbosses of this game, so it’s time to finally tackle the final dungeon.


No Comments