
You will regain control back in the guest room in Lindblum Castle. Before you do anything, speak to the moogle in the room (Mogki) and grab the letter from him, which will be addressed to Kumool. Take the elevator to the Upper Level and head into the conference room that’s below the royal chambers. While the scene is going on, you will automatically view two ATEs called Team and Recovery. During the search for the important person, you will receive the Garnet add-on, then you will find Dagger.
When all is said and done, you will have gained access to the Hilda Garde III, your very own airship. While on the ship, you will learn that you can press the X (Playstation) button on a white dot on the map to automatically travel there. Plus, the one male crew member will allow you to change your party members. Your next story target is this Ipsen’s Castle, located on the northern end of the Forgotten Continent, but the airship will allow you to do a lot of other things, like close out some of the outstanding side quests still open.
You can only land on grassy areas with the Hilda Garde III
A Flying Chocobo
The first side quest you will be working on is the tired, old Chocographs. If you’ve found all of the ones from Side Questing 2, then there won’t be many left. However, to find the rest of them, you’re going to require one final upgrade for Choco. You should have four of the six Chocograph Pieces from previous digging adventures, with the final two becoming available now. The first stop will be Chocobo’s Forest, so head there and summon Choco, then enter the forest. There will be two more Chocograph Pieces here and if all others are acquired, then they will be the final two.
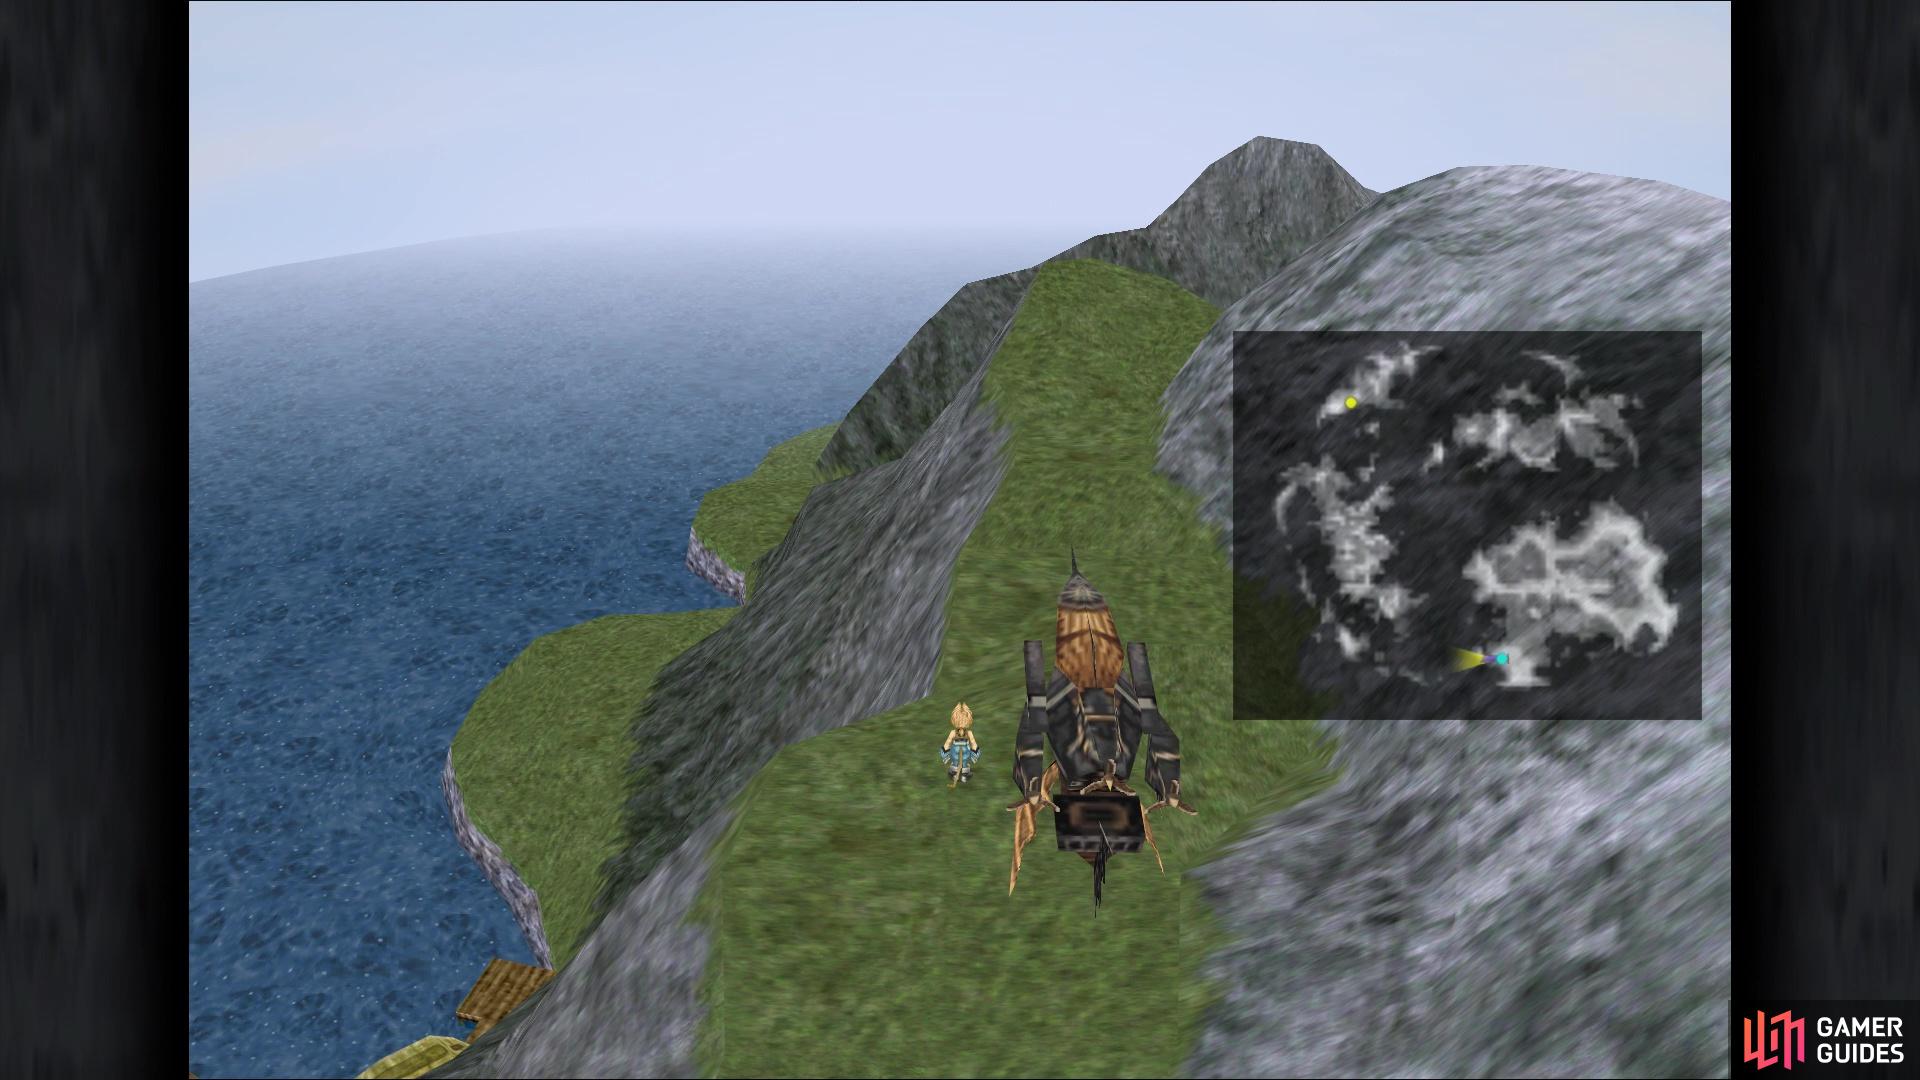
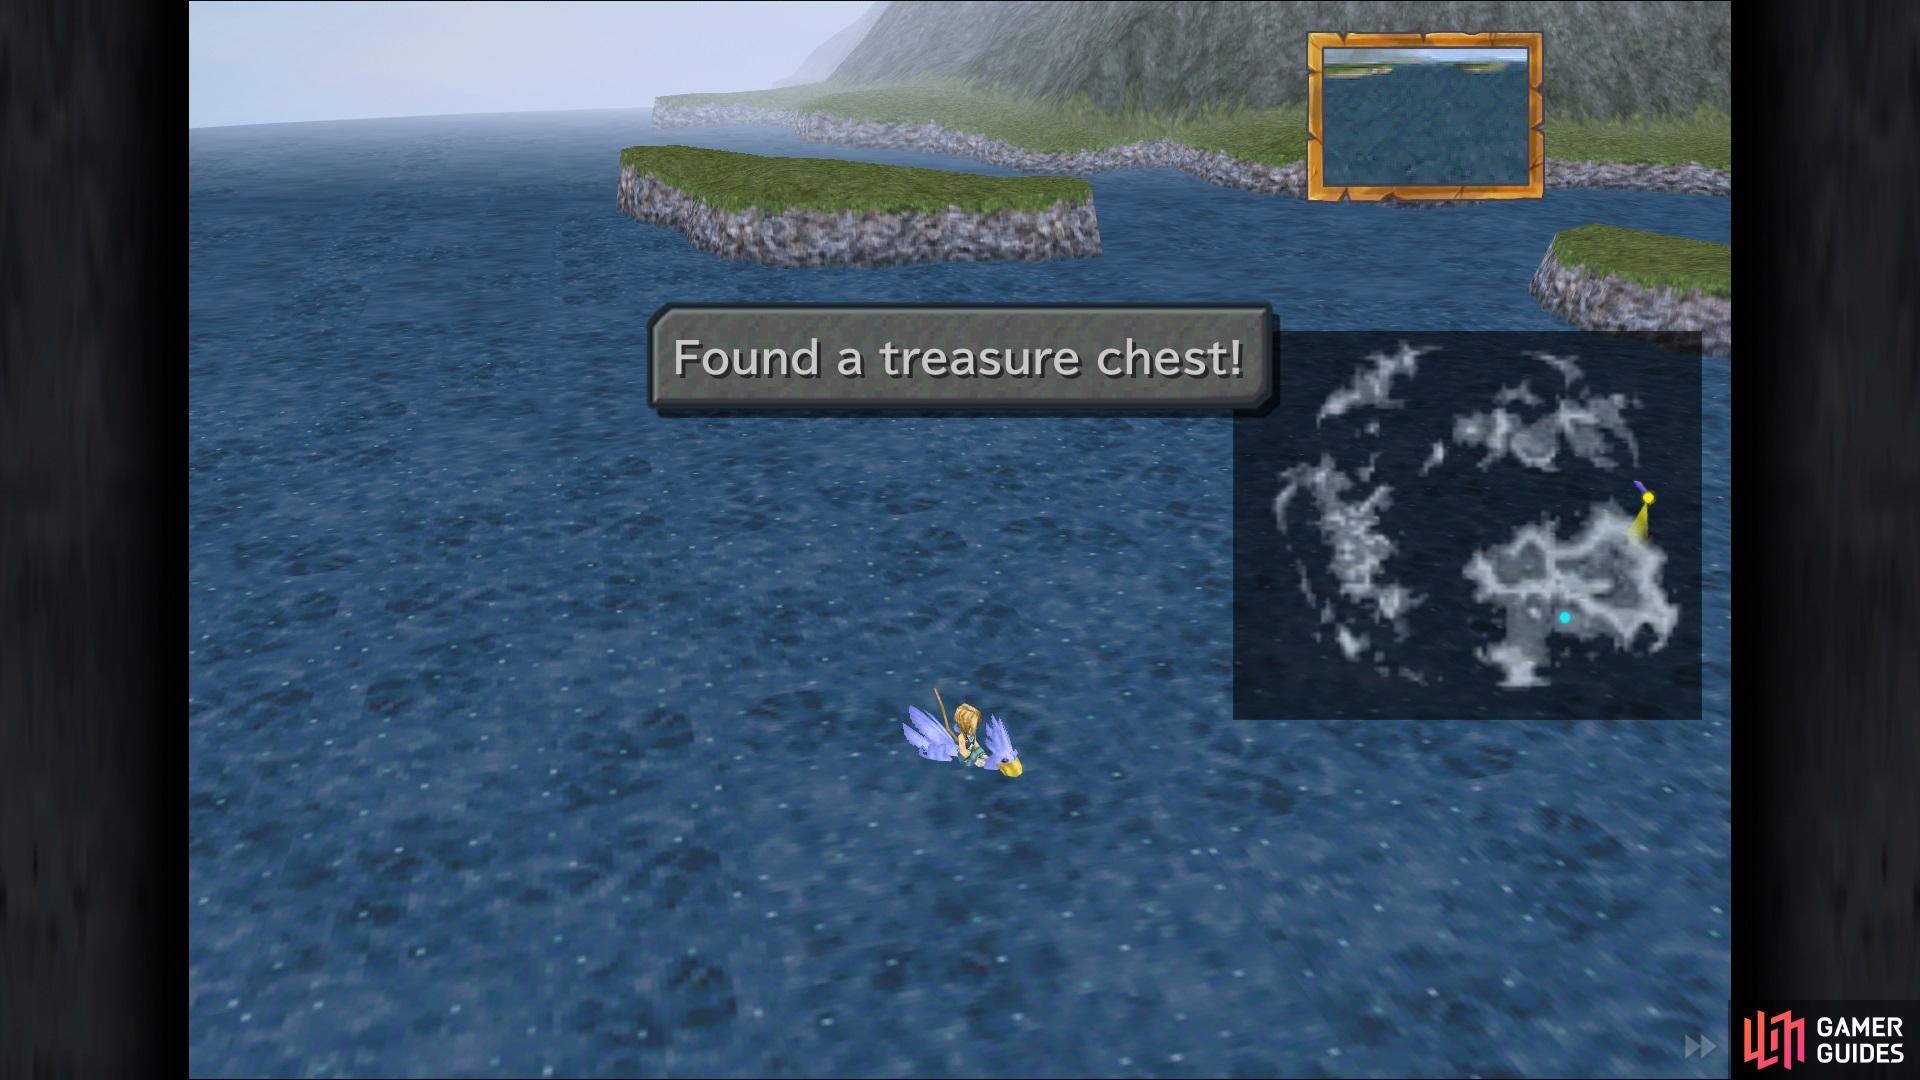
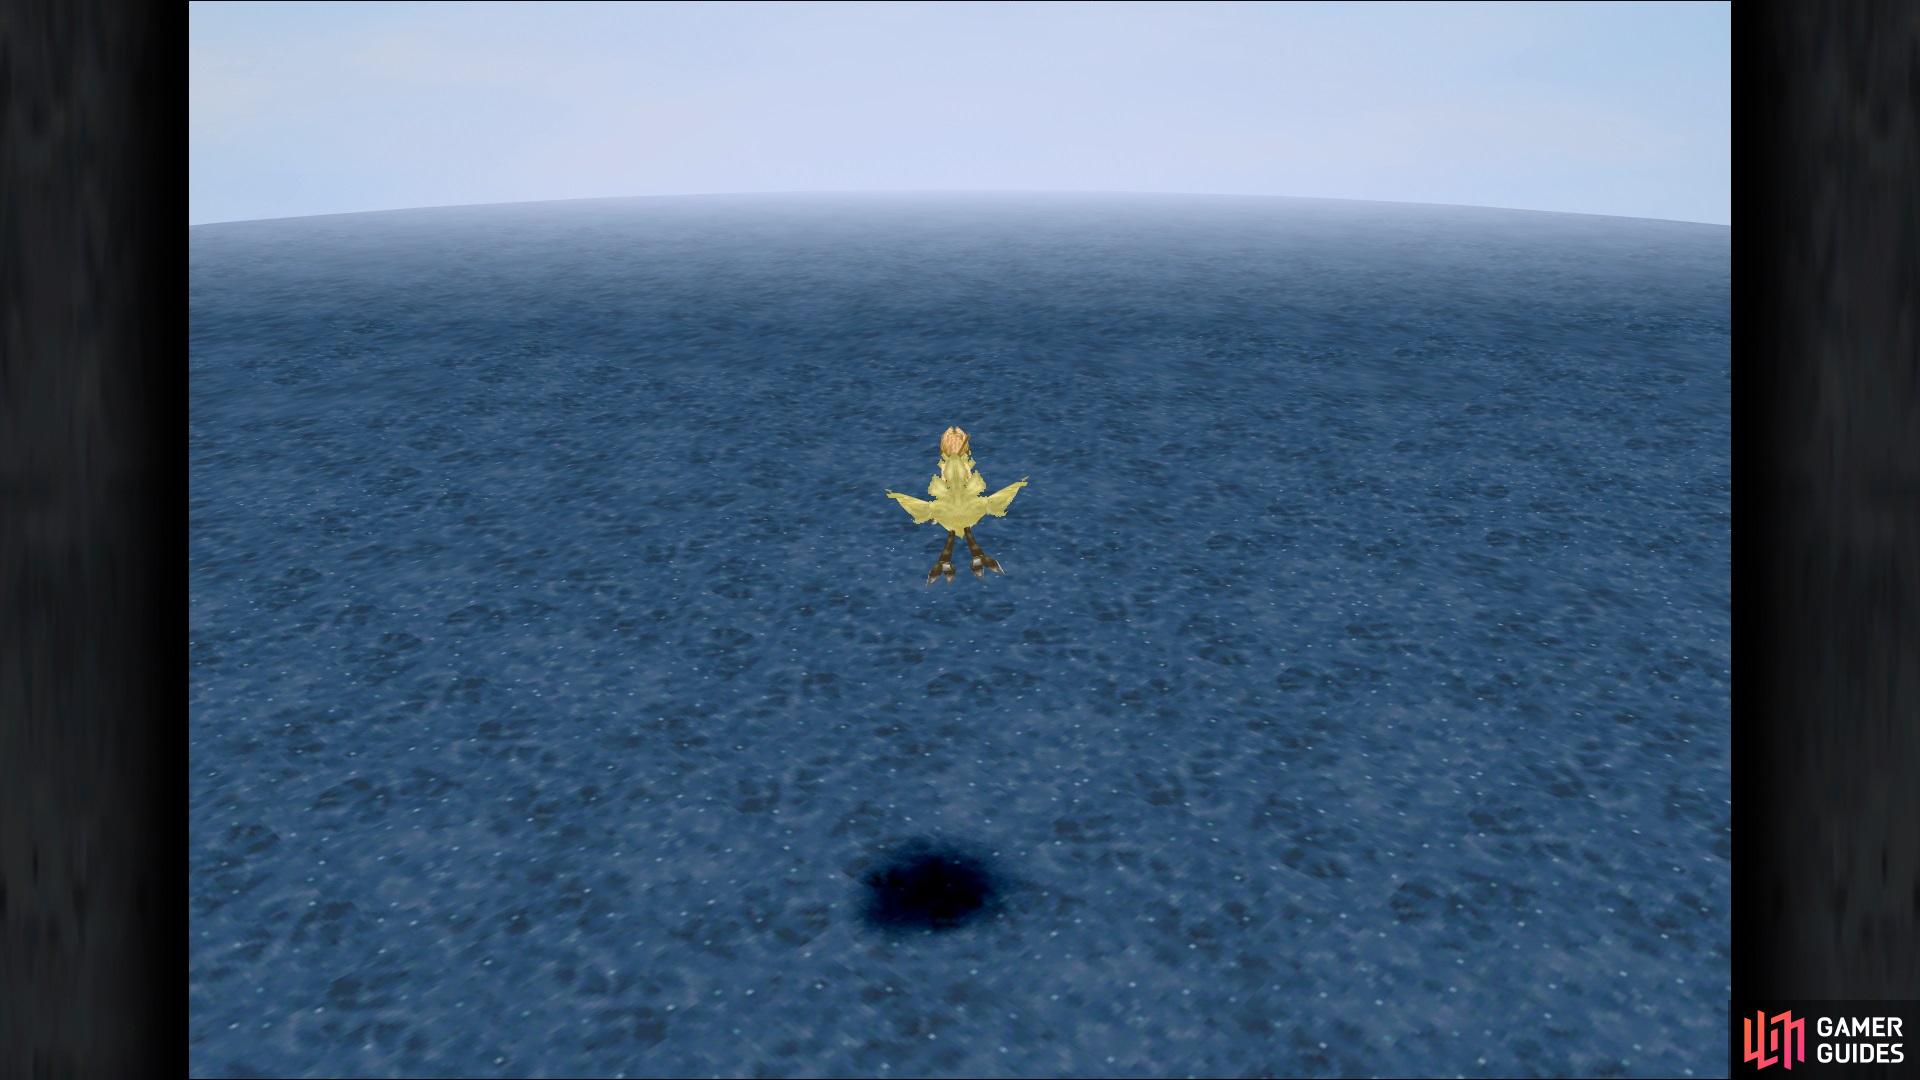
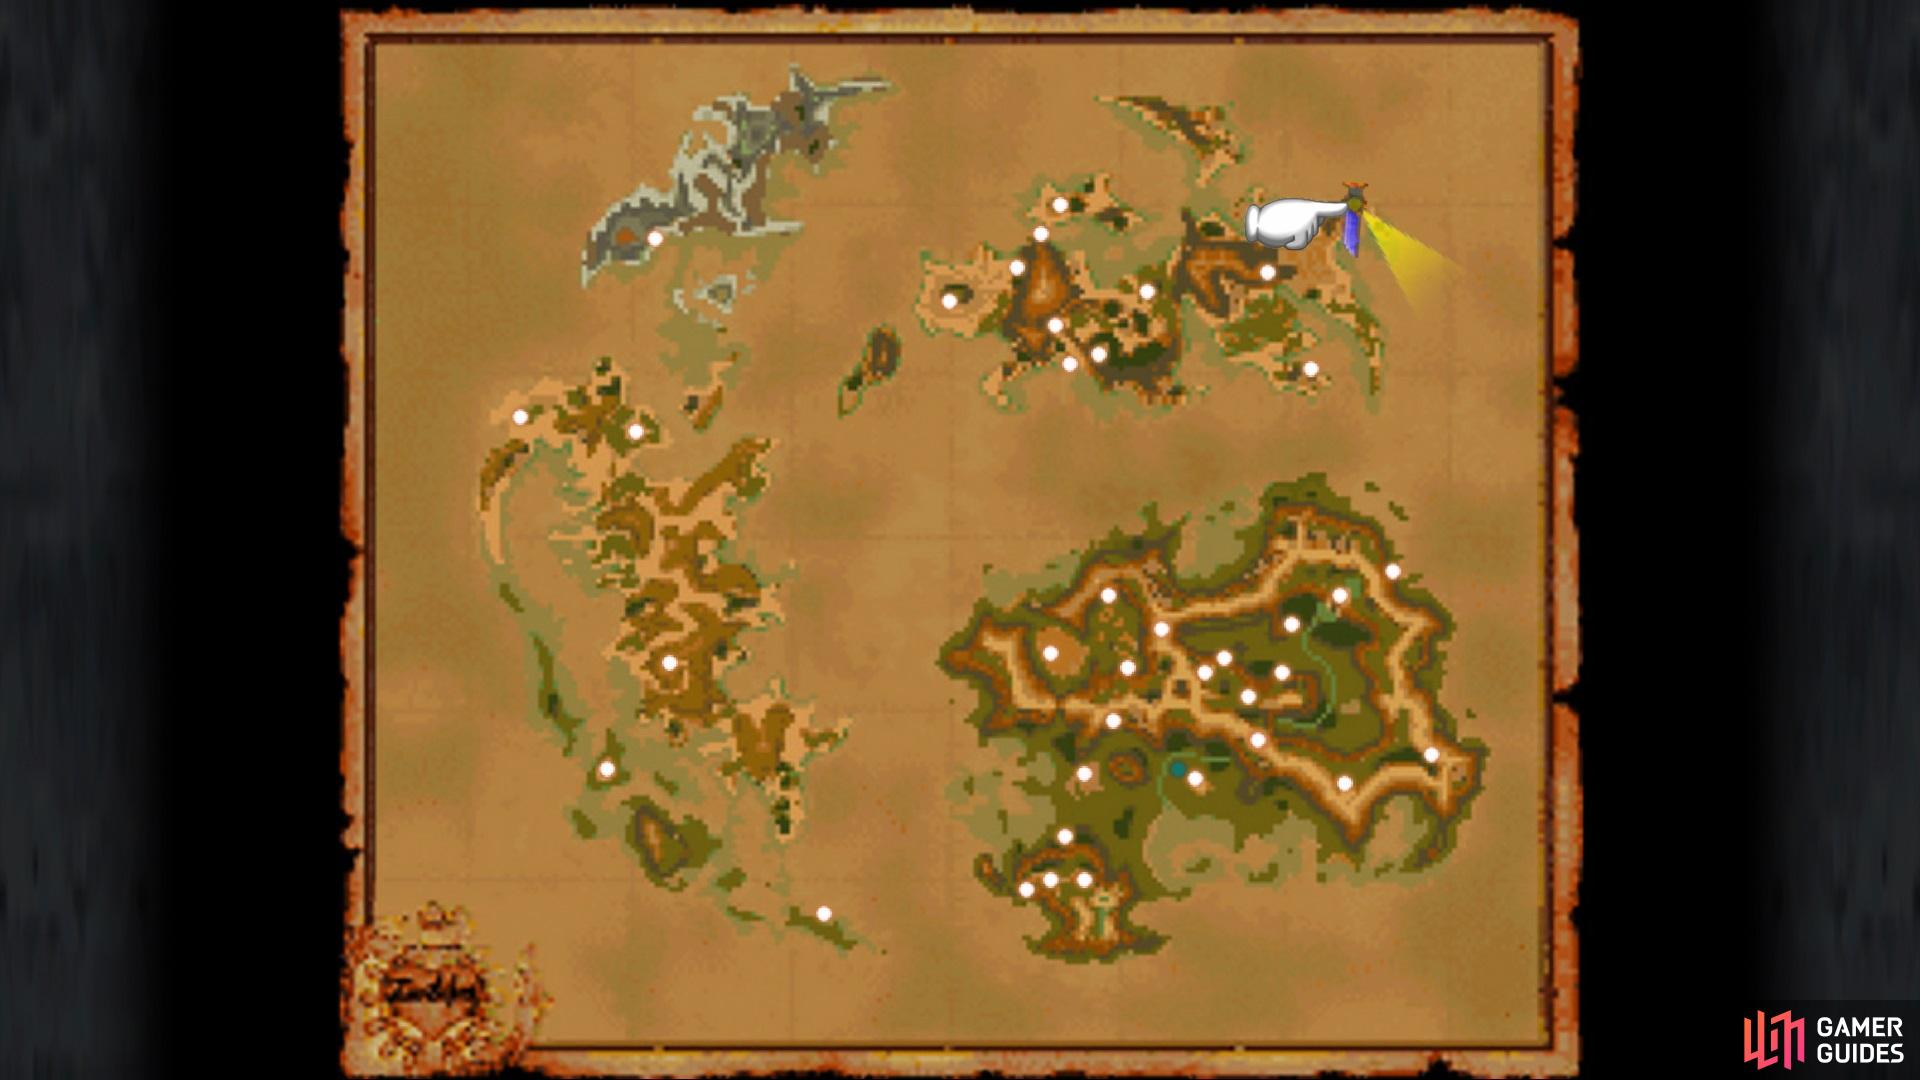
This will form Chocograph #20 - Mist Ocean, so equip that and head out to sea with Choco. The treasure will actually be on the northeastern side of the Mist Continent, a little out from the middle of the two small islands there. Finding this treasure will grant you the Sky Ability, basically letting Choco replace your newly acquired airship, although he flies slower than it. Choco can take off from and land in any forest found in the world, allowing you to explore a lot more places than with the airship. You will actually be able to acquire the rest of the Chocographs and their treasures now, but let’s take a small detour first.
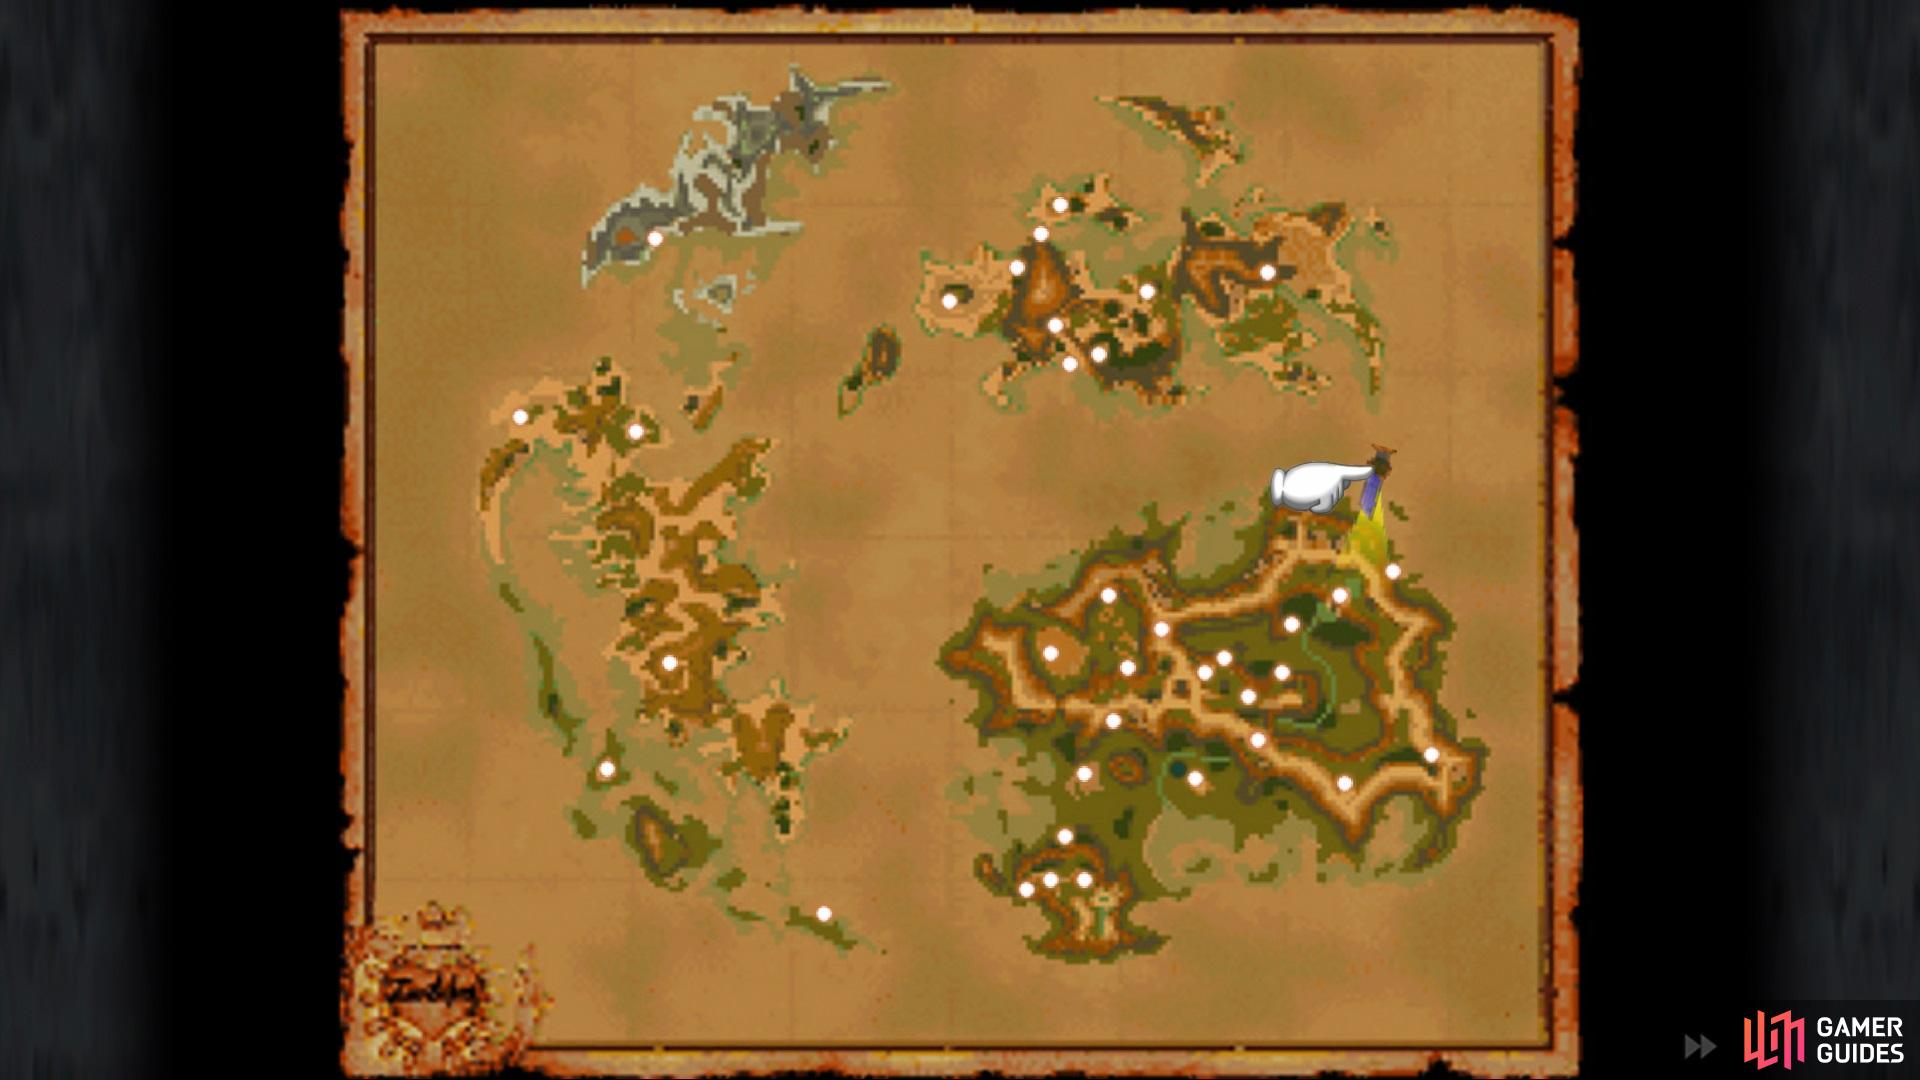
The location of Chocograph #20 on the map
and the location in the game
The Final Friendly Monster
At this point, if you’ve been following this guide, you should have found and interacted with all of the Friendly Monsters. The final one is on an island that is inaccessible by the airship, but with your flying friend, you can land on it. This island, Vile Island, is located near the center of the map, but slightly north of it. It’s basically off the western shores of the Outer Continent.
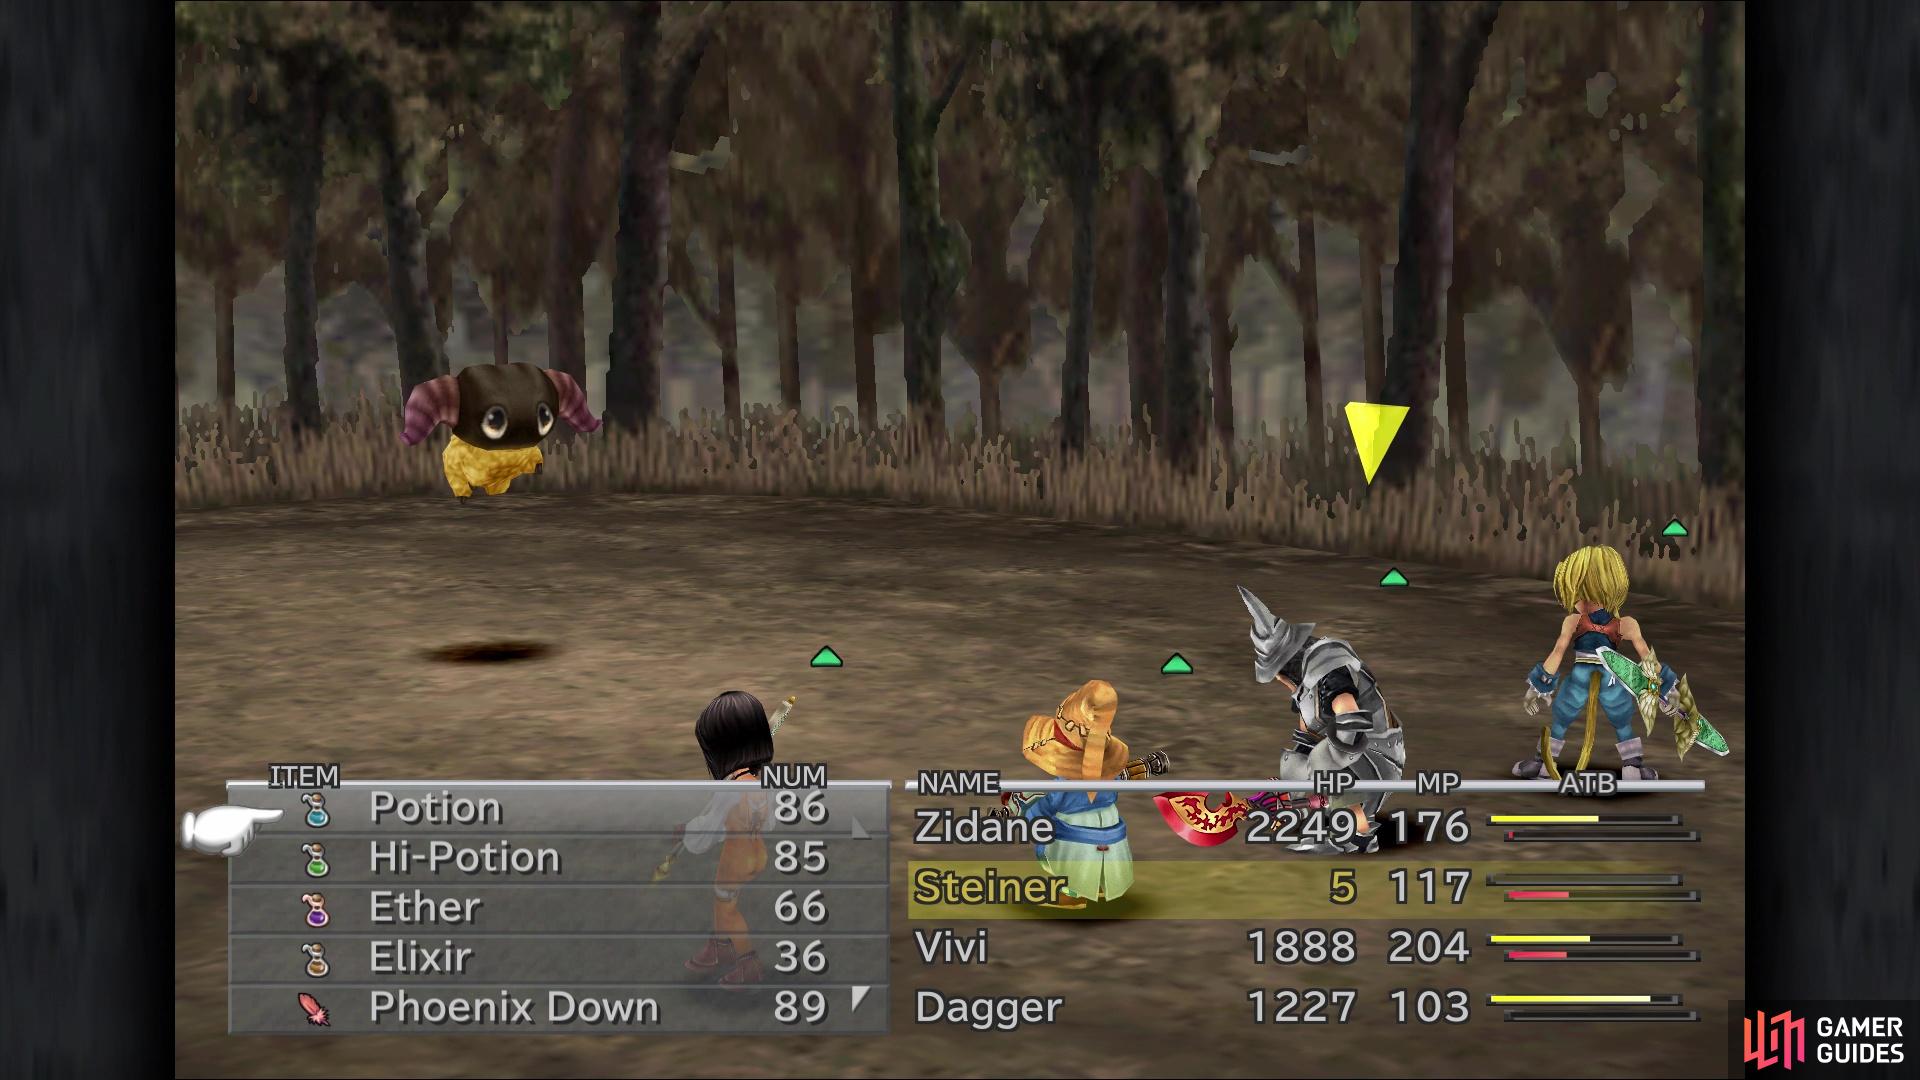
Note that this place is home to some very dangerous enemies, called Yans, who can use Snort to remove a character from battle, plus use Comet to wreak havoc on your party. However, if you wish to test your mettle against these fluffy balls of destruction, they are weak to Sleep, but will counter just about every time they are hit. If you encounter a group of three, hitting them all at once can spell doom for that character and/or your party. It might be best to use the stutter step technique to avoid running into the normal Yans, as your goal is to find the friendly Yan.


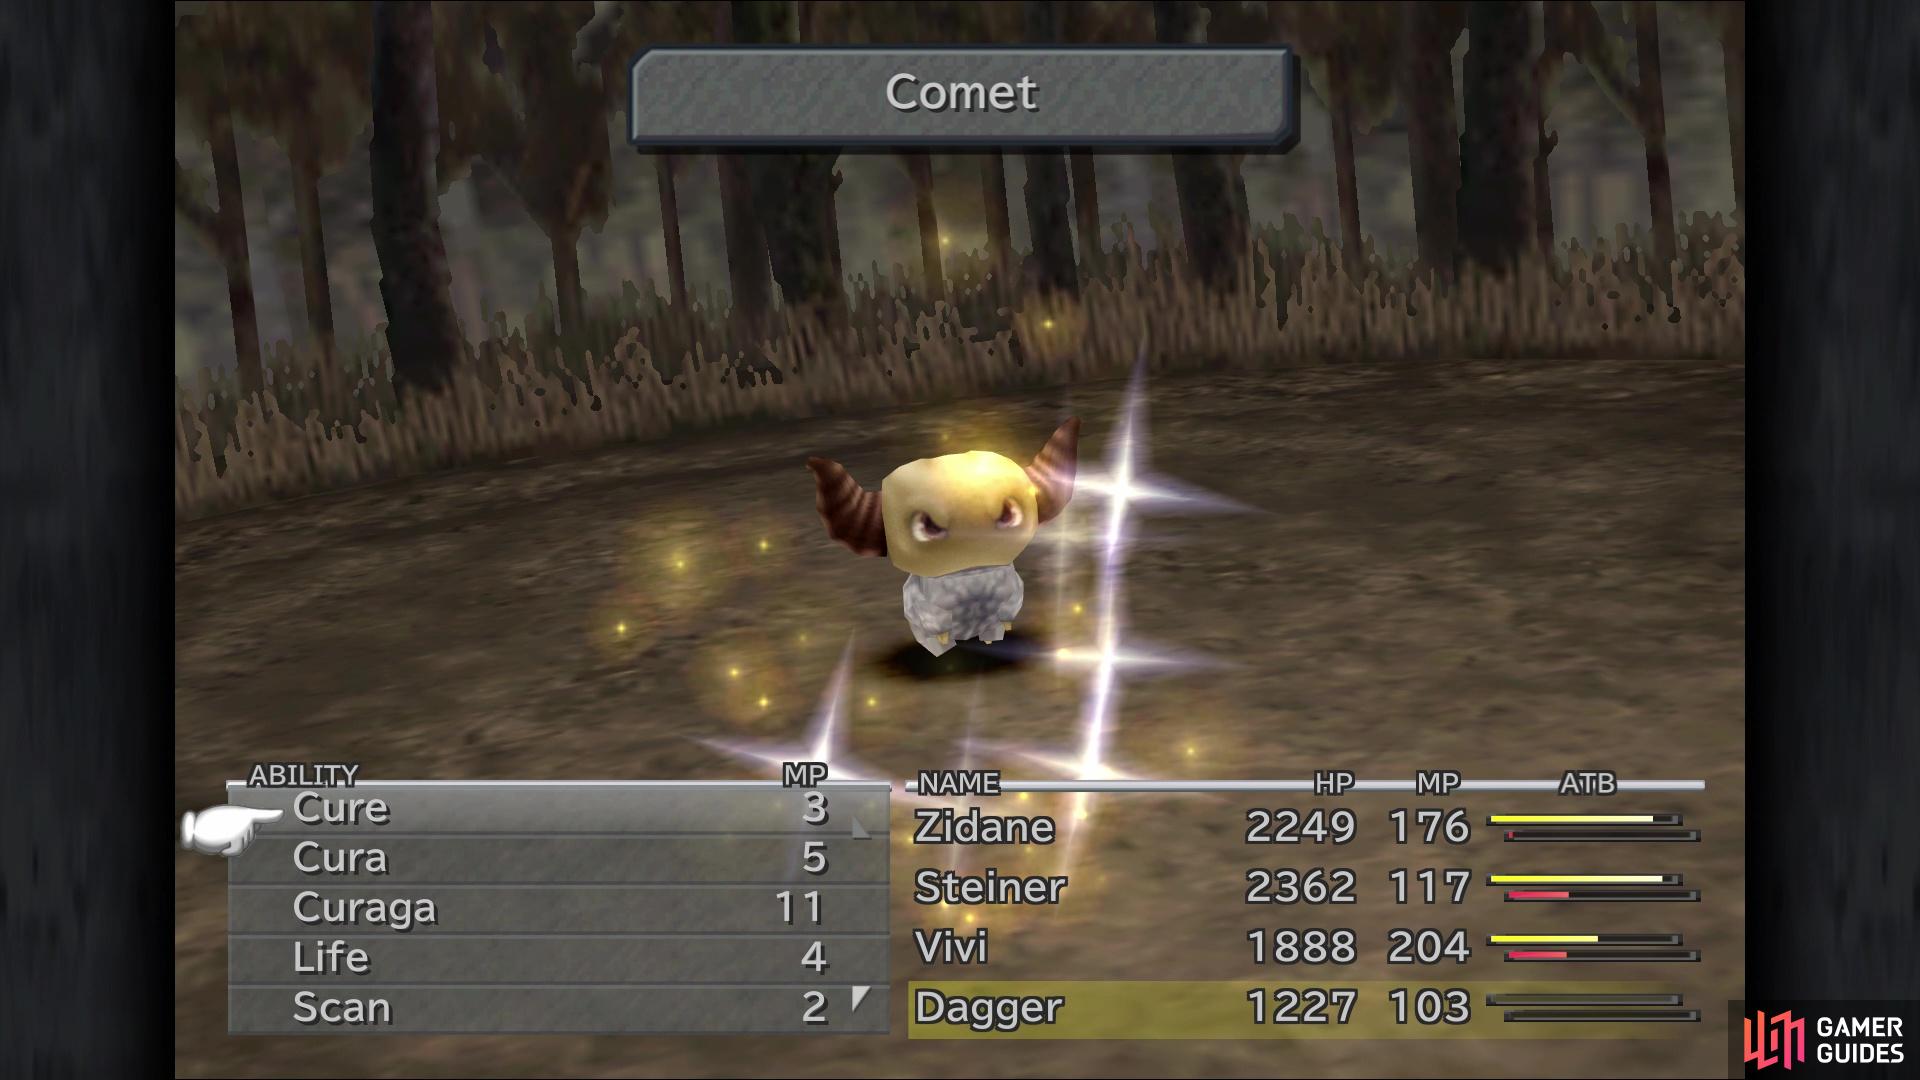
Normal Yans are brutal and could potentially kill with a single Comet attack
Eventually, you will find the Friendly Yan
The friendly Yan will only stick around if you’ve found all of the others and given them what they asked. If so, then the Yan will ask for a Diamond, the item you should have received from Garuda. Handing over the Diamond will result in you receiving a Rosetta Ring and 50 AP. Note that you can actually attack and defeat the friendly Yan, but it’s a lot harder than the normal ones and could be considered one of the game’s superbosses. It has extremely high defenses and evade, plus its only attack is a strong physical attack that can also inflict Silence. Should you defeat it, you will receive the same rewards as if you gave it a Diamond, plus you can find the creature again. Handing over the Diamond, though, will make it so you can’t find it again and will wrap up the Friendly Monsters side quest.

The Final Chocographs
To get the rest of the Chocographs, you will have to find Chocobo’s Air Garden, the final place where you can dig them up. Take a gander at the Chocograph Pieces in your inventory, which will provide hints as to the locations of the Air Garden. The problem that occurs is that the Air Garden is only found at a single location, but there are five possible spots. The following images showcases all five locations, with a shadow moving along the grounding being your clue that you found it.
Once you found it, hover over the shadow and consume a Dead Pepper to fly up to the Air Garden. The items you dig up are only on the actual islands and not the clouds, so make sure you thoroughly search one before moving to the other. There are only three more Chocographs to find here, #21, #23 and #24. Exit Air Garden to return to the normal area, as it’s time to hunt down those Chocographs’ treasures.
Let’s start hunting down the Chocograph treasures with #21 - Outer Island. Fly on over to the Outer Continent, which is the one in the northeast. Locate Korua Island off the northeastern coast and land in the forest, then search the regular land to the north until you get the treasure; you will receive 21 Amethysts, 16 Garnets, a Genji Armor and a Ragnarok Sword. If you’ve already found the Genji Helmet and Genji Gloves, then you will unlock the Path of the Samurai trophy/achievement here.

Next up on the list will be #22 - Outer Island 2, which will be on another small island on the northern side of the Outer Continent. The treasure will be found closest to the beach of the mainland, right on the edge of the forest. This treasure will include 11 Sapphires, a Circlet, a single Pumice Piece and a Hilda Garde 3 Card. Equip #23 - Fairy Island and travel to Vile Island next, which you have visited prior to get the Friendly Yan; if you don’t remember where it is, it’s the island just off the western coast of the Outer Continent. The treasure will be at the base of the mountain on the northeastern side of the island; you will receive 33 Potions, 15 Annoyntments, a Holy Miter and a Dark Matter Card.
You’re now down to the final Chocograph, #24 - Forgotten Island. To find this spot, locate Qu’s Marsh on the Forgotten Continent (the western one). Just off the coast, near Qu’s Marsh, will be a smallish island with a forest on it. Land on the island and get up on the larger of the two plateaus here; towards the one end, away from the other plateau. The treasure will yield a Ribbon, a Rebirth Ring, 13 Amethysts and an Ark Card. If this is the final Chocograph, you will unlock the Diggin’ It trophy/achievement at this time.

While you’re in the vicinity, there’s one more thing you can find with Choco. Take off from the previous location and fly to the northwest corner of the world map, where you will uncover an island that’s not shown on the actual map. On the side of the mountain, right next to the forest, will be a crack. Use a Dead Pepper while standing next to the crack to open up Chocobo’s Paradise. While inside, follow the trail to the right and use the water at the end to launch yourself up to the Fat Chocobo. There isn’t much to do here right now, but you can actually challenge the Fat Chocobo to a game of Tetra Master and win a Chocobo Card from him (you can also challenge a few other Chocobos, too).
Hidden Town of Daguerreo
With the ability to fly, you can actually visit an optional town that you never will go to during the main story. Amongst all of the islands in the southwest corner of the map, land on the largest one (Sacrobless Island) and enter the cave on the upper portion. Once inside, run forward and take the right path, into the waterway, investigating the lower right corner here to find the Capricorn Stellazzio. There is a doorway on the right side of this one, so head through it to come across a familiar Four-Armed Man. He will tell you about your treasure hunter rank, which is a culmination of all chests you’ve opened, items given by NPCs and even the Chocograph treasures.
If you’ve been following this guide, then you should have already achieved Rank S, which is the highest you can get. Not only will this unlock the Another Man’s Treasure trophy/achievement, but the Four-Armed Man will run off to the entrance of the town. Speak to him by the entrance to receive the Rank S Medal key item, as well as learn his real name, which is a bit of a surprise if you’re a fan of Final Fantasy games. With that out of the way, it’s time to explore the rest of Daguerreo. Return to the room where you first found the Four-Armed Man and use the elevator to reach the second level.
In the bottom right corner is a moogle named Noggy, although he doesn’t have anything for you. Behind the desk will be the synthesis shop for Daguerreo, which will have some nice stuff for you. Things you will want to get right now are the Sargatanas for Zidane, the Glutton’s Robe for Quina, and maybe a few pairs of Battle Boots, as well as anything else that tickles your fancy. Step out of this room by the exit on the top left, which will put you on a balcony overlooking the entrance. As soon as you enter this, check out the stack of books to your right, then speak to the item shopkeeper and the NPC in front of her shop. Here, you will be presented with a choice, to agree with the sales clerk or the other NPC.
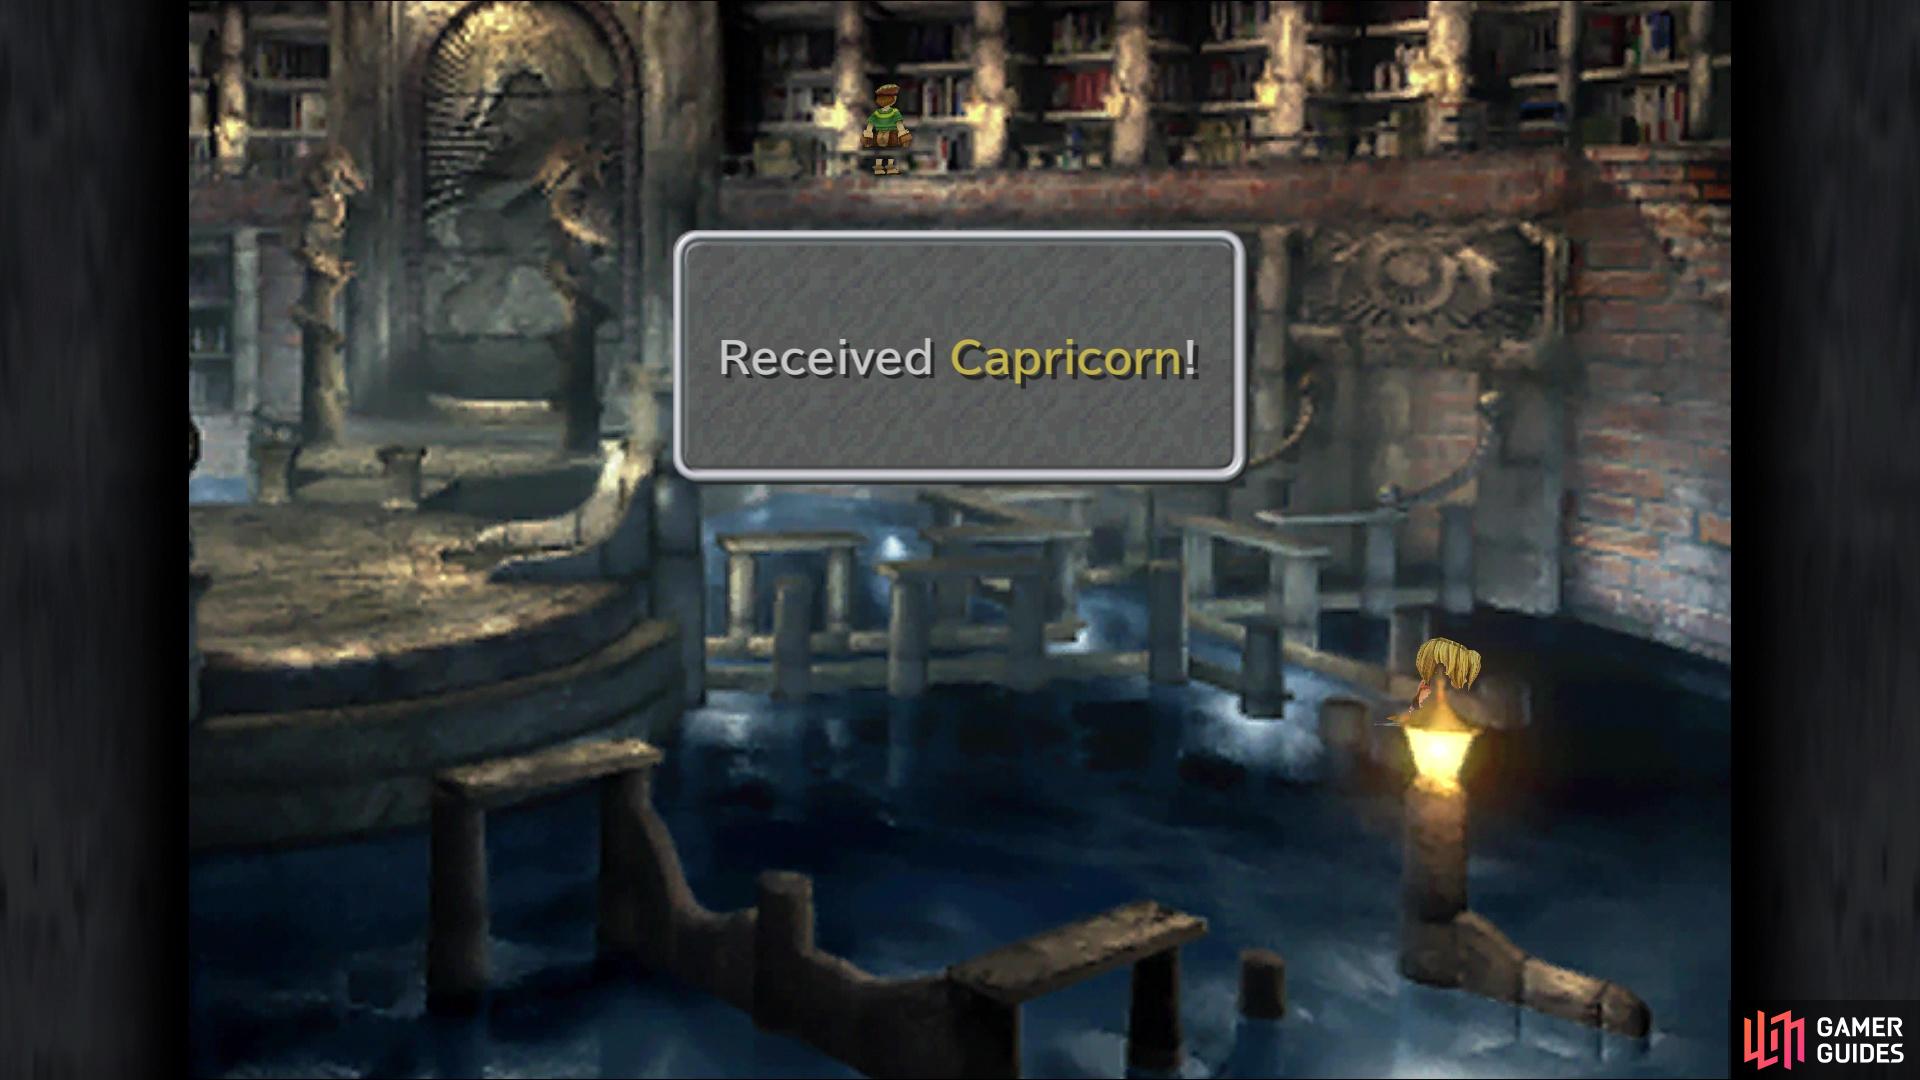
The location of the Capricorn Stellazzio
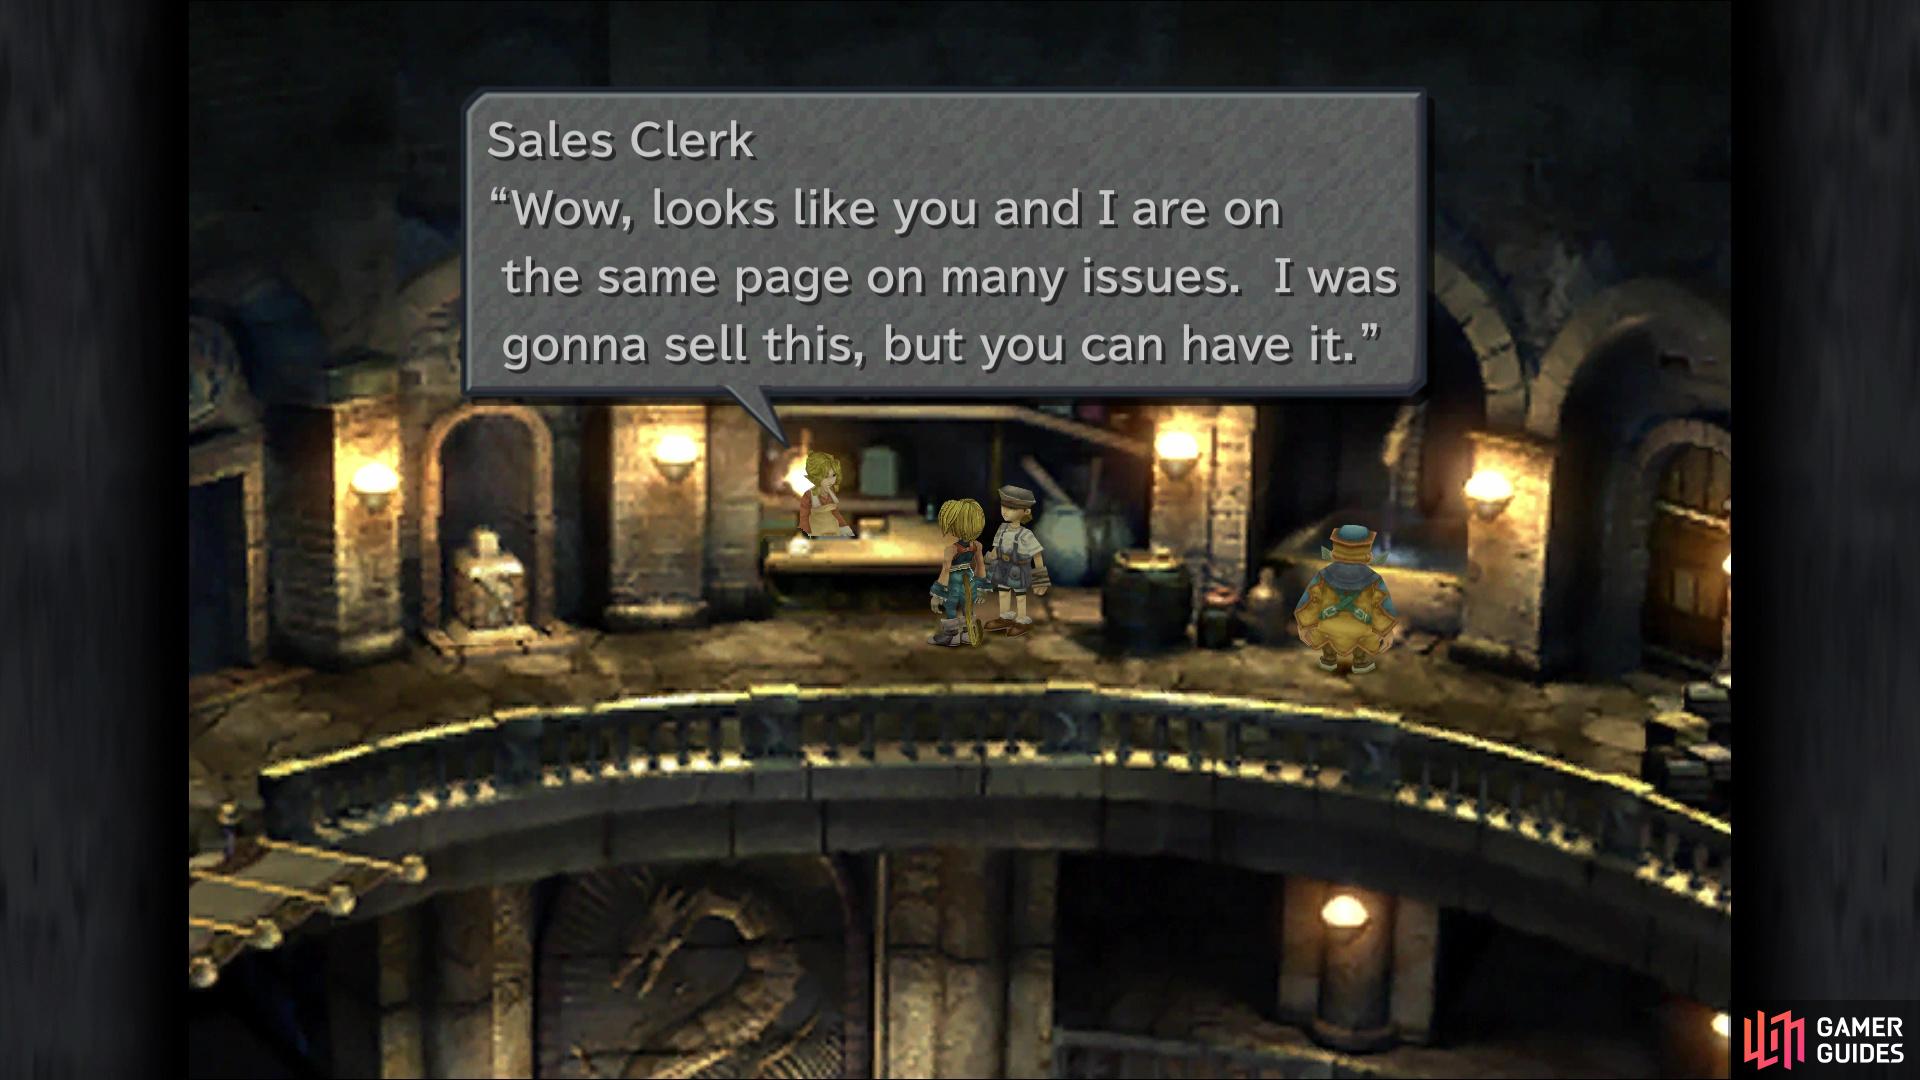
Keep agreeing with the shop clerk to receive a Meteor Card
Pick the top option all three times to have the clerk hand over a Meteor Card; if you agree with the other NPC, then he will give you a Flare Card. With that out of the way, head to the left side up here and speak to the old man browsing the bookshelf. Speak to him and if you examined the stack of books, he will head on over in that direction. Go behind where he was and when you see an icon, agree to go down the ladder. Head onto the balcony and speak with the man here, showing him the Namingway Card (if you have one), to have him rename a character. Run past this man and down the stairs, where you can find an Elixir at the bottom.
Run to the other side of the balcony, to the right, and on the stairs on that side will be another Elixir. Return to the second floor and check out the weird looking thing to the left of the item shop. Pressing the button will cause something to happen below, so double back to the ground floor and go straight towards the dragon carving on the far end. Inspect it and you will be able to place Ore into it; for every four you place into it, you will receive an Aquamarine. Do as many as you wish, then head into the left side of this area.
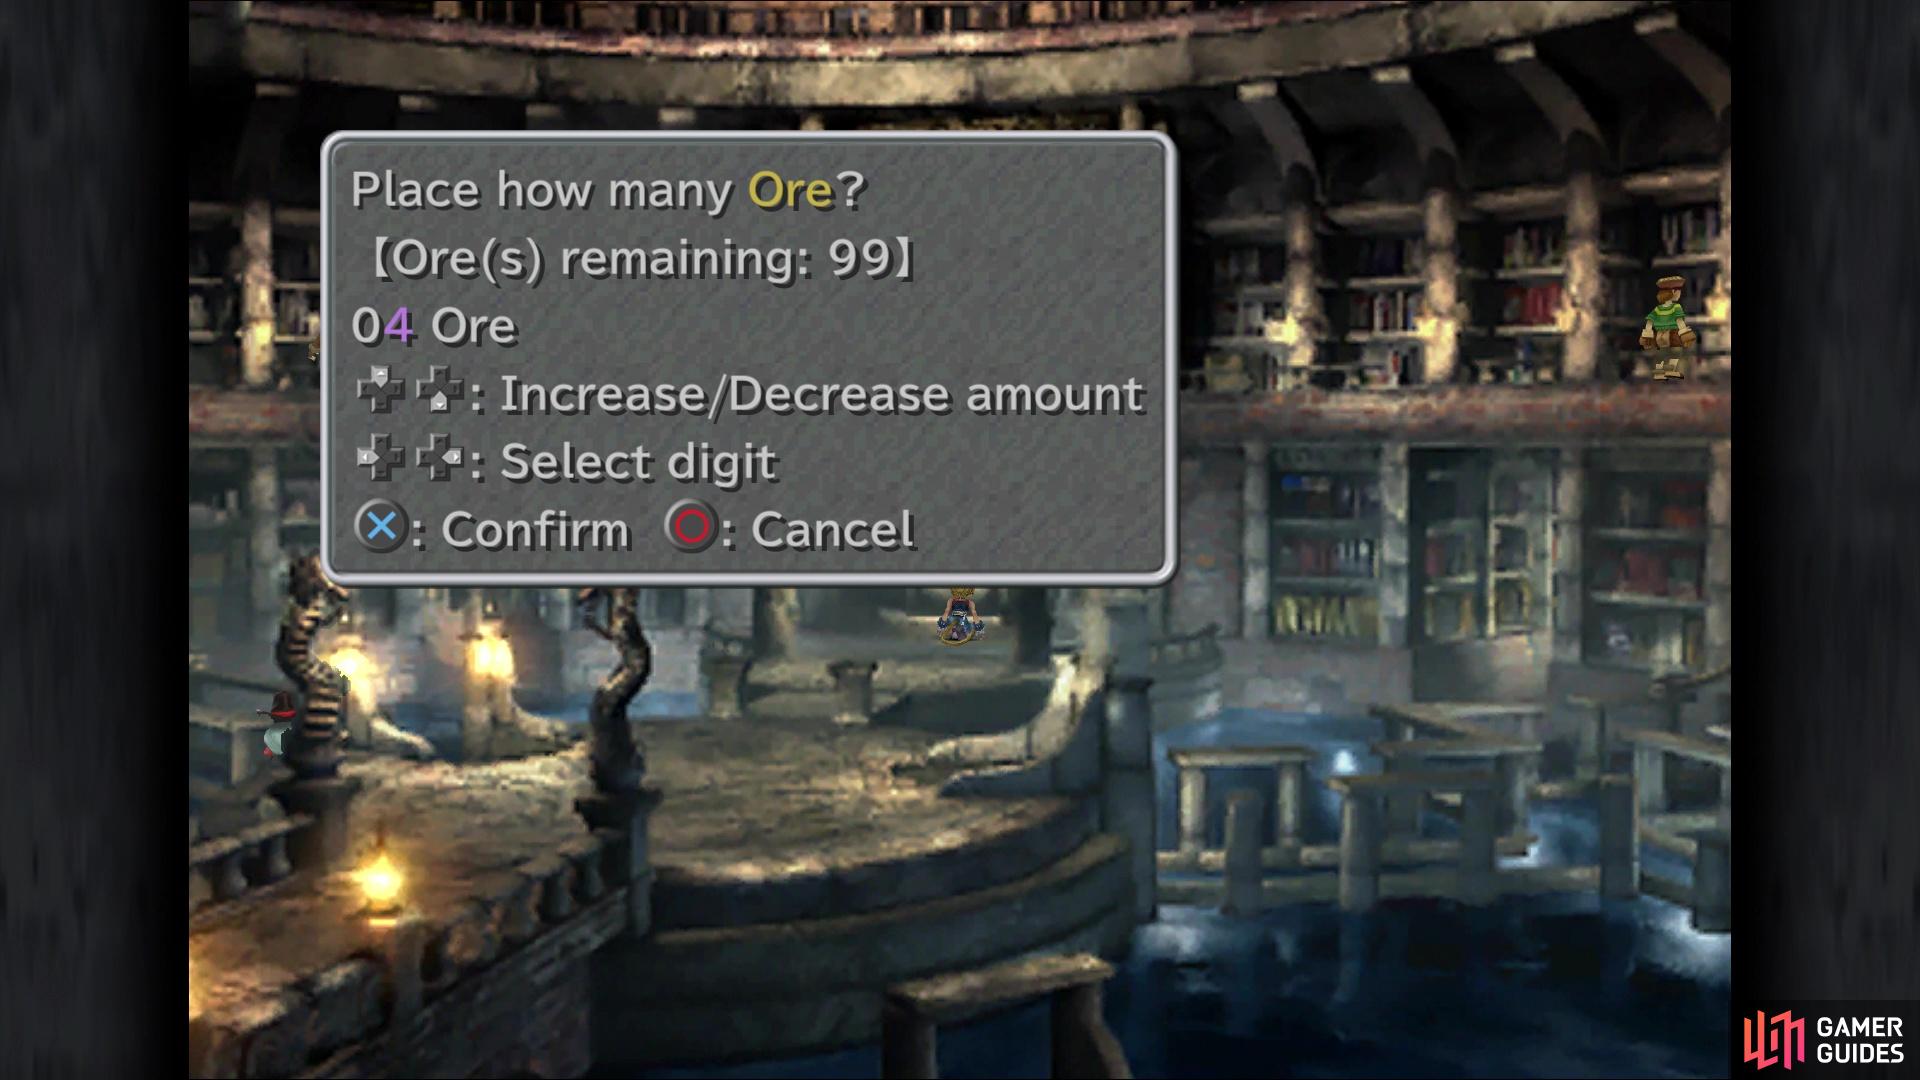
After unlocking it, you can put in Ore at the dragon statue
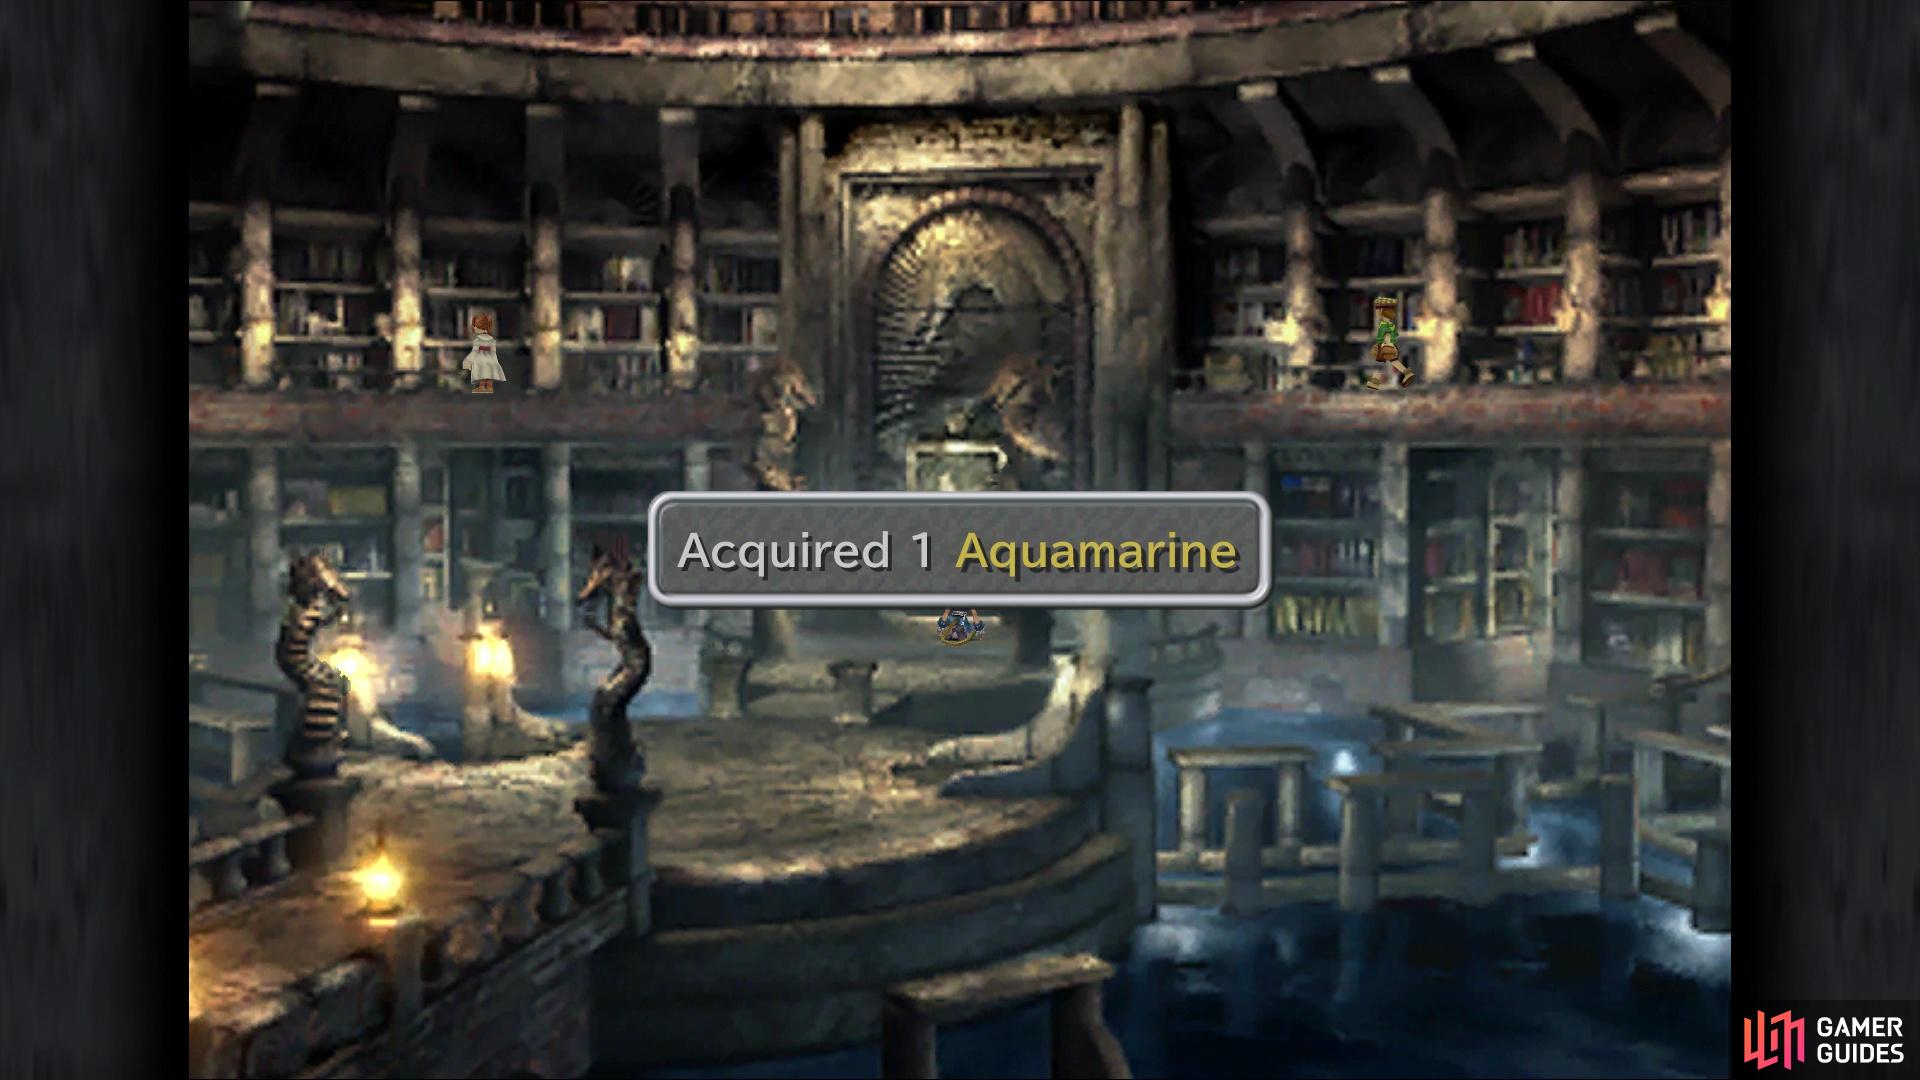
to turn them into Aquamarine
You will be right below the weapon shop, but the lift here is in disarray, so you’ll have to fix it, which will open up the weapon shop. There are three levers on the one wall, so examine them and pull the left one twice. Step onto the lift at ground level and look at the hole, then go and grab the rod to the right of the levers. This will cause Zidane to place it in that hole, so once that’s done, pull the right lever twice. Step onto the right platform and you will go up to the weapon shop, where you can finally do some shopping. Feel free to purchase what you want, but note that the Rune Blade and Obelisk are only purchaseable on Disc 3 and teach Steiner/Freya abilities they cannot learn elsewhere.
Misc Side Content
That wraps up the major side content right now, but there’s a few extra miscellaneous things you can still do. The first stop here will be Treno, where you’ll want to visit the equipment shop. Outfit Zidane with the best equipment, and equip Auto-Regen just to be on the safe side (assuming you learned it). Choose to fight the monster, which will be an Amdusias. It shouldn’t be too much trouble, and you will be rewarded with some Running Shoes for beating it. The only other thing to do in Treno is deliver the Capricorn Stellazzion to the Queen, with her giving you a Rosetta Ring. Also, this should be your tenth coin, according to the guide, so you will also unlock the Earning the Queen’s Favor trophy/achievement.

The last few things here are pretty inconsequential, as they don’t really do anything. Head to Lindblum with the airship and enter it while riding it. Speak with the Aviator behind you and board the bridge, which will put you on the screen with Amarant. Head to the left and the one person working on the ship will go get ready for flight. Climb the ladder where that NPC was and check the open compartment for an Elixir (this is normally locked). Go back to the world map and change your party members to include both Vivi and Quina, then head for Quan’s Dwelling. Go to the back for a scene, then check the clock to find some Running Shoes.
Make sure both Vivi and Quina are in your party when revisiting Quan’s Dwelling
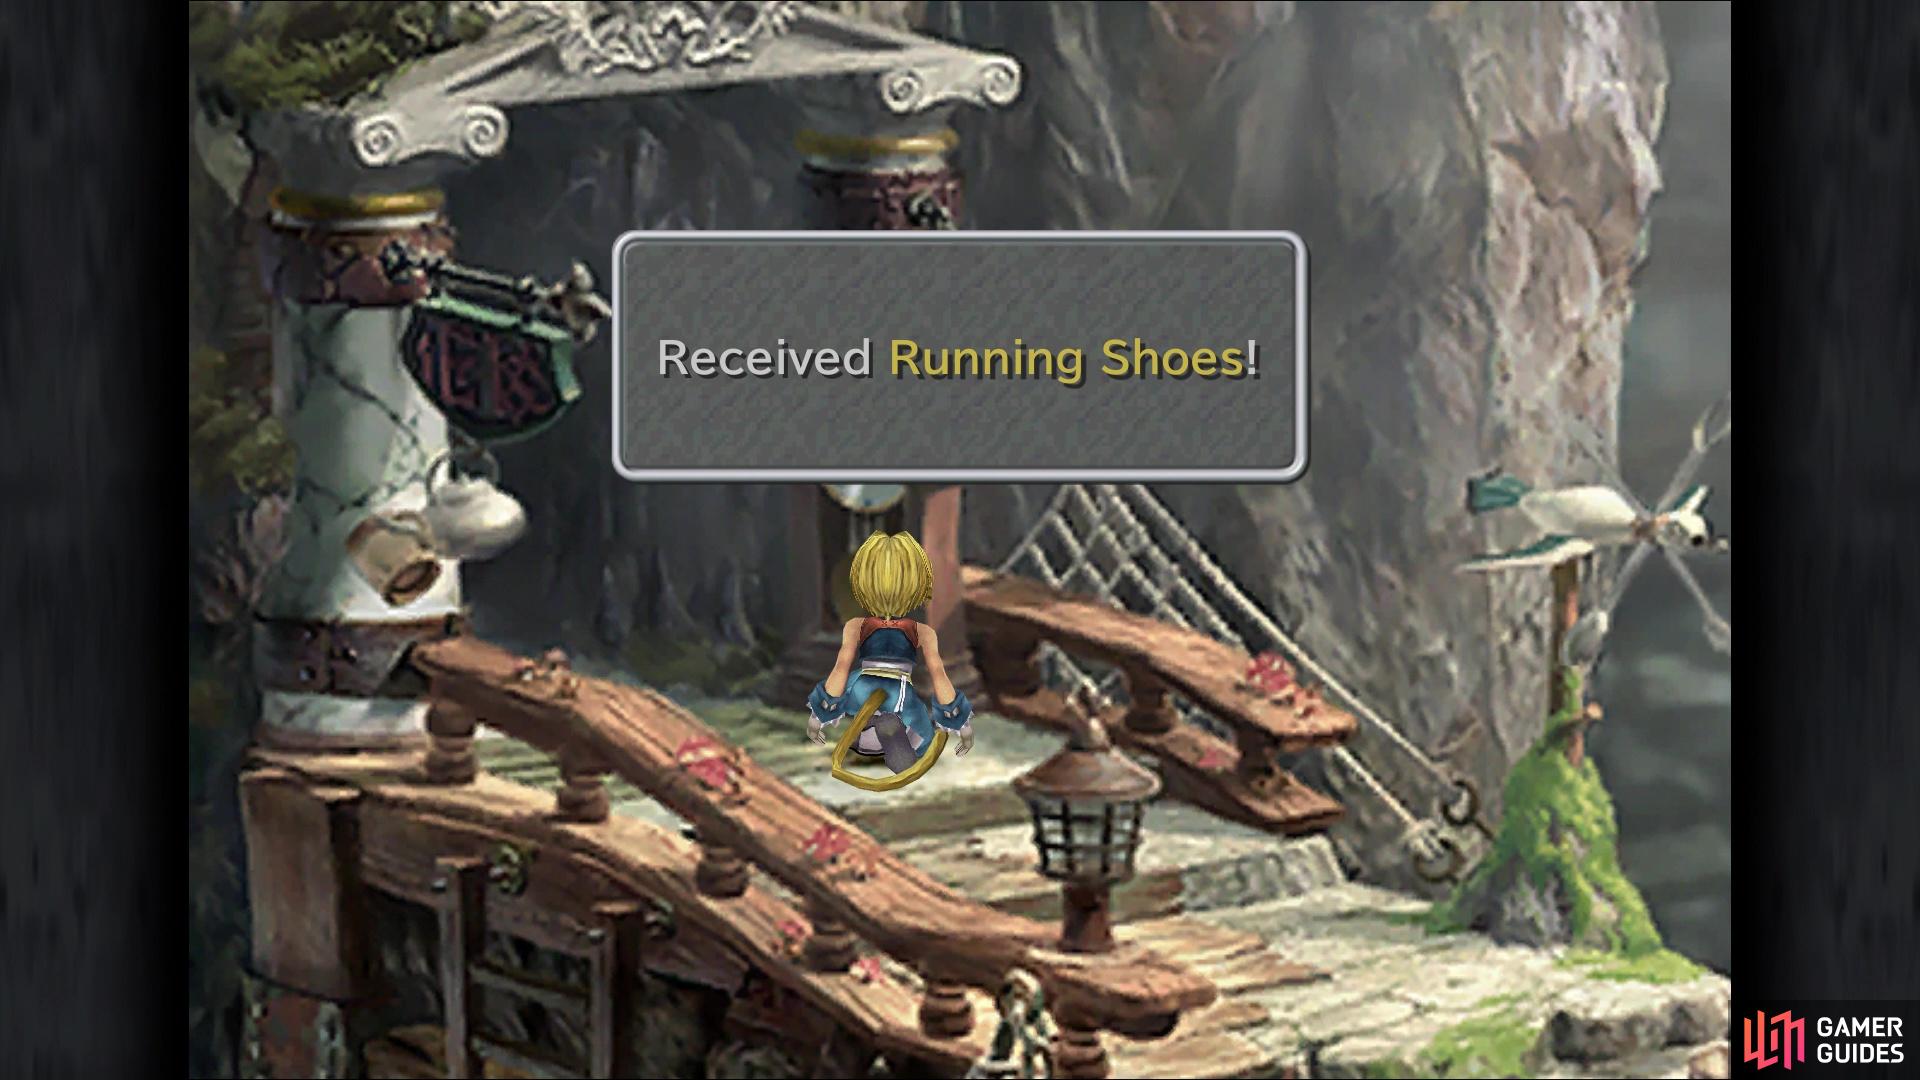
After the scene is over, check the clock for some Running Shoes
There’s nothing else for you to really do now, unless you wish to go catch some frogs. Remember that you need Quina in your party to do this and to do everything in the game, you’ll need to catch 99 frogs. Your next stop will be Ipsen’s Castle.
No Comments