
There are a few things you can do now that you have access to the Blue Narciss. The biggest side quest you can work on right now is the Chocograph Hunting, as you will gain entry into a new area and be able to find a lot of the treasures right now. This will also lead into another aspect of the Chocobo, which are Mountain Cracks and Dive Spots. You could think of this as a sub-side quest of the entire Chocograph/Hot and Cold thing, since it requires a specific Chocobo before you will be able to do anything with them.
Chocobo’s Lagoon
Your first order of business is to sail south of Lindblum and follow the coast to the east. The Blue Narciss can only let you off on beaches, so while you have access to a lot of places, you’re also restricted at the same time. Keep going east until you find the beach near the Chocobo’s Forest. Look for the tracks and call Choco to your location, then enter the forest. Upon doing so, there will be a short scene with Mene, with him telling you about a new location he found, which is called Chocobo’s Lagoon. That’s about all you can do here, so exit the forest and take a look at your map.


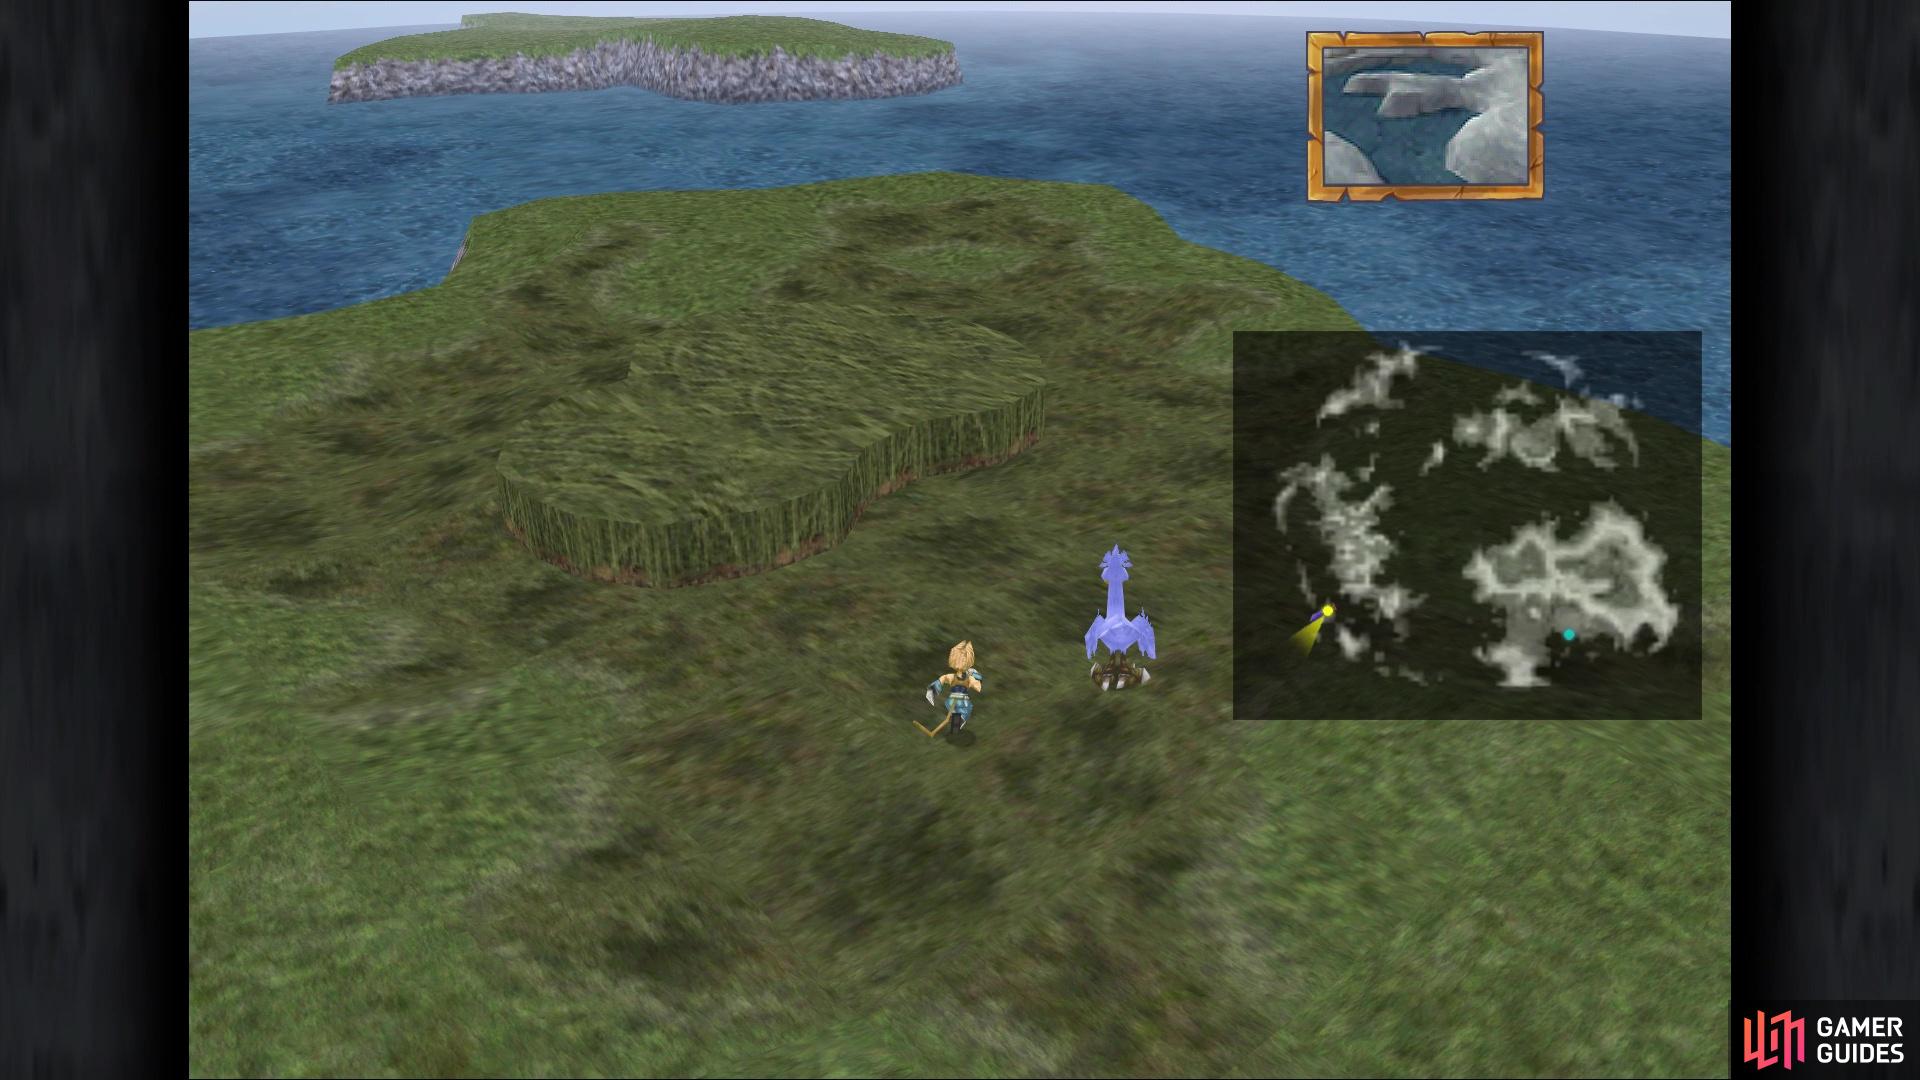
(1 of 2) You can call Choco with a Gysahl Green on this island here
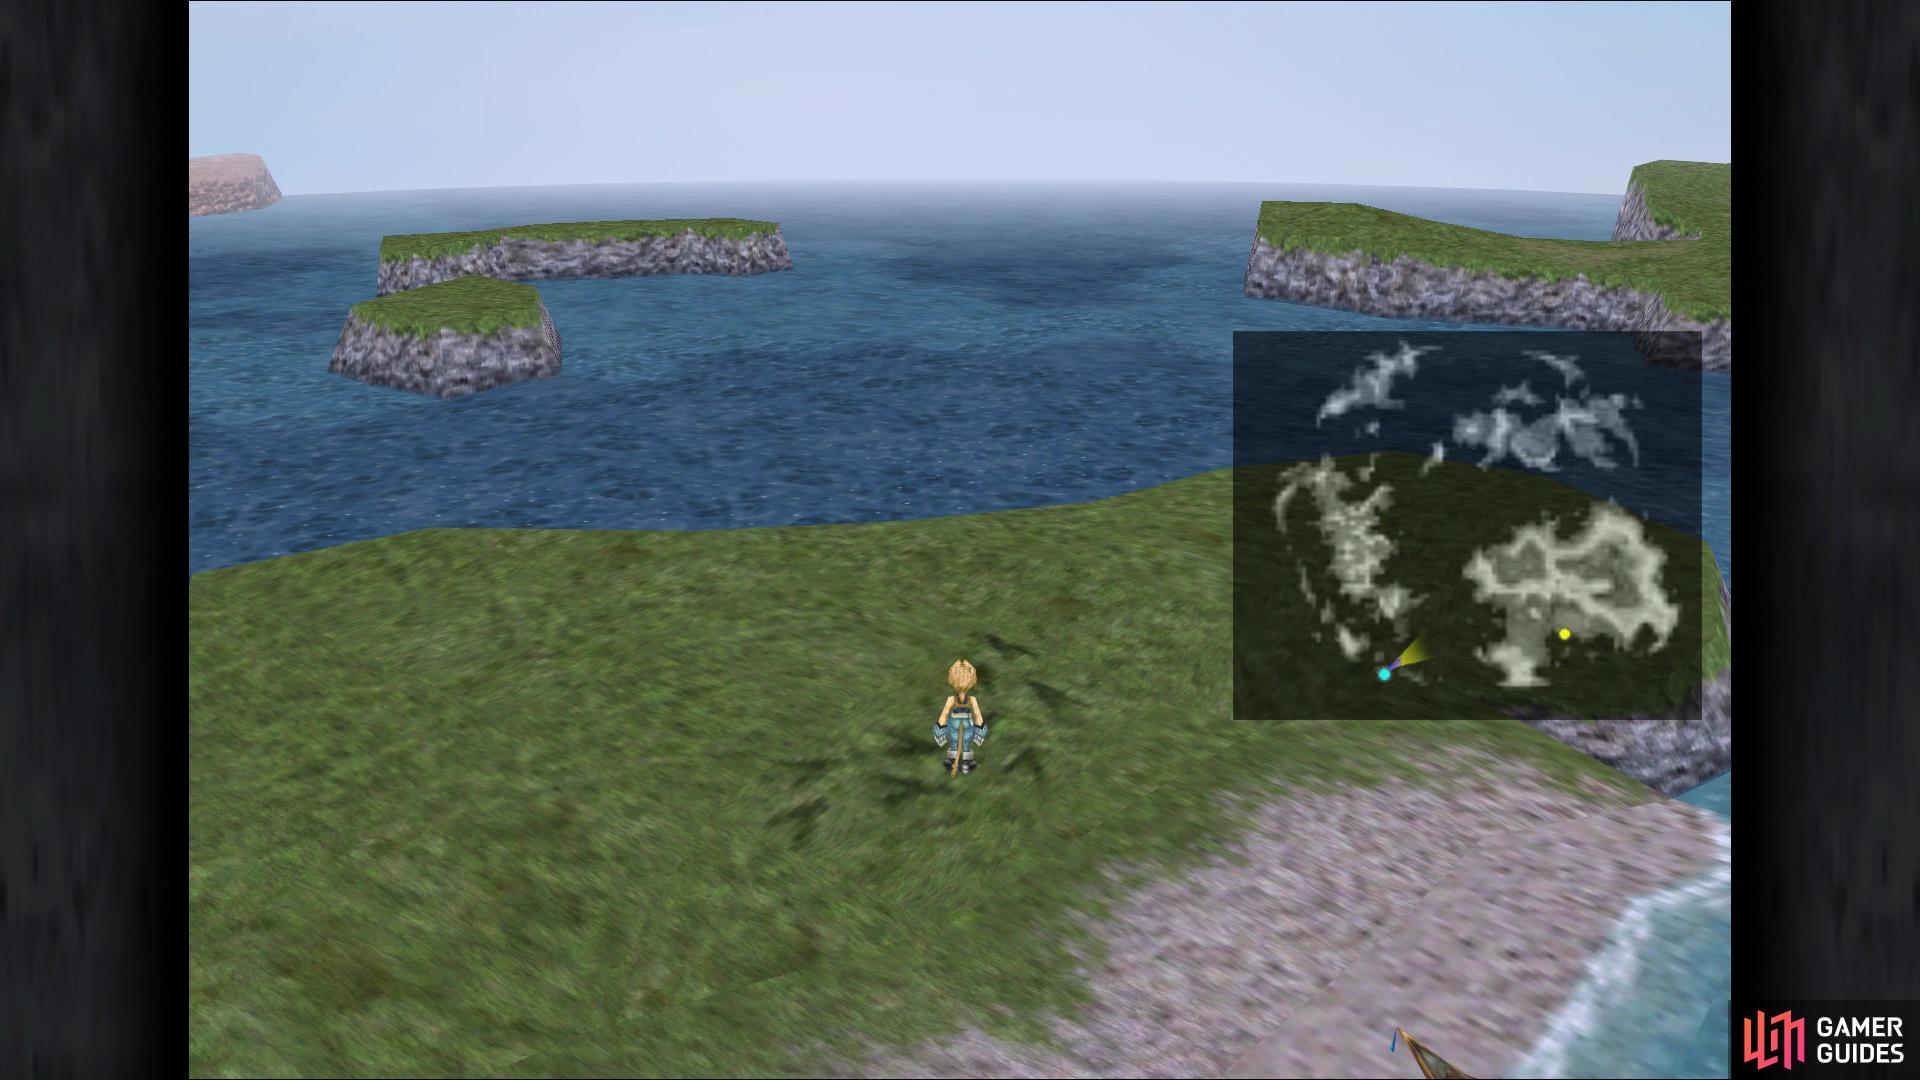
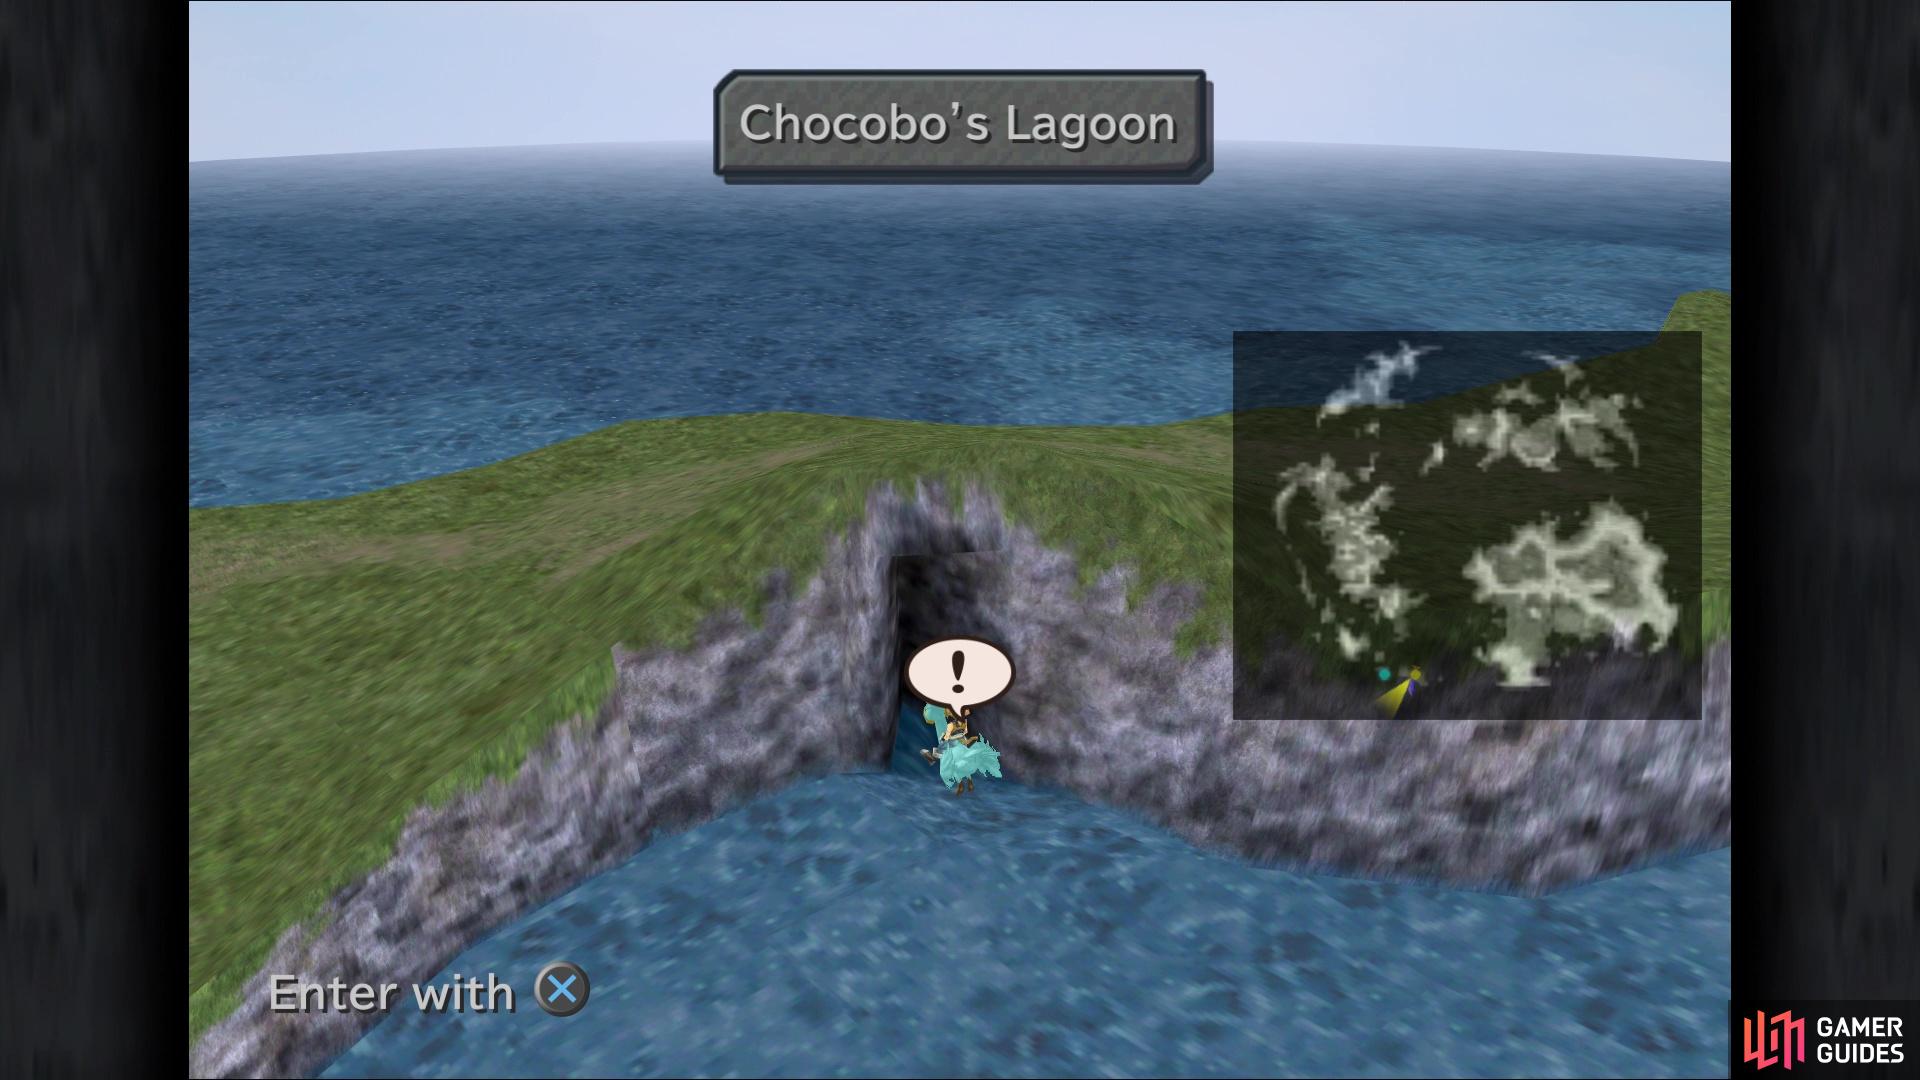
You can call Choco with a Gysahl Green on this island here (left), The Lagoon is found in the side of one of the islands (right)
Look for the islands southwest of your current location and hover over the white dot on the one island to see where Chocobo’s Lagoon is. Before you can get there, you need the Reef Ability from Chocograph #4, Healing Shore. This is located near Cleyra and should have been gotten earlier when you were in the vicinity. If you don’t have it yet, travel through Gizamaluke’s Grotto to reach that region of the map. Once you have the Reef Ability, start travelling towards that island with the Chocobo’s Lagoon.
The lagoon is actually a cave on the side of the island, but you will need Choco to enter it. Unfortunately, there aren’t any chocobo tracks on that island, so travel to the next island just west of it to find the tracks you need. Note that this island is home to the Grand Dragon, a very hard enemy encounter, so quickly land and call Choco to get off the island. You will have to go the long way around to get to Chocobo’s Lagoon, though, so it will take a little bit to get there. Once you reach the cave, enter it and you will meet up with Mene again.
Chocograph Hunting
The lagoon is split into two sections, a shallow part and a deeper part. Unfortunately, for right now, you are restricted to the shallow waters, so Mene mentions that the price to start digging is cut in half, but so will be the time. The general rules of Hot and Cold apply here, but the limit for finding items is cut in half, down to four. So, you won’t get any bonus time at all in this area. However, since you receive a bonus for reach the item limit, it’s possible to rack up some nice points here.


(1 of 2) At this time, you’re restricted to the shallow waters in the Lagoon

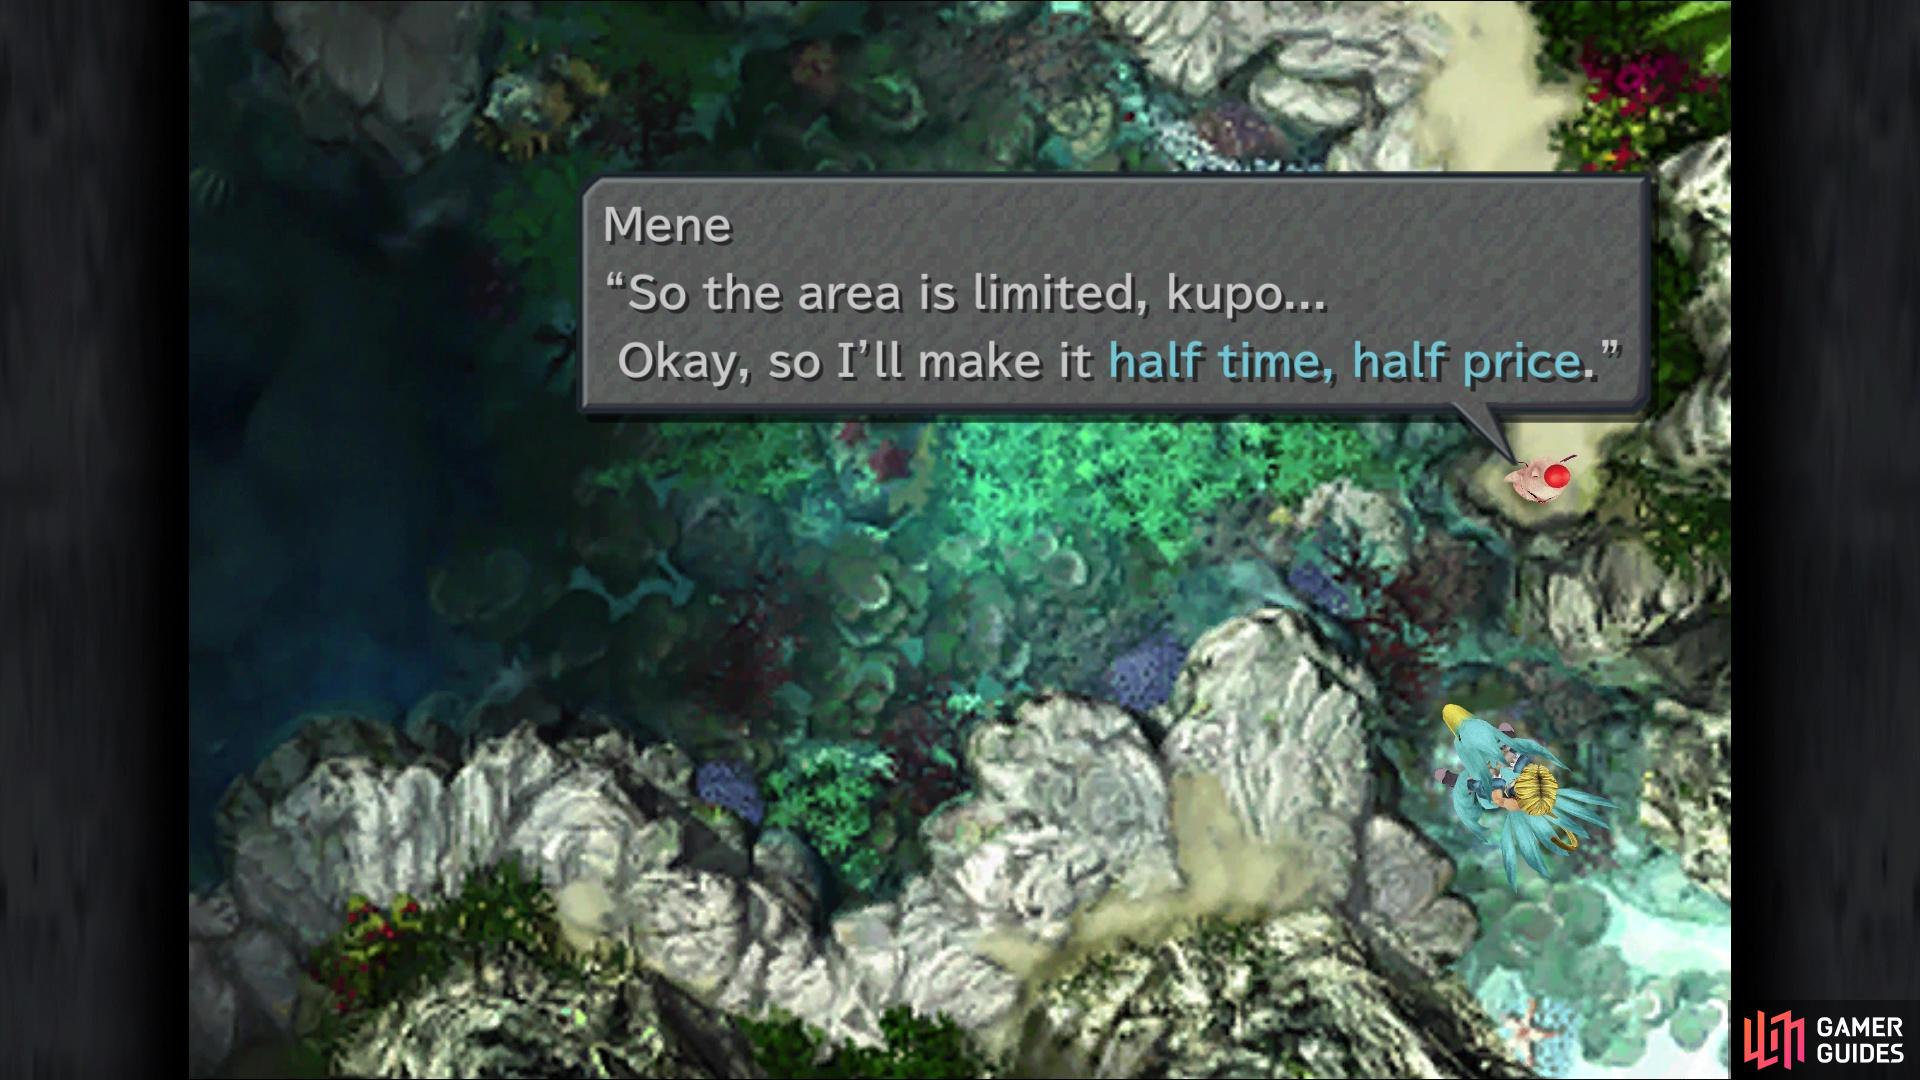
At this time, you’re restricted to the shallow waters in the Lagoon (left), To compensate for this, the time and price will be cut in half (right)


You can find a total of four Chocographs in this session (#7, #9, #12, and #15), as well as a Chocograph Piece. Once you’ve gotten them all (you’ll get a notification from Mene that Choco can’t find anymore), exit the Lagoon and make your way back to the ship. Travel up the western side of the western continent, looking for the big island there that has a long stretch of beach. Get off on that island and summon Choco on the tracks, then begin treading the shallow waters north (this is Chocograph #8 - Faraway Lagoon). At the northern tip of this section, start heading south on the other side and once you reach the second little island just off the shore, search one of the little inlets there for the treasure. You will receive 37 Potions, 6 Magic Tags, a Shield Armor and a Gaia Gear.
Return to the Blue Narciss and sail to the frigid continent to the north of the one you’re currently at, docking your ship there. Ignore that nearby town (there’s nothing there that’s worth visiting) and find the tracks just on shore, calling Choco to your location. Equip Chocograph #6 - Cold Field and go to the easternmost part of the “beach” here. A little in from the shore will be the spot for digging, with the treasures being 5 Echo Screens, 7 Hi-Potions, 3 Tents and a Theater Ship Card. Get back on Choco and start travelling south by southwest, into the waters.
You should reach the northern end of the previous continent now, so continue along until you come to a dead end on the eastern side. Equip Chocograph #7 - Forgotten Lagoon, and search around here for the treasure, which will be 8 Gysahl Greens, 5 Ethers, 7 Hi-Potions, and some Dragon’s Claws. The next Chocograph will be #9 - Abandoned Lagoon, but it’ll be found on the shores of the Outer Continent (upper right). Travel along the southern side of it, until you reach an isolated piece of land from the main portion, so dock there (this will be called Kognish Shores); the Chocobo tracks will be by the forest right there.


While riding Choco, travel along the coastline, to the west, until you reach the peninsula. There will be a bend in the peninsula and the treasure will be in the little inlet there, on the inside of the bend. You will receive 6 Softs, 4 Ethers, some Feather Boots, and a N-Kai Armlet. The final Chocograph for this set will be #12 - Dawn Lagoon, which will be found near the Mist Continent in the southeast. Sail to where the Chocobo’s Forest is located, summon Choco and head east. Get into the water from the last beach you find and continue east, until you spot the lone island there. The treasure will be on the southern side of this island, and it will grant Choco the Mountain Ability.
Another Round of Chocographs
The Mountain Ability does exactly what it sounds like, as Choco can now climb over mountains. This unlocks some new Chocographs for you to dig up at both locations, plus you can finally grab Chocograph #3 - Uncultivated Land, so let’s get that out of the way first. North and a little west of the previous Chocograph is the city of Treno, so head there and then go down into the little valley, where you should see a river. You will be on the eastern side of the river, with some rock formation right there. Near the river, you should see the different textured grass there, kind of in the shape of a “C”; the treasure will be there and you will receive 10 Antidotes, a Jade Armlet, 3 Wing Edges and a Cargo Ship Card.
Head on over to Chocobo’s Forest, since you’re right there, and go inside. See those two ledges overlooking the normal area you could dig? Well, you can hop up there with the Mountain Ability, so just look for the exclamation point while doing some Hot and Cold. There’s also new Chocographs to dig up here, and they aren’t restricted to the cliffs, so you can find them anywhere. You’ll get #13, #14, #16, and #19, as well as two more Chocograph Pieces. Since two of the treasures are on the Mist Continent, let’s go ahead and get them now to avoid having to come back here later for them.


Select Chocograph #13 - Forbidden Forest and locate the Village of Dali. From there, climb the mountain to the west-southwest and locate a forest nestled in the middle of the mountains. You will find the treasure in the middle of this forest, which will contain 7 Ethers, 2 Elixirs, 10 Wing Edges and a High Mage Staff. The next one is Chocograph #14 - Green Plains, so select that and head north from the previous treasure. When you get to the northern coast of the Mist Continent, look for the beach that resembles a horseshoe. South of that is a narrow cliff overlooking said beach and the treasure will be on the cliff. This one will give you the Ocean Ability, letting you basically do what the Blue Narciss currently does.
With this out of the way, return to Chocobo’s Lagoon (you shouldn’t need the ship at this point) to dig for some more Chocographs. You will find three more Chocographs here; Chocographs #17, #18, and #22. That’ll be all of the upgrades for Choco and Chocographs you can dig up for now, so let’s finish up collecting some of those treasures. You won’t be able to grab the treasures for #15, #16 or #22 right now, since they are in an inaccessible area, but you can go after #17, #18, and #19.
Let’s go after #17 - Sea at Dusk first, which will be on the eastern side of the western continent. There is a very tiny peninsula on the eastern coast, around the middle of it. You know you’re in the right spot when you see some forest on the mainland; search a little ways into the ocean until you pinpoint the treasure. You will receive 15 Phoenix Pinions, a White Robe, a Diamond and a Masamune Card. Chocograph #18 - Ocean is on the western side of the same continent, close to that long island with a lengthy beach. Go on the western side of that island and northwest from the forest there. It’s hard to pinpoint an exact location, so use Choco’s hints to find the treasure, which will be 27 Ores, a Light Robe, a Whale Whisker and an Alexander Card.

The final Chocograph for now will be #19 - Cold Lagoon. As the name suggests, it’ll take you to the continent in the northwest. Find the spot with multiple inlets and locate the angled one that’s just north of the forest on the land. This is where the treasure will be, netting you 11 Peridots, 9 Opals, 15 Sapphires and 19 Topazes.


Dead Peppers
It’s time to finally utilize those Dead Peppers you likely found when digging for Chocographs. Whenever you’re on Choco out on the world map, you can press the menu button to bring up the option to change Chocographs. However, once you have a Dead Pepper in your inventory, you will also have the option to use one. Note that you won’t find Dead Peppers until you have the Mountain Ability for Choco, so it will be included in this section now. There are five treasures on land, as well as five treasures on the ocean. There’s no map marker, like with Chocographs, but there are telltale signs that you stumbled upon one of the spots.
For their own dedicated page, you can visit the Dead Pepper Dig Locations page, but you can only find a single Mountain Crack and four Dive Spots for now. The Mountain Crack will be on the frozen continent in the northwest, so find the beach and head towards the northeast corner of the continent. Look on the inside of the alcove in the mountain range there until you spot the obvious crack, which is where you will use the Dead Pepper. If done right, you’ll receive 41 Lapis Lazulis, a Rosetta Ring, a Protect Ring and an Airship Card.
Moving onto the Dive Spots, the first one can be found in the middle of the ocean on the northern side of the map. Luckily, you aren’t searching blindly, as the spot you need will have bubbles on the surface. This spot will reward you with 50 Potions, 25 Hi-Potions, 9 Ethers and 7 Elixirs. For the second Dive Spot, head to the southeastern tip of the Outer Continent (northeast one). Look for the long stretch of beach there, then head southwest a little bit to find the bubbles. Dive to the bottom of the ocean to be rewarded with 8 Straw Hats, 8 Pearl Armlets, 7 Aloha T-shirts, and 8 Sandals (these are all useless, by the way).
For the third Dive Spot, travel to the southern tip of the southwestern continent. There is a little alcove there, right next to a forest, where you can see the bubbles, so use a Dead Pepper there to receive 10 Remedies, a Black Robe, some Genji Gloves, and a Blue Narciss Card. For the fourth, and final Dive Spot right now, head to Quan’s Dwelling on the Mist Continent. If you forgot where this is, it’s in the same area as Treno. Go to the very end of Quan’s Dwelling and inspect the “?” spot when it pops up. Use a Dead Pepper when given the option and you will nab the treasure, which will include 9 Ores, 15 Topazes, a Tiger Racket, and a Red Rose Card.


Misc. Side Questing
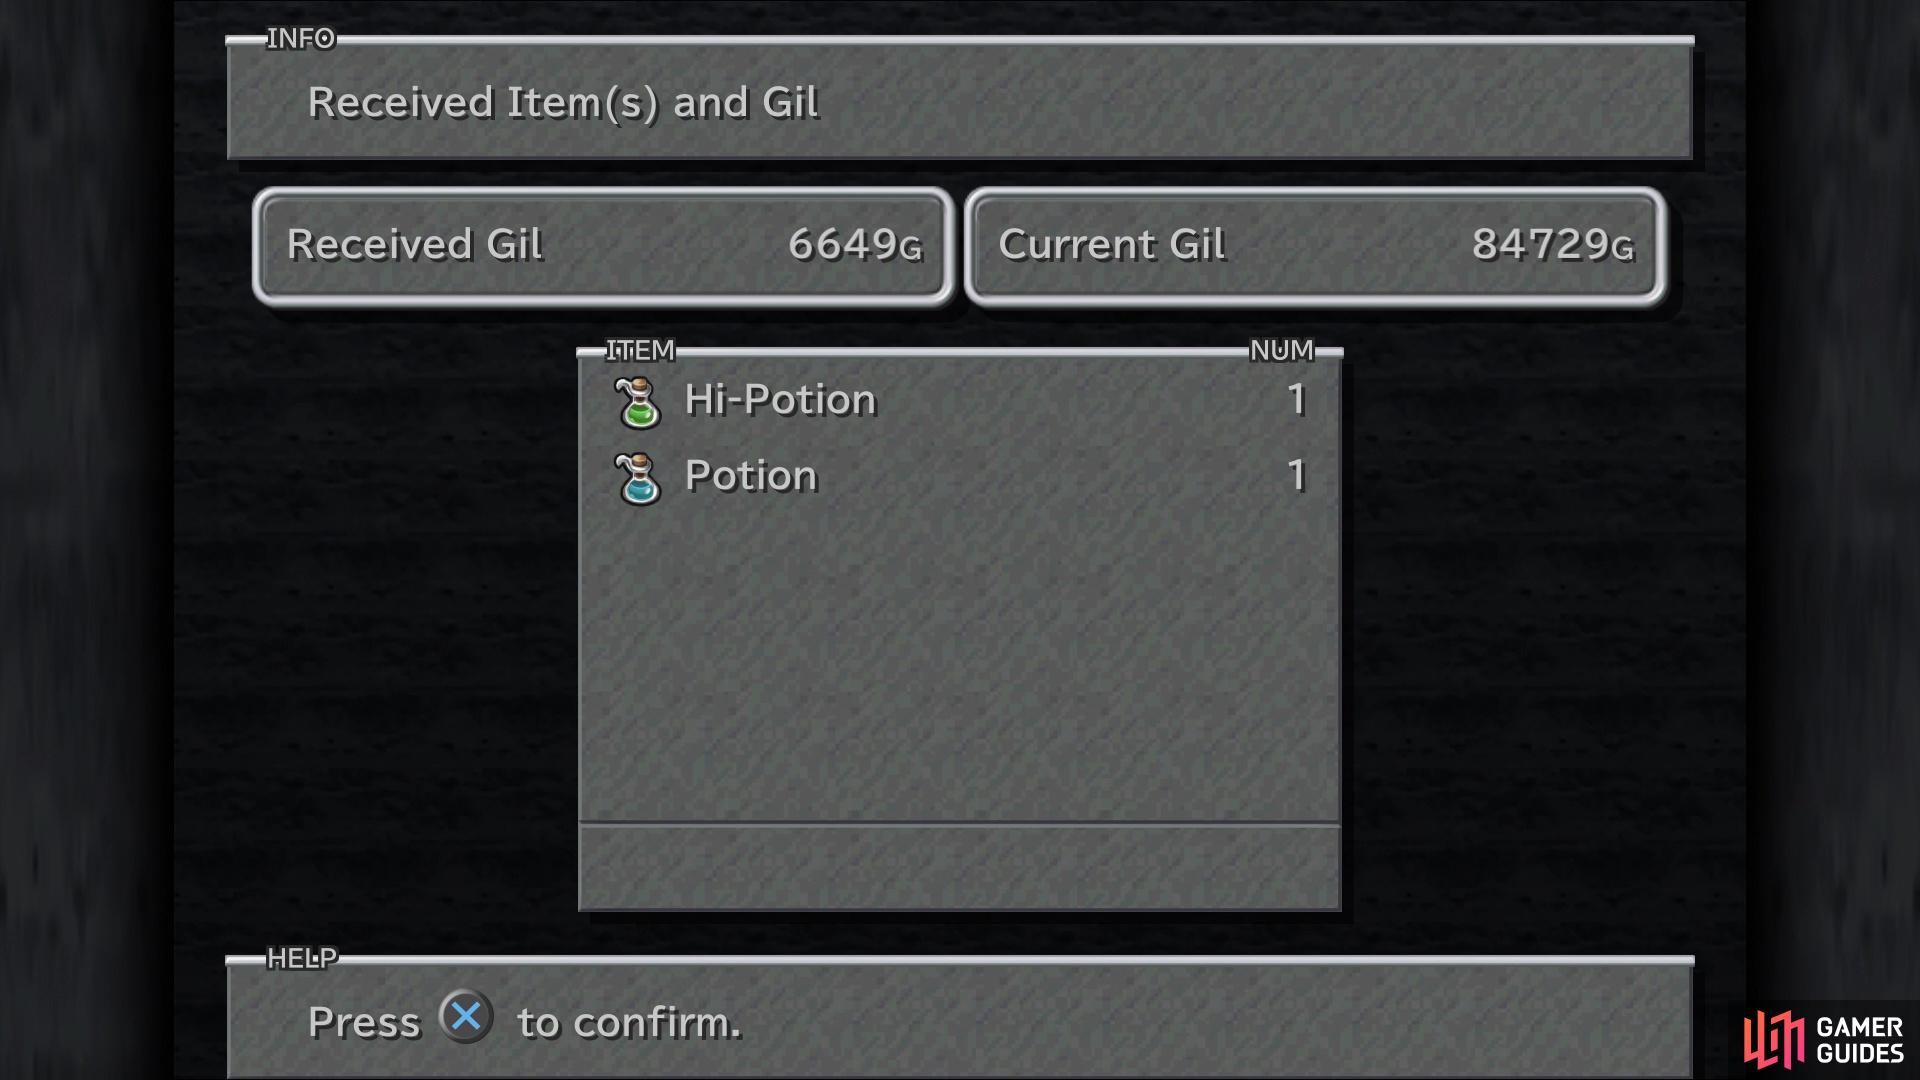
That was a doozy is a side quest, but you’re finished with the Chocobo stuff for now. However, there’s still some side content to do and since you should be close to Treno, let’s head there now. The only thing to do here is visit the Auction House again, as there will be two new items available, the Promist Ring and the Thief Gloves. The latter item is especially useful, as it can teach the Master Thief ability to Zidane, essentially making it a lot easier to steal the Rare and Very Rare slot items from enemies. You can also drop off the Sagittarius Stellazzio to receive 20,000 Gil.
Next up on the side questing tour will be Alexandria, which you can enter via one of two ways. You can ride Choco up over the mountains to reach the normal entrance to the city, or you can take the Blue Narciss and enter through the harbor. If going through the harbor, you have to find it first, with it being located on the northeastern side of the Mist Continent (it’s actually marked on your map). Once inside, follow the path until you come to a floating statue, which you can use to get to the castle grounds. Travel to the docks, the one with the gondola, and search the lower left corner for an Opal, the search the debris on the upper right to find a Peridot. Lastly, you can find a Sapphire amongst the debris in the top portion of the screen.
Ride the gondola into town and search the same spots by the stairs to uncover a Topaz and 4832 Gil. Continue to the next screen and look by the item shop’s entrance on the right side for 365 Gil. To the left of the southern exit, along the bottom of the screen, you can find an Amethyst, while there is a Remedy towards the bottom right. See the little girl chasing the boy? Speak to her and she’ll give you an Alexandria Card. Head down the alleyway to your left and onto the screen with the steeple, where you can find a Tent to the right of its entrance. Return to the Square and go south now, searching just south of the two NPCs there, for an Ether. On the next screen, towards the southern end, you can find one last item, a Sapphire, across from the three NPCs.


(1 of 2) Make sure you go to Treno and win the Thief Gloves from the auction
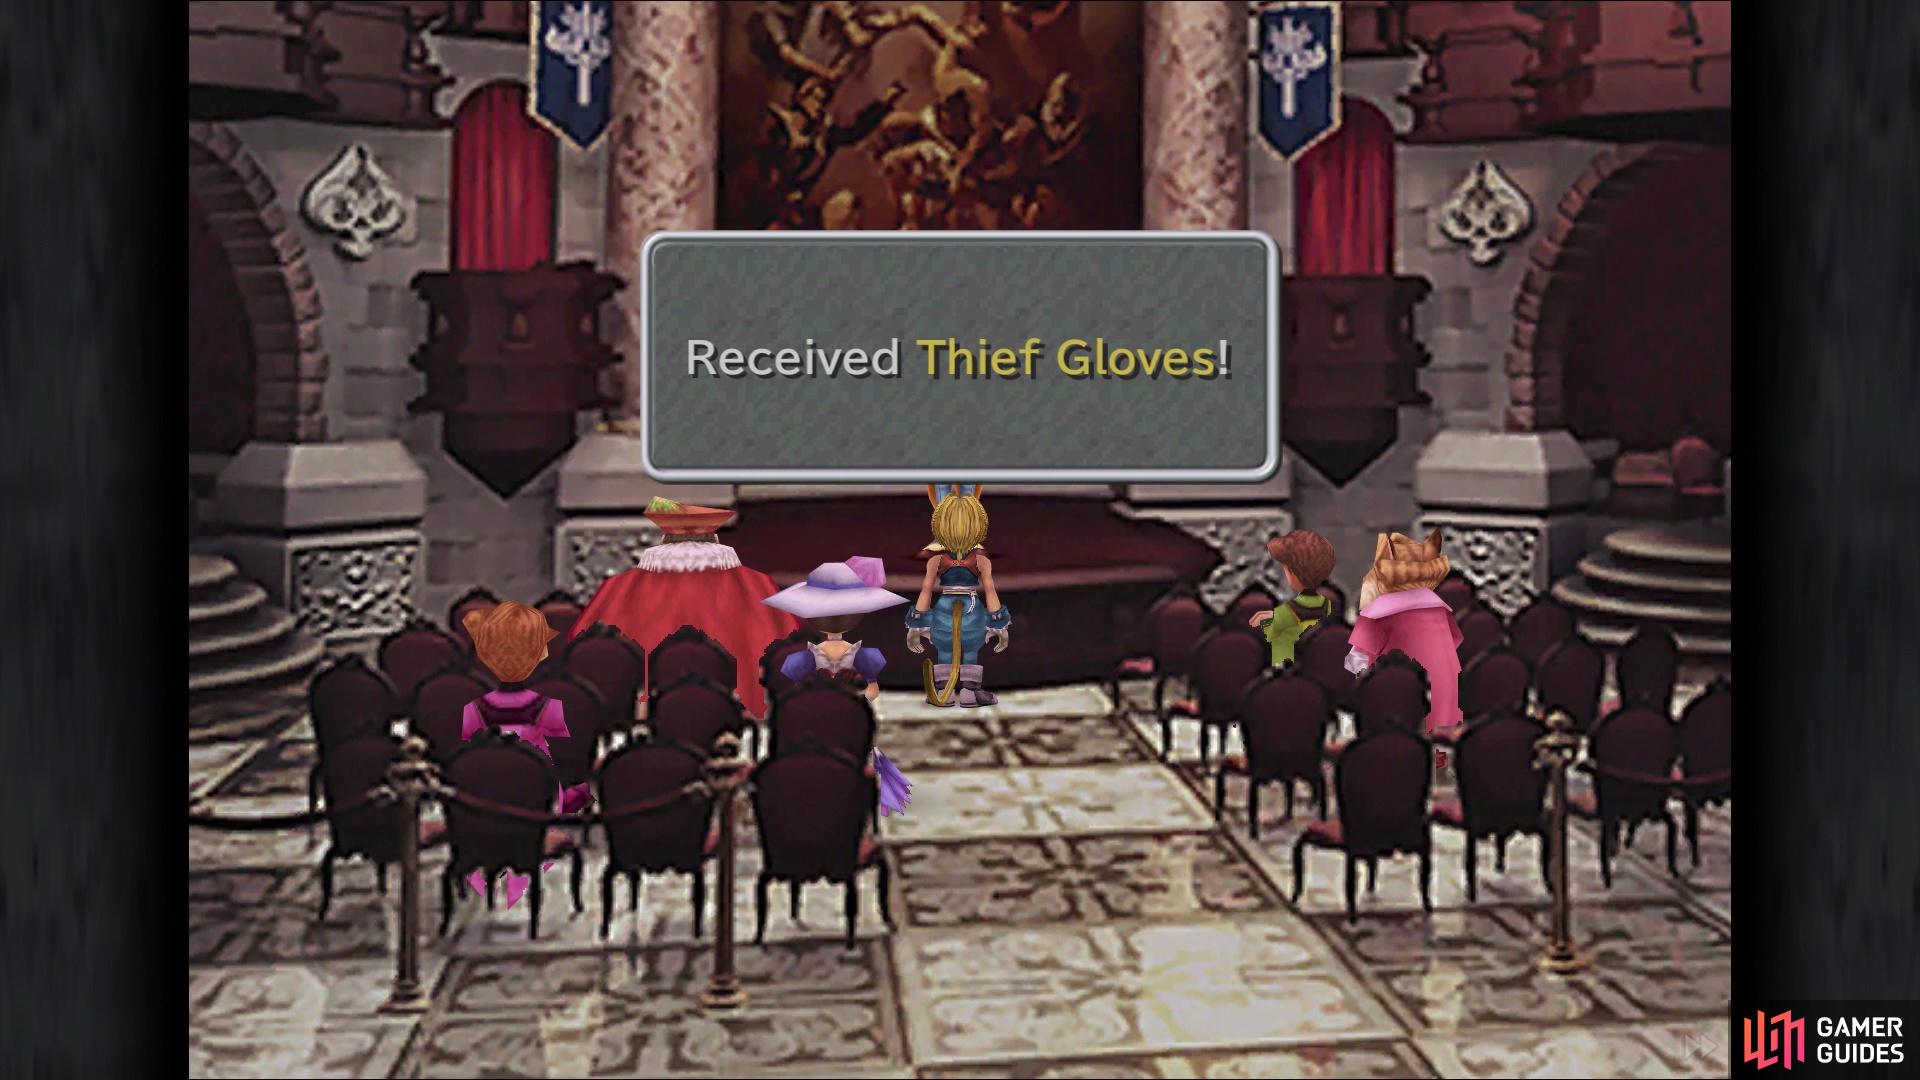
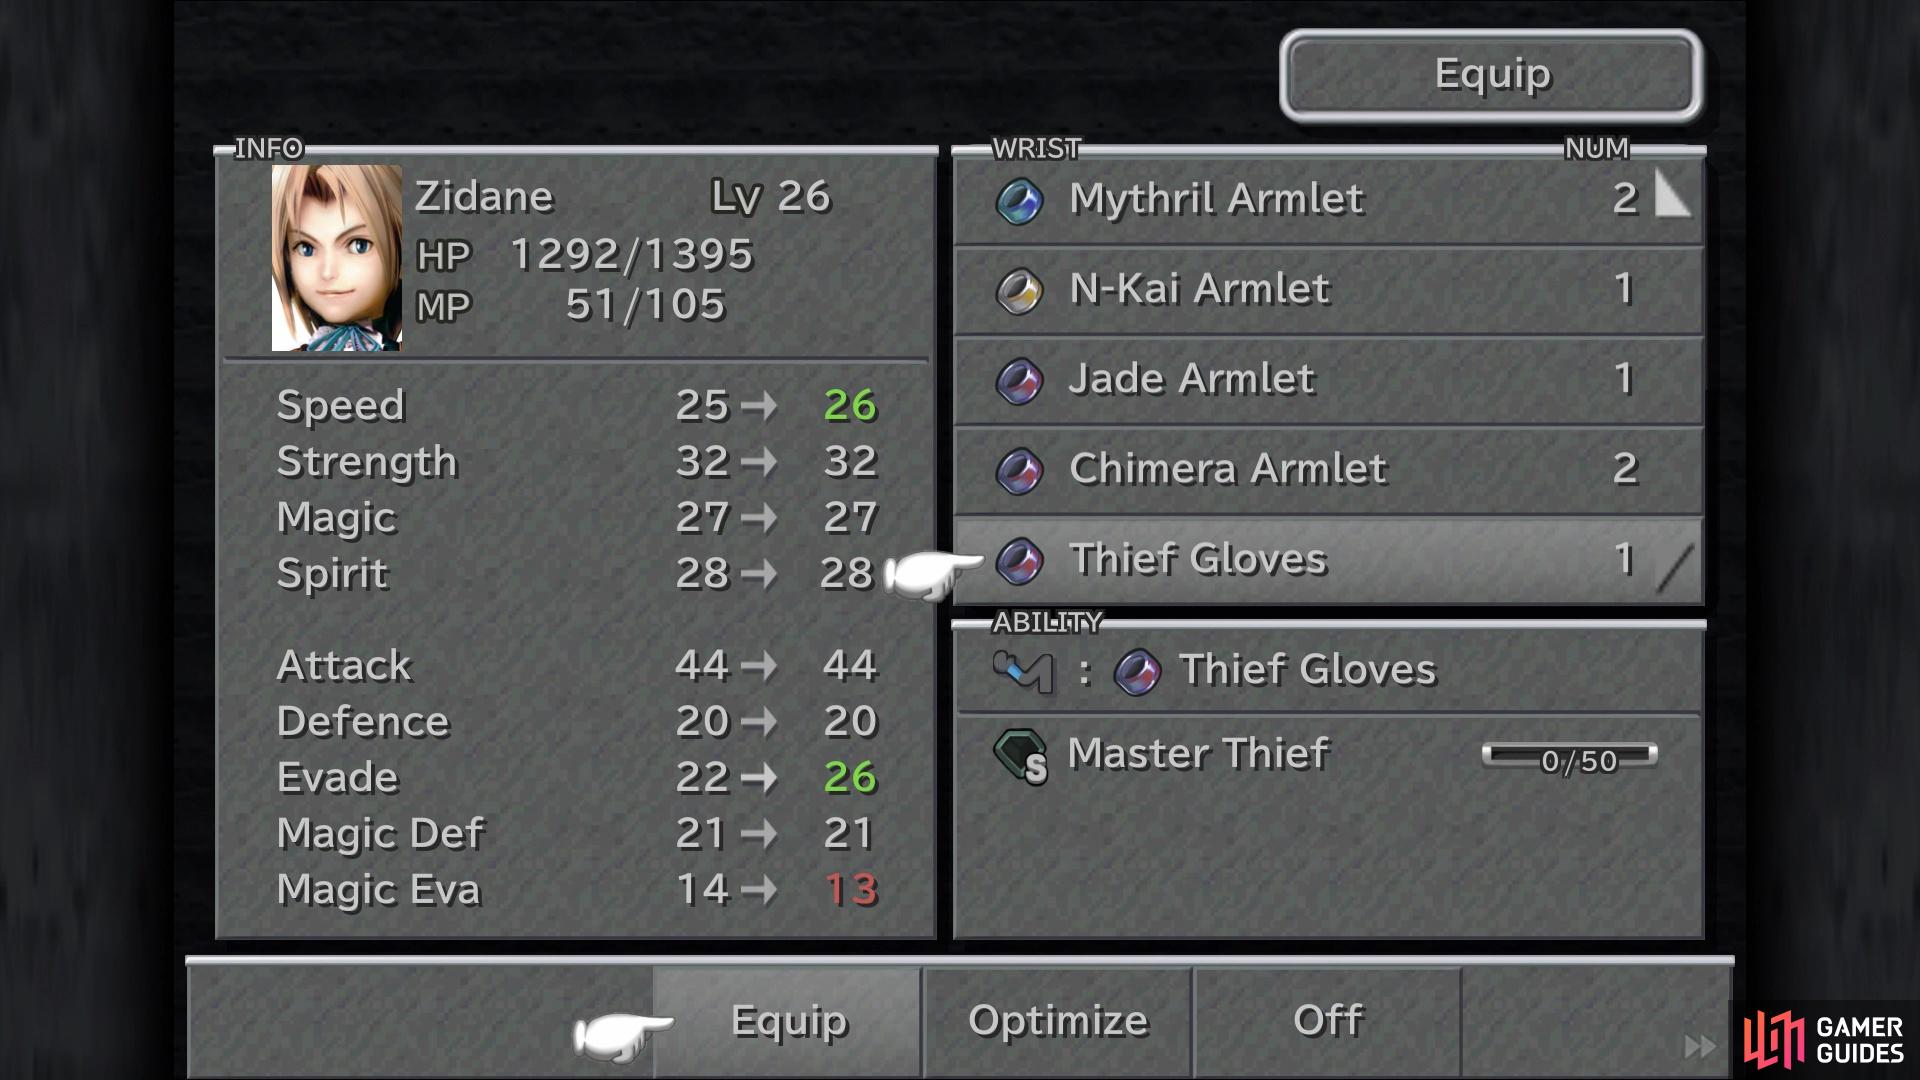
Make sure you go to Treno and win the Thief Gloves from the auction (left), as they teach Zidane the ever important Master Thief skill (right)
Blue Magic the Gathering
Return to the Blue Narciss and if you don’t have Quina in your party, put him/her into it now, as you’ll be tracking down some Blue Magic spells. The first stop is Lanar Island, which one of the islands off the coast of the western continent. In particular, this is the island with a Qu’s Marsh on it and it is south of the island with the long stretch of beaches. Roam around the marshlands on Lanar Island until you encounter an Adamantoise; this enemy has around 3,587 HP and will give Quina the Earth Shake Blue Magic.
Head inside the marsh now and run around until you get into a fight with an Anemone. This thing has around 3,586 HP and will teach Quina the Bad Breath skill. Before leaving Lanar Island, if you don’t have Auto-Life, you can get it from the Gimme Cats in the green area. Next up on the list will have you travelling to the snowy continent in the northwest. Run around on the “beach” until you find the Whale Zombie, which might take a few battles. It has around 3,730 HP and will teach the LV5 Death skill. If you didn’t get LV4 Holy earlier in Fossil Roo, you can encounter the Feather Circles in the snowfields.
The last Blue Magic you will be getting right now is in the Iifa Tree, but you will have to go the long way. Thankfully, you can summon Choco in a nearby area, then just climb over the mountains, instead of having to go through the Mountain Path. Once inside, stick to the beginning screens until you run into the Zombie enemy, who seems to be quite elusive at times. With a health pool of around 973 HP, the Zombie will cough up the Roulette Blue Magic skill.


(1 of 2) The Adamantoise is the only enemy to spawn in the swamp area outside of Qu’s Marsh on the island
The Adamantoise is the only enemy to spawn in the swamp area outside of Qu’s Marsh on the island (left), With Millionaire equipped, the Adamantoises drop a lot of money (right)
There are a few extra things you can do right now, like farm Adamantoises for the money (look above for more info on those), or even do the Cotton Robe trick, but it’ll become a little easier to travel shortly to make that a better option. With LV5 Death in your arsenal, you could also grind some on the Grand Dragons, as they are susceptible to it. Either way, you’re about done with this section, so it’s time to finally move on with the story.
No Comments