
After the little distraction from the previous page, it’s time to finally move on with the main story. If you forgot where you need to go, you will need to return to the Black Mage Village on the Outer Continent. Make sure you adjust your party before leaving for it, though, especially if you changed it up while doing the side content. Anyway, take whatever means you want to go to the Black Mage Village and upon arriving, you see that none of the mages are there, including in the shops. Head to the graveyard to learn that most of the mages went with Kuja, although two stayed behind.
Make the trek over to the chocobo stable for another scene, then go inside of the building. There will be more scenes here, with you eventually finding out the location of Kuja’s secret palace. Exit Black Mage Village and head for the eastern side of the continent. If you have the Blue Narciss, you will find a large beach there for you to dock. Either way, look for the four whirlpools in the desert section. Sit back where you can see all four of them and if they have puffs of air coming out of them, then those whirlpools will lead to a battle with an Antlion (obviously a stronger version of the boss you fought earlier). The only one without the smoke will lead to the Desert Palace.
If you pick the wrong whirlpool, then you will have to fight an Antlion
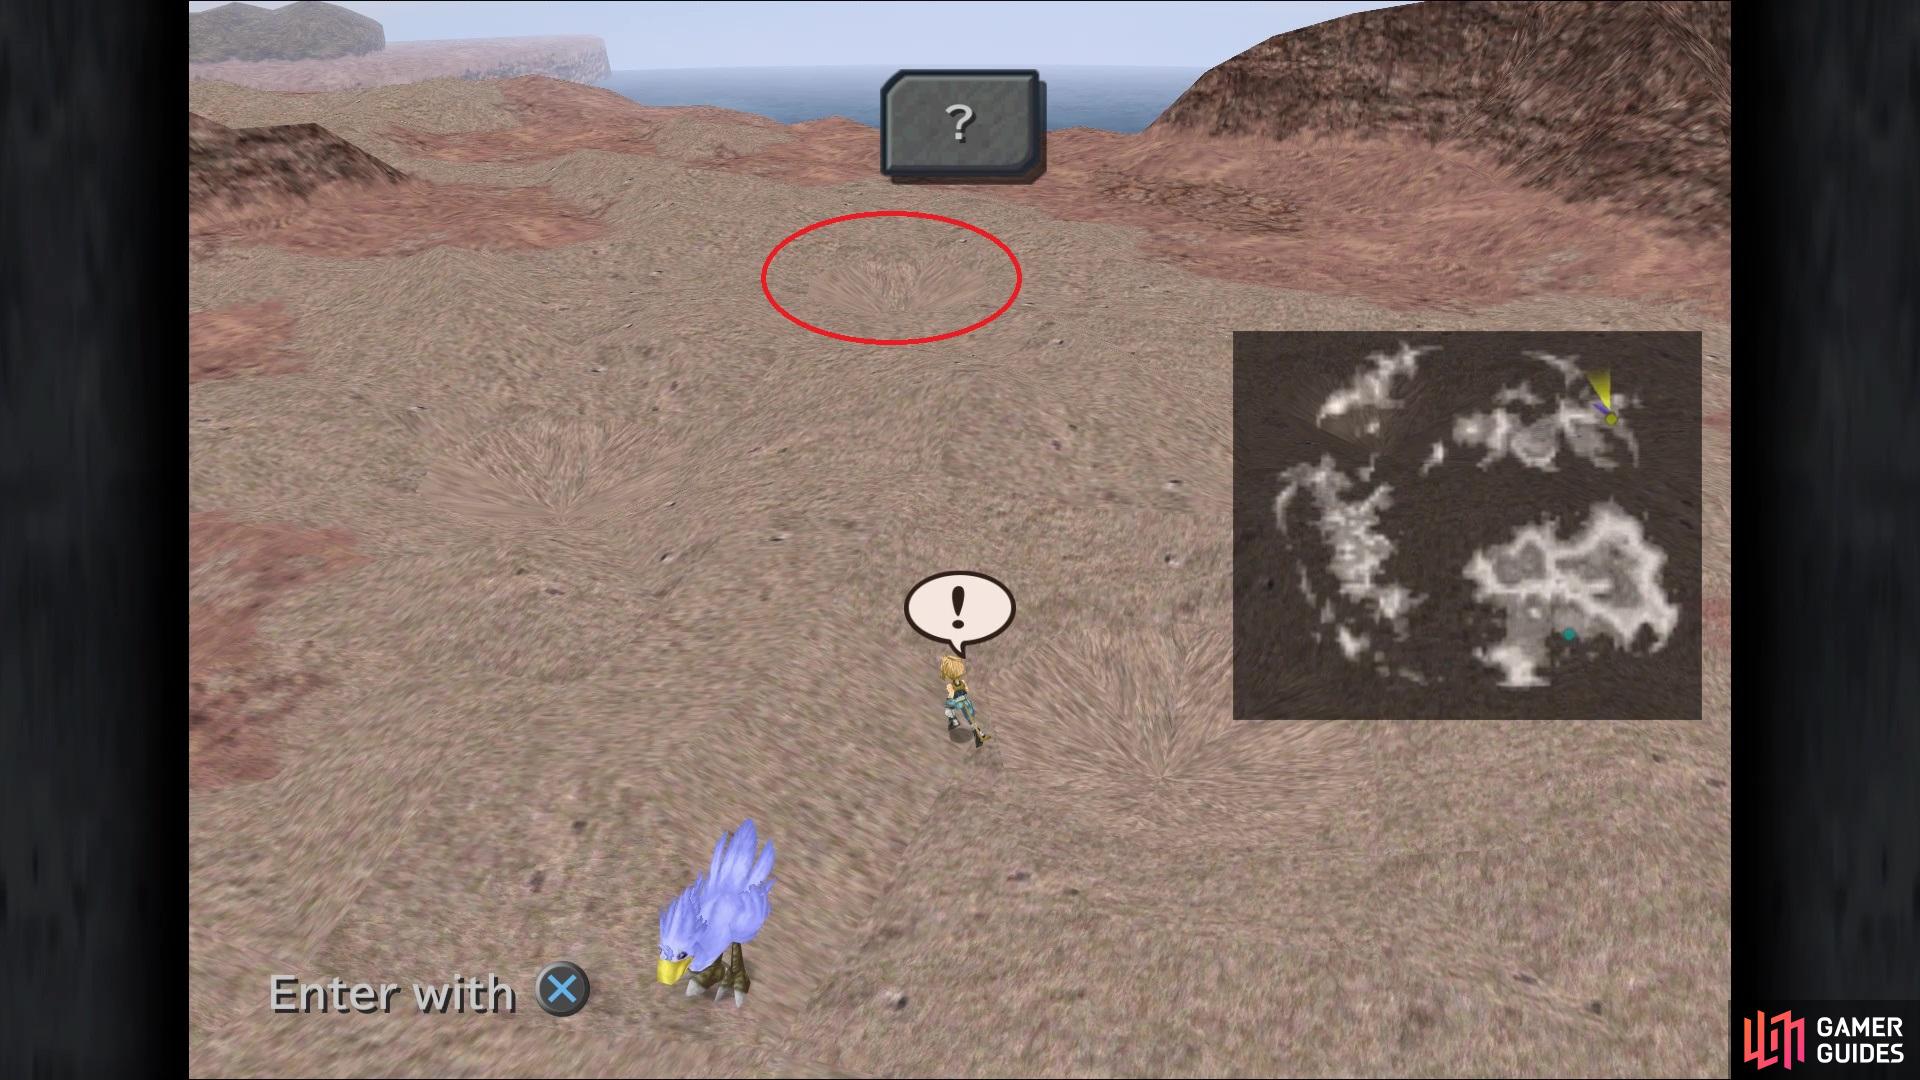
The correct whirlpool is circled in the screenshot above
The Desert Palace
Well, things certainly went bad here, as Zidane wakes up in a cell, next to Cid. When presented with a choice, it doesn’t matter what you choose. When regaining control of Zidane, walk south and after a short scene, you will be teleported to a different location. Kuja explains what he wants of you and asks you to pick three of your friends to bring along, so put them into your party. Heed Kuja’s warning about the anti-magic barrier in your destination, so it might be better to stick with a purely physical party (Quina should definitely not be sent to Oeilvert).
Whenever you’ve picked your party, Kuja will teleport you to another location, so follow the path (the stairs) to a ship. Board the ship when you’re ready and it’ll automatically bring you to the Forgotten Continent. Upon landing, you can interact with the ship to have Thorn sell you the basic items, which will include Vaccines. It’s a good idea to buy some, just in case. Oeilvert is to the south, but there’s a few extra things you can do around here before heading in that direction.
Minor Side Questing
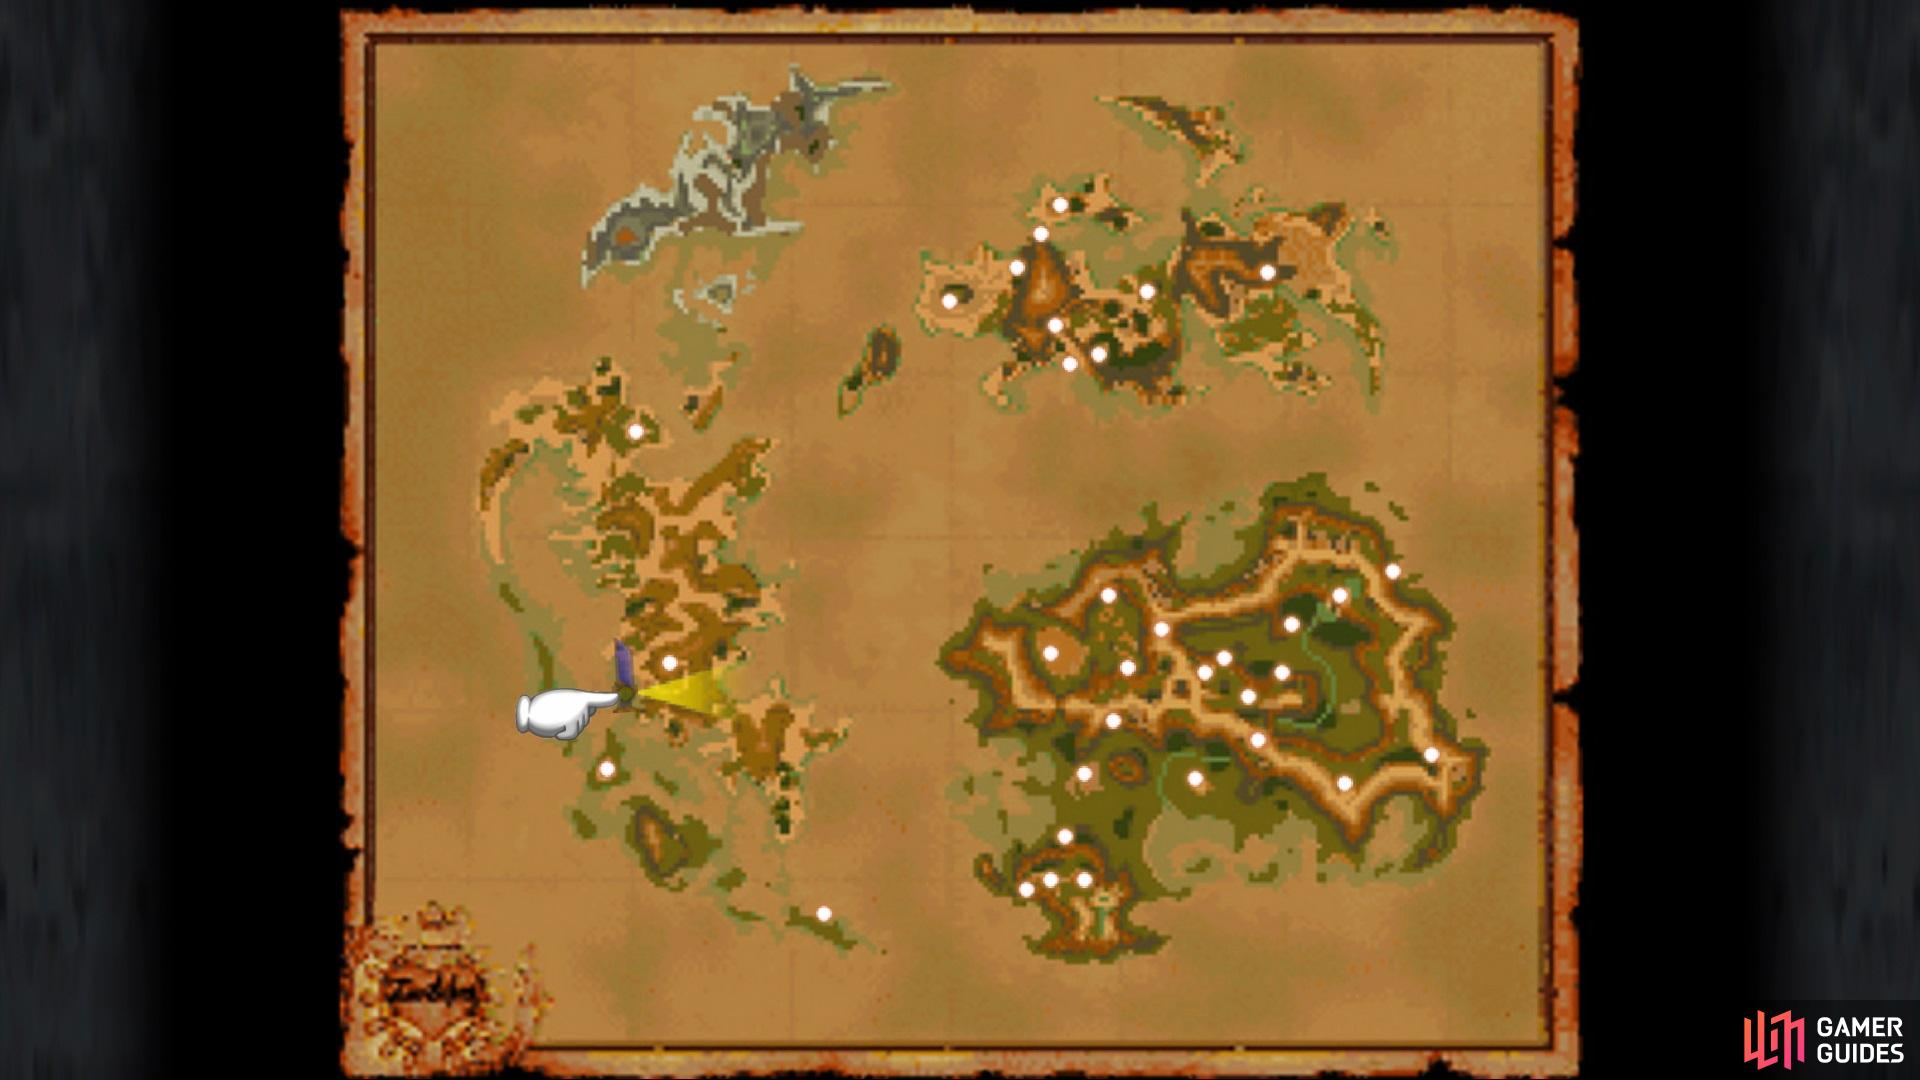
You probably saw it on your way, but there is a Qu’s Marsh to the north of the ship; if you’ve been following this guide, then this is the fourth (and final) one. Unfortunately, you won’t be able to catch frogs if Quina isn’t in your party (and s/he probably isn’t if you took the above advice). Ignore the Qu’s Marsh for now and continue north, where you should spy some chocobo tracks by the forests. Go ahead and call Choco, as you can find a few treasures right now, specifically two Chocographs (#15 and #16) and two Mountain Cracks.
Equip #15 - Dusk Plains and head to where Oeilvert is located on your map (it’s marked). Southwest of that will be a forest along the coast. Directly next to this forest will be some plateaus, so you want to stand on the lowest one, in the gap between the other two. The treasure will be there, which consists of 12 Phoenix Downs, 14 Ores, some Kaiser Knuckles and an Iron Man Card. Chocograph #16 - Forgotten Plains will be your next ticket, which will be found towards the northern end of the continent. Look for the strange building resting inside of a valley (you can’t enter it, so forget about it for now), and travel southwest of it. Get on the rock formation here and dig around on the first stretch for the treasure, which will give you 17 Ores, 5 Ethers, 14 Opals and a Demon’s Mail.
Next up on the list will be the two Mountain Cracks (let’s call them #2 and #3, just to give them names). Return to where the ship is parked and start venturing southeast of it. Go straight over the mountains and when you find the isolated forest, you will find the Mountain Crack right next to it. Use a Dead Pepper to uncover the treasure, netting you 19 Eye Drops, a Madain’s Ring, a Genji Helmet, and a Hilda Garde 1 Card. For Mountain Crack #3, continue southwest from the previous one, until you come to another isolated forest. The crack here is a little more challenging to see, as it blends in better, but it will be on the mountain ledge. Your reward for this crack will be a Maiden Prayer, a Dragon’s Hair, some Gauntlets, and an Odin Card.
The last item on the agenda will be another Friendly Monsters, so head to any forest on the continent and get into random battles until you hear that familiar jingle. Jabberwock is the name of the Friendly Monster and he will ask for an Emerald. For handing one over to him, he will give you a nice 40 AP and a Moonstone. When you’ve gotten all of the above, it’s time to move onto Oeilvert. If you don’t know where it’s located, look for the white dot on your big map, as it’s already on it without you having to have gone there.
No Comments