
After Laguna drifts off to sleep you’ll find yourself in control of Zell, who coincidentally wakes up from his own dream. While he too was sent to dream world, it seems he assumed the role of Ward this time, and wasn’t privy to what happened with Laguna (Squall) and Kiros (who given his level was probably Irvine, but the cowardly shotgun-sniper isn’t around to confirm or deny it).
As Squall, pick a dialogue option that won’t disgrace SeeD
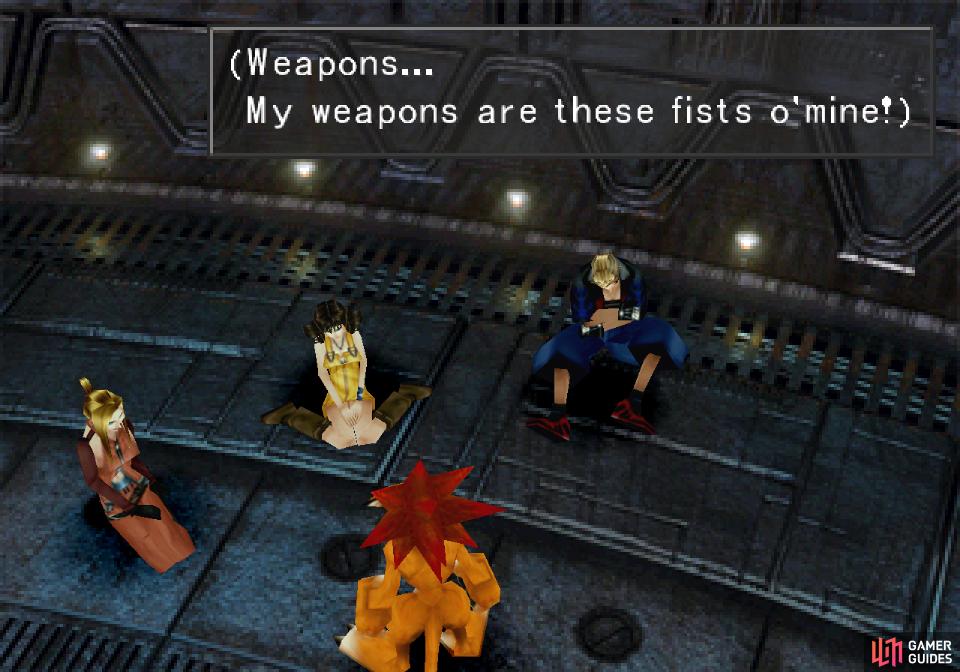
and after a silly amount of time Zell will realize his combat potential isn’t all that hindered
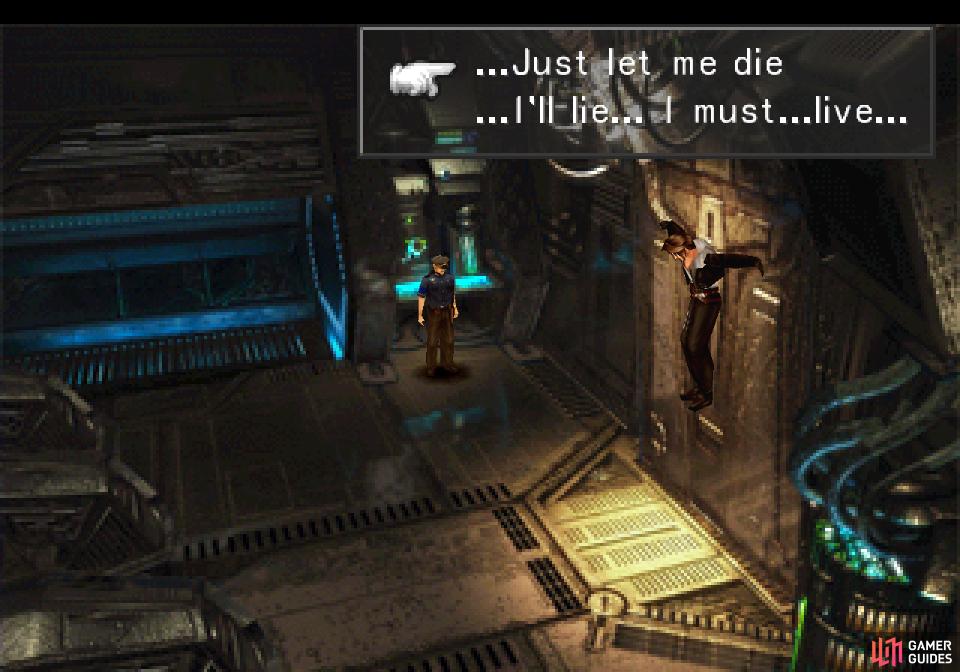
When you’re in control of Zell, junction all your GFs to him for now, then talk to Rinoa twice and she’ll state the obvious. Watch the scenes that follow - Zell not knowing the pecking order, Rinoa getting preferential treatment and Squall and Seifer continuing their bromance - and when you get a chance to respond as Zell pick the option I’ll stop him! to stand up for the little critter the “Mean Guy” guard was beating. After some more scenes Squall - after learning of a dire threat facing Balamb Garden - will get a dialogue option as well. Pick …Just let me die, as it’s more befitting of a response for a SeeD than the alternative.
Back with Zell and company, they’ll try to come up with a plan to escape (Selphie’s pretty freaking twisted) and Zell will realize that between his dream-knowledge as Ward and the fact that his fists are his weapons, he’s got a serious advantage. Fortunately the guards here are comedy-fodder grade, falling for the oldest trick in the book. Once outside, head upstairs to find some guards standing out in the open with your weapons. How is the Galbadian army a functional entity?
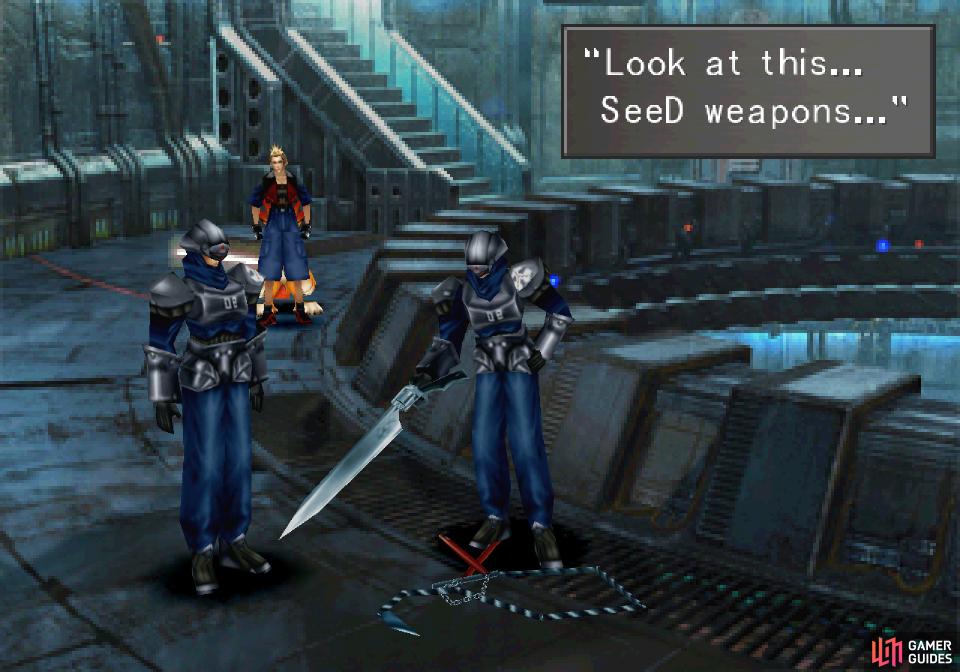
Incompetent as always, you’ll find your weapons being ogled by some guards nearby
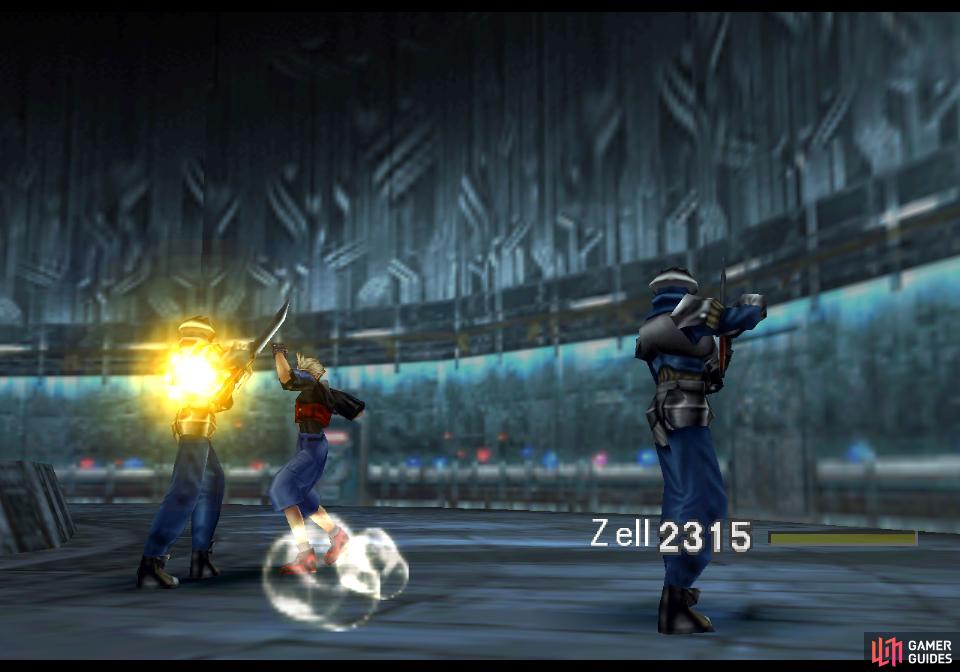
put the hurting on the guards as Zell to reclaim your weapons
Approach the guards to start a fight with two Galbadian Soldiers, who are absolute push-overs. You can draw Blind, Cure, Silence and Sleep from them (especially useful for healing up after re-junctioning) but otherwise these guards are underwhelming. Defeat them, reclaim your weapons, then watch some scenes before being dropped into a menu where you can properly junction your GFs and magic across the entire party. Aim for the same setup you had with the [sniper team] during the end of the last mission, as there are some low-HP bosses you might want to Mug, although you don’t need to be quite so keen on elemental resistances this time (the standard Shell + Life combo works fine).
After you’re done, exit the menu and you’ll encounter two old friends…
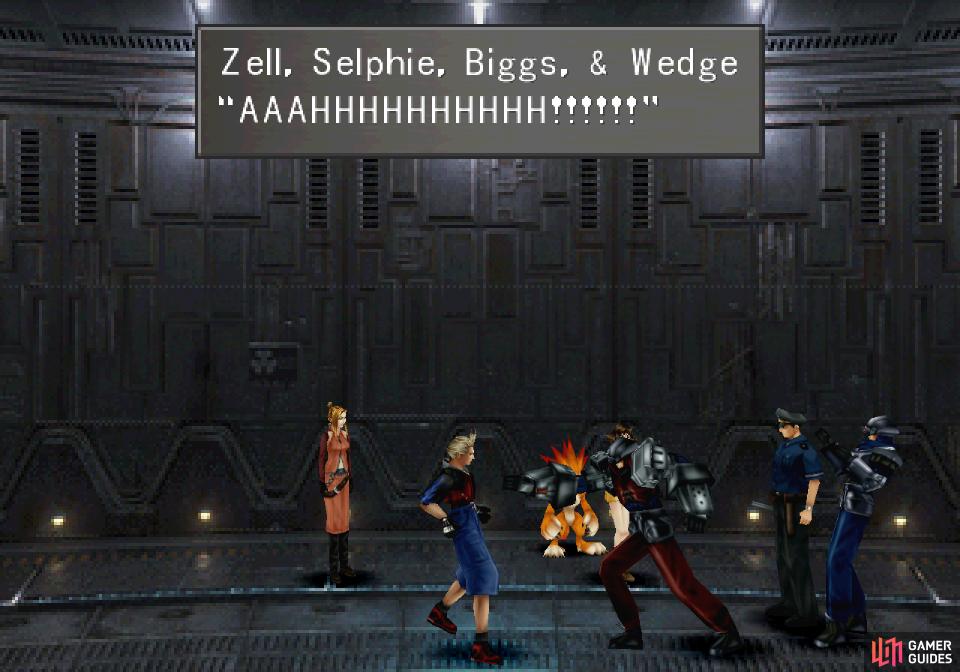
Boss - Biggs and Wedge
Biggs and Wedge were demoted after our last encounter atop the Dollet communications tower, and Biggs does a grand show of reluctant schadenfreude before the fight starts. It ends pretty quickly when Wedge tacitly points out that you’re armed, which is honestly one of the more amusing scenes in the game. Ah, poor guys…
| Biggs | |
|---|---|
| Lv: | 1-22 |
| HP: (Lv10) | 1,705 |
| HP: (Lv22) | 2,235 |
| Weaknesses: | – |
| Resistances: | – |
| Status Resistances: | Immune to Berserk – Card – Death – Doom – Eject – LV Down – LV Up – Petrify – Sleep – Slow-Petrify – Stop; Confuse 40% – Darkness 20% – Drain 0% – Float 0% – Haste 0% – Poison 20% – Reflect 0% – Regen 0% – Silence 20% – Slow 10% – The End – Zombie 30% |
| EXP: | – |
| AP: | 5 |
| Draw: | Cure, Haste, Regen, Slow |
| Mug: | Regen Ring x1 |
| Drop: | Elixir x3 |
| Wedge | |
|---|---|
| Lv: | 1-22 |
| HP: (Lv10) | 1,640 |
| HP: (Lv22) | 2,139 |
| Weaknesses: | – |
| Resistances: | – |
| Status Resistances: | Immune to Berserk – Card – Death – Doom – Eject – LV Down – LV Up – Petrify – Sleep – Slow-Petrify – Stop; Confuse 40% – Darkness 20% – Drain 0% – Float 0% – Haste 0% – Poison 20% – Reflect 0% – Regen 0% – Silence 20% – Slow 10% – The End – Zombie 30% |
| EXP: | – |
| AP: | 5 |
| Draw: | Fira, Protect, Reflect, Shell |
| Mug: | Strength Love x1 |
| Drop: | Remedy x8 |
First, let’s get the obligatory “if you’ve done the optional grinding, this fight’s a push-over” stuff out of the way. Biggs and Wedge can range from level 1 - 22, and at most they’ll have just over 2,000 HP each. A party packing Tornado junctioned to Strength with the Str+60% ability will flatten them in a hit or two. Even for a less capable party, since you can draw Cure from them and heal yourself as needed.
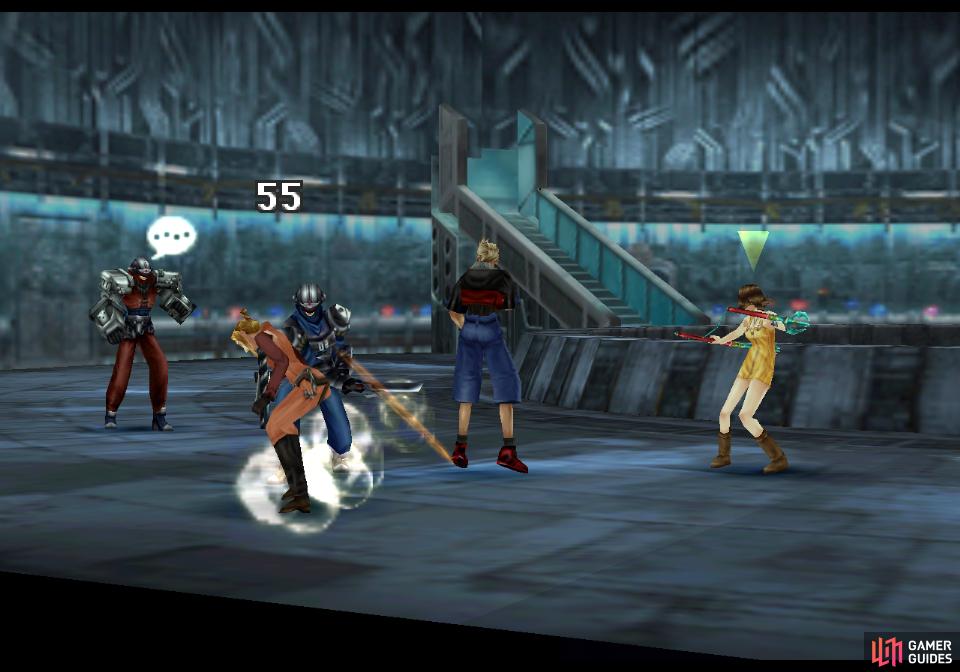
Not that Biggs and Wedge should be doing much damage - their physical attacks will likely do less than 50~ damage (with a low level party and Curaga junctioned to Vit they could be dealing as little as 20-30!) while Wedge’s Fire magic might do 60~ damage. Not the sort of math that’ll put you in mortal peril.
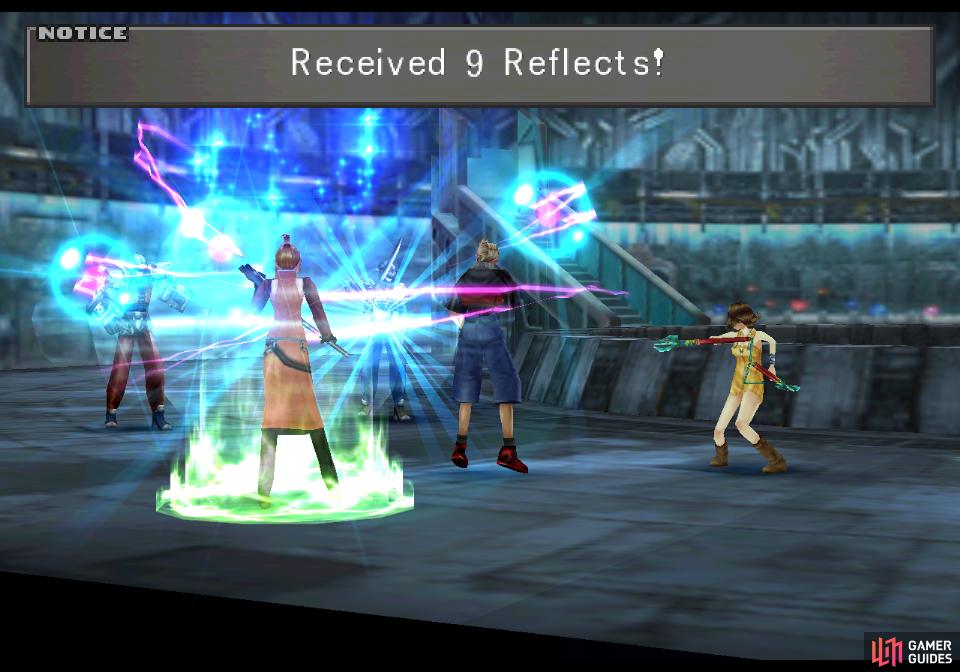
That being the case, you might as well put in some effort to gain magic and items from them. From Biggs you can draw Cure, Haste, Regen and Slow, while Wedge has Fire, Reflect, Protect and Shell. We gladly stocked up on Reflect here, but if you didn’t do quite so much grinding earlier, be sure to grab any spells you don’t have - almost all of these will come in handy.
Then there’s Mug. If defeated without Mugging them, Biggs will drop three Elixir items and Wedge will forfeit eight Remedy items. Not terrible, but since you could have one hundred Elixirs if you used Card Mod on the Angelo card and you can buy Remedies from most stores, it’s not a great get, either. On the other hand you can Mug a Regen Ring from Biggs (teaches GFs the HP+20% ability) and a Strength Love from Wedge (teaches GFs the Str+20% ability). You probably don’t need these, either, but at least the Regen Ring can be turned into twenty Full-Life spells via L Mag-RF and the Strength Love can be turned into two Aura Stones.
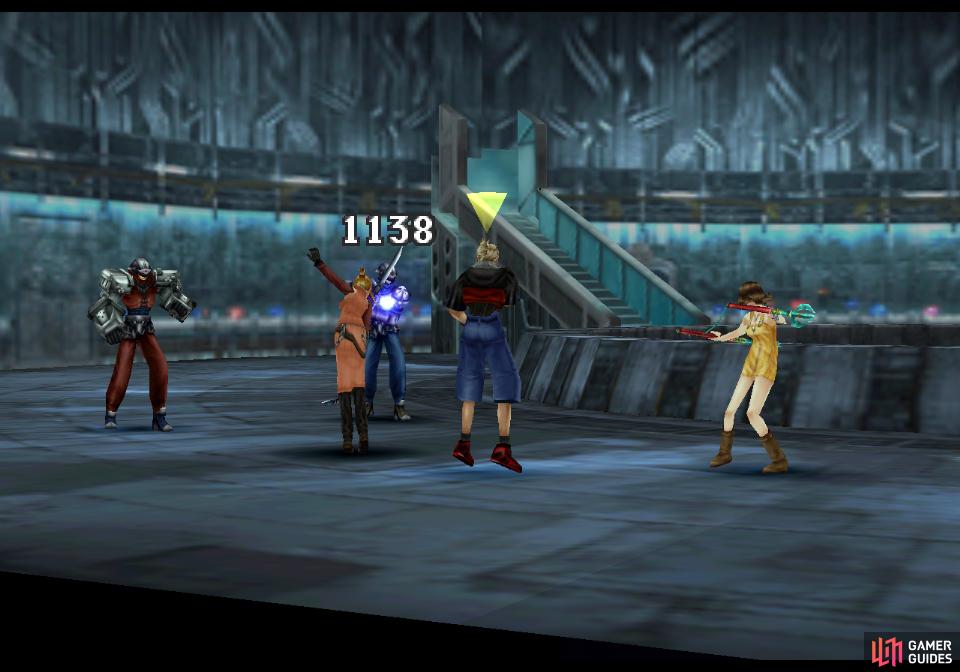
After stealing and drawing from Biggs and Wedge, go on the offensive
be wary, however, as they get stronger when injured
Once you have whatever you want from them, whittle down their HP and be wary when they’re below half health. At this point you’ll get the evergreen text warning you that “Wedge is pissed!” and correspondingly he’ll start dealing more damage with his attacks. Expect at least 50~ damage from his physical attacks henceforth, and worse yet, both Wedge and Biggs will start taking double turns. Biggs picks up his game as well, laying off his physical attacks in favor of casting Cure, Haste, Slow and Thundara. If you have Auto-Haste equipped you need not worry about any of this, but you can also thwart Biggs by casting Silence on him. He’ll be unable to cast spells, but that won’t stop him from trying, and wasting turns in the process.
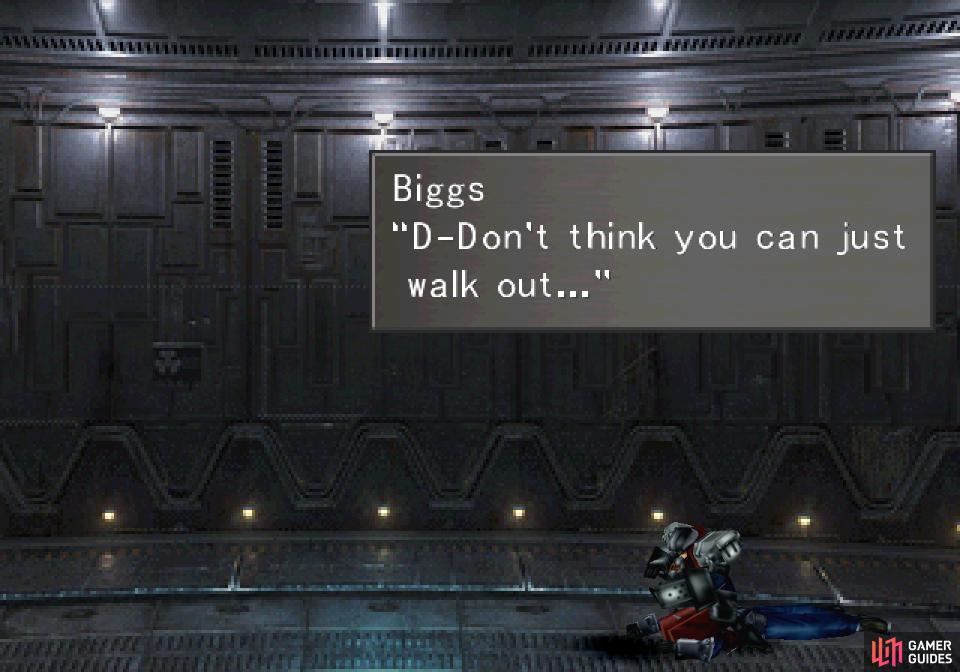
As usual, Biggs will cause trouble for you in defeat
After escaping you’ll need to go rescue Squall!
Enemies in D-District Prison
Survive this renewed onslaught and put the duncely duo down, then exit your cell only to have Biggs rise to cause you some post-fight trouble. The more things change, the more they stay the same… Outside the cell the party will decide to seek out Squall, whom the Moombas refer to (or perhaps associate with?) “Laguna”. An alarm will sound, monsters will be unleashed and general pandemonium will reign… unless you have Enc-None equipped, of course, in which case you’ll be able to stroll about as you please.
If you’re not willing or able to use Enc-None, the enemies you’ll face may as well be briefly discussed.
GIM47N is one of two robot foes you’ll face here, by far the least dangerous of the two. They can hit you with their ball-fists and shoot lasers, but otherwise they aren’t too dangerous. You can draw Cure, Cura and Curaga (levels 1-19, 20-29 and 30+), Esuna (all levels) and Life (20+), making them even easier than they seem at first glance. You can steal Steel Orbs from them at all levels, and they can drop Steel Orbs and Screws (all levels), Steel Pipes (levels 1-29) and Dynamo Stones (levels 20+). They cannot be Carded.
The GIM52A can use the Micro Missiles attack, reducing a target’s HP by half
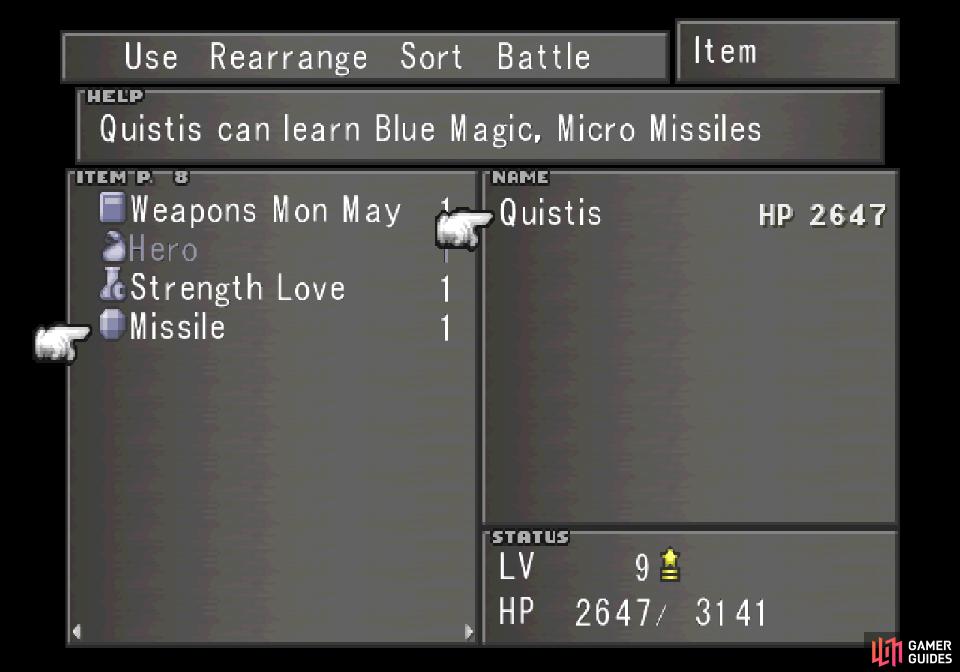
You can get Missiles from them, which Quistis can use to learn the Micro Missiles ability
The other robotic foe in this area is the GIM52A, a sleeker, more aggressive model that has the nasty Micro Missiles attack which reduces a character’s HP by half. Not only that, but the GIM52A has more HP and deals more damage with its attacks than the GIM47N. You can draw Haste and Slow from them (all levels) as well as Dispel (levels 20+) and Esuna (levels 30+). You can Mug Missiles from them (all levels) which can be used to teach Quistis the Micro Missiles blue magic. They can drop Fuels, Missiles, Screws or Windmills (all levels). They cannot be Carded.
Guards can accompany bots at times, and they’re generally push-overs. Their HP are incredibly low (they’ll barely breach 3,000 HP at level 100!) and their attacks are limited to melee and casting Sleep. They can be Mugged for Potions, Phoenix Downs or Remedies (all levels) and they can drop the same items. They can’t be Carded.
Finally is the Thrustaevis, which you should be familiar with. It’s the only foe here than can be Carded, for what that’s worth.
D-District Descent
While your goal is technically to escape, you may be surprised how much benefit you can gain by wasting time in this place. There are a few items to pick up and NPCs to interact with, at the very least, so let’s get to exploring. Heading upstairs will allow you to escape, so we’ll be heading down first.
Starting on Floor 7 head downstairs to reach Floor 6. Save your game at the Save Point then continue right and circle around the floor’s two screens. Sadly you can’t just go quickly between the stairs as a modest barricade is in your way. Why they can’t just jump over it is absurd, but… that’s how it is. It’s just an excuse to waste your time and force you to fight more monsters, but you should note that there are two doors on each level - one on the screen with the stairs and one on the screen to the right. Both are locked on this floor.
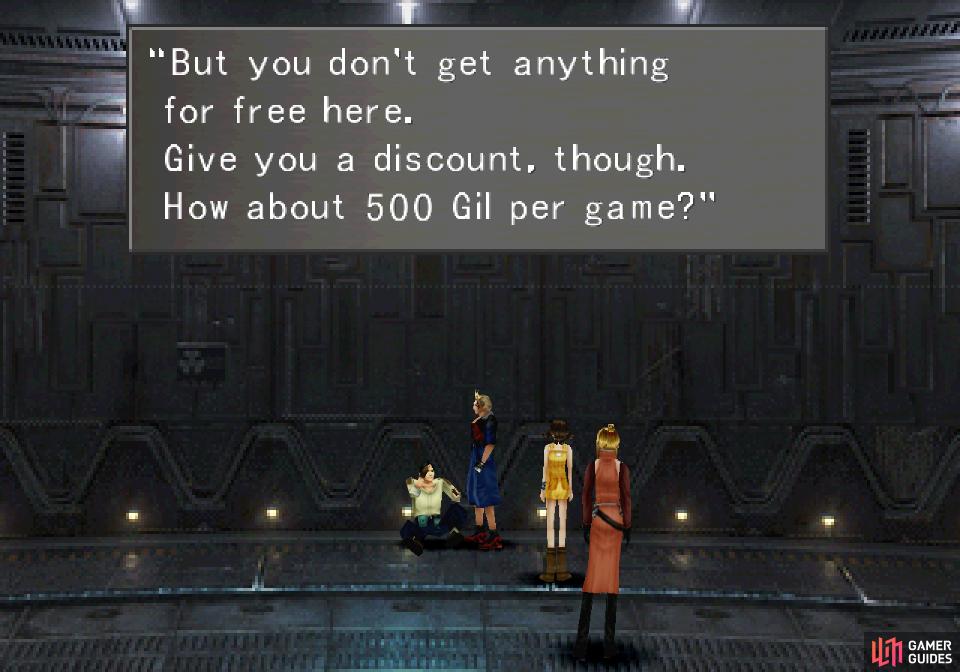
500G Card Player
Descend to Floor 5 and head into the screen to the right and enter the right-most cell on this level. Inside you’ll find a prisoner who is pretty chill, not willing to risk an escape, but opportunistic enough to offer a game of cards. If you win, he’ll give you a prize but each game will cost you 500G. Whether you like Triple Triad or not, you’ll benefit greatly from having built up a good deck, as some of the prizes you can win are well worth the cost. Below is a list of the rewards you can get:
| Reward | Odds |
|---|---|
| Potion | 129/256 (~50%) |
| Eye Drops | 64/256 (~25%) |
| Remedy | 32/256 (~12%) |
| Gysahl Greens | 16/256 (~6%) |
| Luck Up* | 8/256 (~3%) |
| Flare Stone* | 8/256 (~3%) |
| Mega-Phoenix | 4/256 (~1%) |
| Phoenix Pinion | 3/256 (~1%) |
*You can only acquire one Luck Up, after which future rewards will be Flare Stones.
As you can see, he’ll reward you with some pretty nice stuff. The Phoenix Pinion is particularly interesting, as it’ll summon… well, a Phoenix that deals fire damage to all your foes and revives all KO’d comrades. After being used once it has roughly a 25% chance to show up again whenever your party is KO’d, making it a nice - if unreliable - safety net. Might be worth grinding for if you want that added bit of protection, but at just above a 1% chance of getting one, it can be a costly, time-consuming endeavor that’s probably not worth doing at this point. You have another card player to challenge and you shouldn’t waste all your patience and money here.
That said, the Luck Up is also a nice item with somewhat better odds that might be worth going after. Keep in mind that while each game costs 500G, some of the items you’ll get will sell for a pretty penny. A Remedy will sell for 500G, making it a cost-neutral game, for example. He’s not too dynamic of a player, but he can use up to Level 6 Boss cards, so be wary and don’t lose any cards to him.
Pick up Combat Kings 1
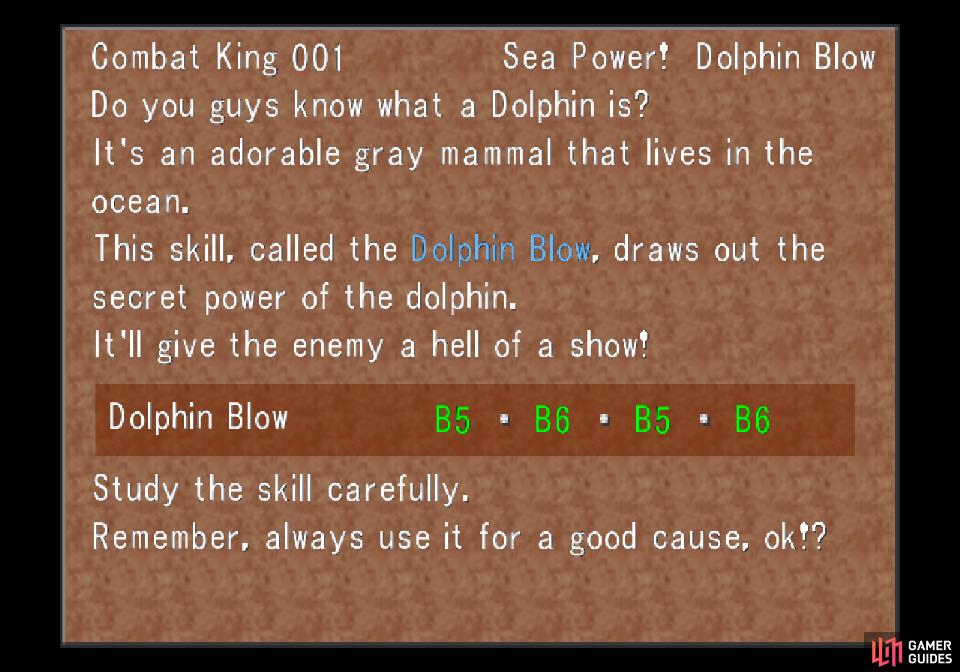
and Zell will learn the Dolphin Blow limit ability
Combat King 001
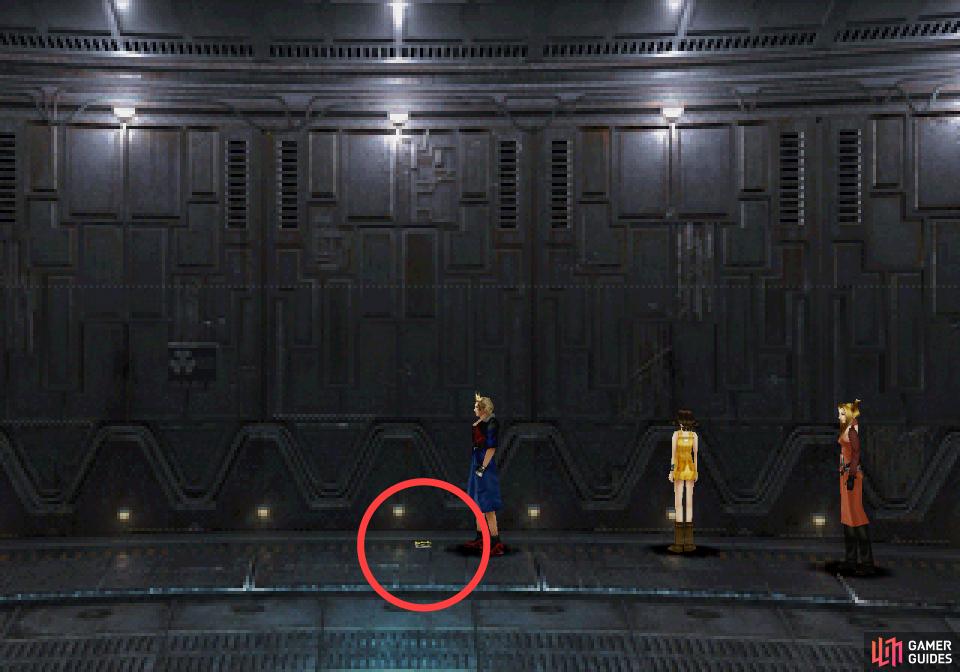
When you’re done playing cards, continue down to Floor 4 and enter the left-most cell to find a box, which yields a Tent. This is the only prize you’ll find on this floor, so continue down to Floor 3 and enter the left cell to find a Pet House. Floor 2 is even more generous, with a Pet Nametag in the left cell and a Strength Up in the right cell. Finally, on Floor 1 you’ll find a Save Point in the left cell (only visible with Move-Find equipped) and an issue of Combat King 001 in the right cell. This magazine will teach Zell the Dolphin Blow limit.
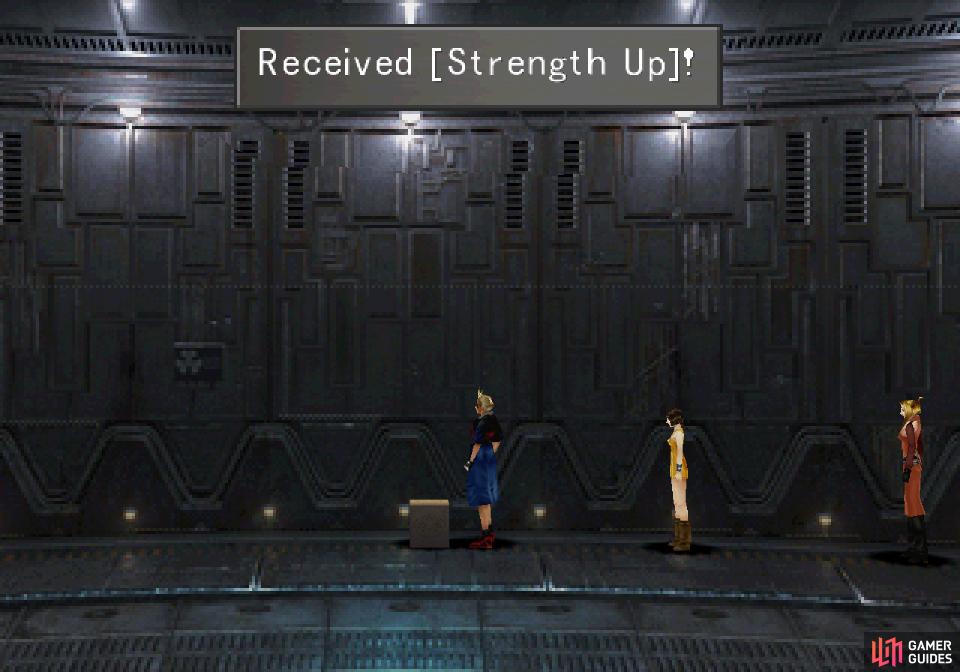
In various cells you can find items in boxes, the best of which being a Strength Up
there are also several draw points worth looking out for
300G Card Player
Backtrack all the way up to Floor 7, then head upstairs to Floor 8 and enter the left cell to find… a merchant? Whatever, don’t look a gift merchant in the mouth. He sells a typical selection of restoratives, but more important, he can buy junk from you. If you’re light on cash for some reason and want to stretch out your card playing, you can sell him some of the common rewards. Remedies will fetch you 500G each, for example… although since the Garden can apparently wire cash to you even while in prison (just run around to get a payday) it shouldn’t be that big of a deal.
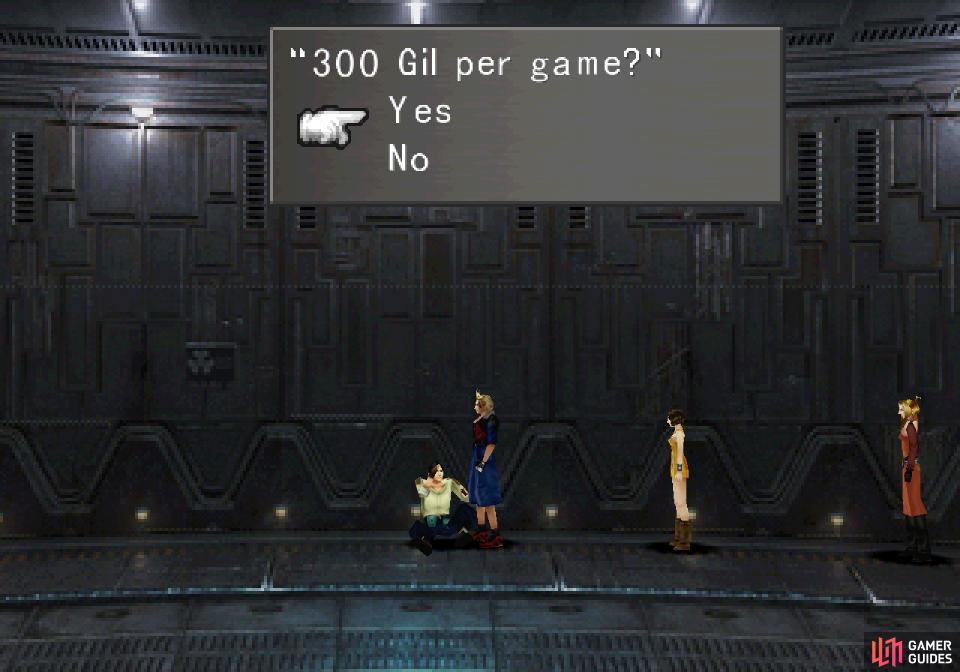
Win a game against the 300G card player
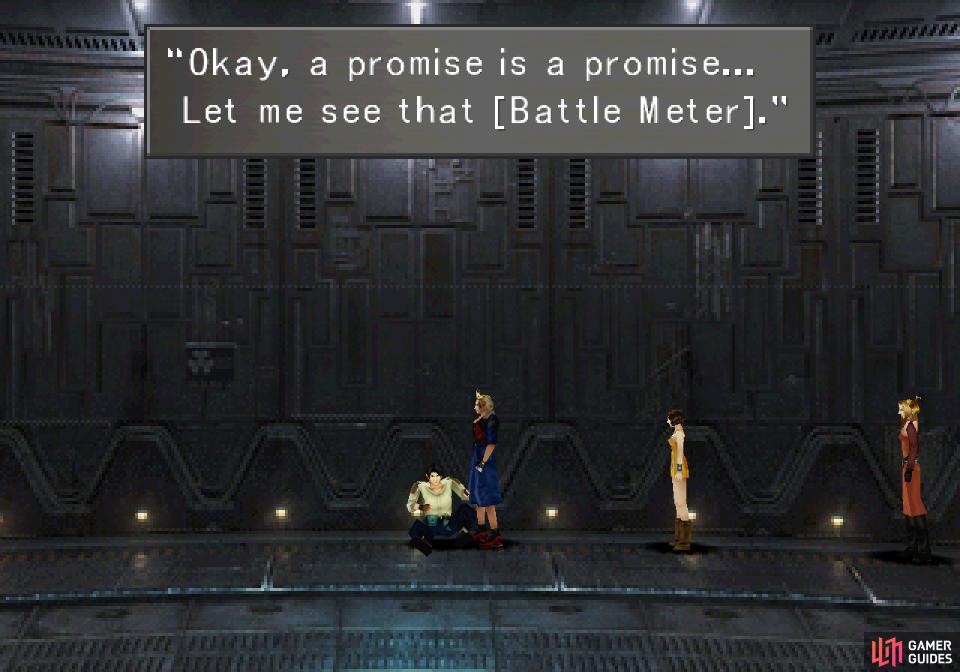
and he’ll upgrade your Battle Meter
Head up to Floor 9 and enter the right-most cell to find a Berserk draw point, then continue up to Floor 10 to find another card player in the right cell and a Save Point in the left cell. The 300G card player is unlike the 500G player in that he doesn’t have a list of rewards - beat him once and he’ll upgrade your Battle Meter. Forget about that thing? This upgrade adds the Character Report page, which shows you how many kills each character scored and how many times they’ve been KO’d. To view it, just go to the “Tutorial” page in the menu, pick the “Information” option twice, then “Character Report”.

200G Card Player
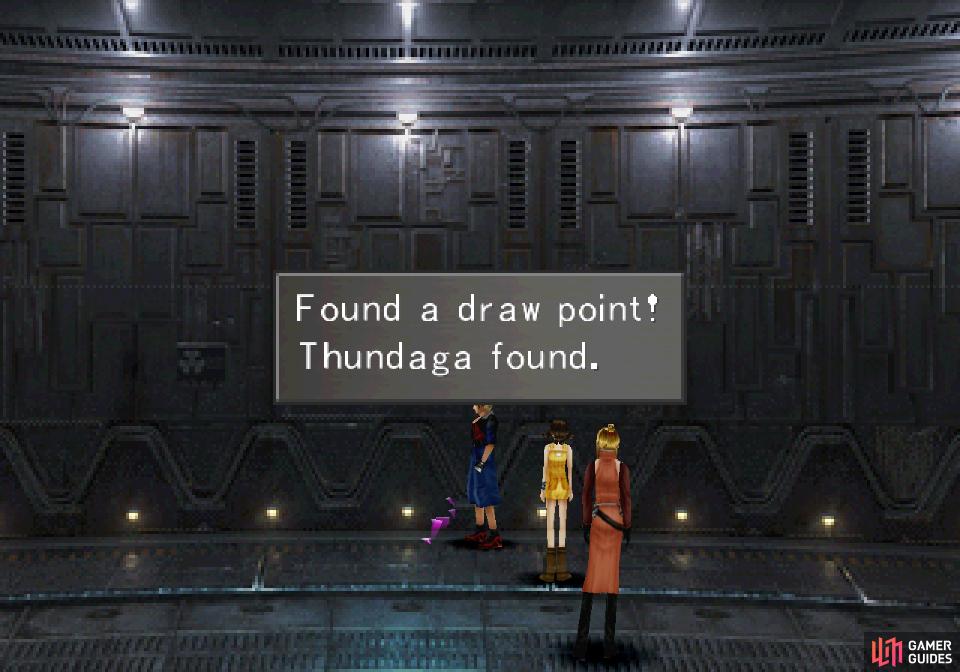
Well, that wasn’t so bad, right? Oh, more fun lies ahead. Head up to Floor 11 and search the right cell to find a Thundaga draw point, then head into the left cells to find, perhaps, the most interesting diversion in this prison. In this cell you’ll find another prisoner will to play cards for Gil, this time charging you 200G per game. Given the possible rewards, however, it’s well worth the price:
| Reward | Odds |
|---|---|
| Potion | 129/256 (~50%) |
| Eye Drops | 64/256 (~25%) |
| Remedy | 32/256 (~12%) |
| Hi-Potion+ | 16/256 (~6%) |
| HP Up* | 8/256 (~3%) |
| Holy Stone* | 8/256 (~3%) |
| Mega-Potion | 4/256 (~1%) |
| Rosetta Stone | 3/256 (~1%) |
*You can only acquire one HP Up, after which future rewards will be Holy Stones.
While the HP Up is a nice enough prize, the real goal here are the Rosetta Stone items. A Rosetta Stone will teach a GF Ability x4, which lets you equip four abilities, of course. This is a huge boon and gives you some flexibility with your GF assignments later on, since you won’t feel pressured to assign GFs with Ability x3 to different characters. Also, since there’s only one GF in the game that naturally has Ability x4, you’ll need to get some Rosetta Stones sooner or later if you want to be as strong as possible, and the is the first, and honestly not so bad of a way to get them.
Obviously it means playing a good bit of cards and spending some Gil, and while 200G a game isn’t cheap, one Remedy can pay for the cost of 2.5 games. Your opponent isn’t really much of a challenge, either, lacking the boss cards of the 500G player downstairs. No, the real enemy here is your patience, as you only have around a 1% chance to win a Rosetta Stone each game. While you can get Rosetta Stones by other means, if you want to get three characters with Ability x4 at a reasonable date you’re going to want at least two Rosetta Stones - preferably three, because “reasonable” in this case is still quite a delay.
That said, it can take a lot of cards to get two or three of these. Fortunately, the RNG in this game isn’t perfect. From experience if you save at the Floor 6 Save Point and from there head up to the 200G card player you should win a Rosetta Stone relatively quickly. Once done, save your game, quit the program (or restart your PS1 system - hard reset, not a soft reset) reload at the Floor 6 Save Point and repeat. It’s possible to get three Rosetta Stones in about an hour or two this way, although your experience may vary.
If you have the patience and perseverance, win yourself three Rosetta Stones and teach them to your three primary GFs - Quezacotl, Shiva and Ifrit. If you need to use some Amnesia Greens to make space, consider removing the SumMag+10% ability, as it’s easily relearned via a Steel Pipe if necessary, and not terribly helpful in any event.
The Moombas will help you our first by removing your selection of barriers
and by later giving you items
Rescue and Escape
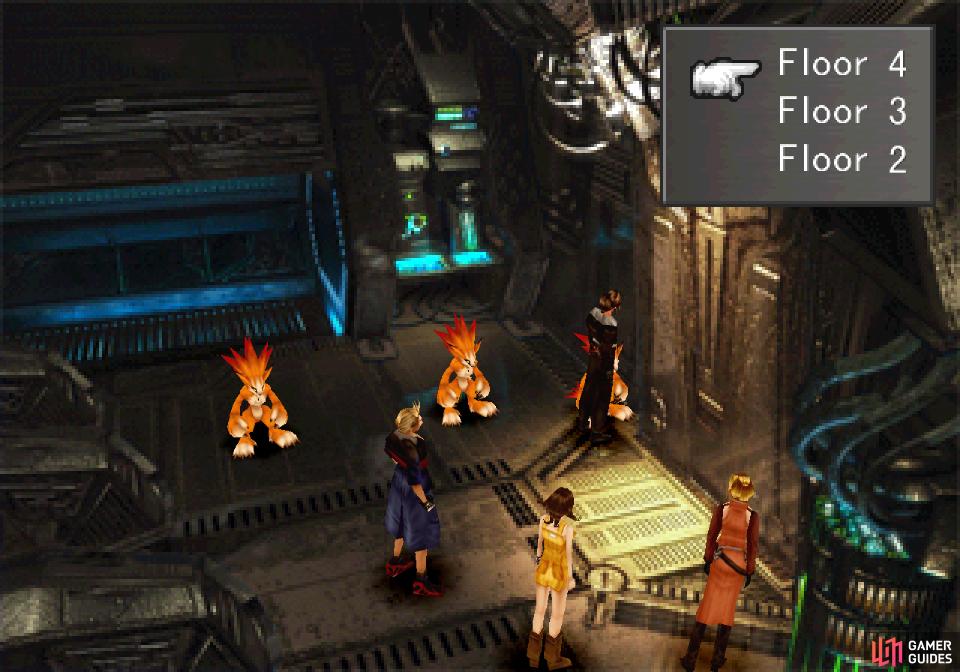
When you’ve played all the cards you care to, head upstairs to reach Floor 12, which has nothing of interest. Go up some more stairs to reach… a different area! Sweet variety, where have you been? Exit by heading down, then go right to find a group of Moomba’s chattering about Laguna. Talk to one standing in front of the door to open said door, then head on in to reunite with Squall. A short weapon toss later and you’re back in control of Squall. Talk to the three Moombas in the room and each one will let you remove a barricade from one of three floors. The choices don’t really matter, as you’ll still have some barricades to deal with, but it does make leaving somewhat faster.
After some more chatter concerning the nature of the prison and your escape, press a button as Squall and when you’re outside, swap out junctions so Squall isn’t so lonely. Once done, head right to a new screen, then continue up and interact with a door to find out that perhaps heading down wasn’t the best way to escape…
Back as Zell, run away from the Warden and the guards (if you get caught you’ll have to fight, but they’re push-overs even without GFs) then exit to the next screen for some deus ex Squall. In turn, Squall will be saved by some deus ex Irvine, after which the entire gang will be reunited.
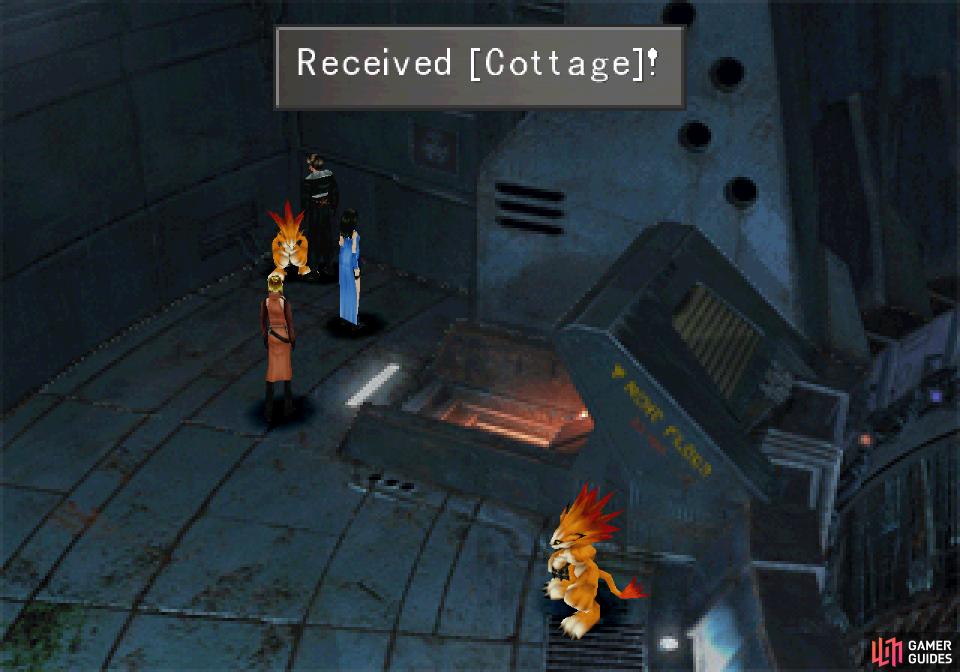
Pick an extra party member (Rinoa and Squall are locked in) then run up to Floor 13. When you exit Floor 12 you’ll find yourself in control of Irvine and company after a bit of chatter. Switch junctions again, then run down to Floor 3. When you arrive you’ll transition parties once more, so switch your junctions again and talk to the Moomba to the right to score a Rename Card while the one to the left will give you a Cottage. Annoying little buggers, but generous. Continue down a screen, go up some stairs, then use the Save Point to the right - consider using a Tent or magical healing if you’re injured. Continue up another flight of stairs then exit to the lower right to finally find yourself outside. You’re not alone, however…
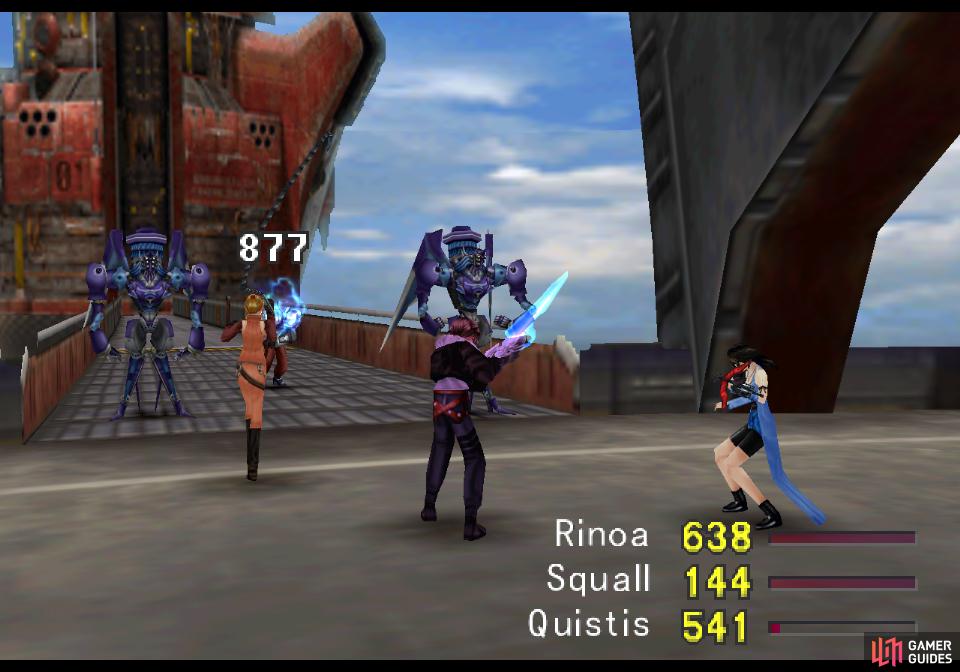
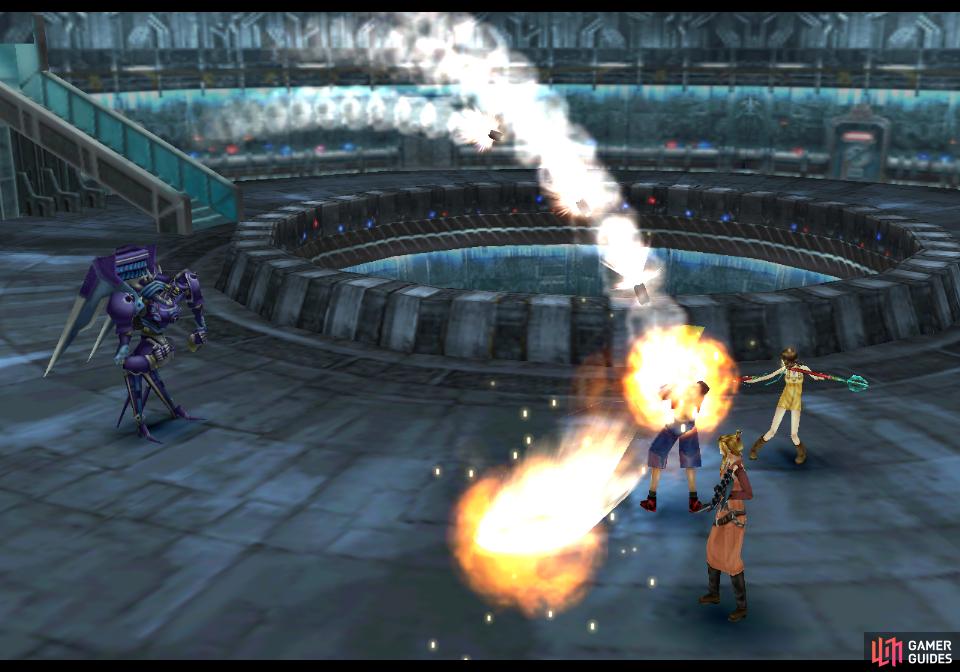
Defeat the Elite Soldier early to prevent him from using magics on his allies
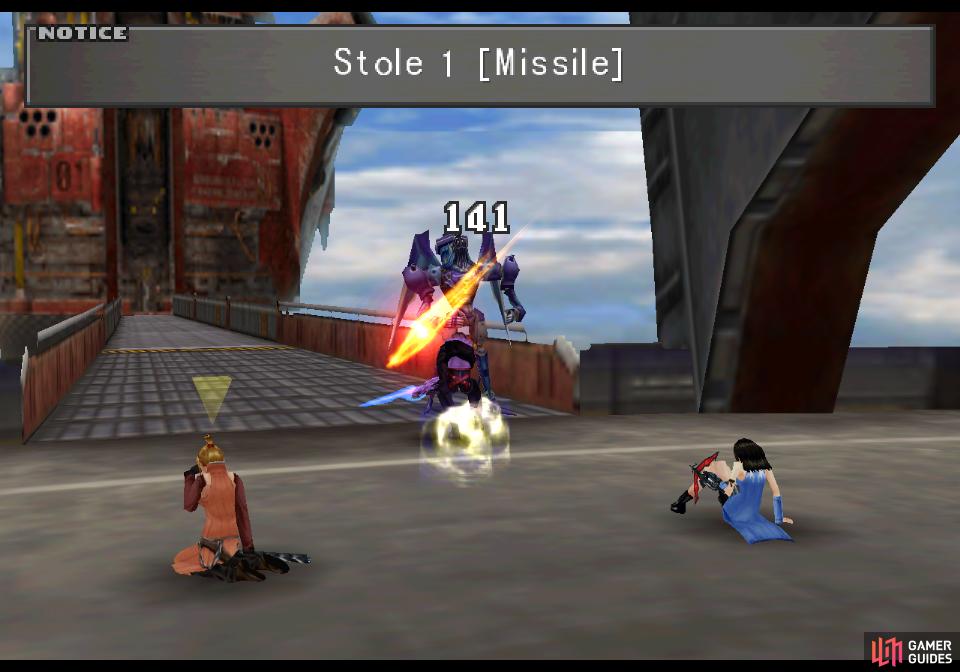
and try to steal a Missile before ending the fight
Boss - Elite Soldier and GIM52As
Calling this a “boss fight” might be a bit of a stretch, but since it’s a forced encounter you can’t flee from that gives AP but no EXP, it’ll count.
| Elite Soldier | |
|---|---|
| Lv: | 1-100 |
| HP: (Lv10) | 260 |
| HP: (Lv20) | 460 |
| HP: (Lv30) | 740 |
| HP: (Lv100) | 4,940 |
| Weaknesses: | Poison (150% damage) |
| Resistances: | – |
| Status Resistances: | Immune to Card; Berserk 65% – Confuse 80% – Darkness 20% – Death 40% – Doom 65% – Drain 65% – Eject 20% – Float 65% – Haste 65% – Lv Down 0% – Lv Up 0% – Petrify 30% – Poison 40% – Reflect 65% – Regen 65% – Silence 65% – Sleep 65% – Slow 65% – Slow-Petrify 30% – Stop 65% – The End, Zombie 65% |
| EXP: | – |
| AP: | 2 |
| Draw: (lv1-19) | Blizzard, Fire, Scan, Thunder |
| Draw: (lv20-29) | Blizzara, Fira, Scan, Thundara |
| Draw: (lv30+) | Blizzaga, Dispel, Firaga, Thundaga |
| Mug: (lv1-19) | Tent, Cottage |
| Mug: (lv20-29) | Tent, Cottage |
| Mug: (lv30+) | Cottage |
| Drop: (lv1-19) | Potion x2, Phoenix Down, Shotgun Ammo x8, Cottage |
| Drop: (lv20-29) | Potion, Phoenix Down, Hi-Potion, Cottage |
| Drop: (lv30+) | Potion, Hi-Potion, Cottage |
| GIM52A | . |
|---|---|
| Lv: | 1-100 |
| HP: (Lv10) | 1,850 |
| HP: (Lv20) | 2,600 |
| HP: (Lv30) | 3,650 |
| HP: (Lv100) | 19,400 |
| Weaknesses: | Earth (150% damage), Thunder (150% damage), Water (150% damage) |
| Resistances: | Poison (immune) |
| Status Resistances: | Immune to most status effects – Eject 10% – Haste 0% – LV Up 0% – LV Down 0% – Slow 10% – Stop 50% – The End 0% |
| EXP: | – |
| AP: | 3 |
| Draw: (lv1-19) | Haste, Slow |
| Draw: (lv20-29) | Dispel, Haste, Slow |
| Draw: (lv30+) | Dispel, Esuna, Haste, Slow |
| Mug: (lv1-19) | Missile |
| Mug: (lv20-29) | Missile x2 |
| Mug: (lv30+) | Cottage |
| Drop: (lv1-19) | Screw x4, Missile, Windmill, Fuel x2 |
| Drop: (lv20-29) | Screw x8, Missile, Windmill, Fuel x6 |
| Drop: (lv30+) | Missile x2, Fuel x3, Windmill x2, Fuel x6 |
You’ll end up squaring off against two GIM52A enemies and an Elite Soldier, both of which you’ve fought before. The GIM52As can cast Micro Missiles, which will reduce a character’s HP by 50%, but otherwise they’re not too challenging. The Elite Soldier is a bit of a nuisance, as he’ll use magic to boost his allied robots, but he’s got little staying power, so if you target him he should fall without too much trouble.
Once the Elite Soldier is dead, try to Mug a Missile from one of the GIM52As if you didn’t do so earlier in the prison, as you can use it to teach Quistis the Micro Missiles Blue Magic ability. If you take one of these bots down before focusing on stealing you’ll limit incoming damage, and to this effect earth, thunder and water elemental attacks will excel, as the GIM52As take 50% more damage from those sources.
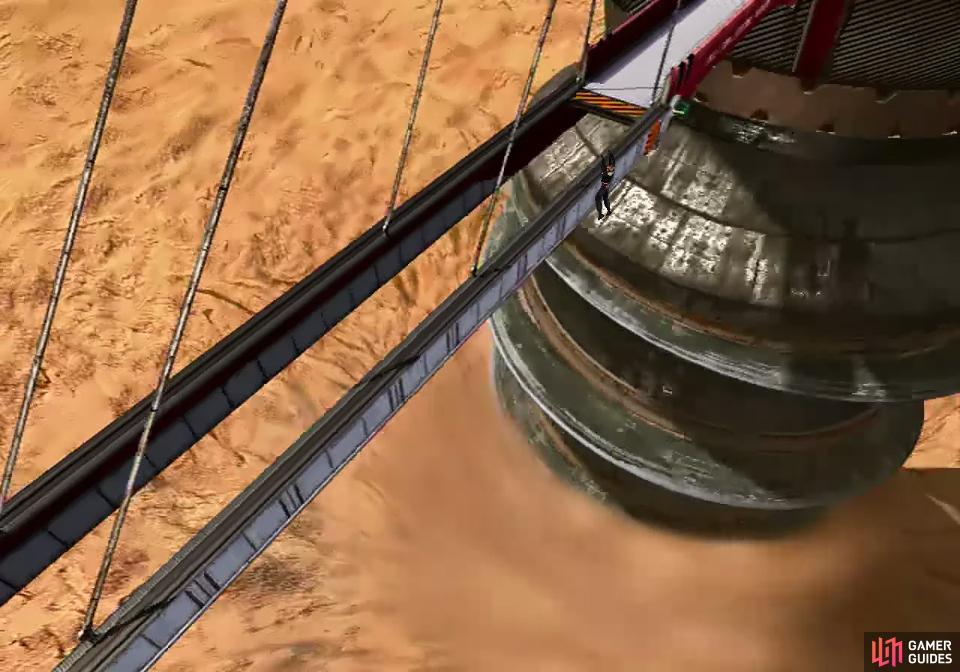
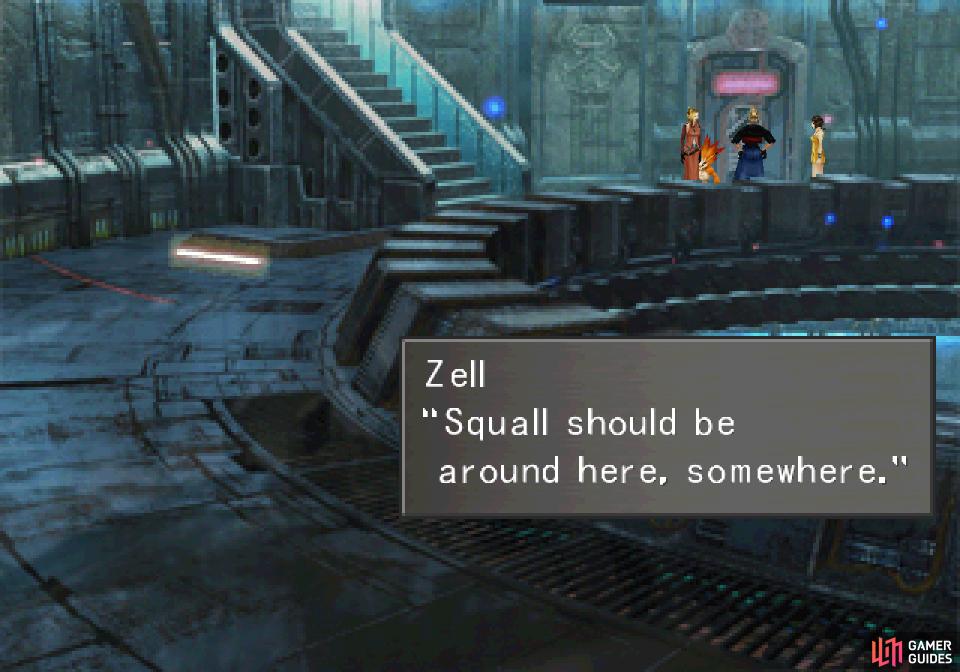
Climb to the right on the bridge to escape
then form two teams to deal with the multiple threats facing you
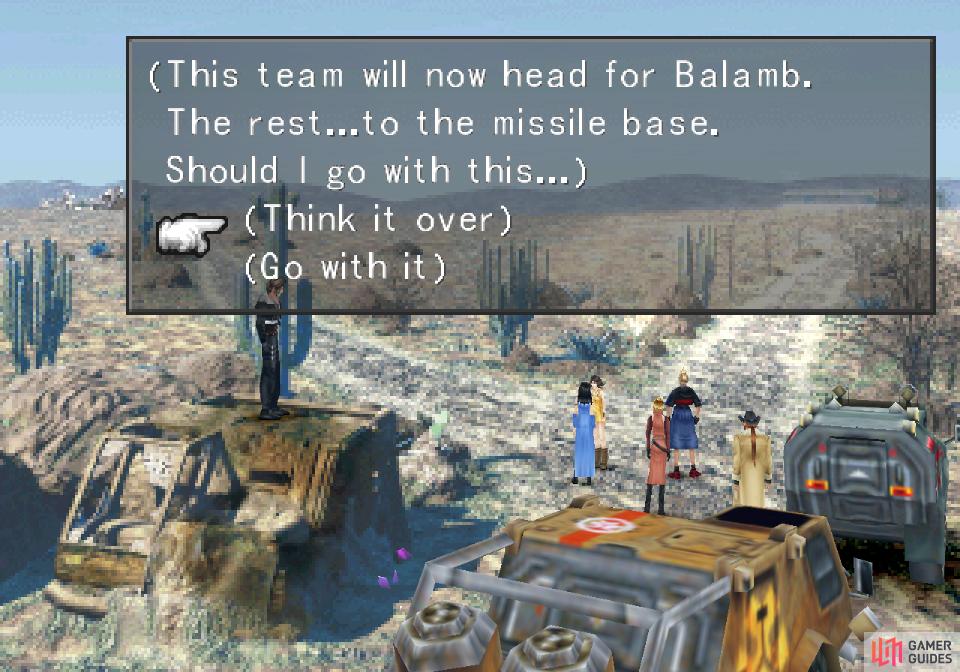
After the fight ends, Squall and company will lend a friend to their companions, after which exit to the lower right again and cross the bridge. After some scenes you’ll find Squall in a precarious position - hold down [right] on D-Pad or Left Analog to move Squall to safety. Watch some more scenes where the group will split on gender lines and steal some vehicles before stopping a safe distance away and discussing their next moves. The discussion about saving Trabia Garden soon becomes moot, but two groups are still required - one to try to stop the missiles at their source and the other to warn Balamb Garden.
It only makes sense to take Zell with Squall to Balamb Garden (it’s his hometown after all!), plus there’s a… minor reward for doing so. Other than that, it doesn’t really matter who you pick for the Balamb team, although Selphie is locked to the Missile Base team. Split the groups up however you wish and when you’re in control of Squall again, exit the screen to the left, then continue left along a train and board the locomotive to take off. Poor Galbadian Soldier…
Infinite Gil
After their train-jacking you’ll be back in control of Selphi and the Missile Base team, and as silly as it seems, you actually have some freedom here. First time since the start of the bungled attempt to assassinate Edea, and this means you can finally get around to a bit of side-business.
First, you haven’t had an opportunity to really work with Carbuncle yet (at least, not without gaining EXP as well) and that poor little bugger could use a bit of AP. Namely, learning Mag-J should be a priority, after which you can move Siren off the Ifrit-using character and onto the Shiva/Diablo user. It’ll take a good bit of AP to get the ST-Atk-J and ST-Def-Jx2 abilities on Carbuncle and hence have two characters capable of responding to such threats (and take advantage of enemy weaknesses!), but there’s a more interesting ability to consider that’s much less work.
Carbuncle’s Recovery Med-RF skill allows you to “refine recovery medicine from an item”. In practice, usually lower-tier recovery items can be upgraded to superior medicines that are otherwise not easy to obtain. Can’t hurt to have a basic store of some of these goodies, but better yet there’s an infinite-Gil exploit you can take advantage of with this ability. You know, in case your wallet is sad after playing cards with all those prisoners.
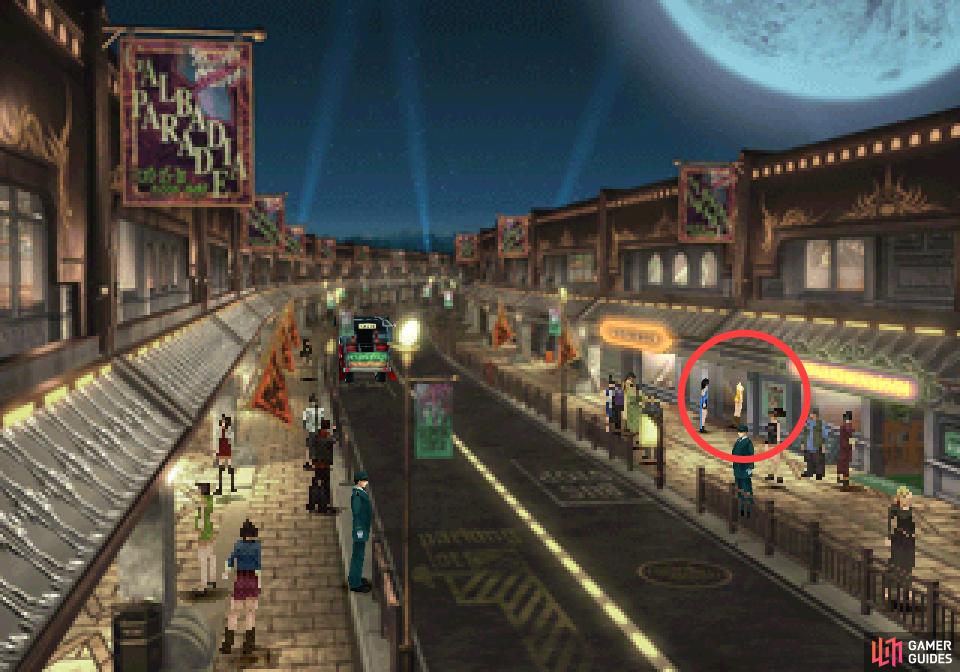
The tried-and-true method of boosting AP works just fine here, just find a beach and farm Fastitocalon-Fs until you have all the AP you want, then head north from the prison (follow the train tracks, which can serve as a general guide) and return to Deling City. Return to the street where the junk shop is located and enter another shop just up the street from the Deling City Junk Shop to find the Deling City Shop.
Here you can buy Tents at 1,000G each, which can then be refined into Mega-Potions via Recov Med-RF. Four Tents equals one Mega-Potion, and since Mega-Potions sell for 5,000G each, buying 400 Tents (one hundred at a time) and turning them into 100 Mega-Potions will cost you 400,000G - but net you a return of 500,000G, a tidy 25% profit. Use this little trick to accumulate as much Gil as you want, but don’t go over-board - this trick will become even more profitable in the future, and you probably don’t have any great need of Gil right now.
Rinoa Card
One last stop before you get back to business. Return to Caraway’s Mansion and enter the house to find Caraway chilling out in his house. Somehow he managed to avoid being implicated in the assassination attempt, despite the fact that the conspirators - including his daughter - were apprehended on the scene. Given that Edea now plans to bomb two schools out of existence, it stretches one’s credulity to assume she won’t have kill Caraway on principle alone, but… well, it’s for the better that he’s alive, so leave it be.
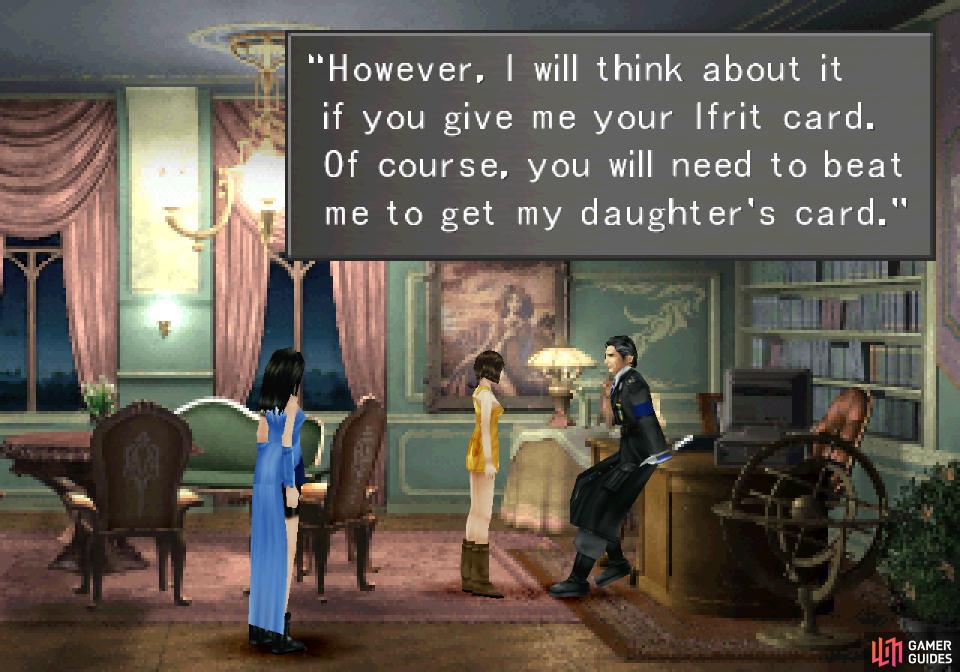
Talk to him and ask him about cards and he’ll tell you that he possesses the Rinoa Card (is that creepy?), but isn’t willing to play it… unless you lose your Ifrit Card to him. Pretty damn shameless. You know how this works - make a junk hand of cards include Ifrit, and go out of your way to lose, which might not be as easy as it seems, since Caraway’s cards are just terrible. Don’t worry, you’ll win the Ifrit Card back soon enough. Once its gone, challenge him to more games until he eventually plays the Rinoa Card, which has supreme side strength but weak top and bottom strength.
The Rinoa Card can be turned into three Magic Armlet items via Card Mod, which can be used to teach a GF the Spr+60% ability, which… well, it’s a fine boost to what’s at best a secondary stat. You’re probably better off with the card this time.
With that all done, leave Deling City again and drive to the Missile Base. To get there just follow the road west, south, then southwest. Time to go stop some missiles!
No Comments