
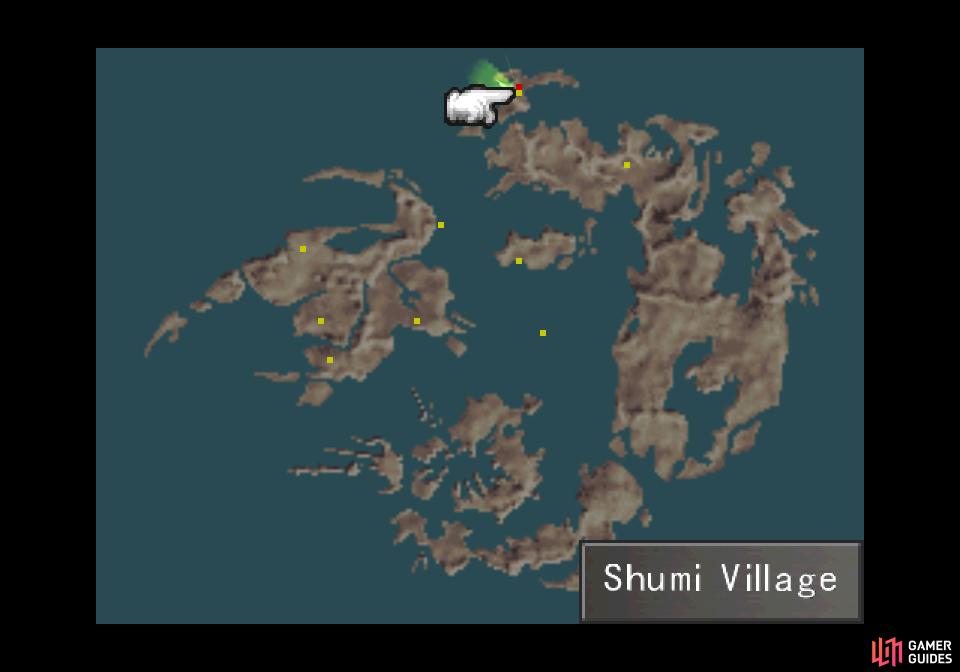
The location of the Shumi Village on the world map
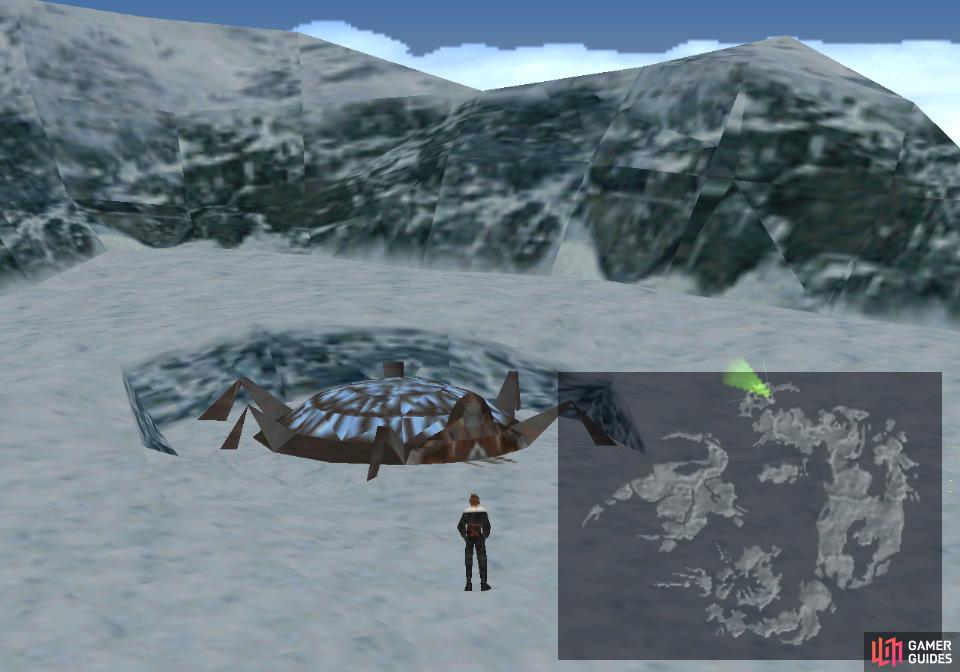
A more local view of the Shumi Village
Next stop is the Shumi Village area, where you’ll nab a bit of treasure. Nothing as fancy as the GFs provided by the Centra Ruins, but… they all can’t be winners. Your destination is the northernmost land-mass, just head north of Balamb, steer around the edge of Esthar, and make your way to an island to the far north. Sail northeast along the southern coast until you find a beach you can make landfall at along the thinner, eastern tail, then pilot Balamb Garden west a short distance on land to find a domed structure - the Shumi Village. Exit Balamb Garden and hoof it over to this town.
Ultima Draw Point
Enter the dome and talk to three Shumi to the left, who guard a draw point. Precious magics here, and in fact, they charge a whopping 5,000G per draw. No refunds, no whining, if you don’t get what you want, too bad. Be sure to stack as much Magic-boosting spells and abilities possible and draw here - money is hardly an issue anymore, especially if you gained some of Tonberry’s abilities - and draw from this draw point to score stocks of Ultima. Very nice. Be sure to come back periodically to draw from this draw point, 5,000G is a steal for 10~ Ultima spells, all things considered.
If you want, you can grind this draw point. Remember that draw points recharge based on the number of steps you’ve taken, and if you go out onto the world map and run in circles for around 5~ minutes, the draw point should have refilled. You’ll have to pay each time, of course, and obviously you’re not expected to sit around with your hand on the controller this whole time. Instead, use a rubber band or just lay the controller in a fashion that engages the analog stick so you run around in circles on the world map, periodically check in and draw, and go about your business. This isn’t necessarily recommended and certainly not required, but it is an option worth considering.
It’s worth noting just how awesomely potent Ultima is as junctioning magic - it’s the best junction for HP-J, Str-J, Vit-J, Mag-J, Spr-J, Eva-J and Luck-J and the second best junction for Spd-J and Hit-J. It’s a very distant second in the case of Hit-J, and only narrowly better than Full-Life and Meltdown for Vit-J, but it’s considerably better than the 2nd best choice for HP-J, Str-J and Mag-J. Heck, half a stock of Ultima should already be surpassing Quake for HP-J and Tornado for Str-J and challenging Flare and Holy for Str-J. Arguably the best thing you can invest Ultima in is Str-J or Mag-J, and if you plan to draw some serious Ultima stocks here, getting Ultima junctioned to your best Mag-J stat should obviously be a priority. While perhaps less dynamic, it’s also worth keeping in mind that Ultima junctions well into Elemental Defense, giving a 1% resistance to all elements per Ultima spell stocked.
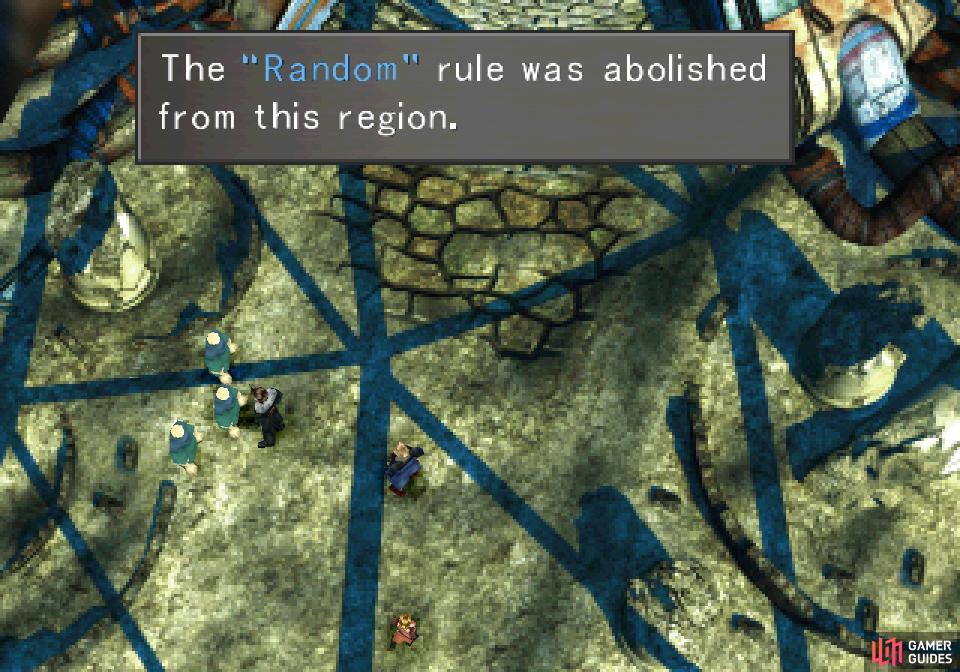
Abolish the Random rule
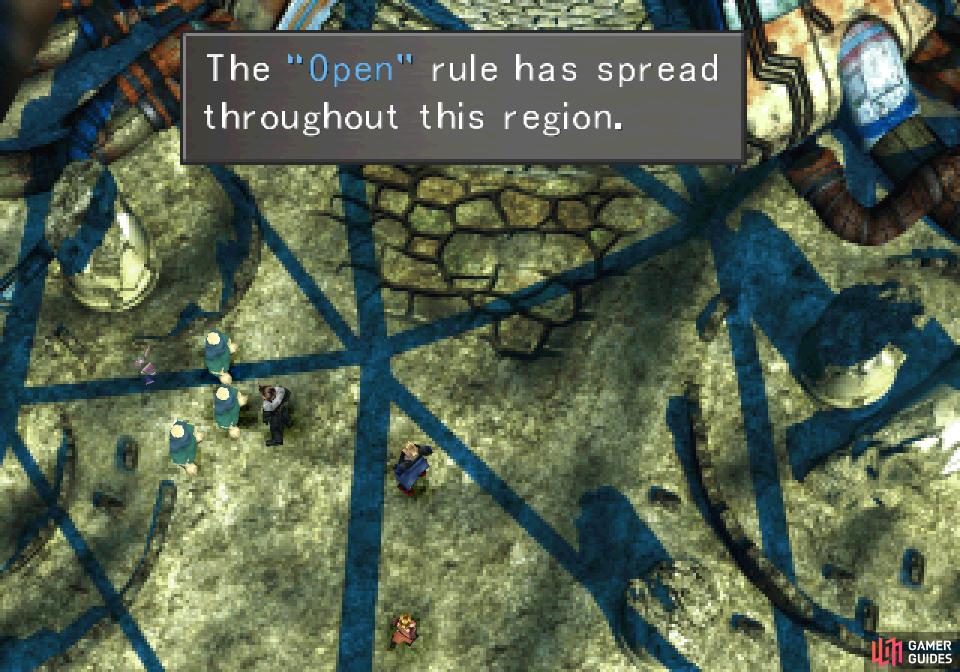
and spread Open to pacify the Trabia region for card players everywhere
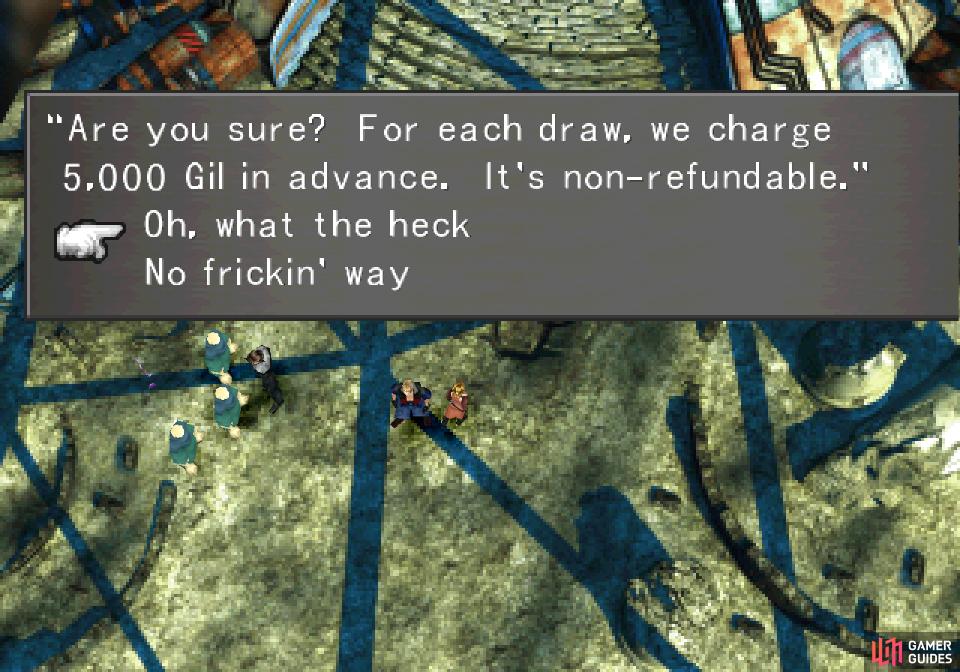
Triple Triad Rules - Trabia
You can also play cards with the central Shumi tribesman here, if you wish. Its cards aren’t particularly noteworthy, but you can at least manipulate rules here. The Shumi Village uses the rules for the Trabia region, which includes the ever-pestilential Random rule along with Plus, which is a lesser nuisance, but still a nuisance. Nobody wants to do math while playing Triple Triad, after all. They don’t have Open, so you can safely use the Balamb rules to help abolish their native rules, just avoid spreading Open until you get rid of Random at the very least. There aren’t any rare cards in the Shumi Village, but changing these rules will help out when you head to Trabia Garden.
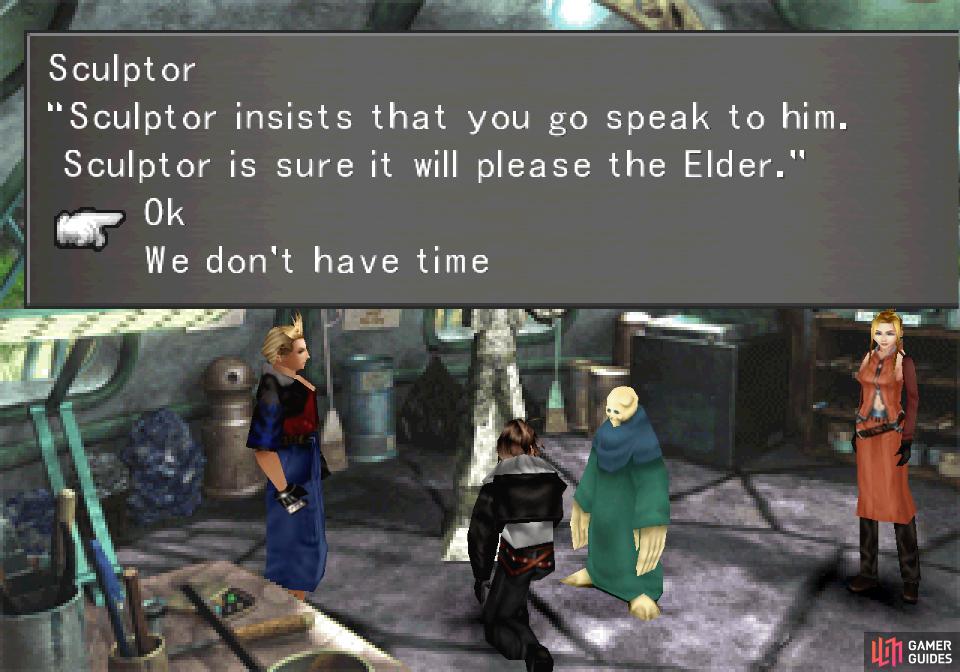
Find a statue and you’ll be referred to the village Elder
talk to the Elder and he’ll give you a quest
The Sculptor’s Quest - Phoenix Pinion
Anywho, stock up or not, then continue up to an elevator and ride down to the Shumi village proper. When you get off the elevator, run left through the Shumi Village, exiting to the left twice until you reach a screen with a pond at the bottom. There are two houses here, one to the left and one to the right. Enter the house to the left and head up until you find a statue of Laguna, which naturally gets Squall’s attention, who will in turn get the Sculptor’s attention. After the Sculptor tells you about Laguna you’ll be referred to the Elder, whose house you’ll now have access to. You’ll also learn what the hell a Moomba is. What a lame life cycle. Search behind the statue to find a Firaga draw point, then exit the house and exit to the right.
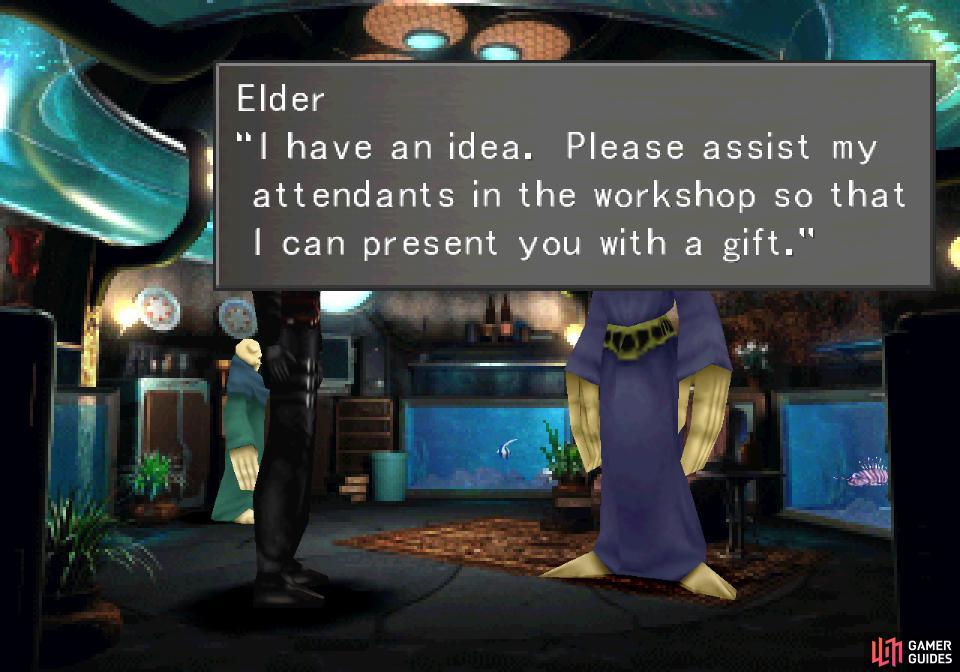
In this screen you’ll find that the Moomba standing in front of the house is gone, allowing you access. Use the Save Point if you wish, then head right to find a Blizzaga draw point. If you still need such magic… well, you weren’t paying attention earlier! Enter the Elder’s house and endure some chatter, then go to leave and the Elder will offer to help you… but since the Shumi don’t do charity, you’ll have to earn it. Weird culture, but considering what they turn into…
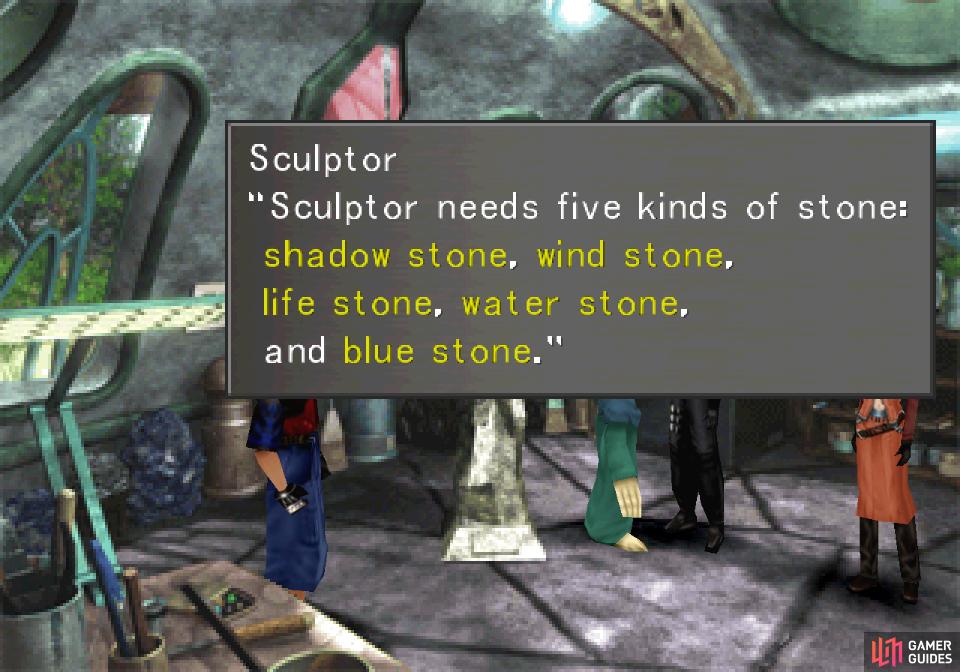
(1 of 7) Talk to the Sculptor and he’ll send you off on a hunt for a variety of stones.
Leave the Elder’s house (for real this time) then return back left to the screen with the pond and enter the house on the left and talk to the Sculptor again, who will ask you to find several stones for him. Scavenger hunt time! You’ll need to hunt down a series of stones in order of assignment, and after you find one (they’re all located in the Shumi Village) return to the Sculptor to get another assignment. Their locations, in order, are as follows:
-
Blue Stone: Search the wall to the left of the Laguna statue. Seriously, not very observant, this guy.
-
Wind Stone: Head to the right end of the village (the screen with the elevator) and note the two houses here. Search some rocks between the two to find the stone you need.
-
Life Stone: Make your way to the screen with the Elder’s house and head to the right side of the screen to find a tree growing on the edge of a cliff. Search the roots flowing down the cliff to fins this stone.
-
Shadow Stone: Ride the elevator back up to the screen where the Ultima draw point is and search the shadows to the upper right, near the steps leading to the elevator.
-
Water Stone: Search the pond near the frog to find this stone. Sadly, this isn’t the correct stone - ’tis a stone found in the water, but not a Water Stone. Oh dear…
-
Water Stone: In the screen with the pond, enter the house to the right and search the sink.
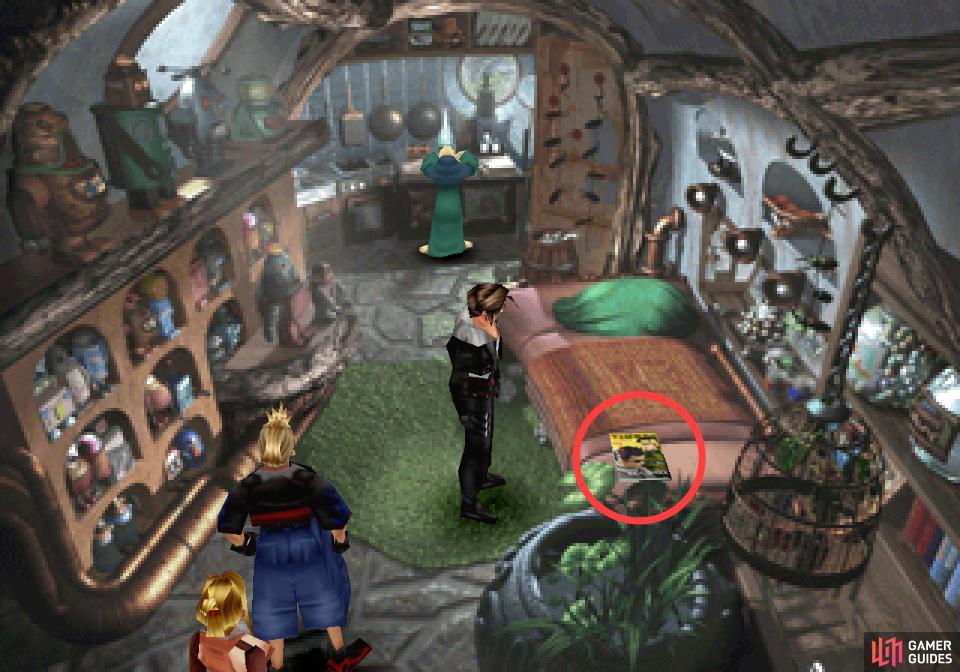
Pick up a copy of Timber Maniacs 9
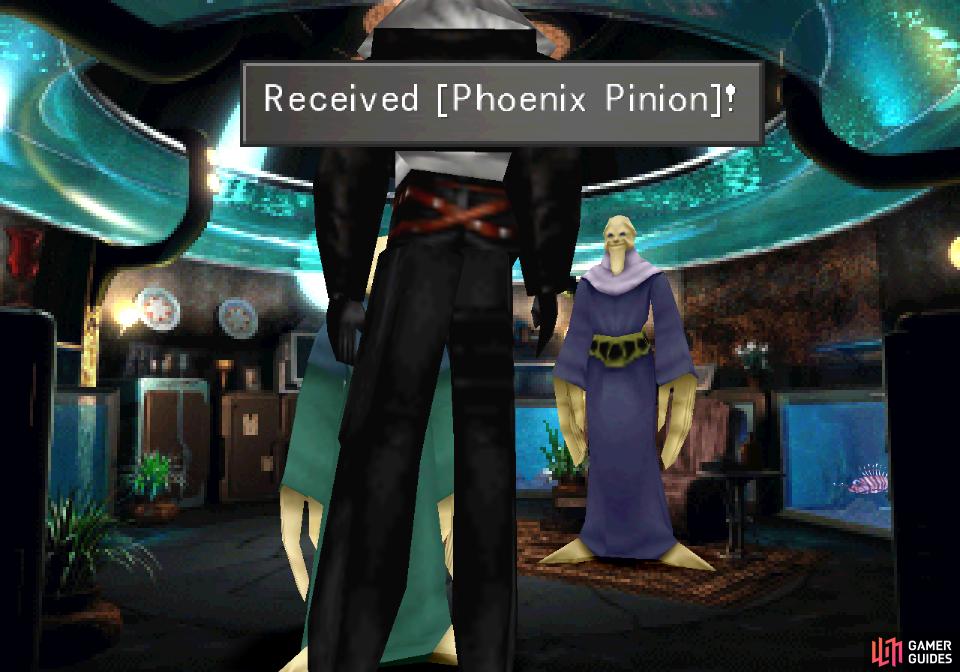
Find all the stones and talk to the Elder to receive a Phoenix Pinion
While you’re in this house, talk to the Artisan and he’ll show you a collection of works by some non-Shumi artisans… model vehicles, apparently. Before you leave, search the bed to find Timber Maniacs 9, then return to the Sculptor and talk to him twice to learn the true purpose of these errands. Head back to the Elder’s house and you’ll be given a dubious “gift”, after which the Shumi will reward you with a souvenir that’s of much greater material value - a Phoenix Pinion. You could have scored one of these by playing cards with prisoners back in the D-District Prison, but if you didn’t, or otherwise forgot what it does, using a Phoenix Pinion will summon a Phoenix that deals fire damage to all your foes and revives all KO’d comrades. After being used once it has roughly a 25% chance to show up again whenever your party is KO’d, making it a nice - if unreliable - safety net.
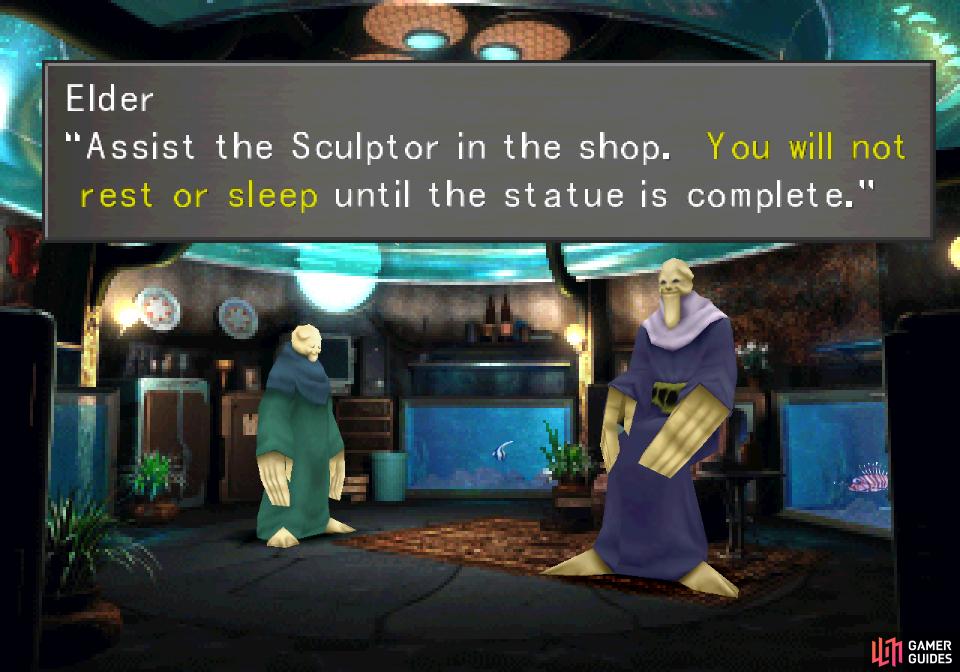
The Sculptor’s Quest - Status Guard
Leave the Elder’s house and when your companions complain, pick the option “Explain what it all meant” to muse about the intentions of the Shumi. After a scene between the Elder and his Attendant, exit out to the world map, then return to the Sculptor’s house to find the Attendant reassigned there. Poor guy. There’s more goodies to gain and questing to do, but it mostly involves running about and talking to people, so another summary is in order:
-
Talk to the Attendant and the Sculptor to find out that more hands aren’t necessarily making this project go faster.
-
Return to the Elder and talk him.
-
Exit the Elder’s house and talk to the Moomba outside.
-
Follow the Moomba back to the Attendant and the Sculptor and watch the Moomba and the Attendant talk to each other.
-
Return to the Elder and talk to him again.
-
Return to the Attendant and talk to him until he mentions the Artisan.
-
Enter the Artisan’s house (same screen as the Sculptor’s house, the right-most house) and talk to the Artisan.
-
Return to the Elder yet again and he’ll muse about the Artisan.
-
Leave the Shumi Village and sail back to Fisherman’s Horizon - you can sail the Garden right into Fisherman’s Horizon to land there. Head to the Grease Monkey’s house (the house where you found a Moomba statue and an issue of Timber Maniacs earlier - where the Galbadian Officer tried to pick a fight with Squall and Irvine) and talk to the Grease Monkey. You should get a Moomba figure, which will somehow prove helpful in this endeavor.
-
Return to the Artisan in the Shumi Village and the Moomba Figure will take care of things.
-
Leave the Artisan’s house and you’ll find the Master Fisherman outside (if you did his quest). Make your way back to the Elder’s house and talk to him one final time to get a Status Guard item and complete this quest.
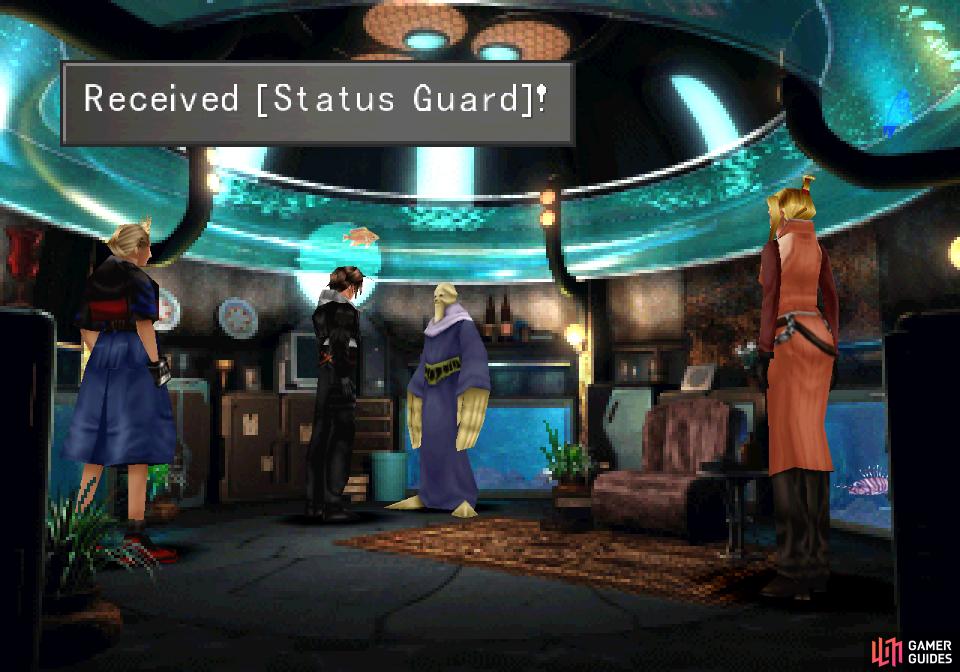
The Status Guard item is the real deal, a worthy reward to justify visiting the Shumi Village… as if the Ultima draw point wasn’t enough. When used, it’ll teach the ST-Def x4 ability to a GF, giving its user a whopping four Status Defense slots they can be junctioned with. Ideally you’ll end up with three such GFs eventually, protecting the entire party, and since you can find two with ability, this item will provide for the character who would otherwise be lacking. Without going too in-depth about future GFs, the Shiva-user and Quezacotl user both have one such GF lined up, so this should go to one of the Ifrit-user’s GFs. If Ifrit itself is getting full and you’re loath to remove another ability, you can always teach Carbuncle this ability, although you’ll probably have to part with GF HP+10% either way, or get rid of HP-J from one of them. They don’t both really need it, do they?
Status Defense Junctions
Now that you have a Status Guard - and hence, four lovely Status Defense slots - it’s time to talk about what spells are worth junctioning into Status Defense. First, it should be pointed out that aside from a few enemies, you can usually get by with just junctioning the debuffs you’re likely to encounter at a given time. Failing that, focus on debilitations that are most dangerous - Death, Petrify and Confuse being the top candidates, as they either impede the character as if they were KO’d, stop them from being able to heal themselves, and in the case of Confuse, make them dangerous to the rest of your party. Failing that, more generalized junctions can be found below (numbers below assume all stocks are at 100):
-
Pain - Poison, Blind, Silence and Curse resistance +100%.
-
Holy - Death, Poison, Berserk, Zombie, Sleep, Curse, Confuse and Drain resistances +40%.
-
Reflect - Poison, Petrify, Blind, Silence, Berserk, Sleep, Slow, Stop and Confuse resistances +25%.
-
Esuna - Poison, Petrify, Blind, Silence, Berserk, Sleep, Slow, Stop, Curse and Confuse resistances +20%.
Equipping Holy (not an easy spell to obtain at this point in time, nor one to be spared lightly, as it’s a good junction for HP-J, Str-J and Mag-J), Reflect and Esuna will give you the following resistances: Death 40% - Poison 85% - Petrify 45% - Blind 45% - Silence 45% - Berserk 85% - Zombie 40% - Sleep 85% - Slow 45% - Stop 45% - Curse 60% - Confuse 85% - Drain 40%. Not complete protection, but you can’t do much better without the Ribbon ability from Chocobo World, and it’s decent generalized protections that doesn’t sacrifice much in the way of must-have spells that are vital to other stats.
Anyways, when you’re done junctioning spells to your four new Status Defense slots, it’s time to leave the Shumi Village behind. The next optional thing you could consider doing are the Chocobo Forests, which will net you some spell stones and a new Triple Triad card, which will in turn allow you to continue the Queen of Cards questline.
No Comments