
Getting to and defeating this boss is a relatively simple matter, so let’s get to it. Return to the castle entrance and ride the chandelier down to the lower floor again, then exit through some doors at the top of the screen to return to the courtyard. Continue up through another pair of doors to reach the chapel, ignore the friendly nebula of dark energy and go upstairs. Cross the rickety wooden bridge, turn left, and go through a doorway to reach the Clock Tower.

Climb the clock tower and use a swinging bell to reach and otherwise inaccessible walkway to the right.
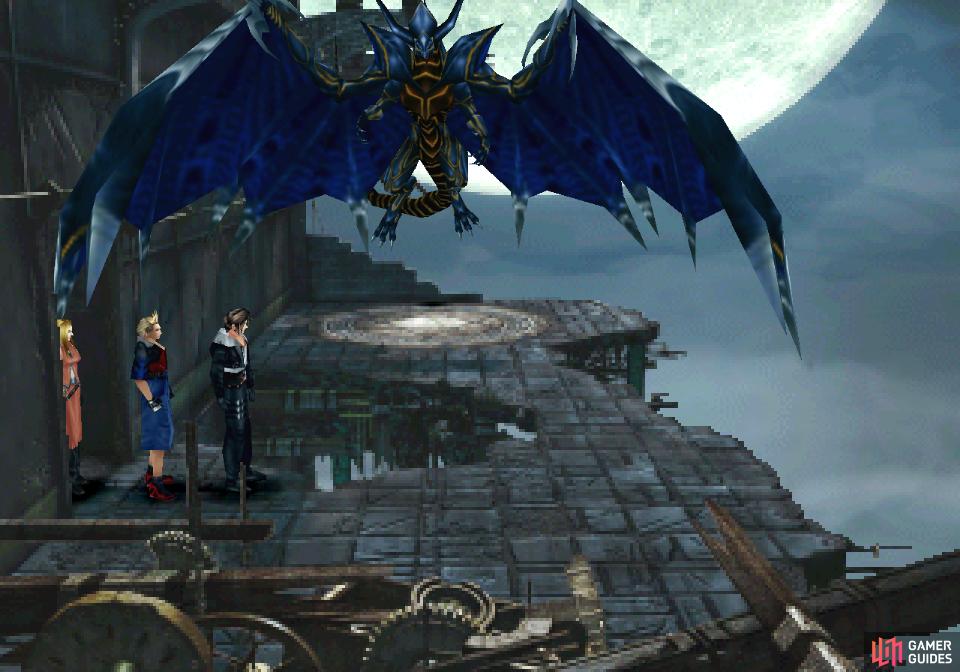
In this isolated spot you’ll find Tiamat .
In here you’ll find a hidden Save Point (of dubious value if you don’t have the “Save” power unlocked) then head up the winding wooden ramp. Ascend the clock tower until you find a bell swinging back and forth. Get on the left side of this bell, wait for it to come close, then mash [TALK/CONFIRM] to jump on it and ride the bell to the right. After your characters jump off, exit through a doorway to the right to find yourself outside on a crumbling floor over which Tiamat dwells.
Before you engage her, make sure you’re immune (or better yet, that you absorb) fire damage. If you do this, you win the fight. If not, then… well, then it’s actually a fight, and who wants that? When you’re ready, engage Tiamat.
| Tiamat | |
|---|---|
| Lv: | 1-58 |
| HP: (Lv10) | 32,000 |
| HP: (Lv20) | 44,000 |
| HP: (Lv30) | 56,000 |
| HP: (Lv57) | 89,600 |
| Weaknesses: | – |
| Resistances: | Fire (half damage), Gravity (immune), Thunder (half damage), Wind (immune) |
| Status Resistances: | Immune to most status effects; Slow 80% – The End 0% |
| EXP: | – |
| AP: | 30 |
| Draw: | Flare, Eden* |
| Mug: | – |
| Drop: | Status Guard |
- You can only draw Eden if you didn’t draw this GF from Ultima Weapon during the Deep Research Center - Part 2 section of the guide.
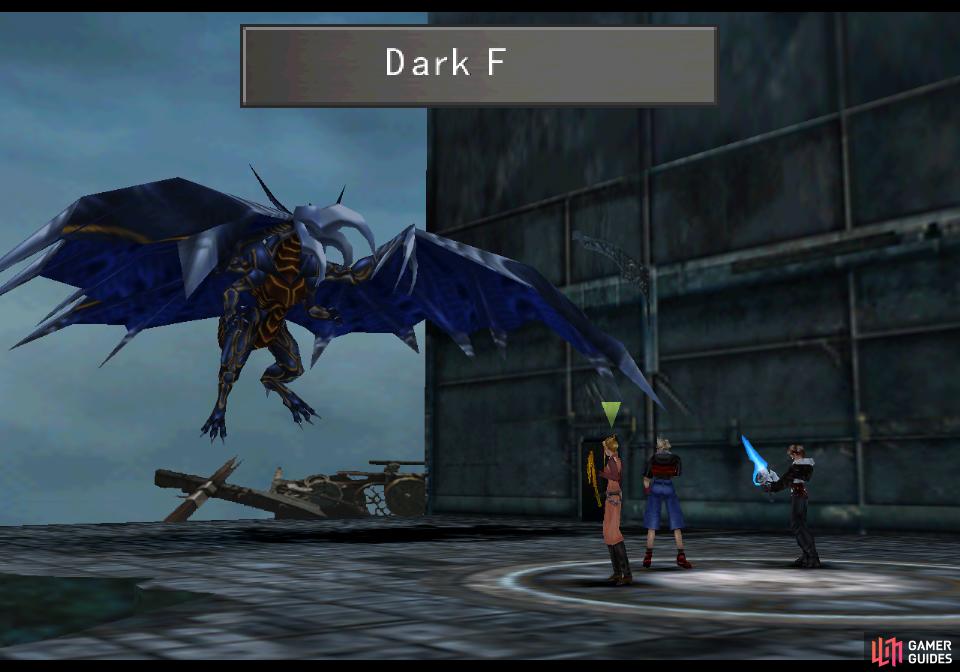
Tiamat’s only attack is Dark Flare, which is deployed after the name fills the action bar at the top of the screen.
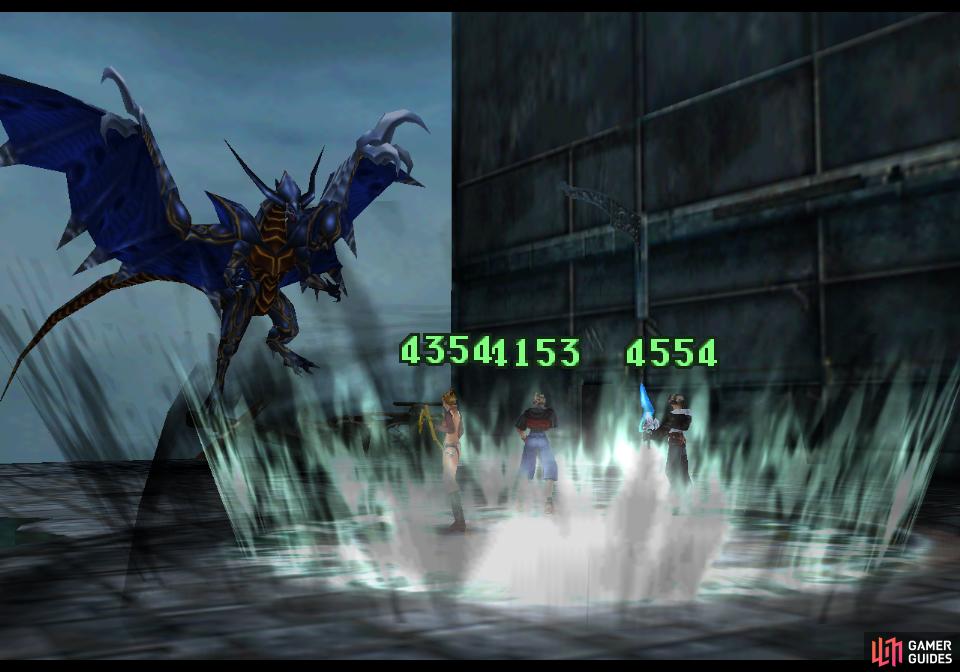
It’s devastatingly powerful, but if you’re immune to fire, you’ll be impervious.
Depending on your Elemental Defenses, this fight can be trivially easy or somewhat tricky. Tiamat has only one attack, Dark Flare, which she’ll launch after a countdown of sorts. As the battle progresses the letters of the attack will fill up the action bar at the top of the screen, and when it’s fully spelled out, you’ll suffer the consequences. If you’re immune to fire the attack will do nothing - or better yet, it may even heal you! If not, the attack can deal massive damage - over 5,000 damage to the entire party, even at low levels. There’s no good reason you shouldn’t be immune to this attack at least, so Tiamat should be an easy victory. She does have a fair amount of HP, for what that’s worth.
If you didn’t acquire the Eden GF from Ultima Weapon, draw it from Tiamat before you cut the dragon down. As usual, this is your last chance to get this GF. For winning this fight - if you care to even call it that - you’ll score a Status Guard, which can be used to teach a GF the ST-Def-Jx4 ability. You’ll also unseal your final power.
Now that you’re finally whole again, you’ve got options. There’s another superboss waiting for you in this castle, if you feel up to the challenge. If you can’t be bothered to assert your mastery over this game, it’s time for the Showdown with Ultimecia. Before either of those two things, however, there’s a treasure you can acquire from the castle if you’re willing to solve a puzzle.
Oh, and for what it’s worth you can find a hidden Triple draw point to the right of where Tiamat originally lurked, at the upper right end of the shattered floor.
The Floodgate Puzzle
First things first, return to the entrance of the castle and switch your party. You’ll need one of three specific party setups for this puzzle:
- Irvine, Quistis and Selphie/Rinoa, Squall, Zell
- Quistis, Rinoa, Selphie/Irvine, Rinoa, Squall
- Quistis, Rinoa, Selphie/Irvine, Squall, Zell
The simplest way to do this is simply split by gender. Once you have your sex segregated parties (make sure you always have Enc-None on if you want this to go smoothly!), it’s time to get this puzzle going.
Take the all-female party to the left elevator
and the all-male party to the right elevator.
Take your all-female party and follow these directions:
-
Head back up to where you fought Sphinxaur/Sphinxara and exit through the upper door to the left.
-
Go downstairs, head past the green party switch circle and go through the double doors beyond them.
-
Continue down a hallway past where you fought Catoblepas and continue up to the next screen.
-
In the room beyond you’ll find an elevator with a green party switch circle on it. Stand on the circle with the female party and switch to the male party.
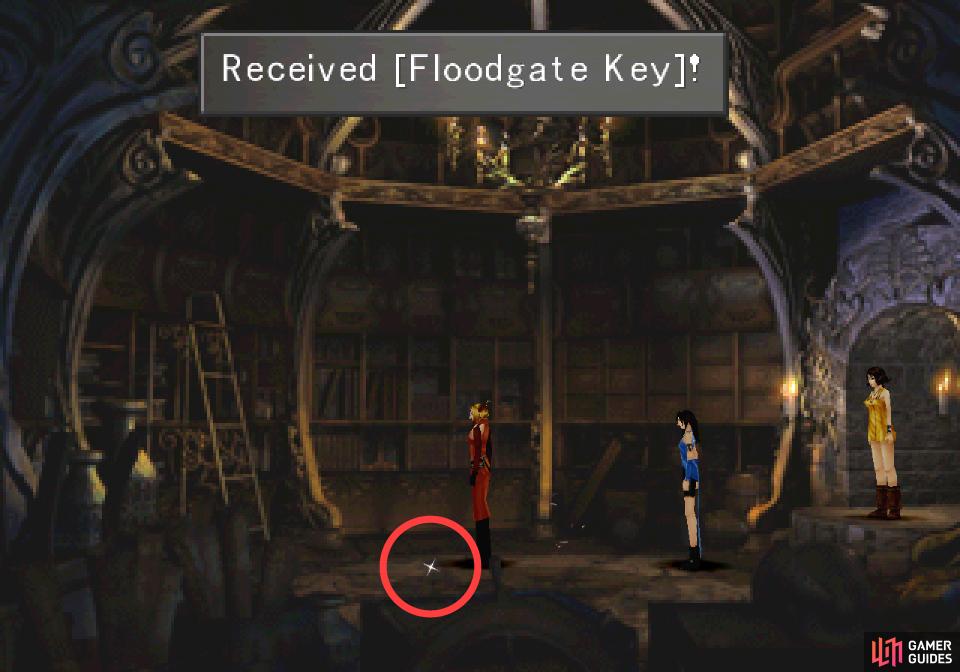
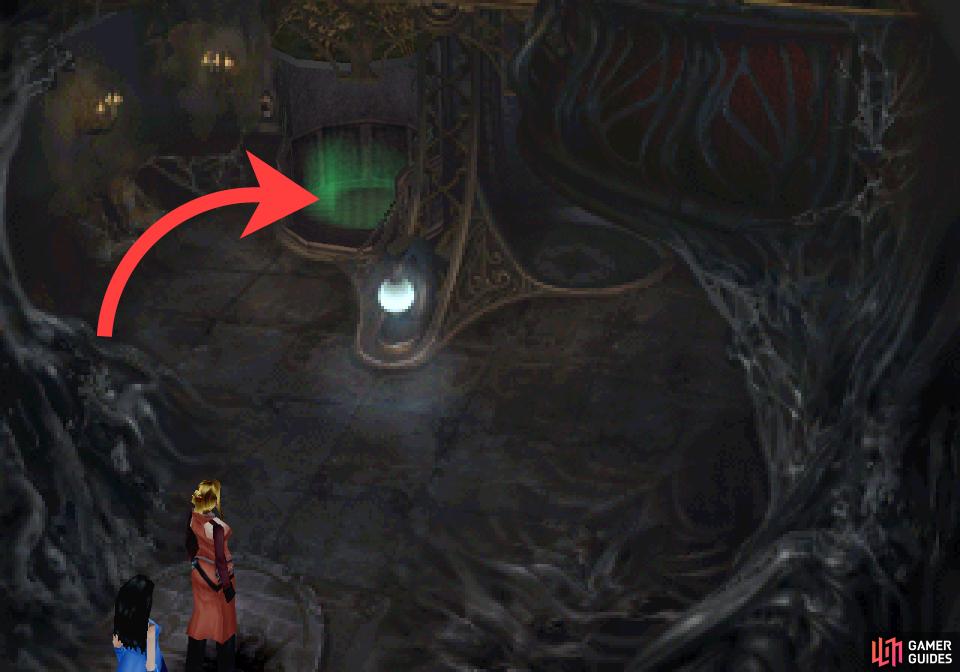
Once the female party has been raised on the left elevator, grab the Floodgate Gate from a nearby room.
Return to the dungeon near where you fought Red Giant and use the key to unlock a lever and pull it to drain some water.
Now, with the male party:
-
Head back up to where you fought Sphinxaur/Sphinxara and exit through the door to the right.
-
Go downstairs, head past the green party switch circle and go through the double doors beyond them.
-
Continue through the art gallery, heading through the double doors beyond the stairs on the lower floor.
-
Go up the stairs to the left and exit through a doorway.
-
Continue left down a hallway, passing by a Cura draw point and a Save Point. Exit to the left.
-
You’ll find yourself in the same room as the other party. Stand on a raised elevator to the left and use the party switch circle to switch back to the girls.
The weight of the male party should have depressed their elevator and raised the elevator the female party is on. Switch parties (and junctions) when prompted, then continue through a doorway to the left. In the room beyond you’ll find a Curaga draw point and the Floodgate Key twinkling on the ground. Pick it up, return to the right, switch parties to ride down the elevator, return to the castle entrance, leave, then reconfigure your parties however you please.
When you’ve got your exploration team mustered, return to the castle. You don’t need to worry about party composition or weight anymore, but there’s still a bit of puzzle solving left ahead. No long faces, you’ll be fine.
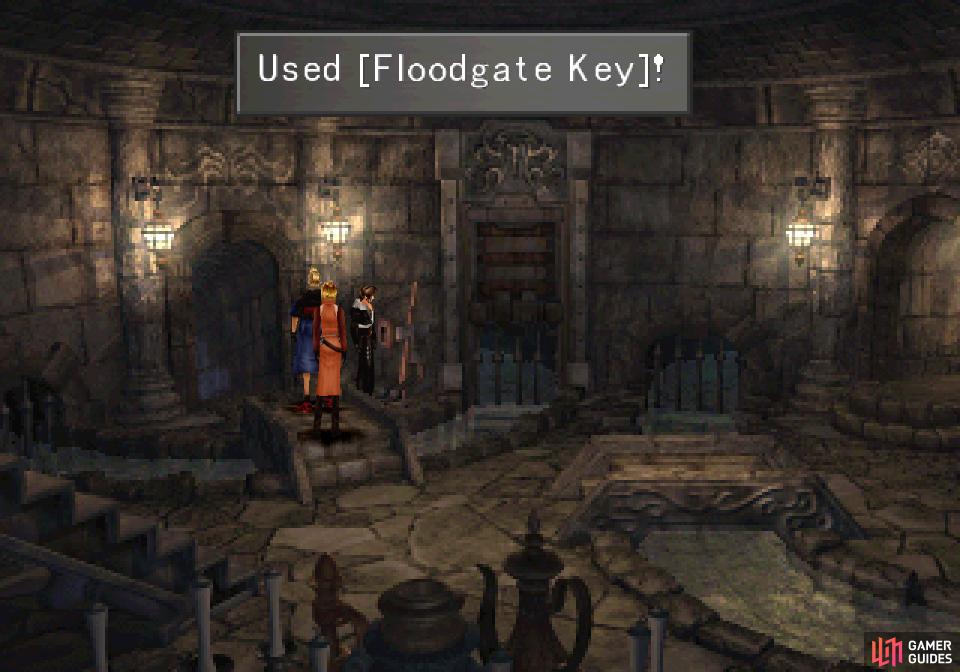
Return once again to where you fought Sphinxaur/Sphinxara and go through the door to the right. Go downstairs and head up through the door to return to the art gallery, then head up through the doors at the end of the first floor, and in the next room go down the stairs beyond the party switch circle. Now that you’re in the flood gate room, note a lever to the right of the door that leads to the dungeon where you fought Red Giant. Head across the bridge, approach the lever, use the Floodgate Key, then pull the lever to drain the water.
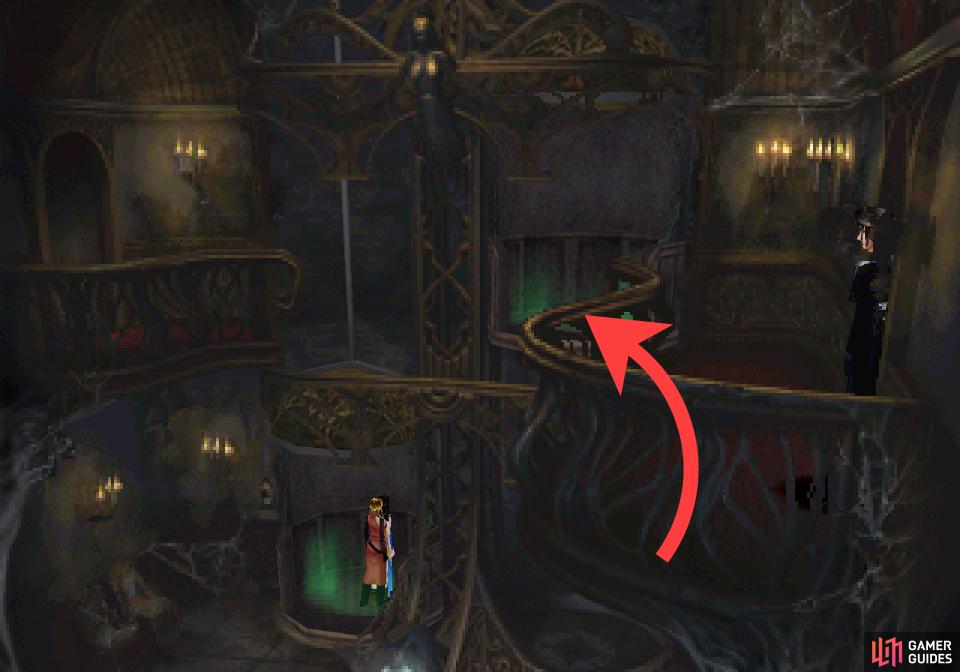
Backtrack to the entrance again, head through the doors beyond where you fought Sphinxaur/Sphinxara, ride the elevator down to the lower floor, then go up through the doors to reach the courtyard. Continue past the fountain and cross a bridge to the upper right to find a passage, and on the bottom right you’ll spot a gate door. Looks like you’ll need to get this open.
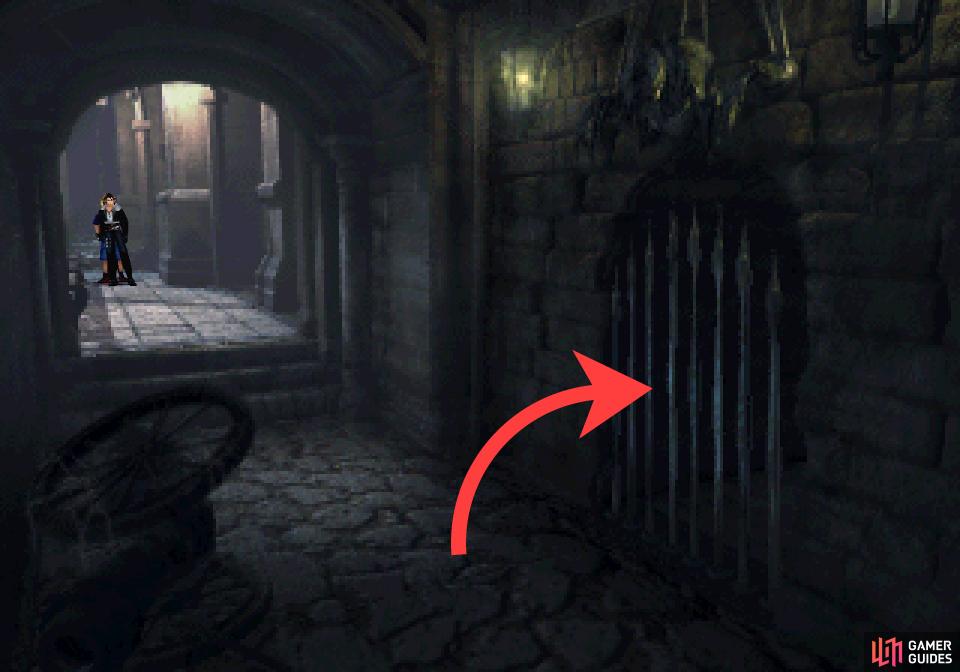
Backtrack to the courtyard, enter the chapel, say “hi” to the creepy miasma, then continue to the end of the chapel to find an organ in the back. Interact with the organ and press and hold all four of the main buttons (on PC, [TALK/CONFIRM], [WALK/CANCEL], [TALK] and [MENU], on Playstation [X], [CIRCLE], [SQUARE] and [TRIANGLE]) at the same time. Let them play for a bit, and after a moment exit the chapel and go across a bridge to the upper right. In the next screen take a gander to the gate at the lower right of the screen… or a doorway if you played the organ correctly. Playing the organ moves the gate components, but if you didn’t play all four notes simultaneously you’ll need to go back to the chapel and try again.
When you hit your notes, go through the gate to find yourself in a drained waterway. Head up and exit to the right, then continue to the upper right to find a box containing a Rosetta Stone. Go through a door at the bottom of the screen to find yourself back in the dungeon where you fought Red Giant. This basically just unlocks a shortcut that you’ll probably never need to use. In any event, you have the treasure you set out to get, for what that’s worth. Only two things left to do - fight an optional superboss, or face Ultimecia.
No Comments