
Upon arriving on Wraith Island and making it to the Town of Lucent, you see the method in which the Dweller of Woe catches its victims, with one of them being snatched right before your eyes. Of course, you cannot sit idly in the inn and decide to do something about it. This will lead you to the Cursed Woods, with this page focusing on how to get through the area while getting all of the treasure chests.
Haunted Creek Walkthrough
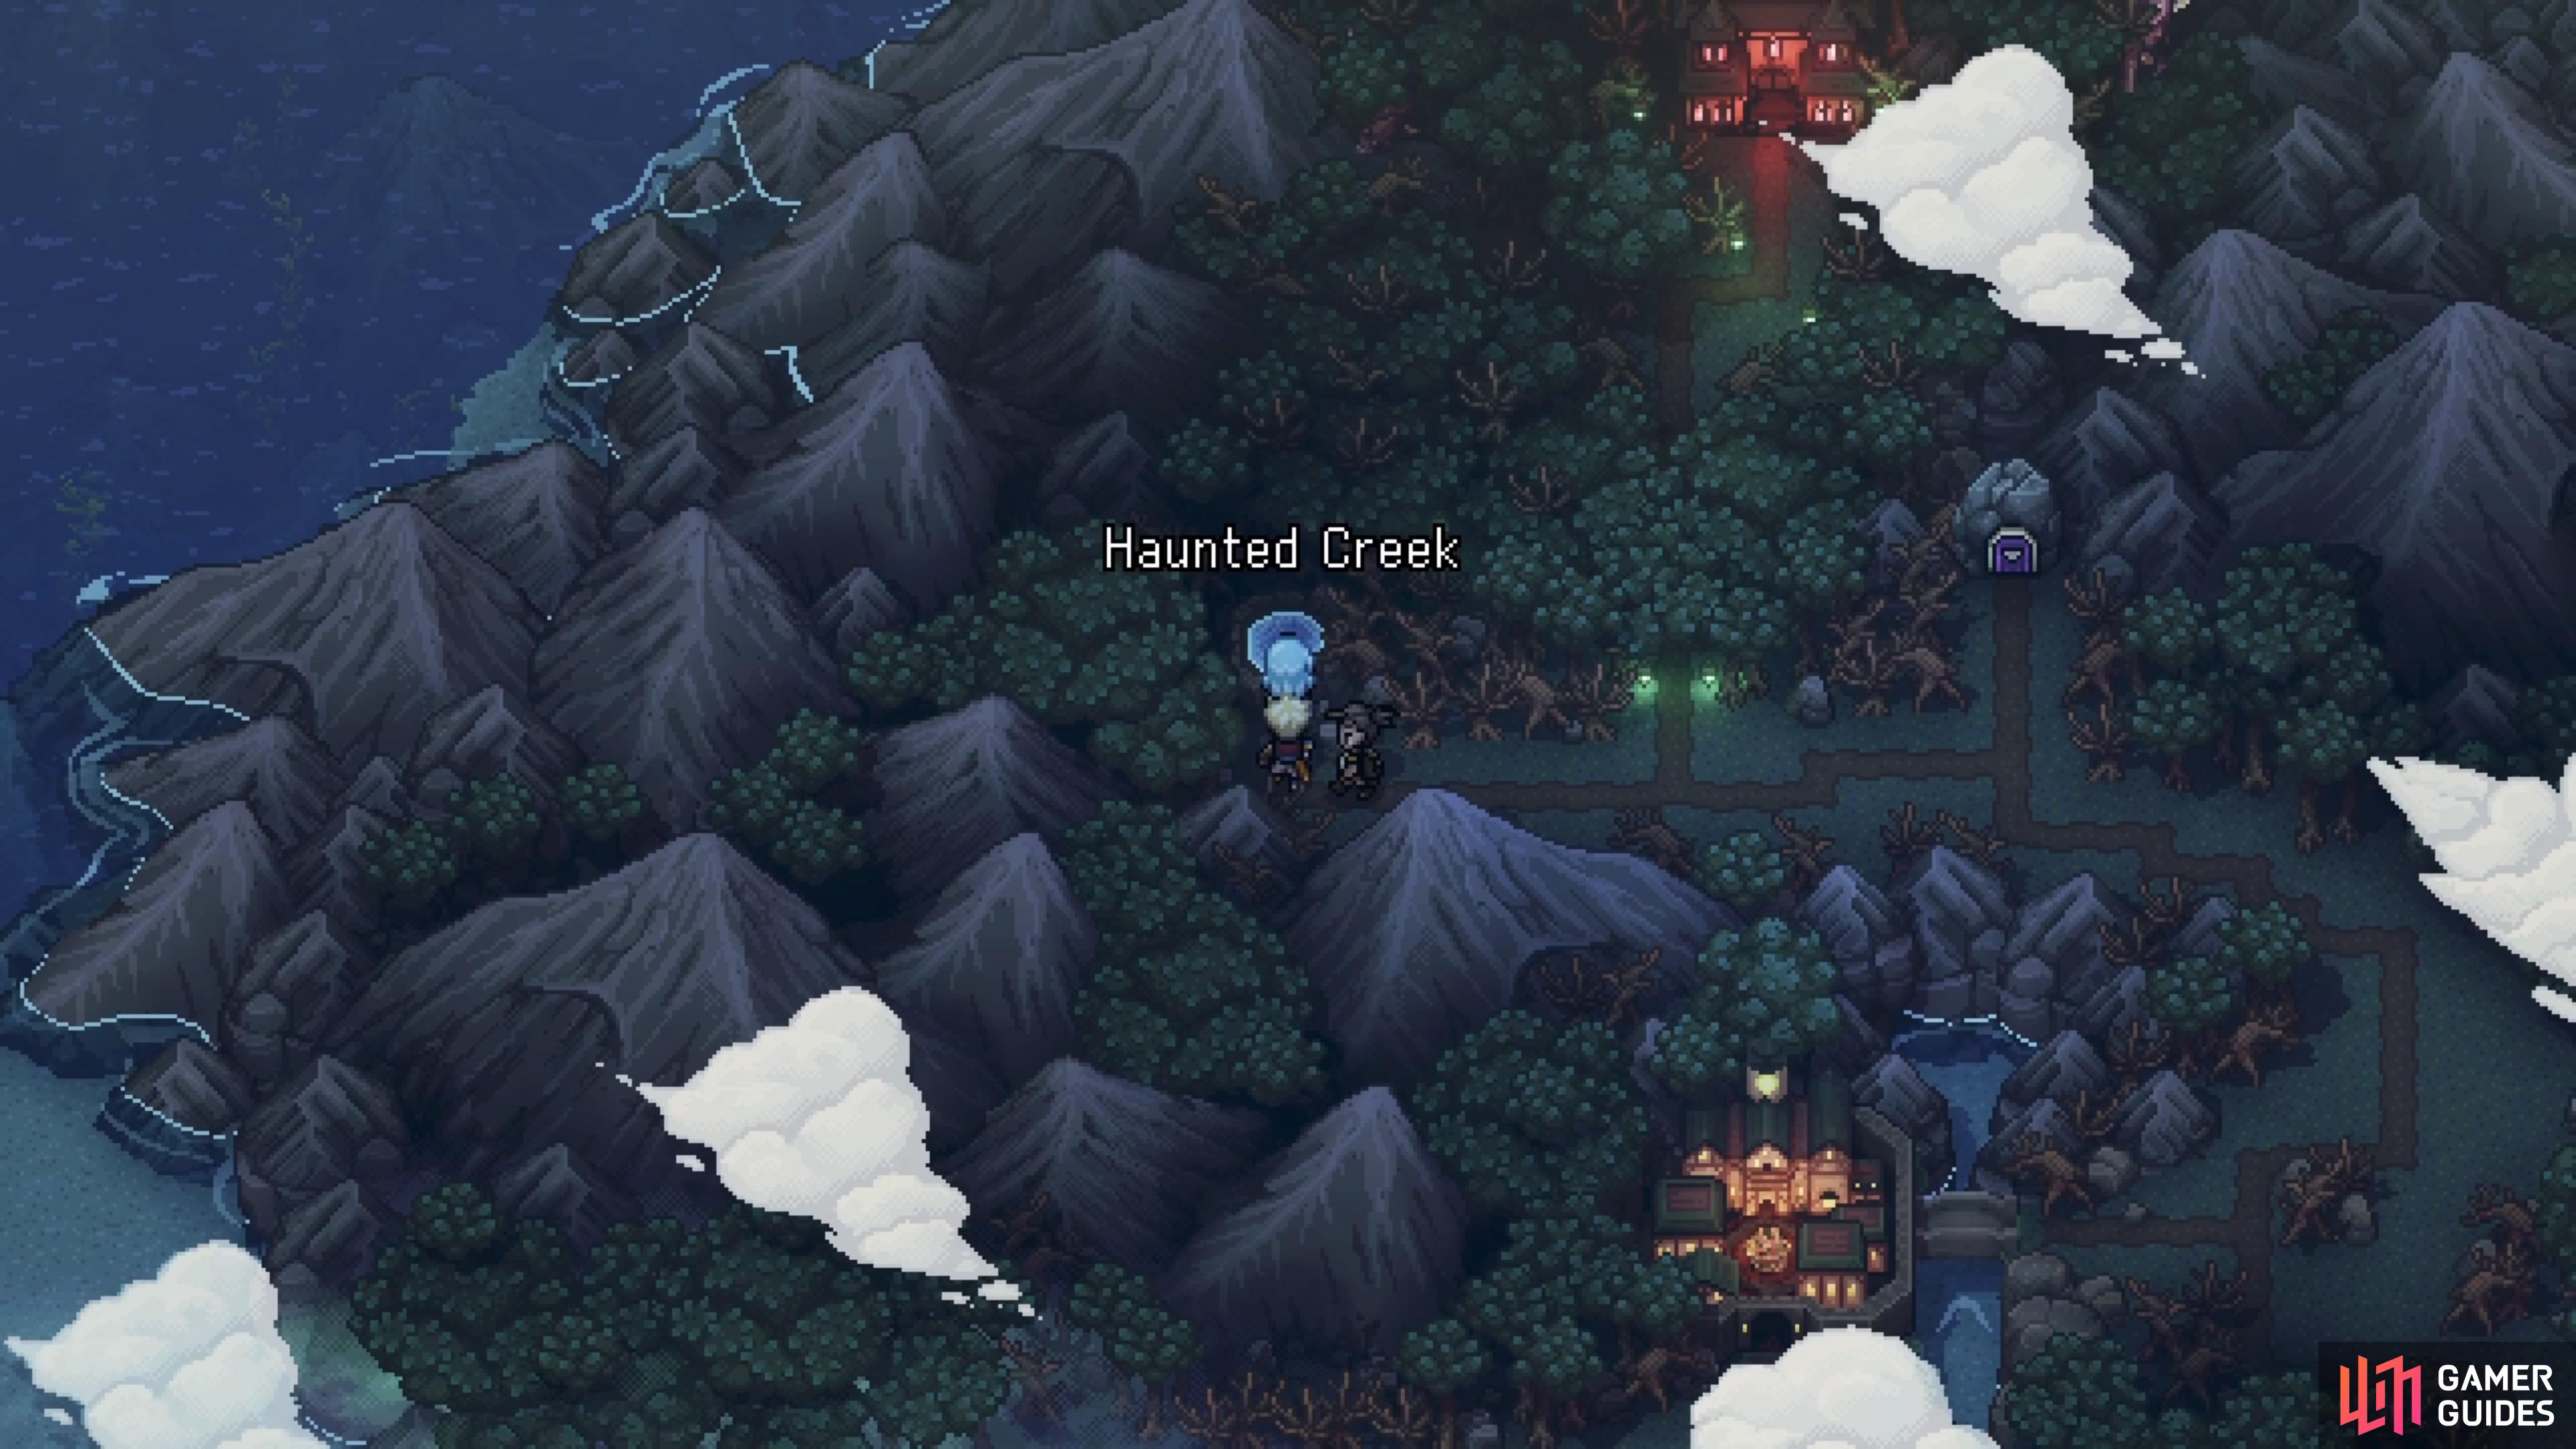
You can stop by the Haunted Creek for some fishing, right before the Cursed Woods.

There are three new fish to get there, all of which are easy to catch.
Before making it to the Cursed Woods, you can see that there is a new fishing spot just west of its entrance. It’s called Haunted Creek (same name as the one inside the Wizard’s Lab), but you should make a quick pitstop here, as there are three new fish to catch. None of them should be particularly difficult to get, although it might be a little annoying to tell them apart from one another since their shadows have similar shapes. However, catch one of each of the Spectral Eel, Ghosturgeon, and Bone Pike, then leave the Haunted Creek (nothing else here) and head to the Cursed Woods.
Cursed Woods Walkthrough
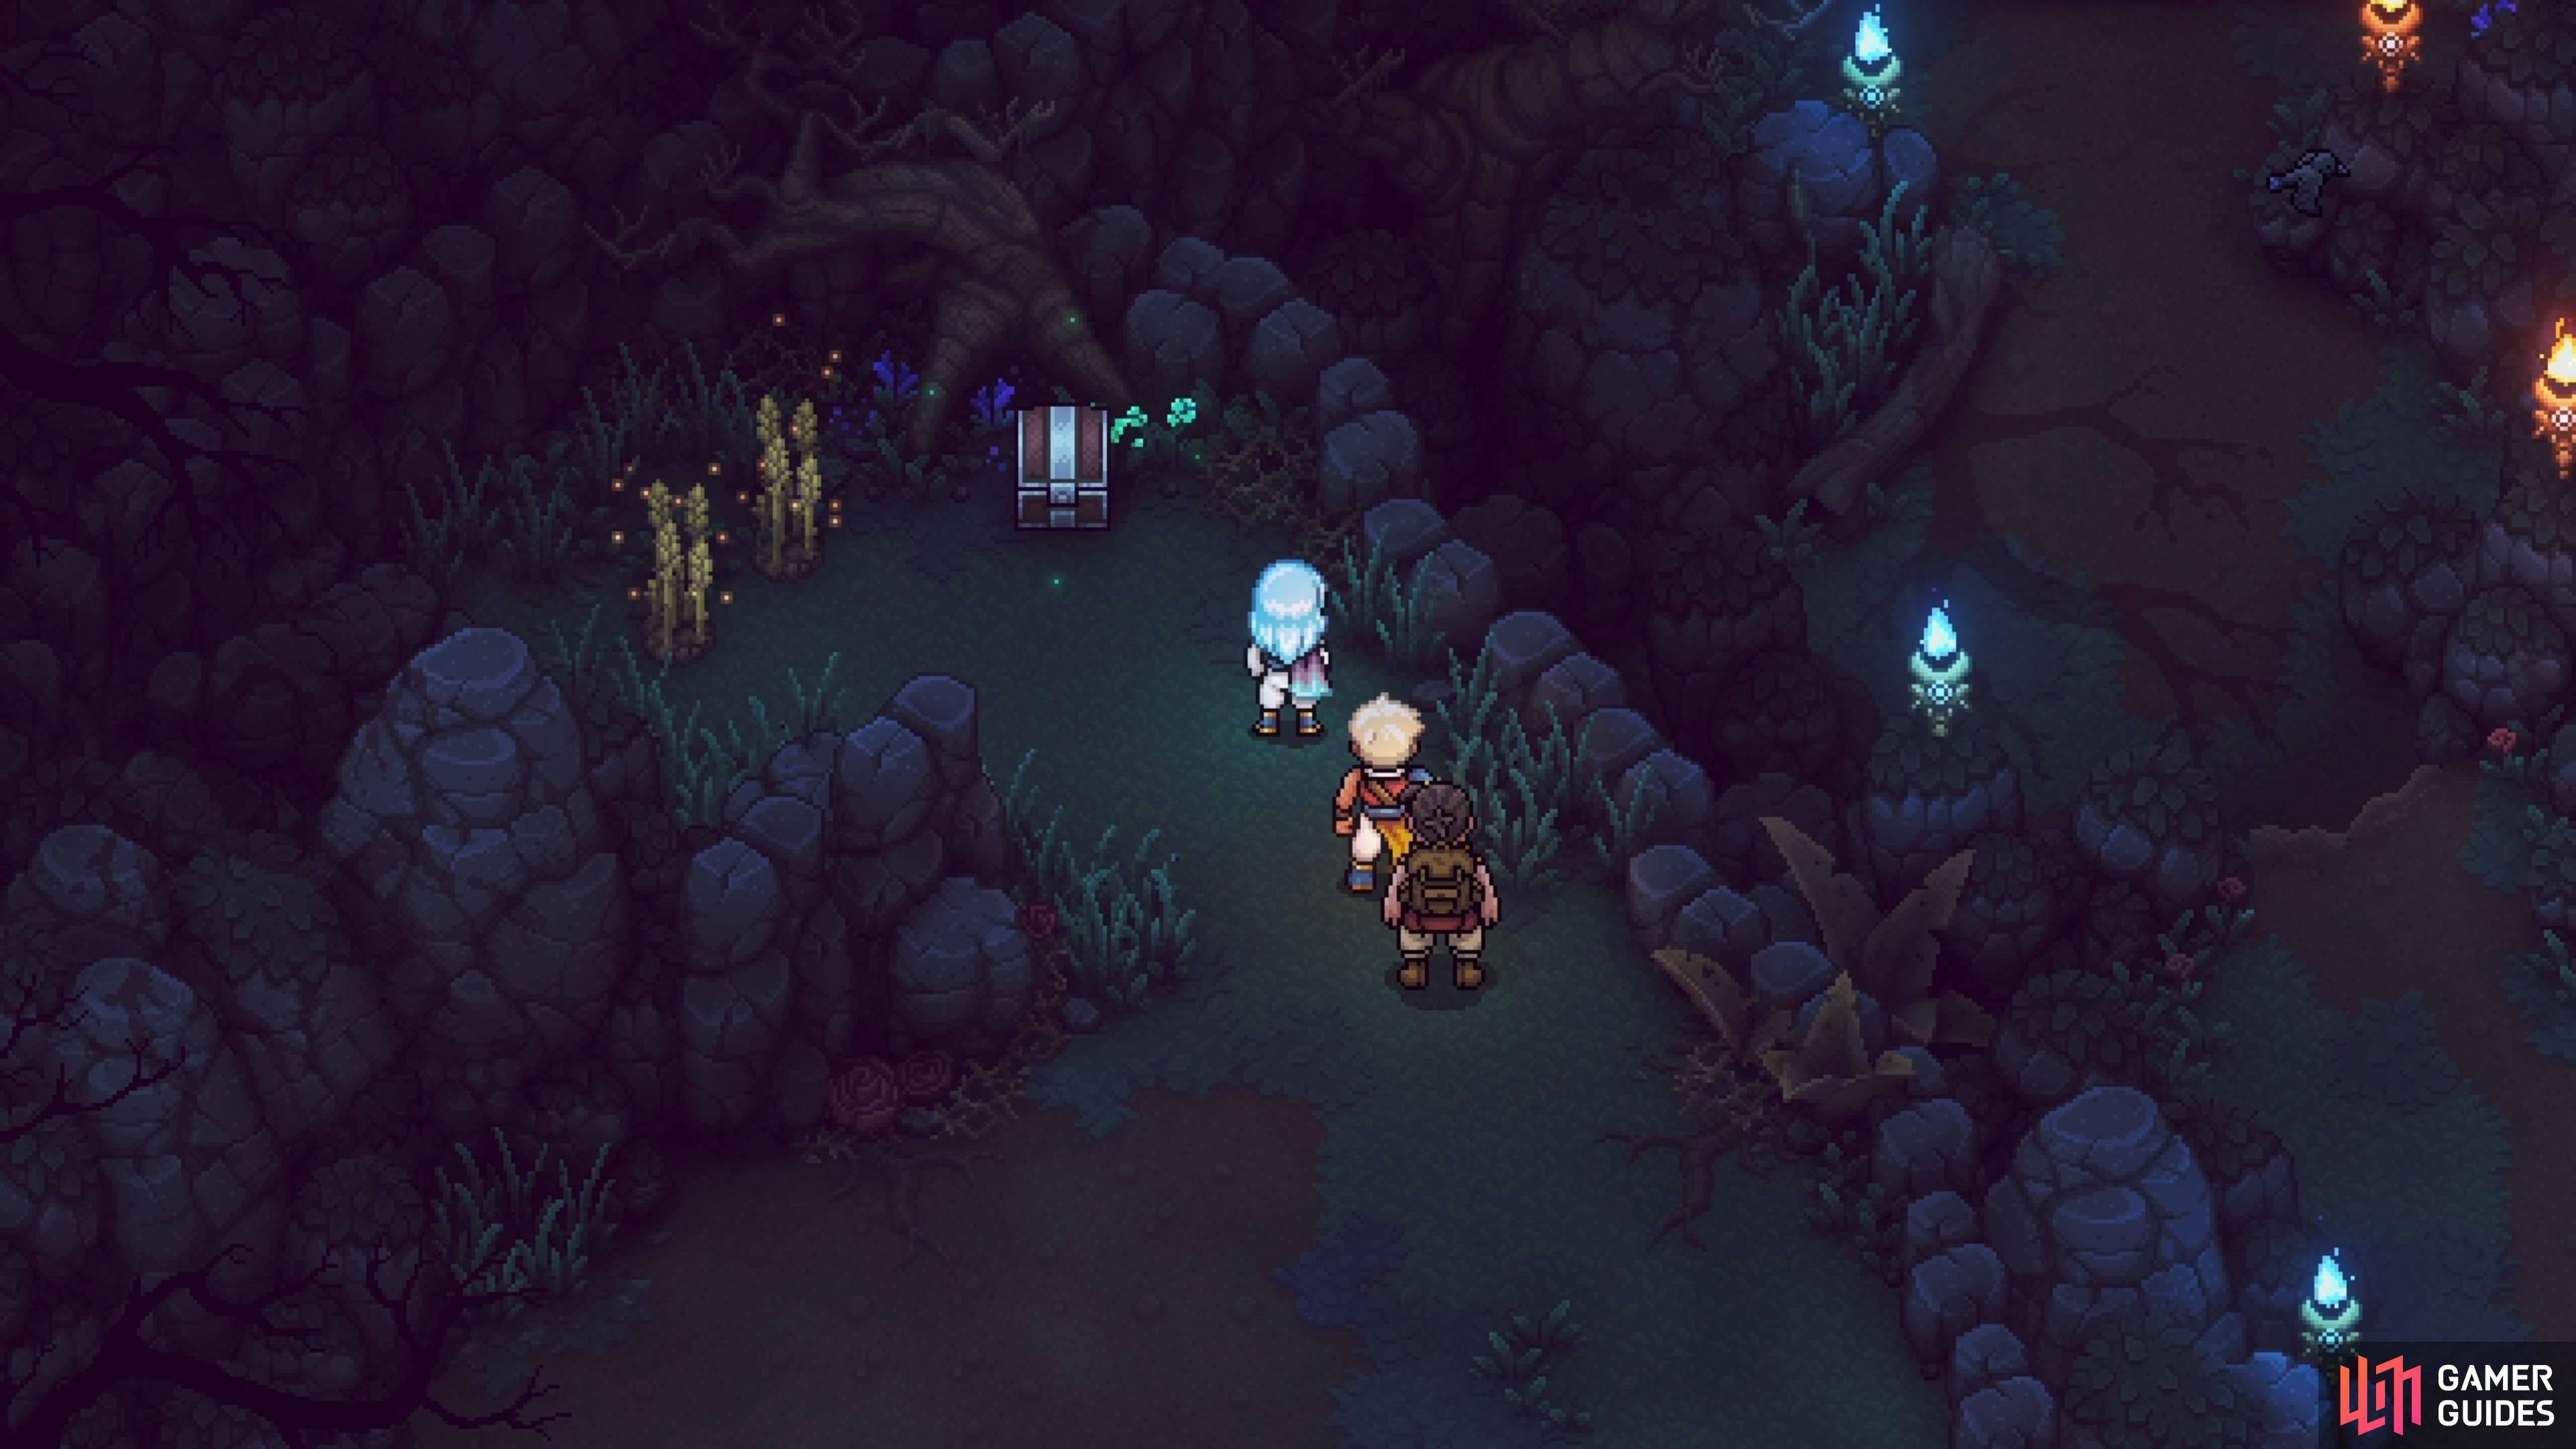
The Cursed Woods is a fairly small area that doesn’t deviate much from its linearity. You can get all of the treasures here on your first visit, so that’s always a plus.
All Cursed Woods Enemies
| Enemies |
|---|
| Arentree |
| Lonzon |
| Woodland Spirit |
| Boulbe |
All Cursed Woods Treasure Chests
| Treasure |
|---|
| Rainbow Conch |
| Obsidian Ore |
| Shimmering Shard |
| Bone Armor |
Upon entering the area, head north and you will run into some enemies, one of which will be new (the other is a Woodland Spirit). The Arentree is a bigger enemy that will have more health than usual. It only does two normal attacks, with the jumping one possibly hitting more than one character, depending on how close they are together. Defeat the enemies, then continue north to a save point. There is a path just to the right of the save point, but it only has some Red Berries. Just north of the save point will be some brambles blocking your path, so you’ll need to find the source and get rid of it.
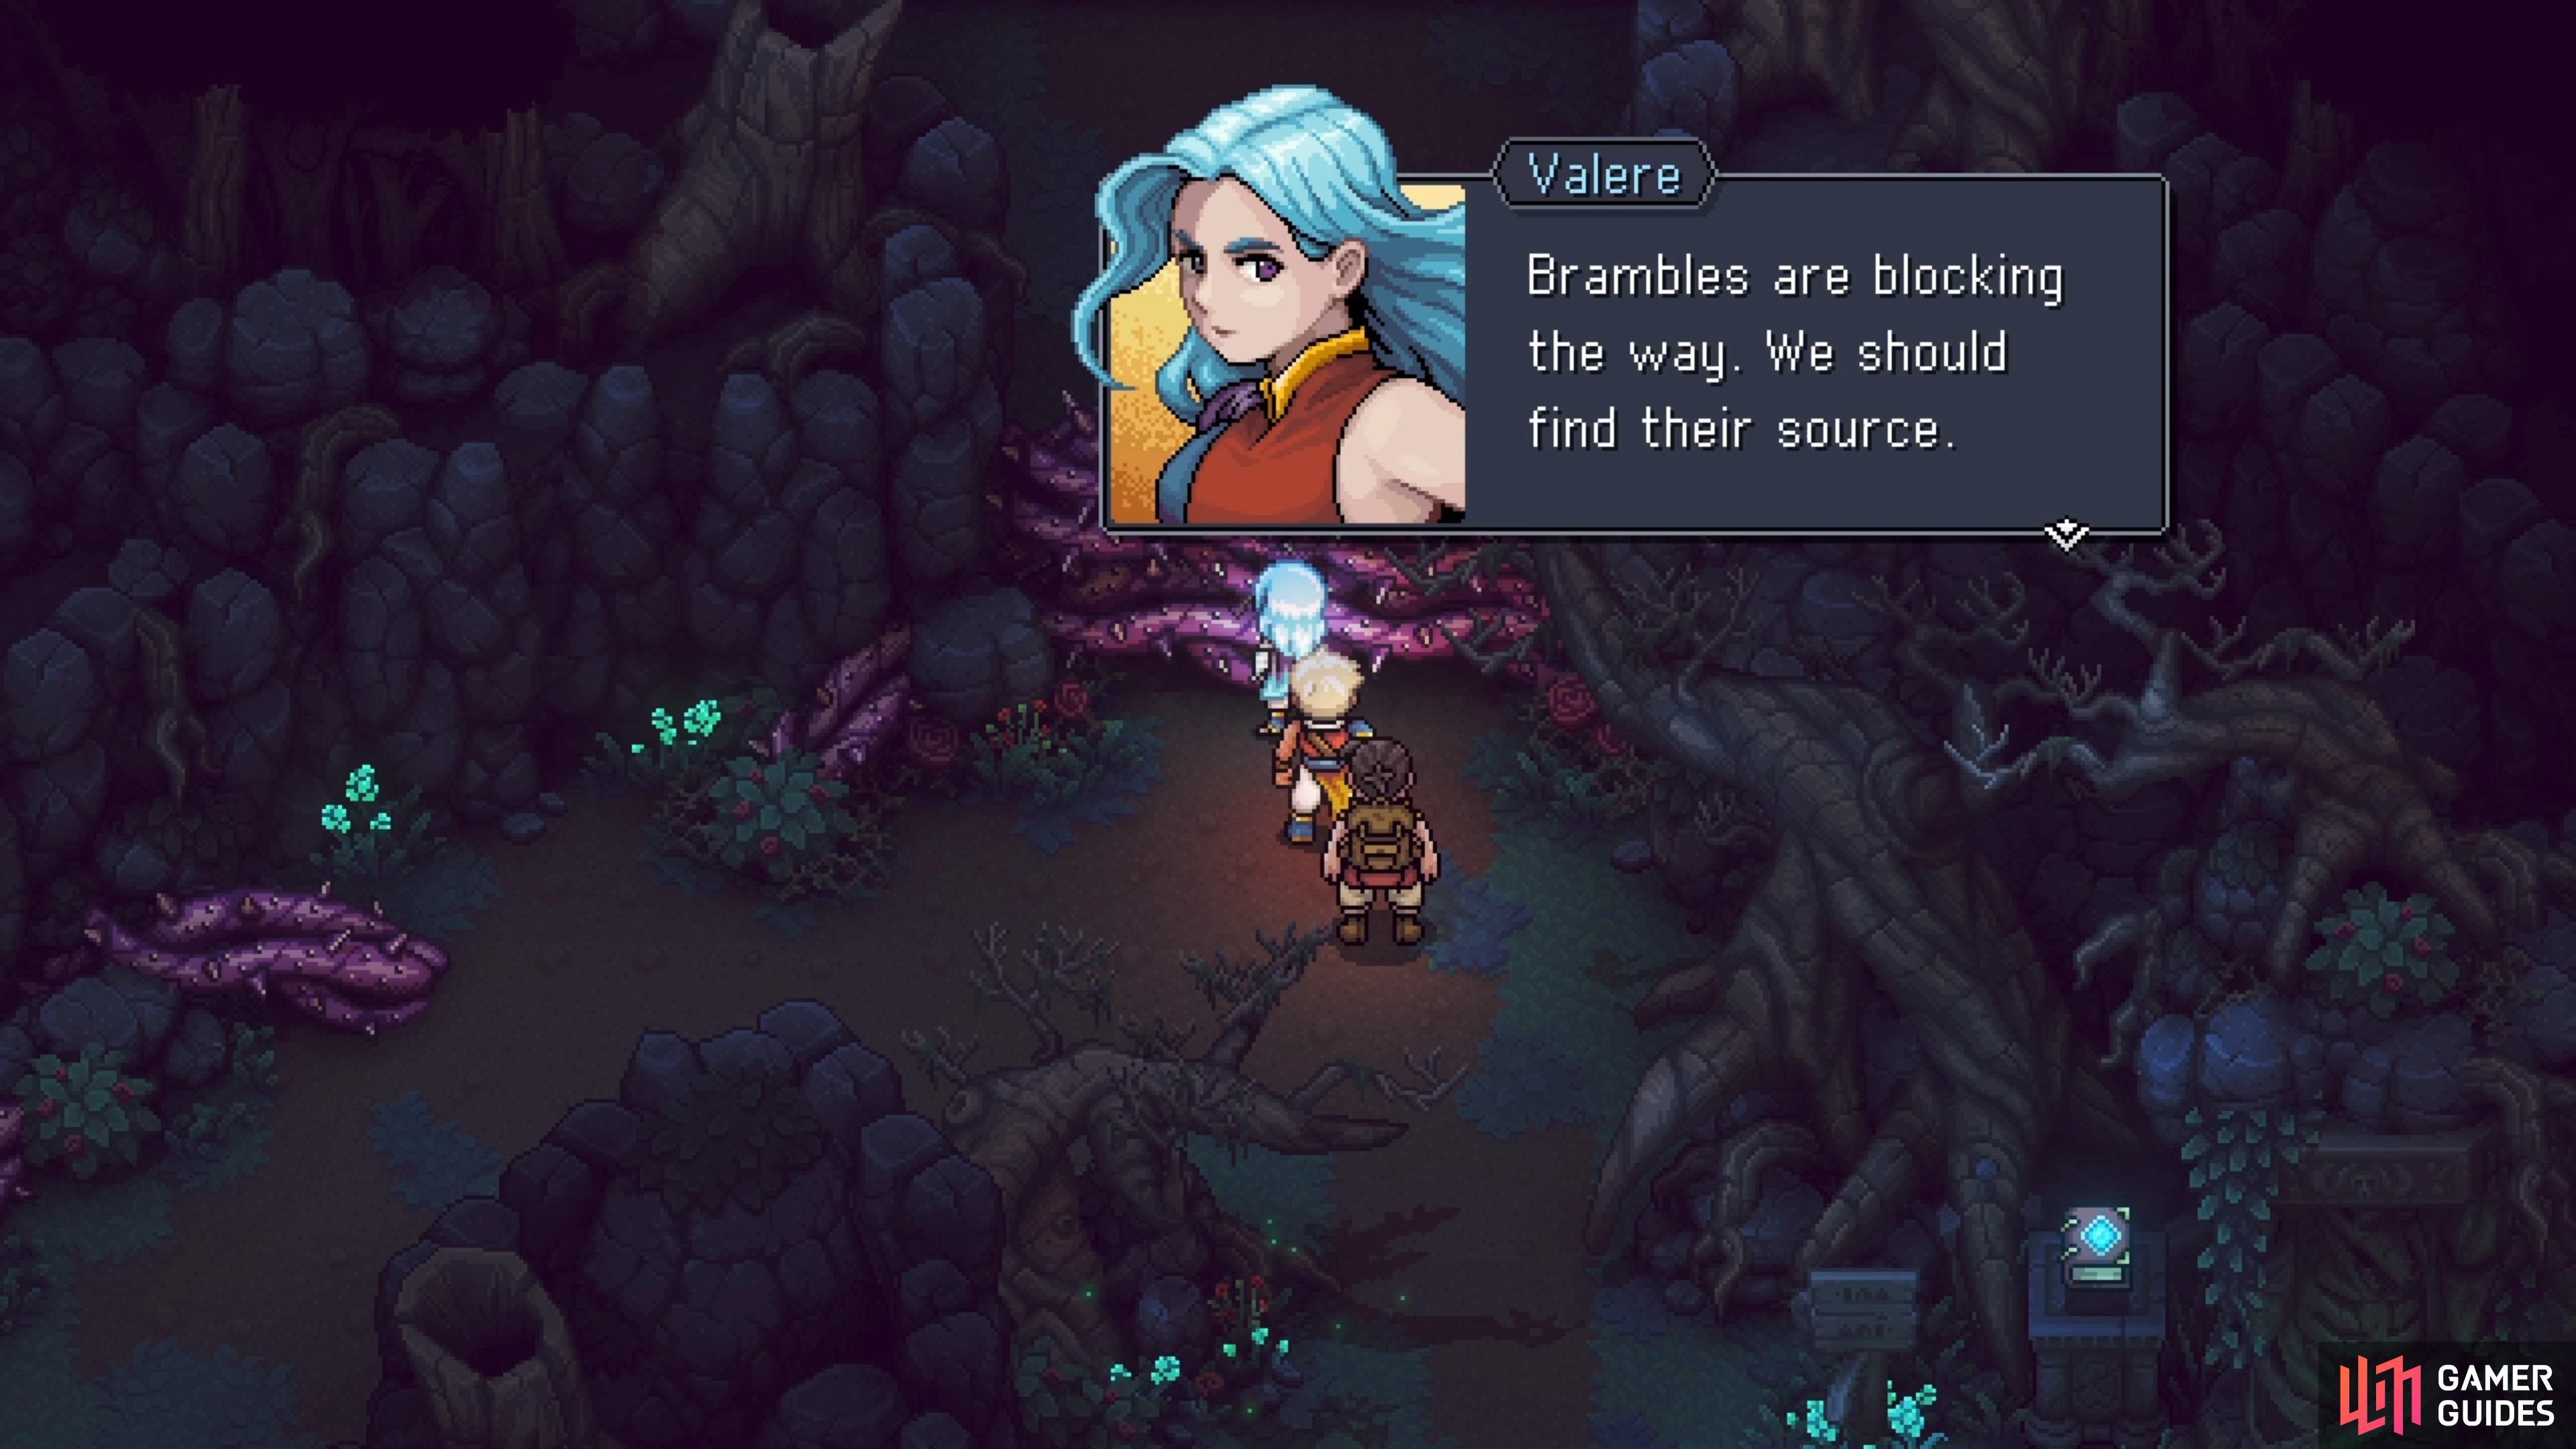
Brambles will be blocking your way quite a bit here in the Cursed Woods.
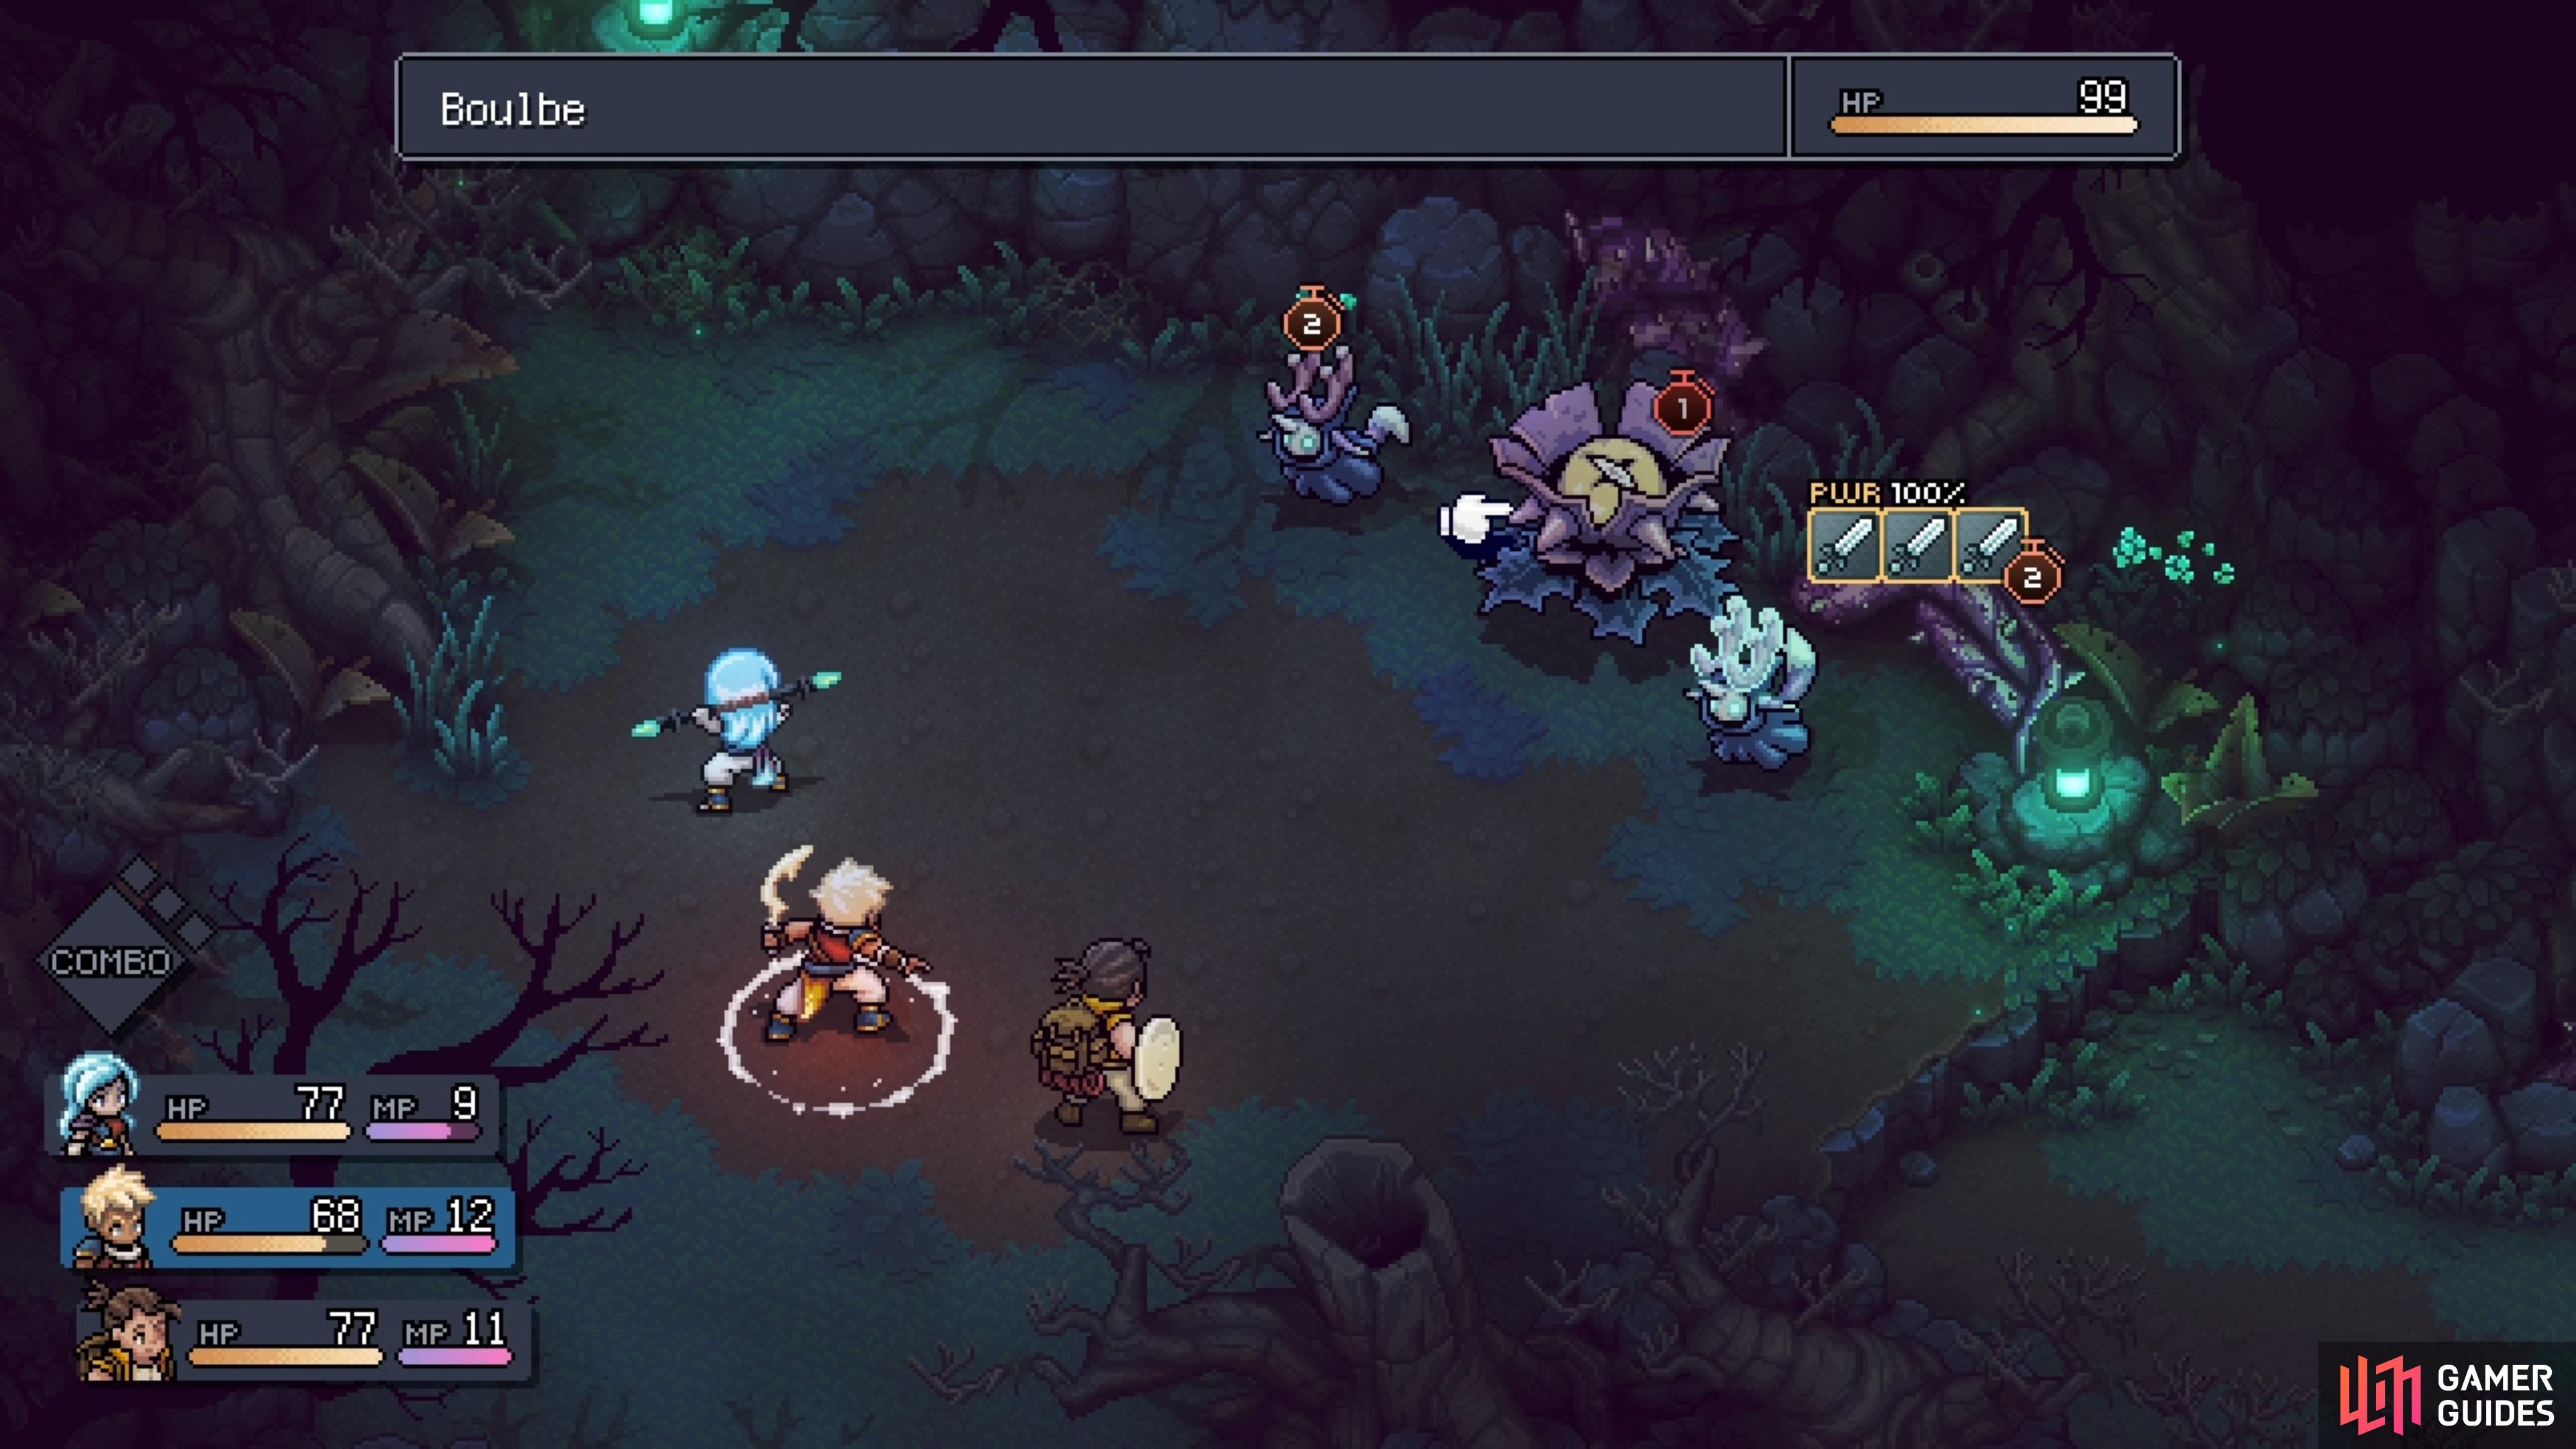
The Boulbe is the enemy that will be producing these brambles.
That source will be just down the path to your west, where you’ll find a plant-like enemy. This is the Boulbe and it is the source of the brambles. This one will be accompanied by two Woodland Spirits, although the Boulbe will only do a normal attack (it’s pretty quick, though). Upon defeating the Boulbe, the brambles blocking your way before will disappear. Just south of where the enemy was located will be a small area with some Potatoes, so grab those and continue past the brambles. Keep going until you reach another set of enemies (two Lonzons and an Arentree), and some more brambles.
There’s only one way to go here, which is to the right, so head in that direction to find the Boulbe at the end, along with a Lonzon. Loot the Potatoes behind them, then continue past where the brambles were located. As you cross the wooden bridges, hop over to grab some Mushrooms, then stop at the end of them. Instead of instigating the next fight, look for a wooden walkway in the lower left corner here. This will take you to a secret area with two Arentrees, guarding a chest with a Rainbow Conch. Return to the main path and trigger the next fight, if you didn’t already (two Woodland Spirits and an Arentree).
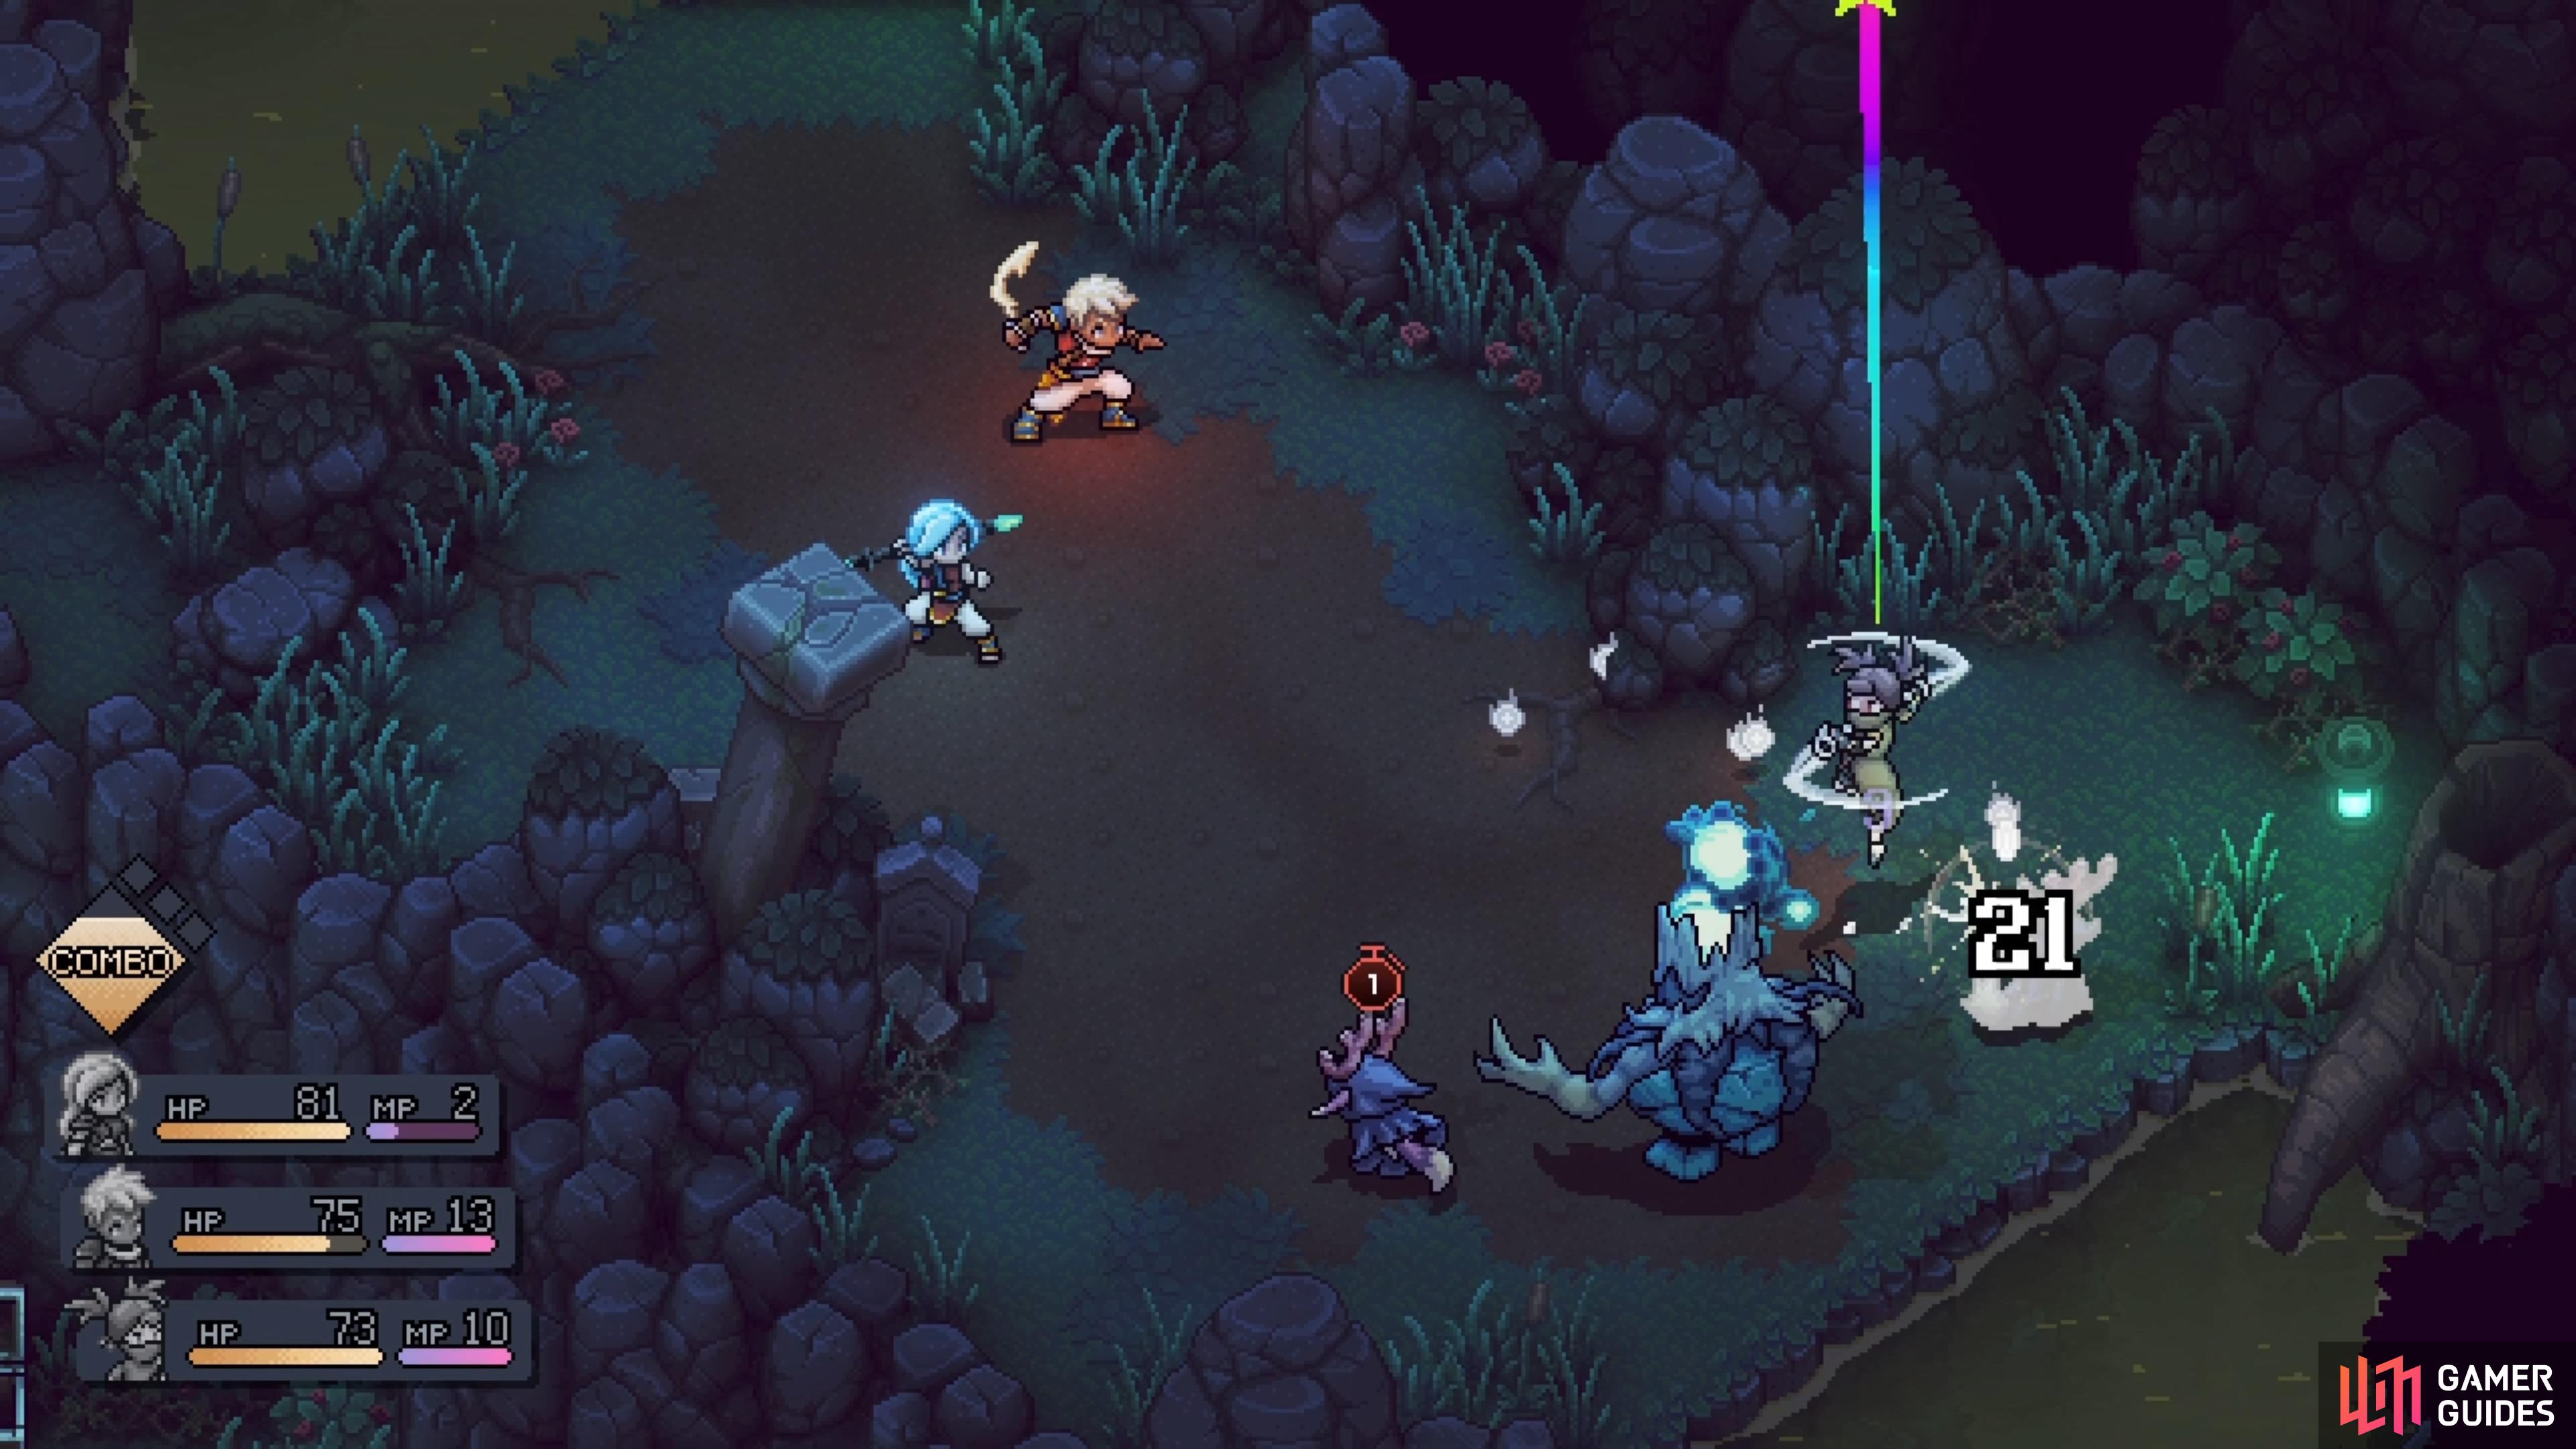
As you head north, you will find a campfire and save point off to the side, while hopping across the logs. This is a good point to return to heal up, in case it’s needed for the remainder of the area. Just north of the save point will be more brambles, although there are two sets here, meaning you’ll have to hunt down two Boulbes here. Go left first and follow the path, until you reach some more enemies (two Lonzons, an Arentree, and the Boulbe). This is a challenging battle, due to the number of enemies and the fact they deal some great damage. Make sure you save your combo meter for Mending Light, as that is a great emergency heal.
Upon winning the battle, go north of the enemies to find a chest (Obsidian Ore) and some Grains. Drop off the ledge on the right, then head north to find a Solstice Warriors door. You don’t need to do anything special to open it, as you just interact with it as normal. Inside will be another chest, with this one containing a Shimmering Shard accessory. This one will increase the damage you deal to undead enemies by 15%, which will be great for Wraith Island. Backtrack to the brambles and venture right this time.
(1 of 4) There is a chest north of the first set of enemies in the final section, on the western side.
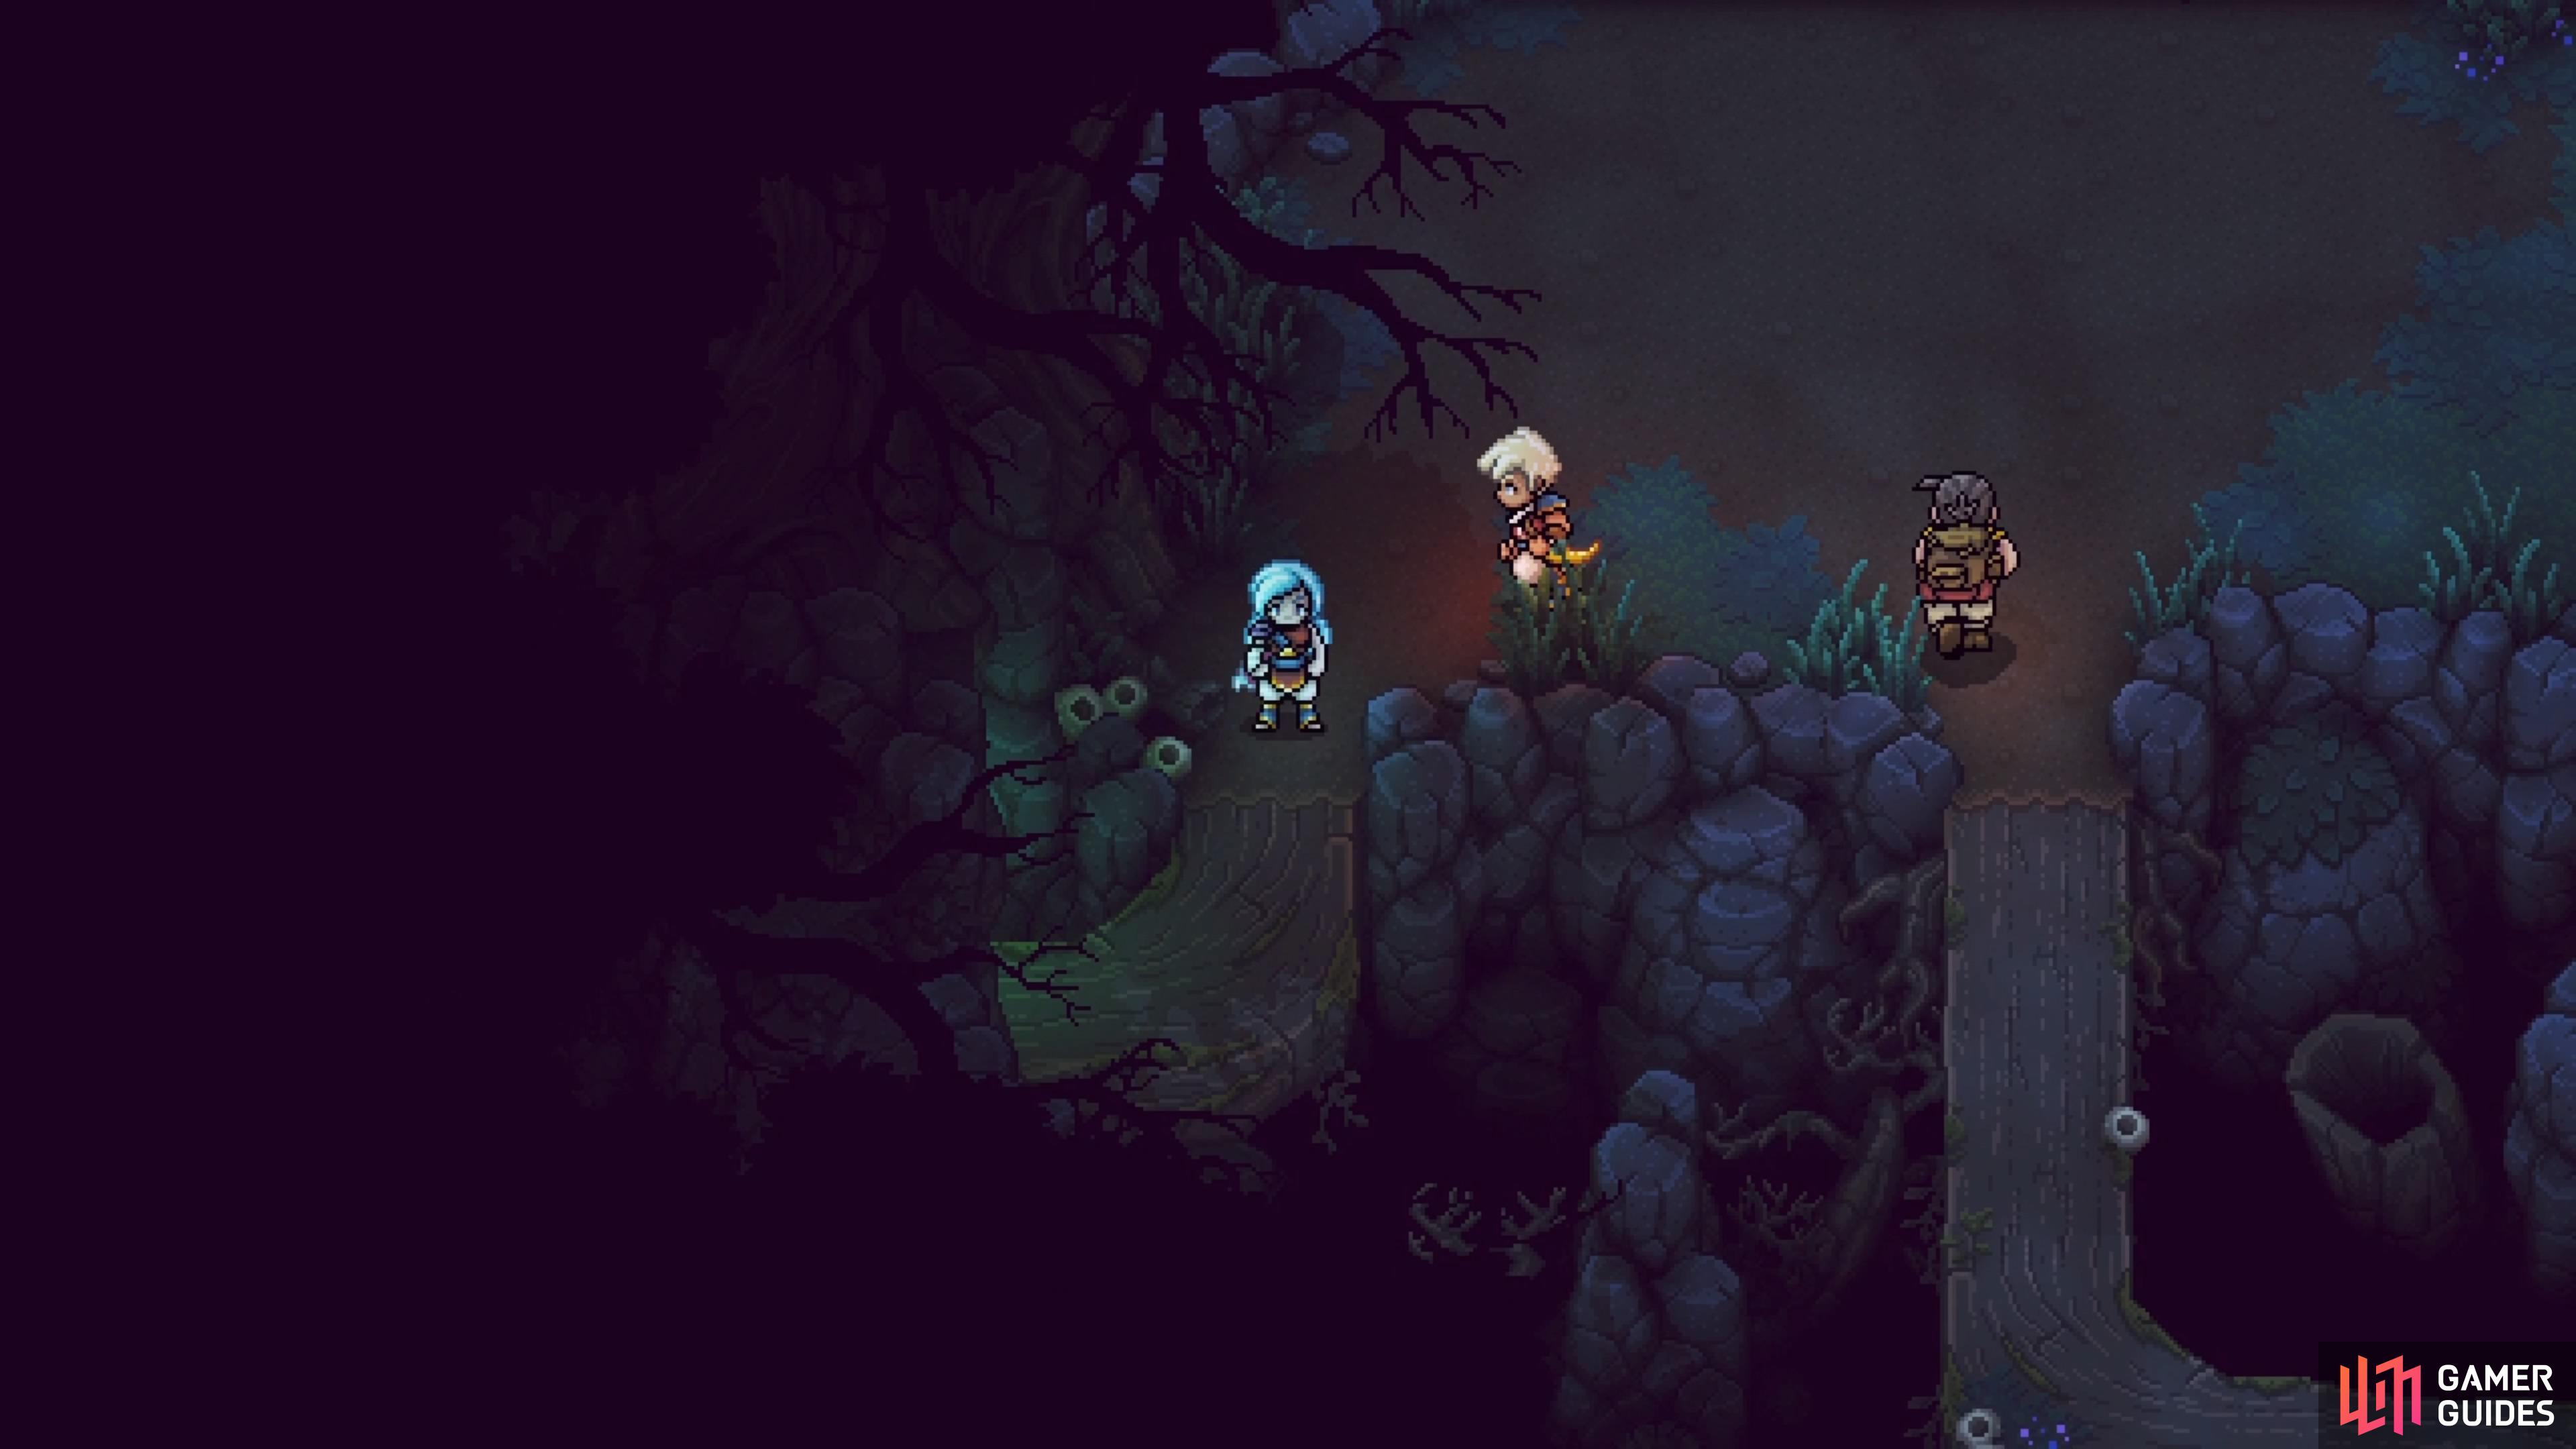
At the end of the path, you’ll find your Boulbe, which is accompanied by two Woodland Spirits and a Lonzon. It’s a bit easier of a fight than the previous one since the Spirits aren’t that strong. However, they are annoying with their Group Heal. After winning the fight, grab the chest above where the enemies were for a Bone Armor. Both sets of bramble should now be cleared, so you can finally exit to the north, back by the campfire. Once you arrive at the gates of the mansion, watch the cutscene that plays out, with the mysterious assassin joining your party after it ends. This party member has access to Poison, which is the green skulls you’ve been seeing on Locks, since coming to Wraith Island.
Drop down to the right, then climb up the ledges and loot the Bell Peppers. Jump into the water and to the next area, where you’ll find an Arentree and two Woodland Spirits waiting for you. There’s nothing else to do here, so continue through the second water section to find another battle, this time against two Arentrees and one Woodland Spirit. After one more water section, loot the Mushrooms on the right, then get ready to fight one more battle, this time against a Lonzon and Woodland Spirit. You’ll find some Potatoes behind the rock to the south, and then you will be back at the beginning of the area, by the first save point.
Your new assassin friend uses swords for her normal attacks.
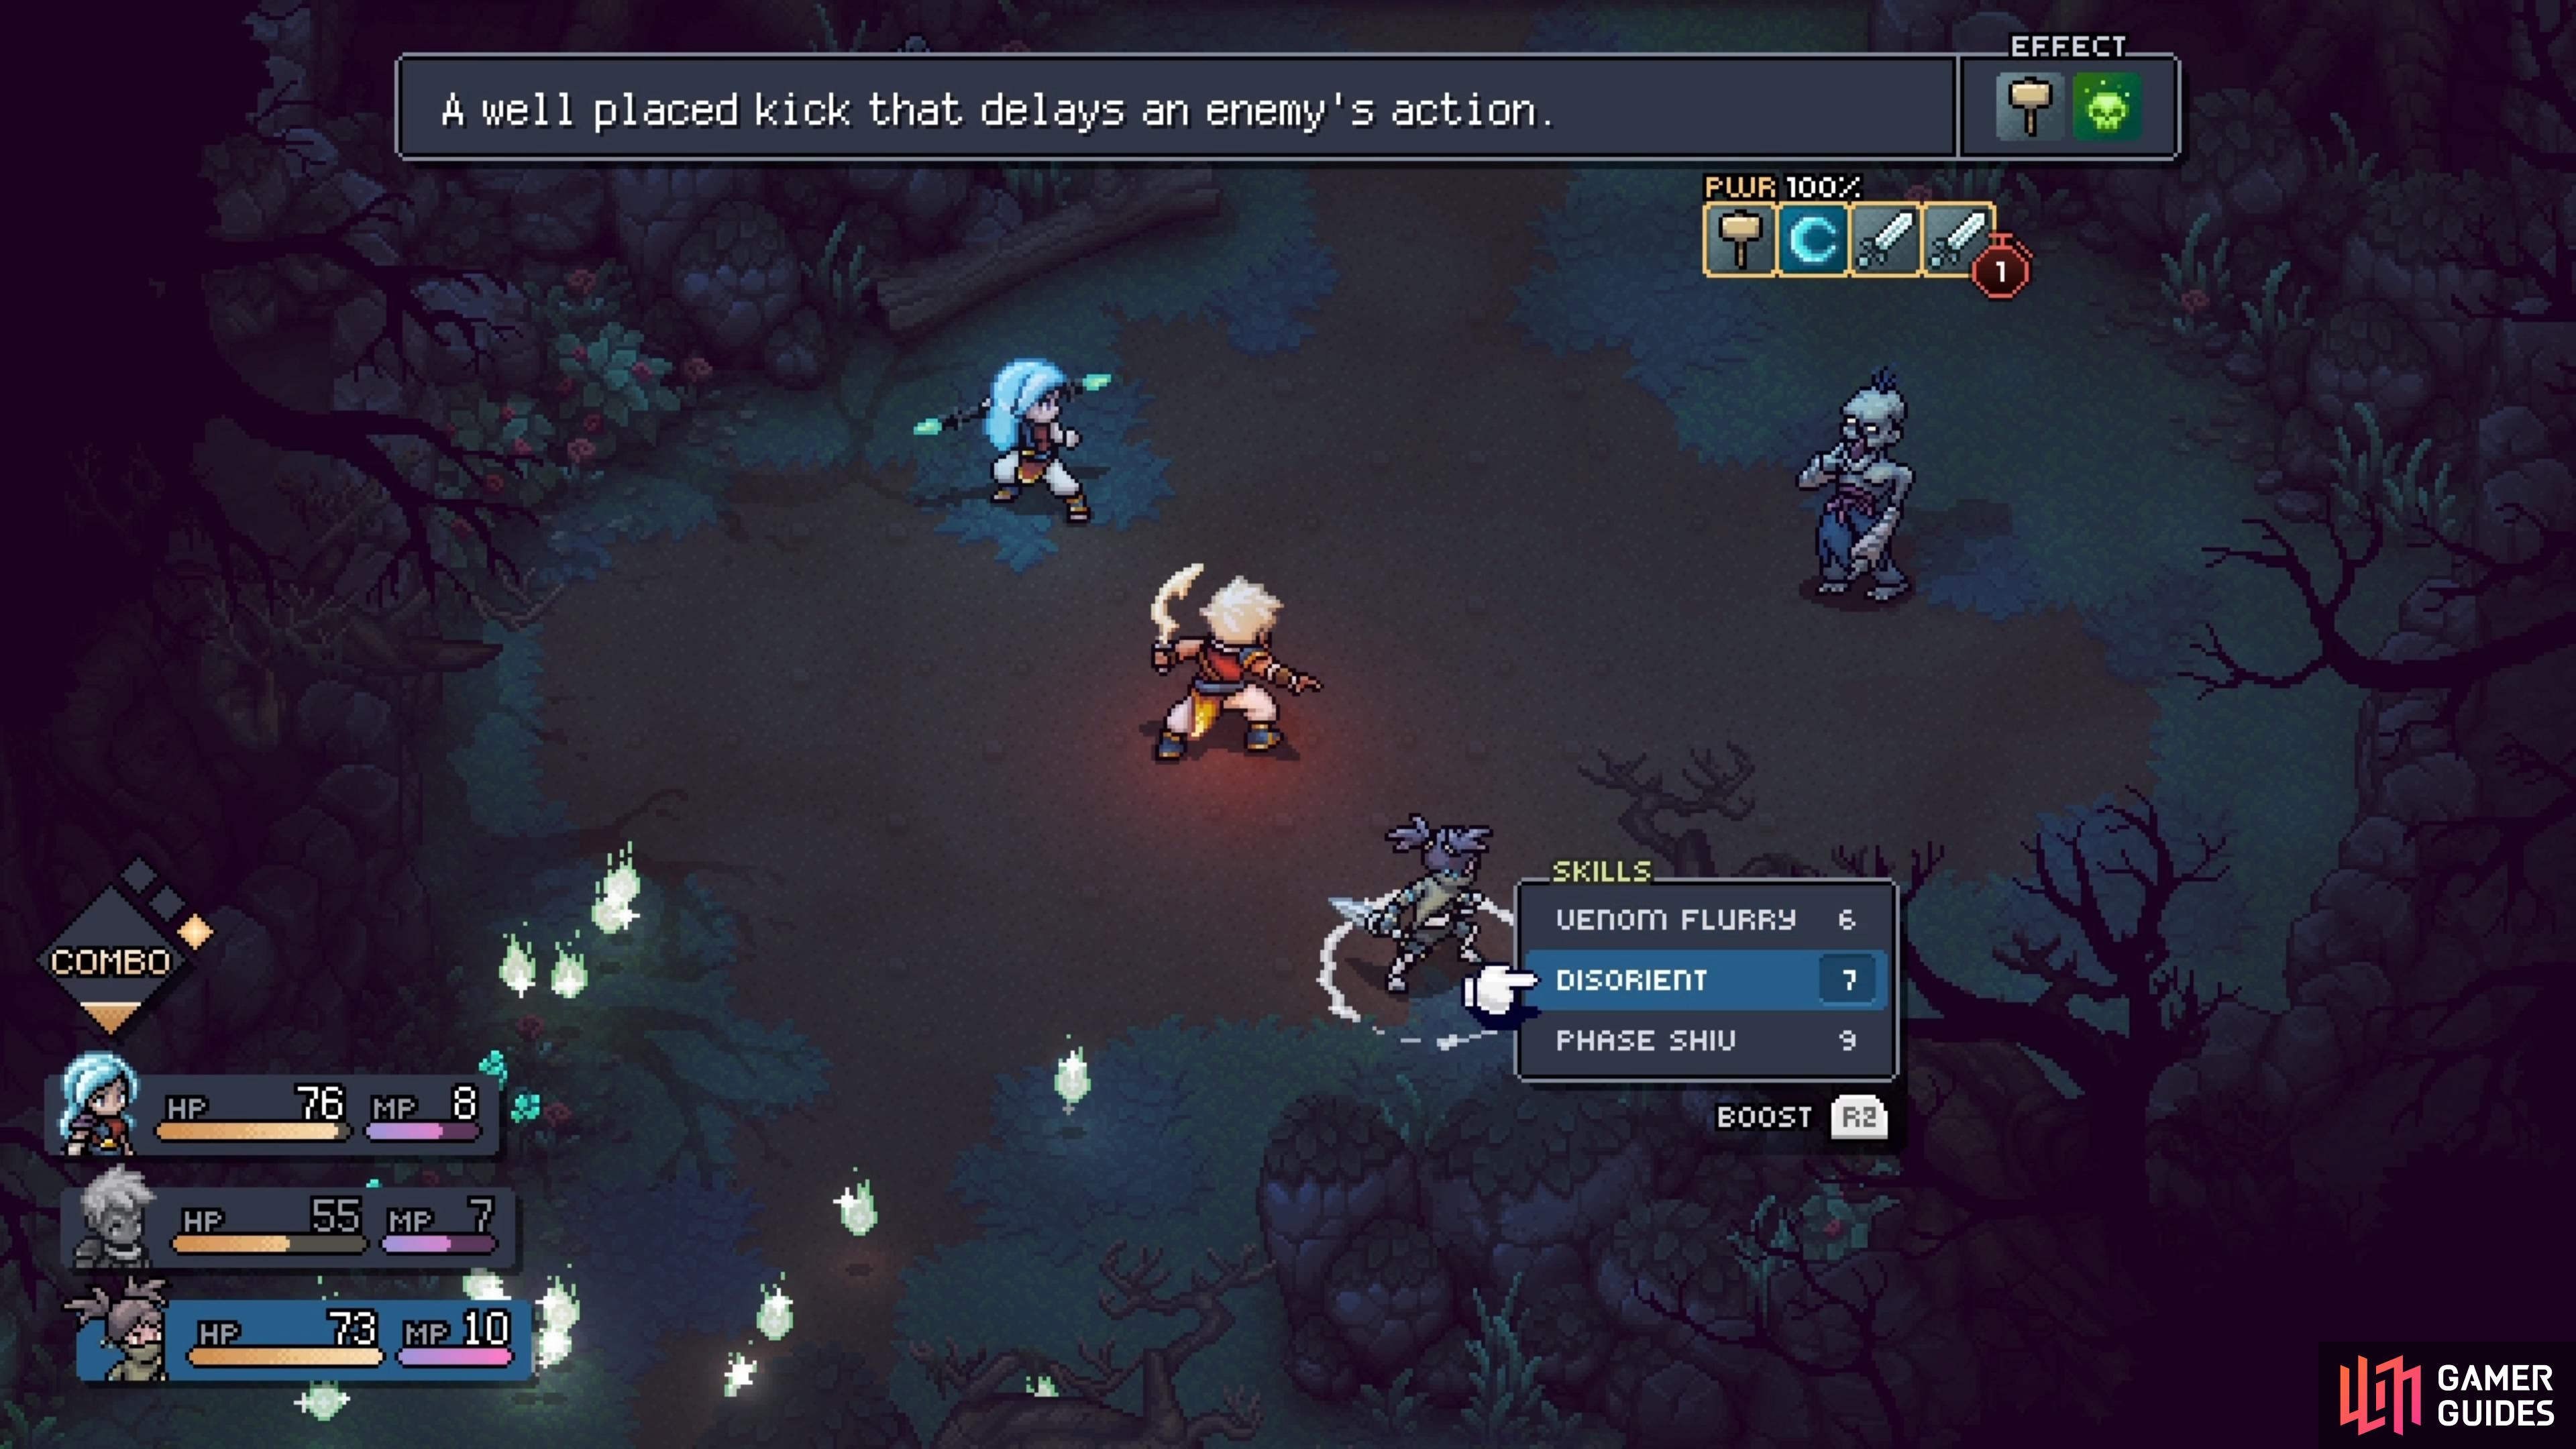
Her Disorient skill is one of the best moves in the game.
Exiting the Cursed Woods will bring you right back to Lucent’s Inn, where your new friend will tell you how to help Garl. You’ll need a Soul Stone from the Necromancer’s Lair, but you’ll have to get there via the Ferryman. Your friend will also tell you her name, which is Serai, and Valere will learn a new skill, Lunar Shield. This is one of the better skills in the game, as it heals the entire party for a small amount, as well as makes it so the next attack deals no damage. That wraps up the Cursed Woods, so the next stop will be the Flooded Graveyard.
No Comments