
A lot of games will have something for the player to collect, and Sea of Stars is no exception. In this game, you will be able to collect items called Rainbow Conches, which seemingly look like nothing at first glance, but they do become quite important in the long run. They have their own chests, which are usually hidden quite well, and you will sometimes get them from helping out NPCs. This page will detail the locations of every Rainbow Conch on Sleeper Island, which includes X’tol’s Landing, Moorlands, Stonemasons Outpost, Wind Tunnel Mines, Coral Cascades, and the Abandoned Wizard’s Lab.
All Rainbow Conch Locations in X’tol’s Landing
On the way towards the exit, there is a hidden chest here with a Rainbow Conch.
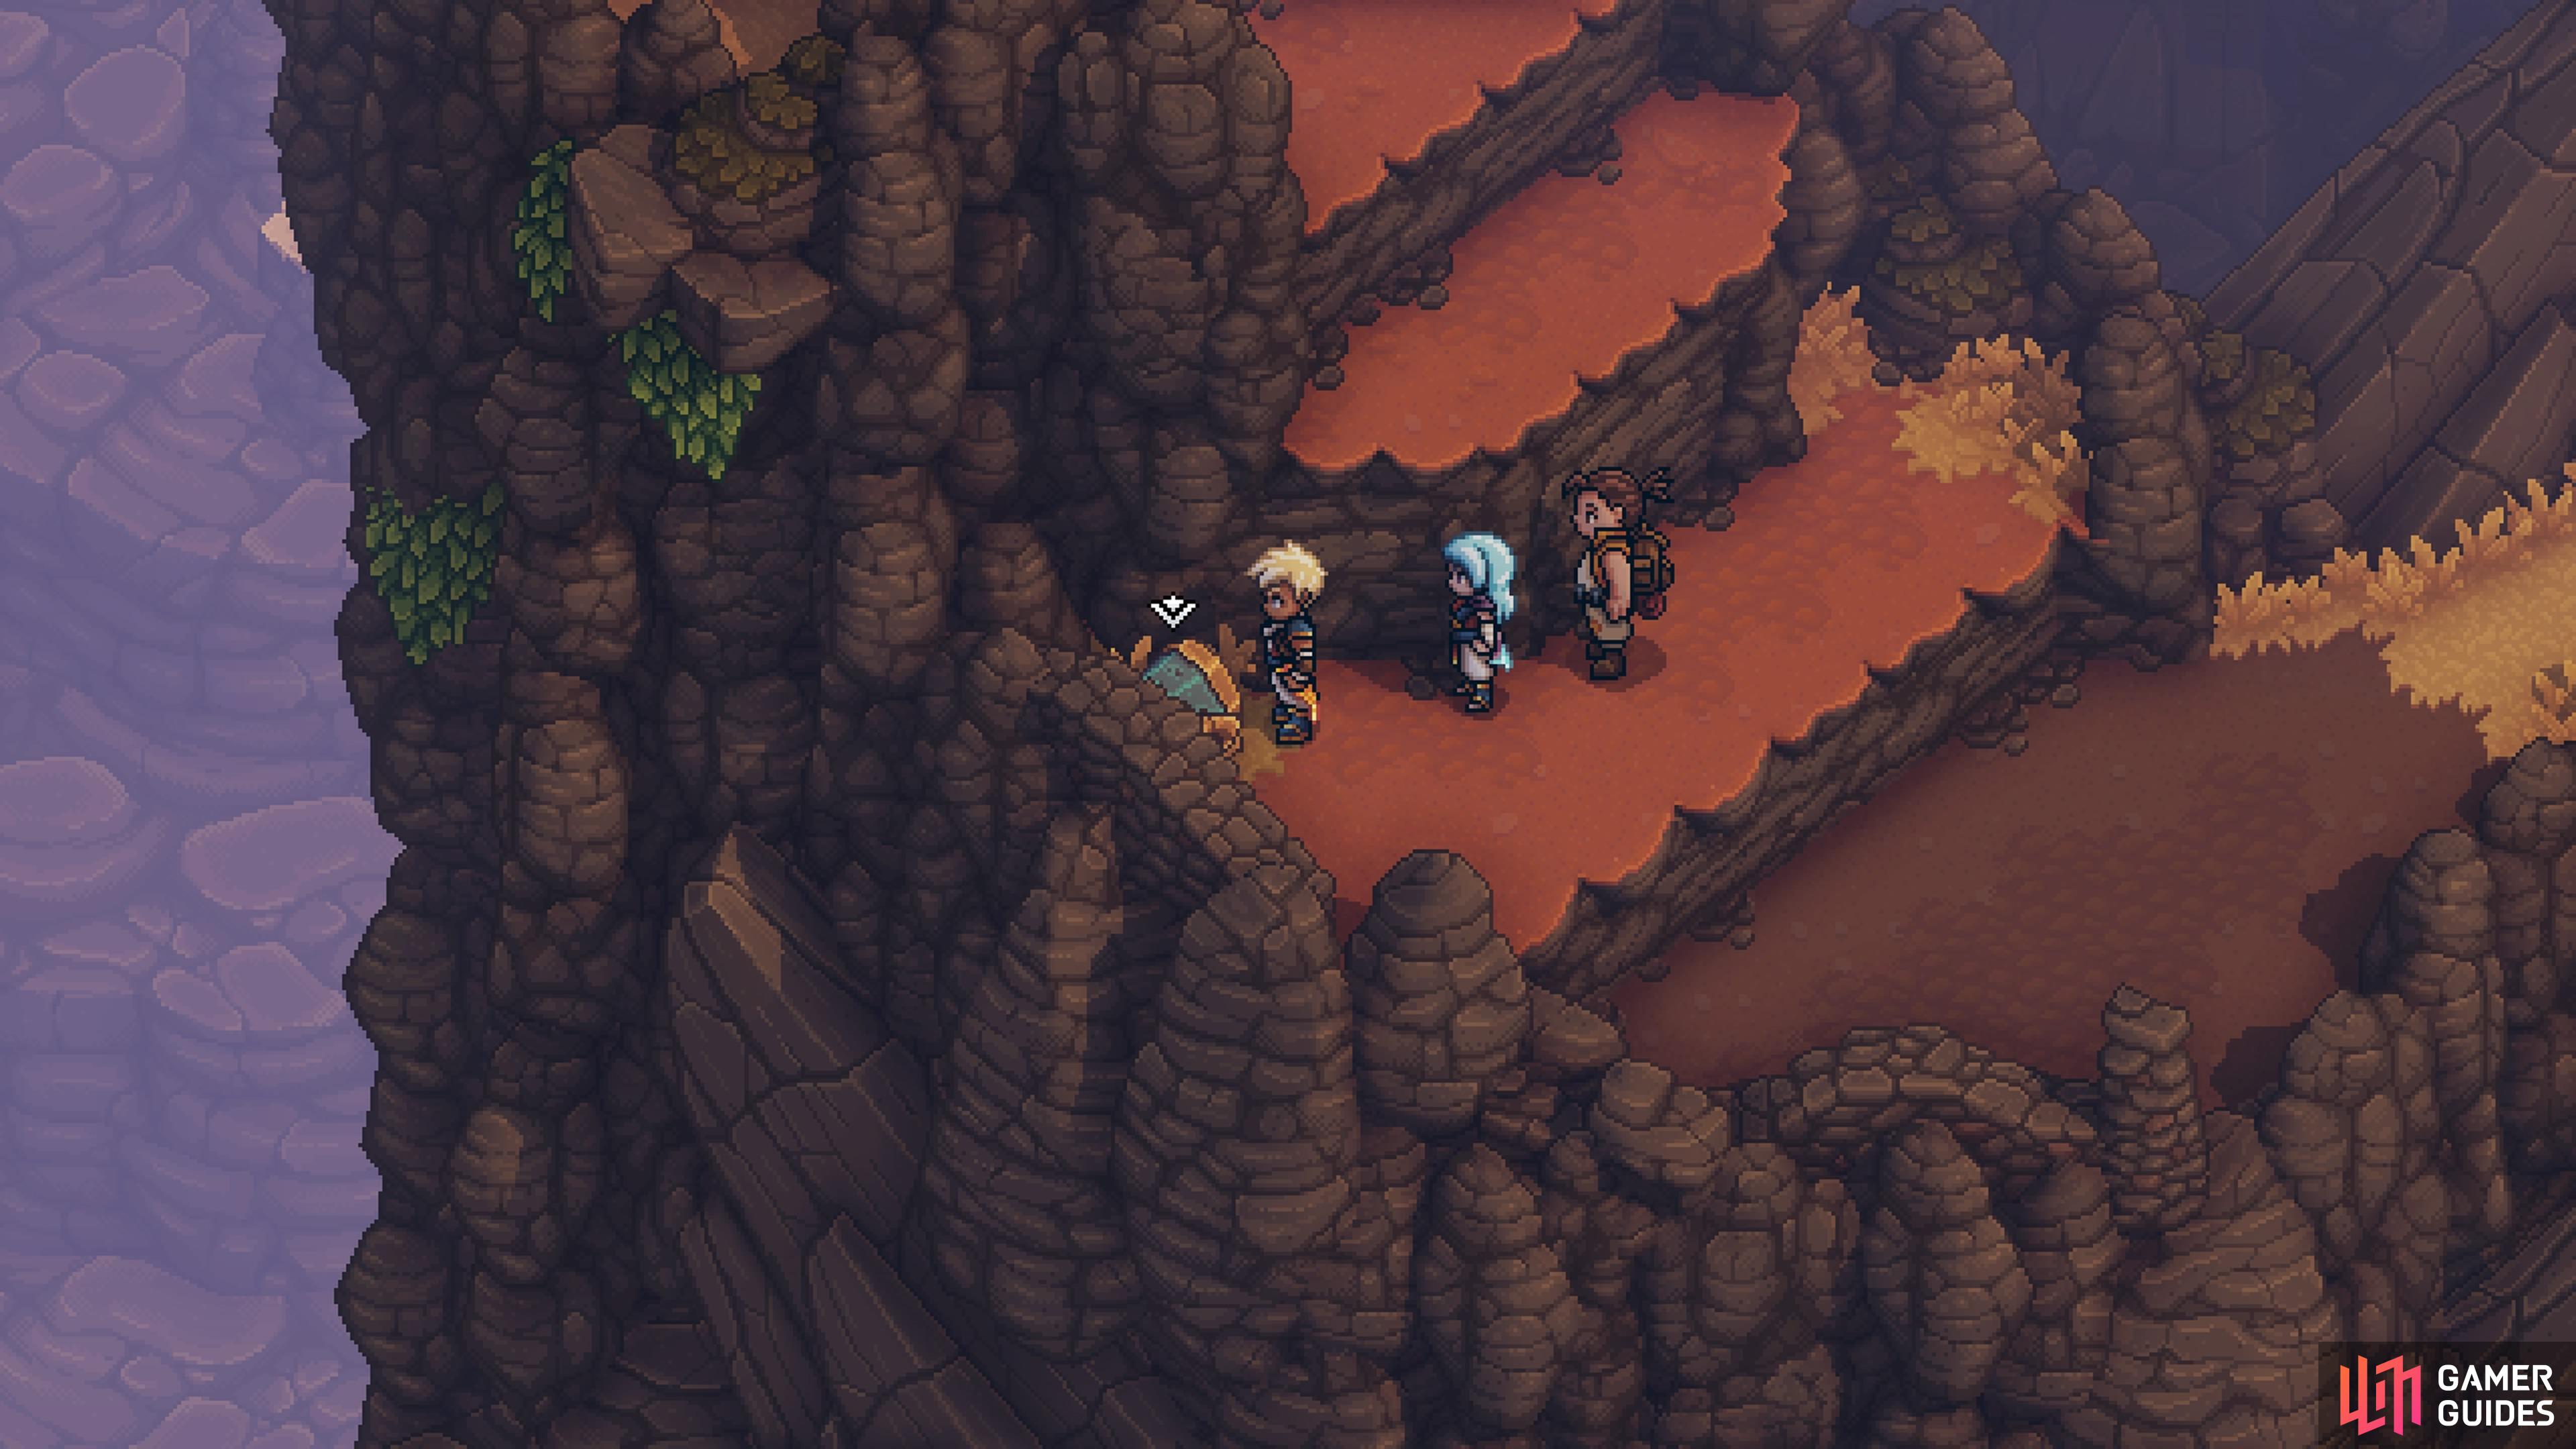
There is only a single Rainbow Conch to be found here, and it’s actually the first one you can find in the game, but it’s also easily missed, due to the chest being partially hidden. As you’re coming down the area, you will have to hit a button that makes two bridges appear, one of which is a shortcut back to the previous sections, and the other bridge will take you to the exit. If you head west from that button, you’ll see some ledges you can climb. Go up the first ledge, then look by the rock wall on the left to see the chest with this Rainbow Conch.
All Rainbow Conch Locations in Moorlands
There are two Conches to be found in the Moorlands area, but you won’t be able to get either of them on your first visit, as both require items found later in the main story.
Rainbow Conch 1
For the first one, you will need the Mistral Bracelet, which you get during the Wind Tunnel Mines dungeon. After doing that, head back to the Moorlands, to where you found the campfire in the middle of the dungeon. Not too far west of the campfire, there is a green crystal. From the southern side of the crystal, move it north, east, then north one more time, which should put it on the switch there. The crystal will be replaced by a green block, allowing you to climb up to the ledge and open the chest with the Rainbow Conch.
Rainbow Conch 2
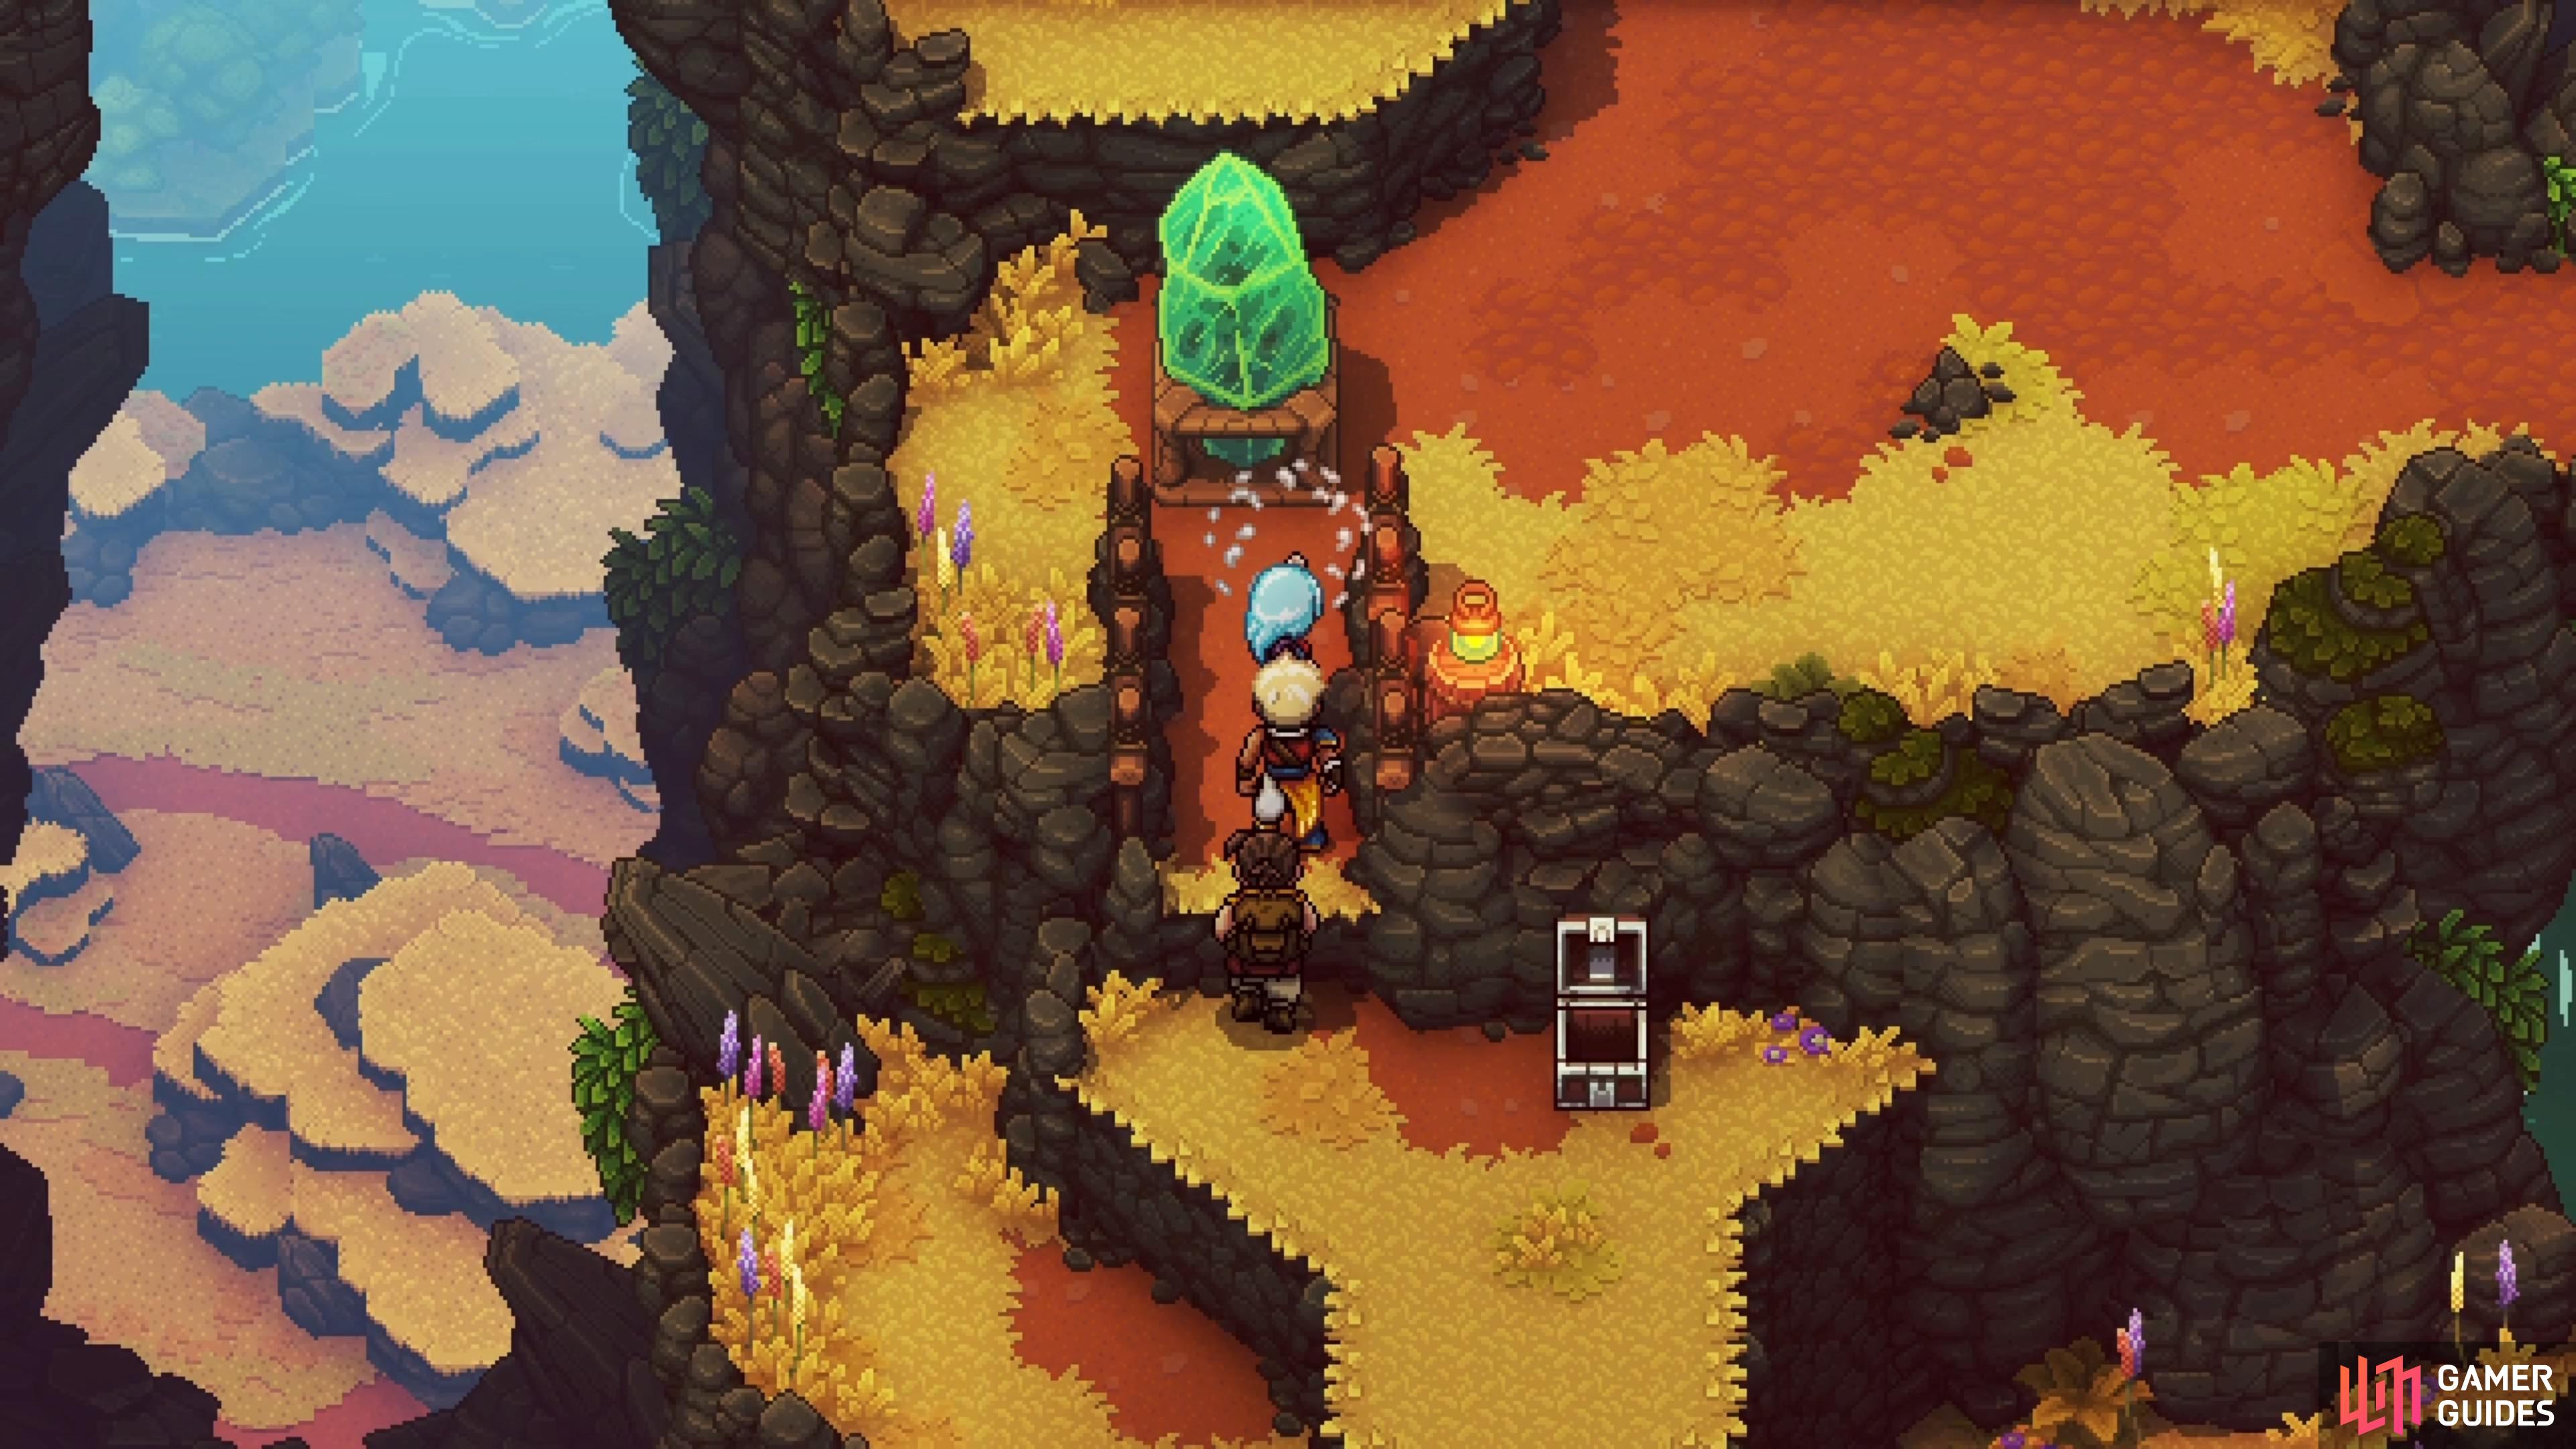
The Cobalt Hammer is required to break the blue crystals.
The chest will be hidden behind the crystals.
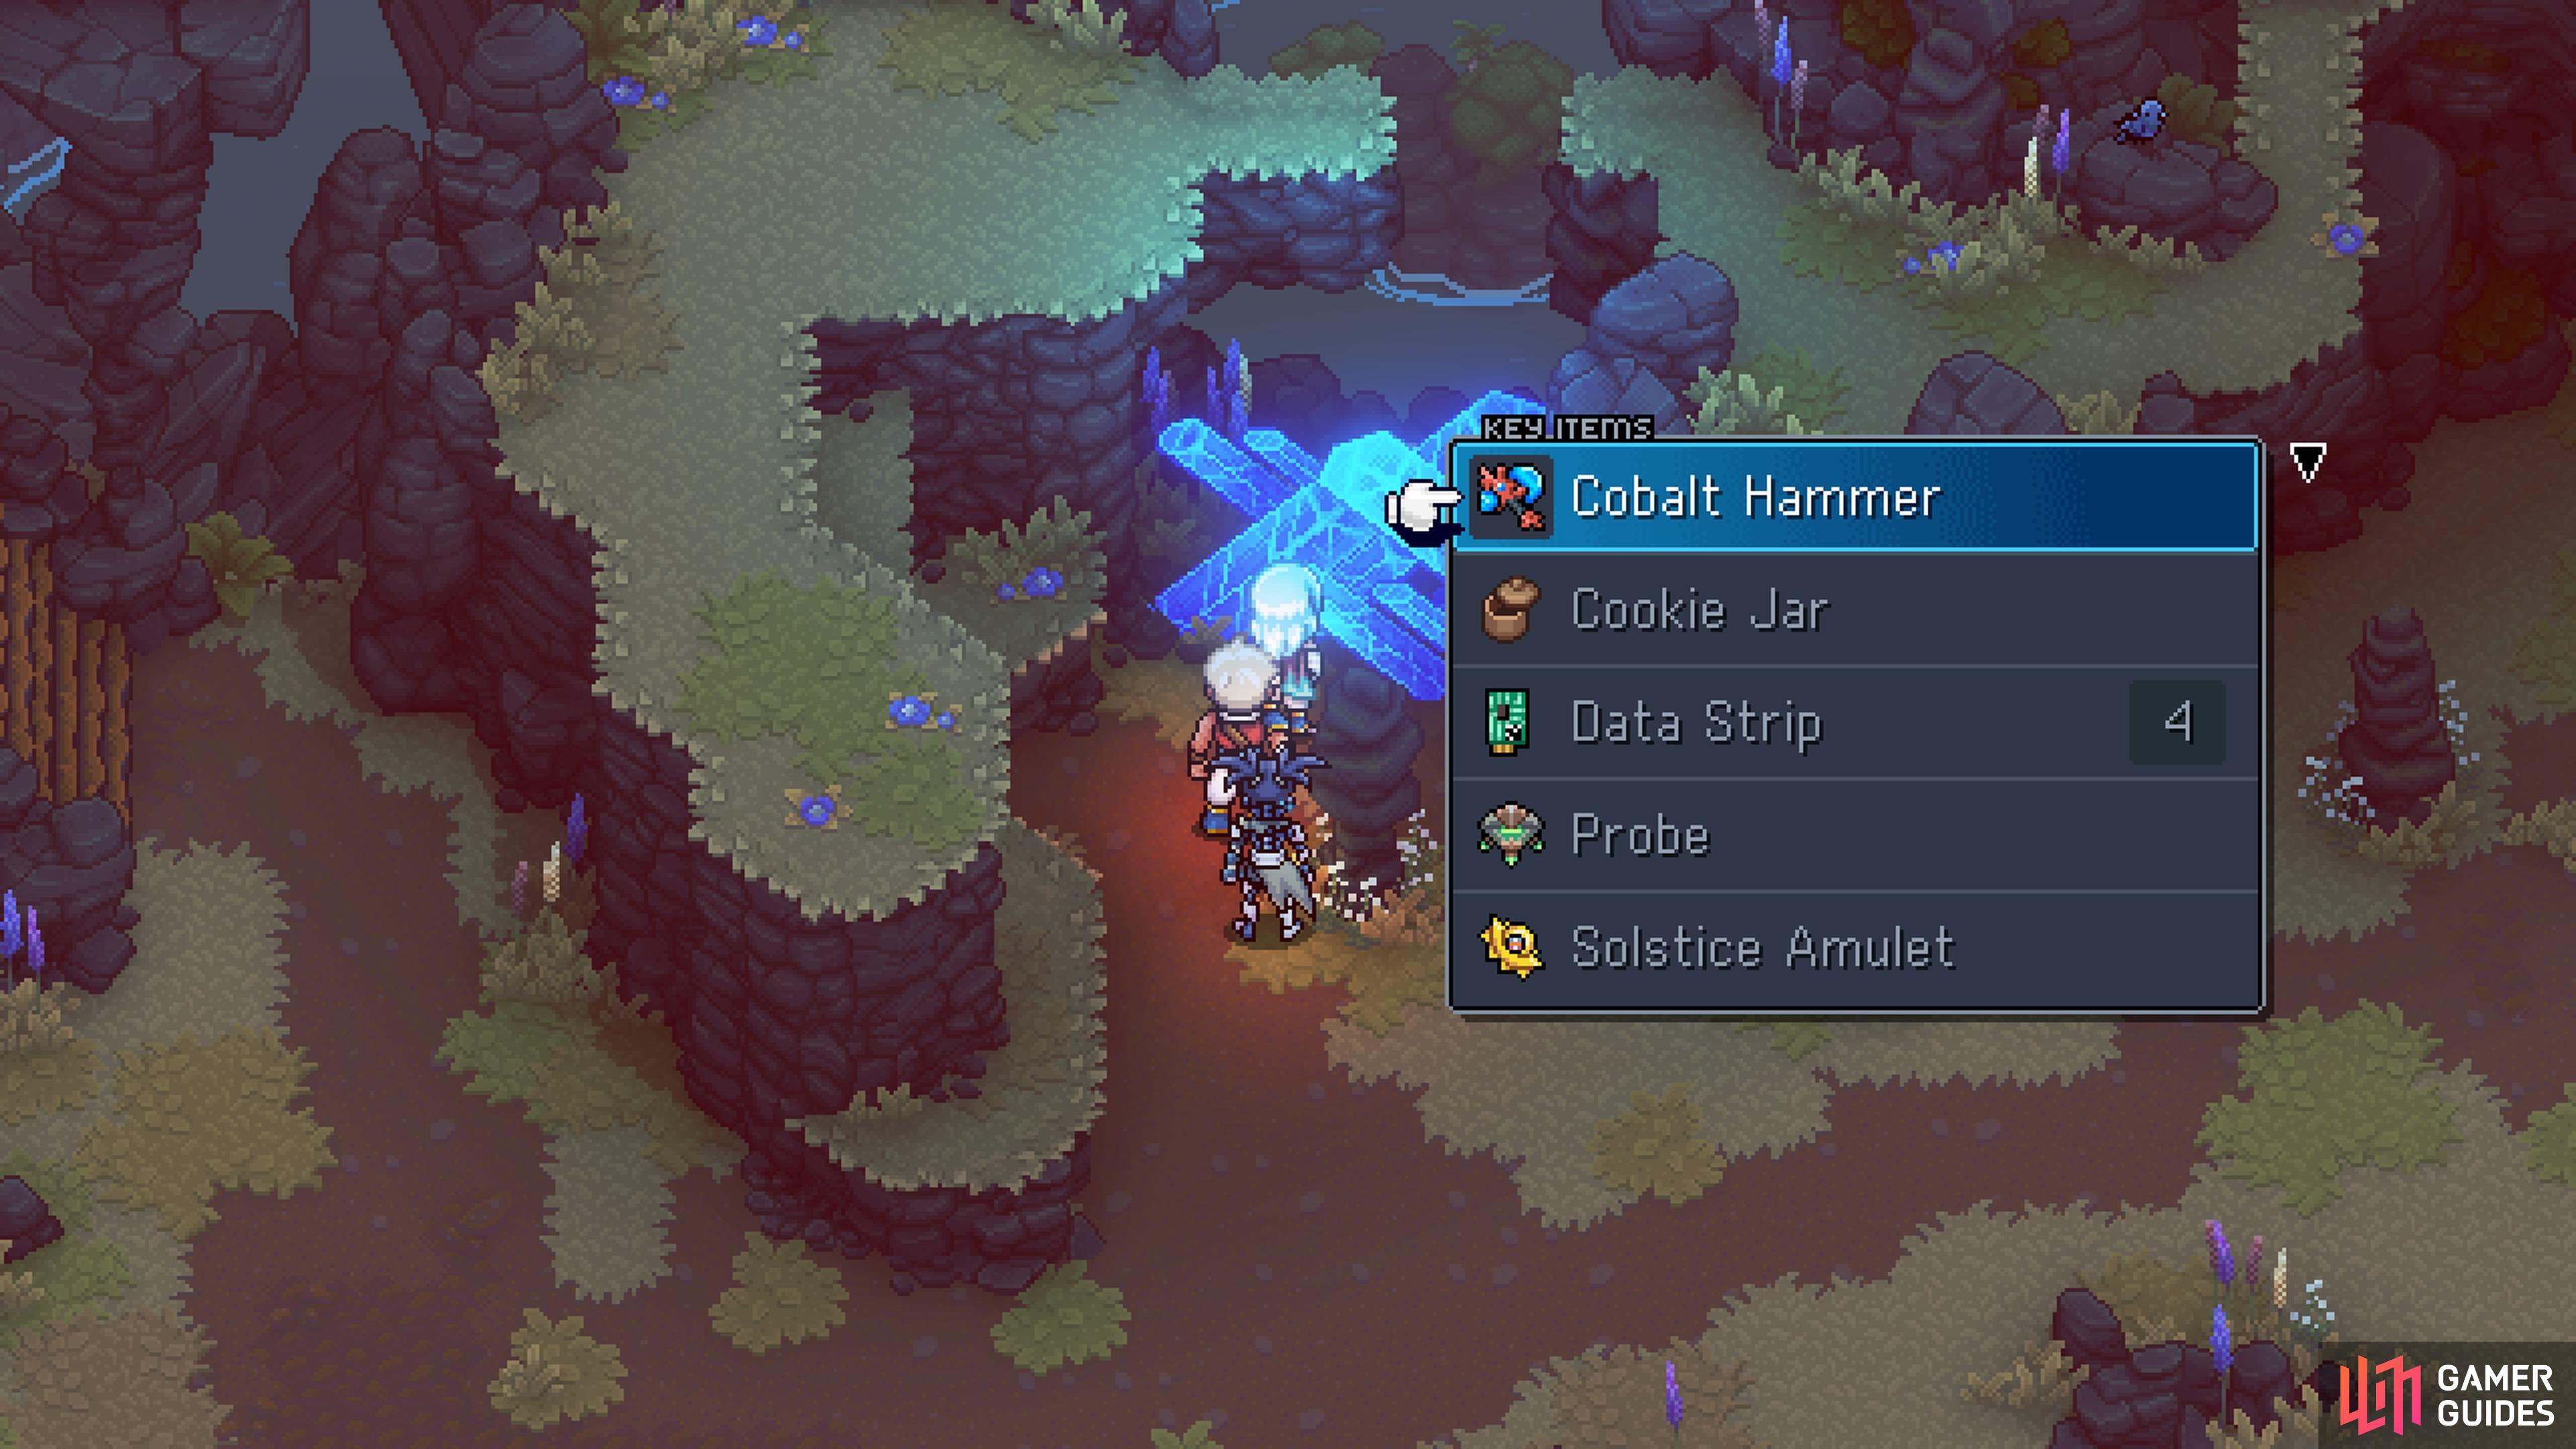
The other conch in this area is closer to the X’tol’s Landing entrance, but you will need to wait until much later in the game, as you need the Cobalt Hammer. Once you have it, head on back to the Moorlands and find those blue crystals again. Interact with the crystals to get the item prompt, so choose the Cobalt Hammer to break them. Behind the crystals will be the chest with the Rainbow Conch.
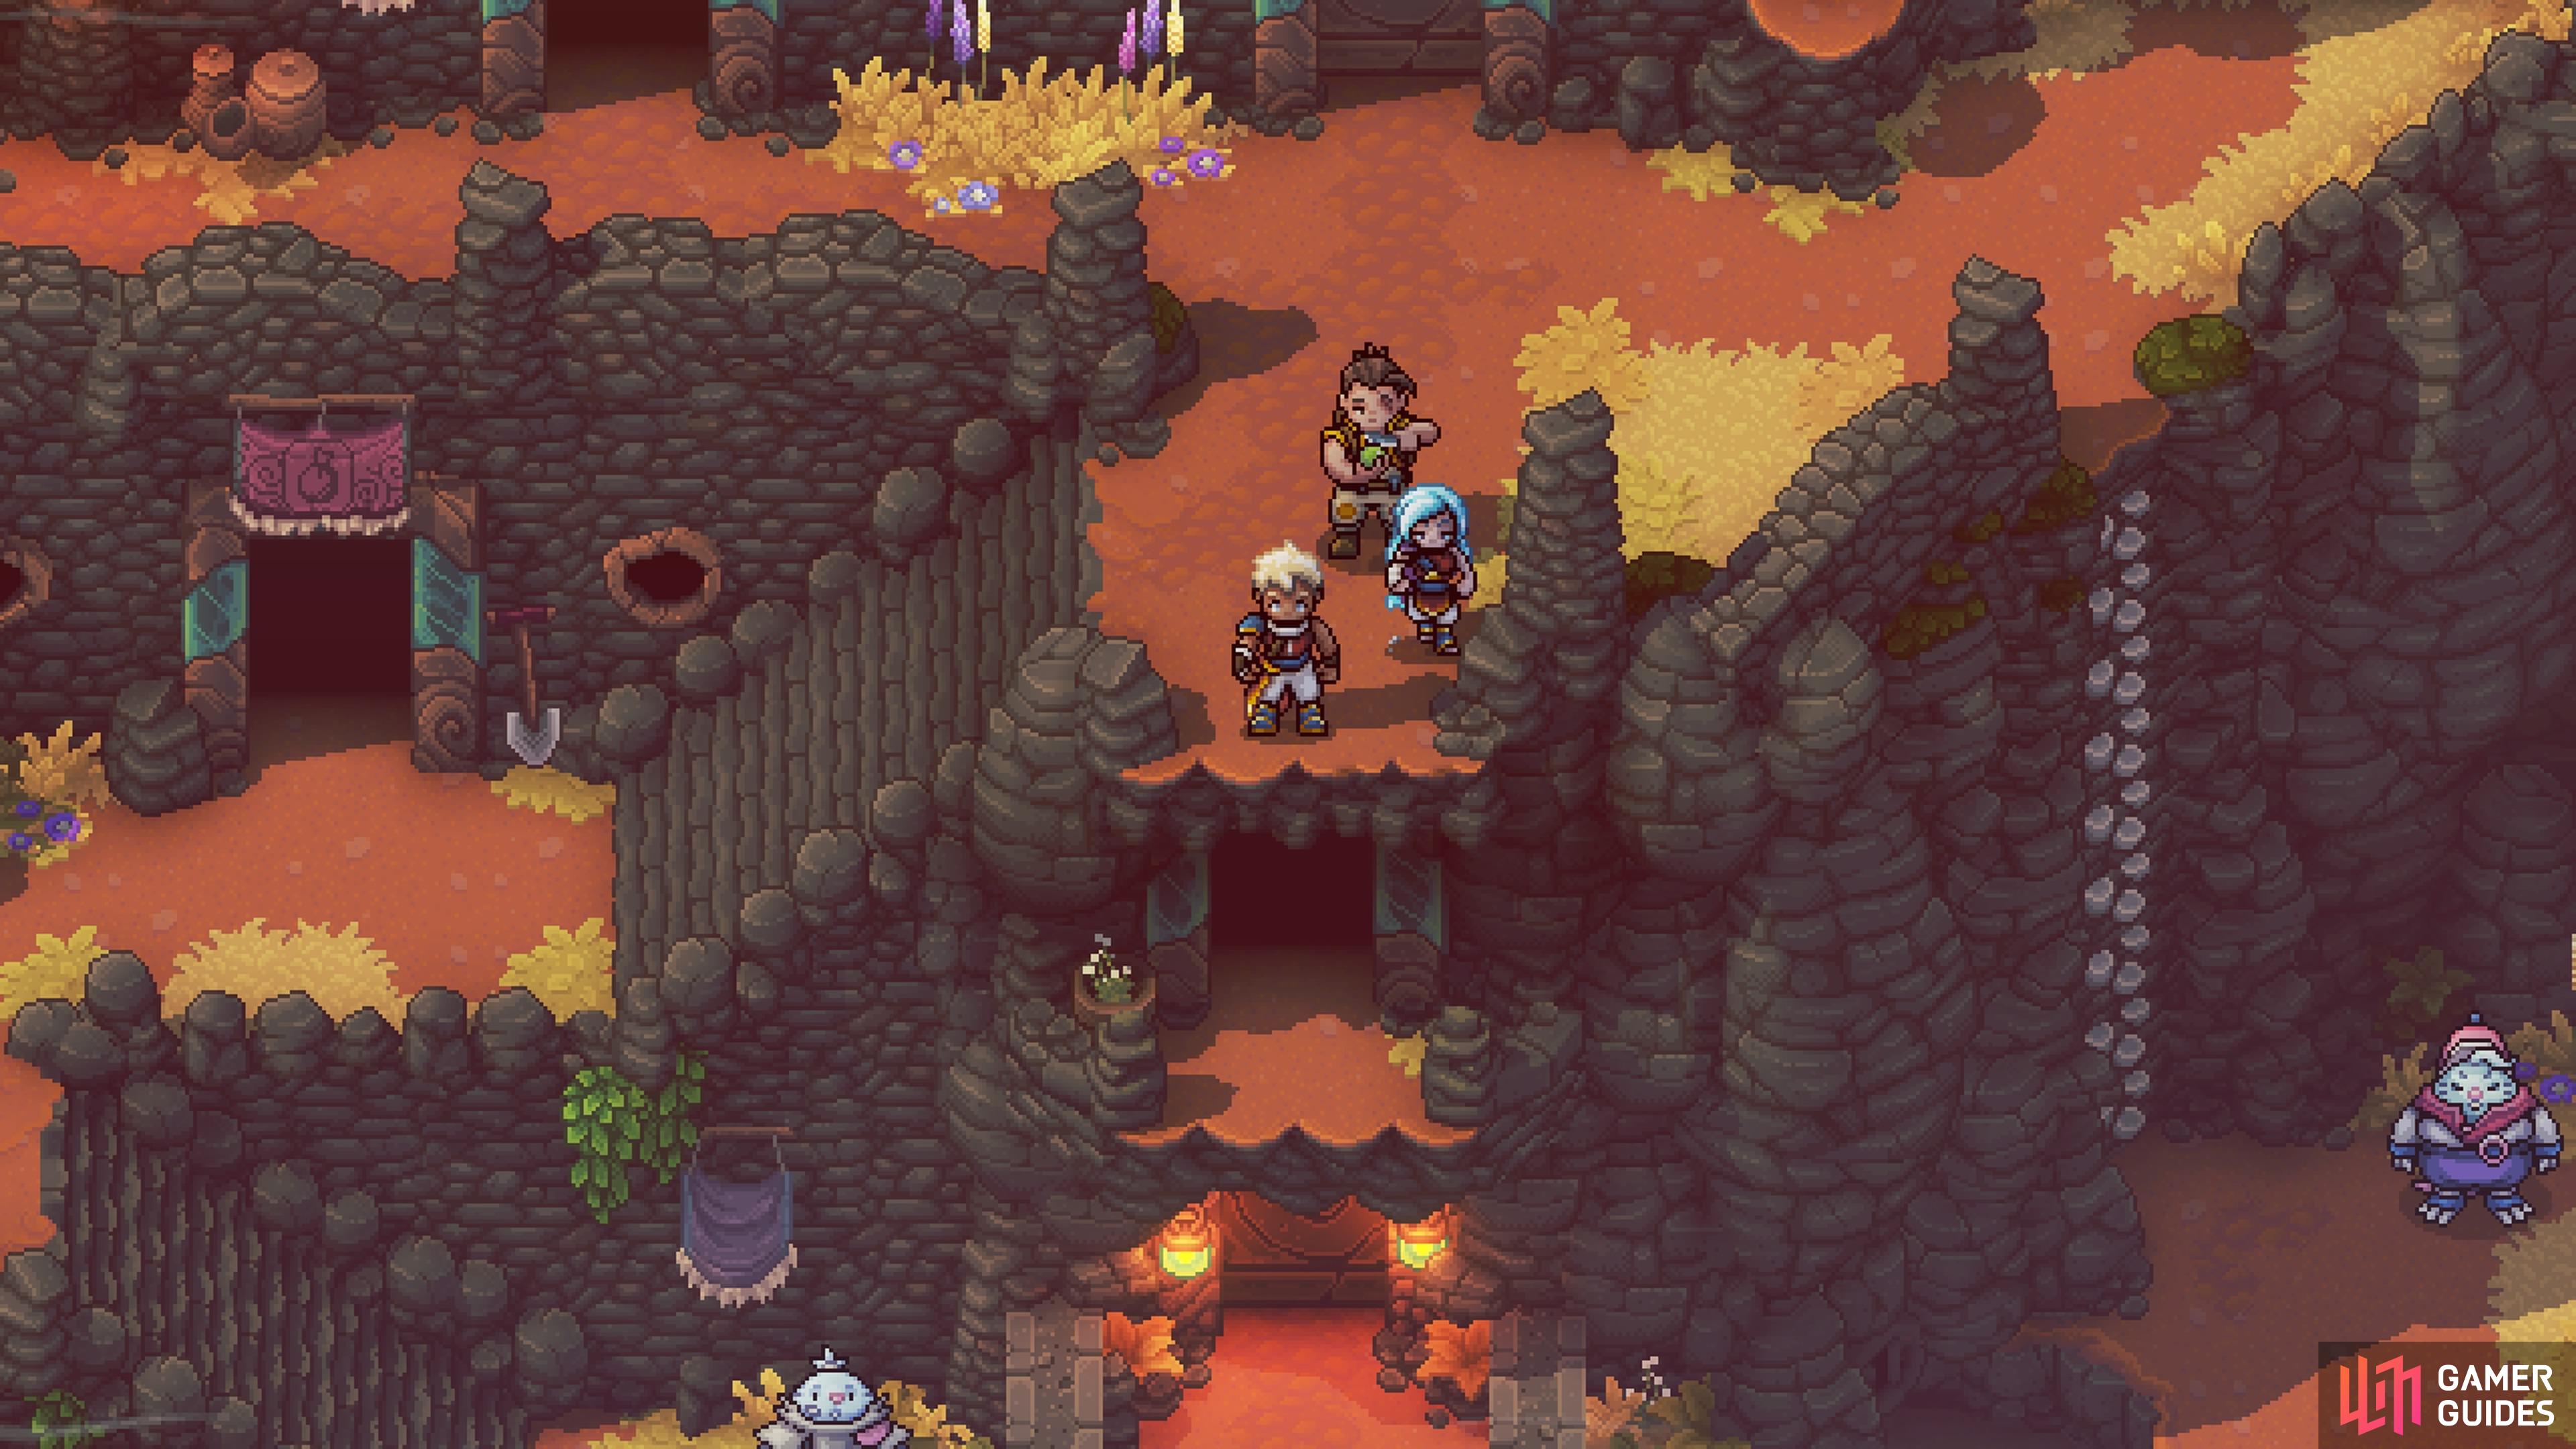
All Rainbow Conch Locations in Stonemasons Outpost
Similar to the previous area, you will find two Rainbow Conches in Stonemasons Outpost, but you won’t be able to get them on your first visit. That’s because both require the Mistral Bracelet, which you will get in the Wind Tunnel Mines, the dungeon you go to right after you first arrive at the outpost.
Rainbow Conch 1
When you first arrive here, you will see a NPC on the right side of the town, who’s lamenting about being unable to take a bath. Once you have the Mistral Bracelet, locate the locked door on the ground level. There is another doorway above it that’s open, but you have to jump down from a ledge to reach it. Do that and inside, climb down the ladder on the left side. There’s a little wind turbine on the right you can blow with your bracelet, which will fill the well with water. After doing this, speak with the bath-loving NPC again to get your Rainbow Conch.
Rainbow Conch 2
For the second one, locate the other door that is shut in the town, which is a little higher up than the previous one. There will be an open door just left of it, so go inside that house. While inside there, look in the upper right corner of the room to see a light, indicating a passage you can enter. This will lead to the house with the shut door. There will be a green crystal here, so use your Mistral Bracelet to move it, allowing you to gain access to the chest with the Rainbow Conch.
All Rainbow Conch Locations in Wind Tunnel Mines
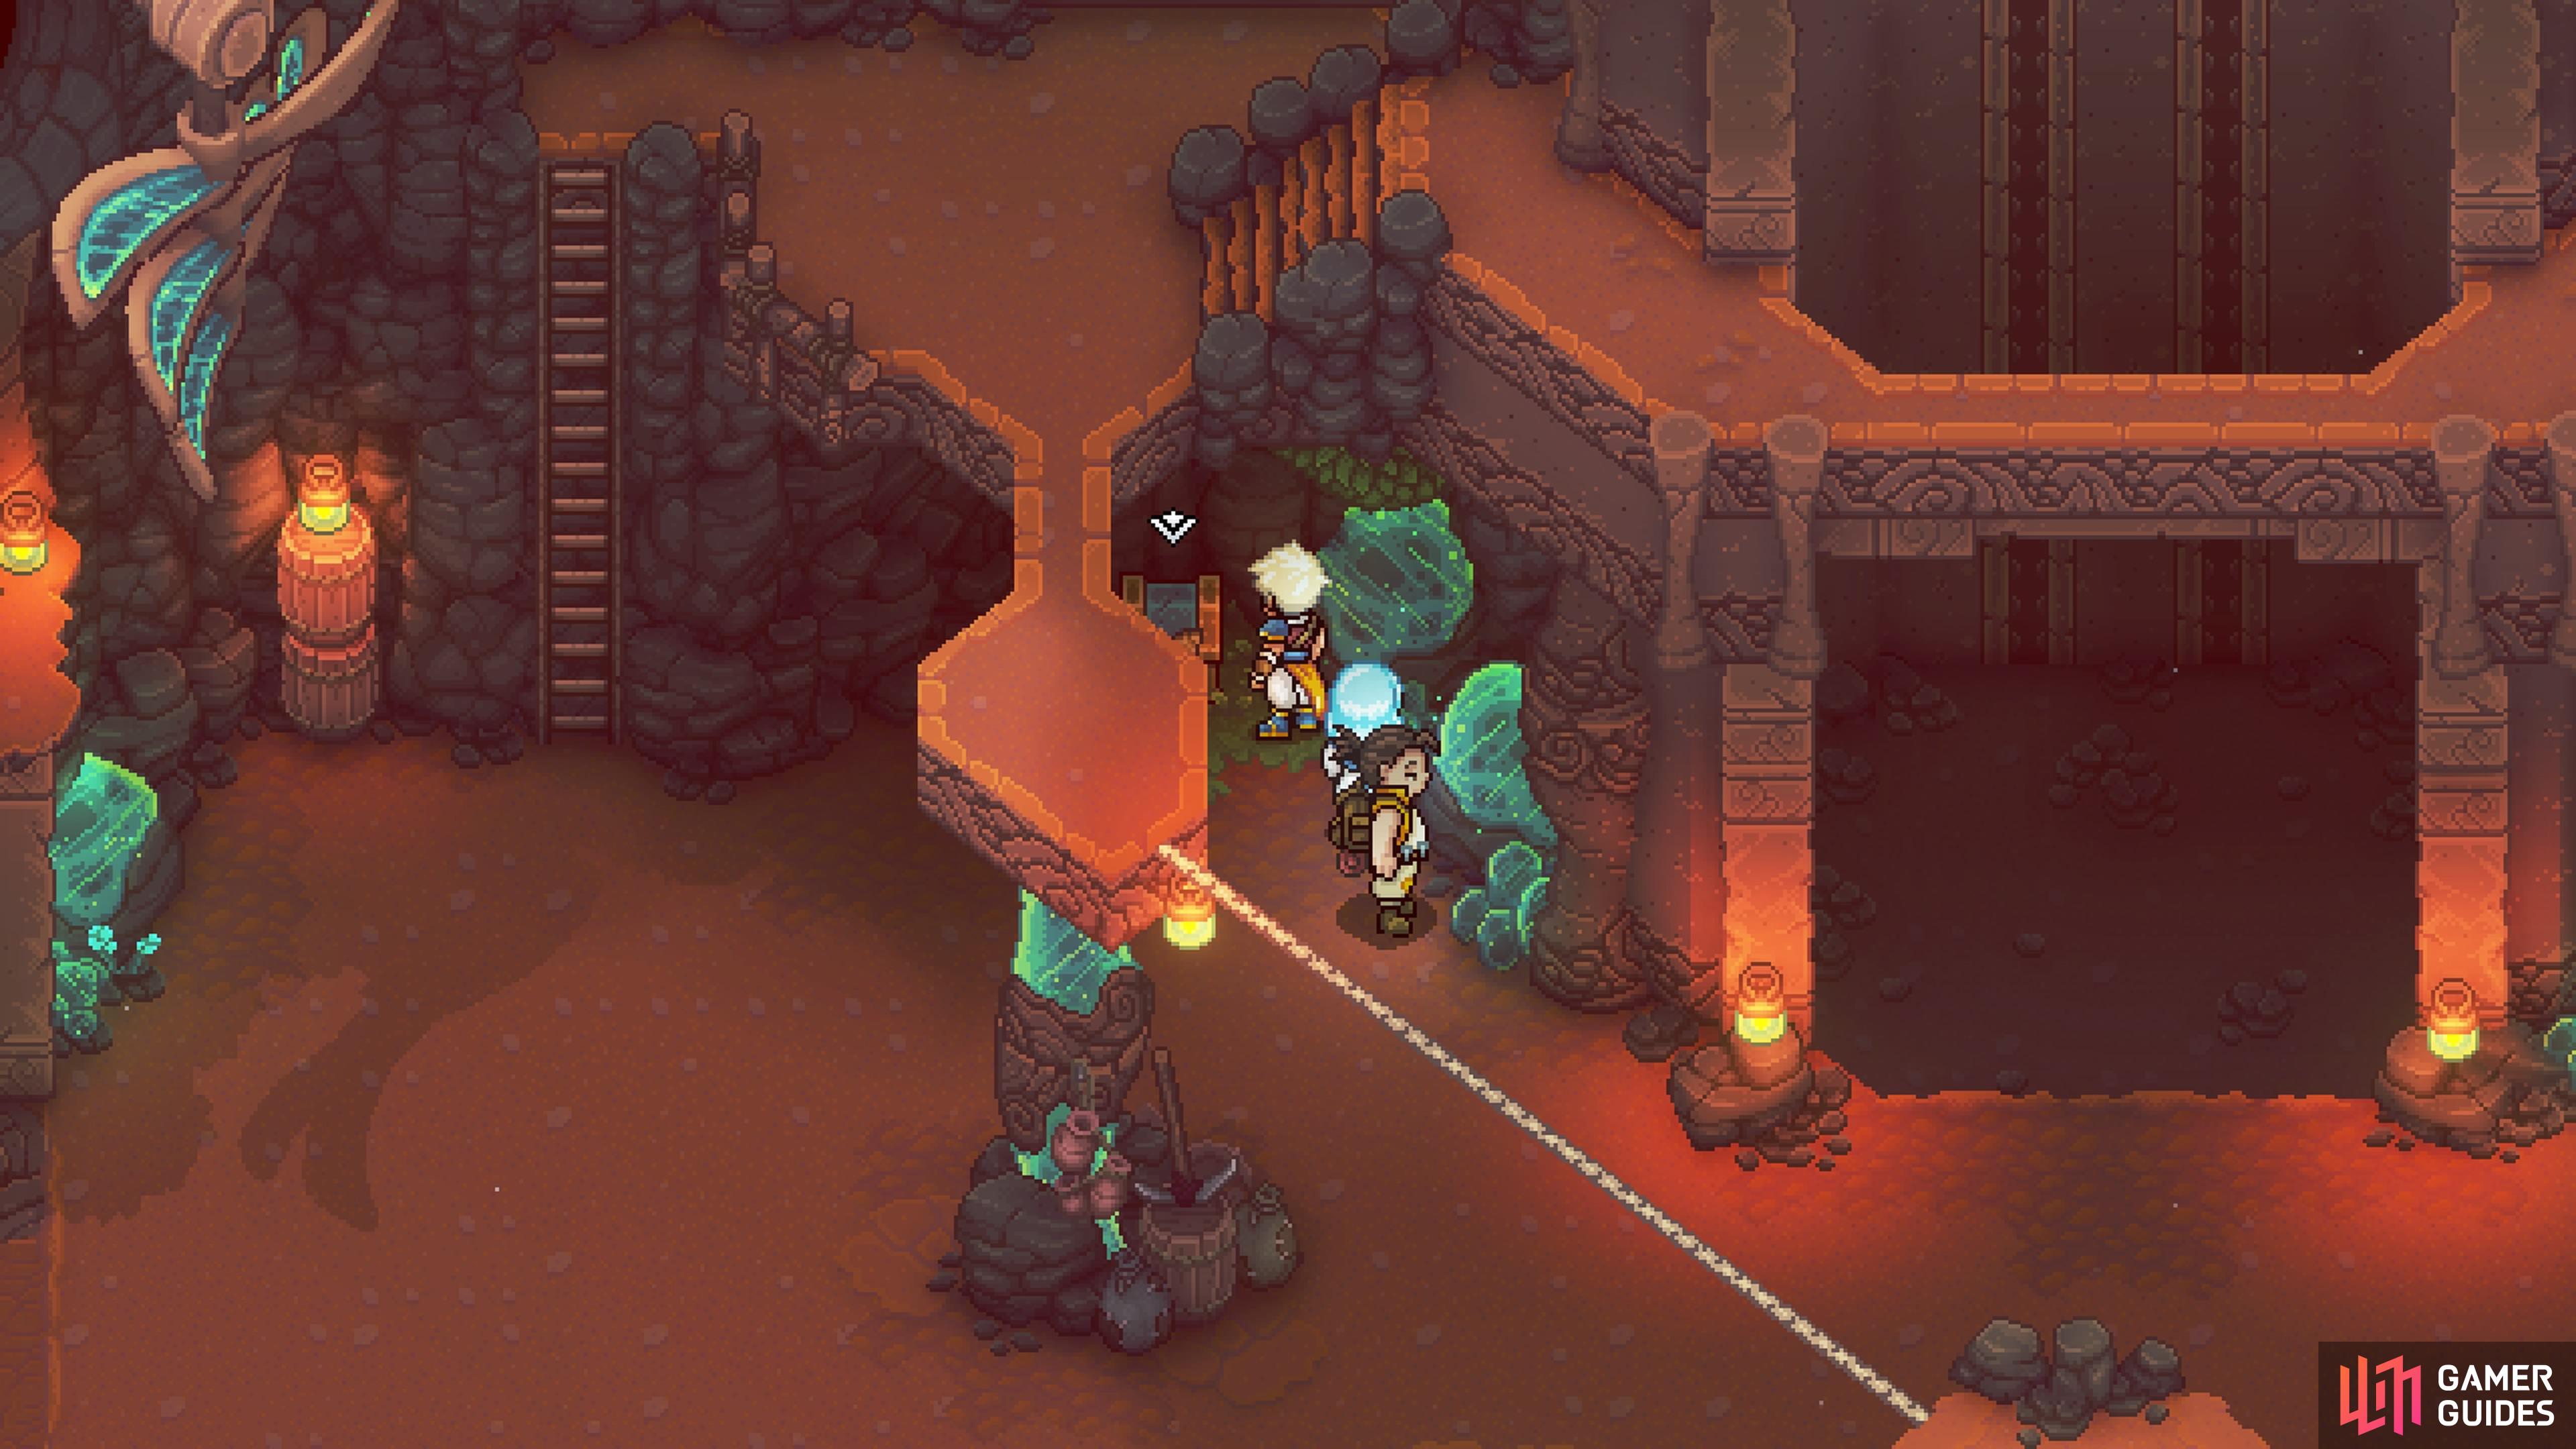
There is a chest with a Rainbow Conch slightly hidden here.
There is only a single conch to be found in the Wind Tunnel Mines and it’s sort of hidden, as you can easily pass it. Once you reach the lowest level of the mine, after dropping down the elevator shaft a second time, you will see a walkway above you that includes a tightrope. Stay on the ground and look just north of where the tightrope starts on the left side. The chest with the Rainbow Conch is behind that pillar there and can be hard to see.
All Rainbow Conch Locations in Coral Cascades
You will find two Rainbow Conches in this area, both of which can be found on your first visit.
Rainbow Conch 1
Upon first setting foot in this area, you will drop down a big waterfall, then go down a second one. Follow the path past some enemies and you will come to three more waterfalls. Take the right one down and climb onto the shore to see a fan device, like in the Wind Tunnel Mines. Use your Mistral Bracelet on it and the chest on the rocks will get blown onto the main portion of land. This chest will contain the Rainbow Conch.
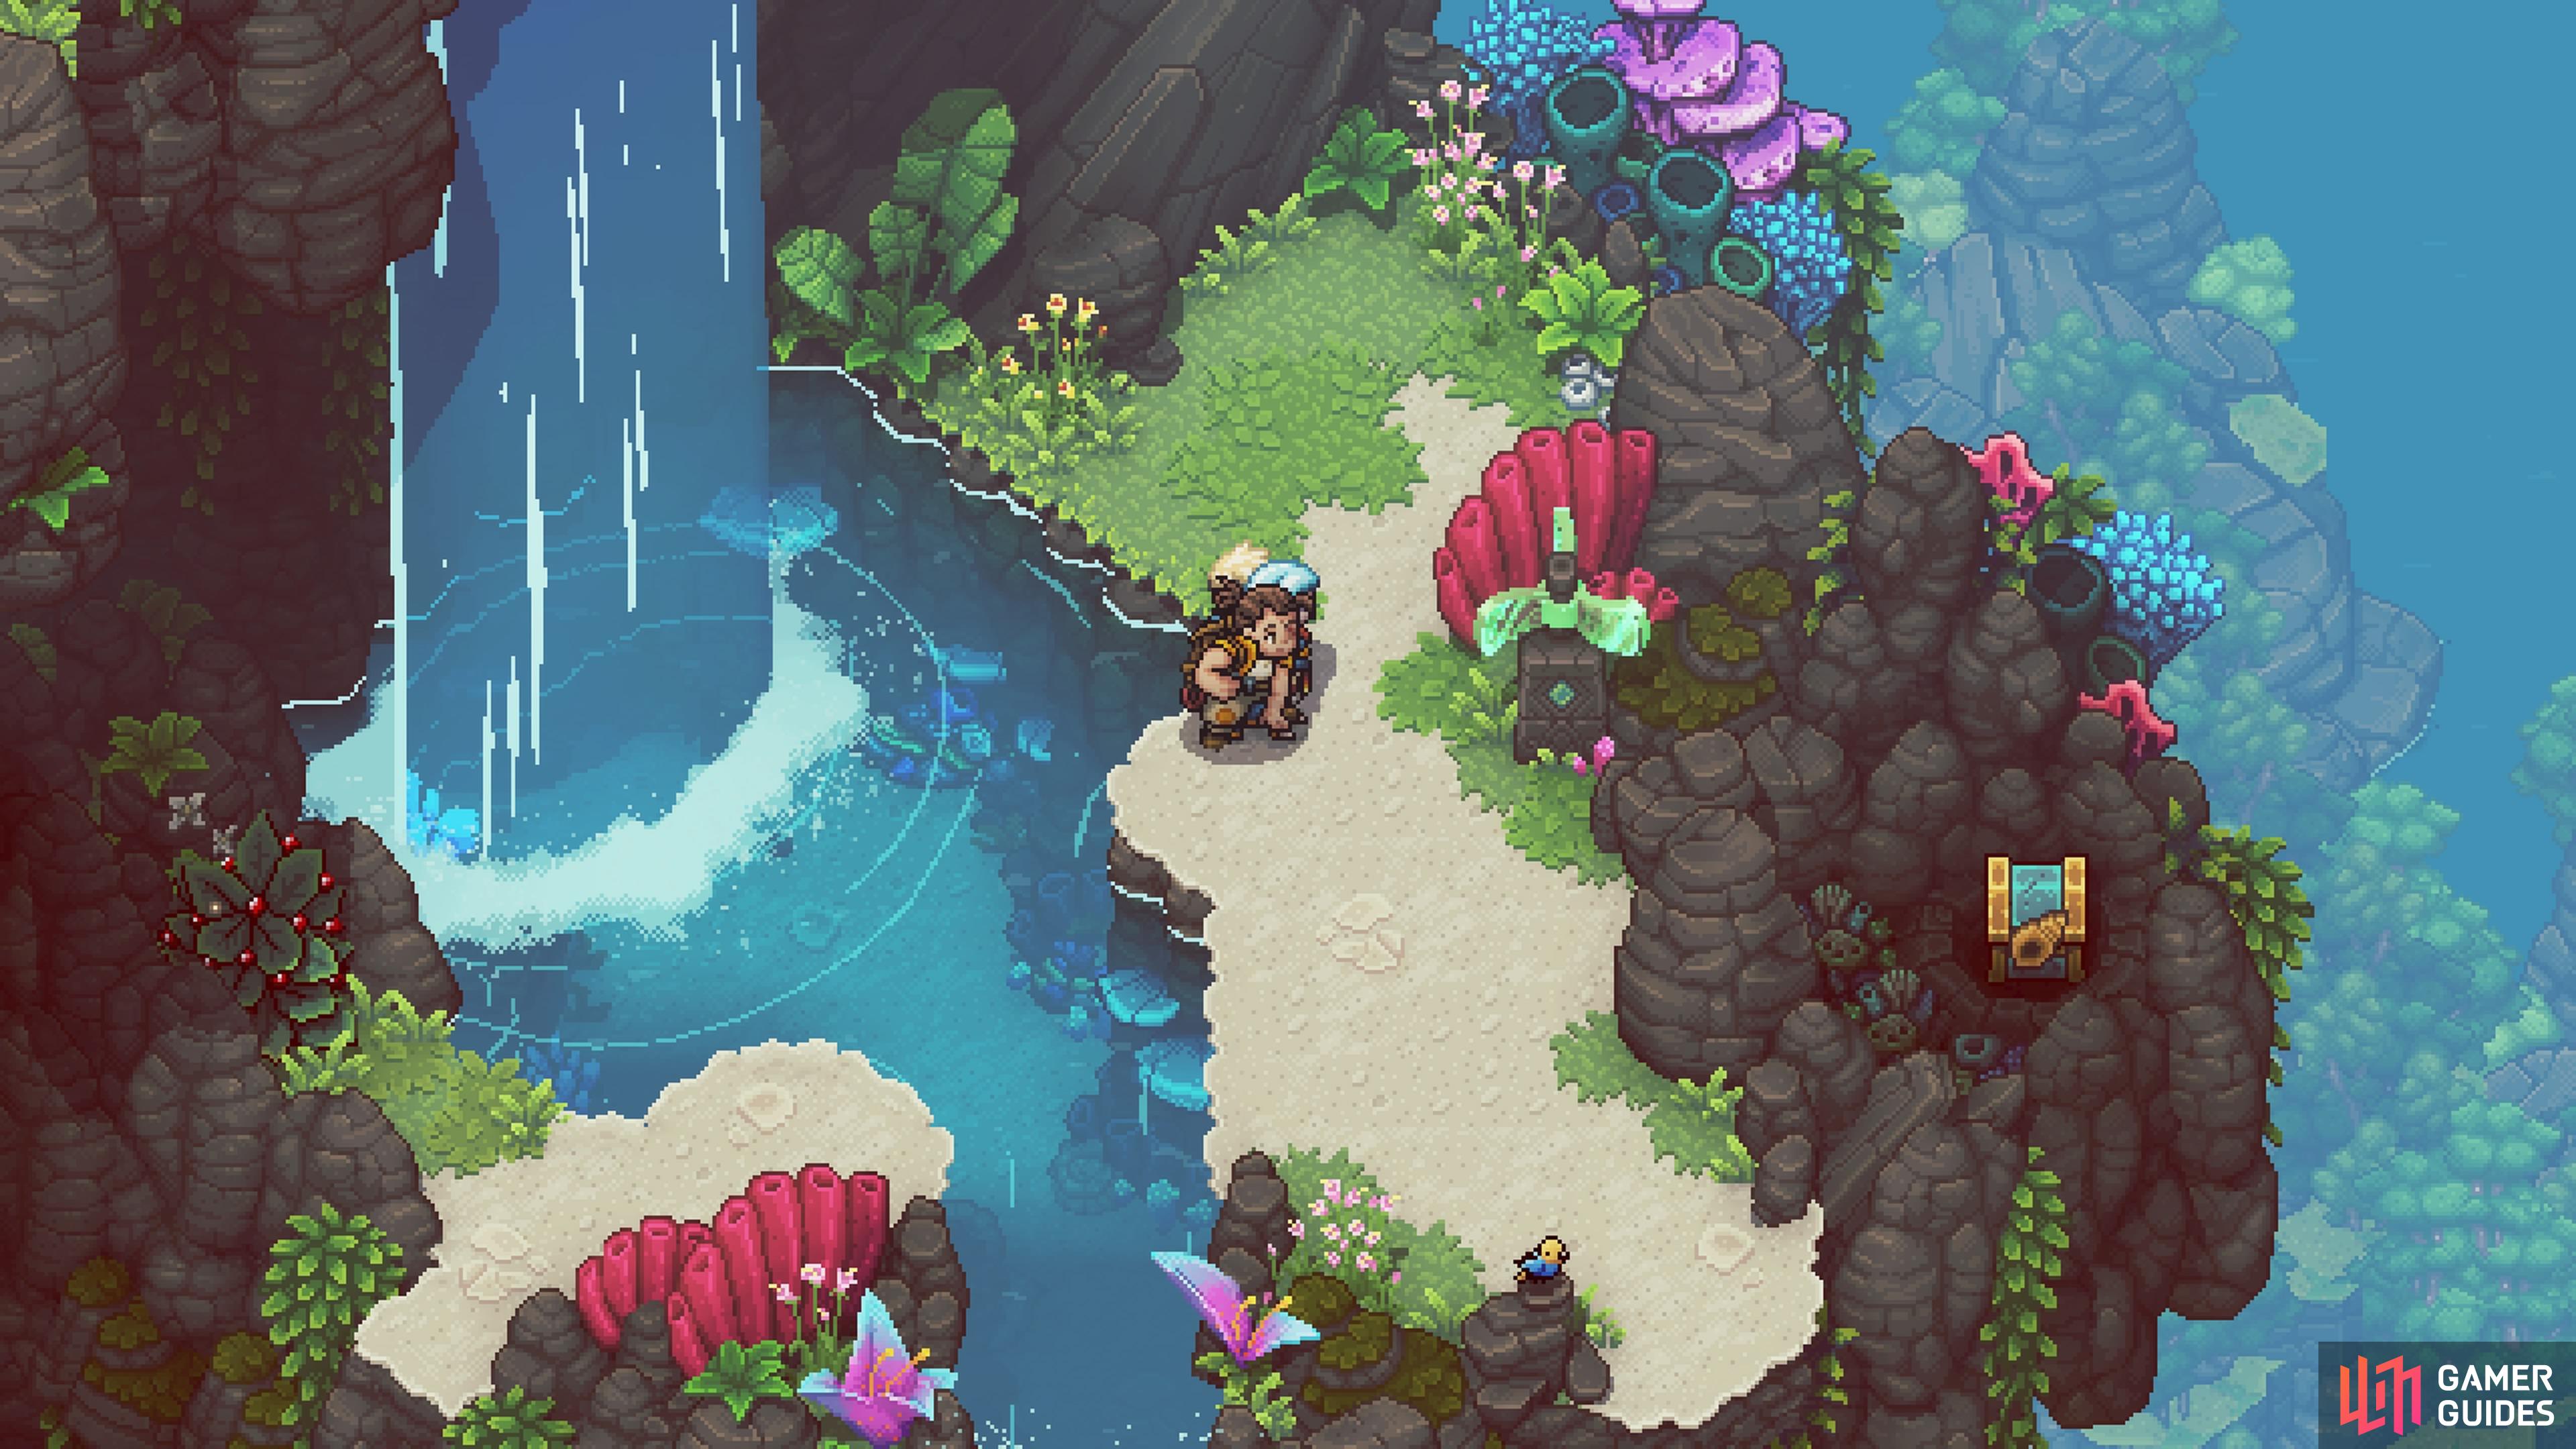
(1 of 5) Take the right waterfall at the split and use the Mistral Bracelet on this fan.
Rainbow Conch 2
For the second conch, it is located more towards the bottom of the area, not far after dropping down into a large hole. You will actually see the chest to your south, but you won’t be able to reach it. Drop down the next waterfall, then look to the north to spot a geyser. Use this geyser to launch yourself to another one, which will then lead you to the one path by the rushing waters. Head east here and jump off the ledge, which will cause you to crash through the ground below, reaching the area with the chest. Open it for the Rainbow Conch.
All Rainbow Conch Locations in Abandoned Wizard’s Lab
There will be a total of two Rainbow Conches in this dungeon. All of them can be found on the first visit, too.
Rainbow Conch 1
Once you have both the Green and Blue Crystals, place them into the device in the first room and enter the portal. You will be in an area with some waterfalls, as well as a dock that has a button on it. Ignore all that for now and climb the ladder you see near the beginning, down and into the water. Swim over to underneath the dock and on the left side, you should see a chest peeking out. Open the chest for the Rainbow Conch.
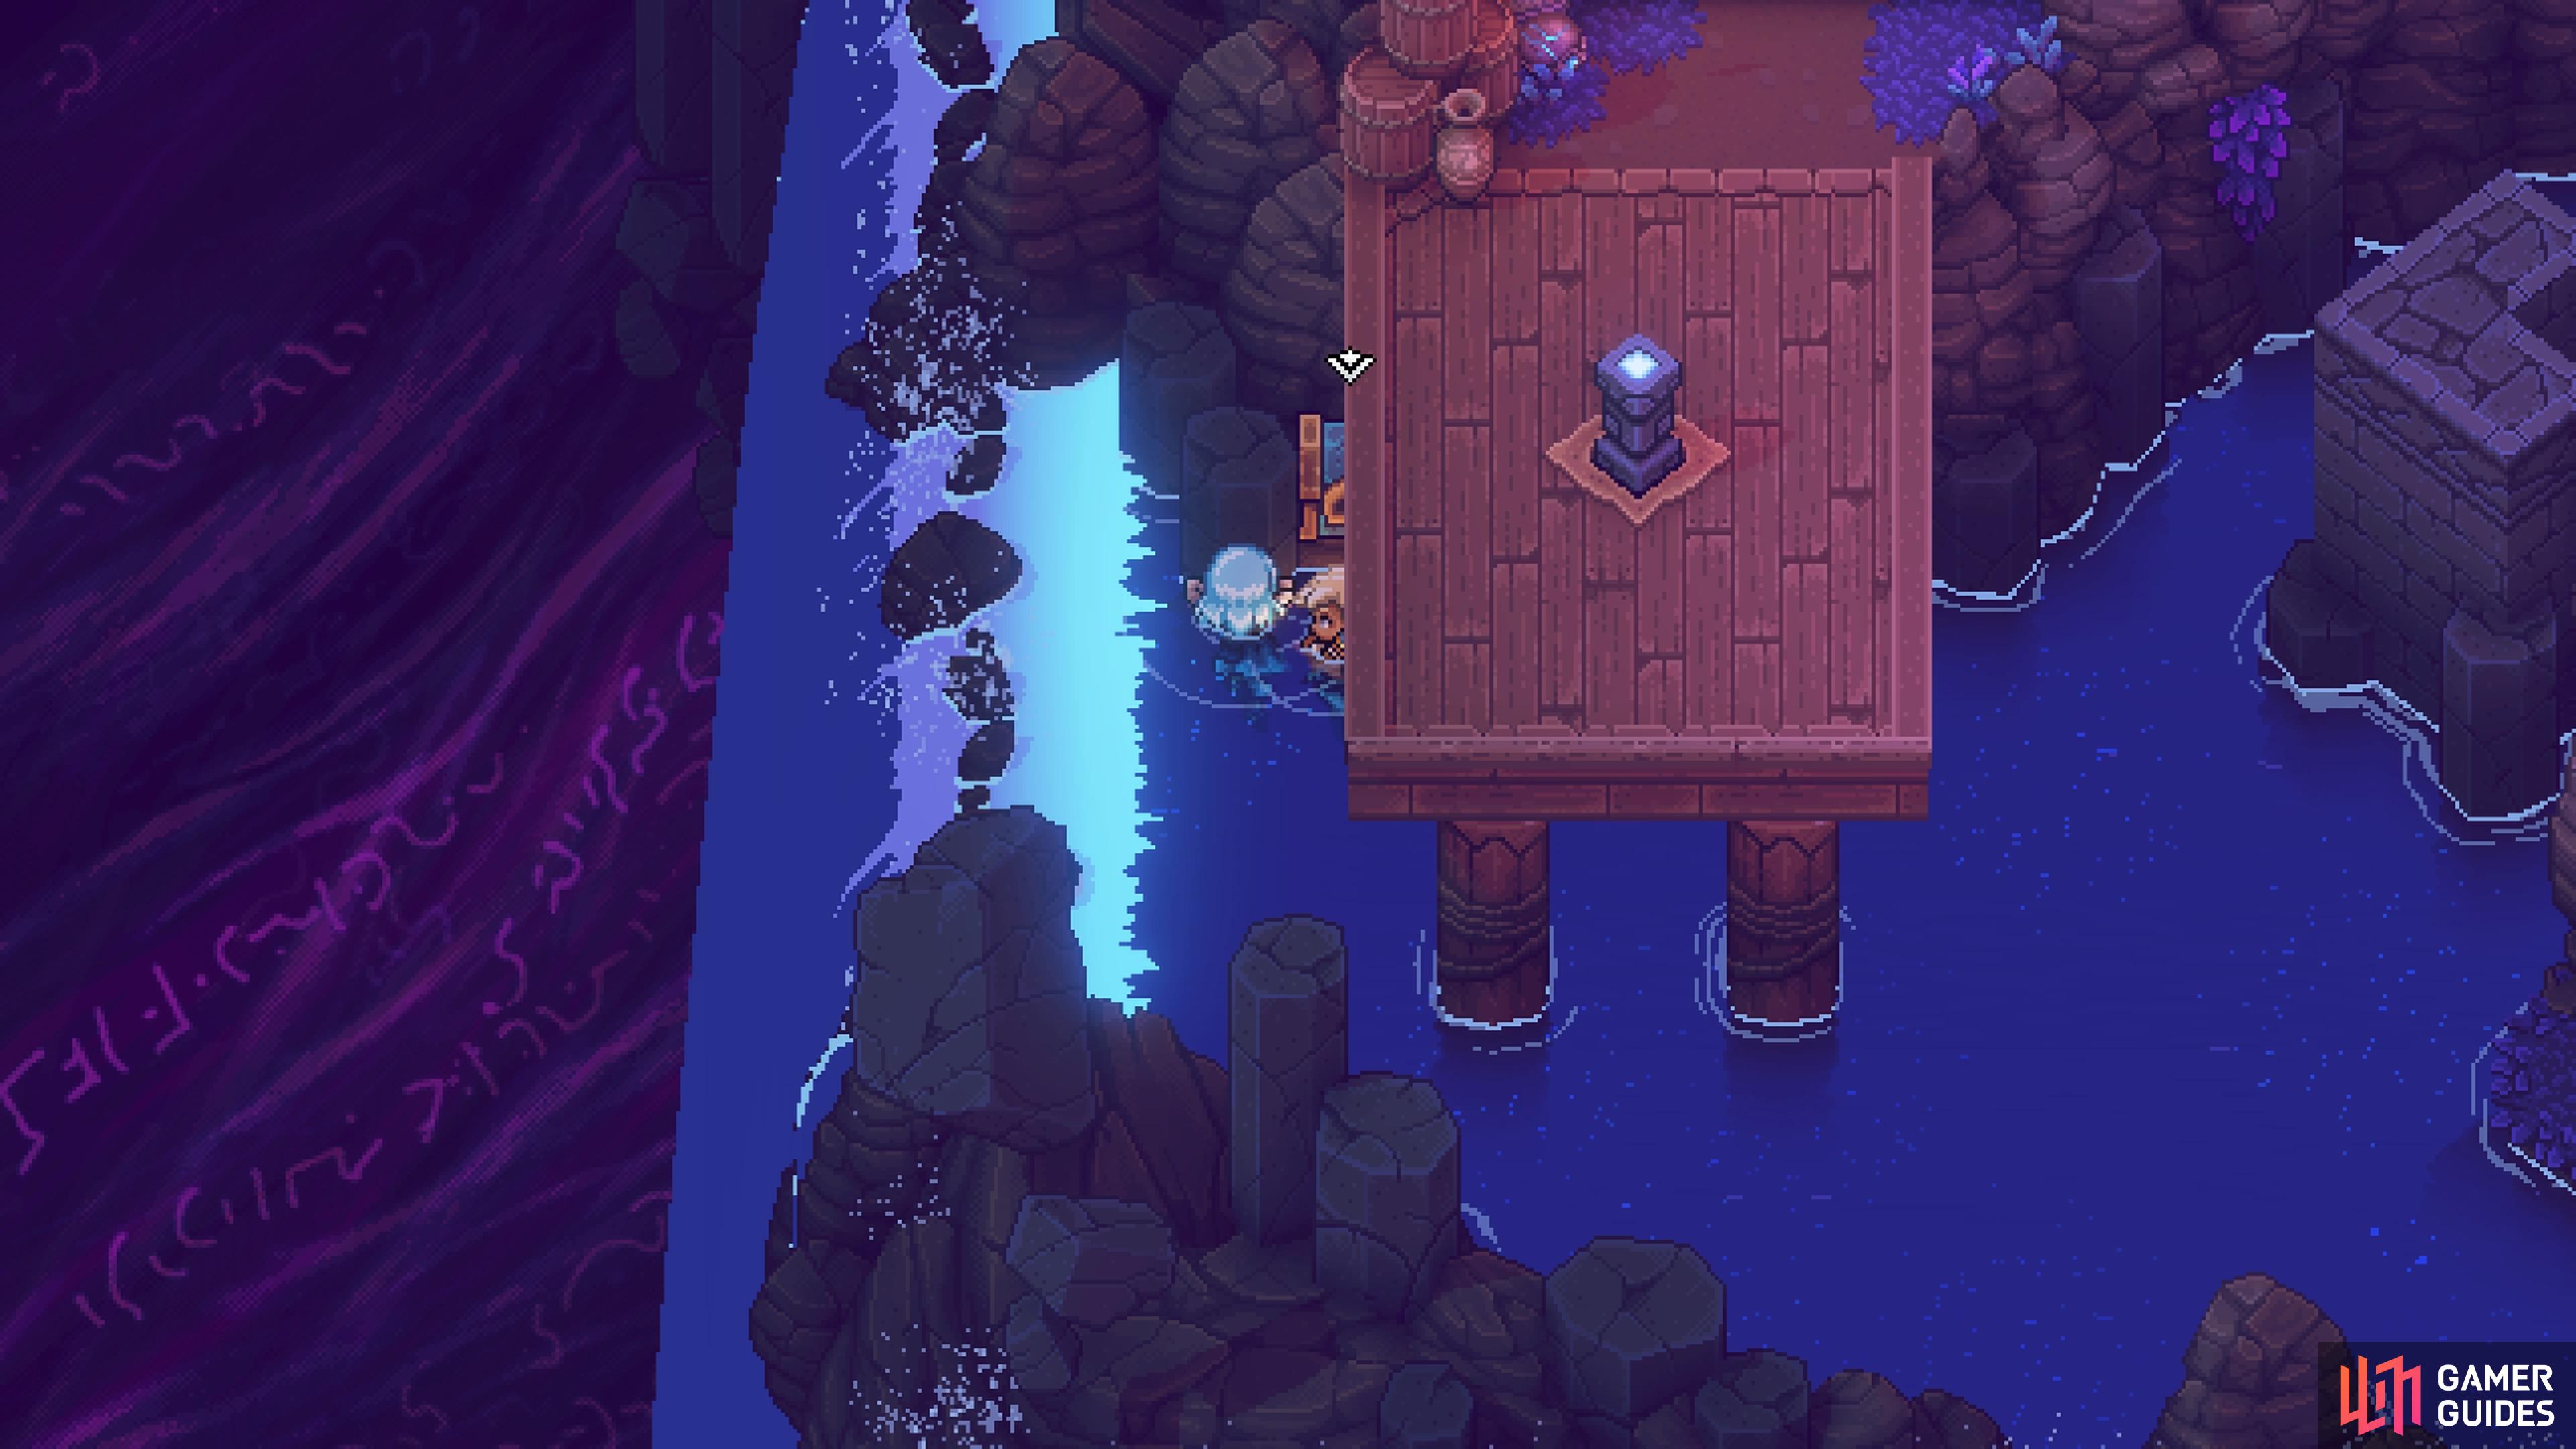
Swim underneath the pier here, in the Turquoise Room, to find a chest with a Rainbow Conch.
Rainbow Conch 2
The second Rainbow Conch isn’t in a specific room, as it solely depends on what order you complete them after obtaining the Red Crystal. No matter the order, though, you will get your rewards in the same sequence. Note that this pertains to the Purple Room, Yellow Room, and the Red Room. Whichever one you do third (last) will be the one that gives you the Rainbow Conch as your reward. For more information about these rooms, please head on over to the Abandoned Wizard’s Lab Walkthrough page.
No Comments