
A lot of games offer ways to make the game easier for the player, in the form of accessibility options, and Sea of Stars is no different. However, instead of offering them via a menu, the player needs to find them in the game, in the form of Relics (not all Relics make things easier). Once you have acquired one, you will find a new option in your in-game menu, where you can turn the Relics’ effects off and on. This page will list all of the Relics in the game, as well as their locations and what they do.
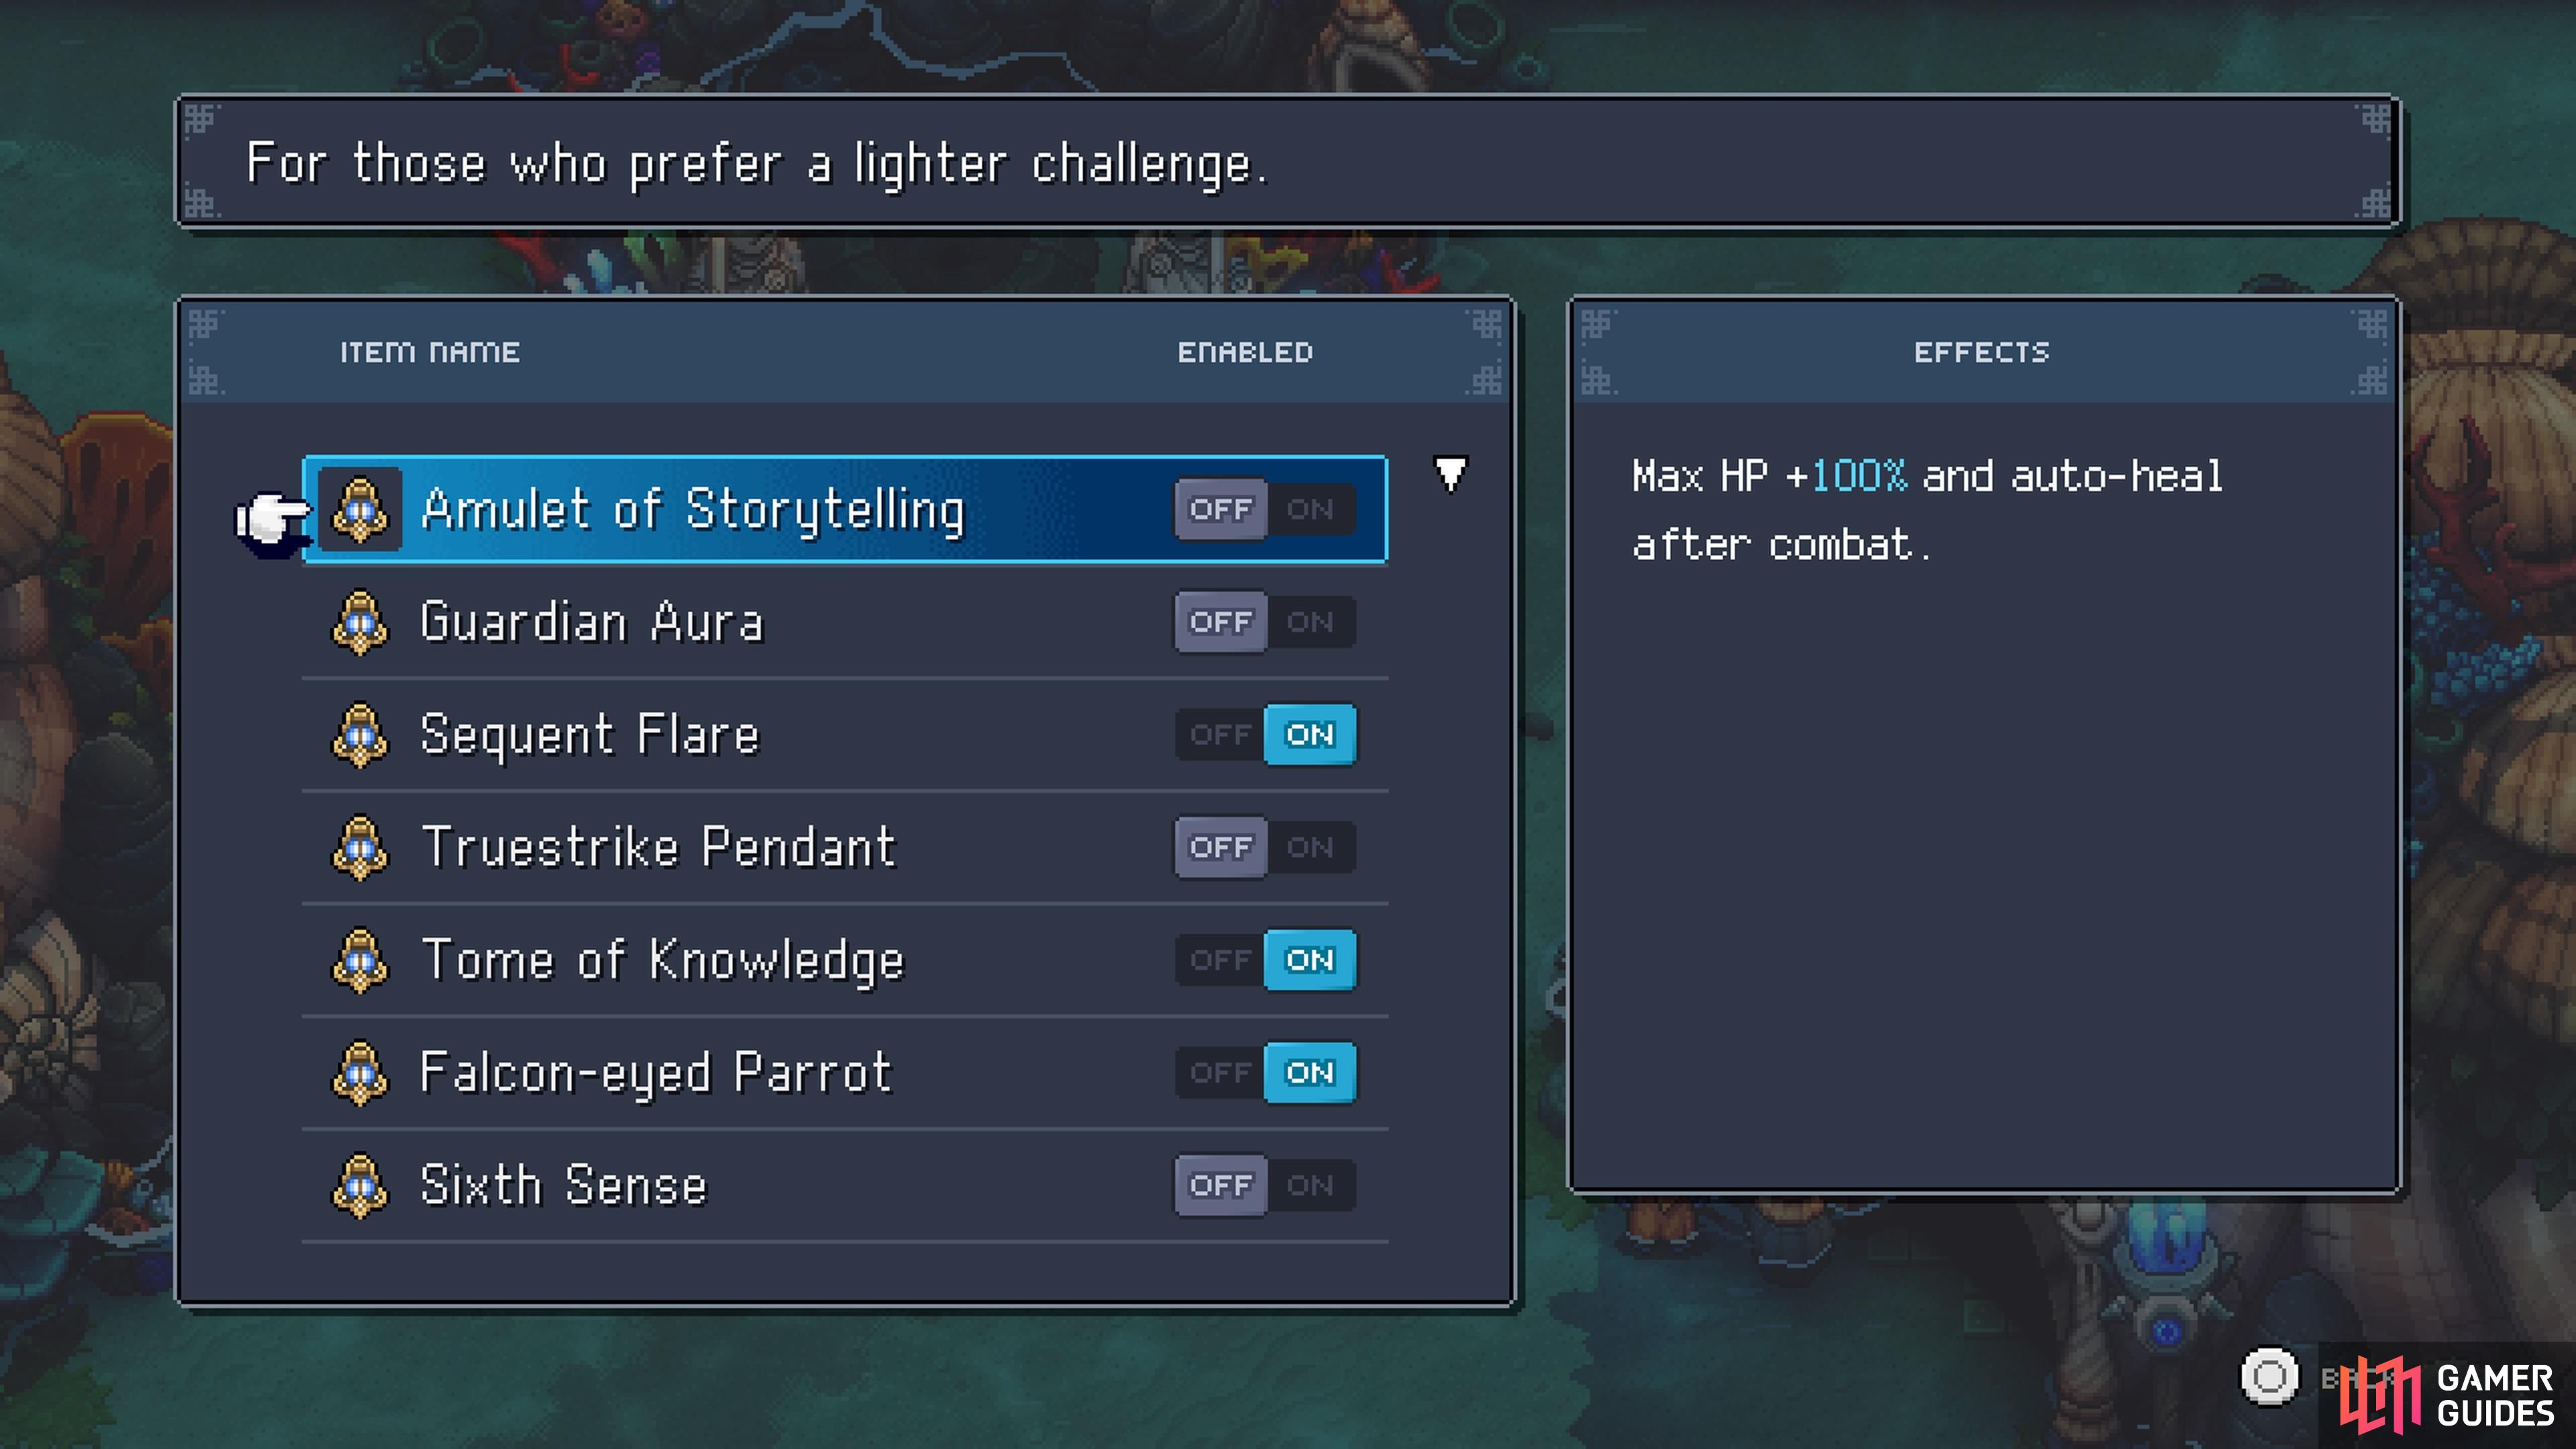
Relics are items that you can turn off and on from the menu.
Amulet of Storytelling Relic
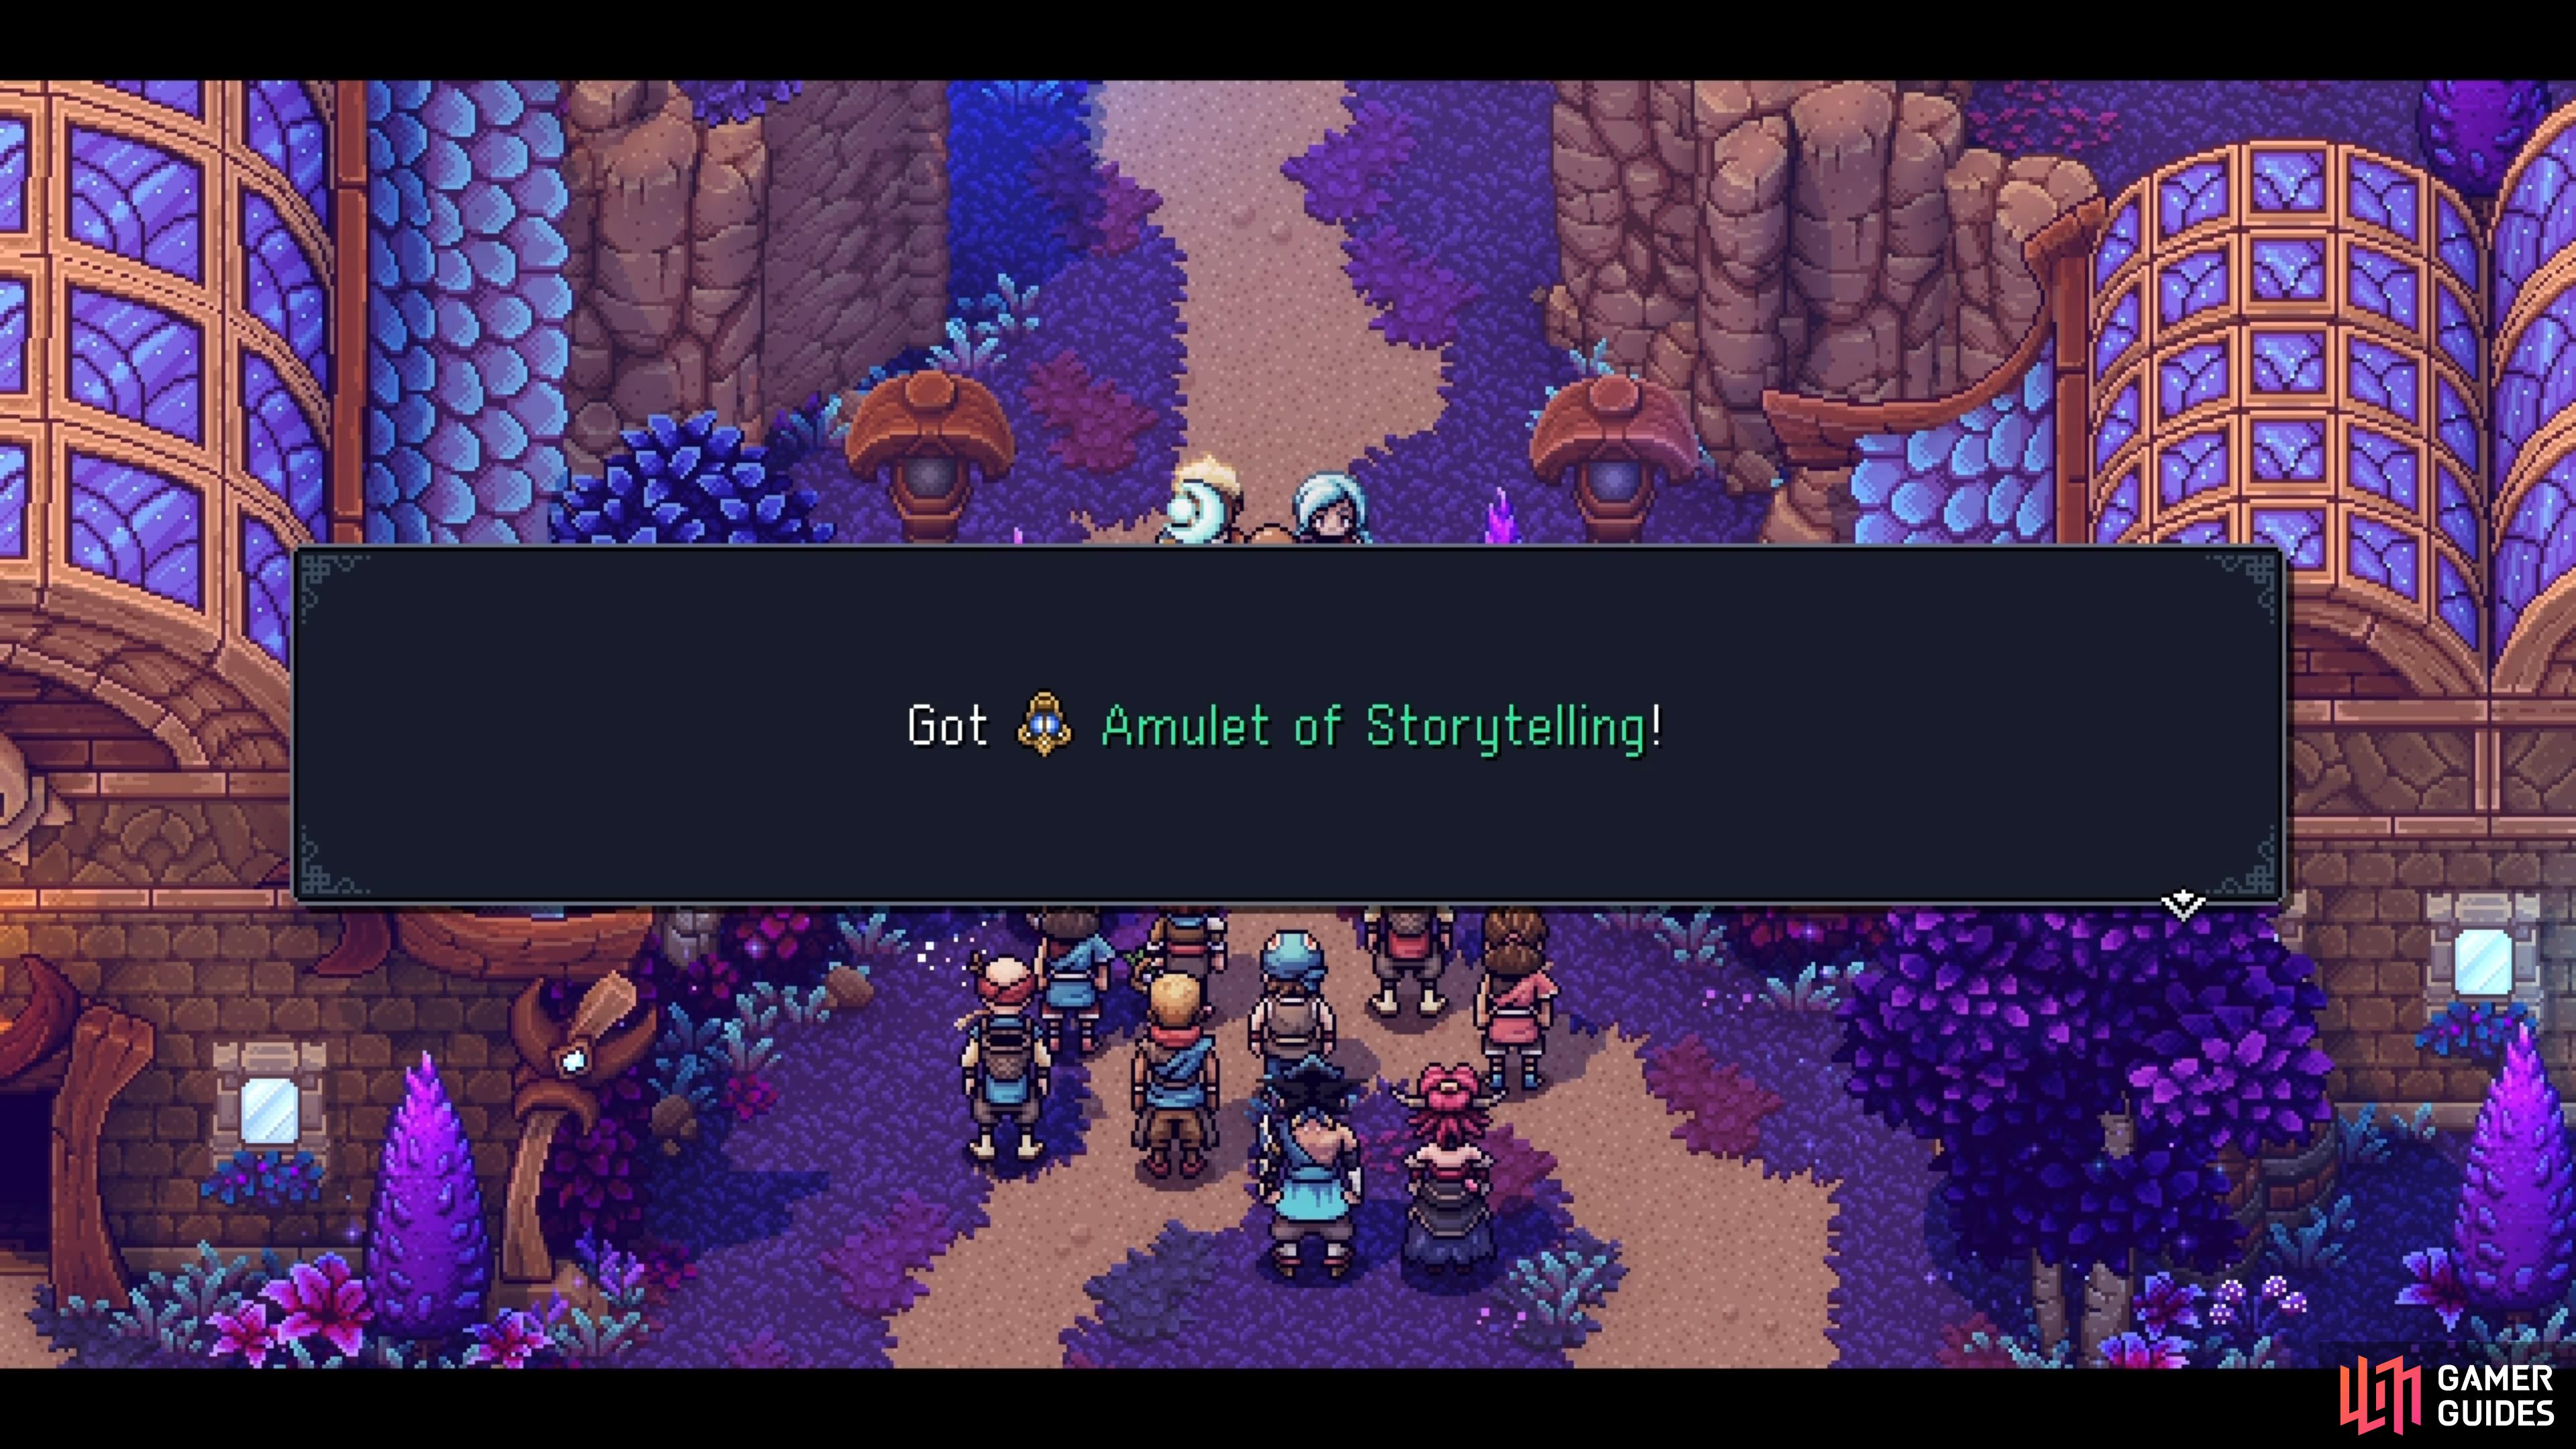
As one of the first two Relics you will receive, this one will be handed to you by Headmaster Moraine in Mooncradle, as part of the story. This Relic will boost your party’s HP by 100% (so, it will double), and they will gain a full restore (both HP and MP) after every battle. If you feel that you need to turn this on to help you get through the game, go ahead and do so, as you can always turn it off again, if things get too easy.
Sequent Flare Relic
This is the other Relic that you will receive from Headmaster Moraine at the beginning of the game, in Mooncradle, upon leaving the town. The Relic will make a flare pop up into the air, whenever you are successful at a Timed Hit or a Timed Block. You can definitely turn this on to help give you a visual cue on when to perform either of the two actions above, as it won’t really give you any advantage in any other way, and there’s already a sound cue for those actions.
You’ll receive your first two Relics from Moraine, early in the game.
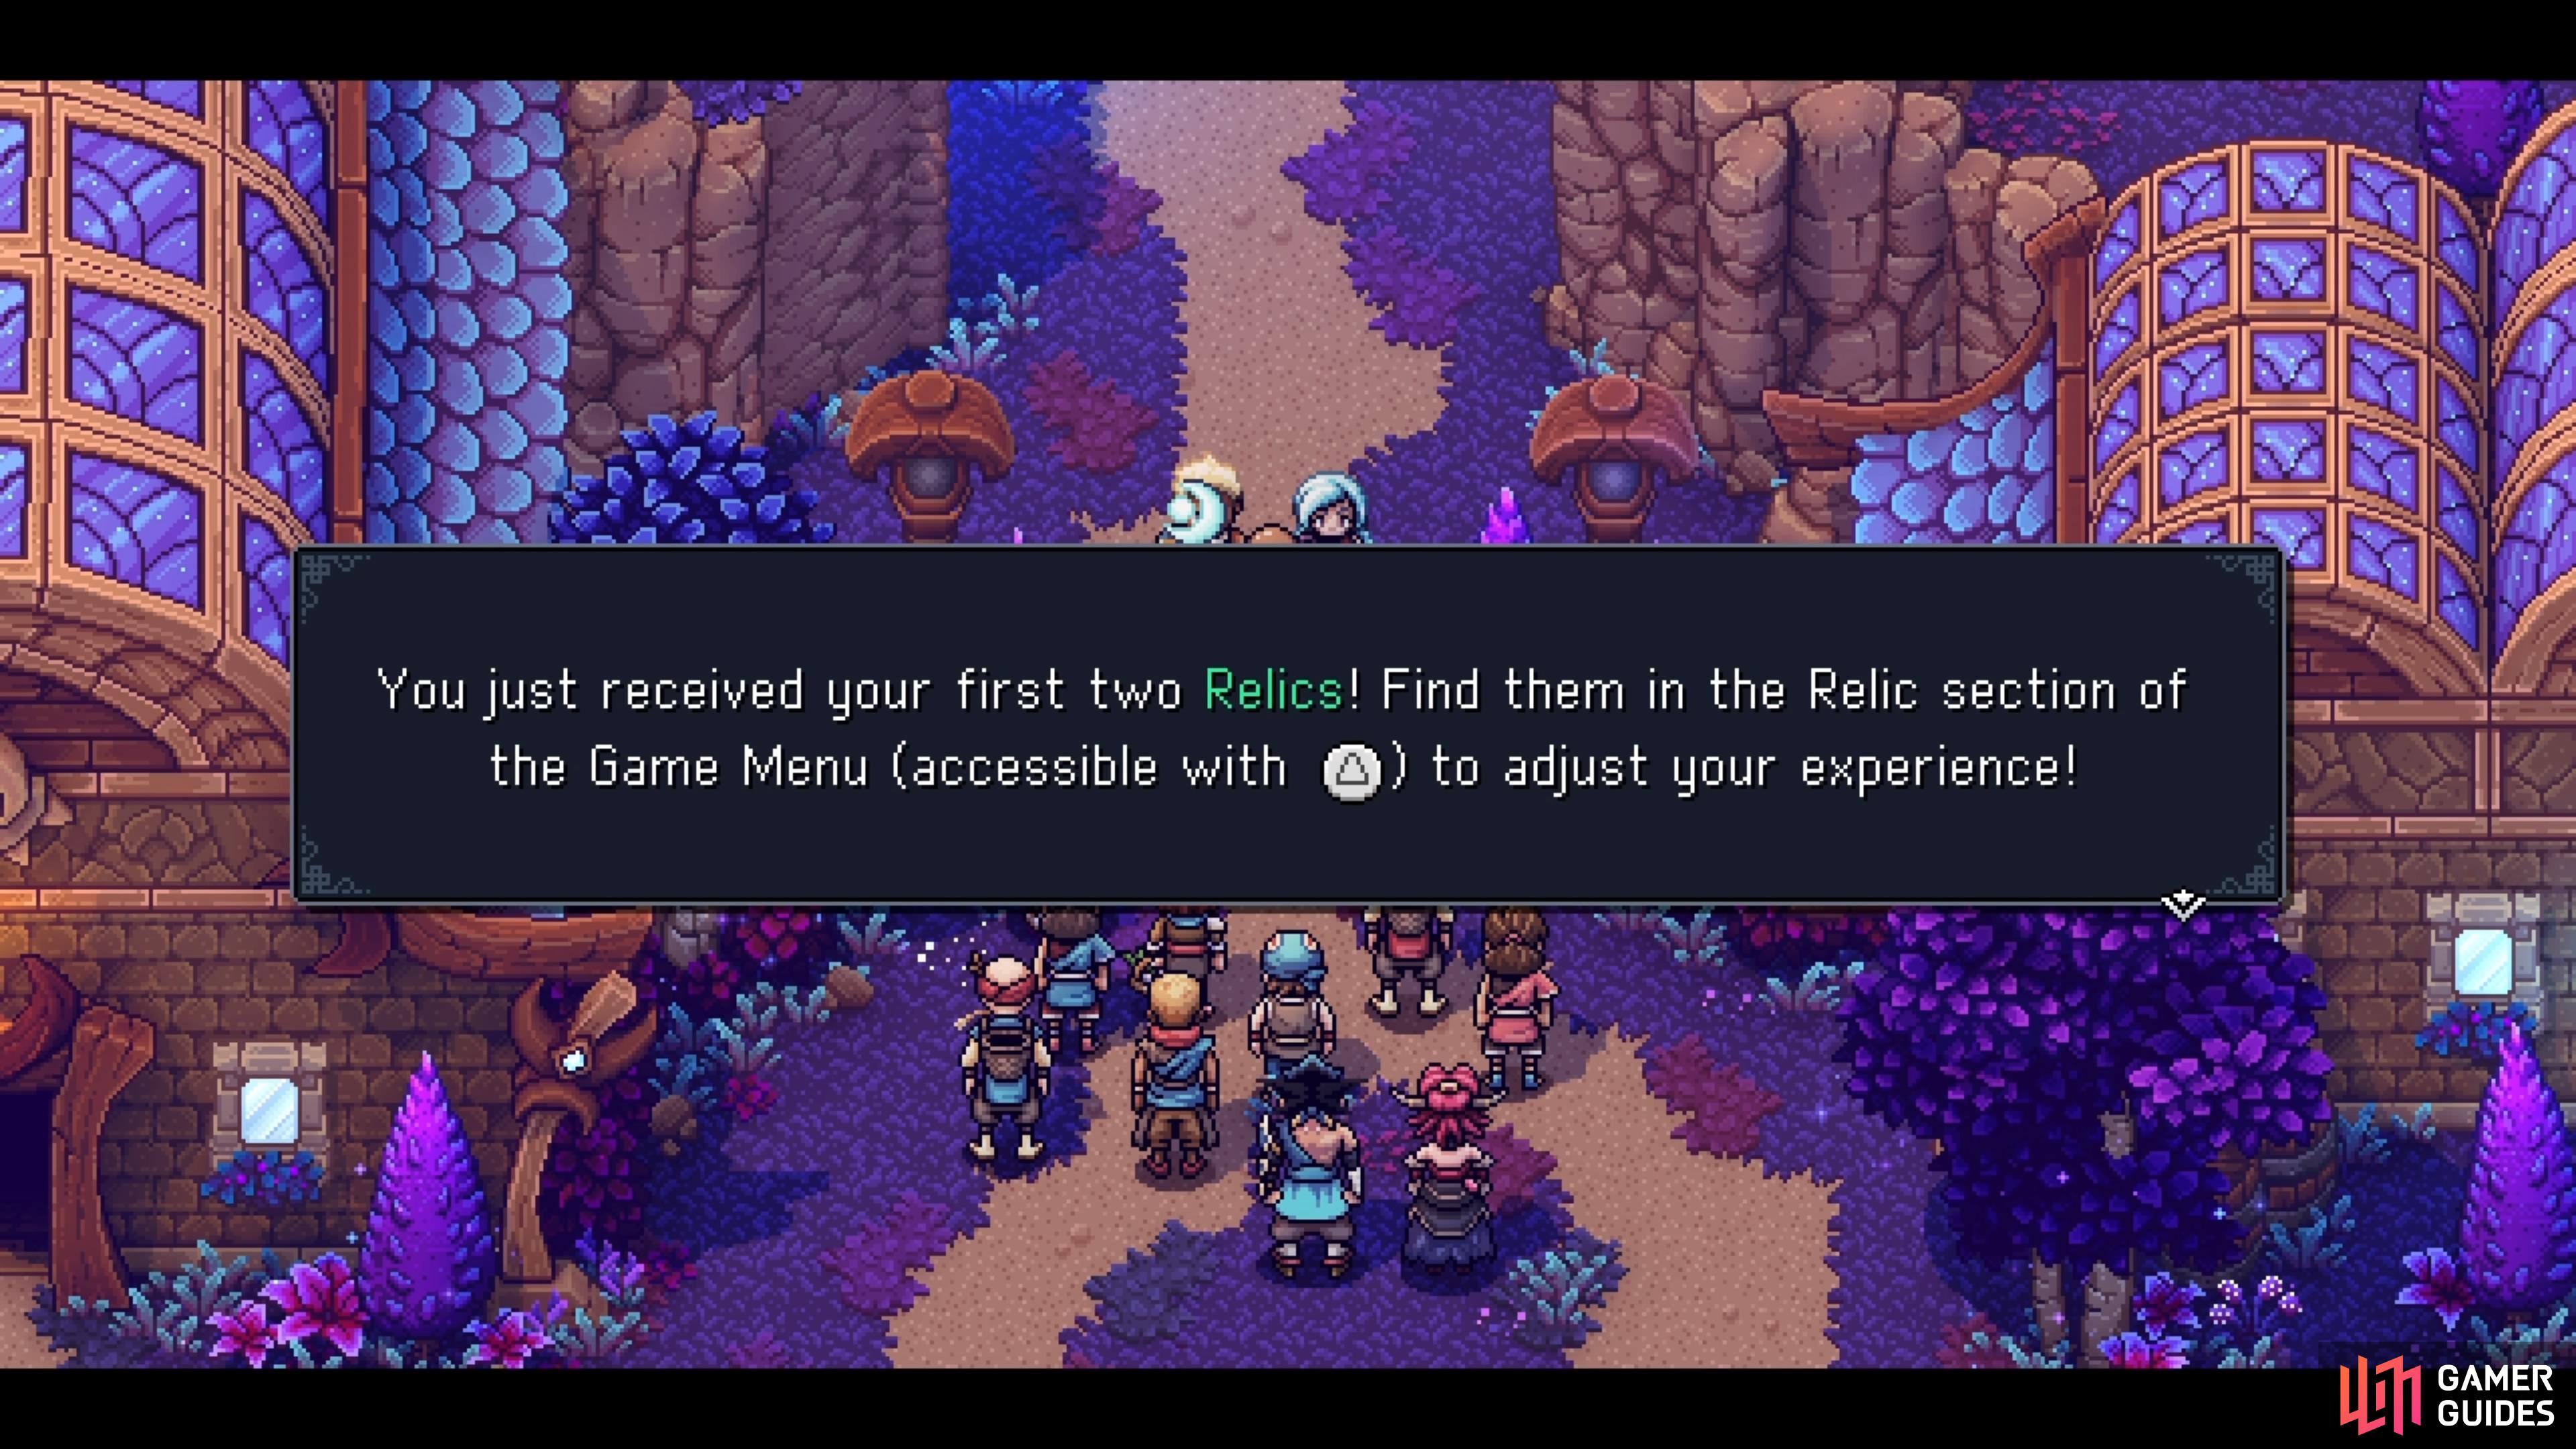
They can be powerful items that make your experience a little easier (or tougher).
Adamant Shard Relic
The Adamant Shard Relic is one of four that is present in plenty of shops across the game, with it costing 15G to purchase. This Relic will make it so regular attacks time themselves automatically. It guarantees extra hits for lock-breaking, but reduces the bonus damage from timing the hit by 50%. The guarantee for timed hits is only for regular attacks and despite the bonus damage saying it’s reduced by 50%, you likely aren’t going to notice that on most normal enemies.
Sixth Sense Relic
The Sixth Sense Relic is one of four that can be bought from multiple shops cross the game, with it costing 15G. This one will give you party members a 35% chance to block incoming attacks, meaning they will perform an automatic Timed Block. It could be nice to have on, since it still gives you room to try and time blocks on your own.
Guardian Aura Relic
The Guardian Aura Relic is found throughout multiple shops in the game, with it costing 15G to purchase it. The Relic will just flat out reduce all damage your party takes by 30%, nothing more and nothing less. If you might be having trouble on a certain boss or enemy, you could turn this on to make that battle easier on yourself.
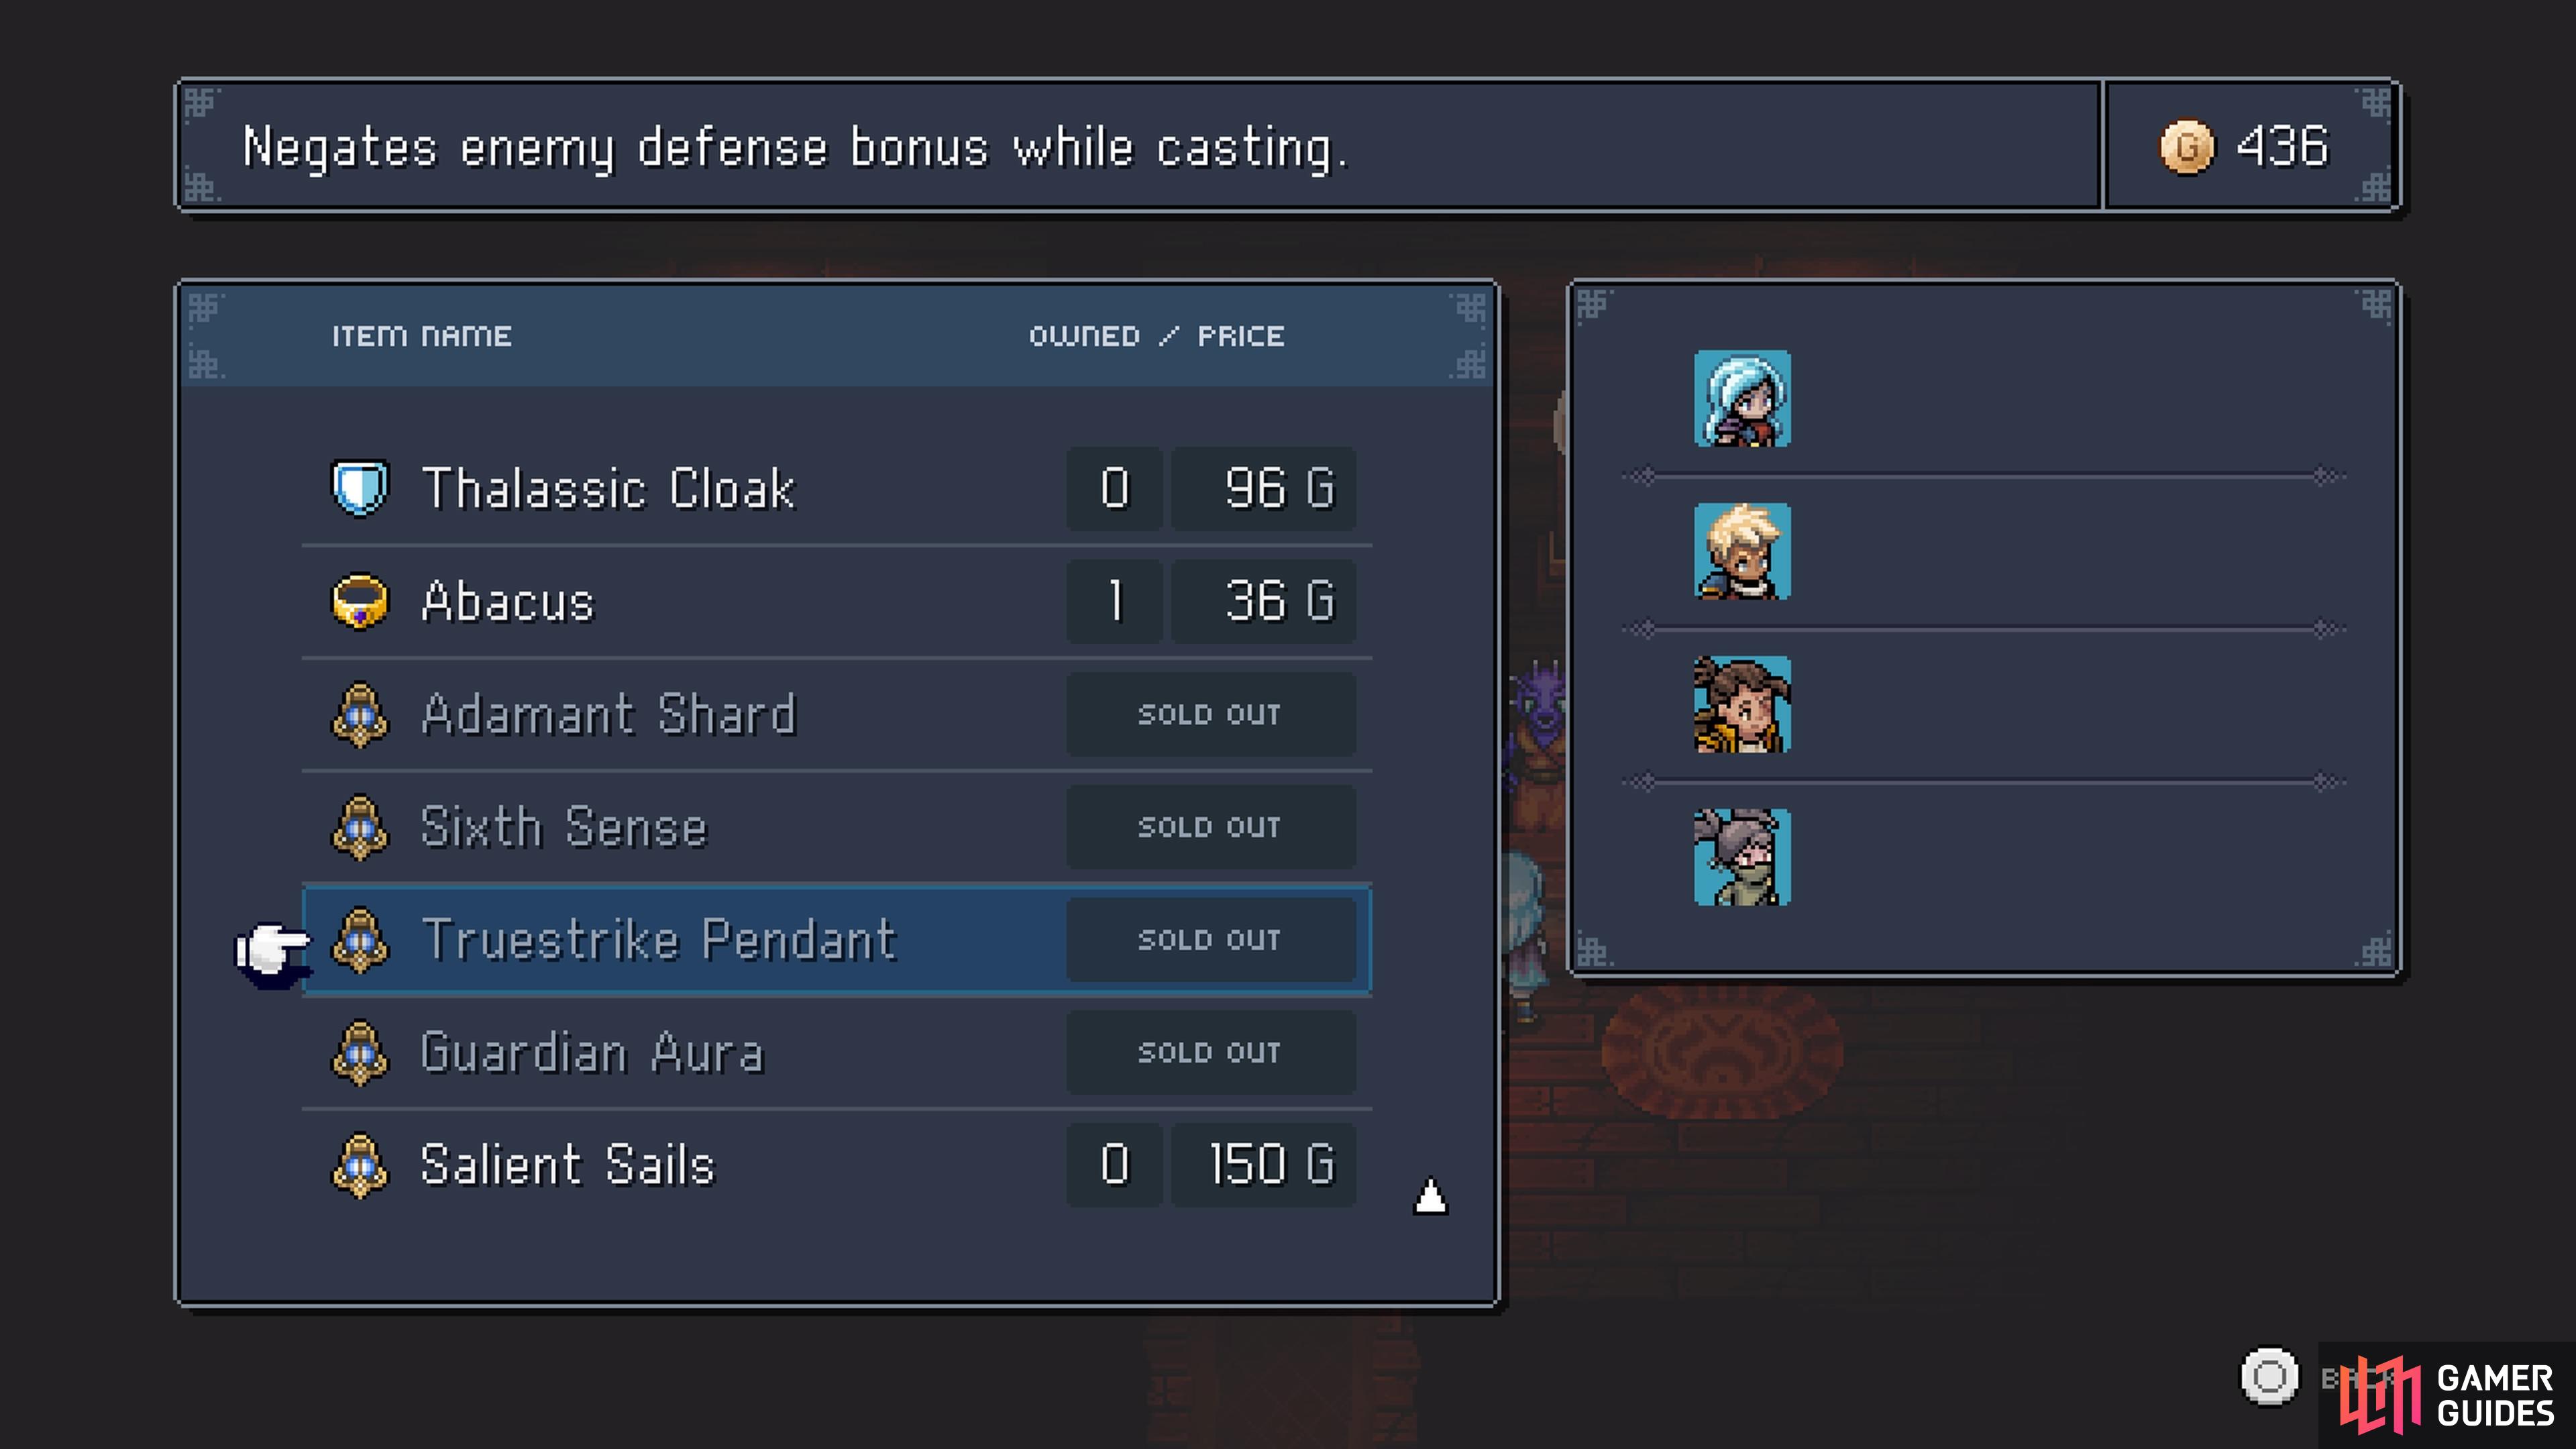
You will be able to outright purchase a number of Relics from various shops.
Truestrike Pendant Relic
The Truestrike Pendant Relic can be purchased from many different shops in the game, and it will cost you 45G. Normally, whenever enemies are preparing a spell (ones that have Locks appearing), they will have a 20% damage resistance buff. This Relic will remove that resistance, so they will take full damage from your attacks. It’s definitely a nice little addition that doesn’t do a whole lot to change things.
Double Edge Relic
The Double Edge Relic is available for purchase from the Hidden Market in the Port Town of Brisk; it costs 150G. If you don’t know where that is, visit the link above for more info. The Relic will increase the enemy’s defenses while they are preparing a skill/spell (Locks), but decrease their defenses when they are not doing that. Enemies already take less damage during the whole casting thing, so it’s not exactly clear if this will make them even harder to damage.
Dubious Dare Relic
The Dubious Dare Relic is another one that you can find from the Hidden Market in Brisk, with it also costing 150G. This one will increase the damage your characters take by 40%, meaning it’s one of the few Relics that can actually make the game harder for you. So, if you think the game is too easy, you can purchase this Relic and turn it on.
The Hidden Market is a secret shop that’s located in the Port Town of Brisk.
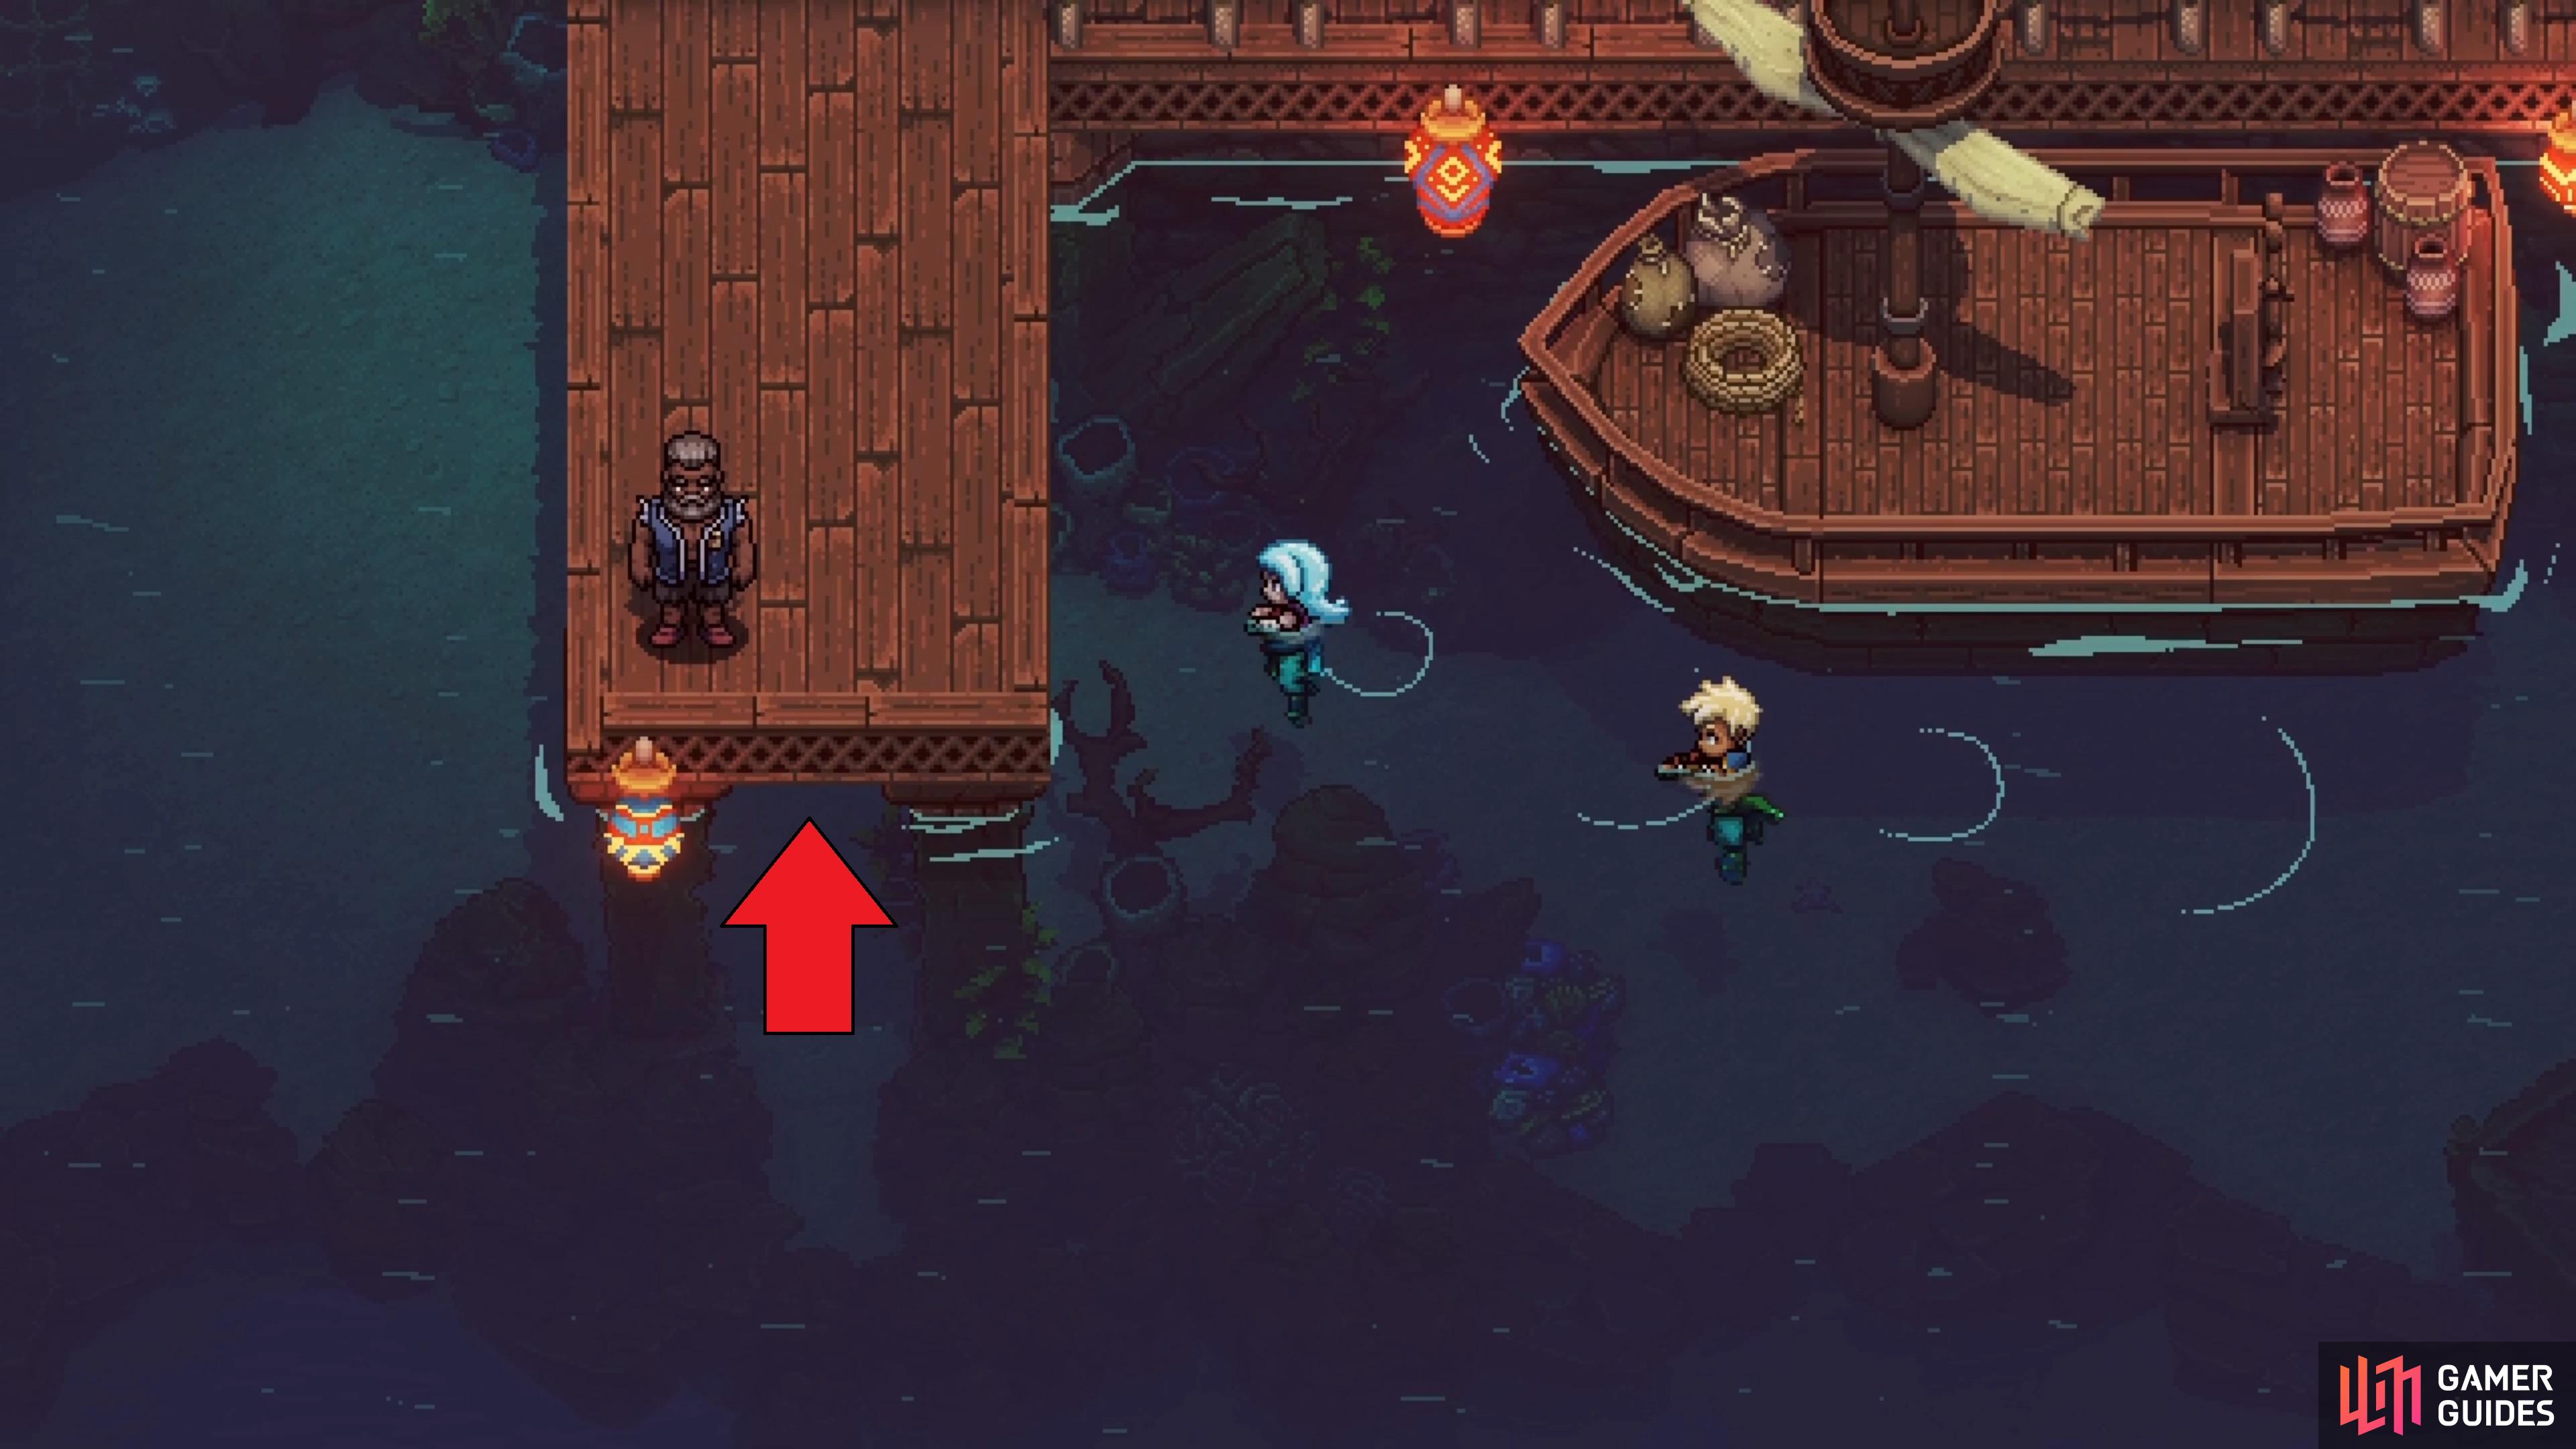
Swim underneath this dock in Brisk to find the Hidden Market.
Tome of Knowledge Relic
The third, and final, Relic that you can find in the Hidden Market in Brisk; costs 150G. Of the three available there, this one is one of the best ones, as the Tome of Knowledge will increase all experience your party gets by 20%. You should probably always have this on, unless you don’t want the increased experience.
Gold Tooth Relic
Once you make your way to Lucent, on Wraith Island, you will find the store there has this Relic for sale, for 225G. While it may seem a little expensive at first, the fact is that the Gold Tooth Relic lowers the cost of items from all shops by 10%. So, you will eventually save some money in the long run, which is always good, especially since money doesn’t really drop much from enemies.
Sailent Sails Relic
The Sailent Sails Relic can be purchased from the Equipment Shop, in your town of Mirth. This is the town that you build up by getting plans and giving them to Jirard the Constructionist. You will need to find 19 Rainbow Conches to get the Fishing Hut Plans from Mirna, in Docarria Village. With that out of the way, you need someone to run it. Thankfully, the person you need is located in Docarria Village itself. Head to the southeast building and pull the lever on the top, which will allow you access to the whirlpool. Take that to go underwater, then find the other whirlpool to enter a new building. Speak to the NPC here and they will go to Mirth.
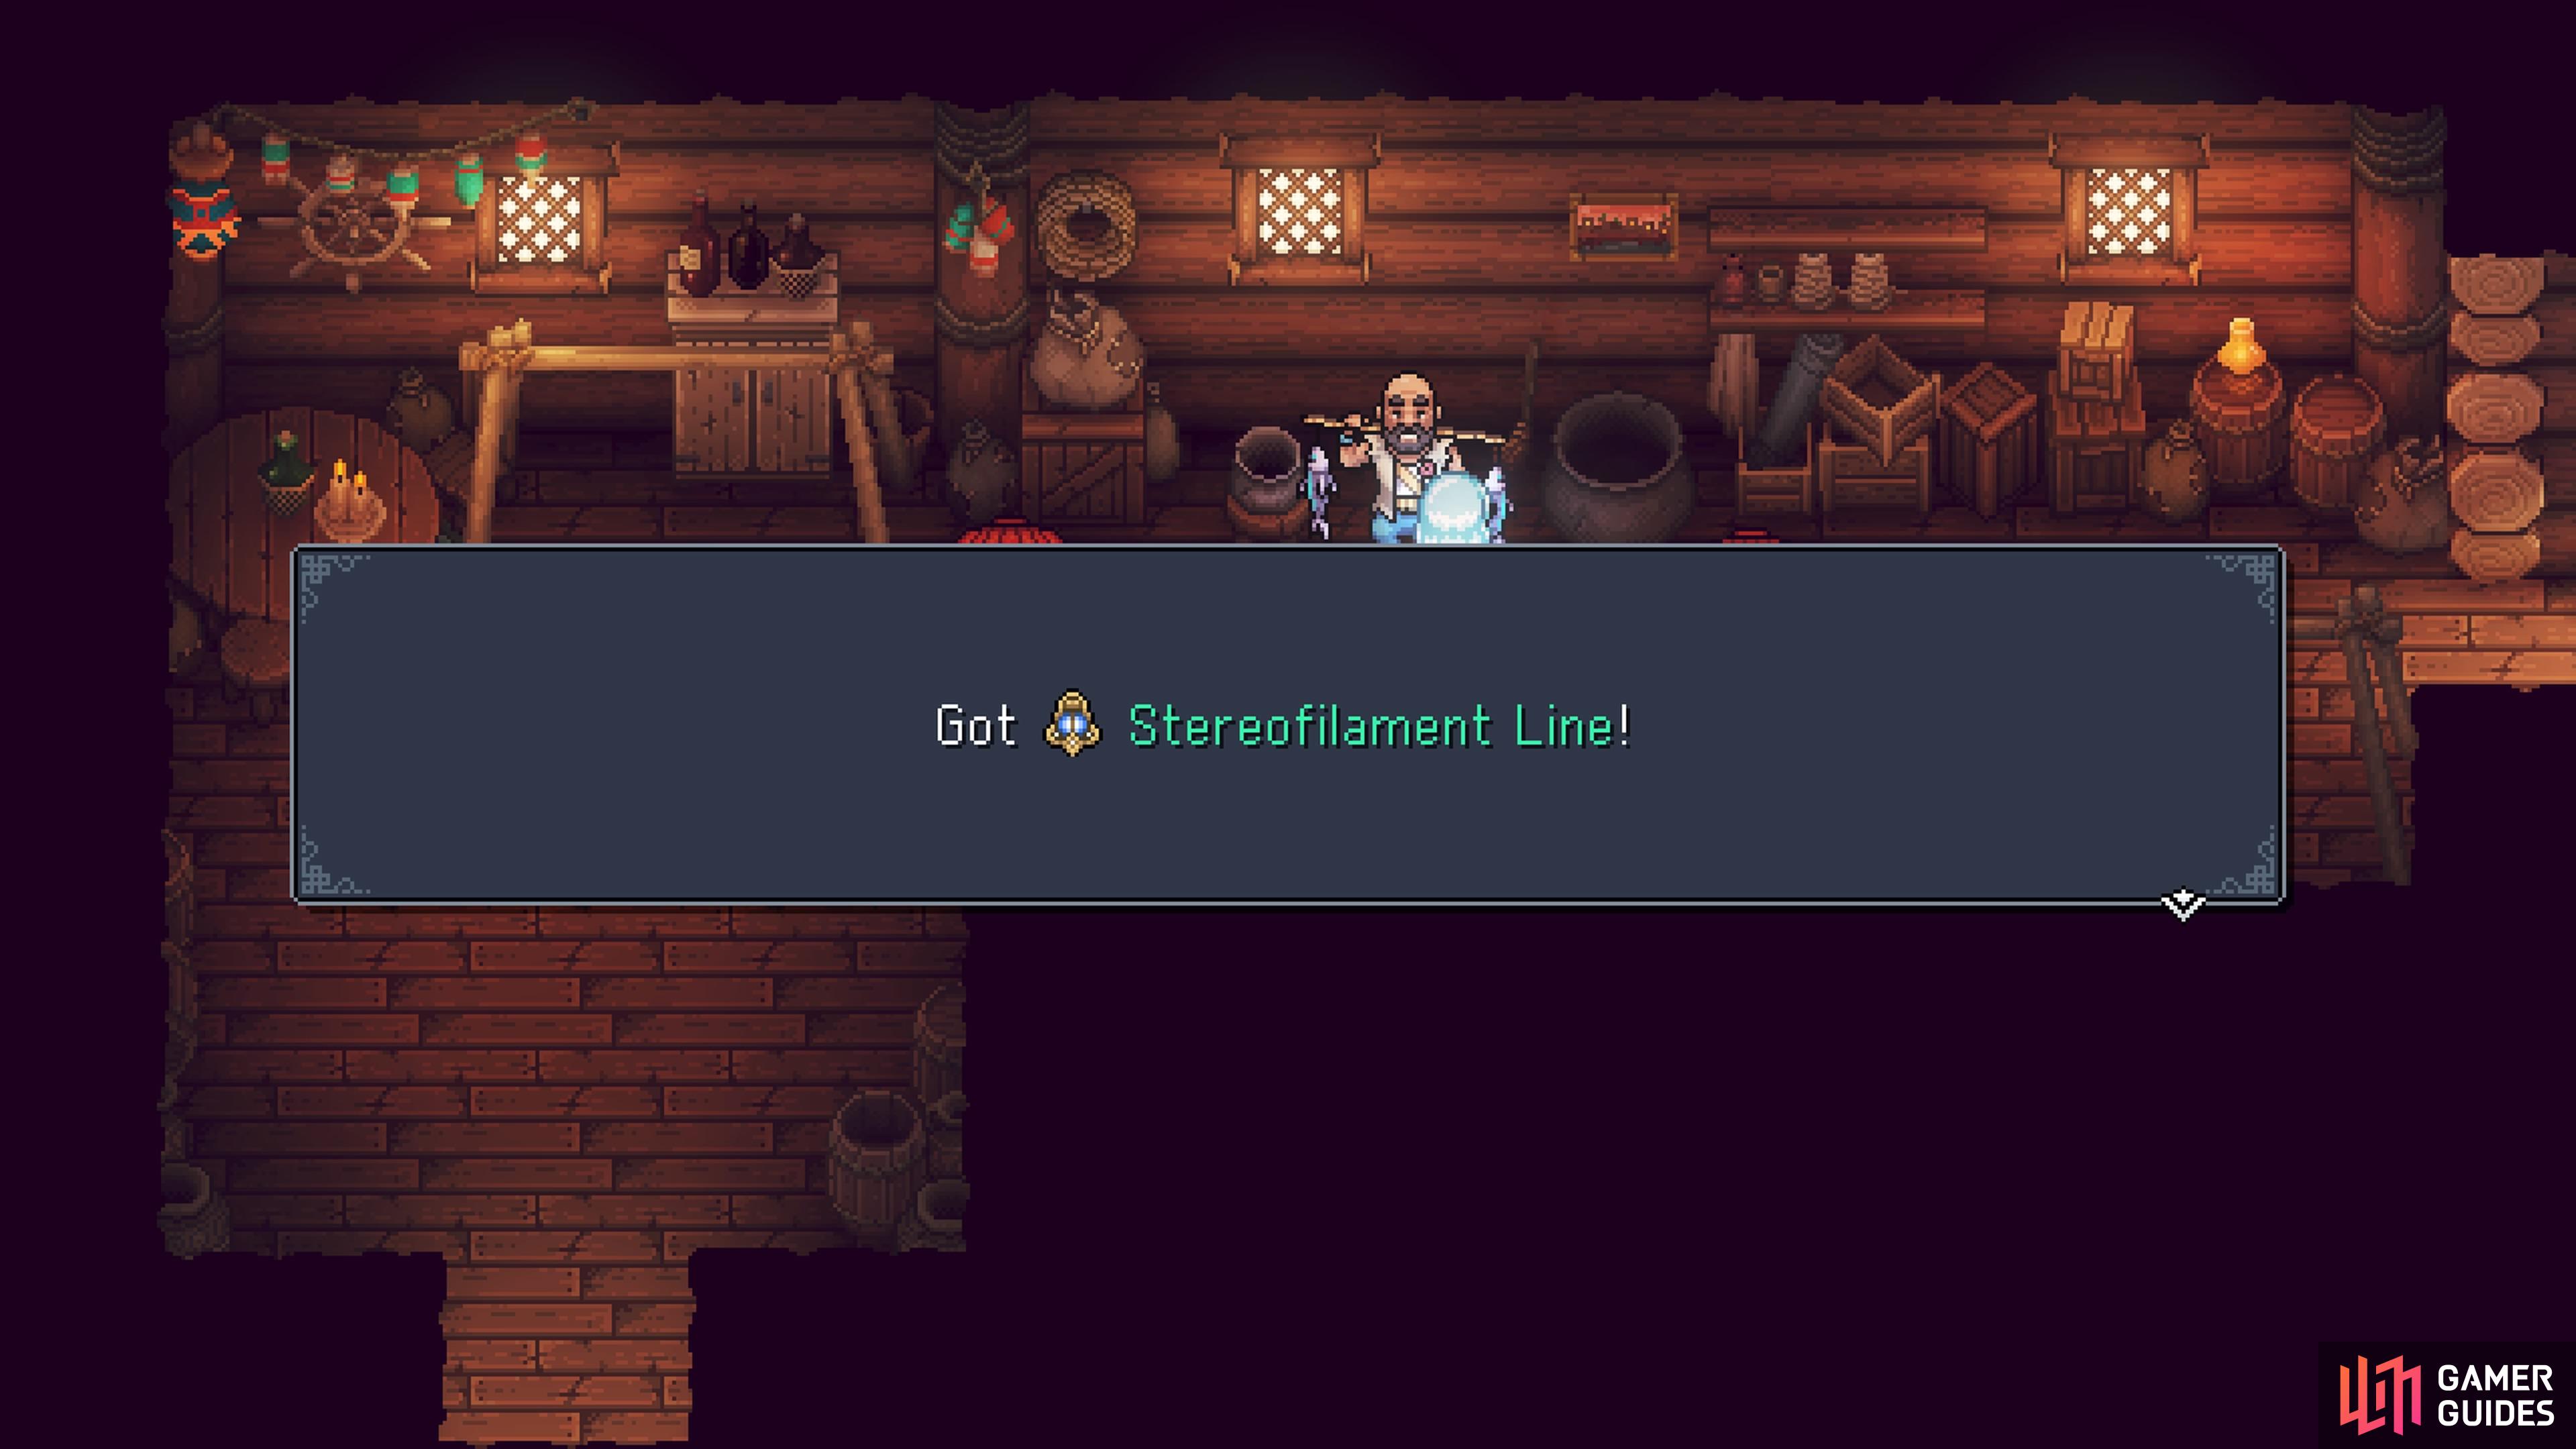
Stereofilament Line Relic
The Stereofilament Line Relic is gotten from the Fishing Hut in Mirth, but you need the plans to construct that building first. You get that from finding 22 Rainbow Conches, then speaking to Mirna in Docarria Village. As for the NPC to run it, you have to head to Mooncradle. In one of the buildings there, you will find a Fisherman and just speaking to him will send him on his way.
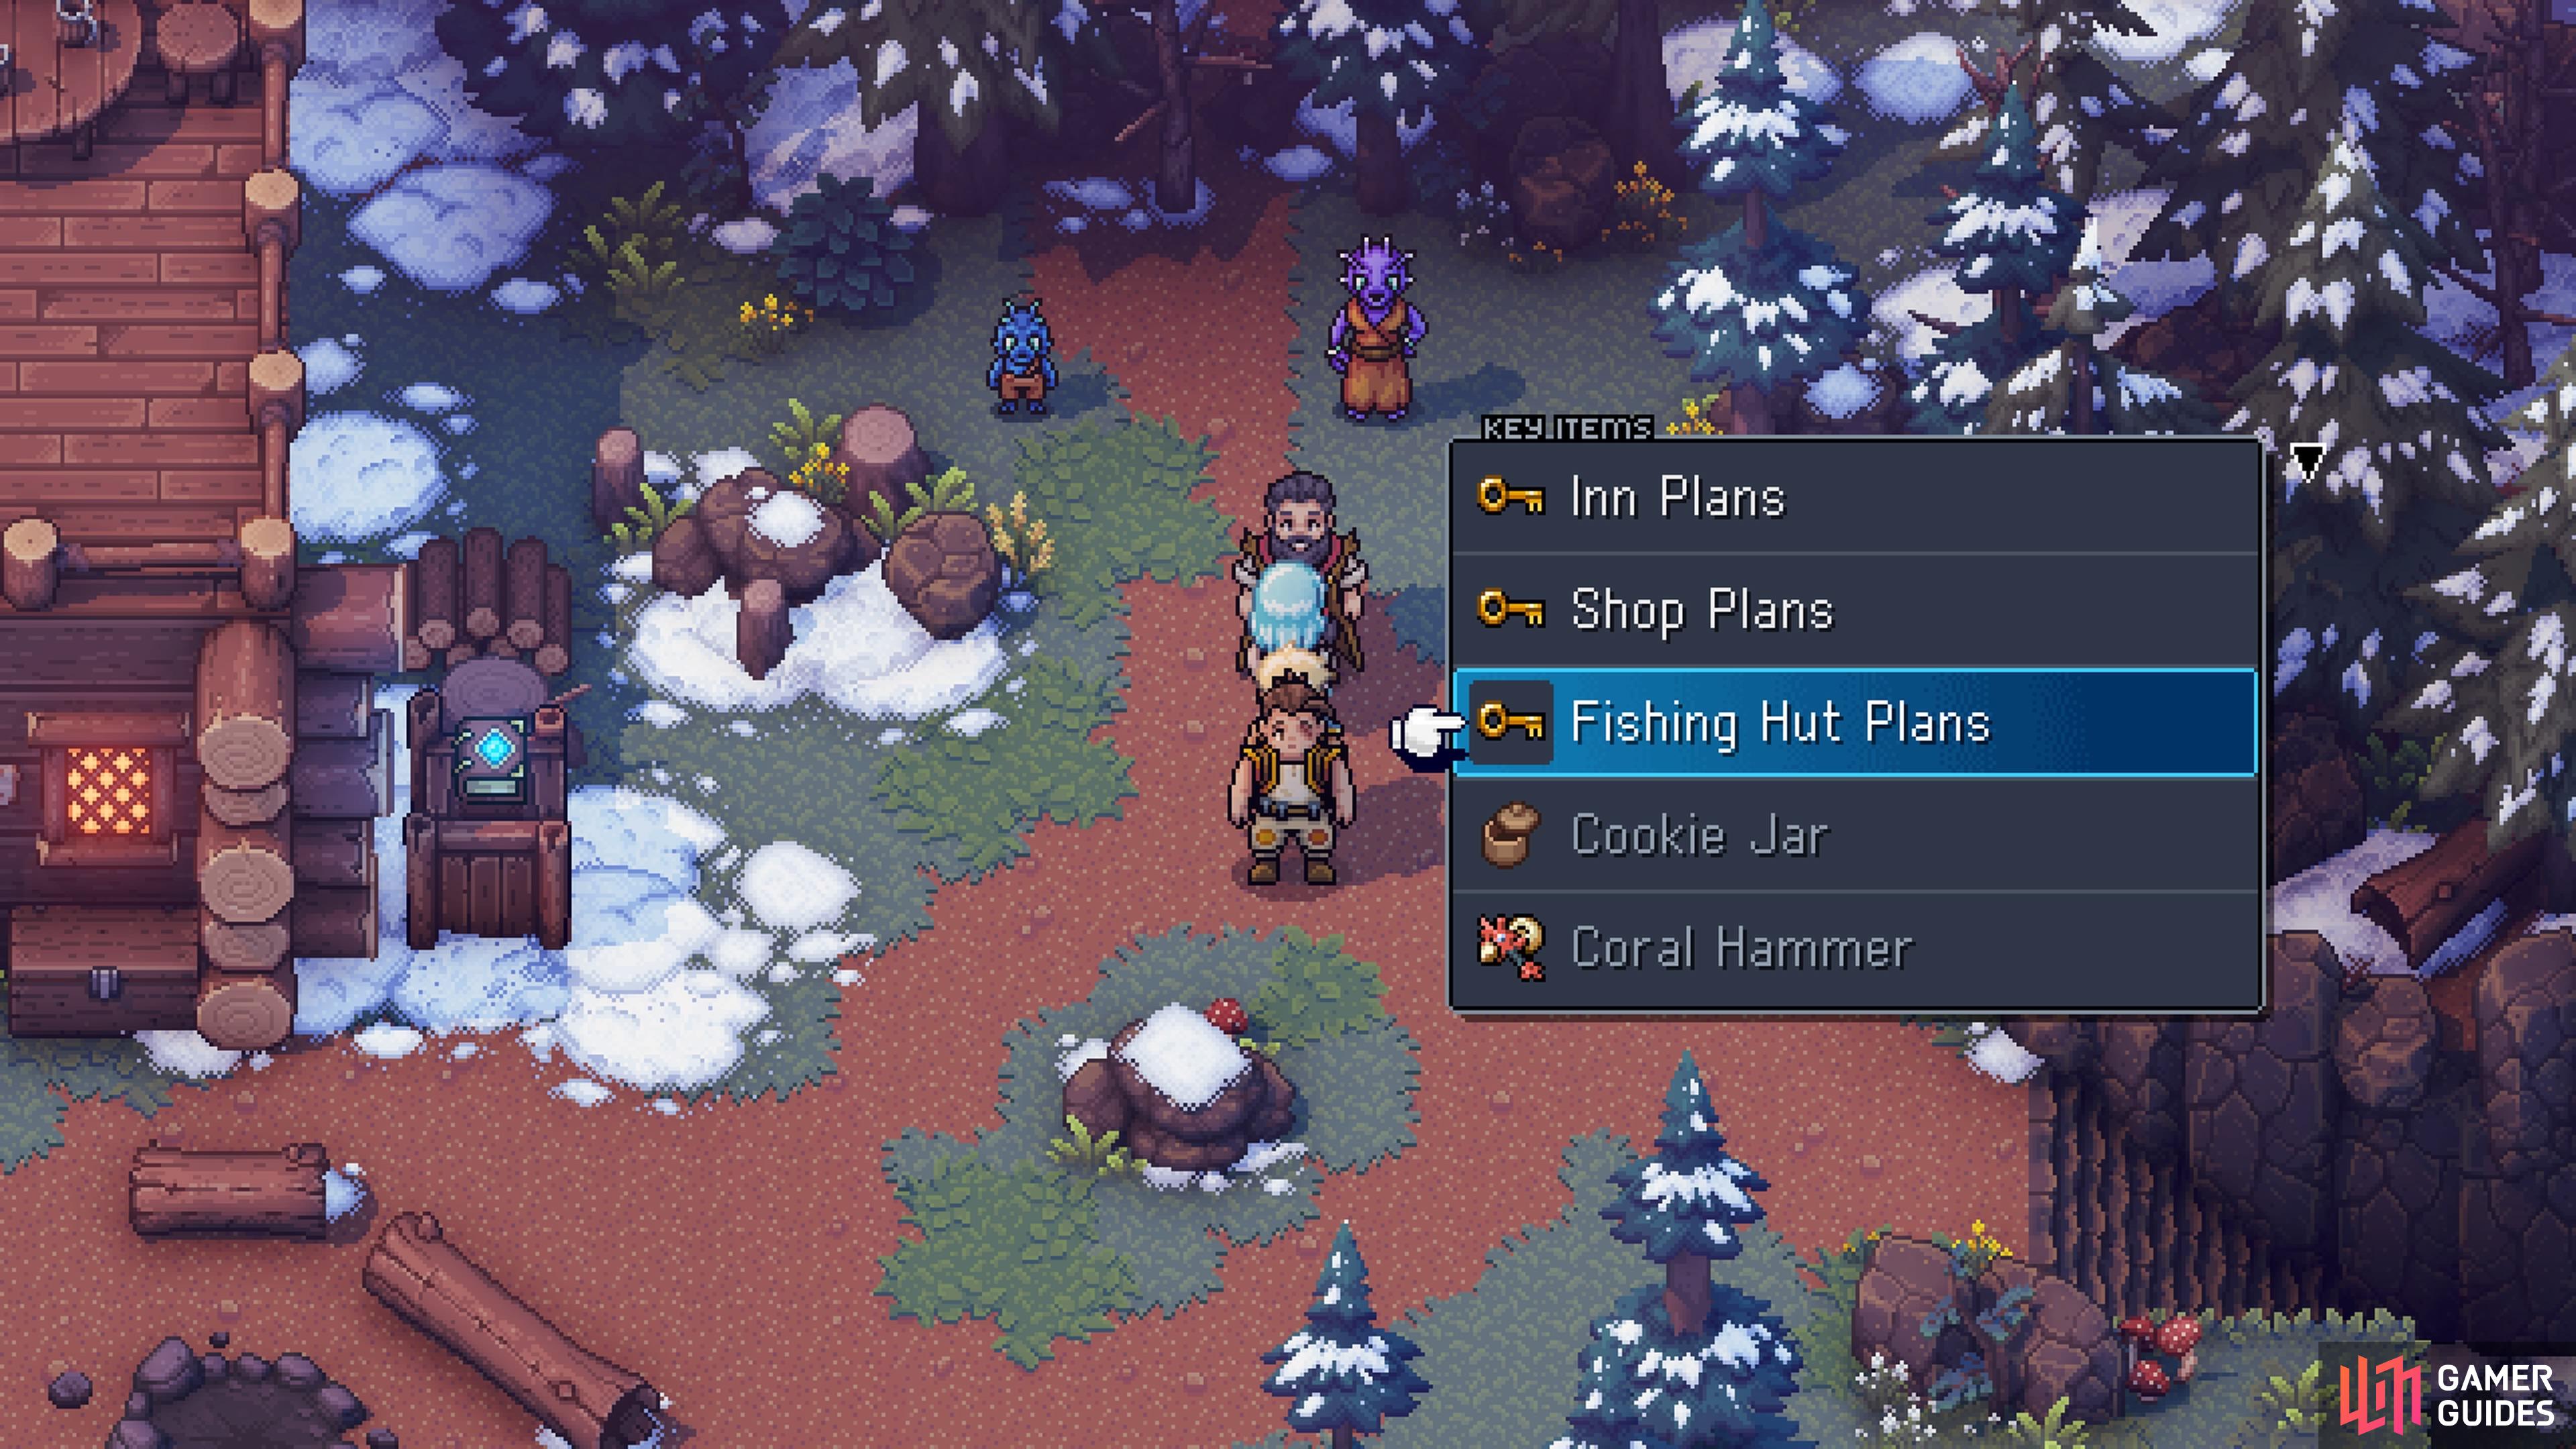
Hand over the building plans to Jirard in Mirth.
The Fishing Hut ones require you to have caught a certain number of fish.
Once you have everything, you will first need to catch four different species of fish first. Speak to the Fisherman after the hut is built, then have him check the fish you caught to get the reward (similar to handing in the Conches). This Relic will make your fishing line more resilient, making it harder to break. There are some fish out there that can be tough to reel in, so this might be a good idea to use in those situations.
Mithreel Rod Relic
This is another Relic that can be gotten from the Fishing Hut in Mirth (look above on how to unlock this). However, you don’t purchase it, but instead have to catch a certain number of different fish first. For this Relic, you only need to catch nine different species of fish. The Relic will deplete the fish’s stamina faster than normal.
Bearing Reel Relic
The second Relic that can be obtained from the Fishing Hut in Mirth. To acquire this one, you will need to catch fourteen different species of fish. The Bearing Reel will make it easier to reel in fish, since it increases your reeling speed.
Falcon-Eyed Parrot Relic
In order to get this Relic, you will need to collect the Rainbow Conches throughout the game. In total, you need 27 of the Rainbow Conches, then you have to make your way to Docarria Village. Speak with Mirna there to turn them in and you’ll receive this as a reward. The Falcon-Eyed Parrot is a great Relic, as you can use it to track which locations have any missing chests and Rainbow Conches. Head to your map and highlight an island, then press the designated button to trigger the bird. If you’ve found everything in an area, you will see a star next to that area’s name on the map.
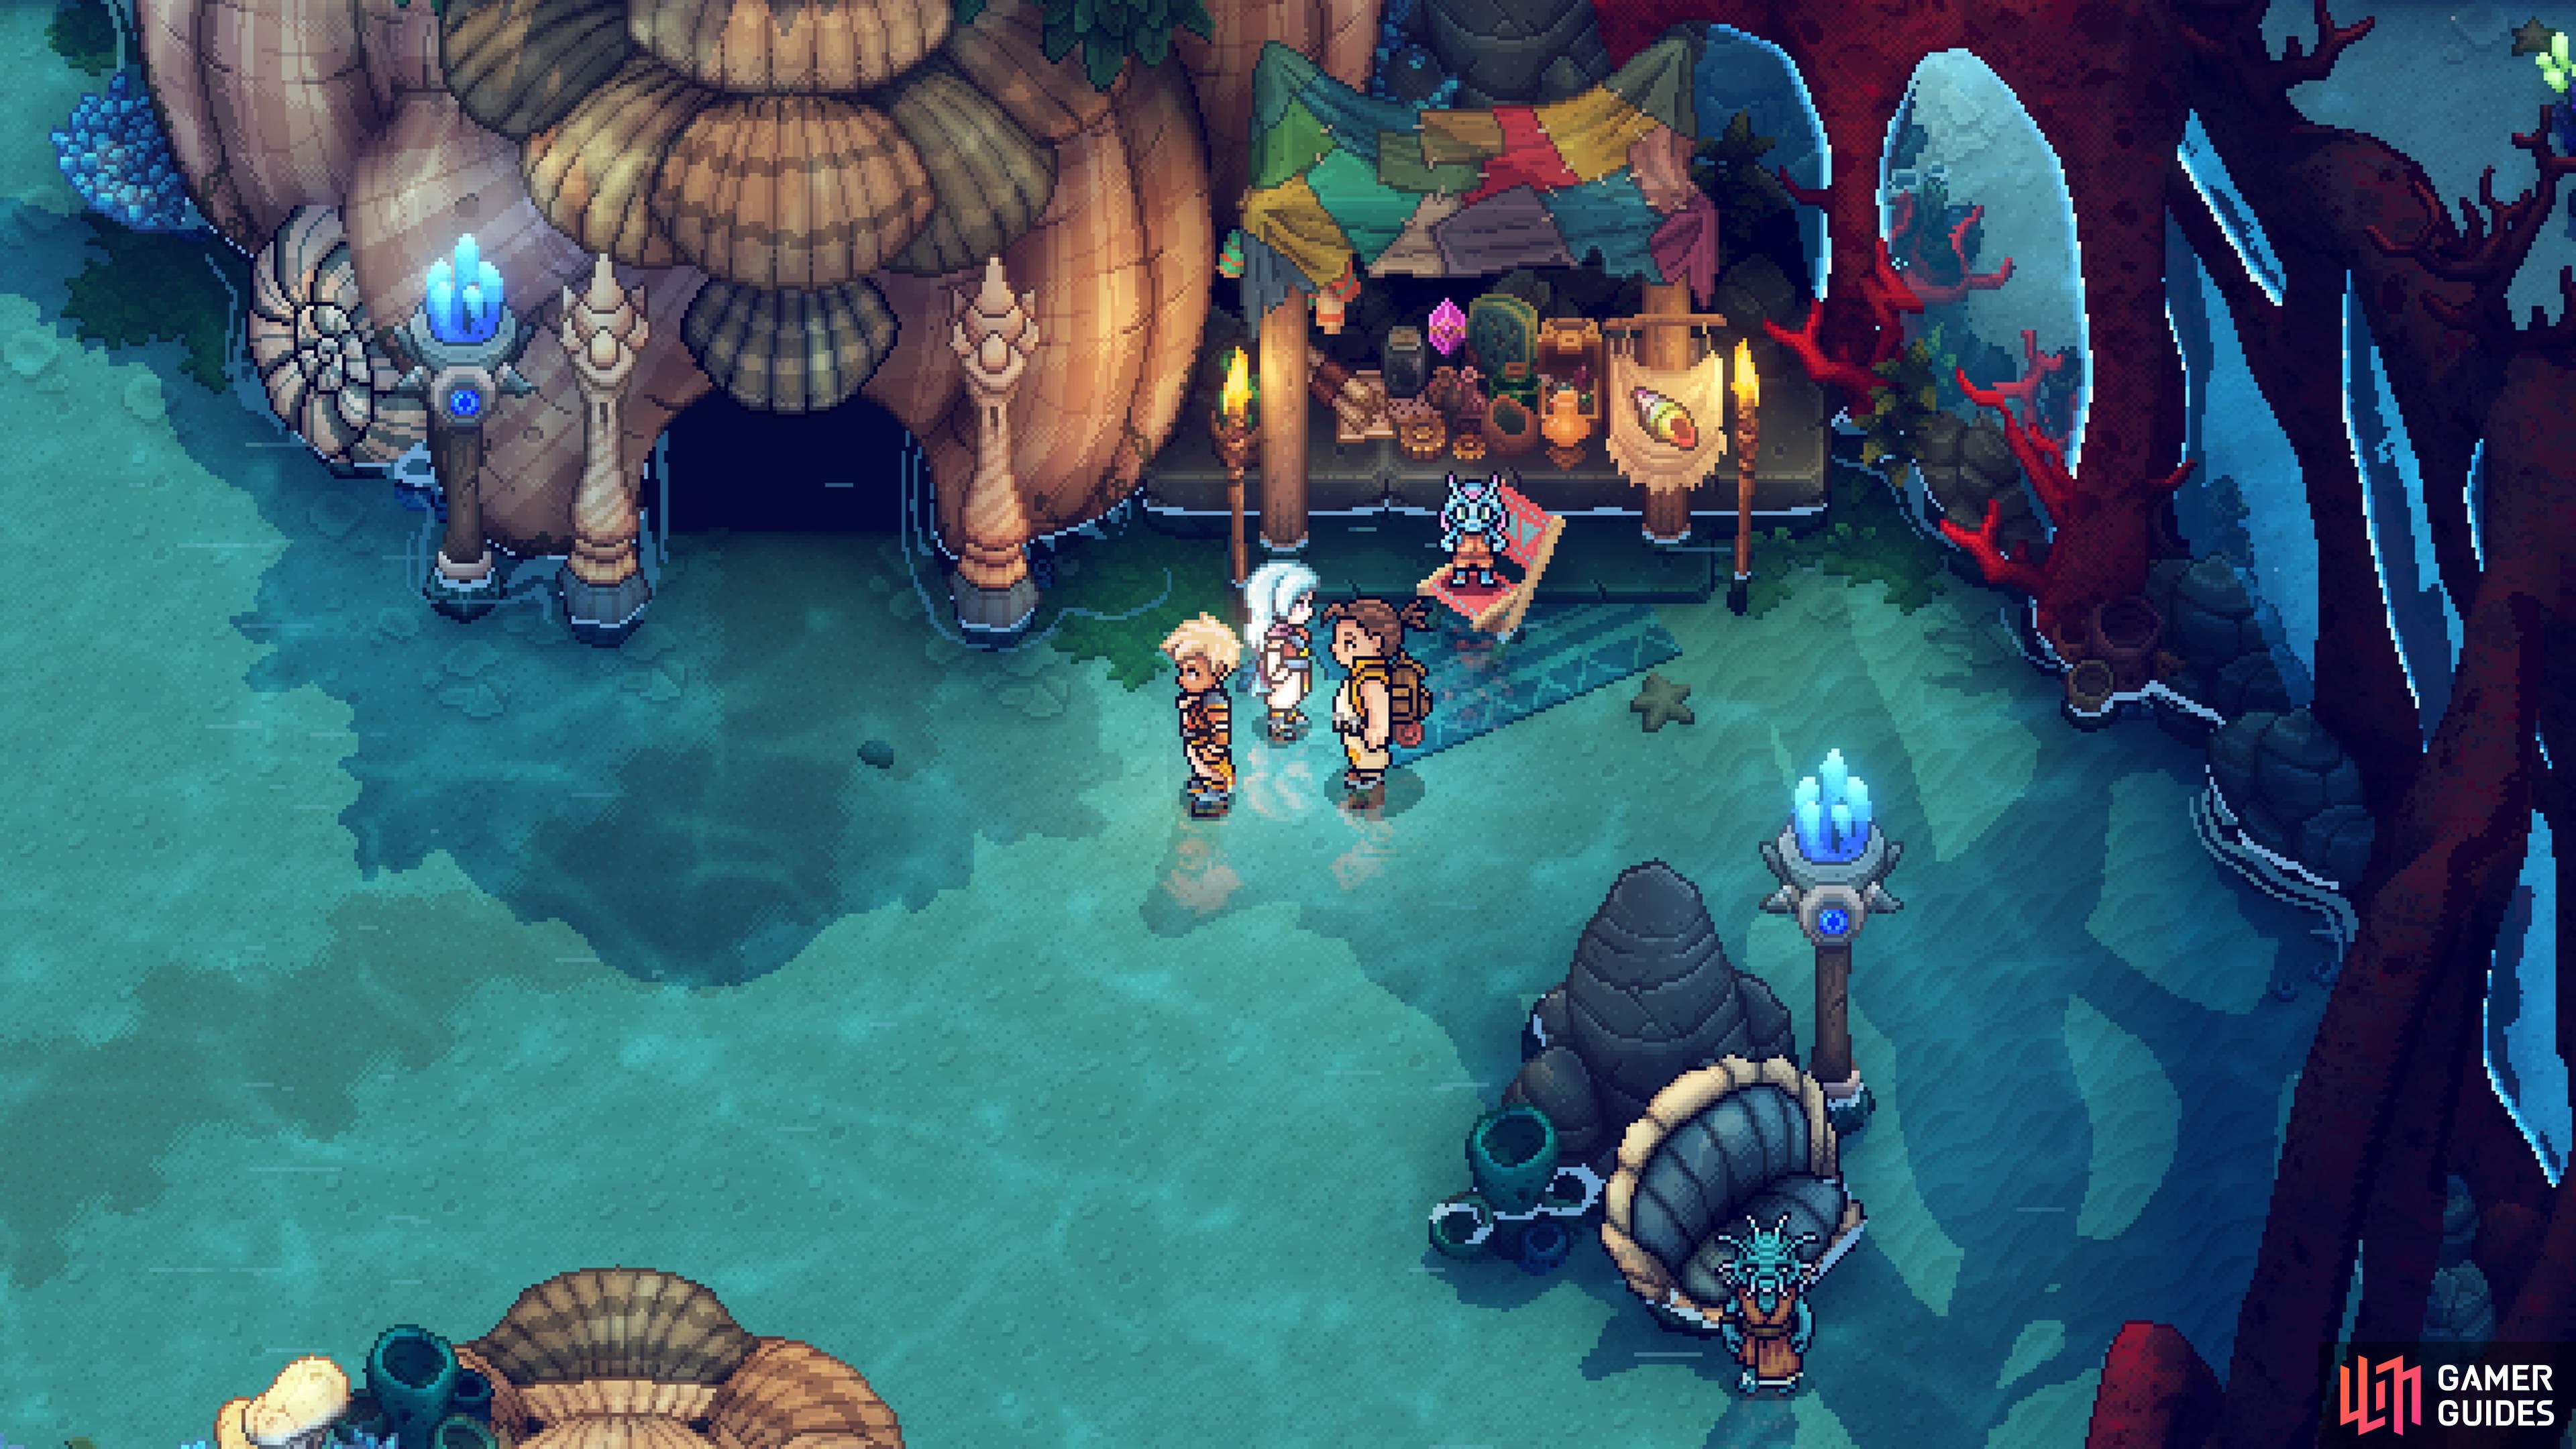
You will find Mirna in Docarria Village, on the eastern side of it.
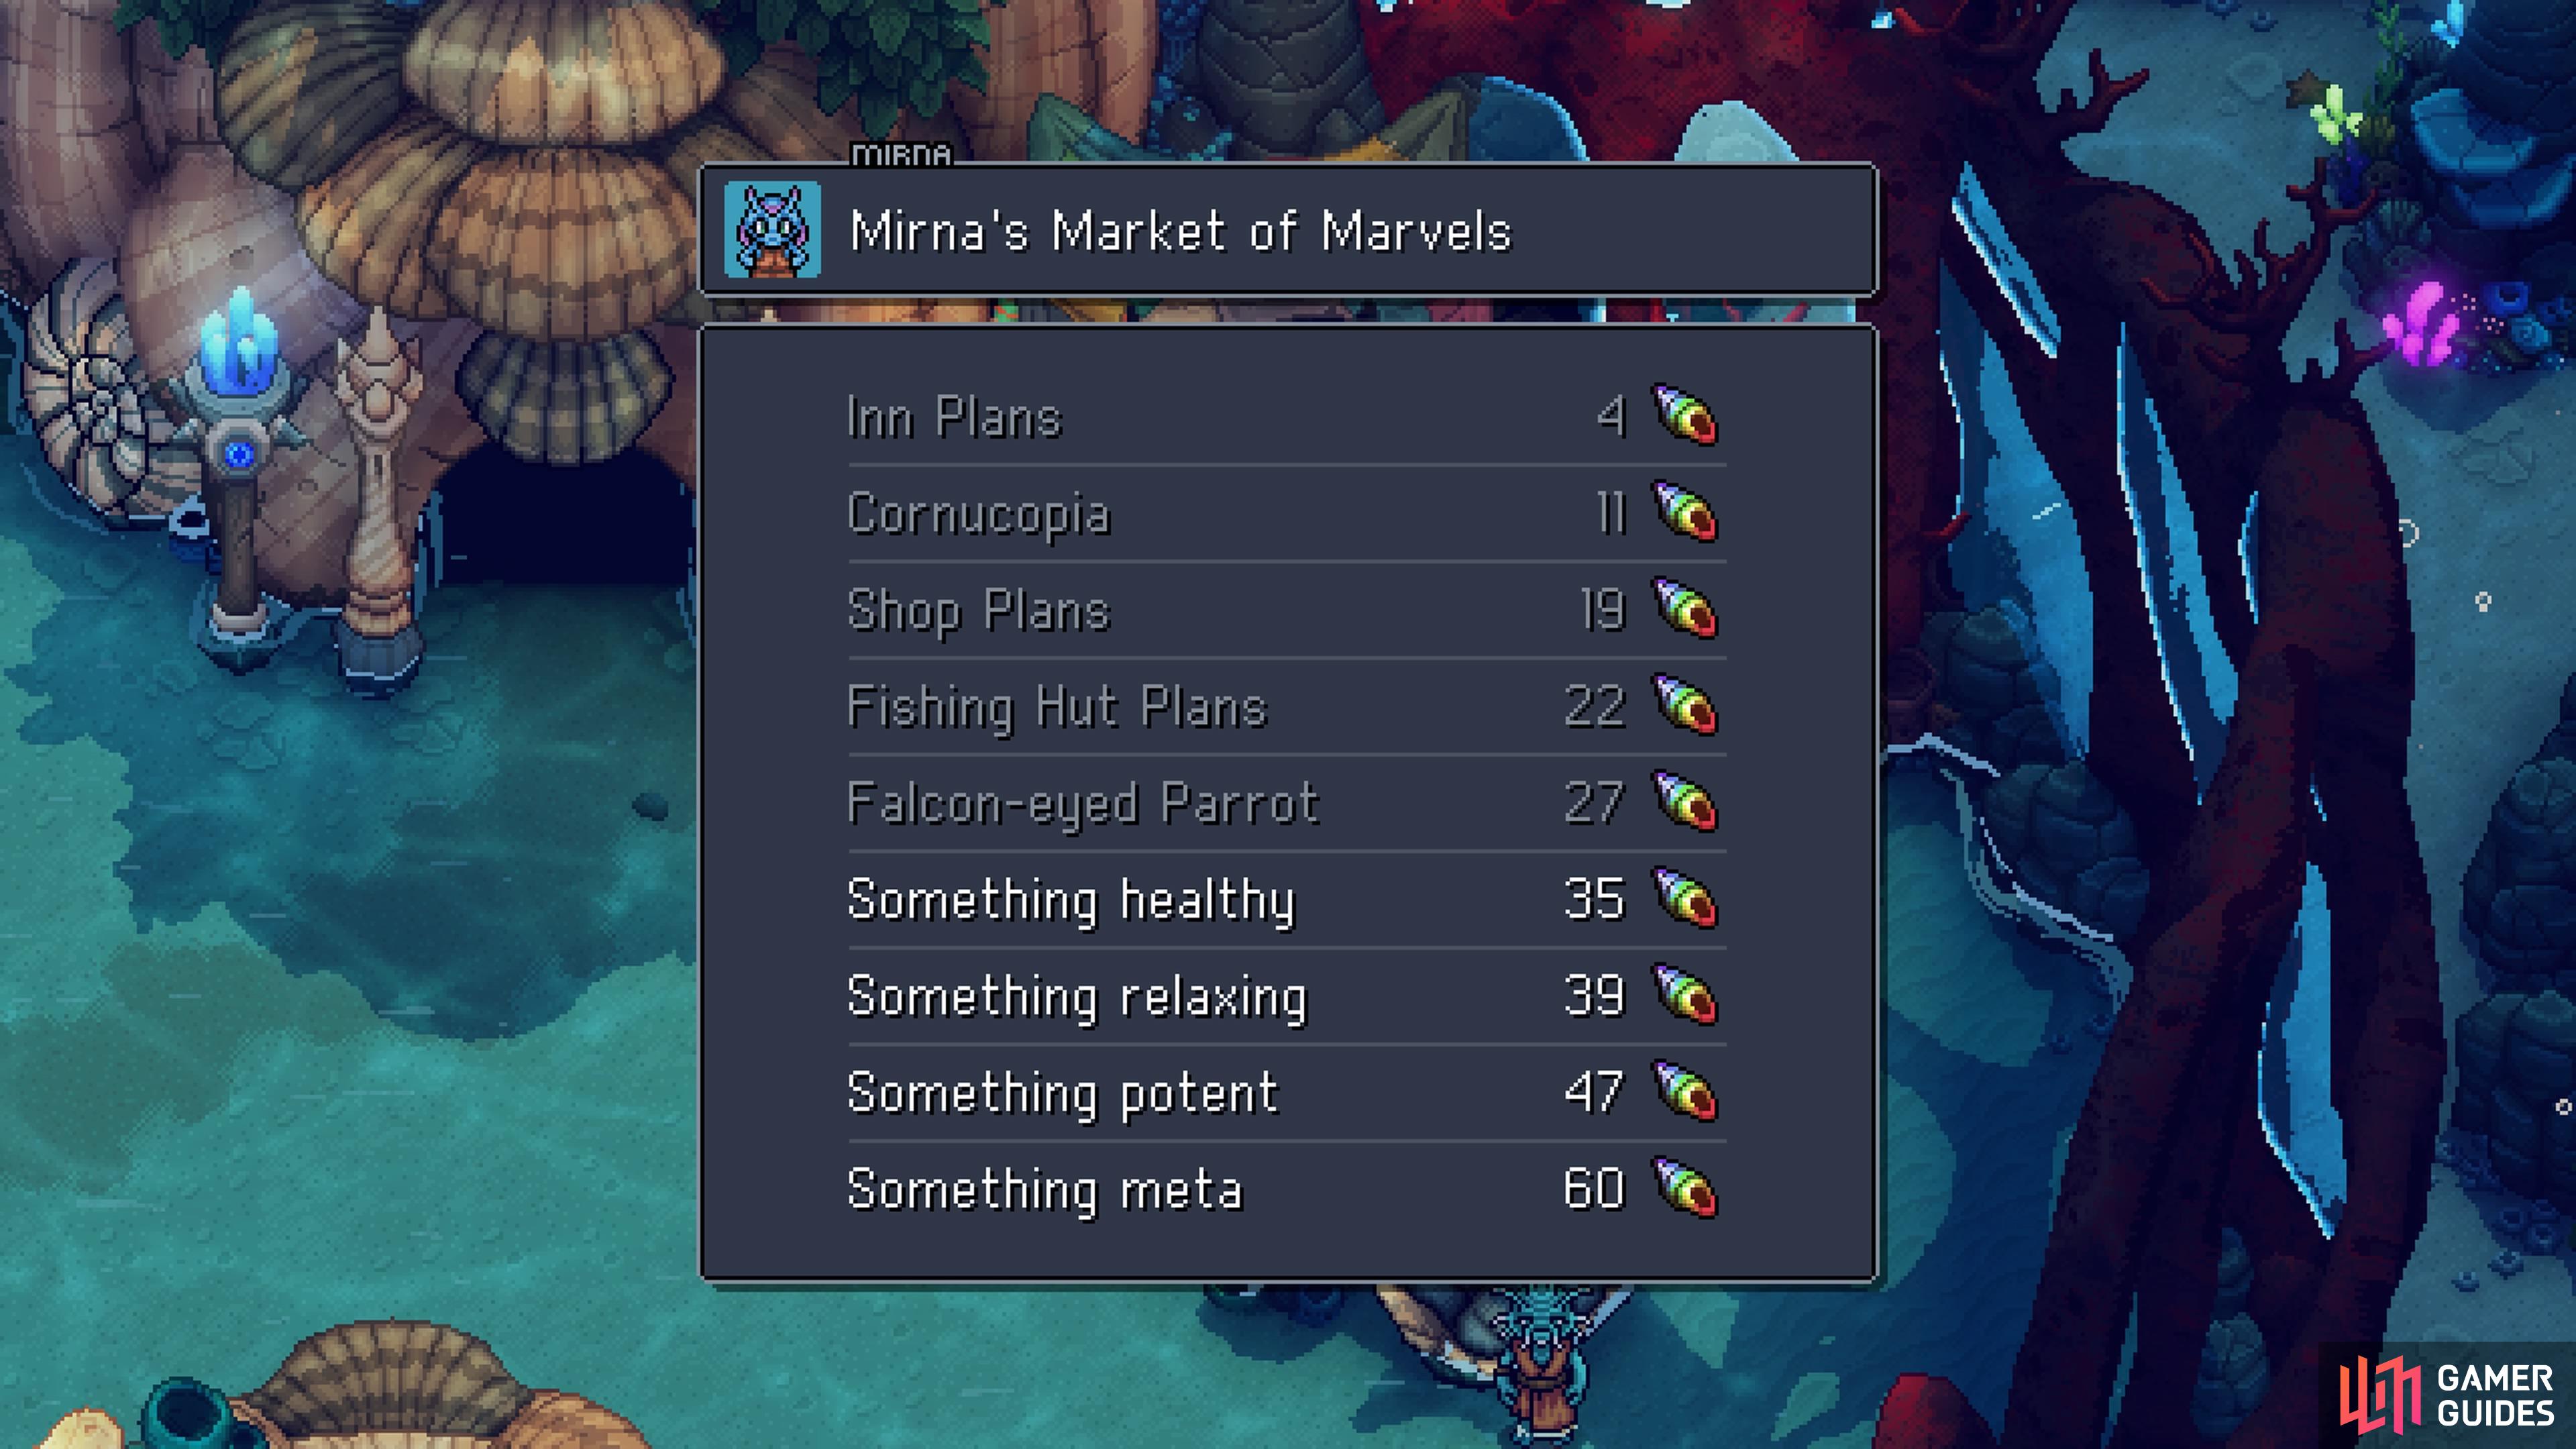
The Falcon-eyed Parrot will require you to find 27 Rainbow Conches.
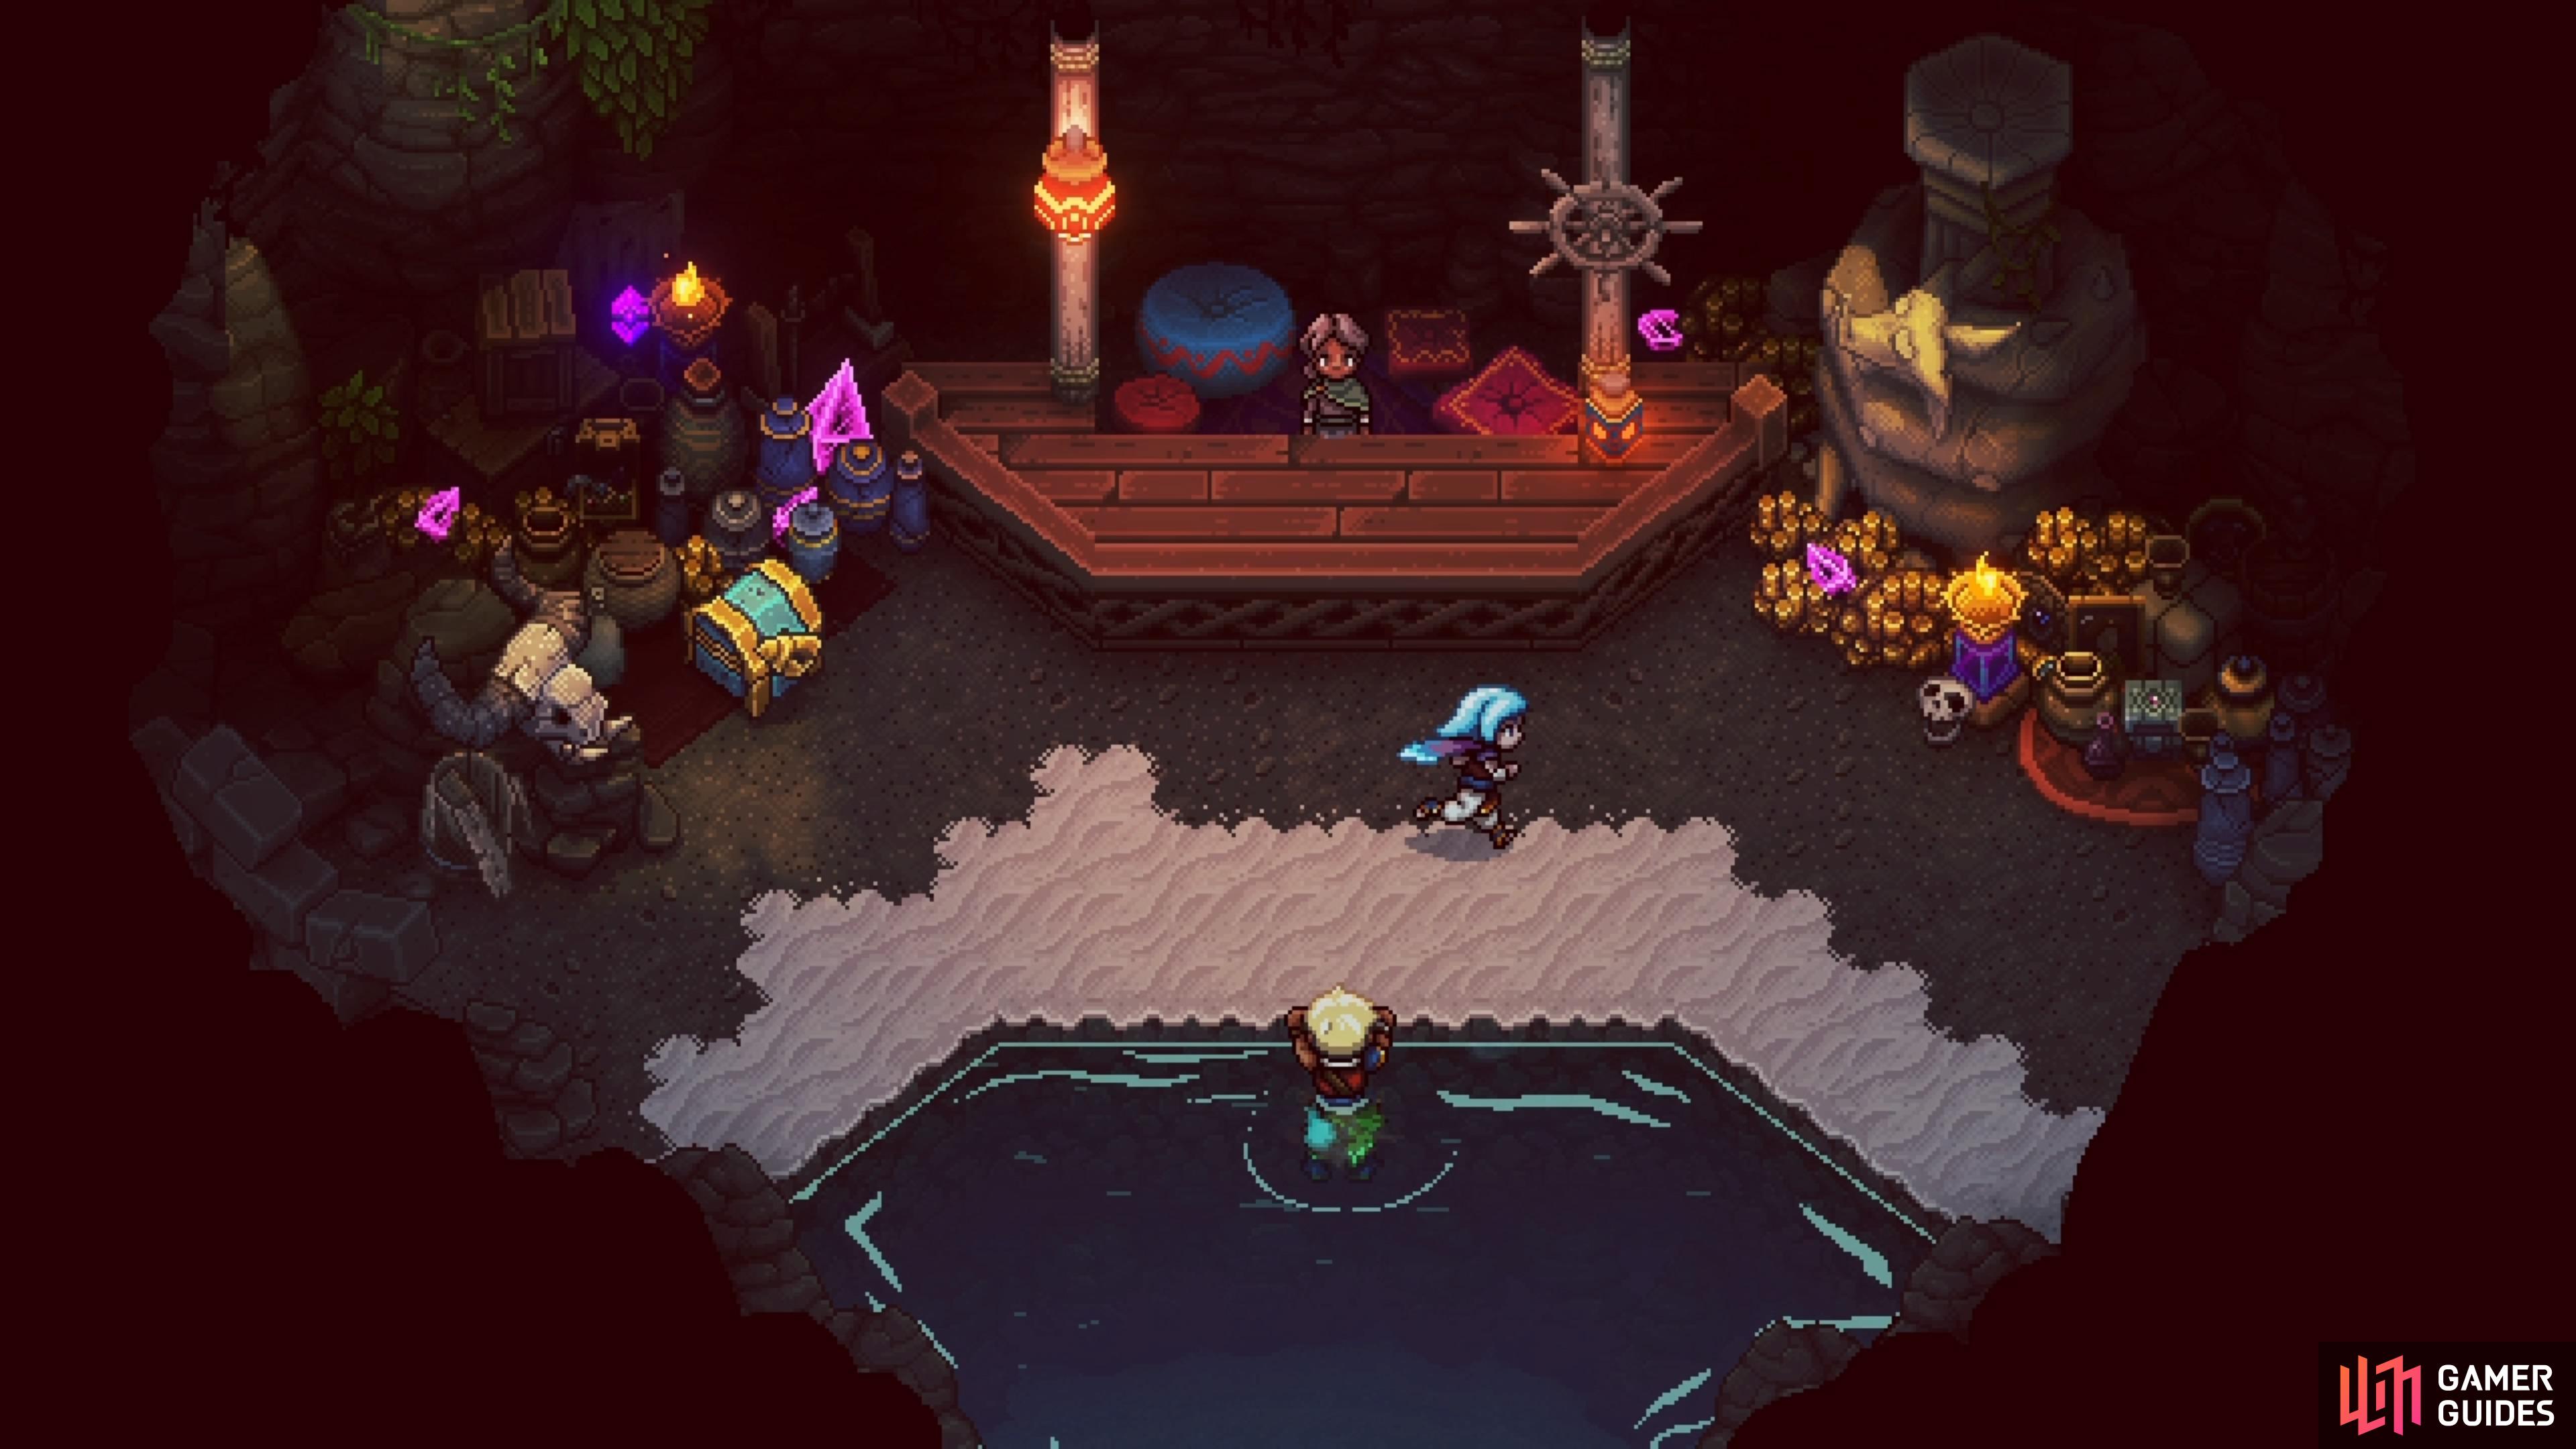
Artful Gambit Relic
The final Relic on this list won’t be found until near the end of the game. It will be in a chest in the Throne of The Queen That Was area, which is a completely optional section that you can visit right before the final portion of the main story. This Relic is the epitome of challenge, as it will reduce your HP by 95% (after taking into account all other boosts). In addition to that, enemies will become invincible while casting skills, but if you manage to time a block, then all damage will be reduced to 1. Lastly, Timed Hits from your party will deal double damage. There is no incentive to use this Relic, though, other than for the What a technique! trophy/achievement.
No Comments