
You once visited the Forbidden Cavern in Sea of Stars, during the prologue, but things didn’t end up so great back then. After finishing up the final test at Zenith Academy, you will need to travel through the Forbidden Cavern once more. Only, this time, you will be a lot more prepared for the dangers within it. This page will guide you through the Forbidden Cavern, netting you all of the treasures inside it.

It’s time to finally go through the Forbidden Cavern for real.
Enemies in the Forbidden Cavern in Sea of Stars
| Enemies |
|---|
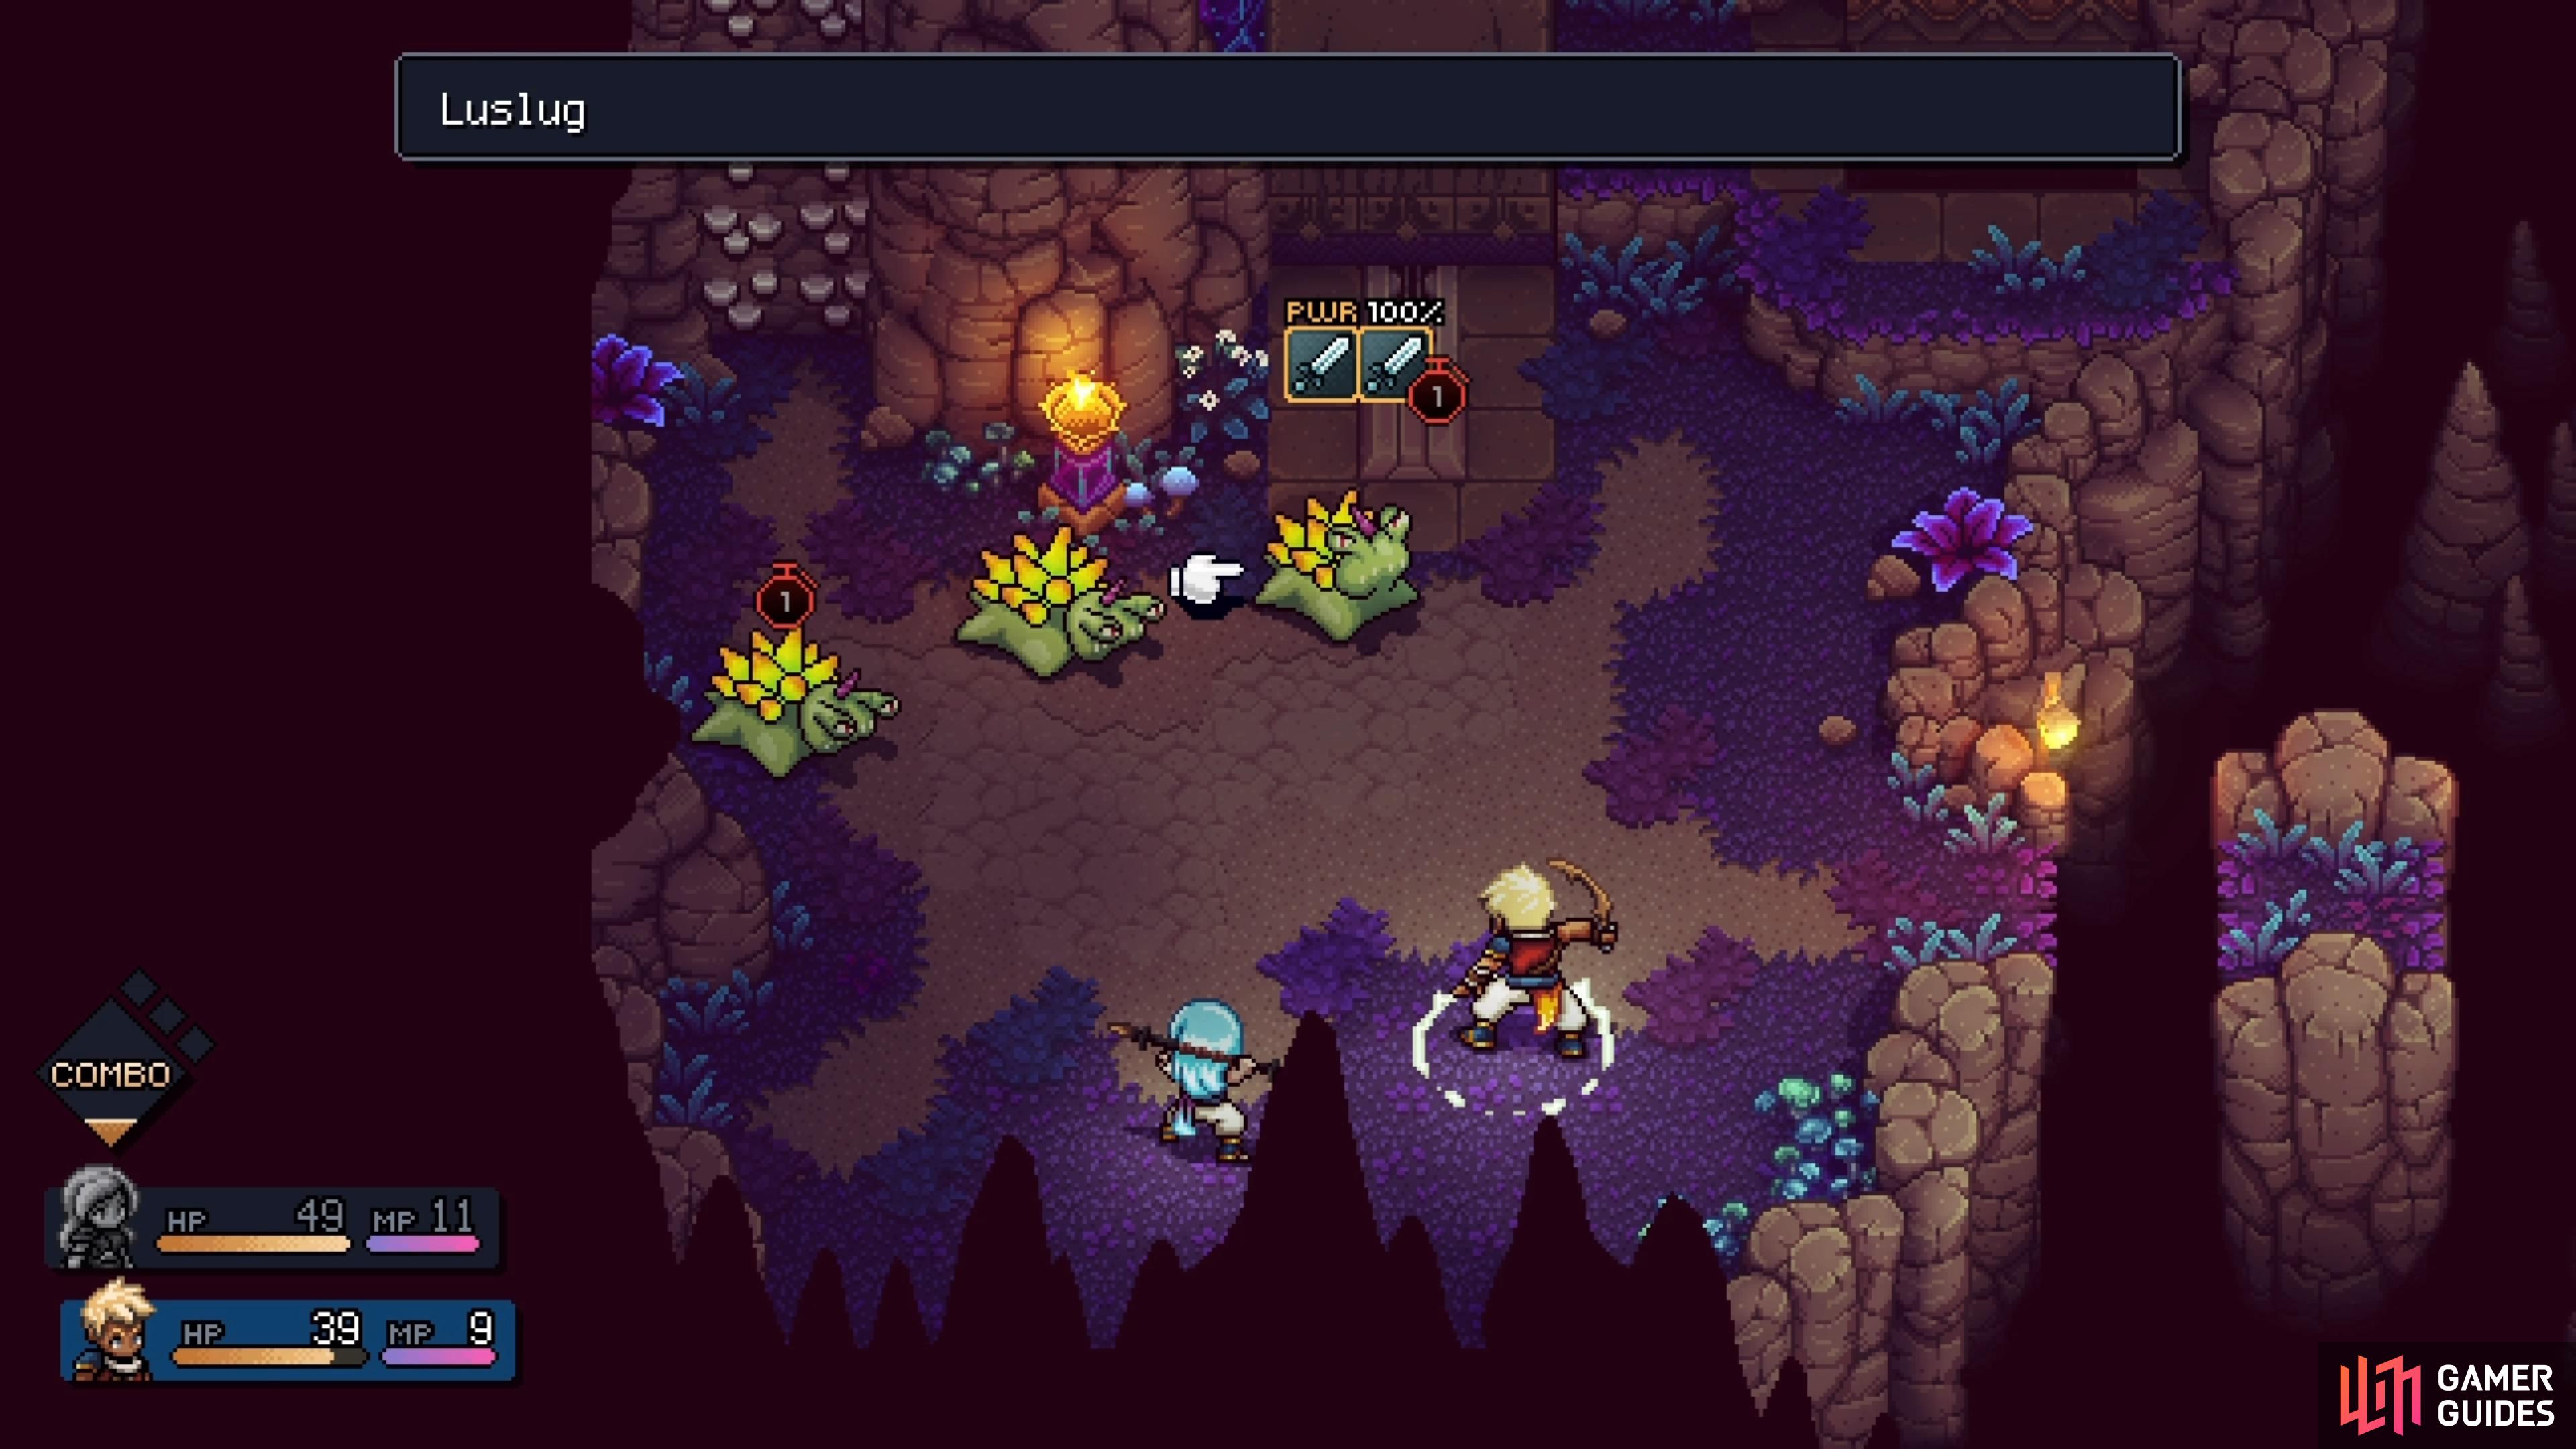
| Luslug |
| Bosslug (Boss) |
All Treasures in the Forbidden Cavern in Sea of Stars
| Treasure |
|---|
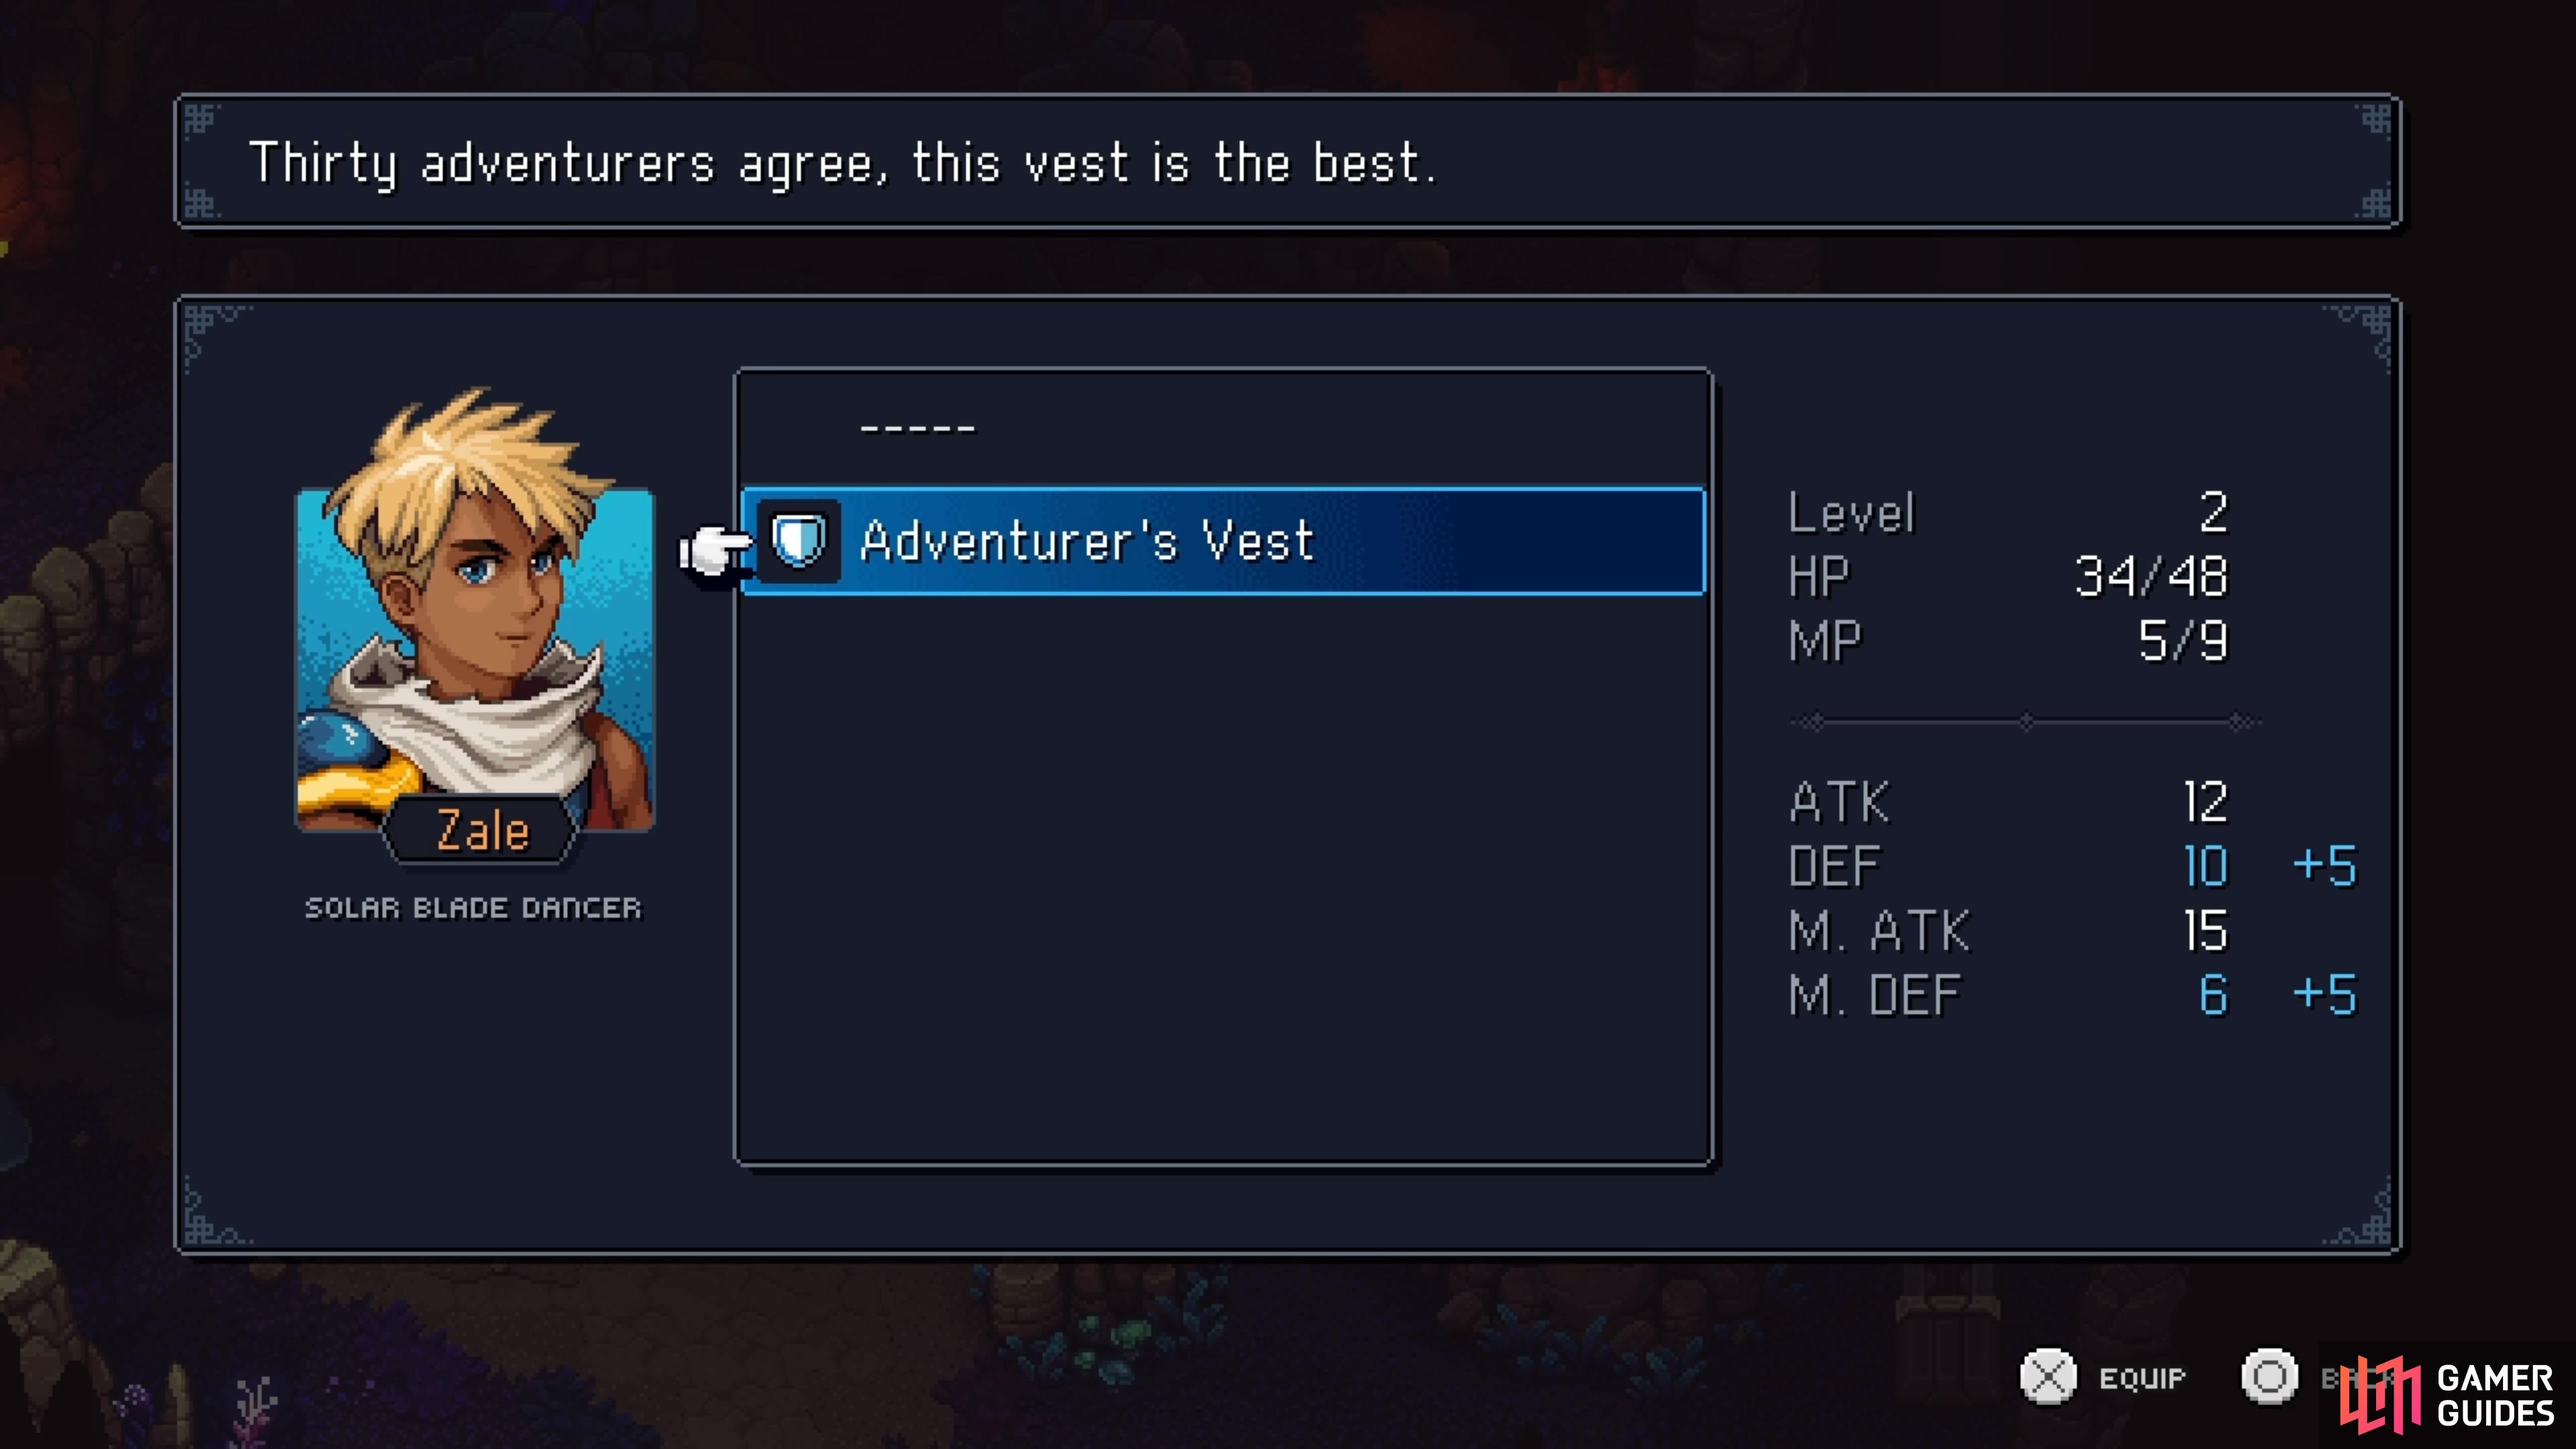
| Adventurer’s Vest (Armor) |
| Forbidden Cavern Key |
| Mushroom Soup |
| Shiny Pearl |
| Leeching Thorn (Accessory) |
| 60G (after boss) |
| Adventurer’s Vest (after boss) |
Open the gate leading inside the Forbidden Cavern, then continue north until you reach the first room. There’s nothing you can do here right now, so look to the left side to spot an opening. In the next room, you will see a large stone slab blocking another opening, but ignore it for now and hop across the gaps to your left. On the other side will be some Luslugs, the enemies that you encountered as a child. If you see them charging up a skill, they will unleash Spike Shower, which hits random characters twice (both could hit the same character, or one each).
After defeating them, climb the wall on the left side and jump over to the tall pillar. As soon as you step on it, the platform will begin going up, but don’t jump off of it. Wait for it to reach the bottom, where the latch will lock it into place, allowing you to climb on the set of platforms that rose out of the ground. From here, climb all the right to the right and through the opening, putting you back into the initial room.
Use the thin ledge to move over to the right, then head south to find a chest, which contains an Adventurer’s Vest. After looting the chest (and equipping the armor), head through the opening to the north. This room will have more Luslugs waiting for you, as well as a little puzzle. There is a lever on the north side, which will operate the latch on the ground. For now, climb the set of walls on the left, noticing the keyhole and chest, and jump off the right side, onto the platform over there. Doing this will raise that set of walls, allowing you to climb to the top and open the chest, for the Forbidden Cavern Key.
Drop back down to the ground and hit the lever, which should release the lock on the platform on the right side, returning the left set of platforms to its initial position. Climb back up, to the keyhole, and use the key you just got on it to open a doorway. Enter it to find some goodies, one of which is some Mushroom Soup inside the basket on the right side (can be difficult to see). In the middle of the room is an item that gives you a new combo skill, called Mending Light, and to the left of that is a chest that contains a Shiny Pearl.
Continue out the left side, where you’ll find yourself in the higher area of the initial room of the cave. Climb the wall, then cross the rope and open the chest on the left side for the Leeching Thorn accessory. Go back to the other side and step on the platform on the right, which will bring you all the way back down to the ground level. This also opened the door in the back, releasing some more Luslugs into the room. Take care of them, then step through the newly opened door. All the way north, you will see that you can’t make a bridge, since the device is broken, which means you have to take a detour to the left.
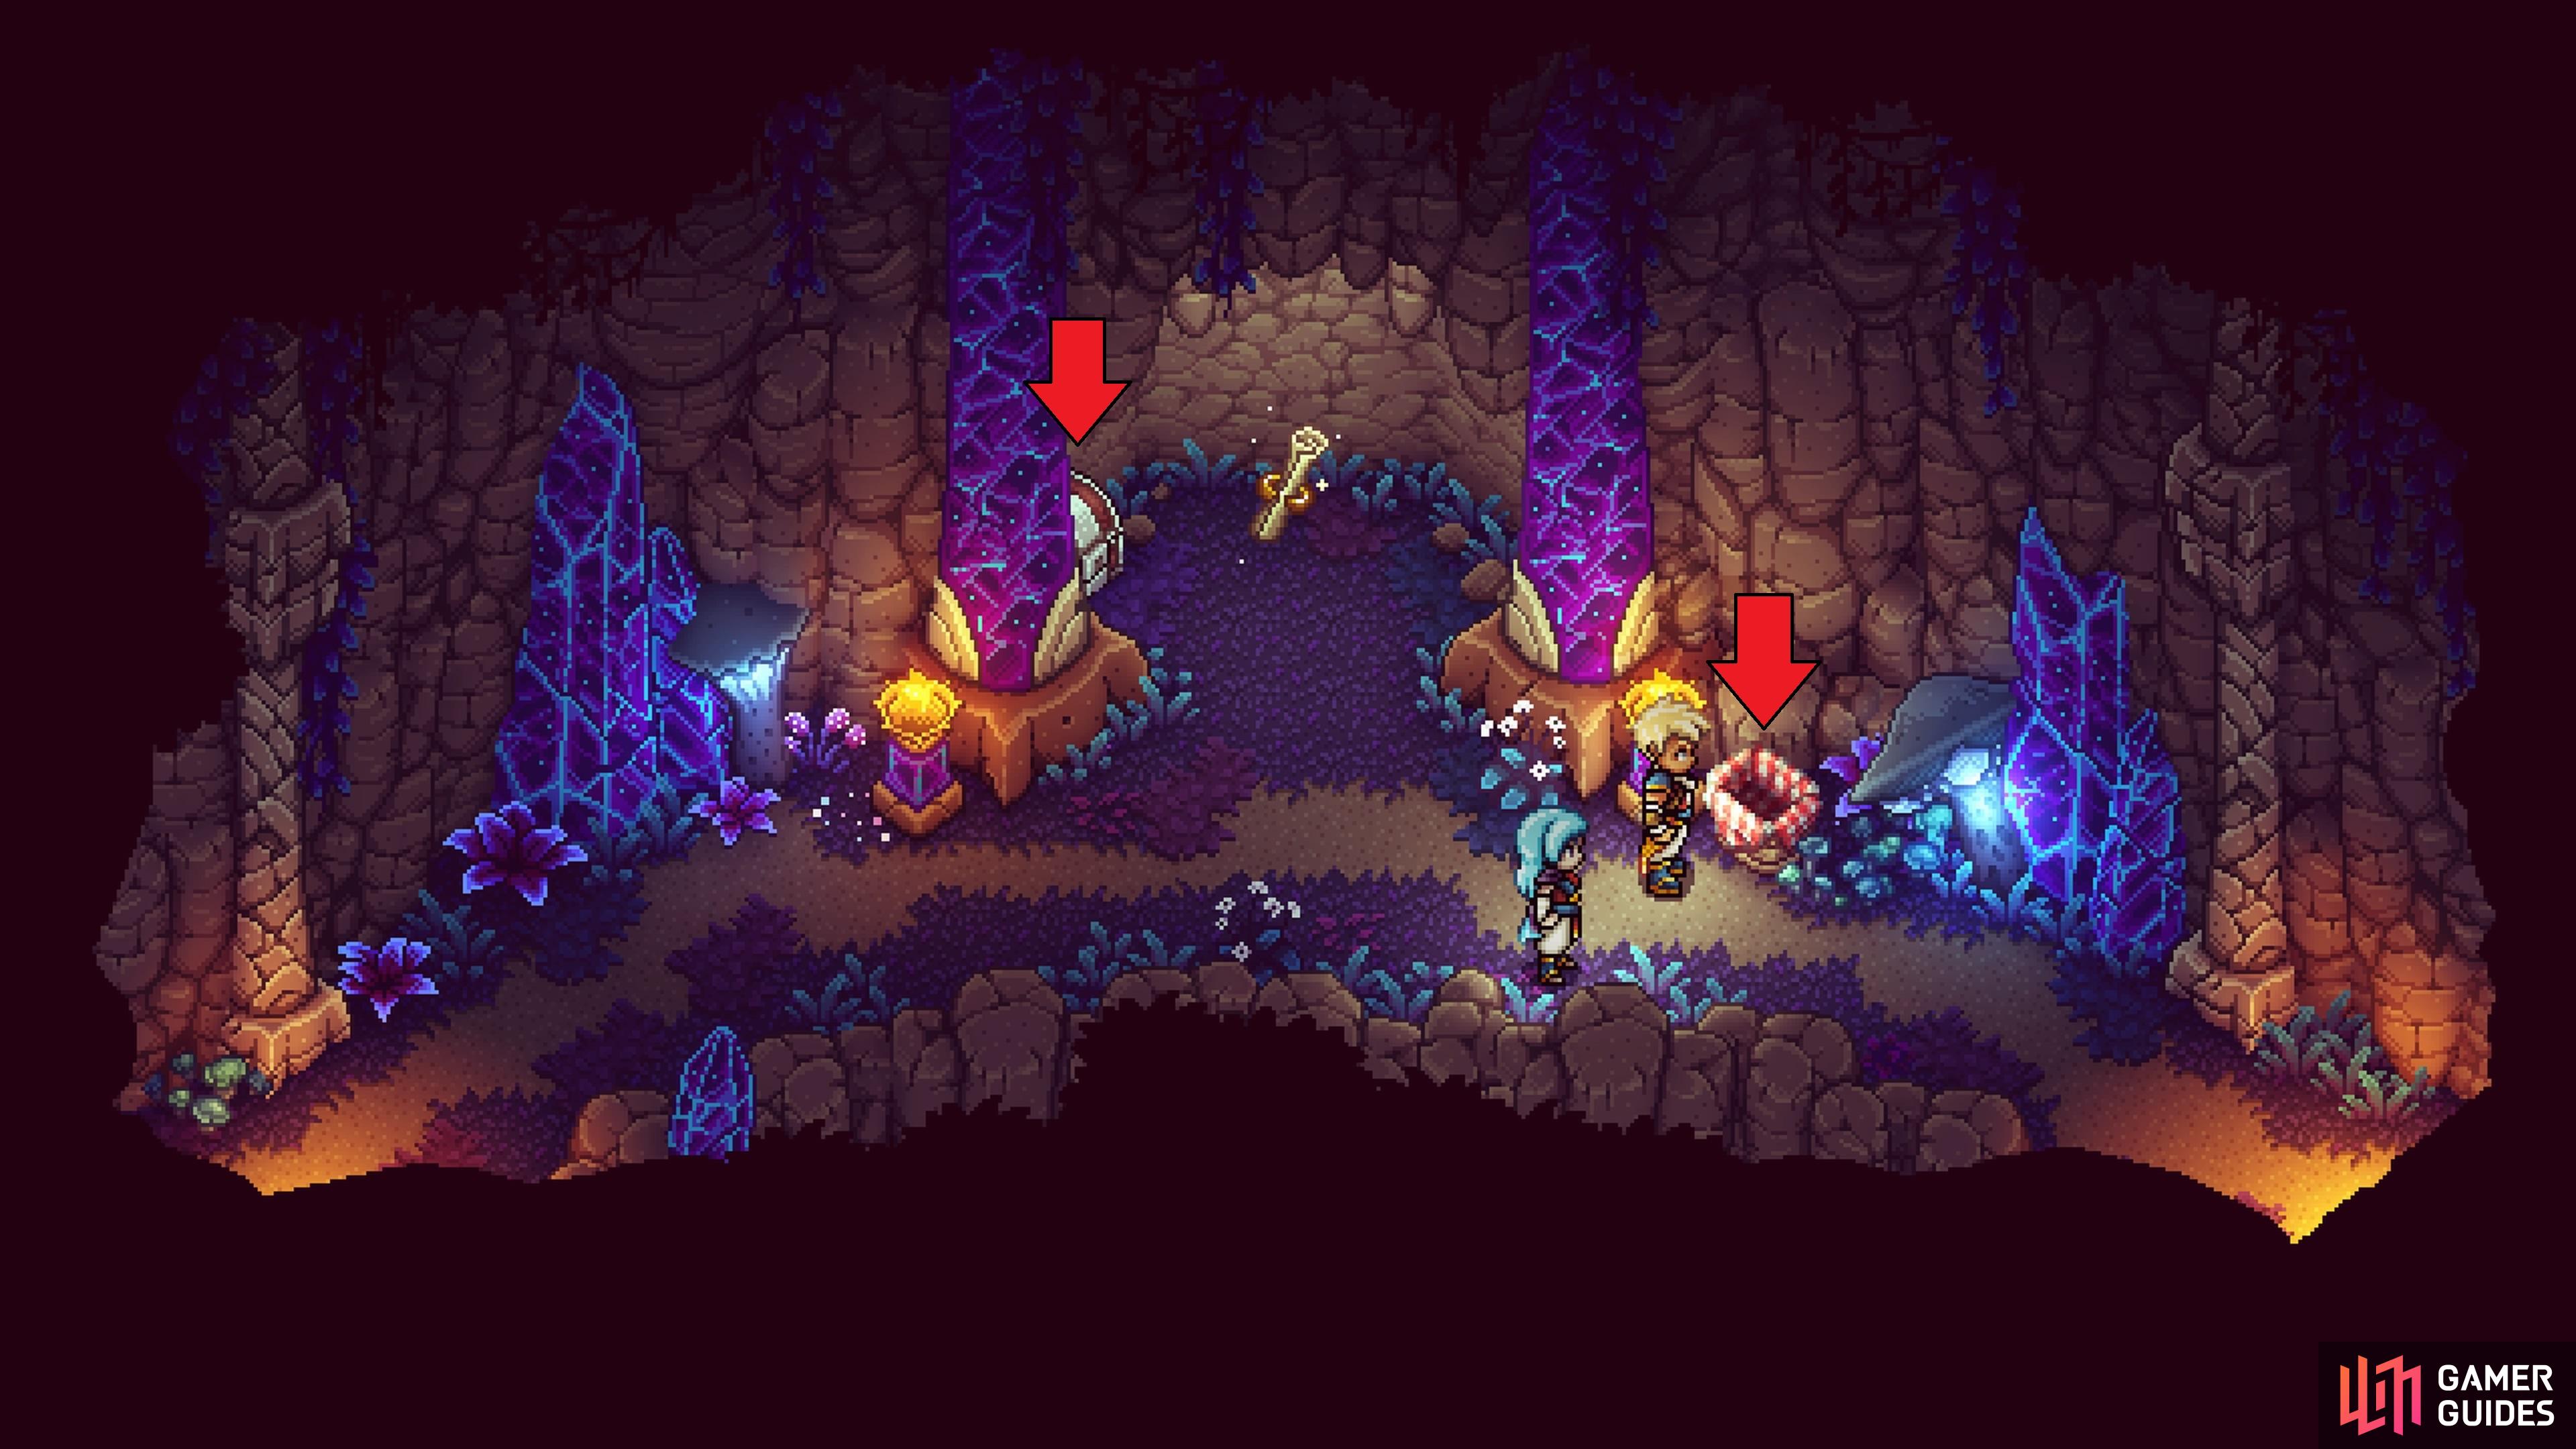
There is a basket with some food, as well as a chest to the left of the combo skill.
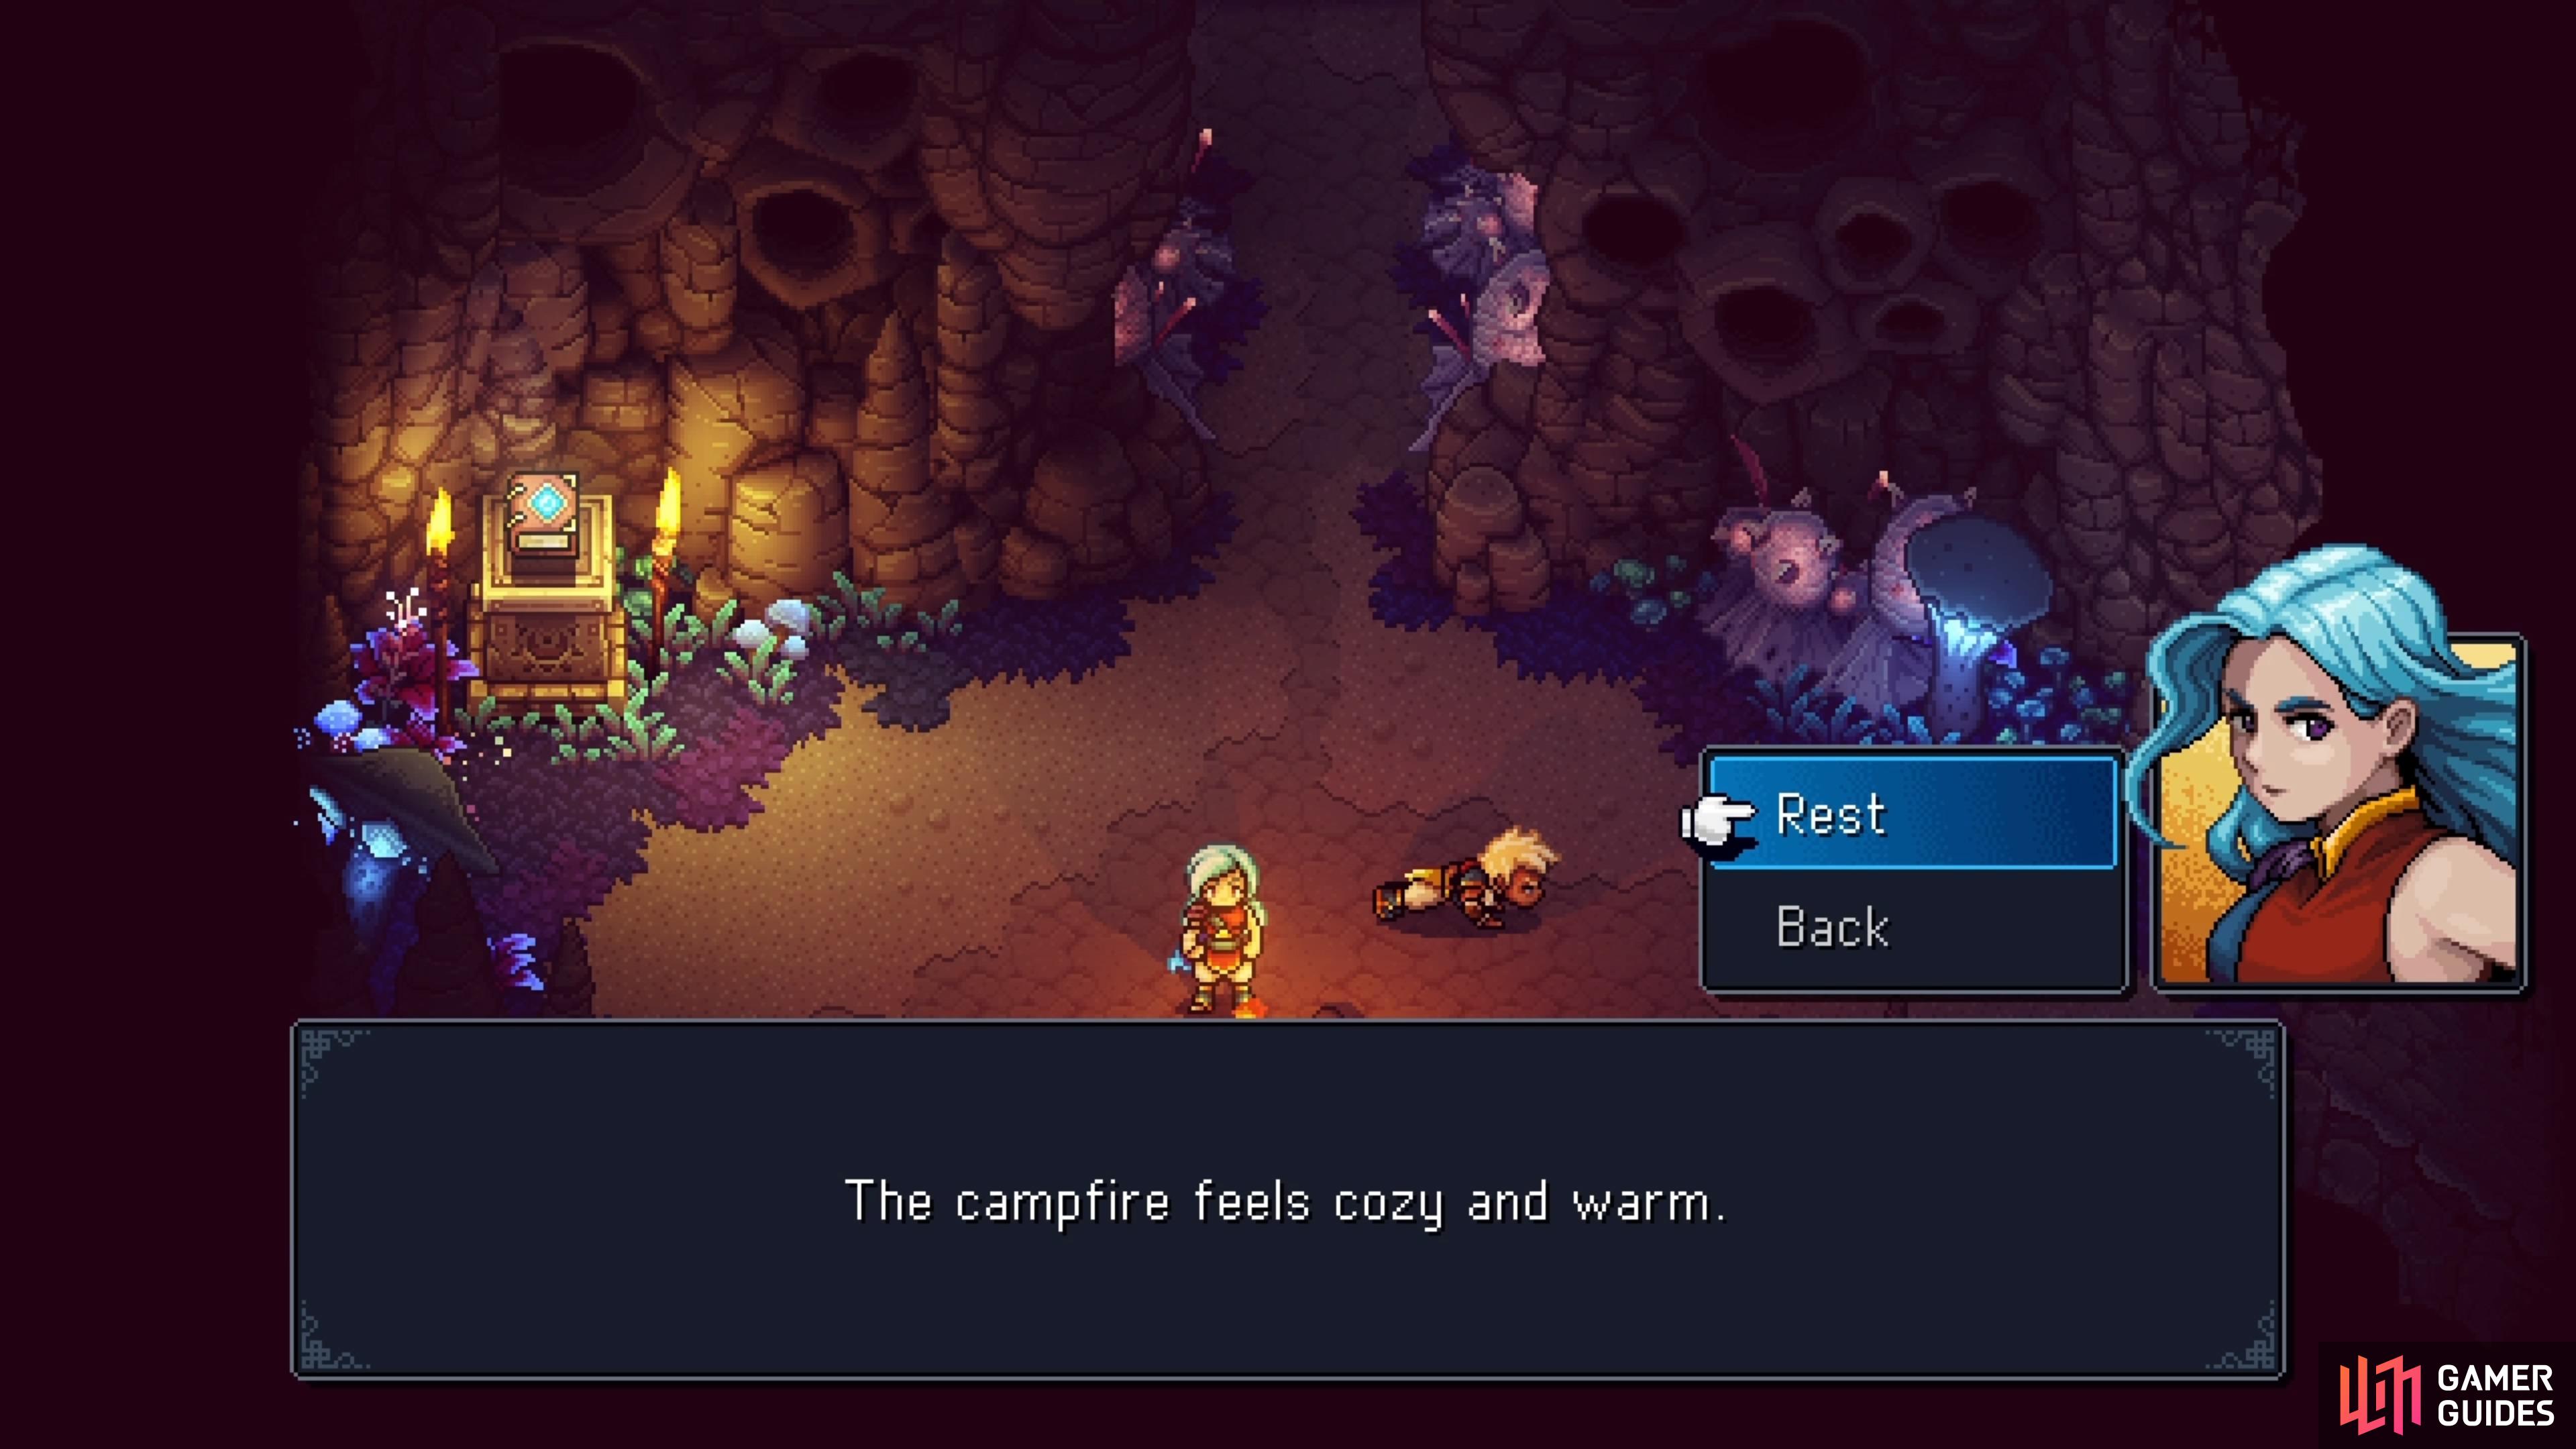
Campfires are spots where you can rest (and later, cook food).
Here, you will see what looks like some cracks on the bottom. This is actually a campfire, so hold down the button to set up camp (if you want), choosing to Rest whenever you want to exit the camp. Doing this allows you to rest and restore all your HP/MP, which you want to do, as there is a boss coming up. Make sure you also save your game with the book, then once you’re ready, head north to face your first true boss, the Bosslug.
No Comments