
After making it through the Necromancer’s Lair and defeating the witch, Romaya, your fellow companions finally make it to Wraith Island. Your goal is now the Dweller of Woe, who resides in the Haunted Mansion. Whenever you’re ready, speak to Headmaster Moraine and tell him you’re good to go. You’ll now be whisked straight to the mansion after a few scenes, with the group splitting up to do their respective tasks.
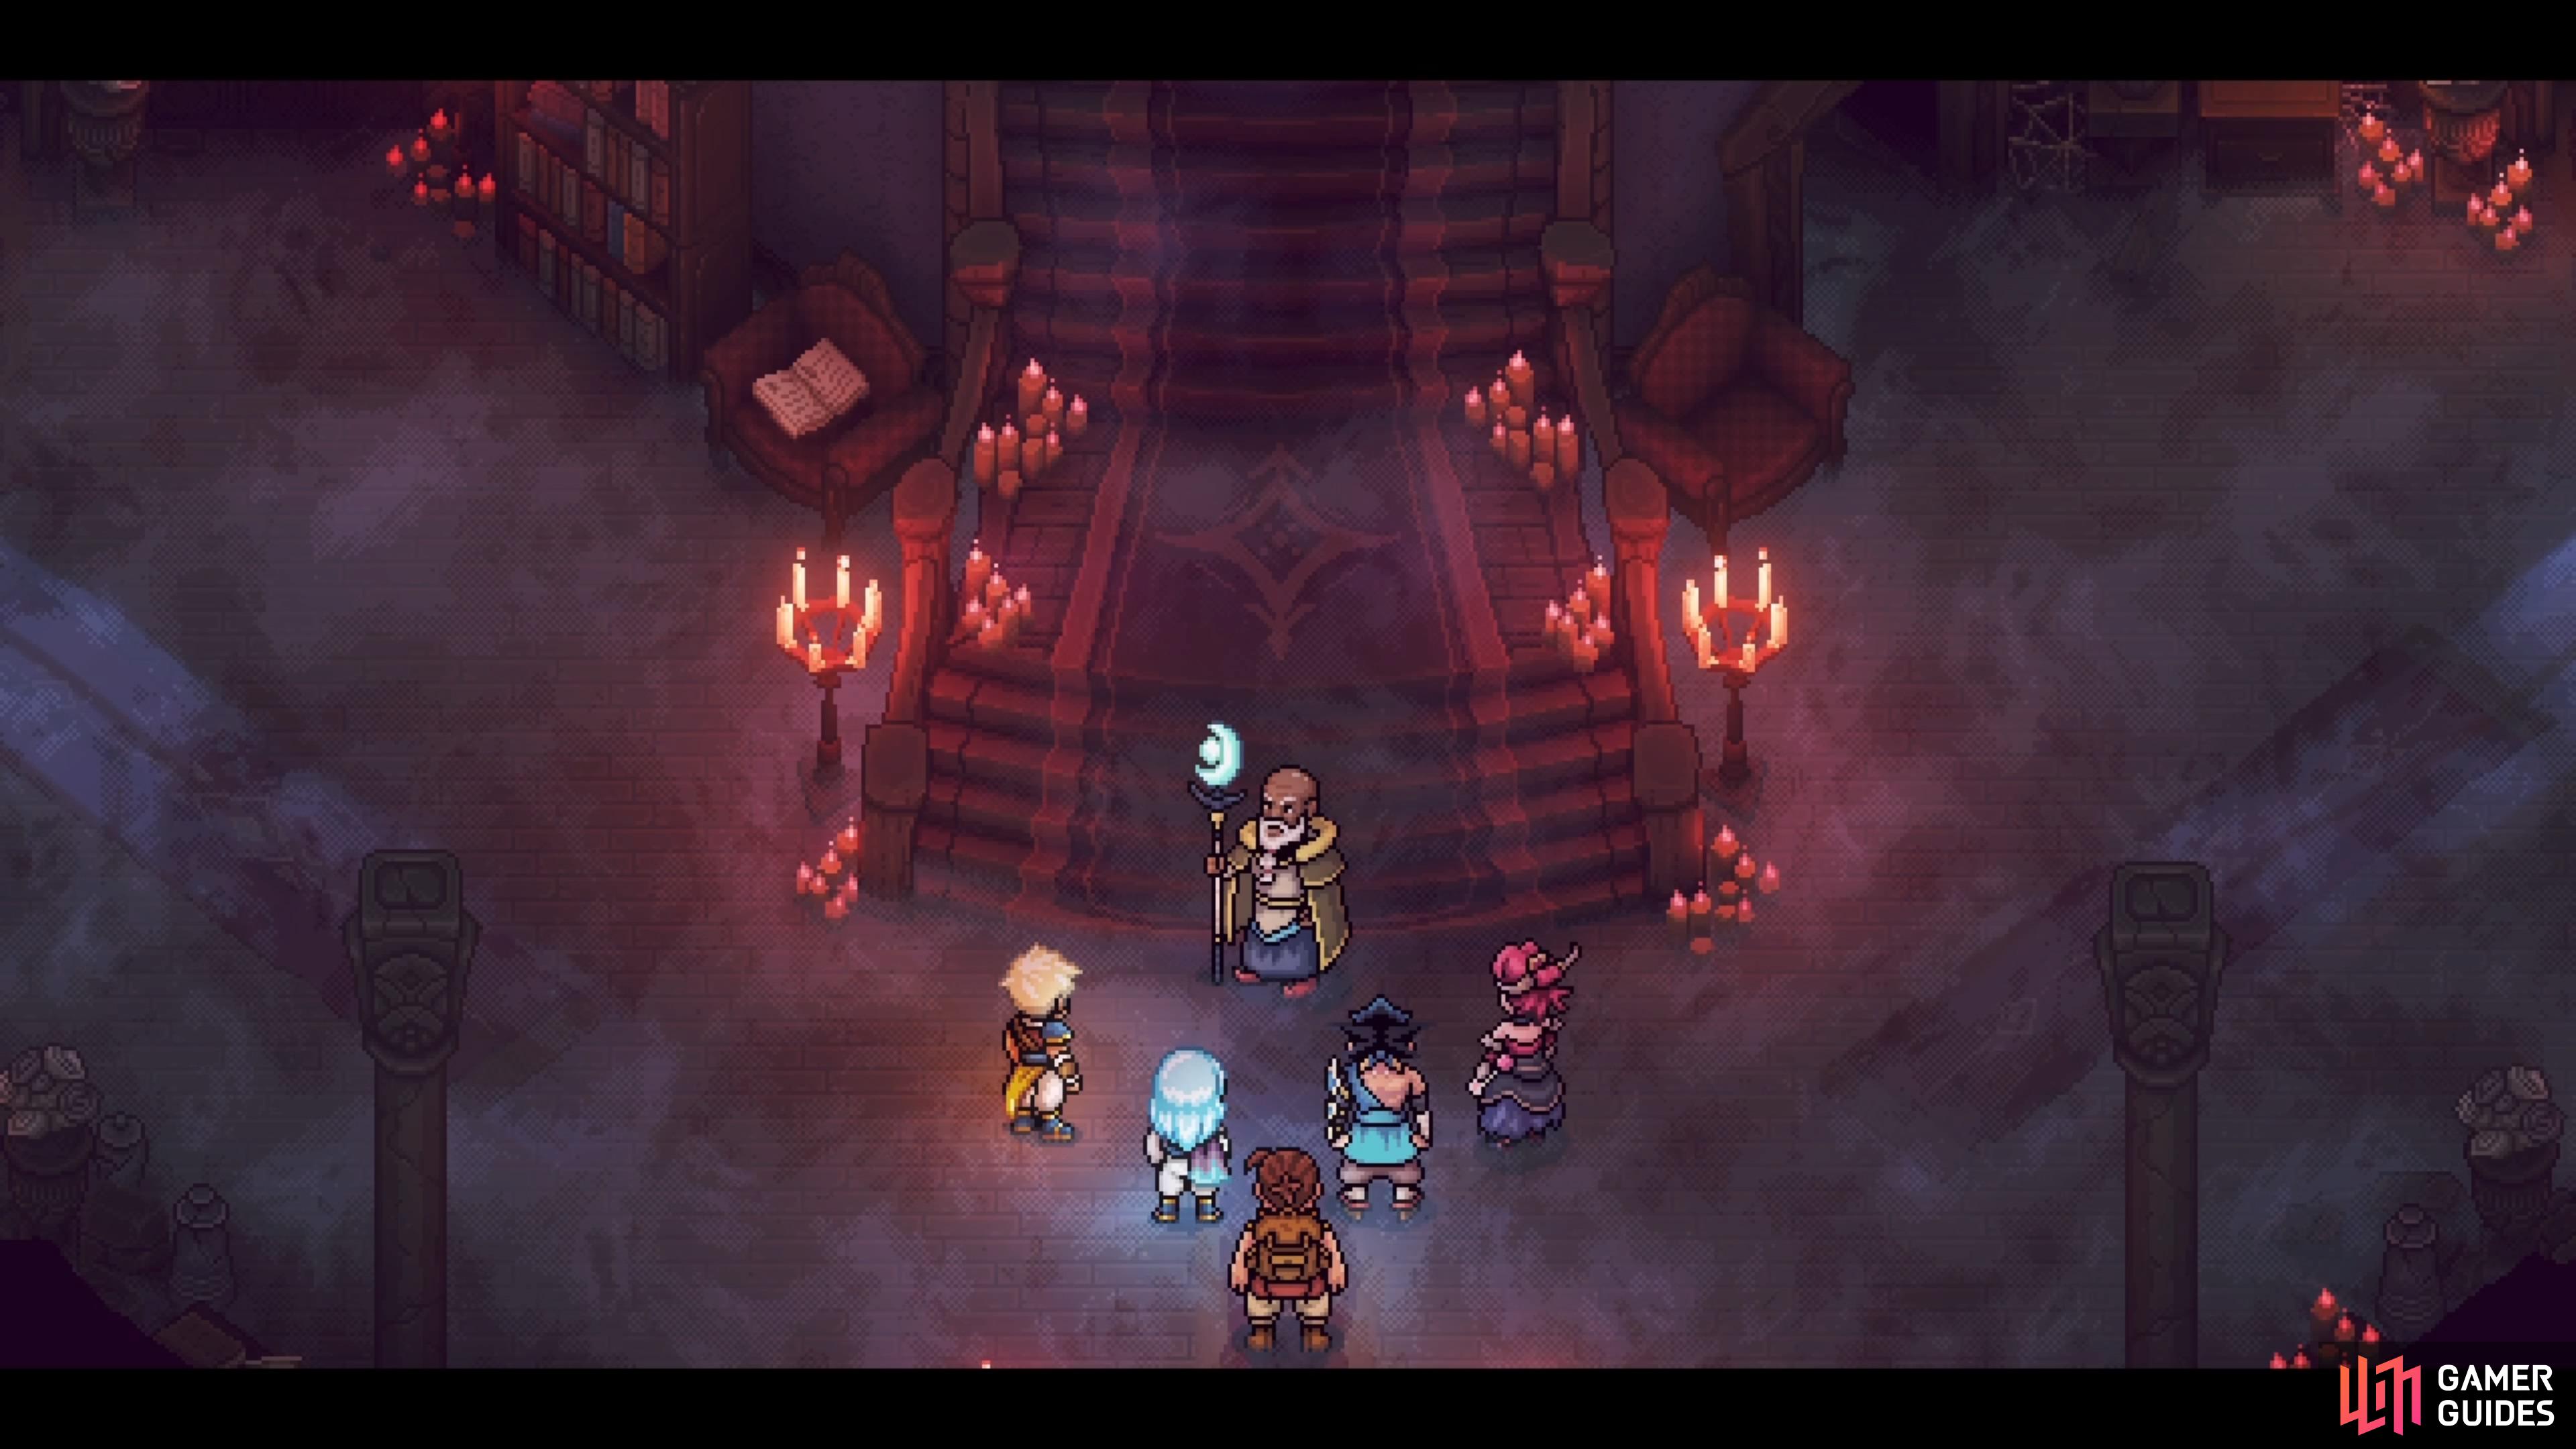
The Haunted Mansion is the stage for the showdown with the Dweller of Woe.
All Haunted Mansion Enemies
| Enemies |
|---|
| SpellBook |
| Waltzers |
| Boulbe |
| Woodland Spirit |
| Lonzon |
All Haunted Mansion Treasure Chests
| Treasure |
|---|
| Obsidian Ingot |
| Recipe: Mooncradle Fish Pie |
| Spectral Cape |
| Rainbow Conch |
Once you have control inside the mansion, head up the stairs where Moraine is located and look at the right side. You should notice the candles over there aren’t lit, so interact with them to reveal a hidden passage that will take you to the balcony with the nearby treasure chest (Obsidian Ingot). Jump off the balcony and enter the doorway just below you, where you’ll meet back up with Serai. She joins back up with your party, giving you four characters now. You can switch characters via the menu, but also in battle, using the Swap command. When you switch characters in battle, the one brought in will still get their action that turn, so feel free to do this as much as possible.
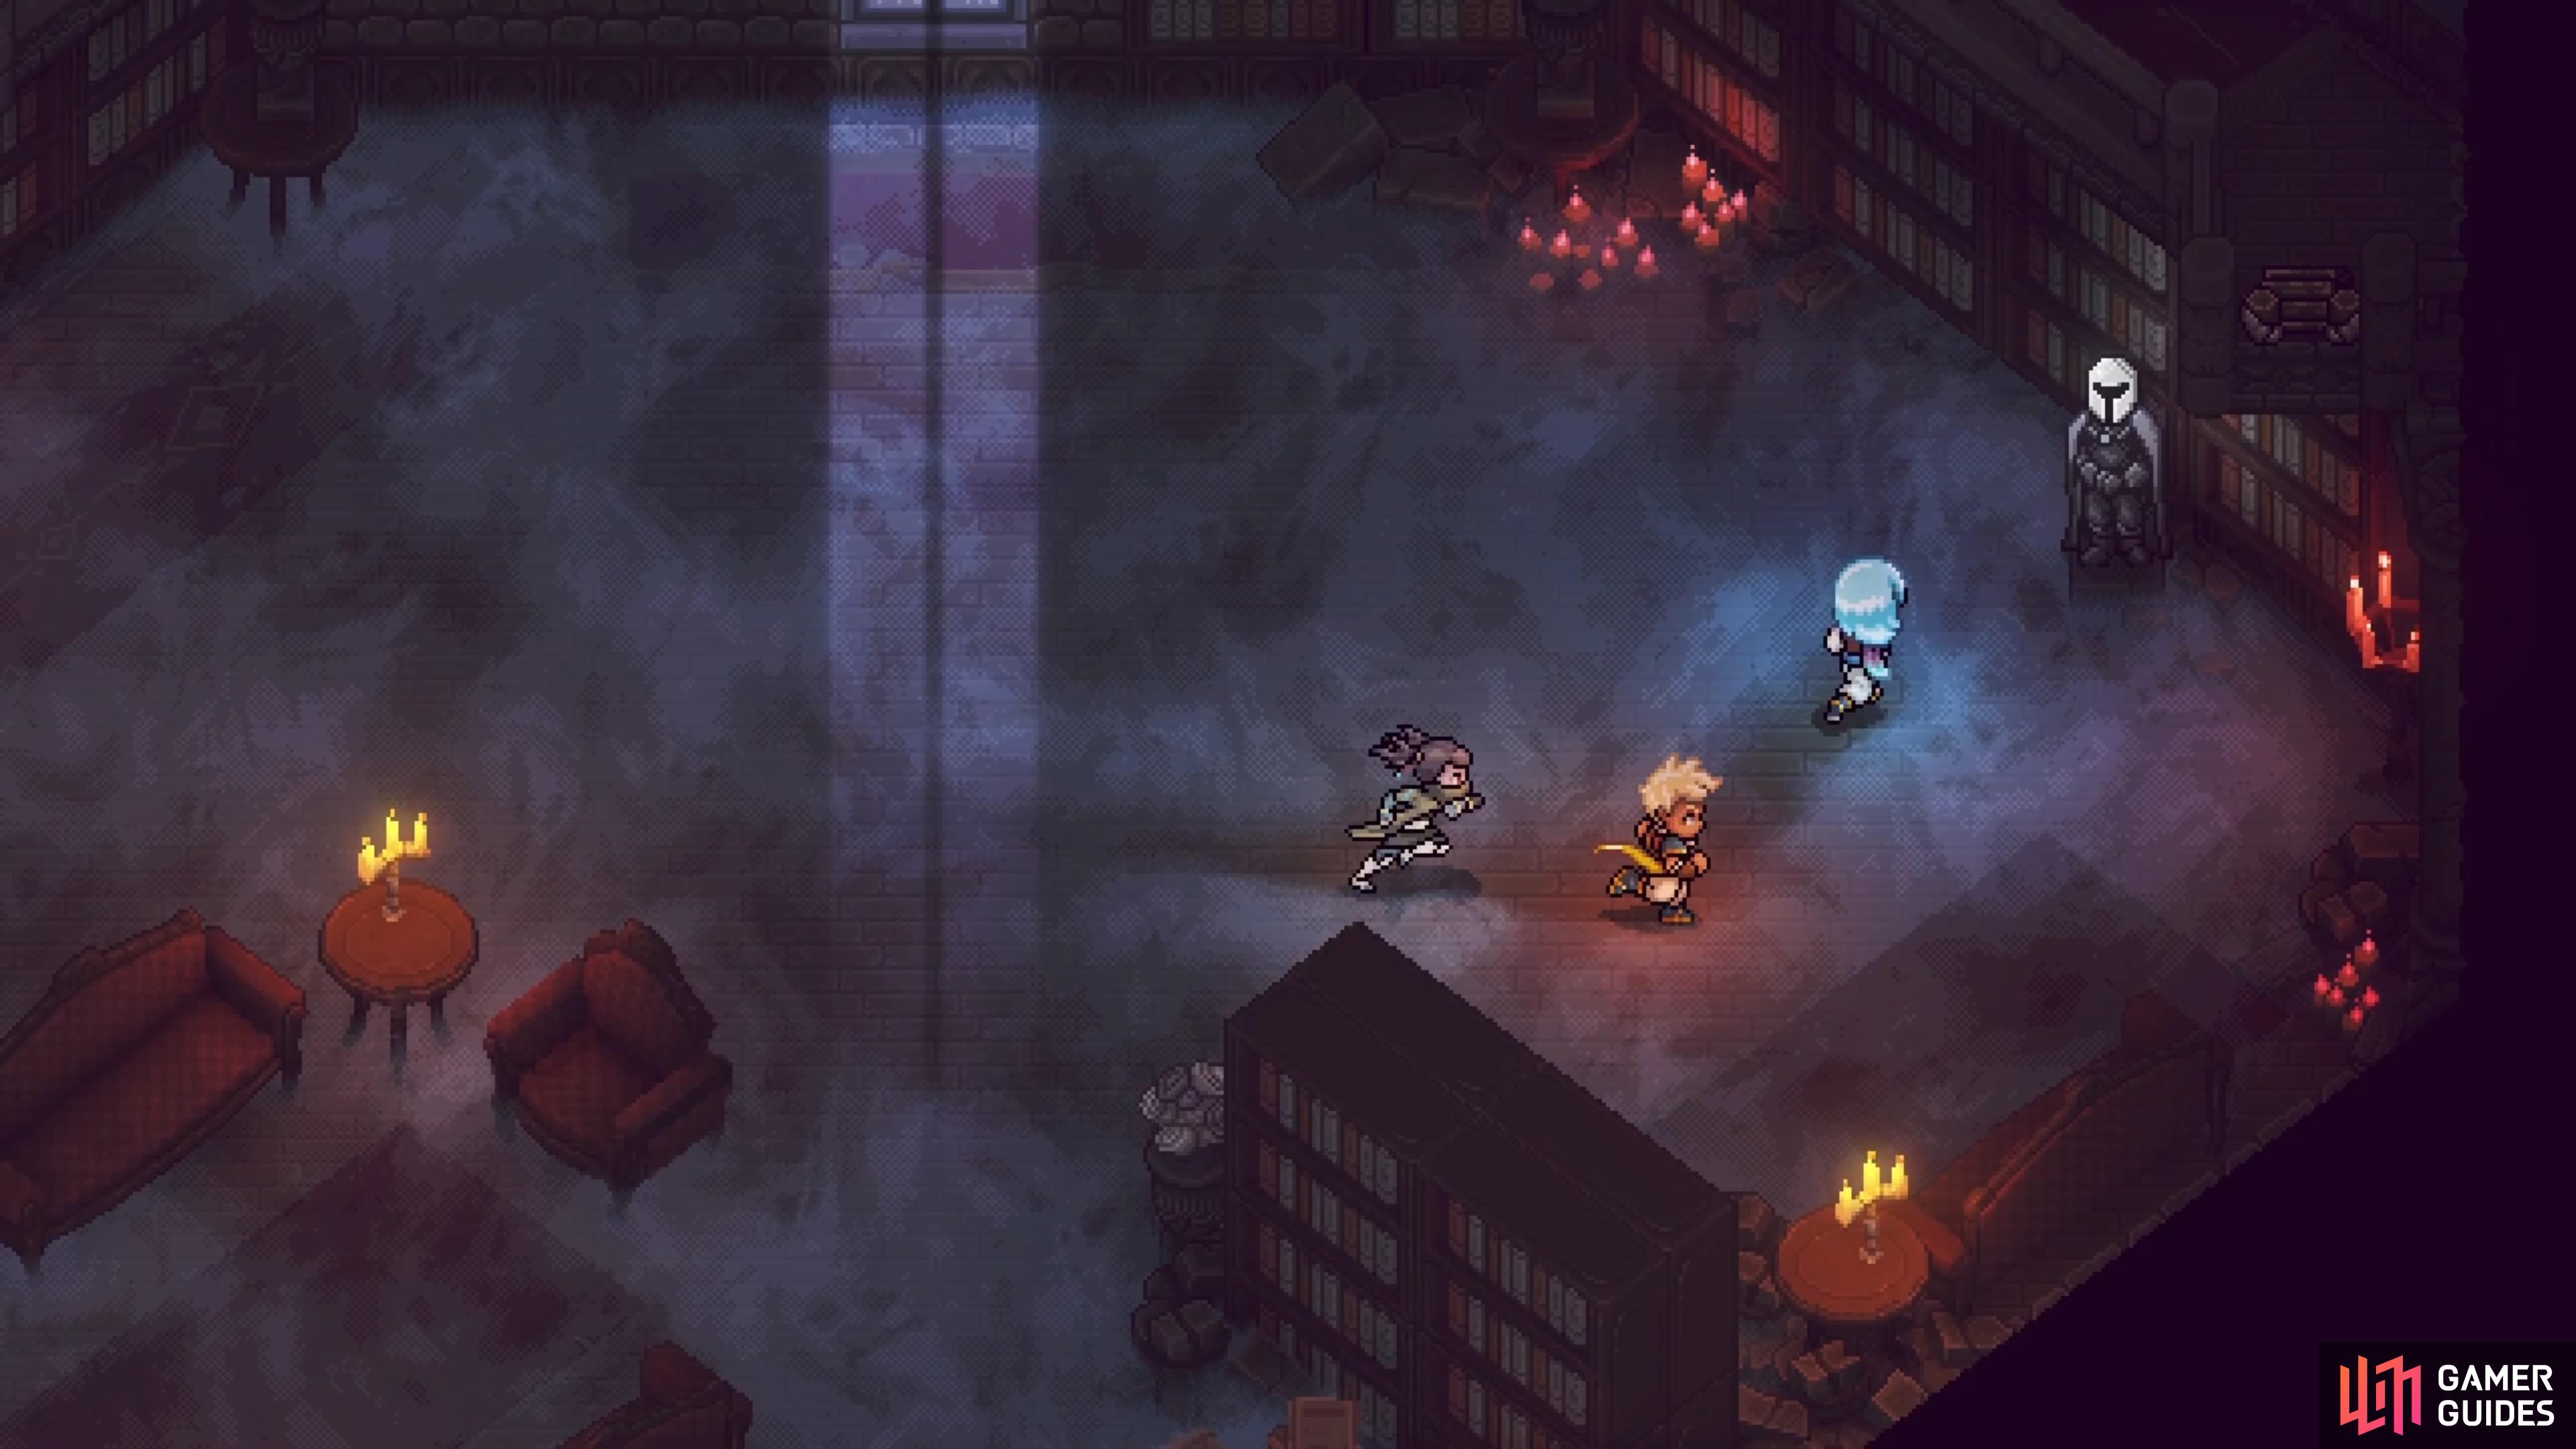
Continue into the next room, where you’ll find a new enemy on the right side, called SpellBooks. These enemies will always have Locks for their moves, one with two, one with three, and one with four Locks. The one with three Locks is their least dangerous, while the one with four Locks is the most damaging. After defeating the enemies here, the fog in the room will clear and a ghostly apparition will appear. Speak to him to have him activate the nearby fire, allowing you to use it to rest. If you speak to him again, he will offer some items for sale, but there’s really nothing here (you’ll get an extra Spectral Cape in a little bit, so save your money).
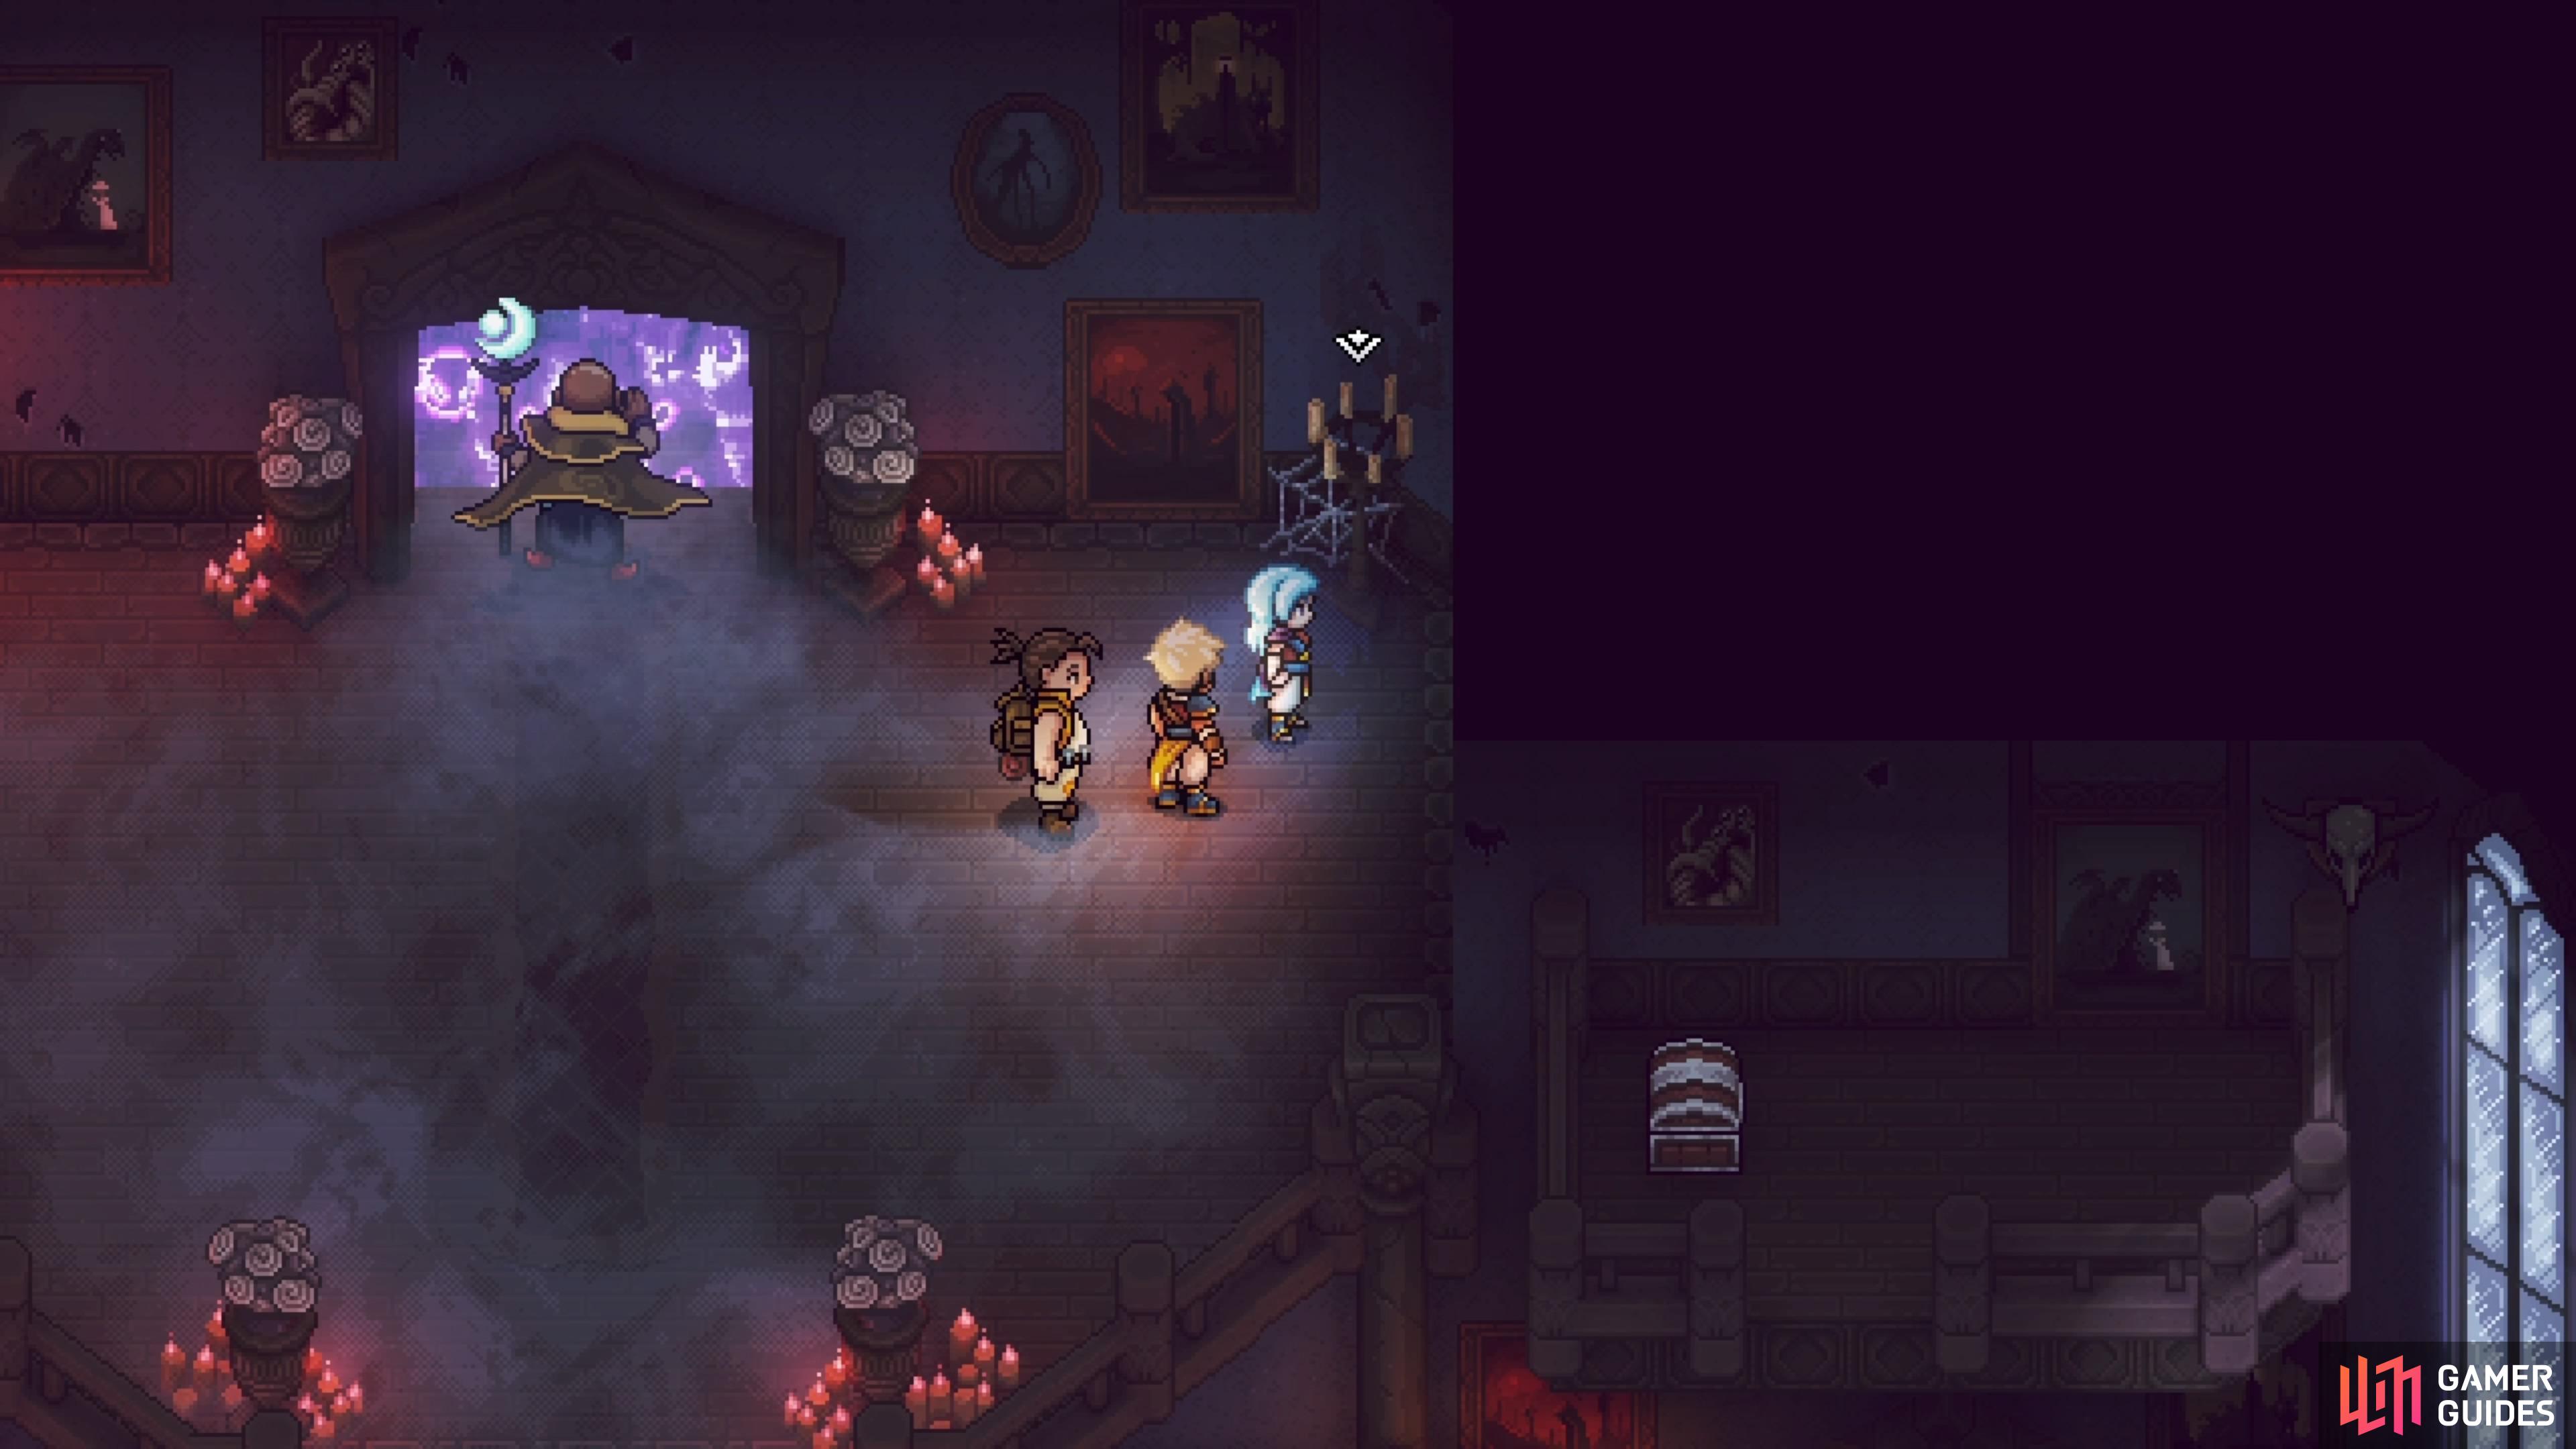
Look to the northeast and take the exit there, where you’ll encounter another new enemy, the Waltzes. They’re not all too bad, although their normal attack can be a little tricky, as it curves before hitting the target. Speak with the ghost that appears after the battle, who will point you towards the torch in the upper left corner, next to the fireplace. This will move the fireplace over and create a gap in the wall, allowing you to squeeze through it, putting you on the balcony on the left side of the main foyer.

The torch to the left of the fireplace will open a secret passage.
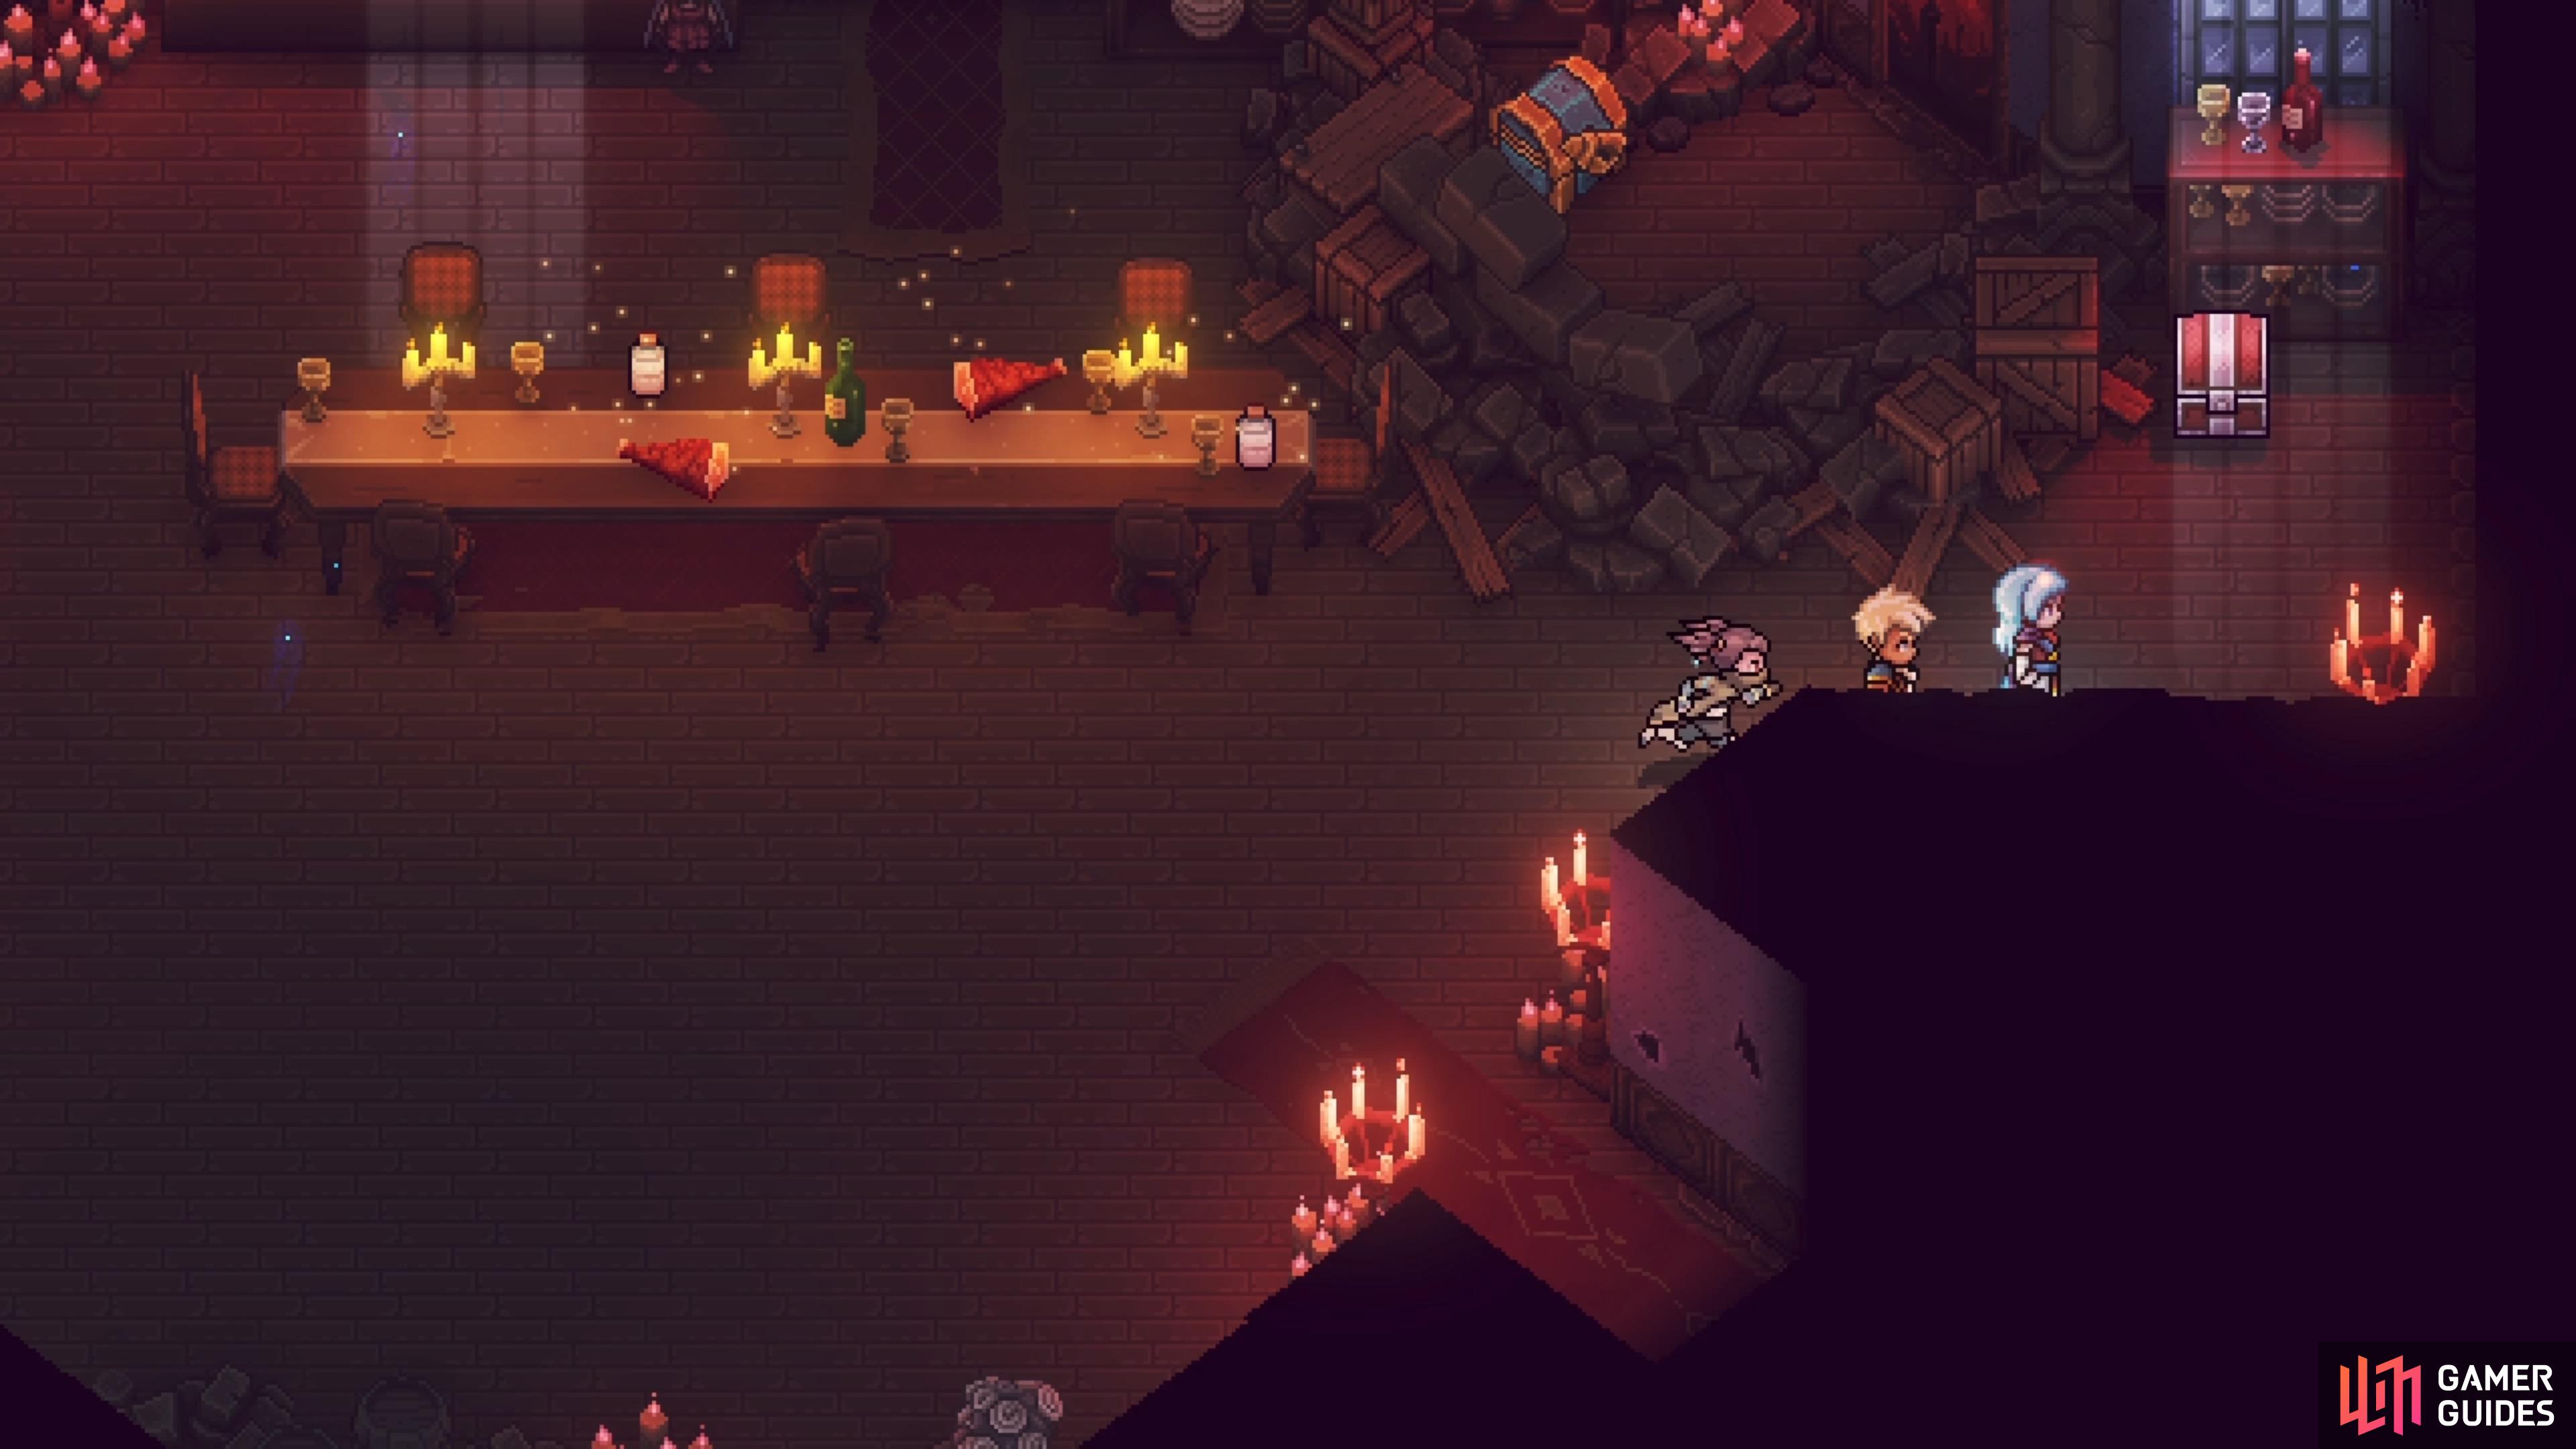
There is a chest on the right side of the dining room for you to loot.
Hit the lever there to open the door just beneath you, then drop the ladder and enter that opening. Pass through the next hallway and in the following room, you will find three SpellBooks. Defeat them, then look on the right side for a chest (Recipe: Mooncradle Fish Pie). You can see another chest nearby, but you won’t be able to reach it from this side, so ignore it for now. There’s some Meat and Dairy on the table in the center of the room, so grab it, then speak with the ghost at the top. The ghost mentions that the door next to it will lead you further, but she wants you to make her a sandwich first.
She tells you the recipe, as well as opens the door to the left for the kitchen. The recipe will be on the counter, in case you need a refresher, and the recipe is as follows:
- Two parts Hepar
- Four parts Dust
- Three parts Sugar
- One part Rust
- Two slices of Dread
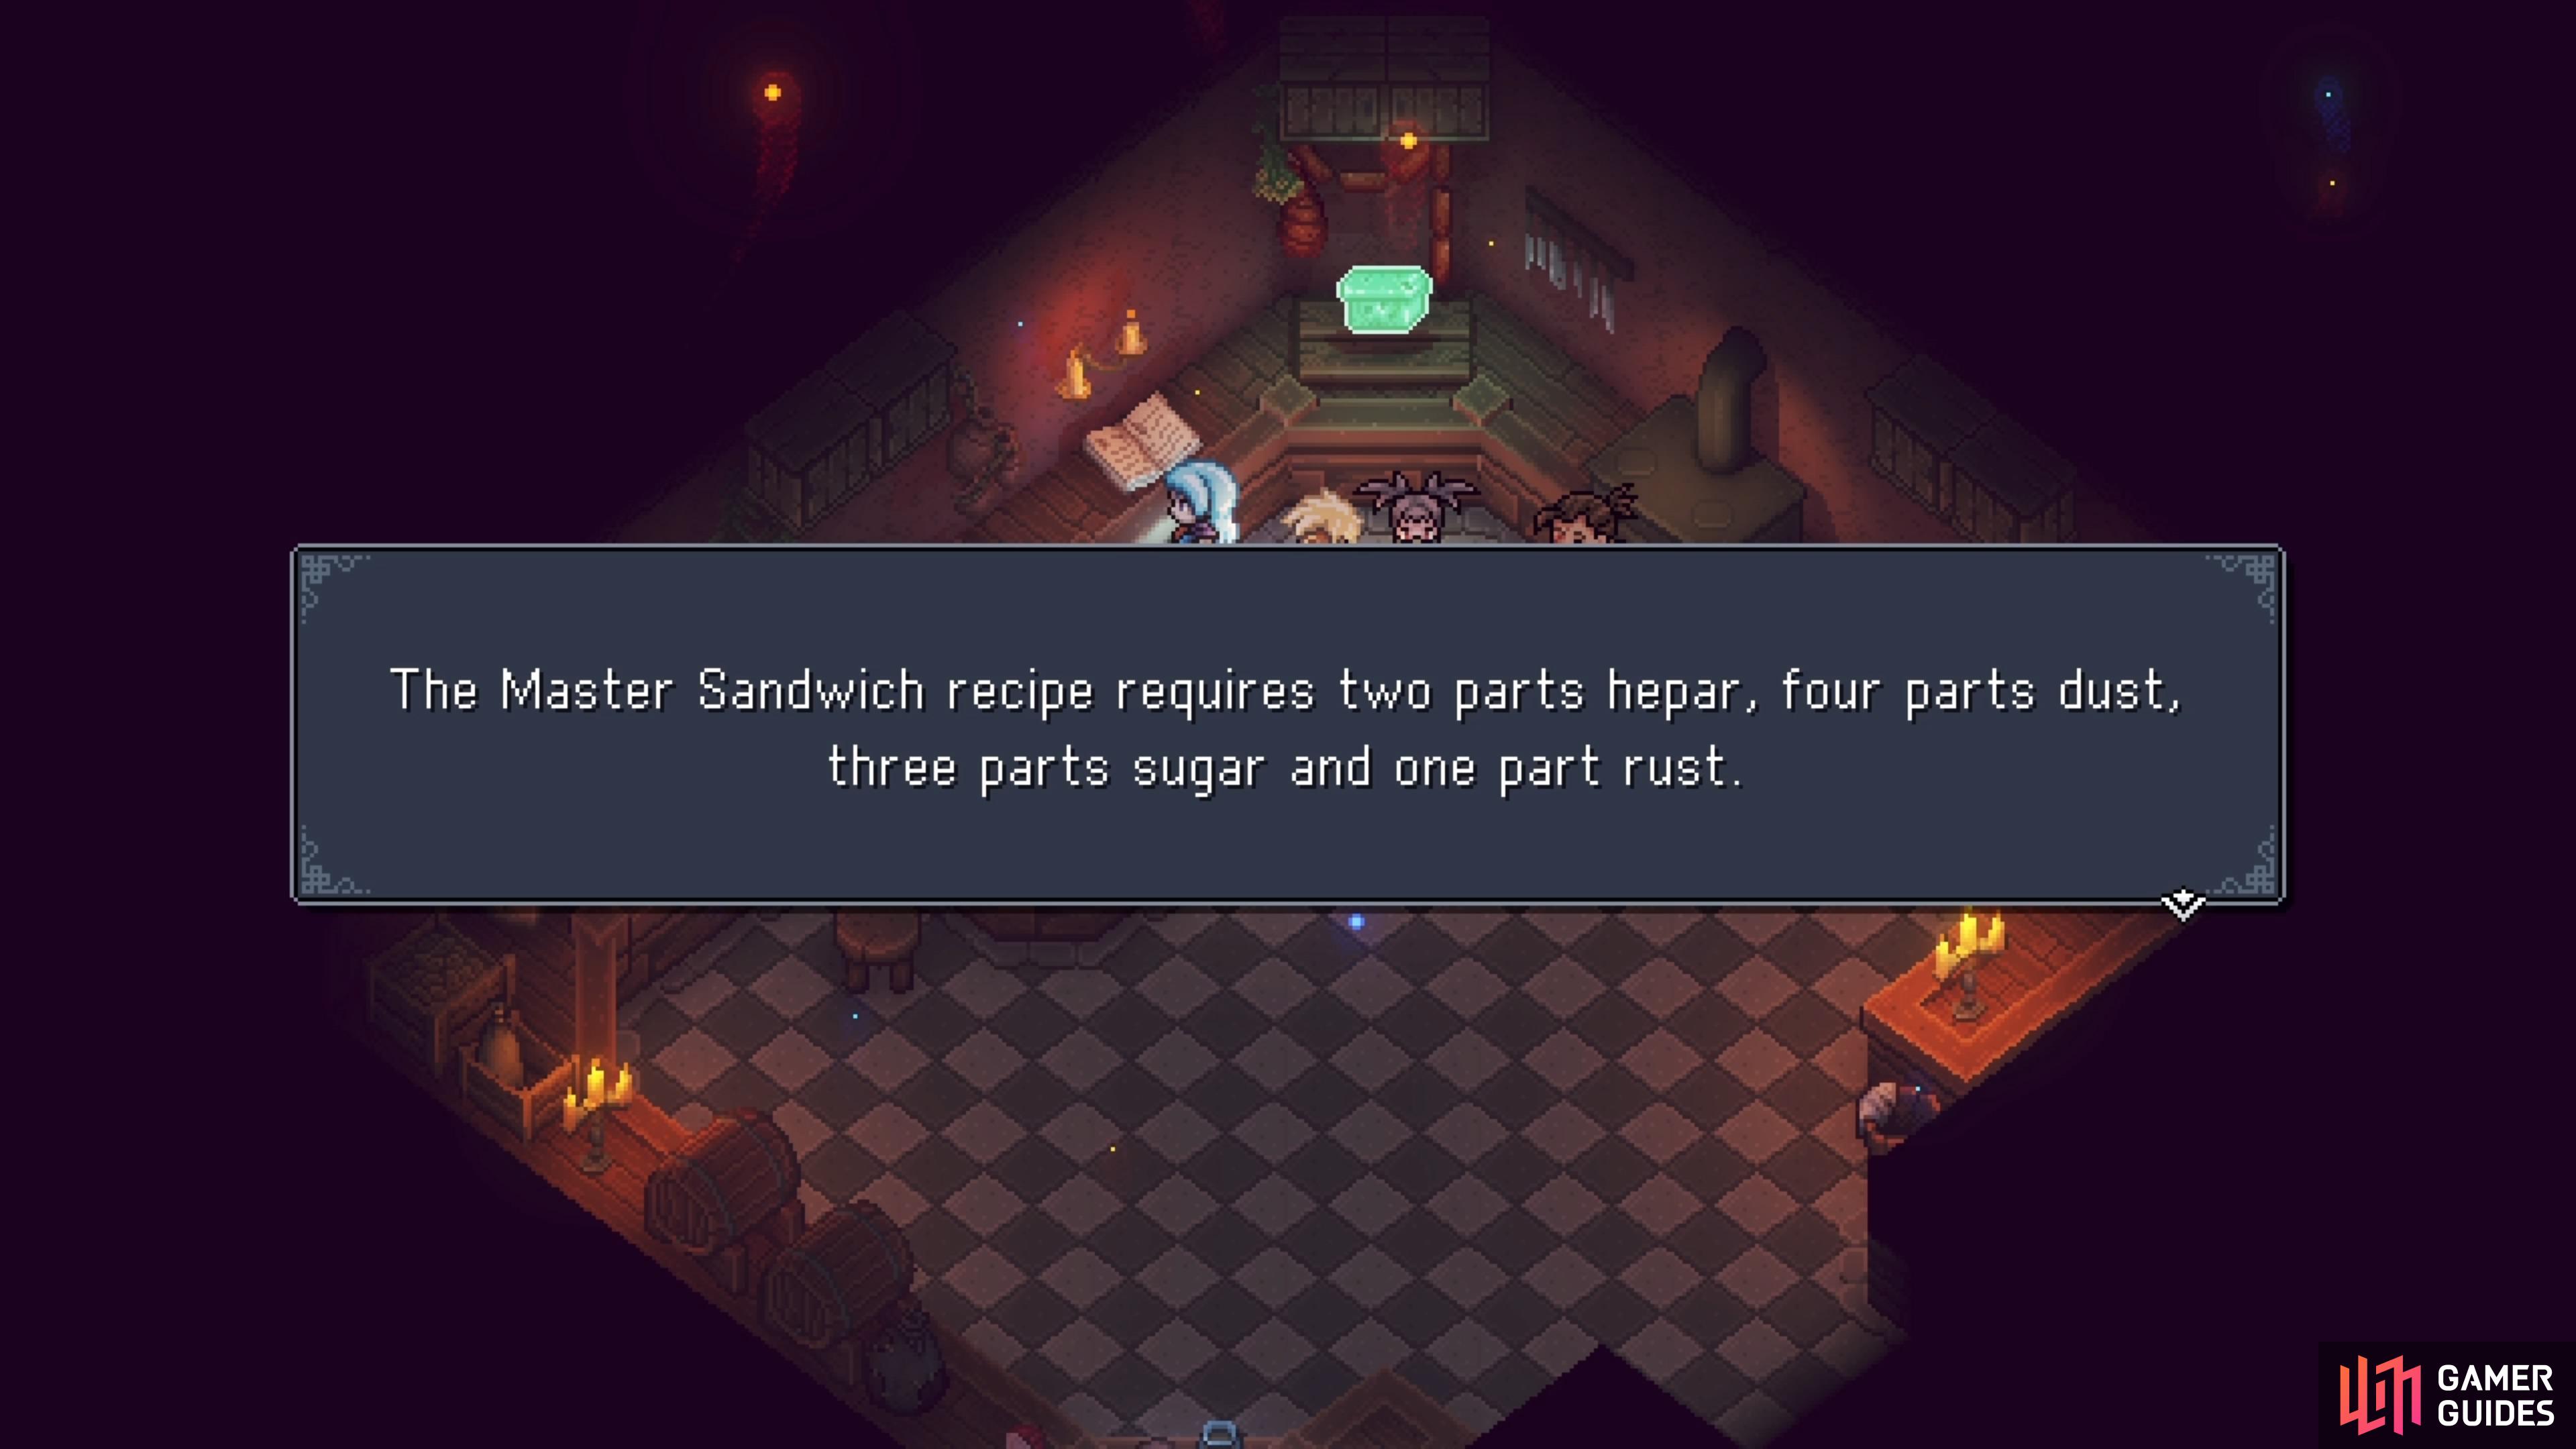
Just go up to the sparkling spots and choose the correct number for each ingredient. Once you’ve chosen everything, speak with Garl and tell him you’re done. Note that when you have done this, you can’t redo anything. If you did everything correctly, then you will receive the Master Ghost Sandwich. Bring it back to the ghost and she’ll give you 100G if it’s a perfect sandwich, and also open the door next to her. Pass through the hallway and you’ll reach the library.
Haunted Mansion - Library
When you first enter the library, you will first want to clear out the enemies on either side. On the right will be two SpellBooks, and on the right will be two Waltzes and two more SpellBooks. Once the coast is clear, head on over to the right side and grab the Knight’s Helm from the statue there. On the left side, you will see that the first bookshelf has something sparkling; check it for Question Pack #3. Find the ladder on the left side of the room and climb it, then grab the Crown from the floor.
On the bottom floor, place the Knight’s Helm on the statue on the left side of the room, then head back over to the right side and place the Crown on the statue there. This will cause a picture to appear in the middle of the room, on the upper floor, along with the same skulls appearing on either side of the upper floor. The goal here is to match the skulls on either side, in the order that they appear in the central picture. There are two sets on the picture, with the left set being for the left side and vice versa.
- Left Side: Bird, Antlion, Ape, Bull (left to right)
- Right Side: Bull, Ape, Antlion, Bird (left to right)
Once you have done both sets, a path next to the king’s statue will open up, and a Combo Skill scroll will also appear in front of the fireplace. Go and collect this for the X-Strike Combo Skill for Zale and Serai (an obvious Chrono Trigger reference, too!), then pass through the opening next to the right statue. Here, follow the path to a climbable wall, then grapple across and slide down the second wall to open the chest there, for a Spectral Cape. In the next room, go south and inspect the rubble there to create a shortcut back to the room with the campfire and save point, so do that to rest up.
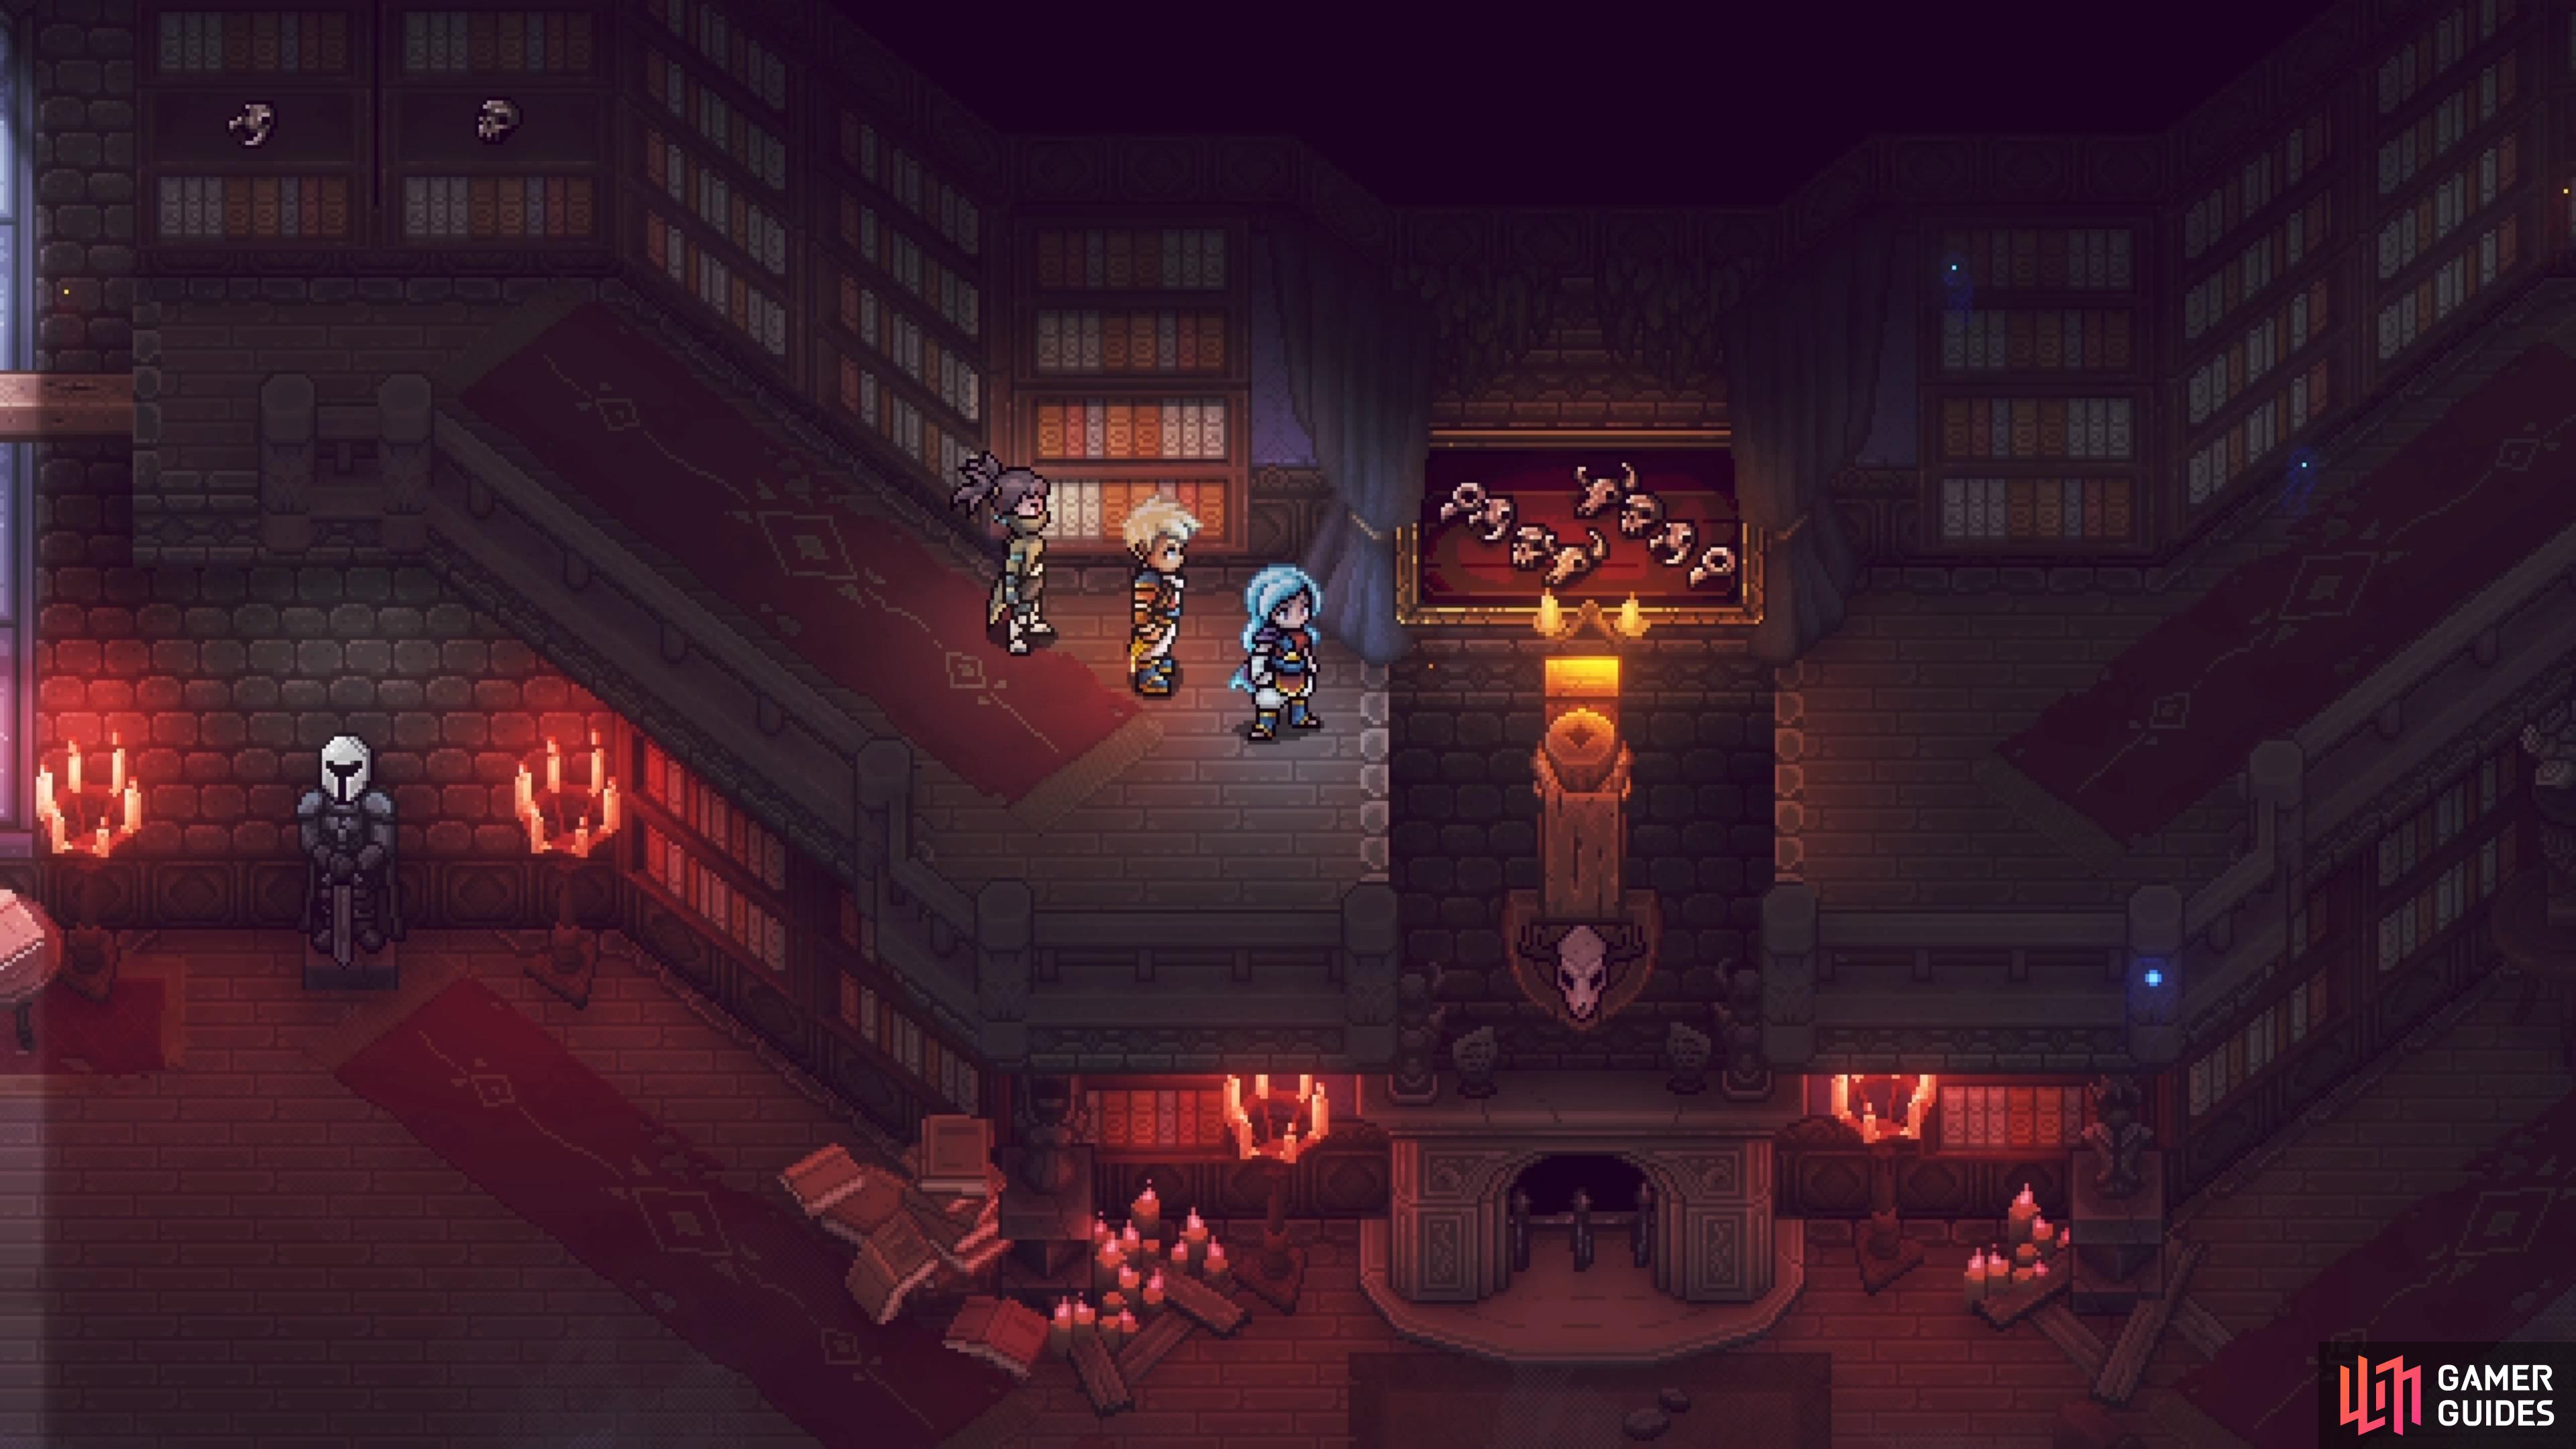
(1 of 7) The picture with the skulls in the middle is your clue to solving the puzzle.
Continue north from the shortcut and into the Ballroom. Defeat the enemies on both sides (two Waltzes on either side), then speak with the ghost to open the door on the left. As you pass through the next hallway, you will see a child sitting on the chair. However, you can’t do anything with this child, so just ignore it and keep moving until you arrive in the Gardens area.
Haunted Mansion - Botanical Gardens
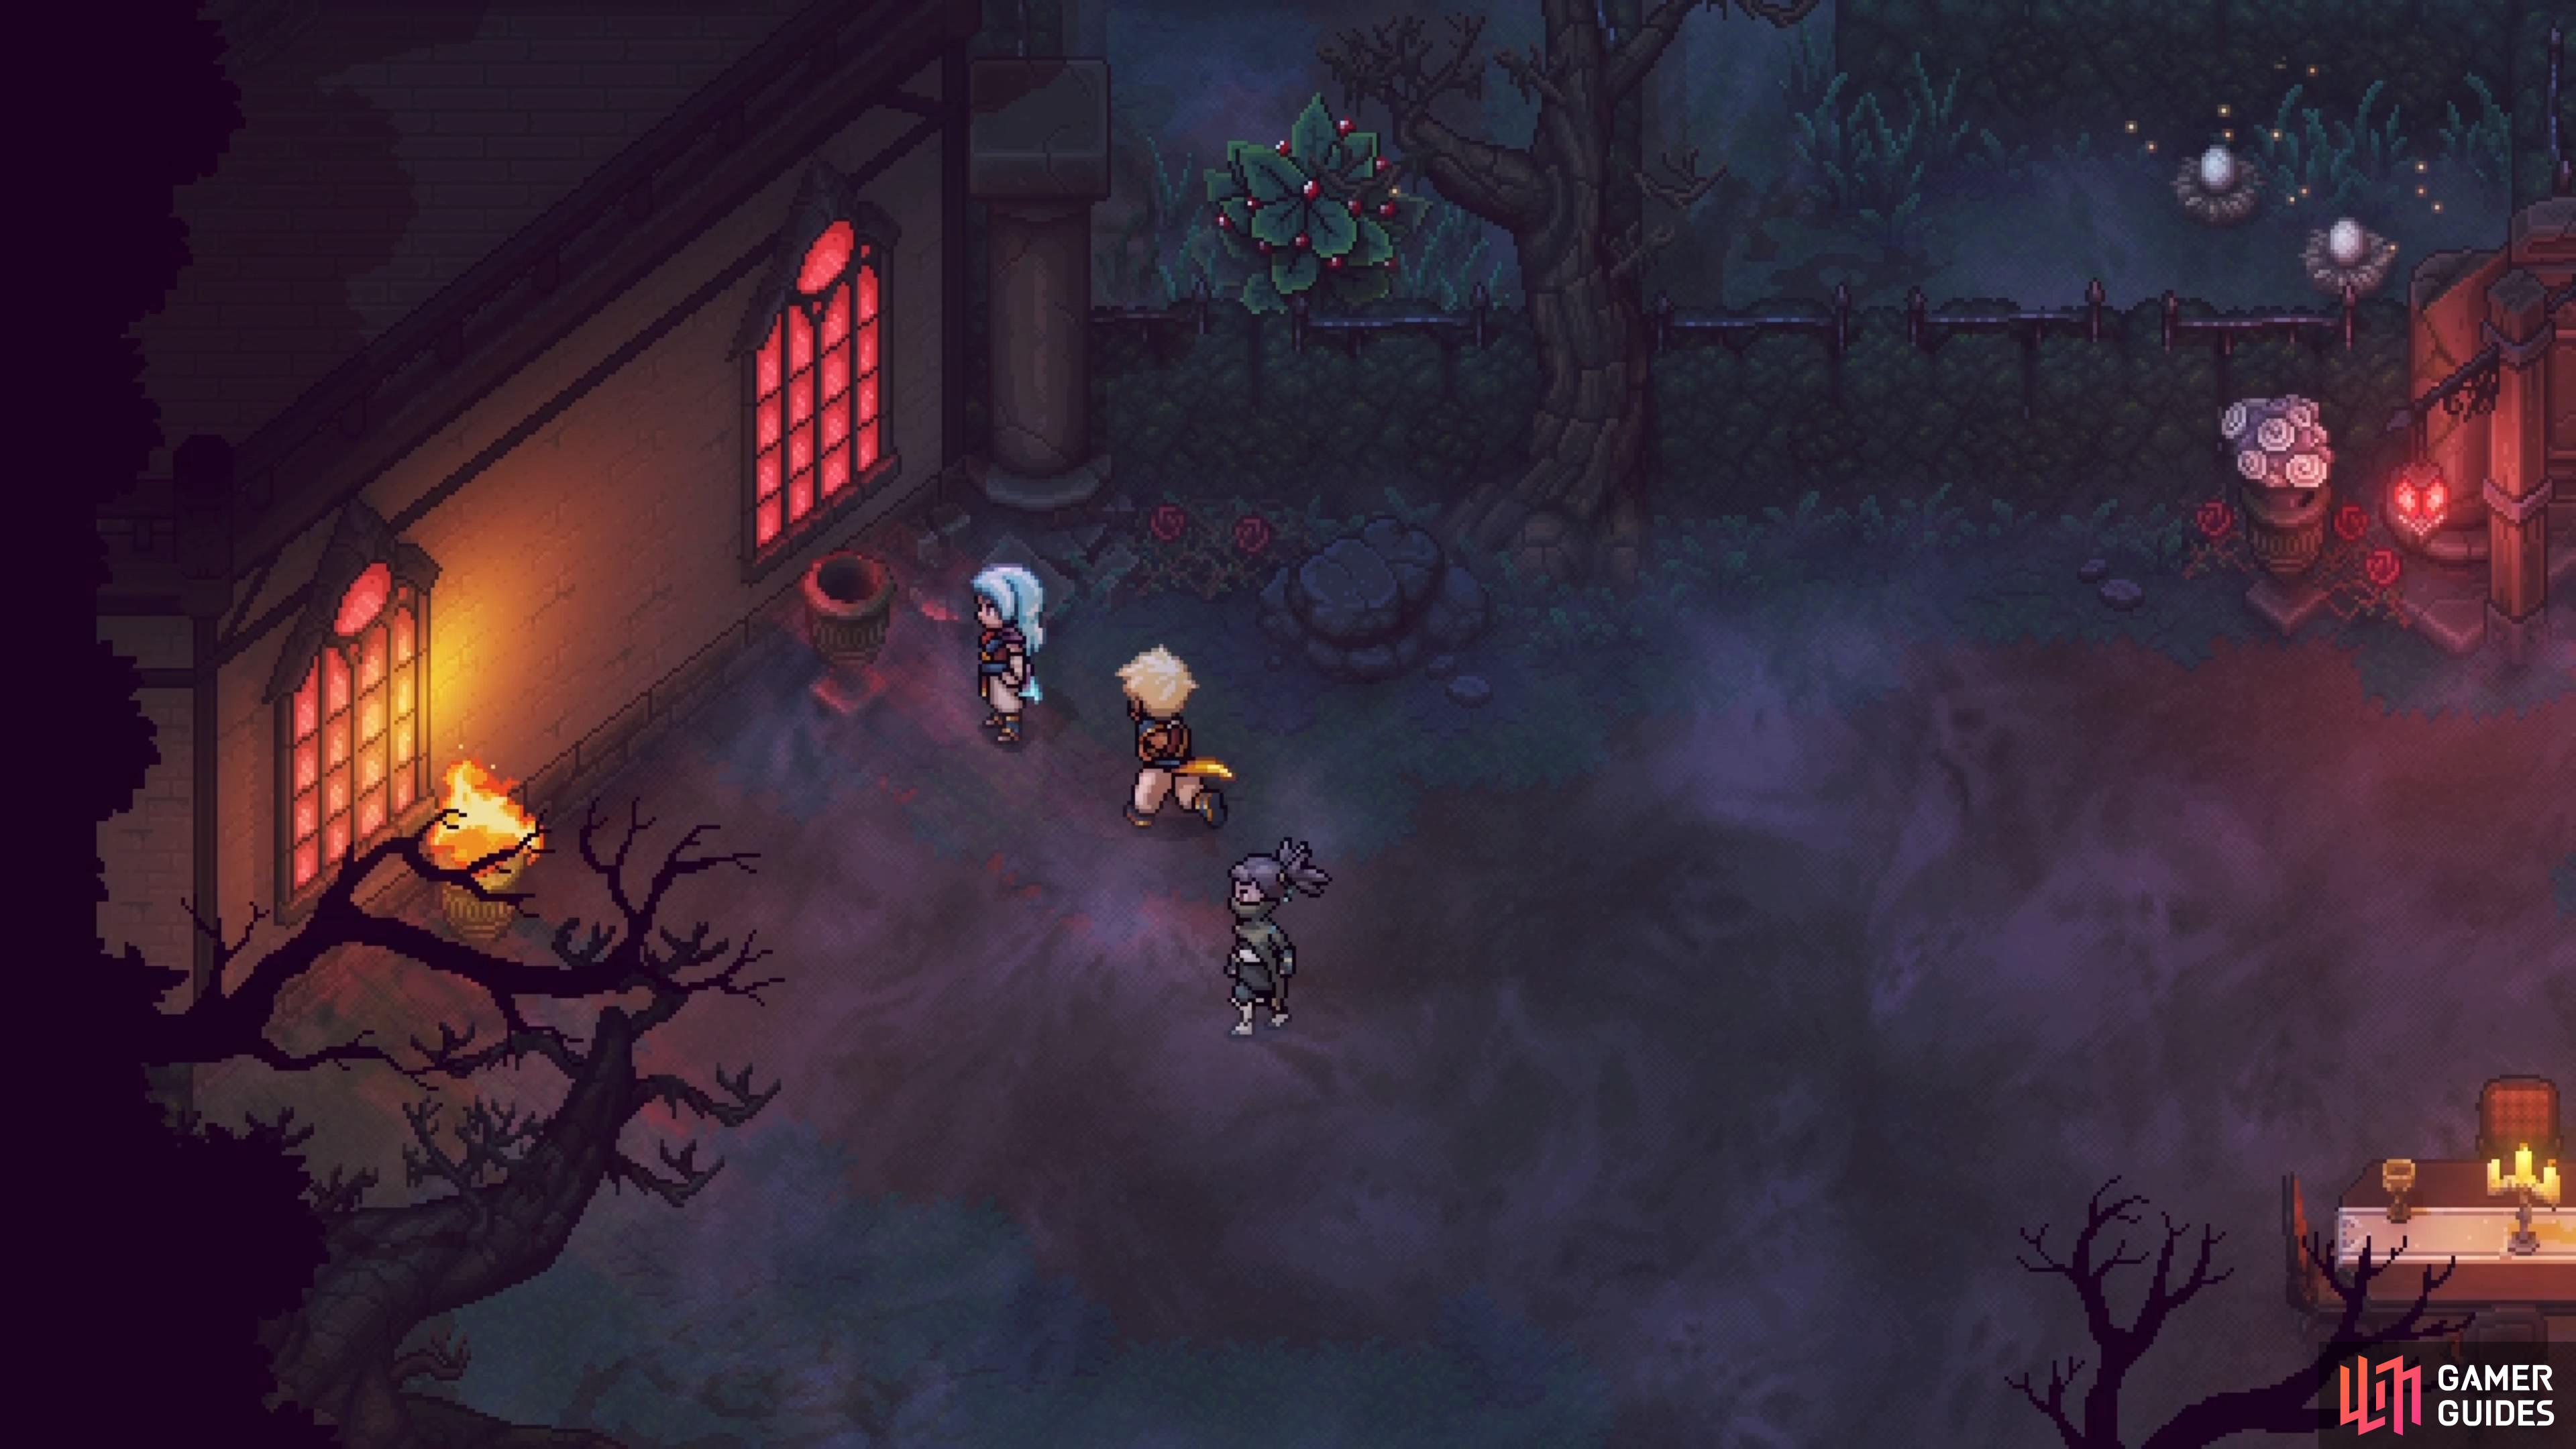
When you first arrive here, grab the Meat and Dairy on the table, then head to the left side. You will see one lit torch and another that’s not lit. If you inspect the unlit one, you’ll find a button you can push. Do that and a secret passage will open up next to it, allowing you to reach that one chest in the room you saw earlier. This chest will contain a Rainbow Conch. With that out of the way, return to the Gardens and enter the maze to the north.
The northern parts are blocked off by some vines, so you really only have one way to go, although you can collect some of the Eggs and Red Berries right now. Head to the northeast corner to find a Boulbe enemy, along with two Woodland Spirits. Defeat them to clear out some of the vines, which will allow you to reach the northwestern corner. There will be another Boulbe here, along with two Lonzons. With them out of the way, the doorway to the northwest is still blocked, but you will have access to the central path.
Defeating the enemies in the northwestern corner also freed up a campfire and save point. Rest up, then enter the central doorway to find the Botanical Horror, your next boss fight.
No Comments