
You will visit many different locations in Sea of Stars, and as you explore these places, you will come across many treasure chests. It’s always a good idea to open the chests that you find, since you can obtain new equipment, or even key items that might be used later. This page will detail the locations of every chest you can find in the Moorlands area of the game. There’s a total of seven chests in this area, but you can only get five of them on your first time through it.
Treasure Chest 1
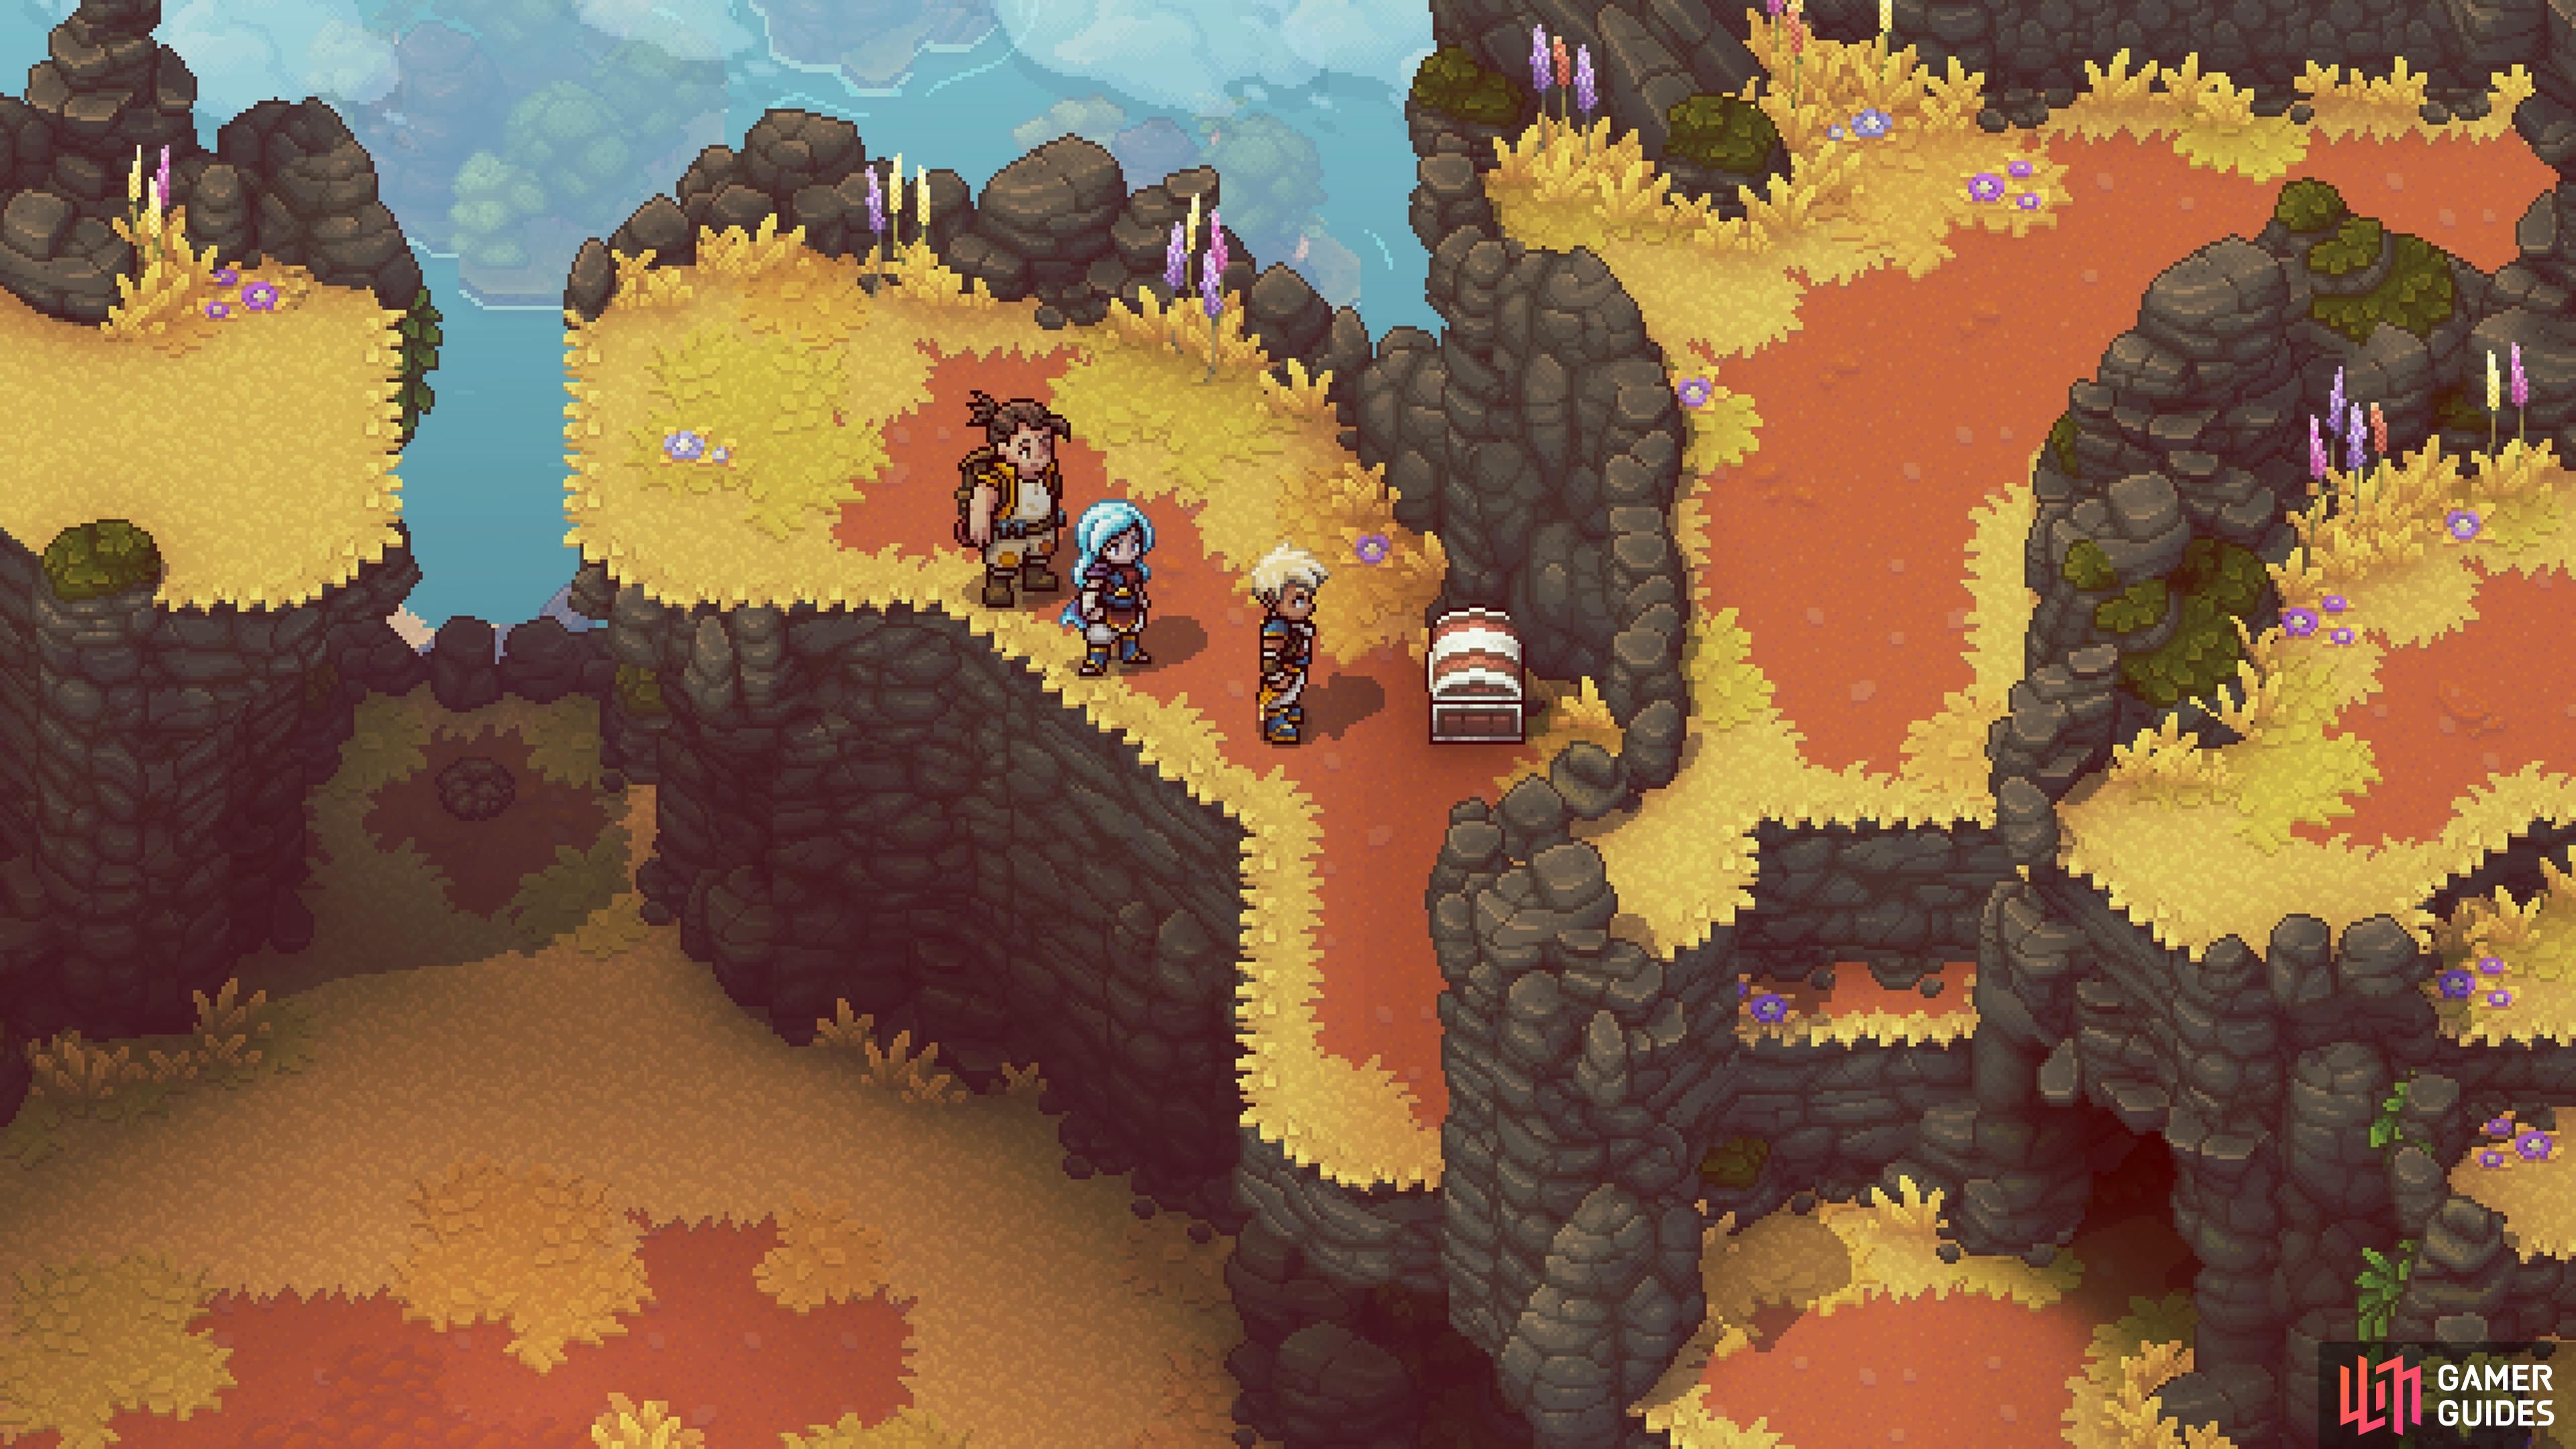
The first chest is just past the blue crystals, and contains a Power Belt.
As you make your way through the area, you will come across some blue crystals on the ground. Ignore those and climb the ledges next to the blue crystals to be on an upper path. Follow the upper portion here to the east and you’ll eventually reach a chest, so open it for a Power Belt.
Treasure Chest 2

To get the chest below the crystal, you’ll have to come from the south.
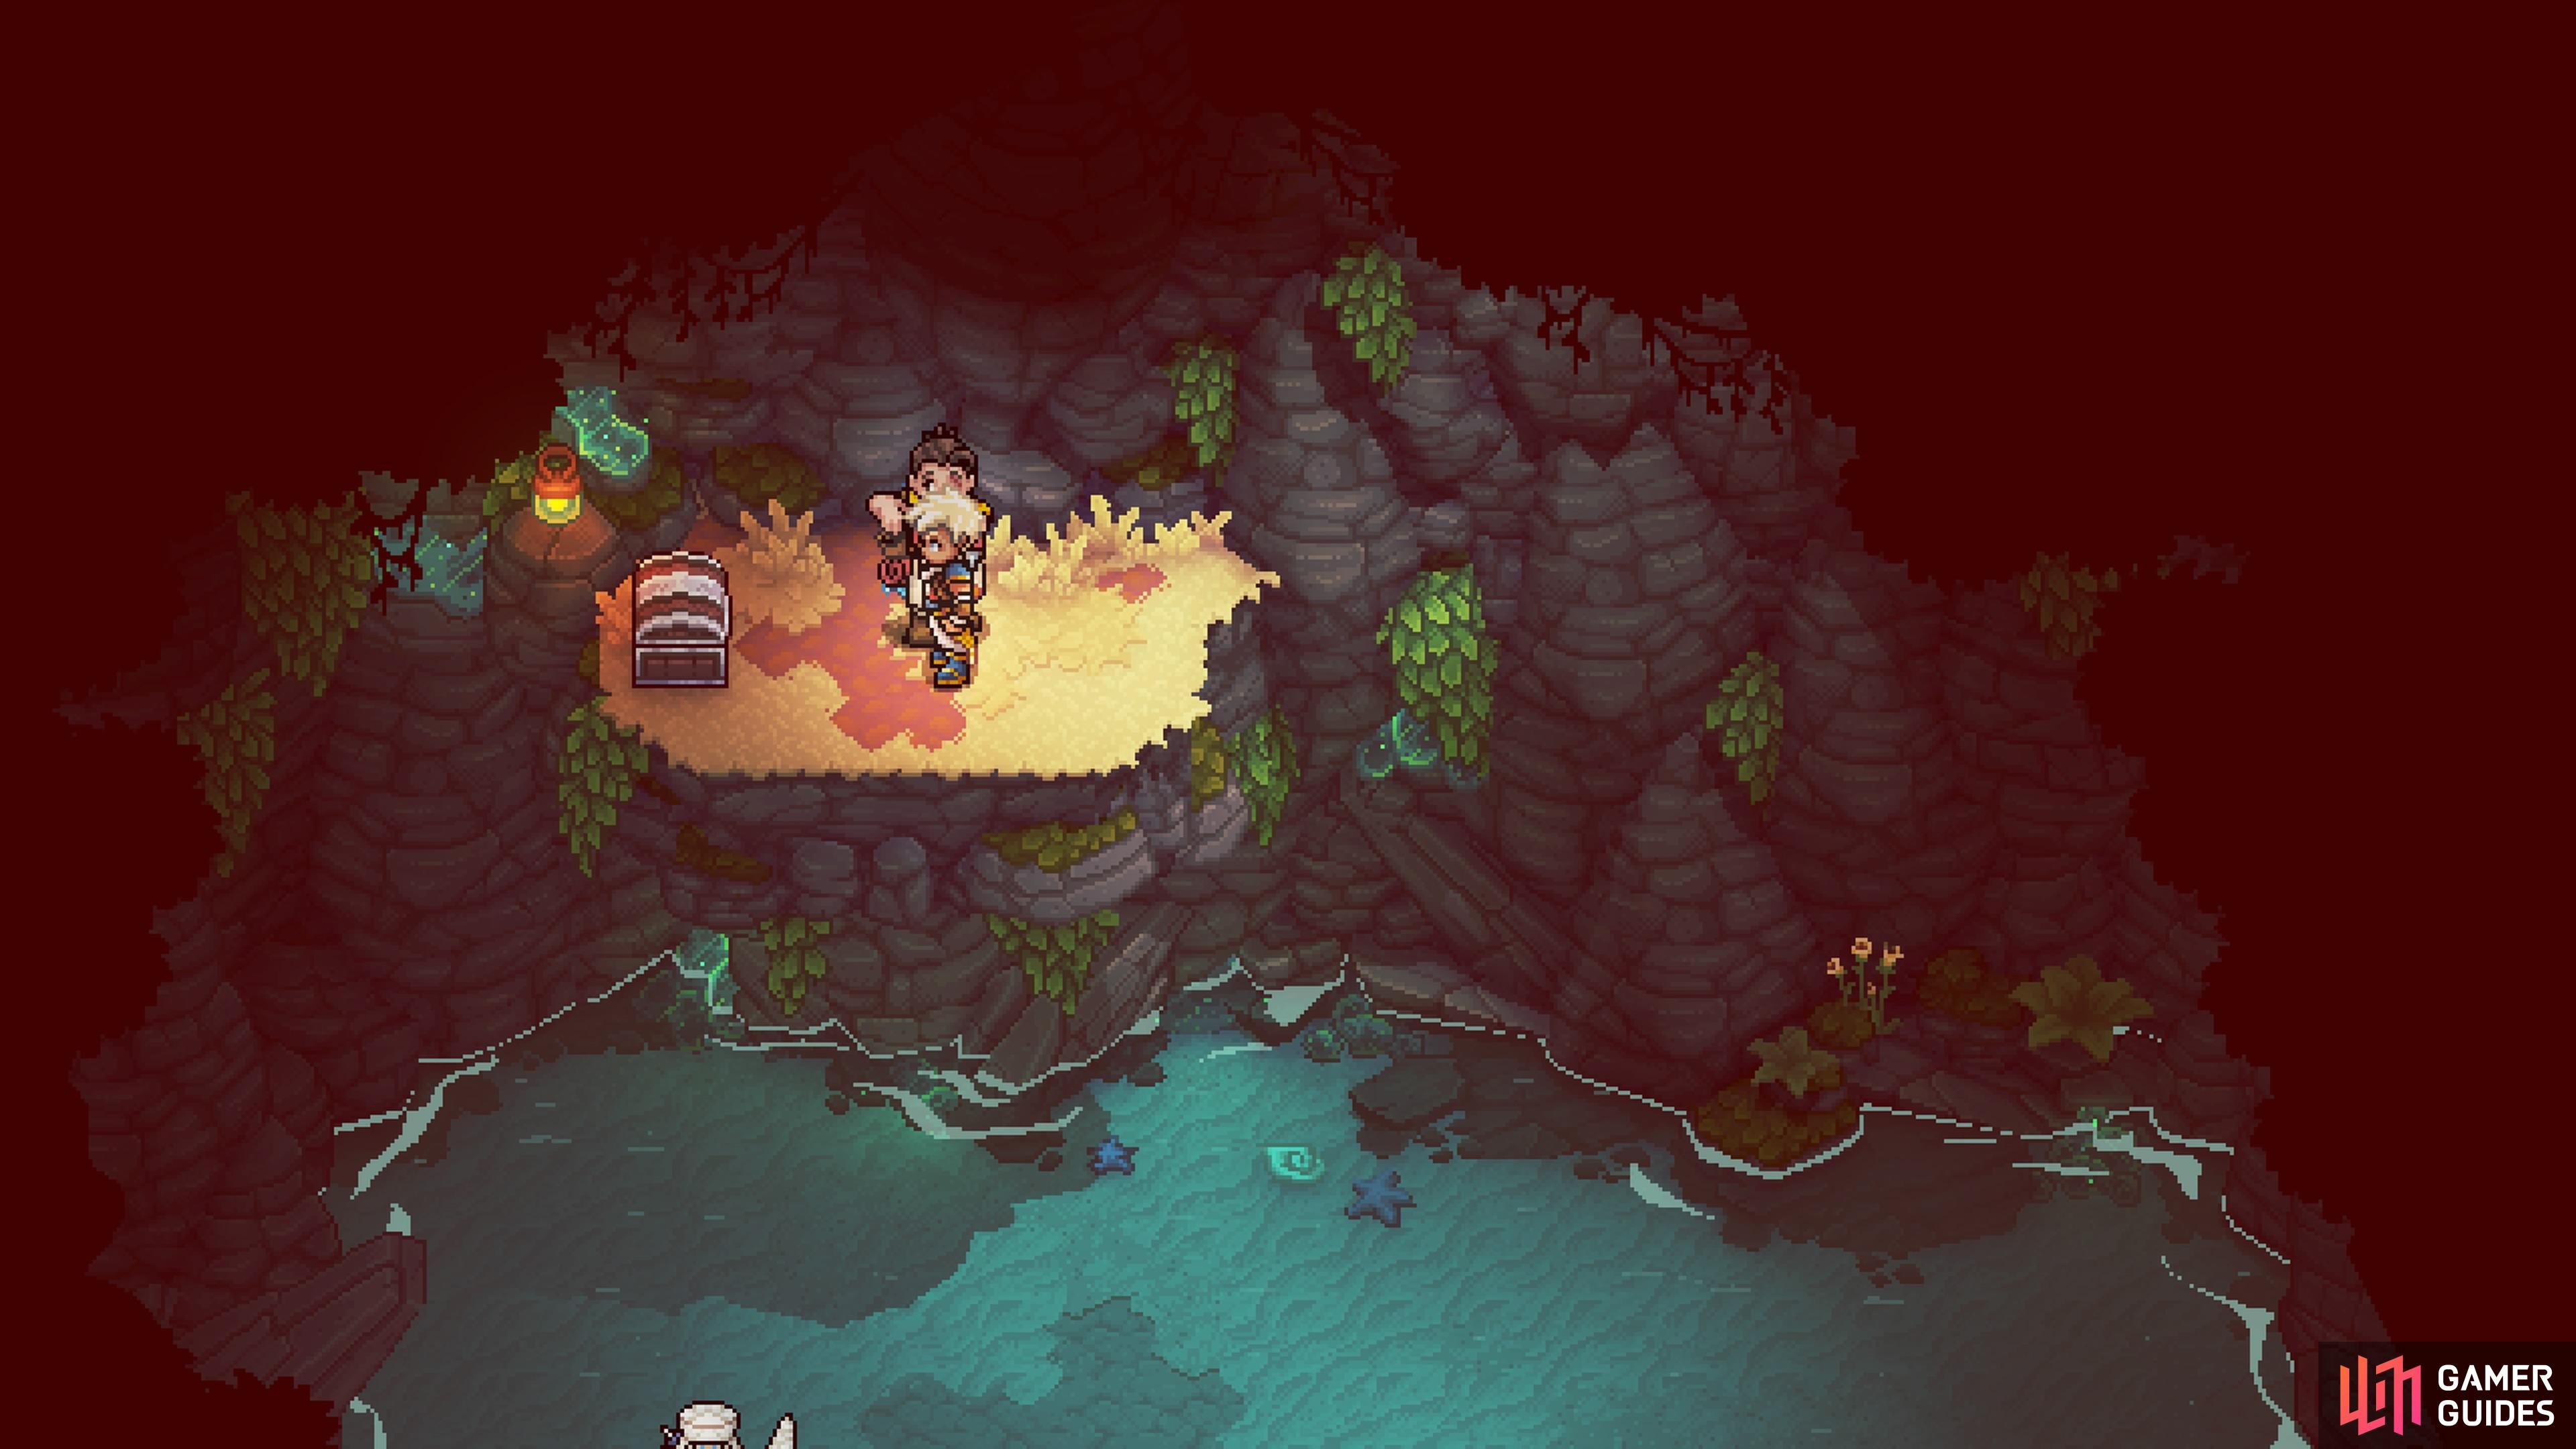
Continue going through the area like you normally would, until you happen to find a green crystal. As with the blue crystals mentioned above, you won’t be able to do anything with this on your first time through the area. Jump into the water to the east, swim south, then climb back onto land in that section. Head west and climb the ledges to reach the chest below that green crystal, which contains 4x Teal Amber Ore.
Treasure Chest 3
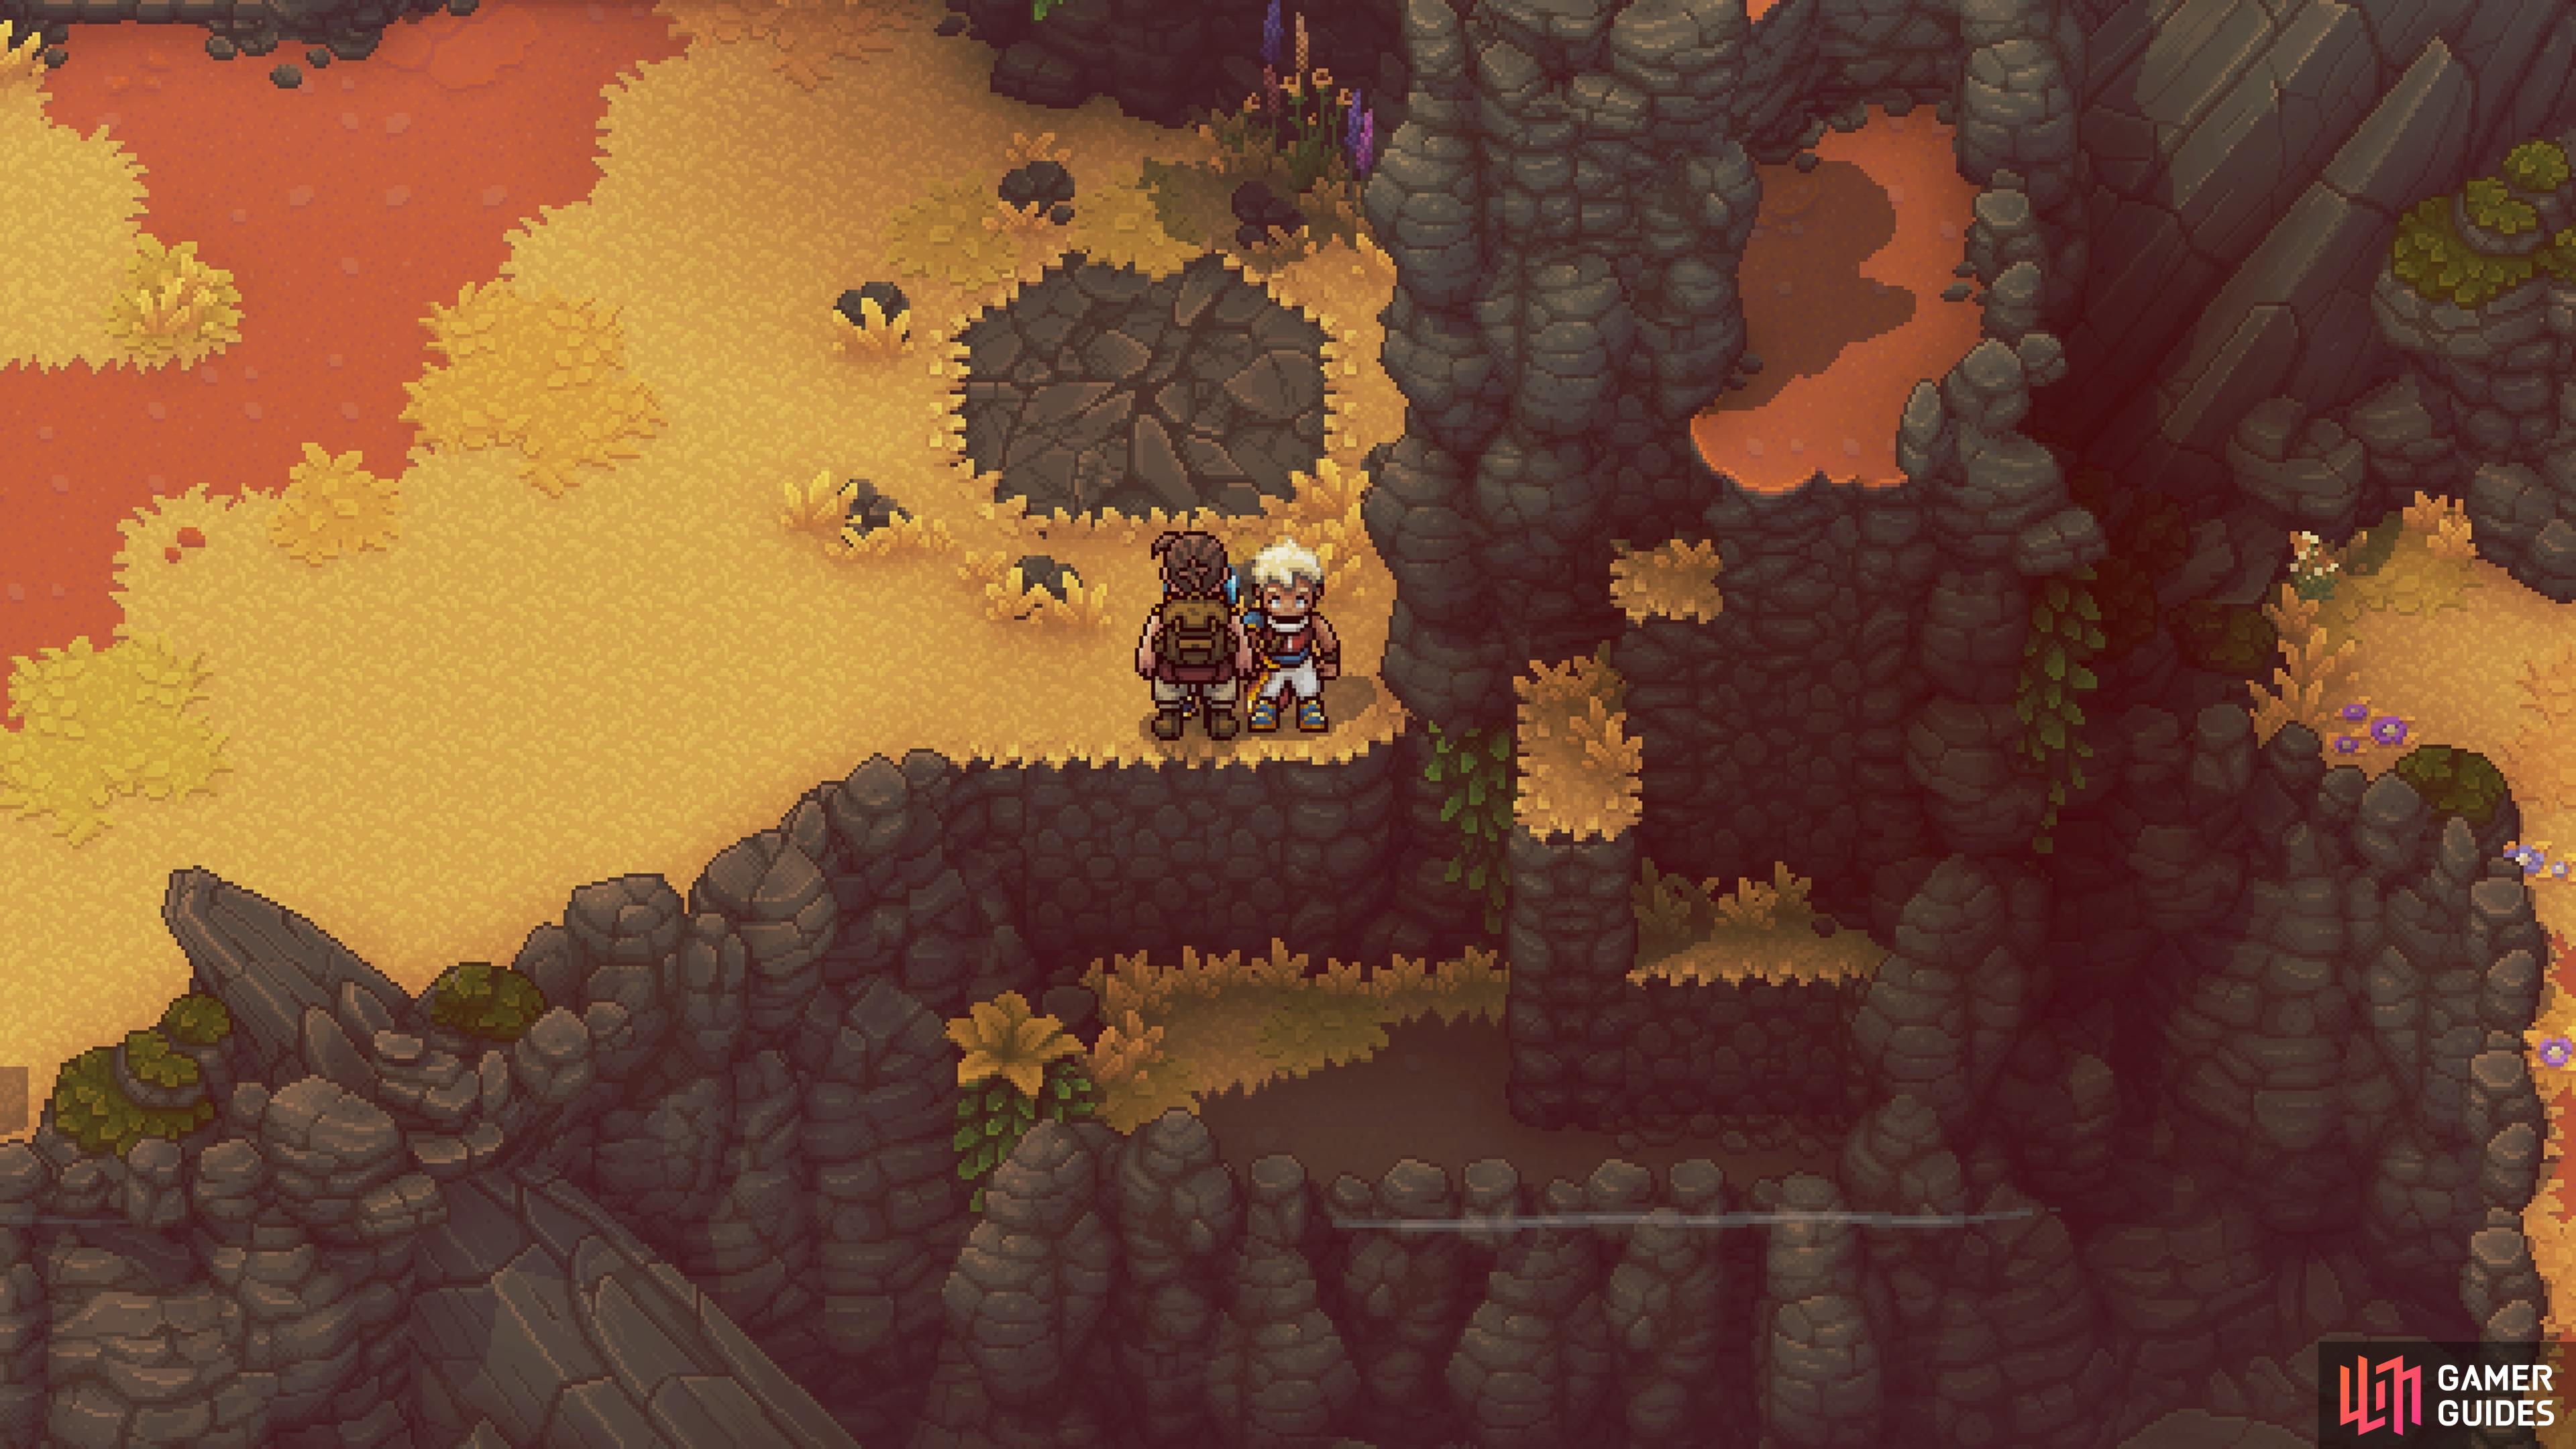
Past the previous chest, you will eventually find a campfire and save point. A little beyond that will be some ground that is cracked. Just south of that is a path you can drop down to, which allows you to reach a ledge above the cracked ground. Jump off and fall through the ground, then do the same thing in this cave to go even deeper underground. As you’re exiting this second cave, you will pass right by a chest, so open it for a Silver Sword.
Treasure Chest 4
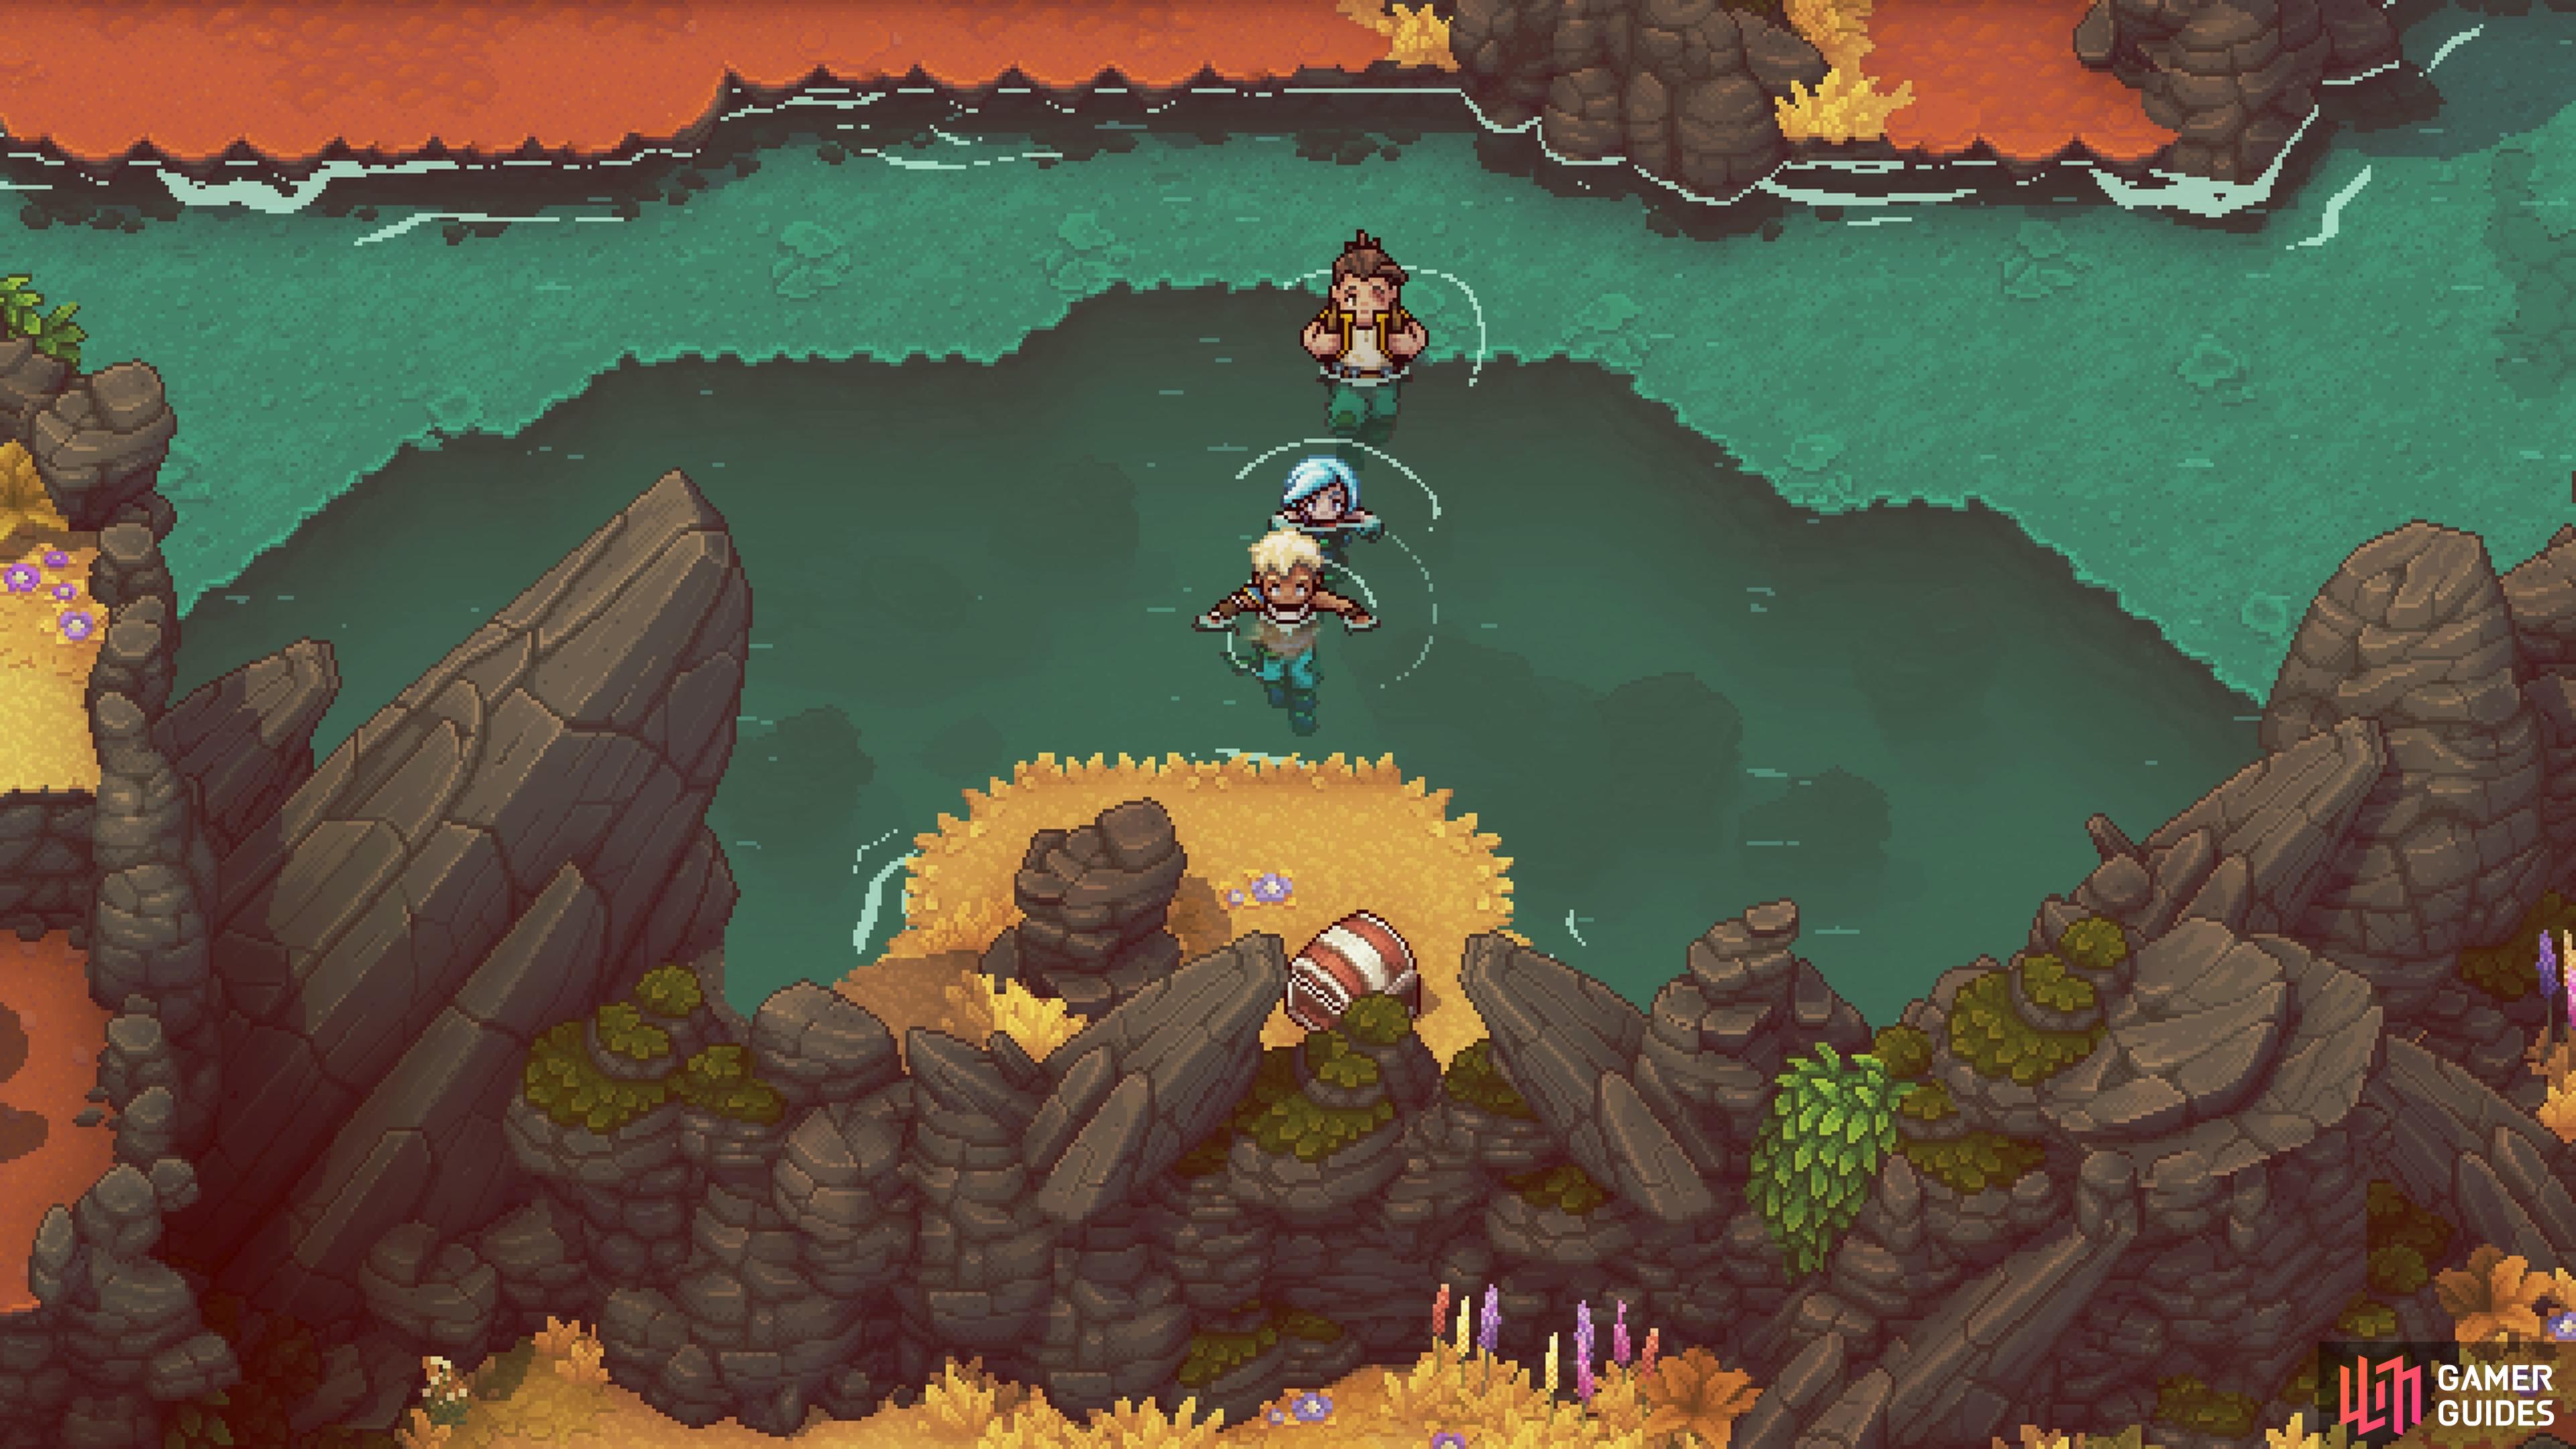
You can find this chest on a small island by the water.
After exiting the caves from the third chest, you will pass through an archway of sorts, and find some mysterious stone formations on your left side. Continue east, past those stones, and drop in the water. While crossing this water, keep a lookout to your south to spy a chest on a little island. Open it for a Rock Lid.
Treasure Chest 5
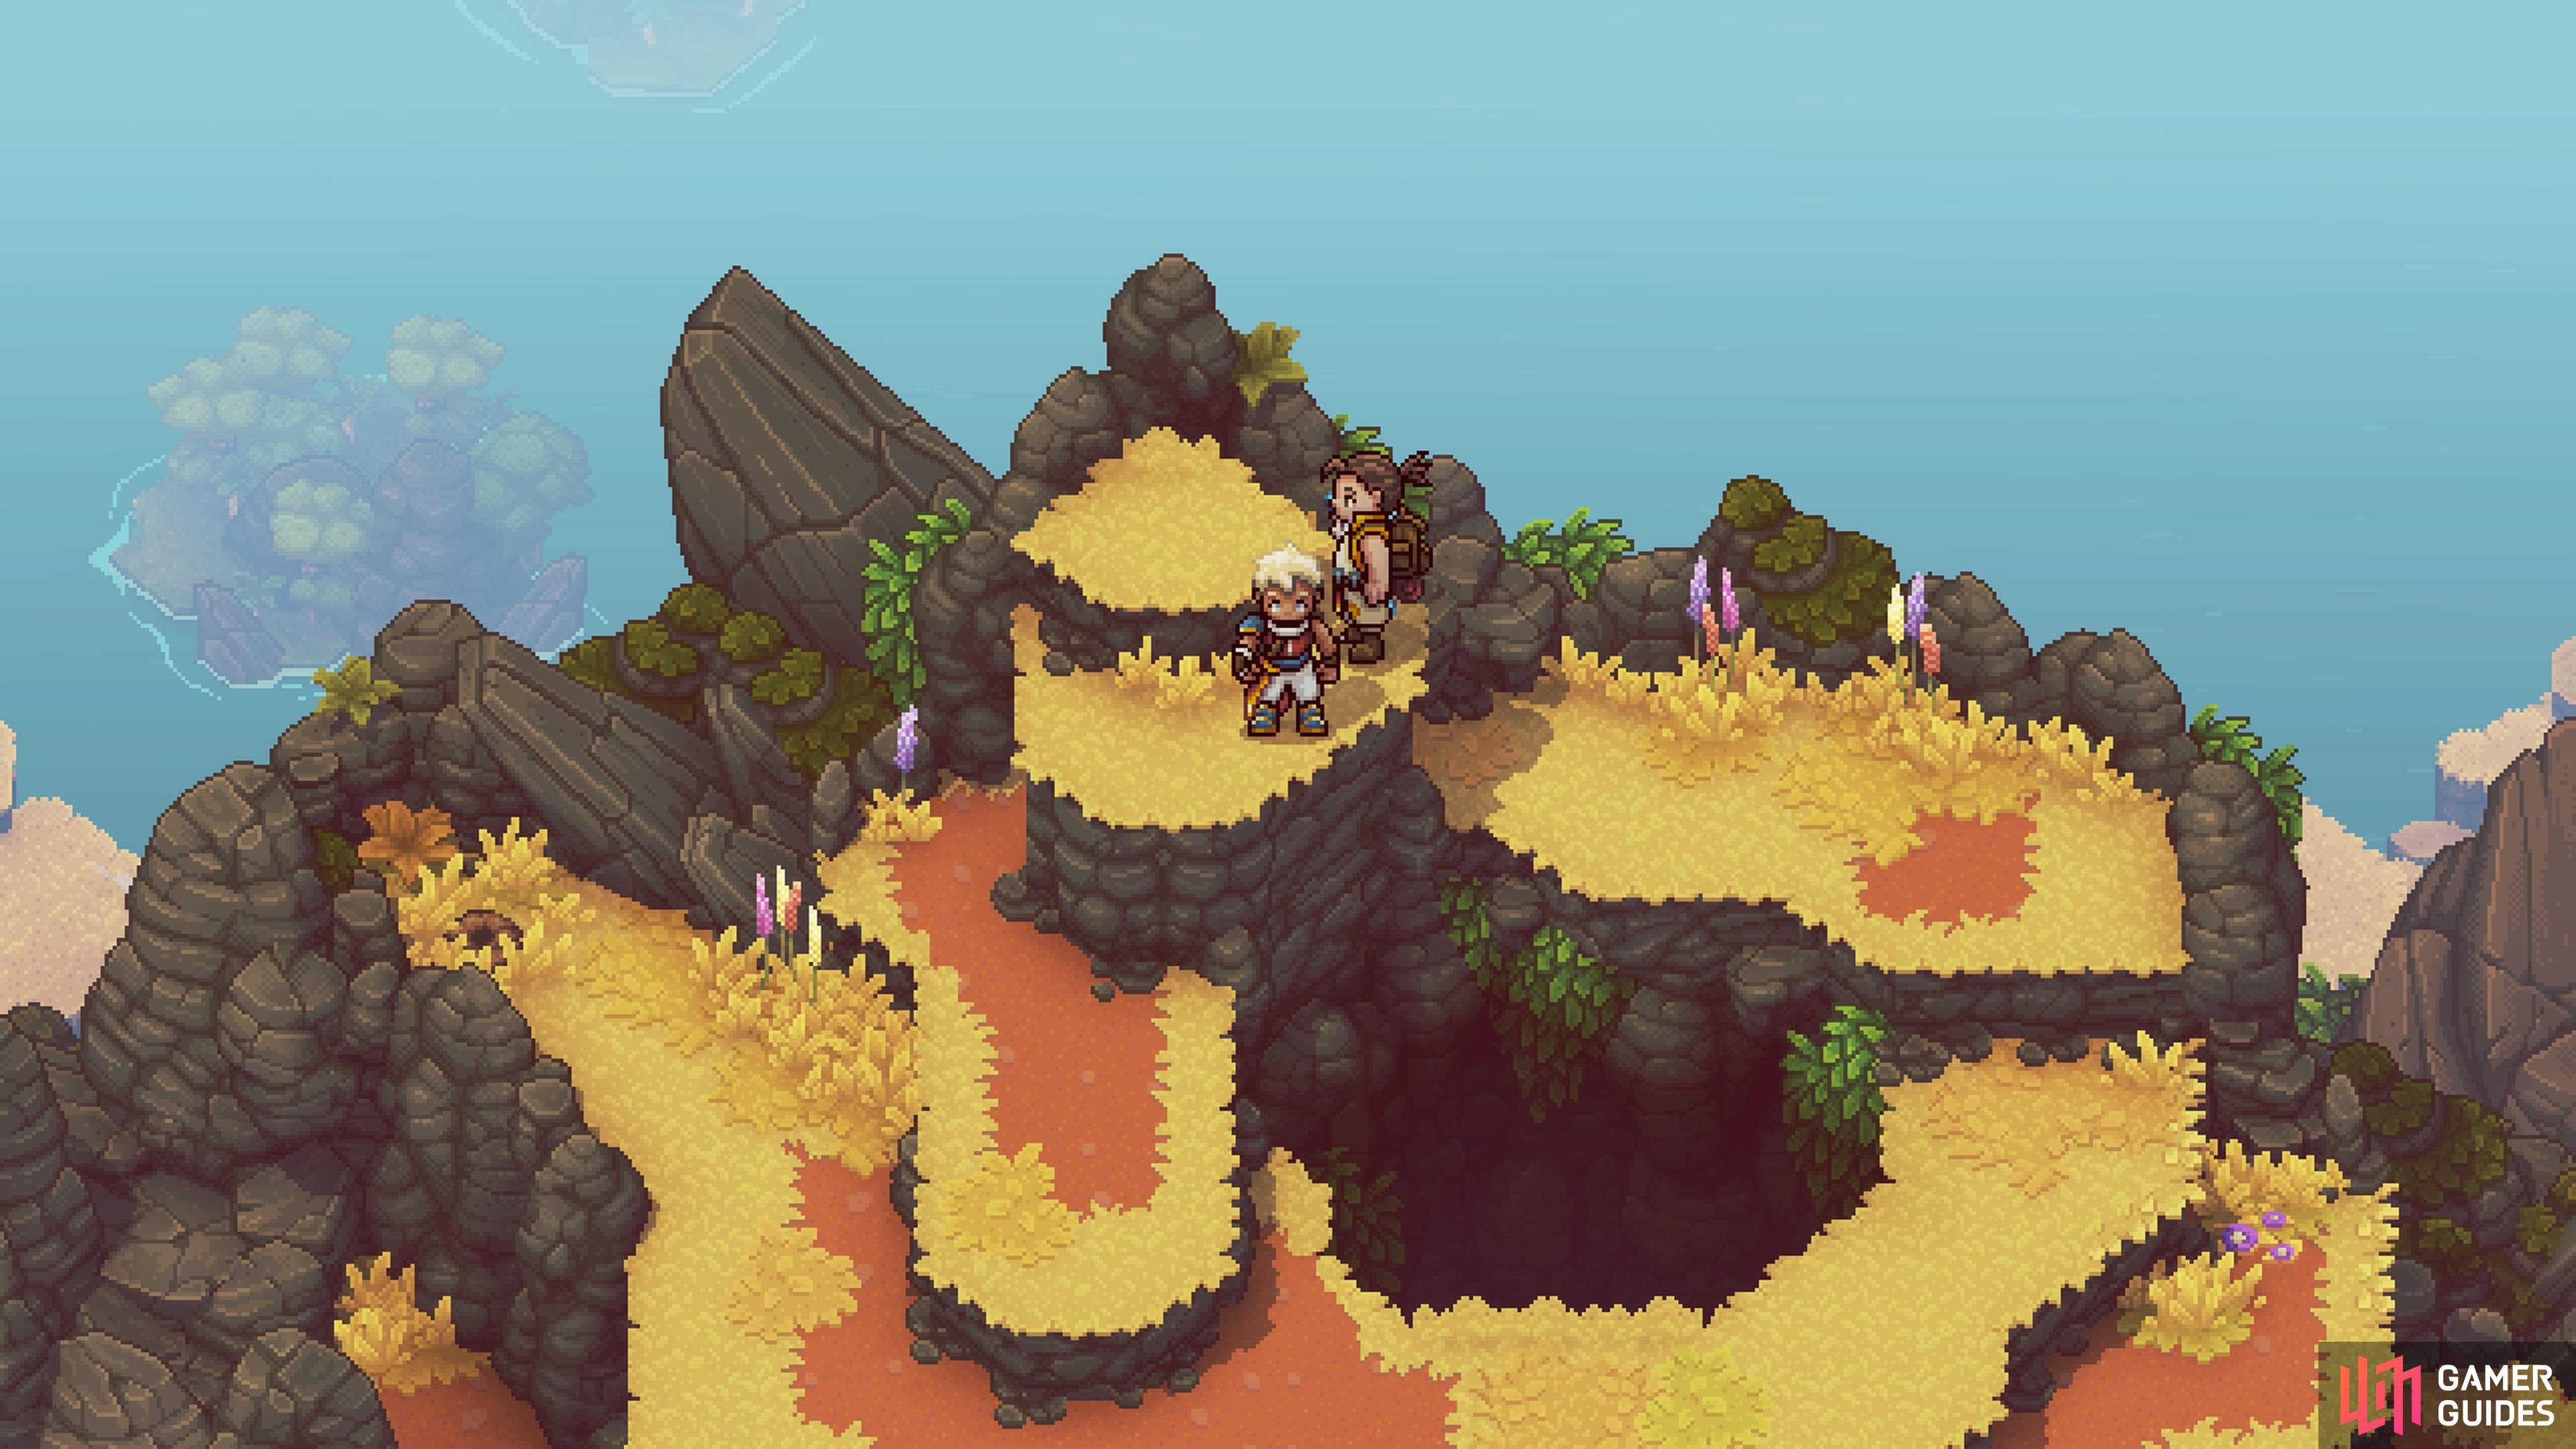
Make sure you jump into the hole from the top spot.
You should land on the high ledge in the cave, where you can loot the chest.
Eventually, you will pass through a cave that will have a chest on a ledge you can’t reach from inside the cave. Not too far past that, you will come to a fork, with the western path taking you to the world map and the eastern path continuing the area. Keep going east and check for some ledges to the north, where you should see a big hole in the ground. Get to the highest point here and jump into the hole. If done right, you should land on the ledge with that chest from before, so open it for the Recipe: Mushroom Soup.
Treasure Chest 6
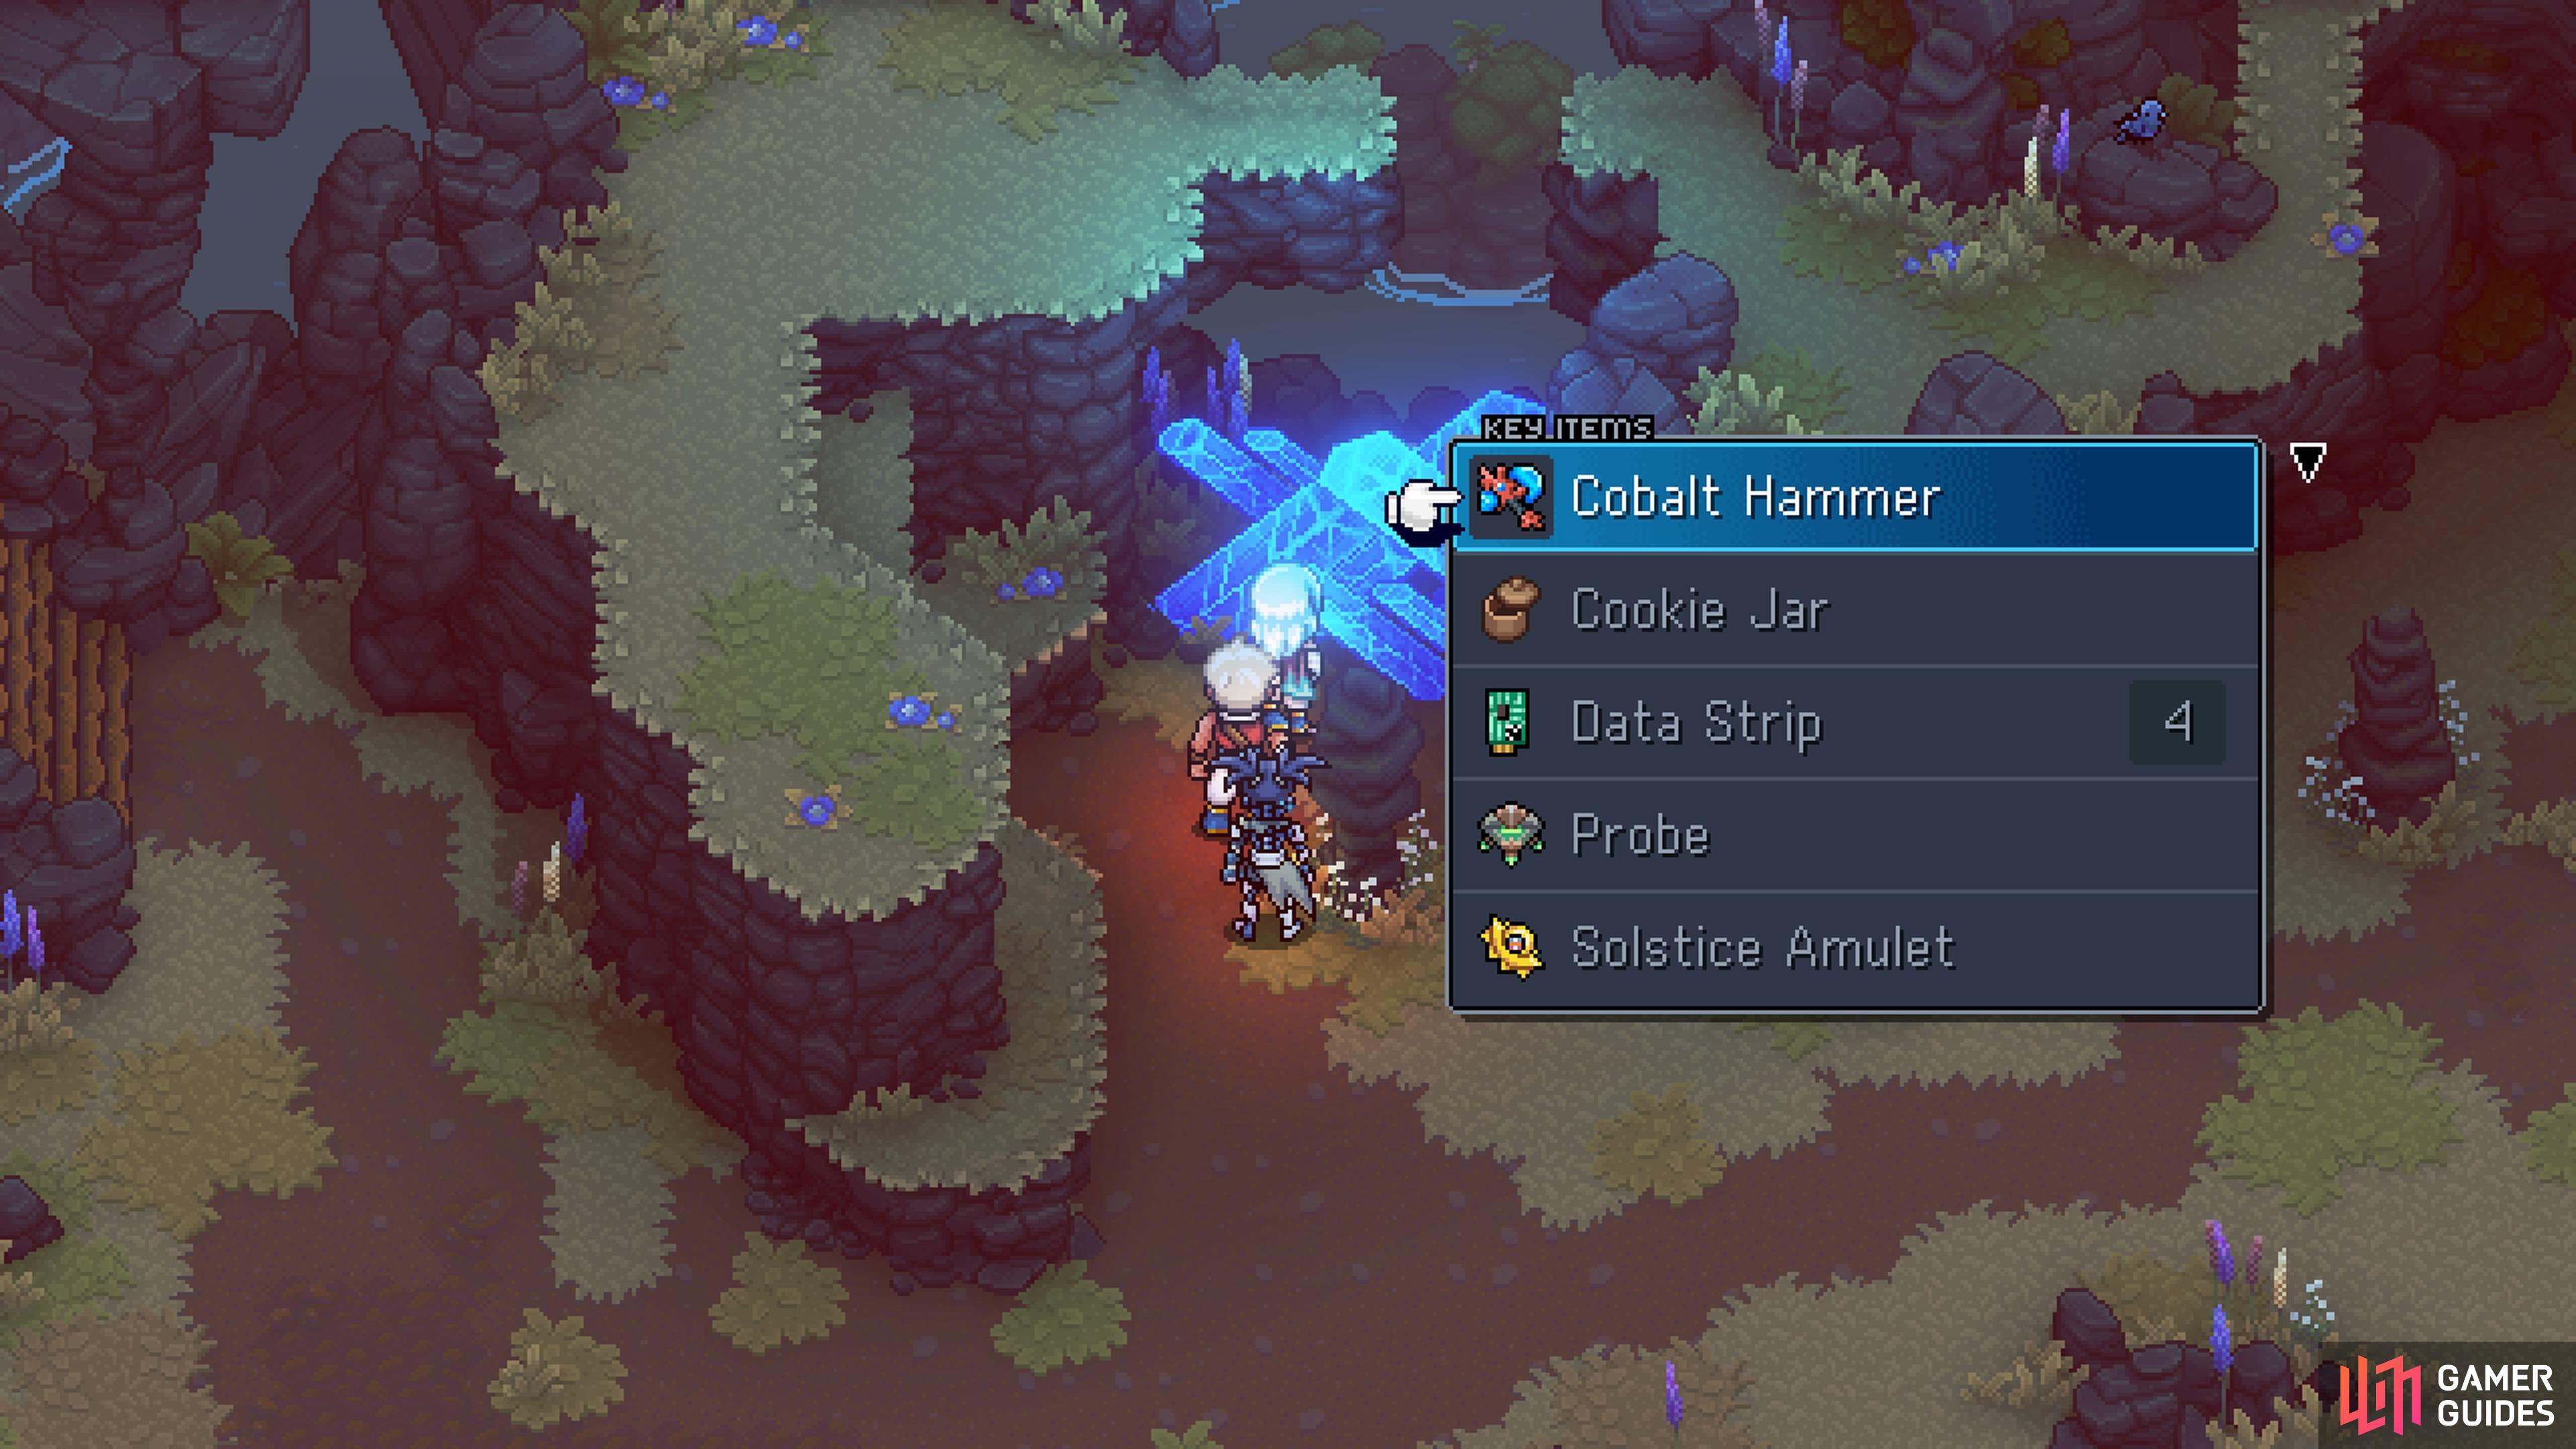
You won’t be able to get this chest on your first trek through the Moorlands, as you need the Mistral Bracelet. Once you have that, head back to the Moorlands and backtrack to the green crystal you once saw. Get on the southern side of the crystal and move it north, east, then north again. If done right, the green crystal will be replace by a green block. Use that to climb to the ledge above, with the chest, which will net you a Rainbow Conch.
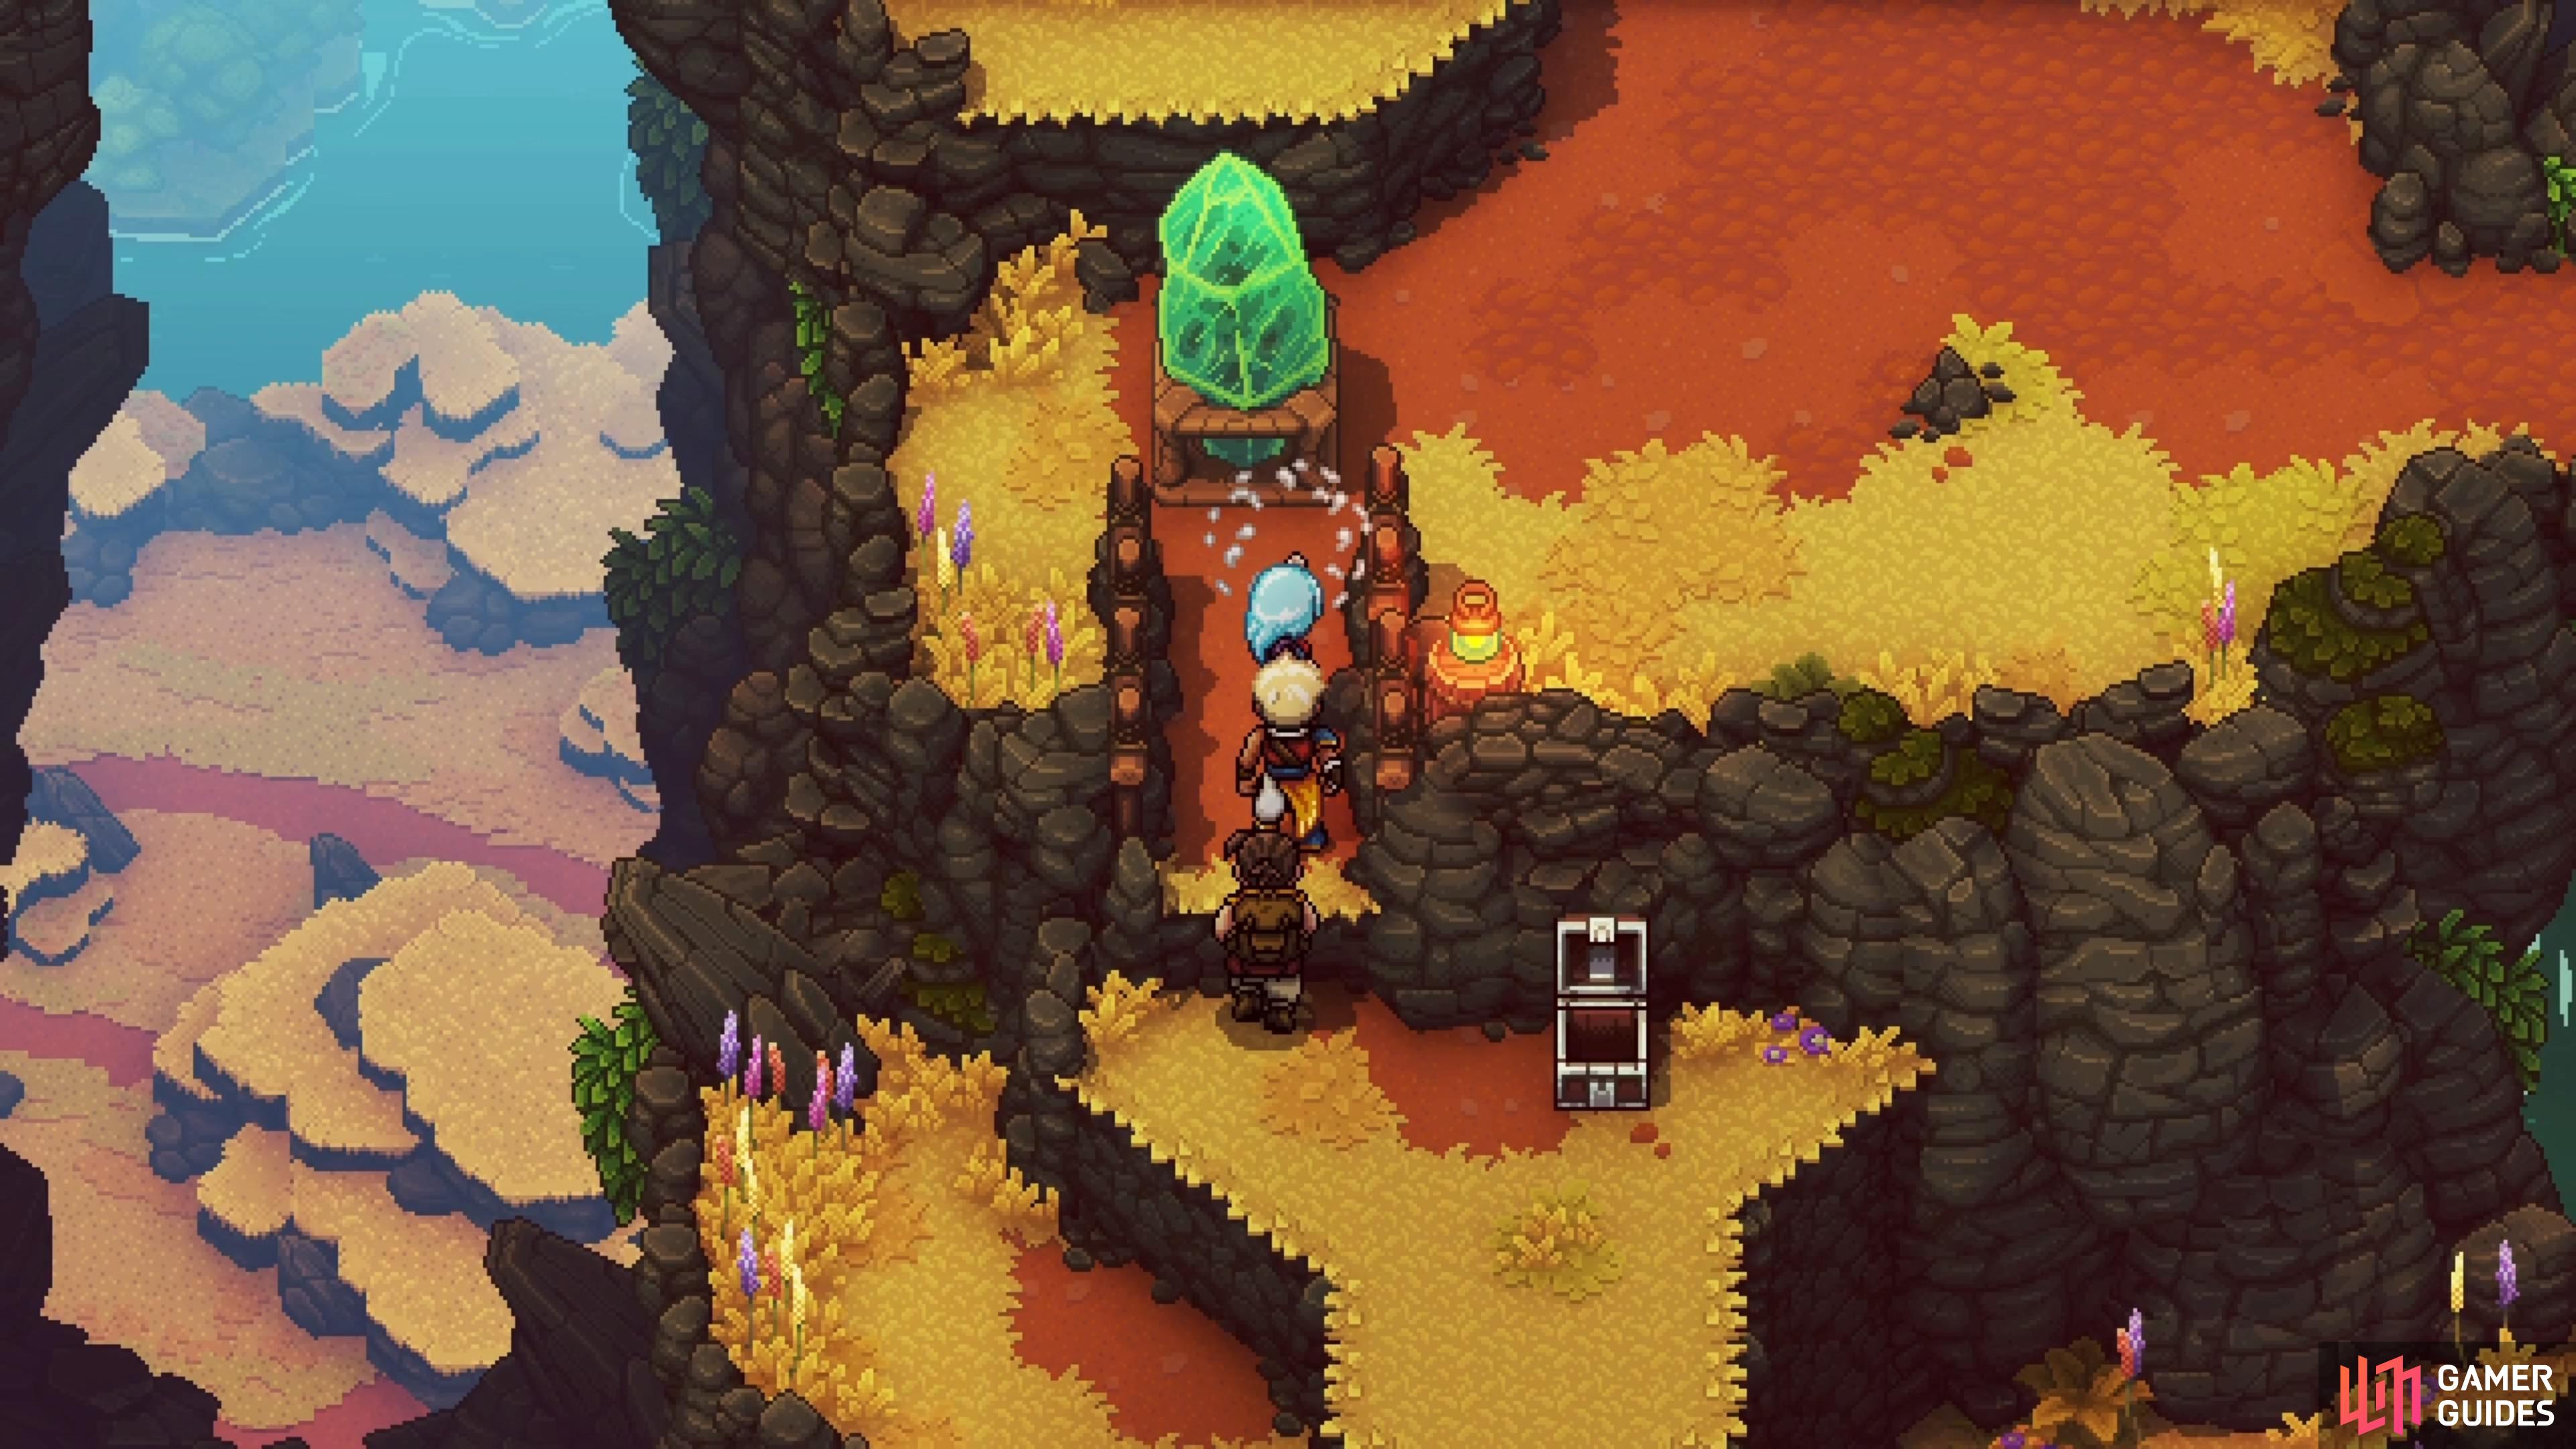
Treasure Chest 7
The Cobalt Hammer is required to break the blue crystals.
The chest will be hidden behind the crystals.
The final chest in the Moorlands cannot be gotten until much later in the main story, as you need the Cobalt Hammer to do so. Once you have this item, return to the area and navigate your way to the blue crystals. Inspect them to get a prompt to use the Cobalt Hammer, which will destroy the crystals. This will reveal a chest that contains a Rainbow Conch.
No Comments