
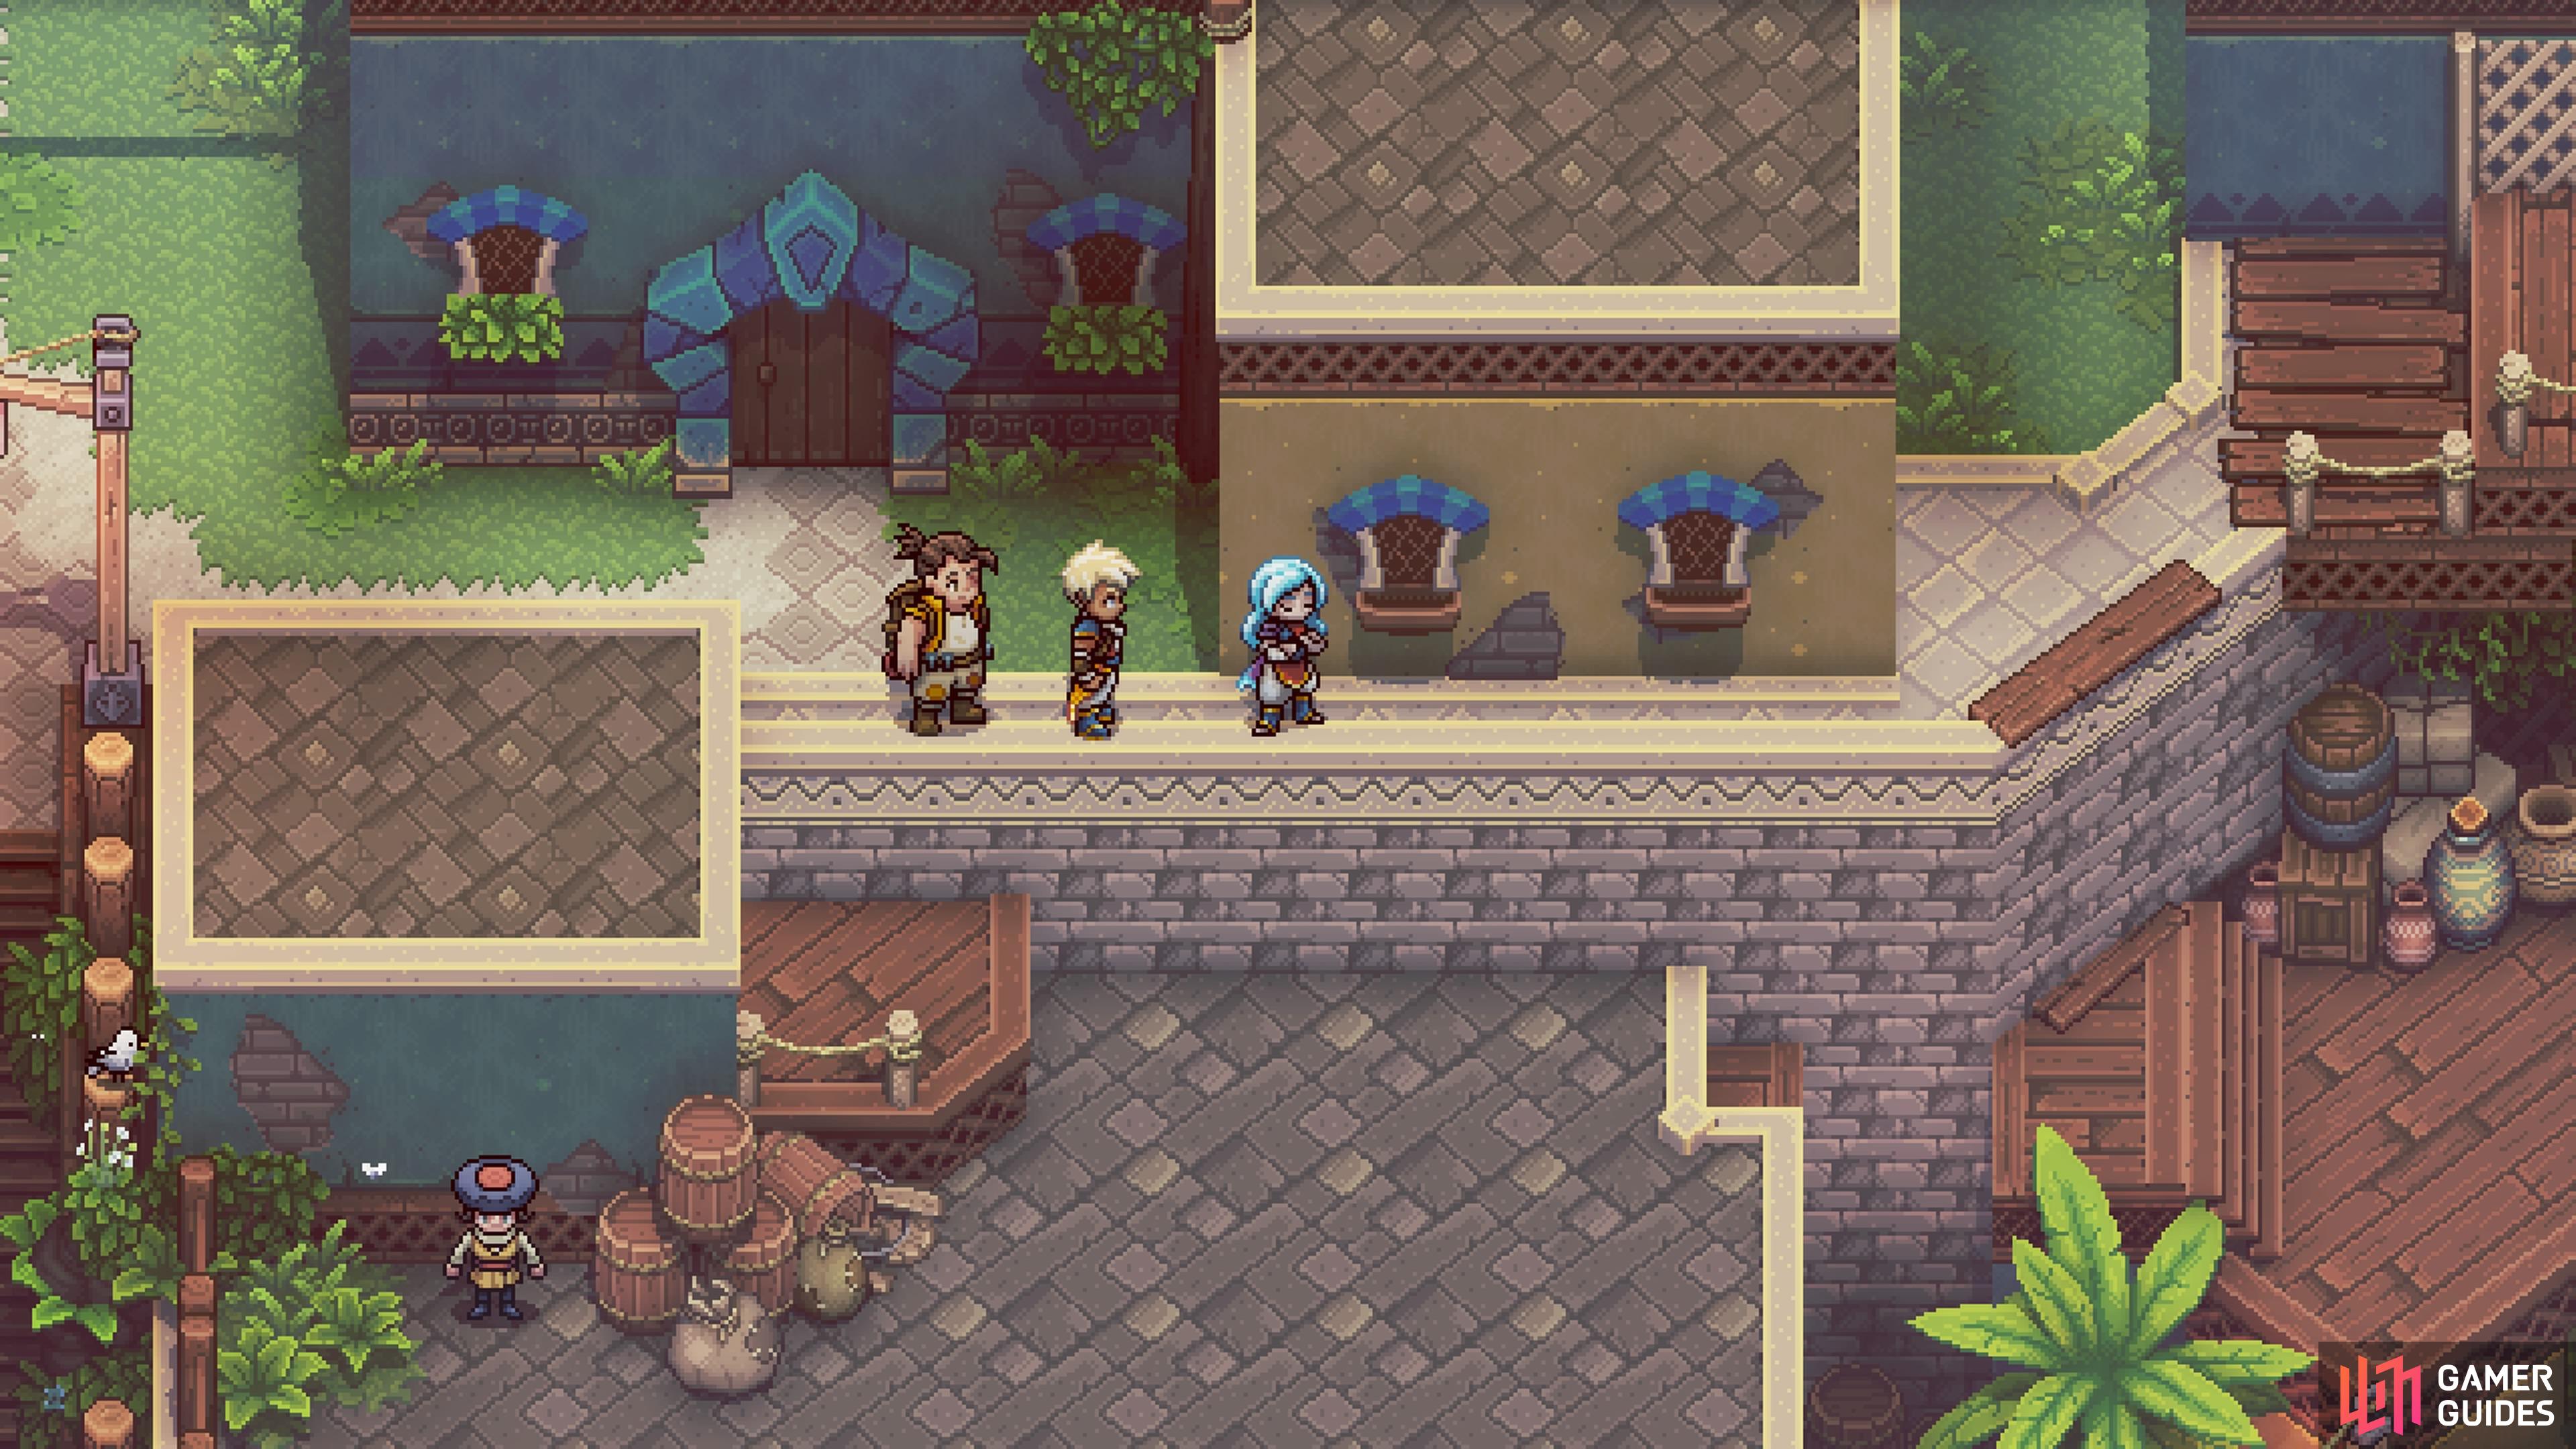
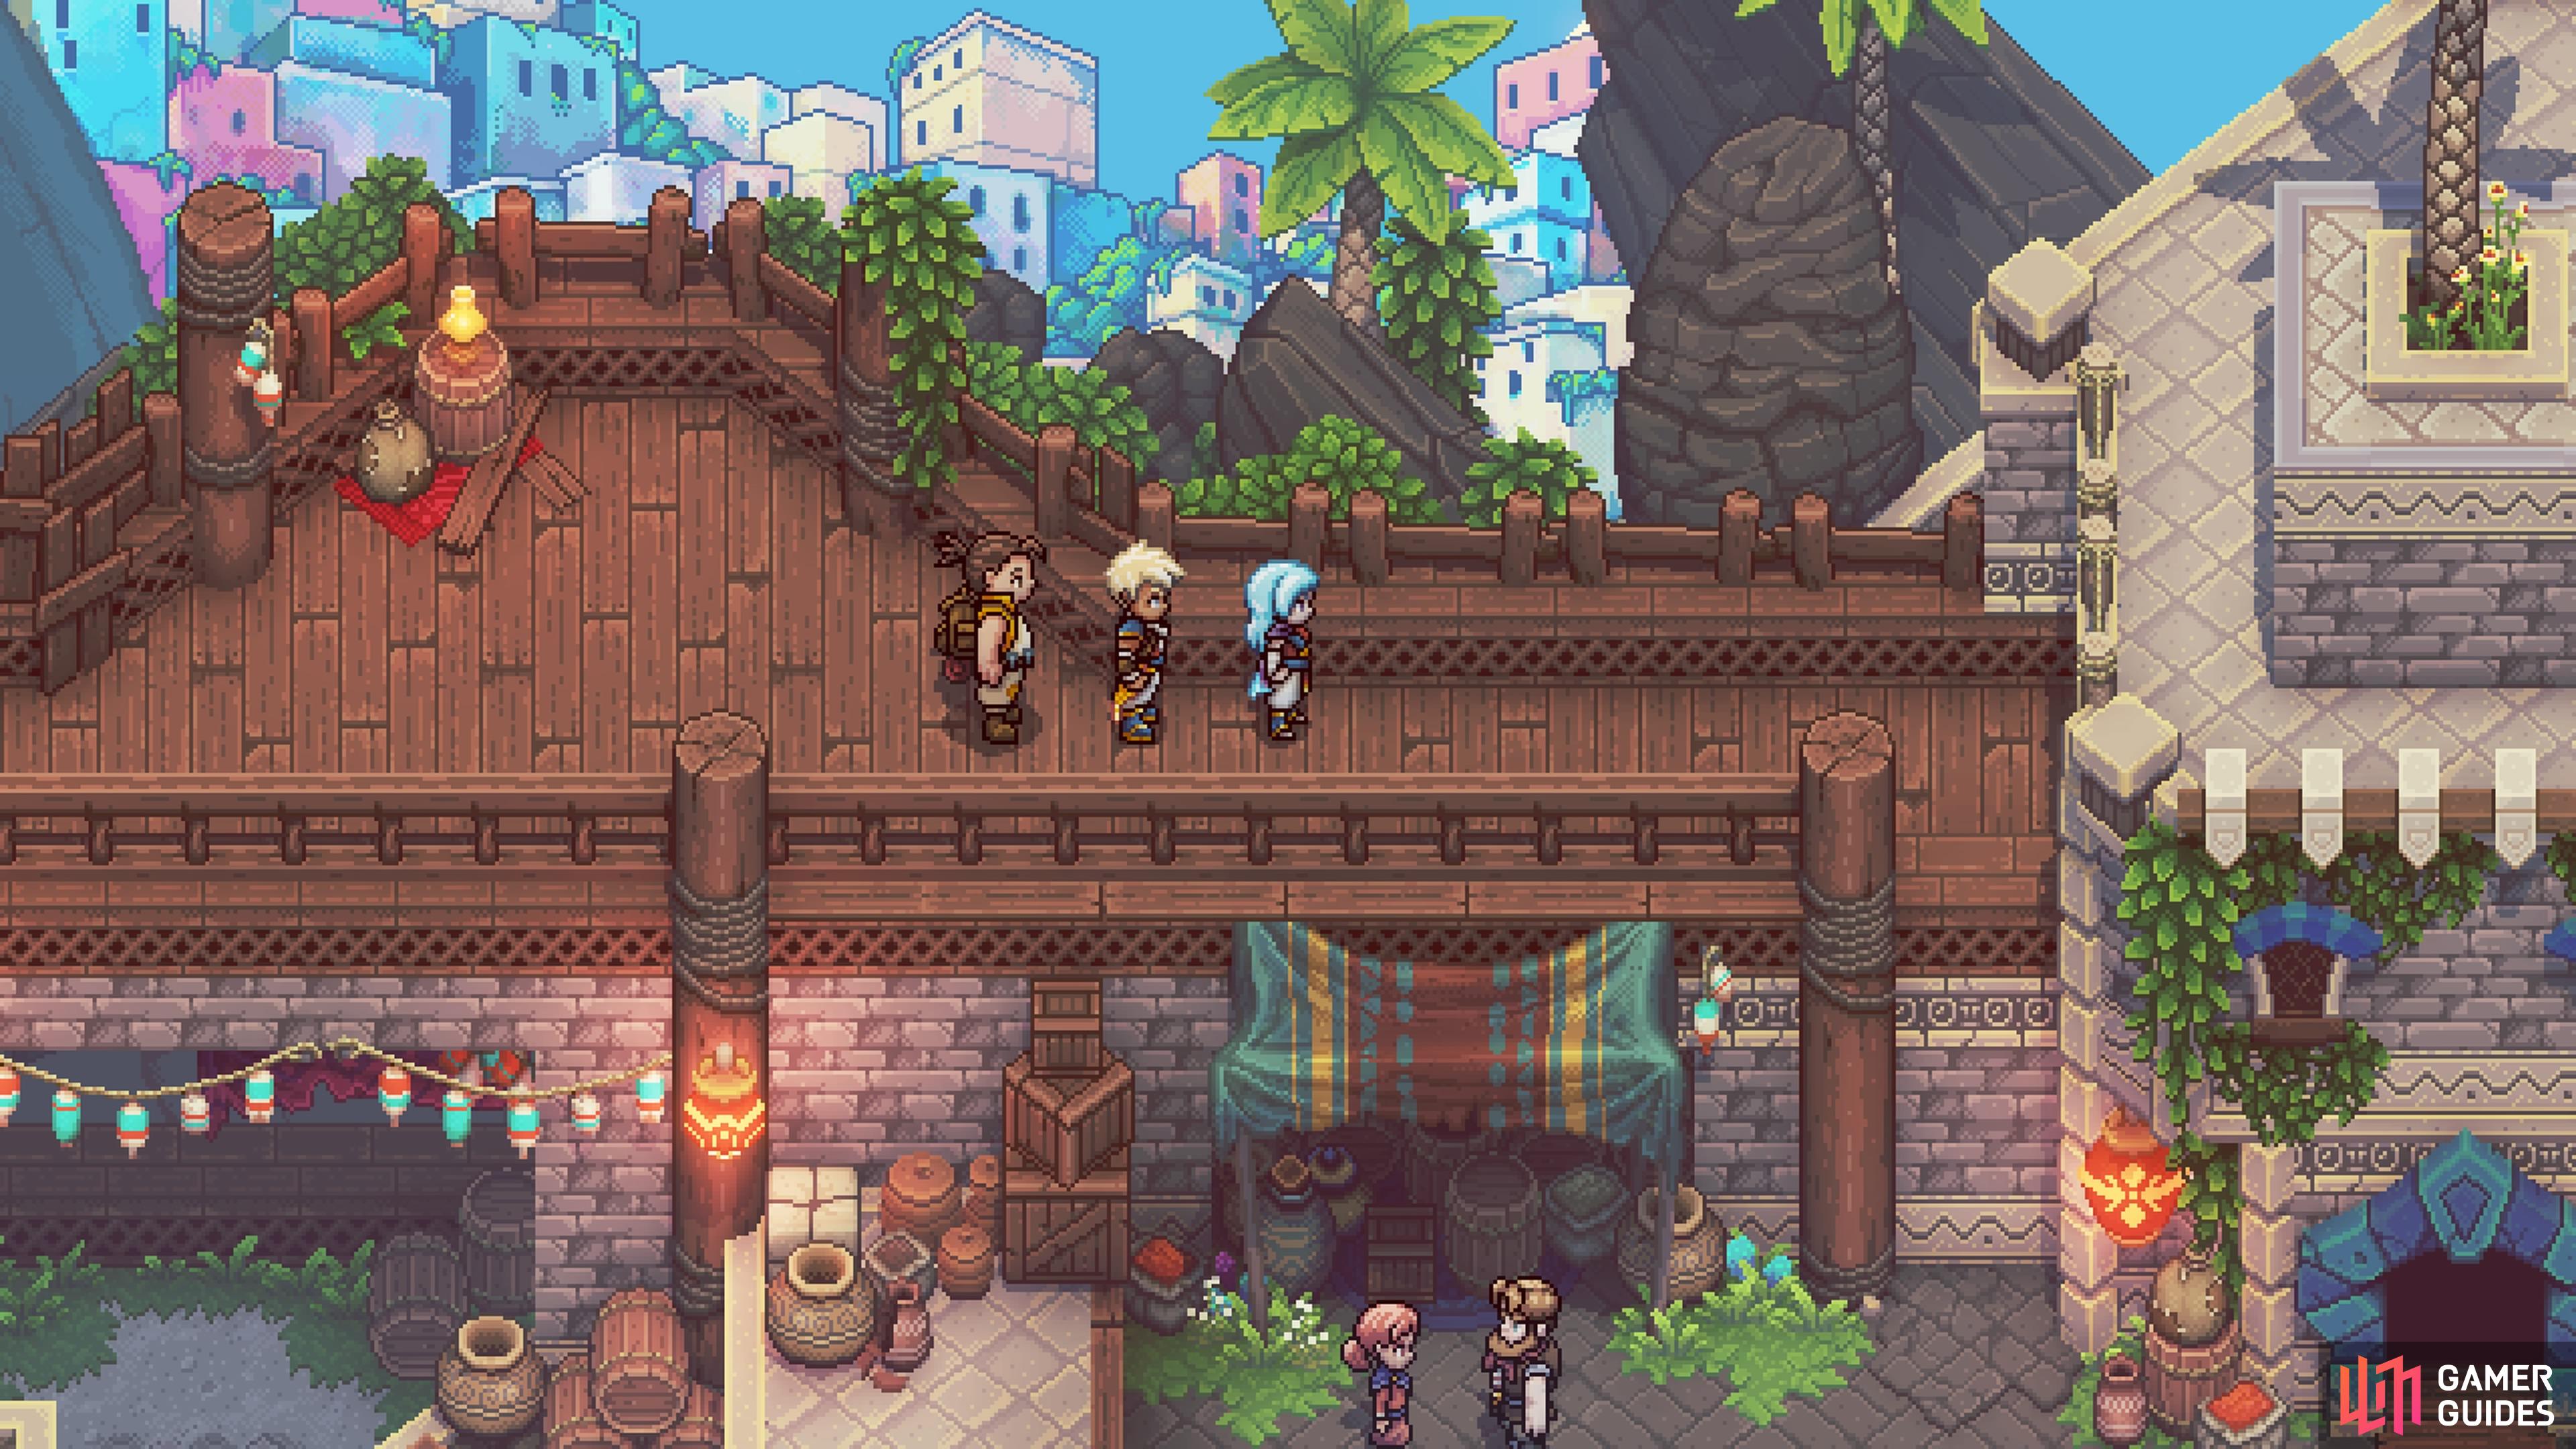
The Port Town of Brisk is likely one of the biggest towns in Sea of Stars, as it is filled with plenty of people and things to do. You will come here on your journey to find a boat to reach Wraith Island, although you will need to do some other tasks to actually get there. Brisk is also home to a lot of treasure, with there being a whopping 13 chests. When you first visit Brisk, it’s a good idea to do the story bits first, as you won’t have full access to the town until the Abandoned Wizard’s Lab is accessible.
Treasure Chest 1
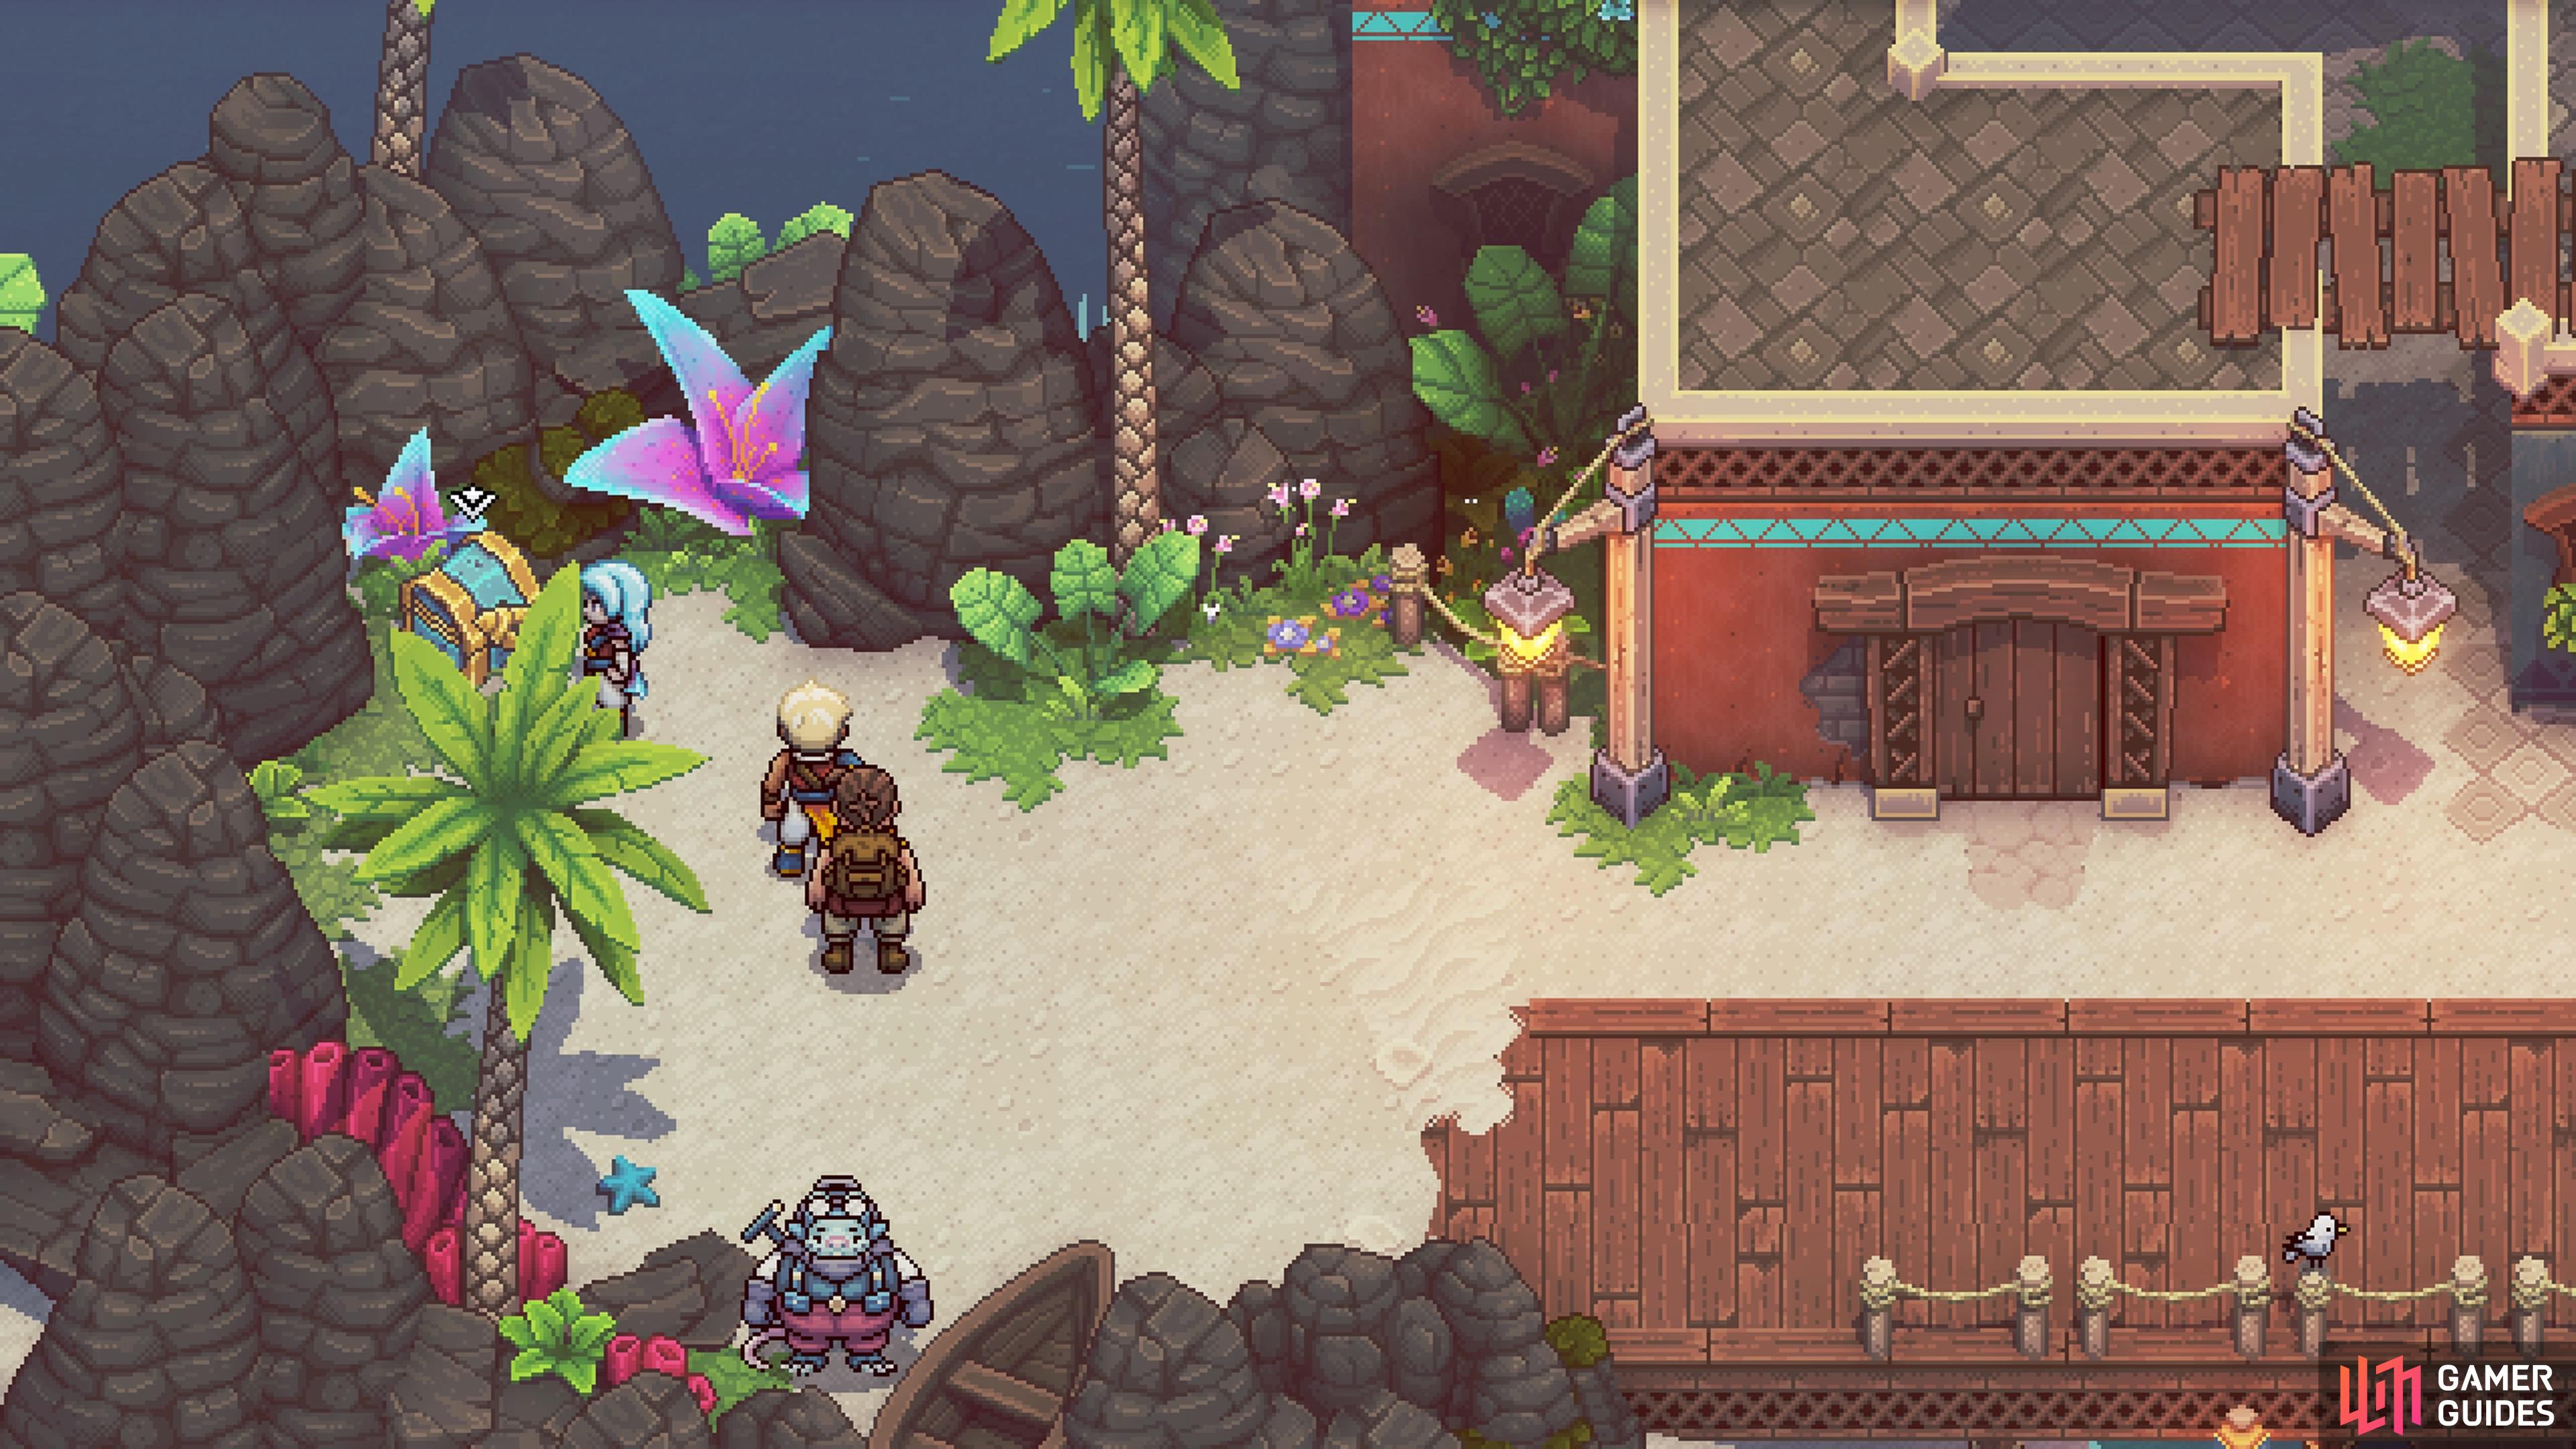
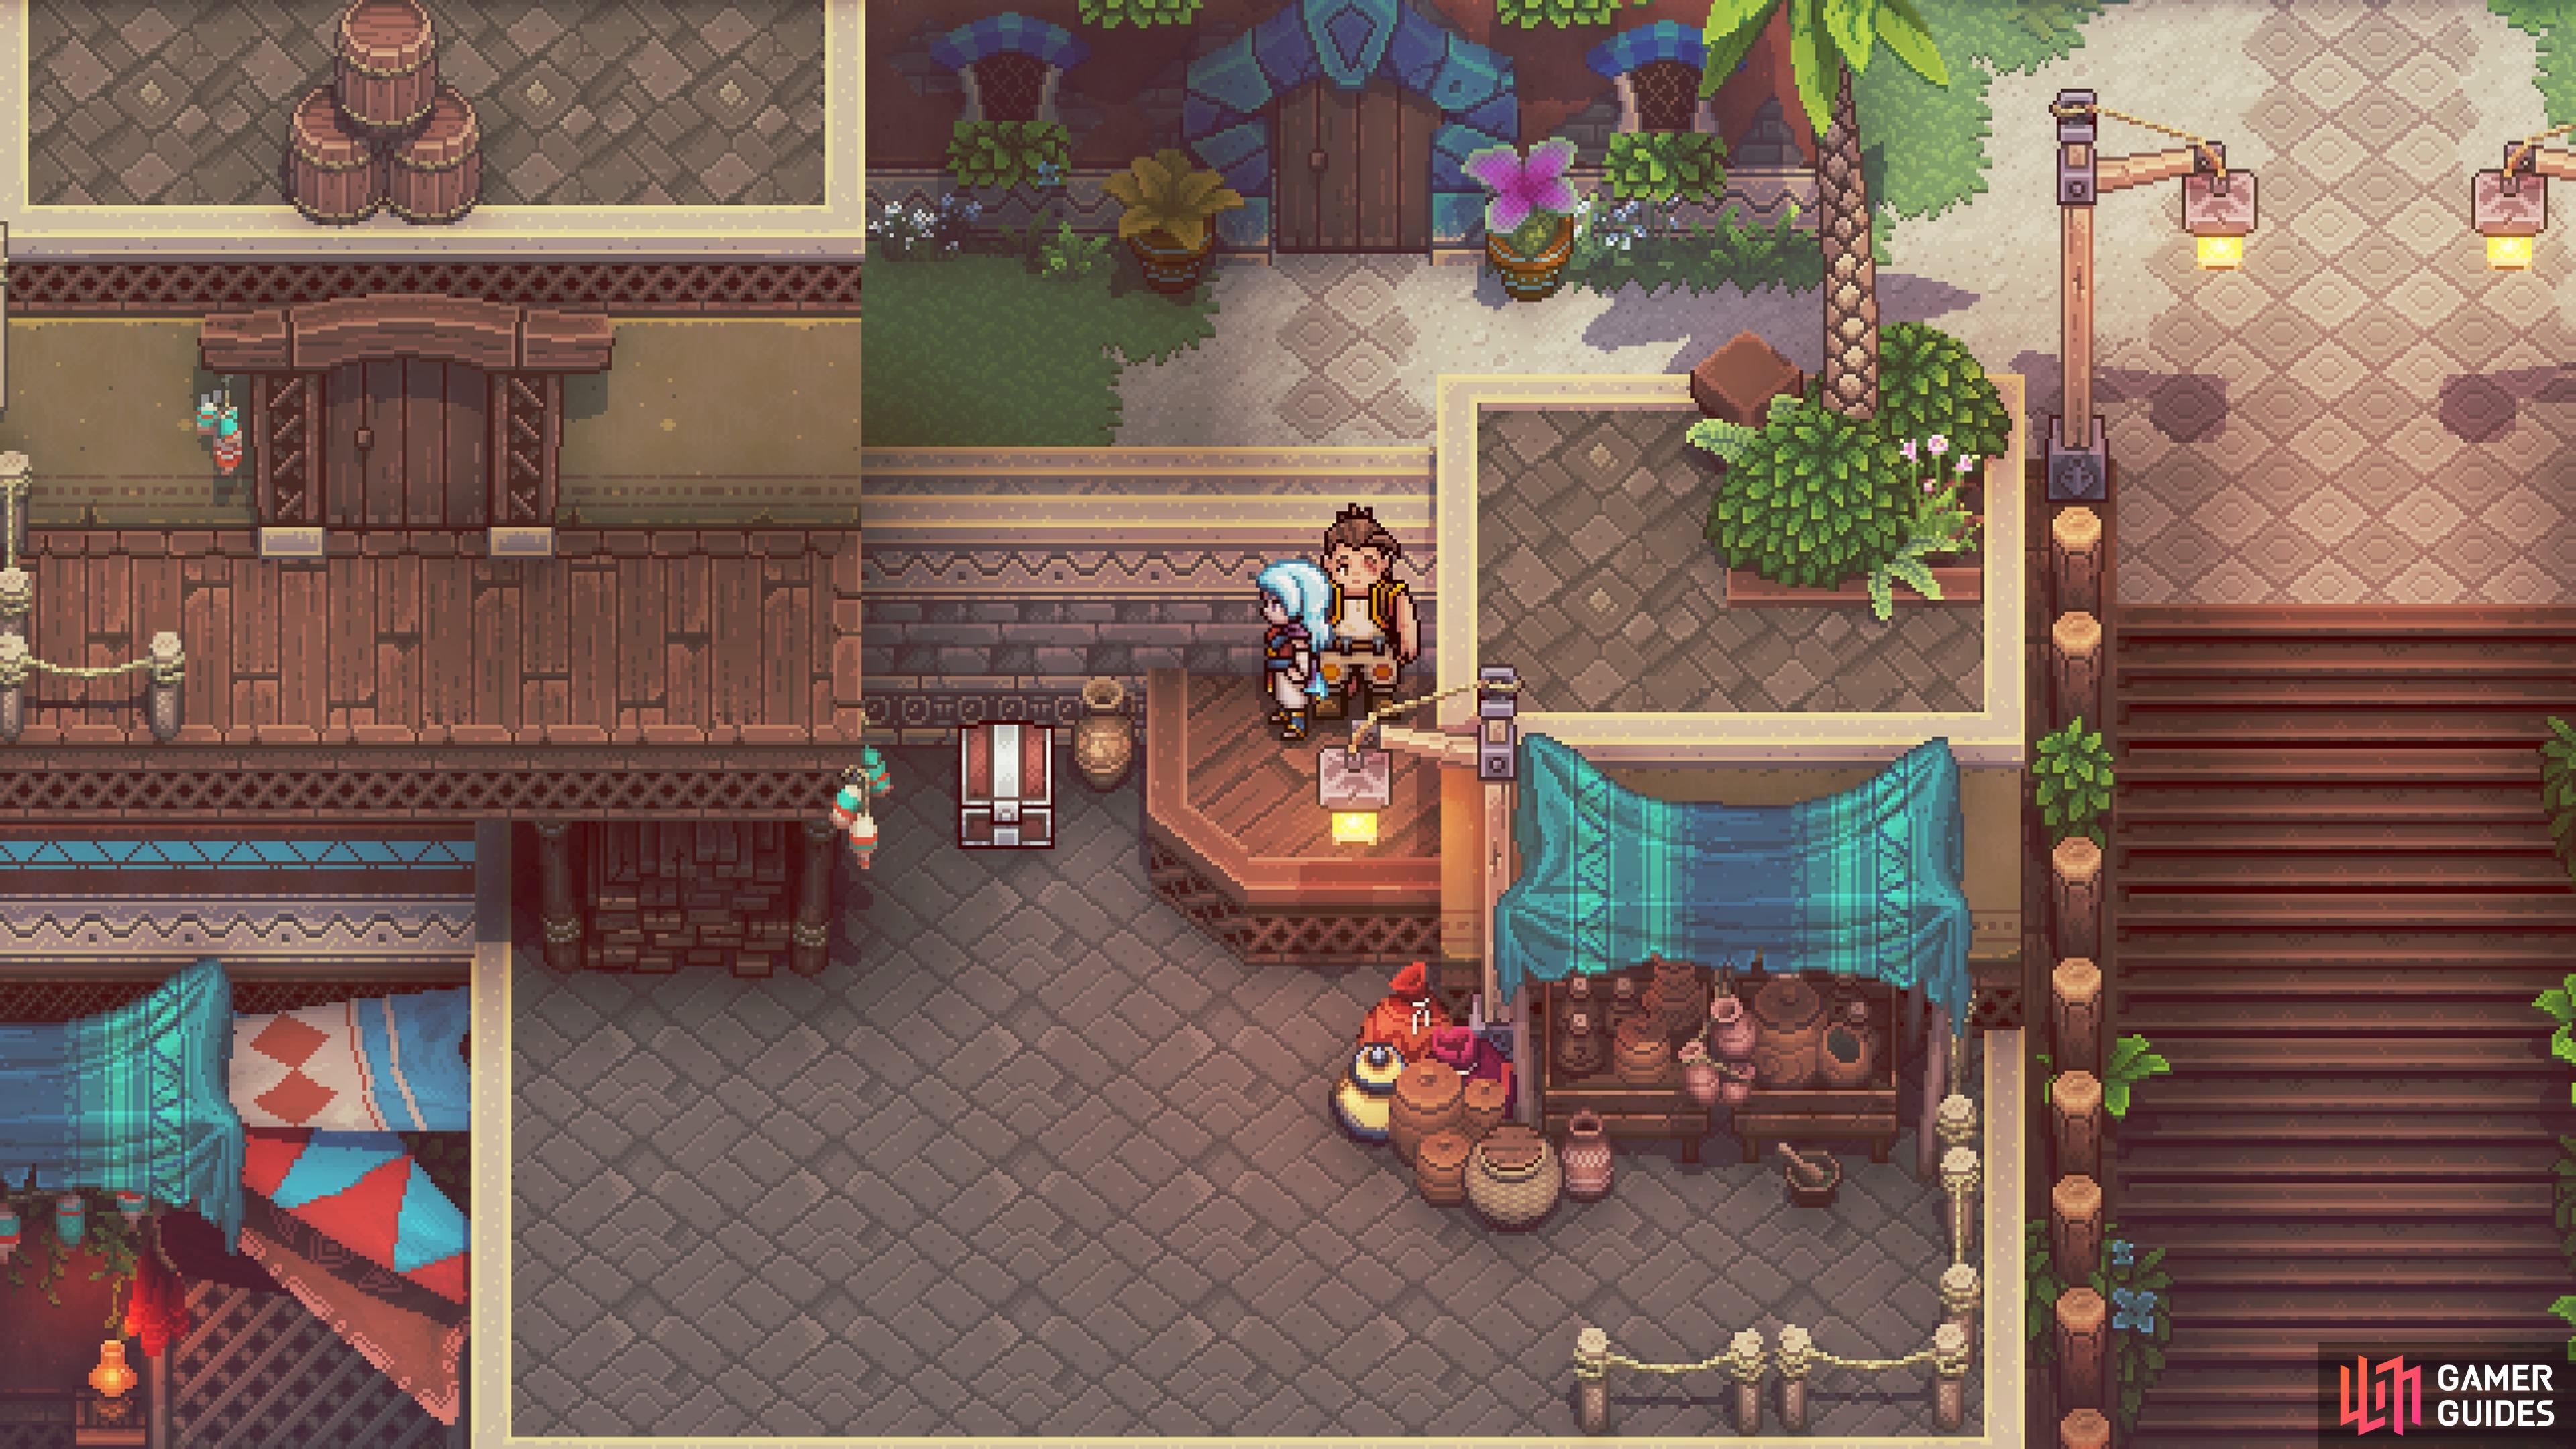
Once you first enter the town, follow the main path down south, until you reach the docks. As soon as you do, head west to a little area that is a dead end. There will be a mole NPC to your south and if you speak to him, he mentions the chest just north of him will have a Rainbow Conch, although he doesn’t know what they are used for. It is slightly hidden by the tree next to him.
Treasure Chest 2
The second chest is a basket, which is found close to where you got the Rainbow Conch above. As you enter the town, head south and look for a ladder on the left side, right before you reach the docks. Climb the ladder, then cross the little wooden bridge to your south to find the basket on the roof, which contains a Mushroom Scramble.
Treasure Chest 3
Drop off the roof from the previous chest and look for some stairs just east of that location. You should see the chest just a little to your north while going up the stairs. Climb onto the wooden walkway on the northern side of the stairs, then jump down to open the chest, which contains 30G.
There will be another chest right next to these stairs.
Check behind the building with the Chest Minigame to find this chest.
Treasure Chest 4
Return to those stairs mentioned above and go up them once more. Continue straight north, all the way to the end, until you see a building you can enter. This will be the Chests Minigame, although you don’t need to go inside the building right now. Instead, go around to the back of that building for this chest (50G).
Treasure Chest 5
From the entrance to the town, go south all the way to the docks, then follow it east, until you reach a pier jutting out into the waters. Jump into the water by that pier and swim underneath it, going north until you find a secret area. This is the Hidden Market and on the left side, you will find a chest with a Rainbow Conch inside it.
Treasure Chest 6
On the southern side of the town are the docks and you will find the shops here, right next to the save point. Climb the stairs in between the two shops, then head left immediately at the top of them. You should see the chest there, so climb the little wall and drop down to get it (Pirate Garb).
The Hidden Market is where you’ll find this chest with the Rainbow Conch.
This chest is on the roof just north of the one shop.
Treasure Chest 7
Return to the top of the stairs from the previous chest and instead of going left, head right this time. Hop onto the railing and follow it right, until you see a wooden board as part of the railing. Jump down here, then continue right on the wooden platform section to see the chest, which contains the Arcane Amulet accessory.
Treasure Chest 8
Locate the building that has the BS Roulette minigame inside of it. This will be just up the stairs to the right of the previous chest. From where that building is located, go a little northeast, until you see two wooden railings. Climb onto the southern of the two, which can be used to get on top of the buildings just to the south. You should see a rope on one building, connecting to another building to the northwest. Cross the rope and you will see the chest right there, so open it for a Power Belt.
(1 of 6) Walk along the wall behind the other shop and drop down to the wooden section.
Treasure Chest 9
Stay on top of the building from the previous chest and start moving southwest. You’ll eventually reach two ropes that run east-to-west, connecting to the building on the other side of a large gap. Go ahead and walk across either of those ropes, then look southwest on the western side for the chest (Shiny Pearl).
Treasure Chest 10
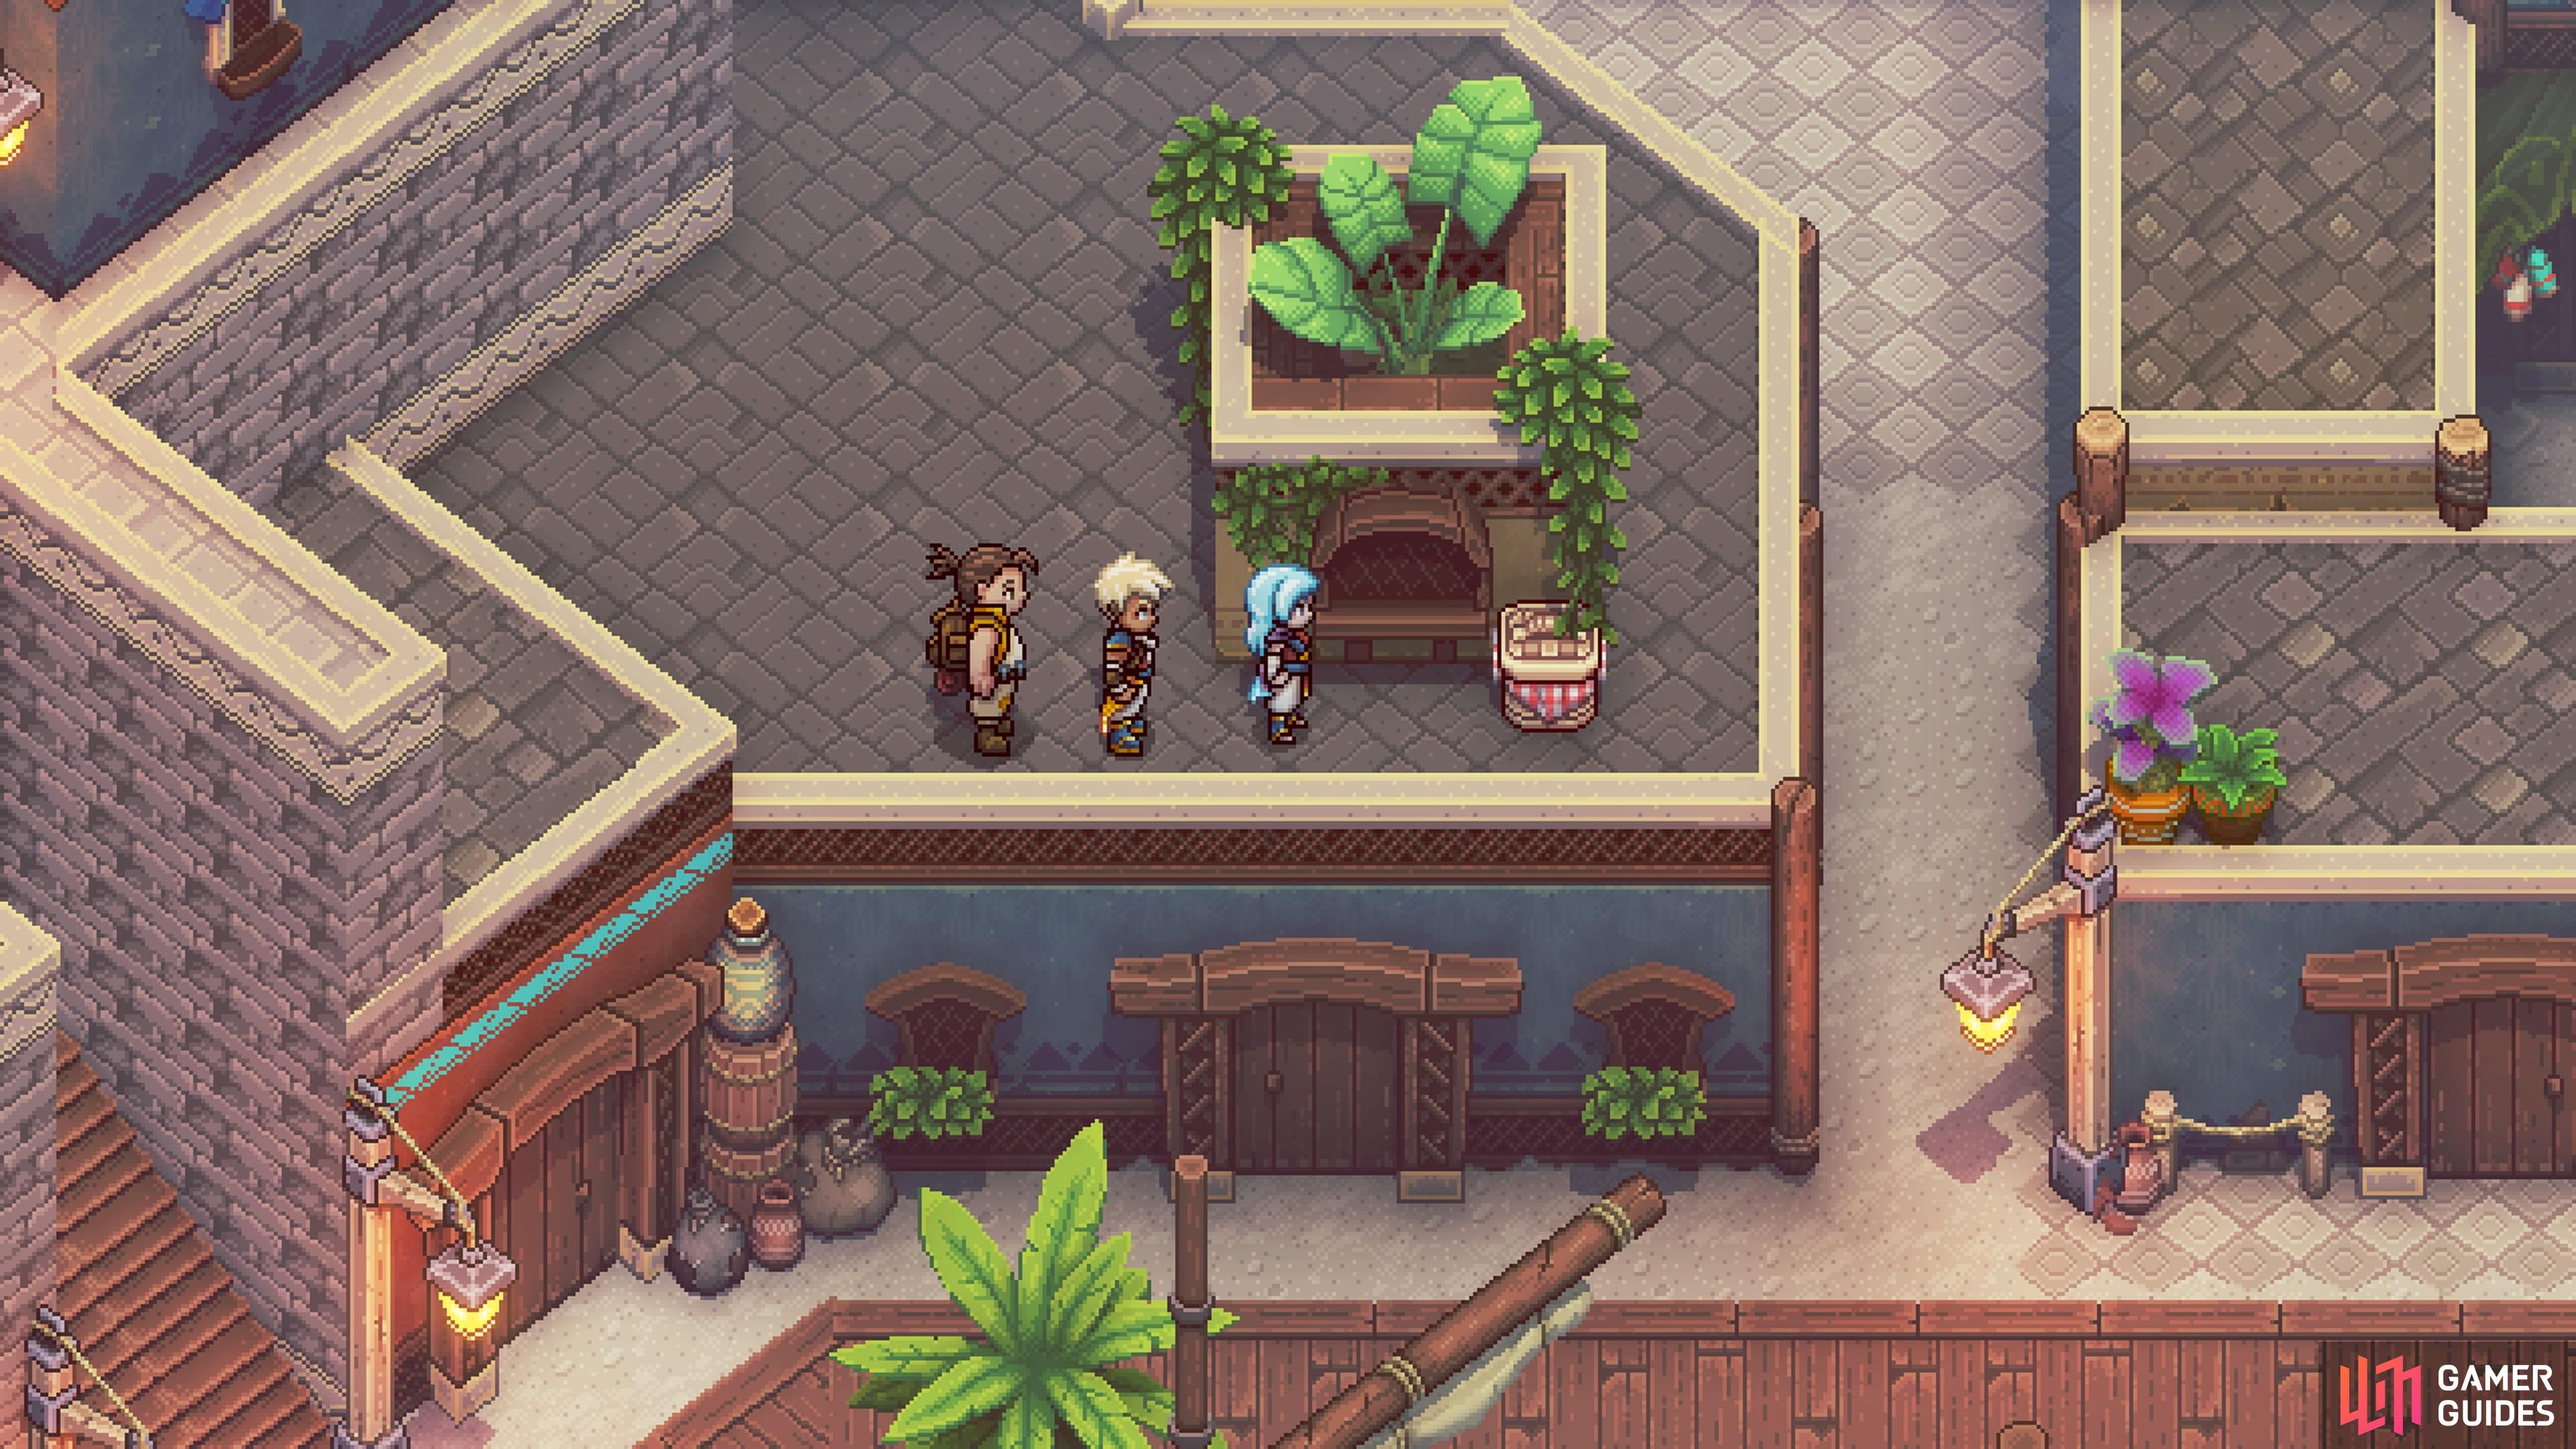
Find the main set of stairs in between the two shops on the docks, then continue straight north, until you reach the fountain. There will be stairs just northwest of the fountain, so take it up to the first landing and climb onto the wooden railing on the right. Jump down to the right and cross the little wooden beam, then drop down into the hole on top of the building. This should place you on top of the fireplace inside of that building, where you can get the chest (Sapphire Ore).

Drop into the hole on this rooftop.
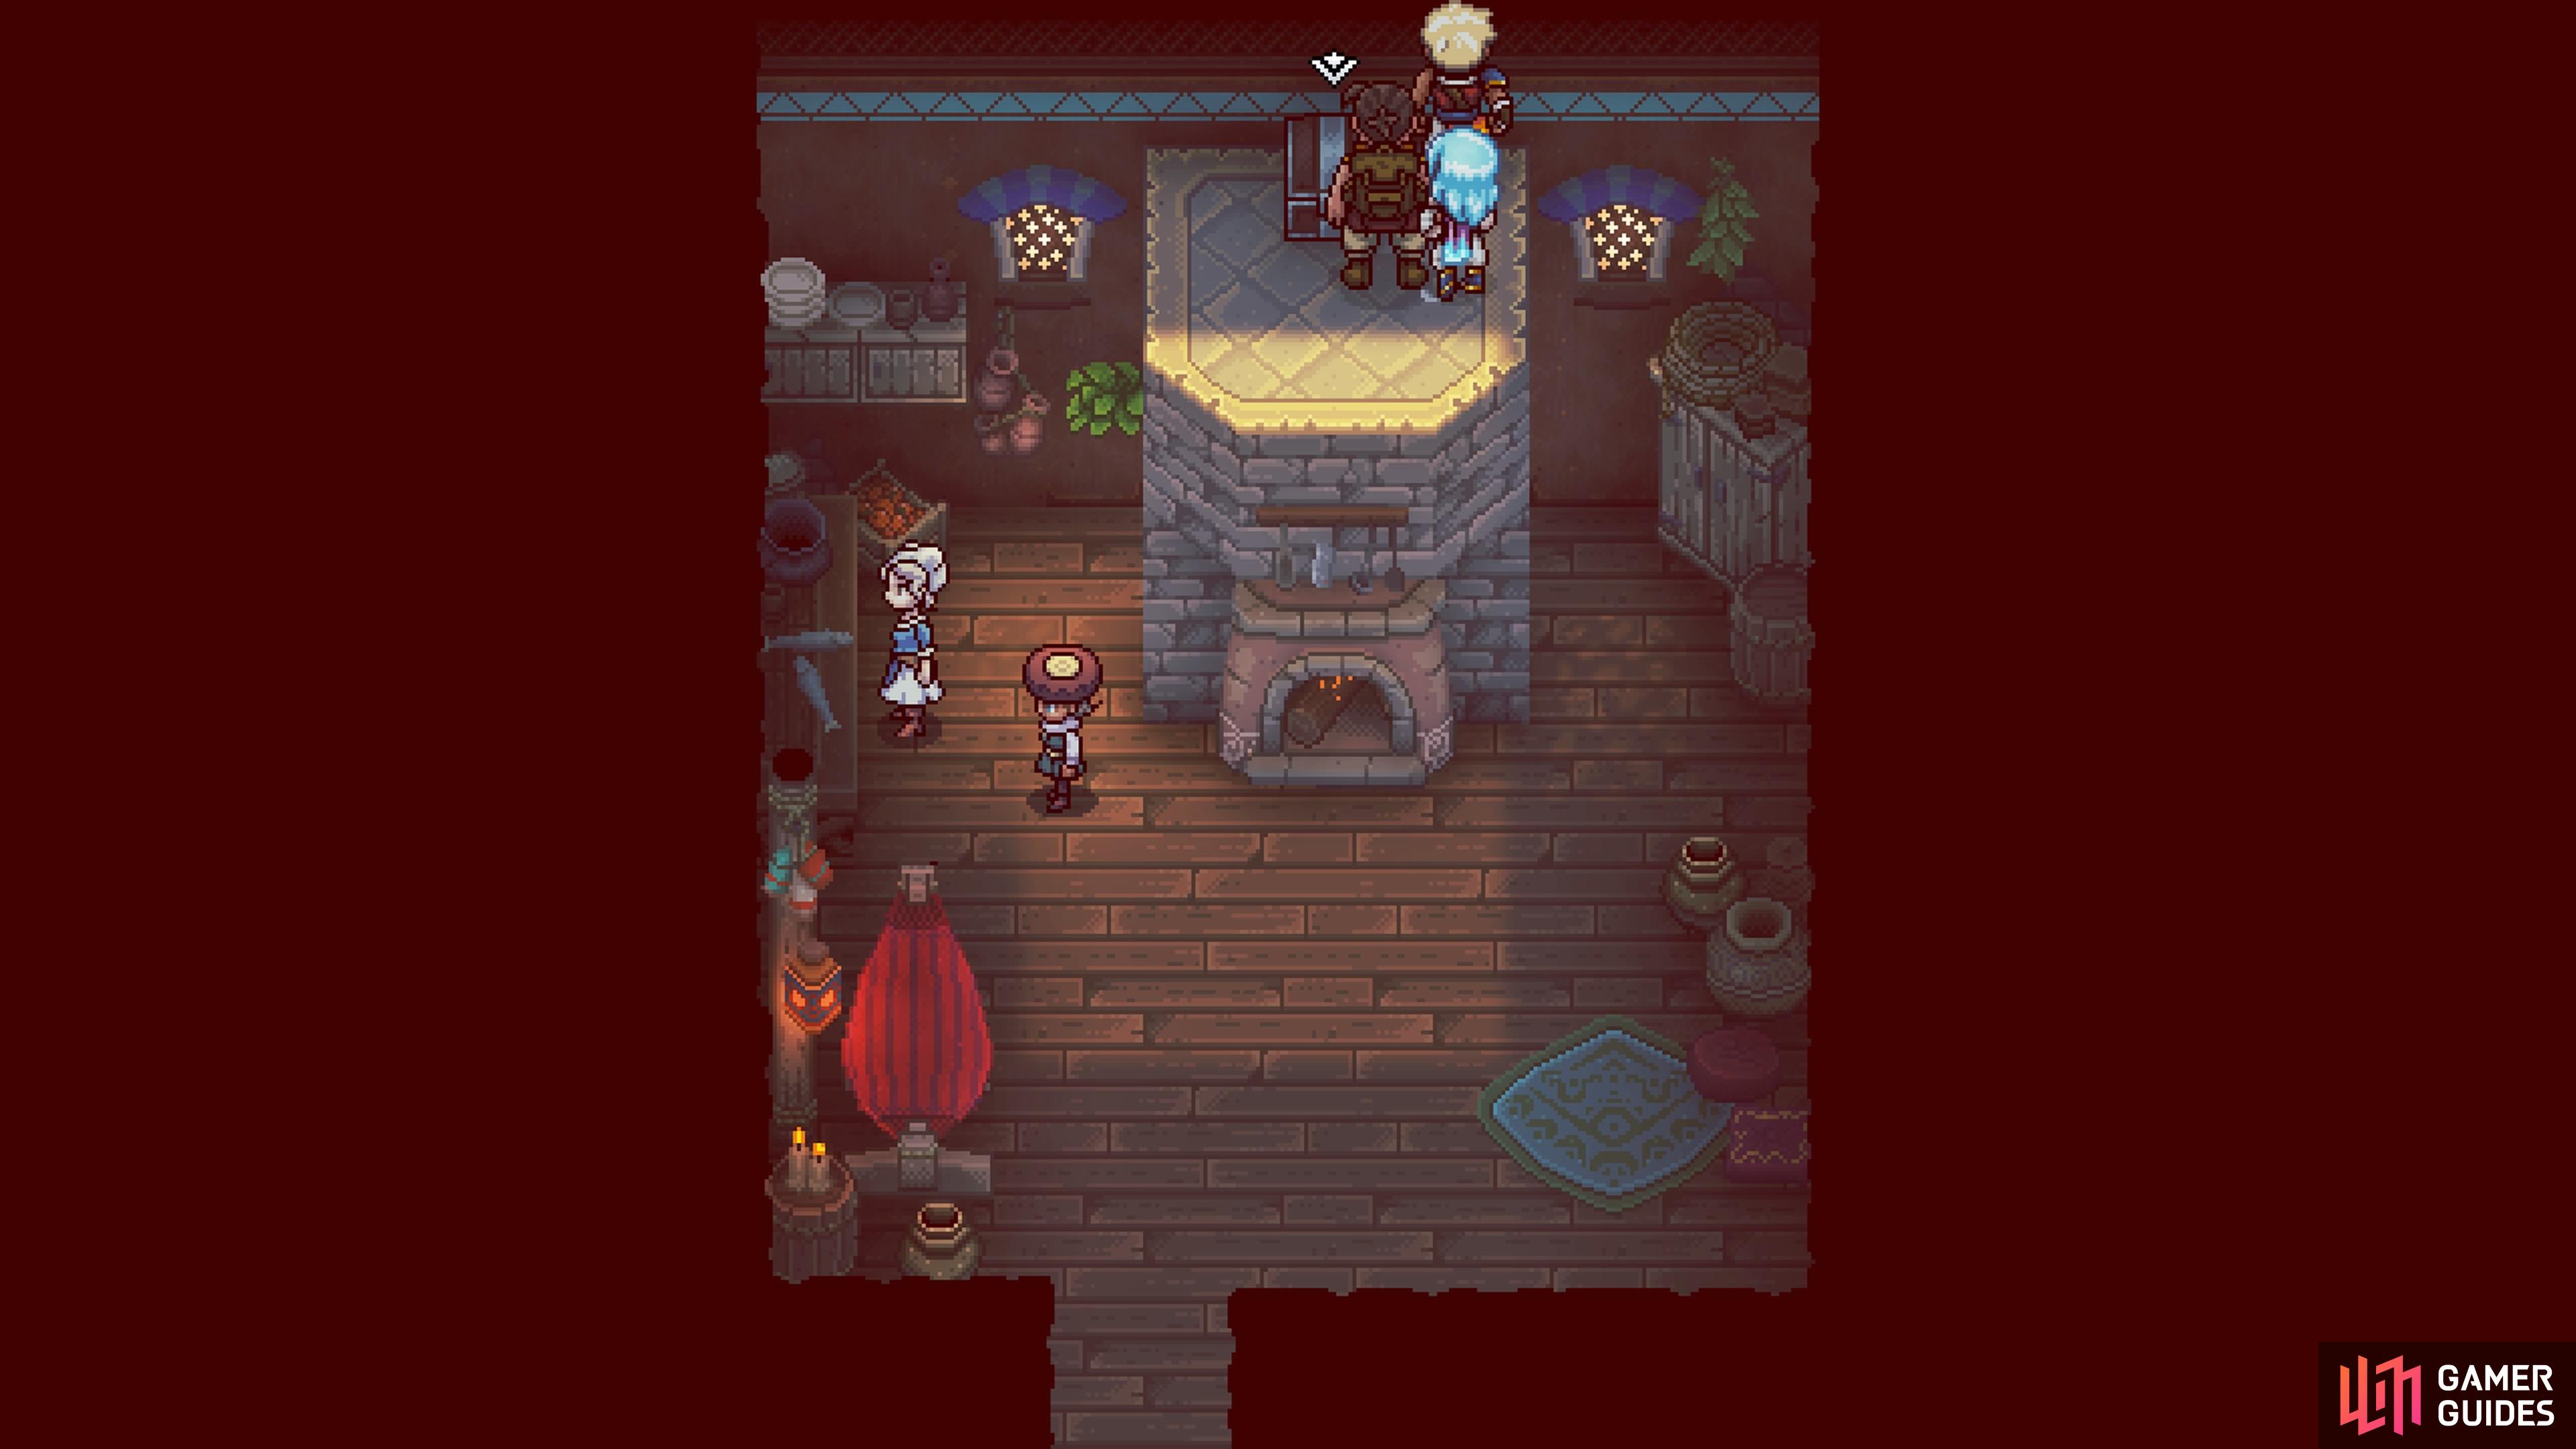
It will put you on top of the oven, where you’ll find a chest.
Treasure Chest 11
This one is a little bit more complicated, as the entrance is very hidden and it’s highly likely you might not even come across it normally. Return to the fountain and go up the stairs just northwest of them, all the way to the top. Head east and what might look like a dead end is actually an entrance to the building there. Go through the building and out the exit on the other side, putting you on a balcony with a wooden crate.
Push the crate off the balcony, then go down after it, pushing it to the right and all the way up. Use the crate to climb to the ledge above the shut door and into that little corner. You can actually go behind the building at this spot, so do that to the left side and move downwards over here until you enter a secret room. Inside will be a chest with a Rainbow Conch. Note that after the story event there, you will have to find another way into this room.
Instead of being able to use the method above, go to the fountain and continue straight north. At some point, you should see some rubble on your right. You can actually find a hidden path in this rubble, which will put you right in the same hidden room mentioned above.
Treasure Chest 12
The final two chests are food baskets, with this one found on top of a building. Head back over to the building that had the BS Roulette and head south to the stairs. Climb onto the wall on the eastern side of the stairs and drop down to the northeast, where you should see the basket by a little spot with some plants growing out of it. The basket will contain 9x Grains.
There is a basket with some Grains on this rooftop.
Check the eastern beach to find another basket with food.
Treasure Chest 13
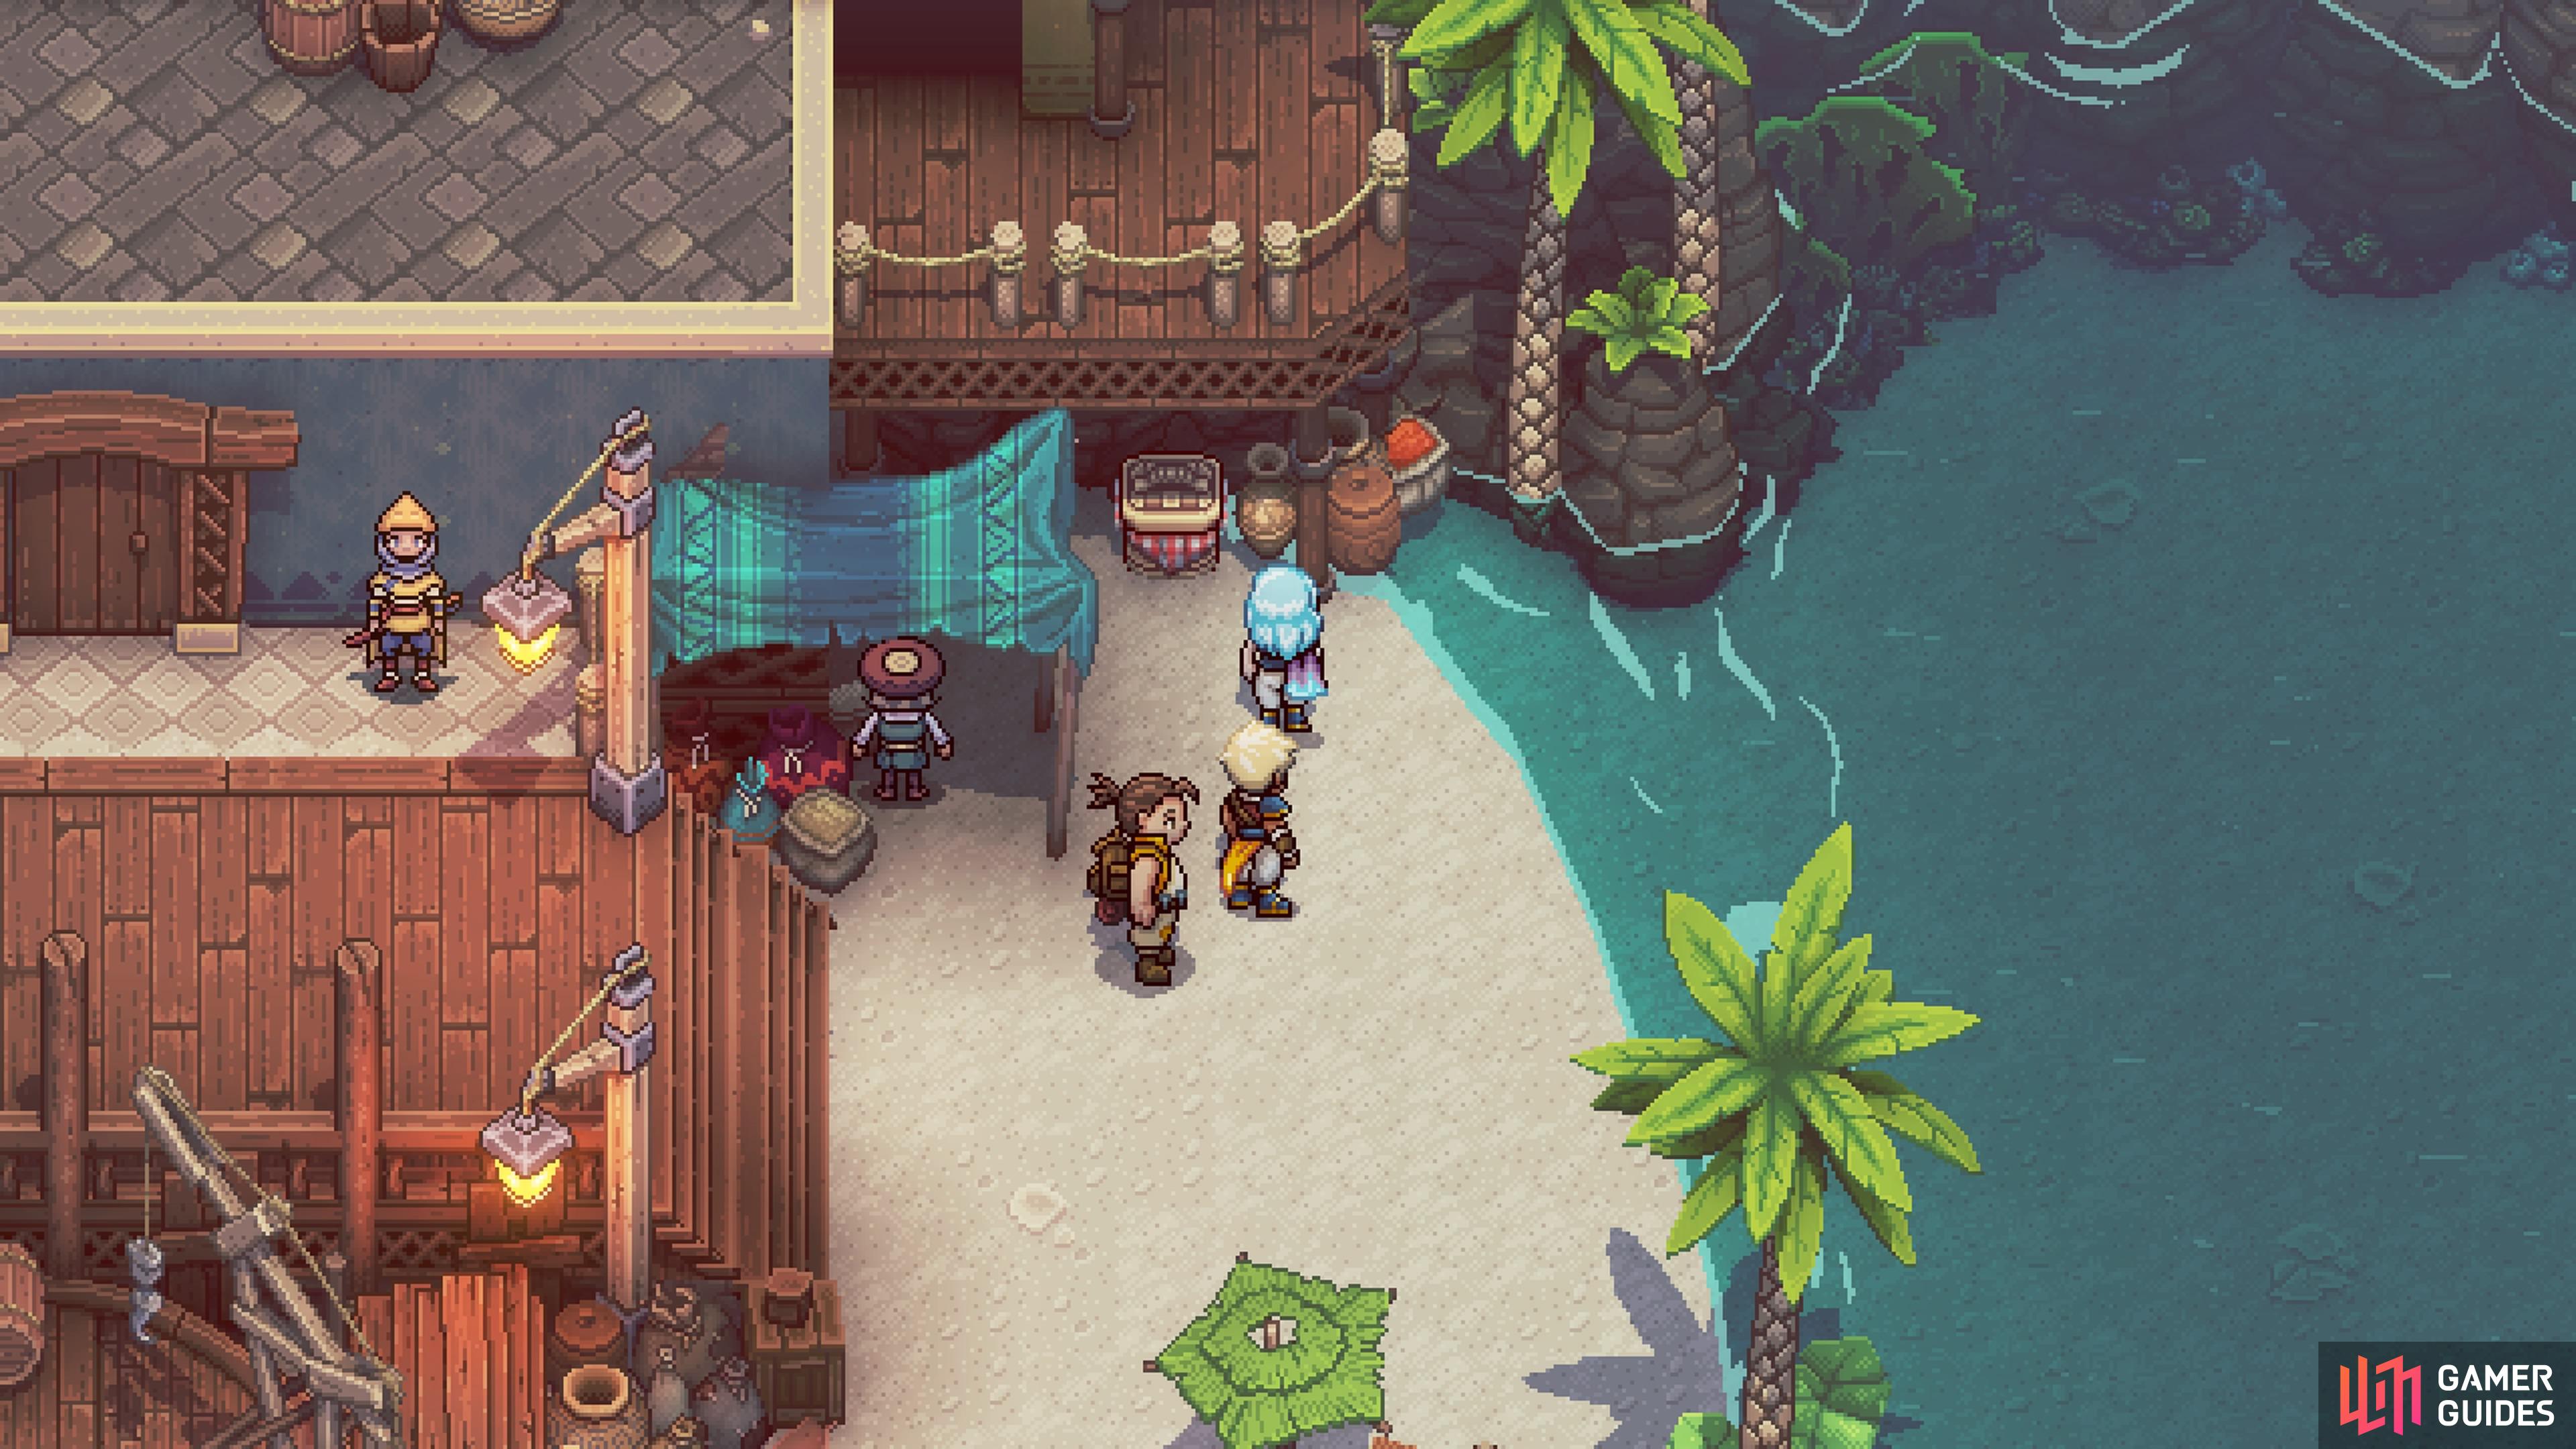
For the final one on this list, head back to the docks and follow it all the way until you reach the beach area. Basically, after collecting the previous basket, drop down and go a little east to find the beach area. As soon as you get there, look to the north to find the basket at the top, right by a canopy. It will contain 6x Seafood.
No Comments