
You will visit many different locations in Sea of Stars and as you explore these places, you will come across many treasure chests. It’s always a good idea to open the chests that you find, since you can obtain new equipment or even key items that might be used later. This page will detail the locations of every chest you can find in the Wind Tunnel Mines dungeon. There’s a good number of chests to be found here, which number a whopping ten. One of the chests are required to advance the story, but all of the others are optional.
Treasure Chest 1
You can get this basket after the first enemy encounter.
The first chest will be right by where you first encounter enemies in the dungeon. After defeating them, look on the left side for some ledges to climb, so do that and open the basket for 3x Eggs.
Treasure Chest 2
Take the high path just after the first chest to reach this one.
After getting the previous chest (basket), you will need to do a little puzzle in that room with the lever and moving platform. Once you solve it, you will shimmy across a thin ledge and to the right, into another section of the large room. There will be two paths you can take here, an upper one and a lower one. Take the upper path and in the right corner will be the chest, which contains the Green Leaf accessory.
Treasure Chest 3
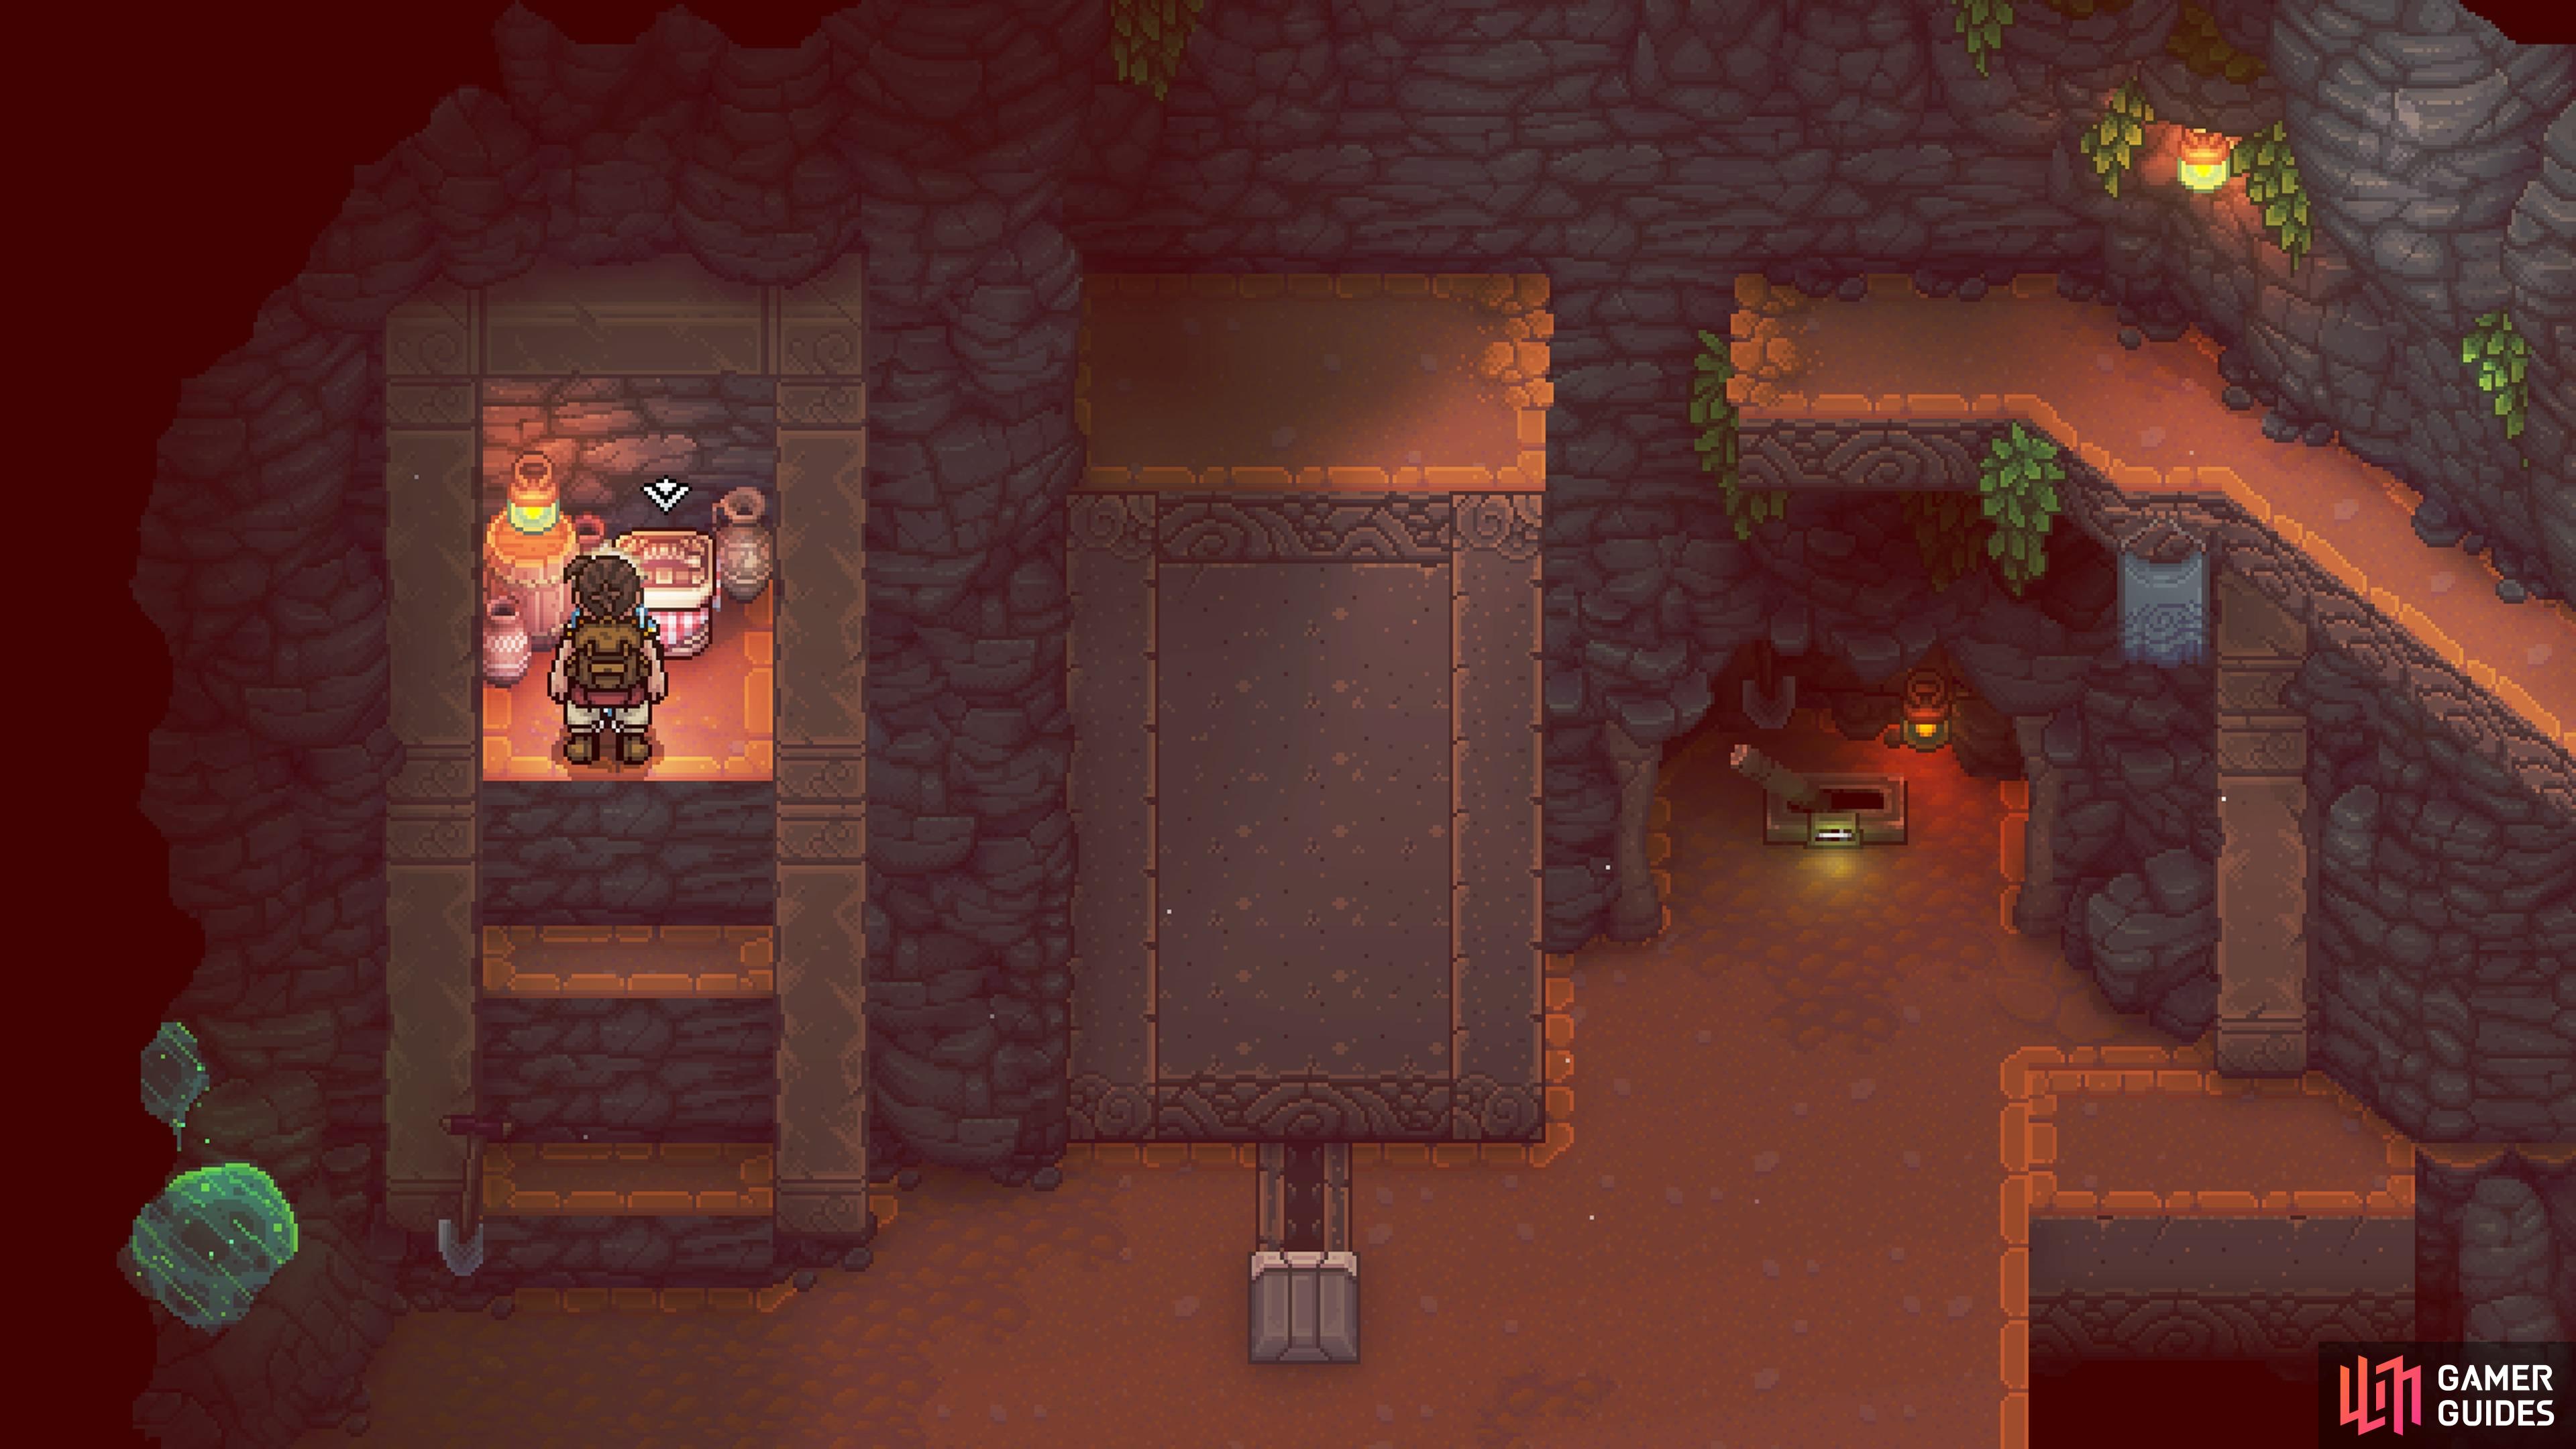
You will eventually reach a large room that has a path in the upper portion of it. Ignore that for now and head to the right side of the room. There will be a ladder here that takes you to the upper section, but look closely to the right of the ladder to see a basket. Open the basket for 3x Dairy.
There is another basket with food by this ladder, right by the one locked door.

Climb up the ladder after the basket and follow the left path to this chest.
Treasure Chest 4
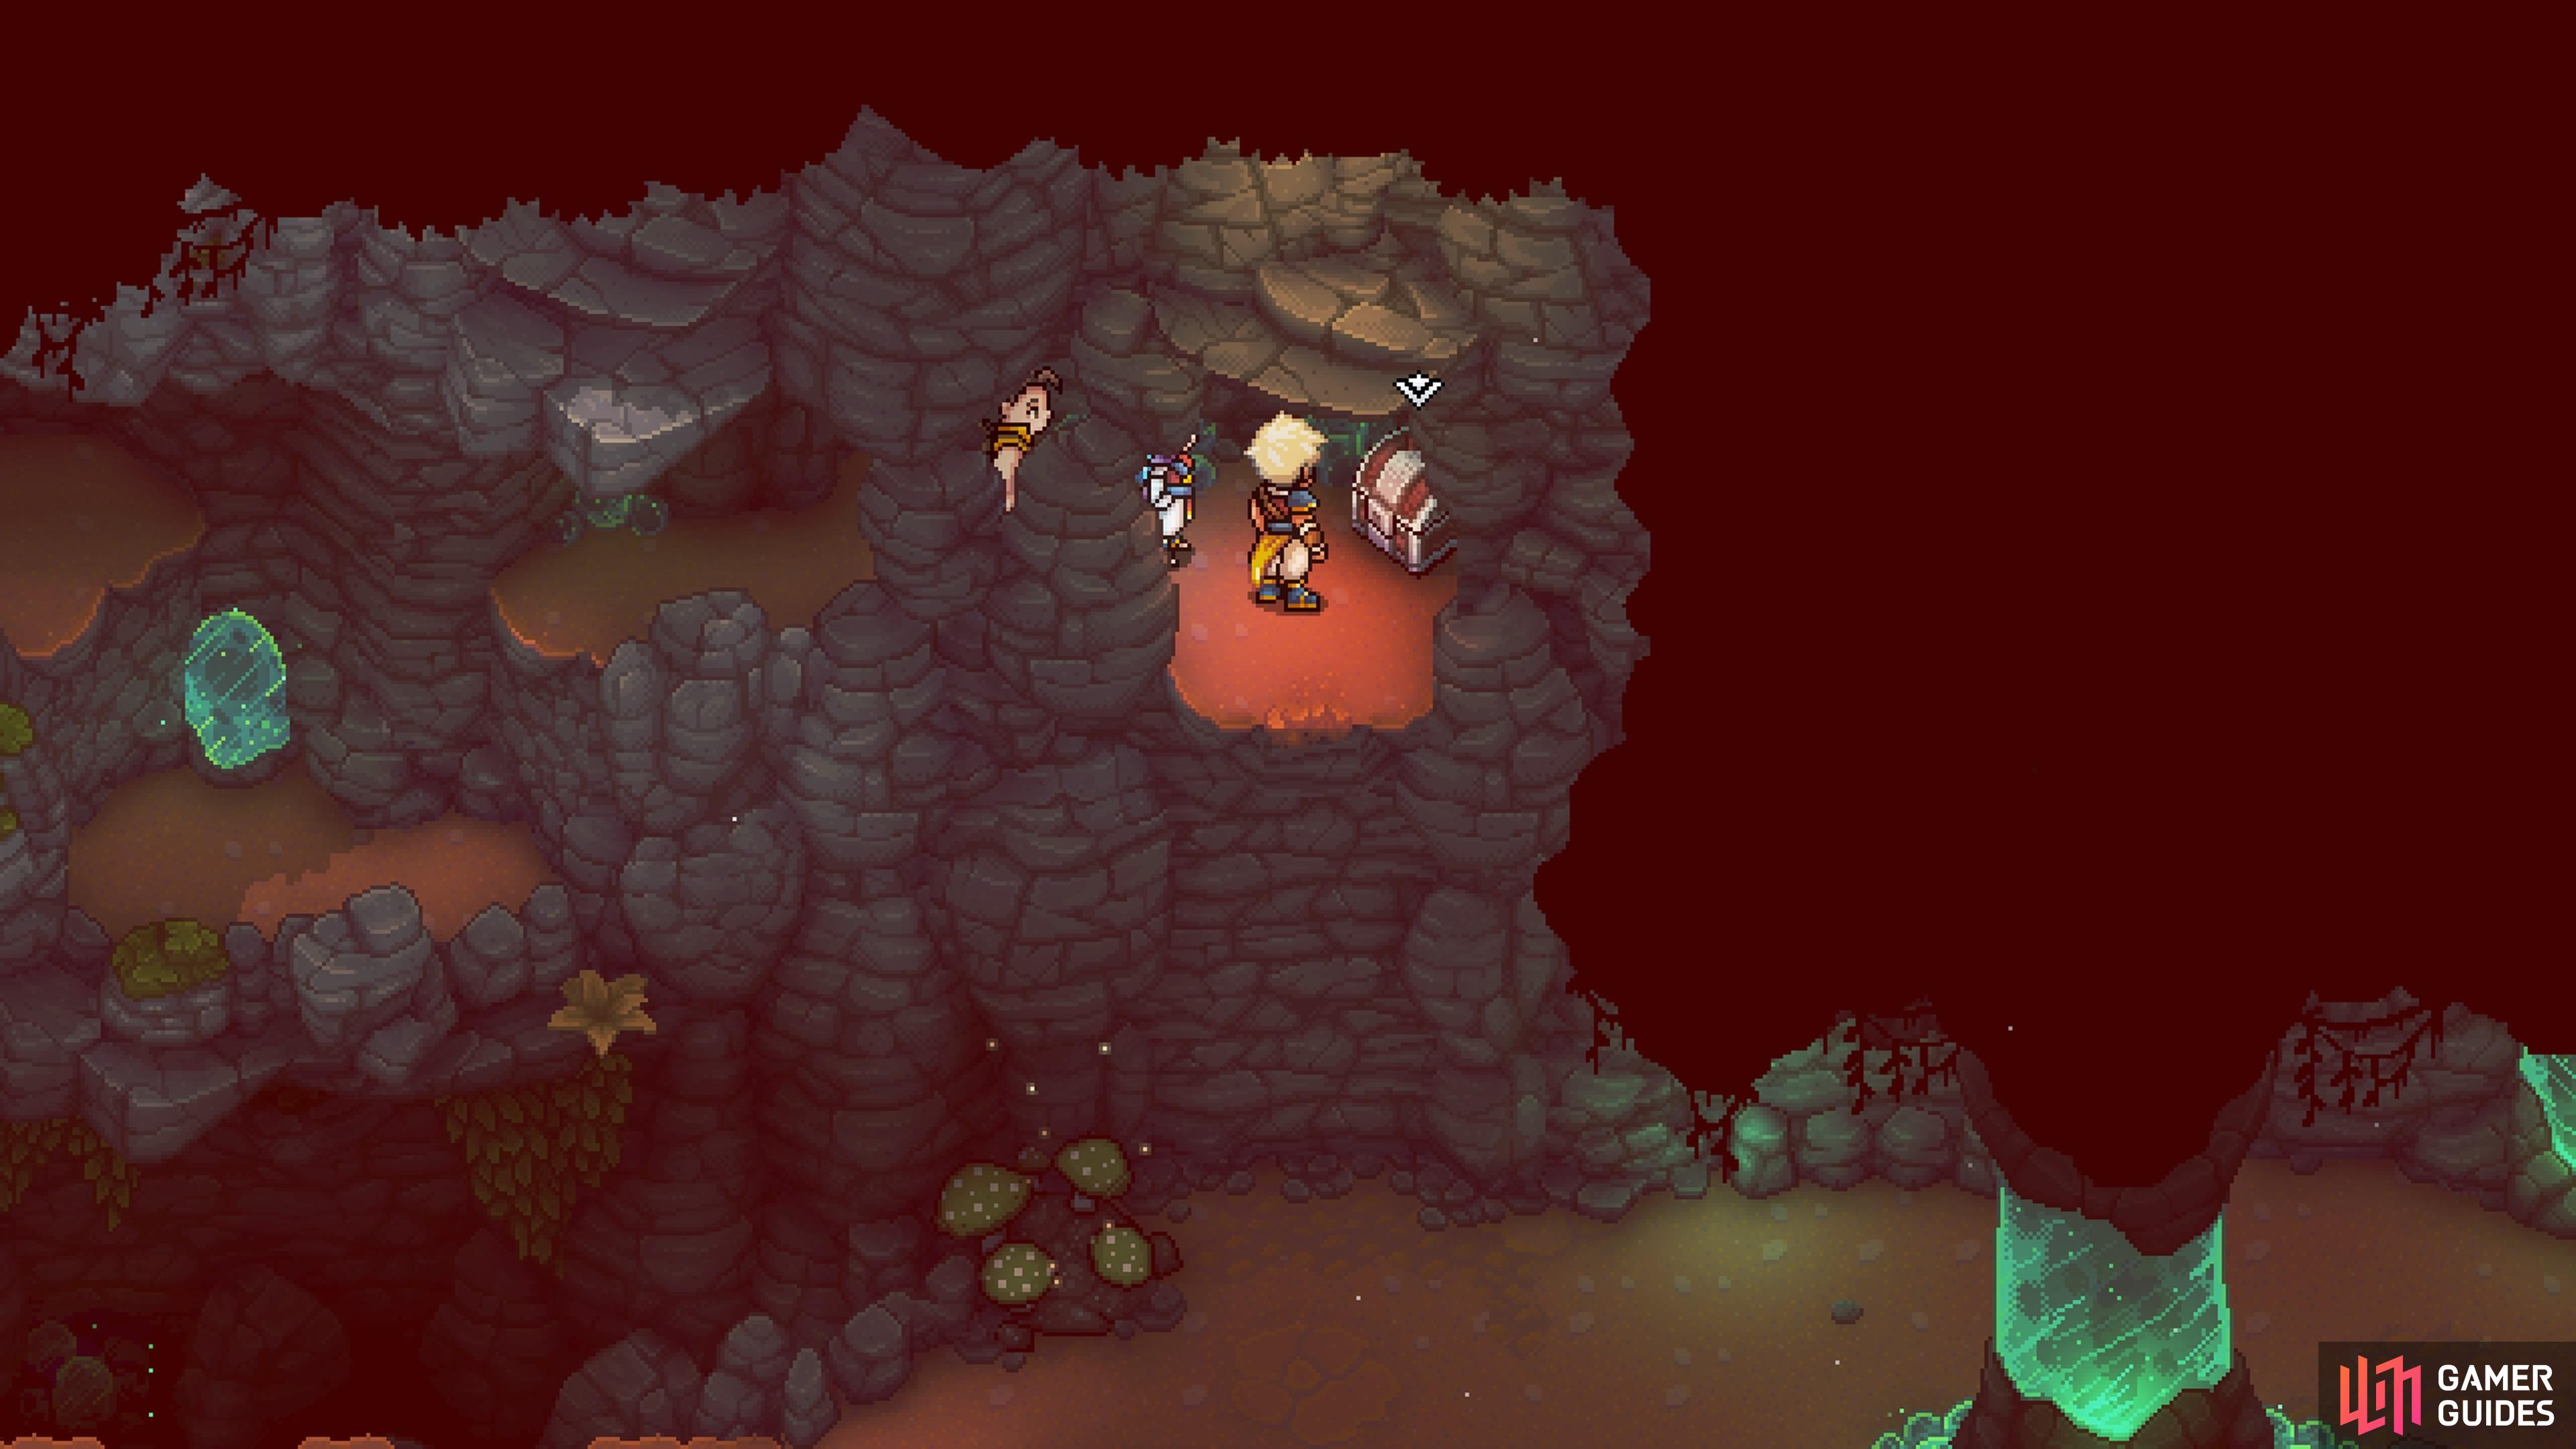
Climb that ladder mentioned previously and you should see a locked door right in front of you. This is for later, so put it in the back of your mind. Either way, remember that upper pathway? Well, head in that direction and about halfway across the pathway, you will find the chest in the corner. Open it up to receive a Teal Amber Ore.
Treasure Chest 5
There is a chest with a Rainbow Conch slightly hidden here.
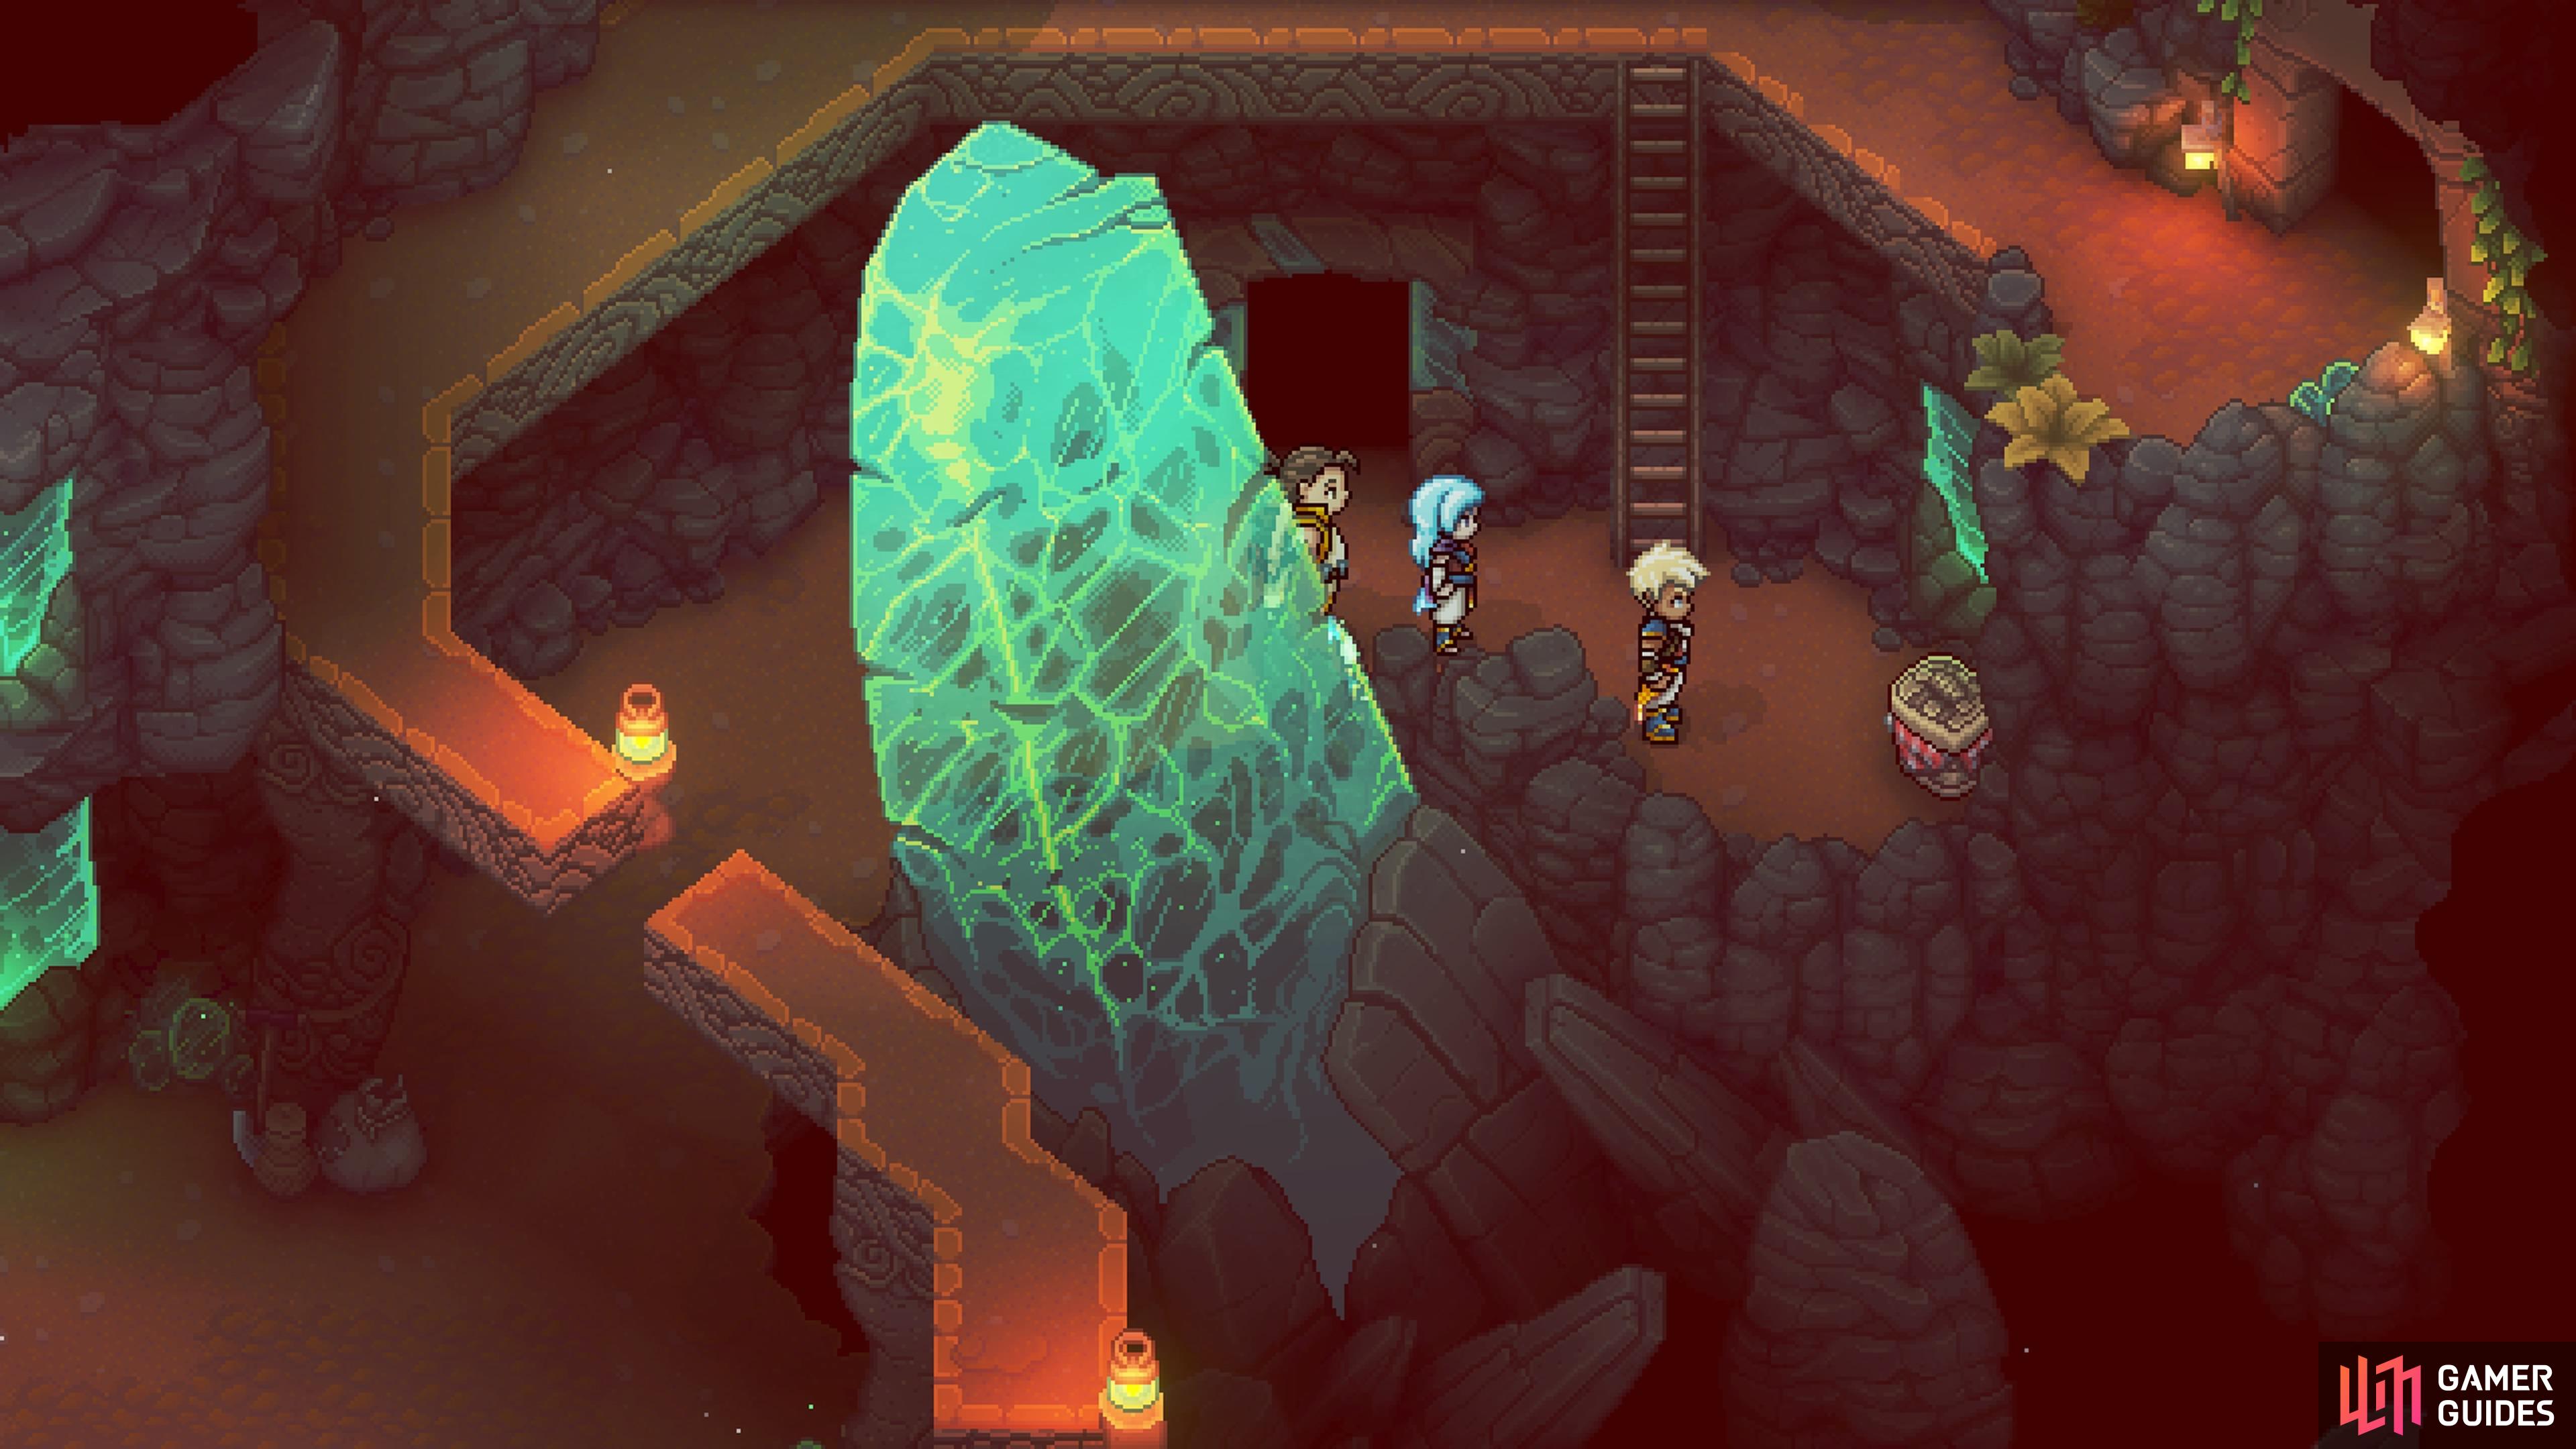
Once you reach the second floor of the mines, after jumping down the shaft a second time, head left. You should see a ladder on this side, but don’t go up it just yet. Instead, look to the right of the ladder, right underneath the upper pathway. You should notice a little bit of a chest sticking out and that is what you need. This chest will contain a Rainbow Conch.
Treasure Chest 6
This is the chest that is mandatory for story progression. It will hold the Mistral Bracelet, an item that allows you to blow a small gust of air from your hand.
Treasure Chest 7
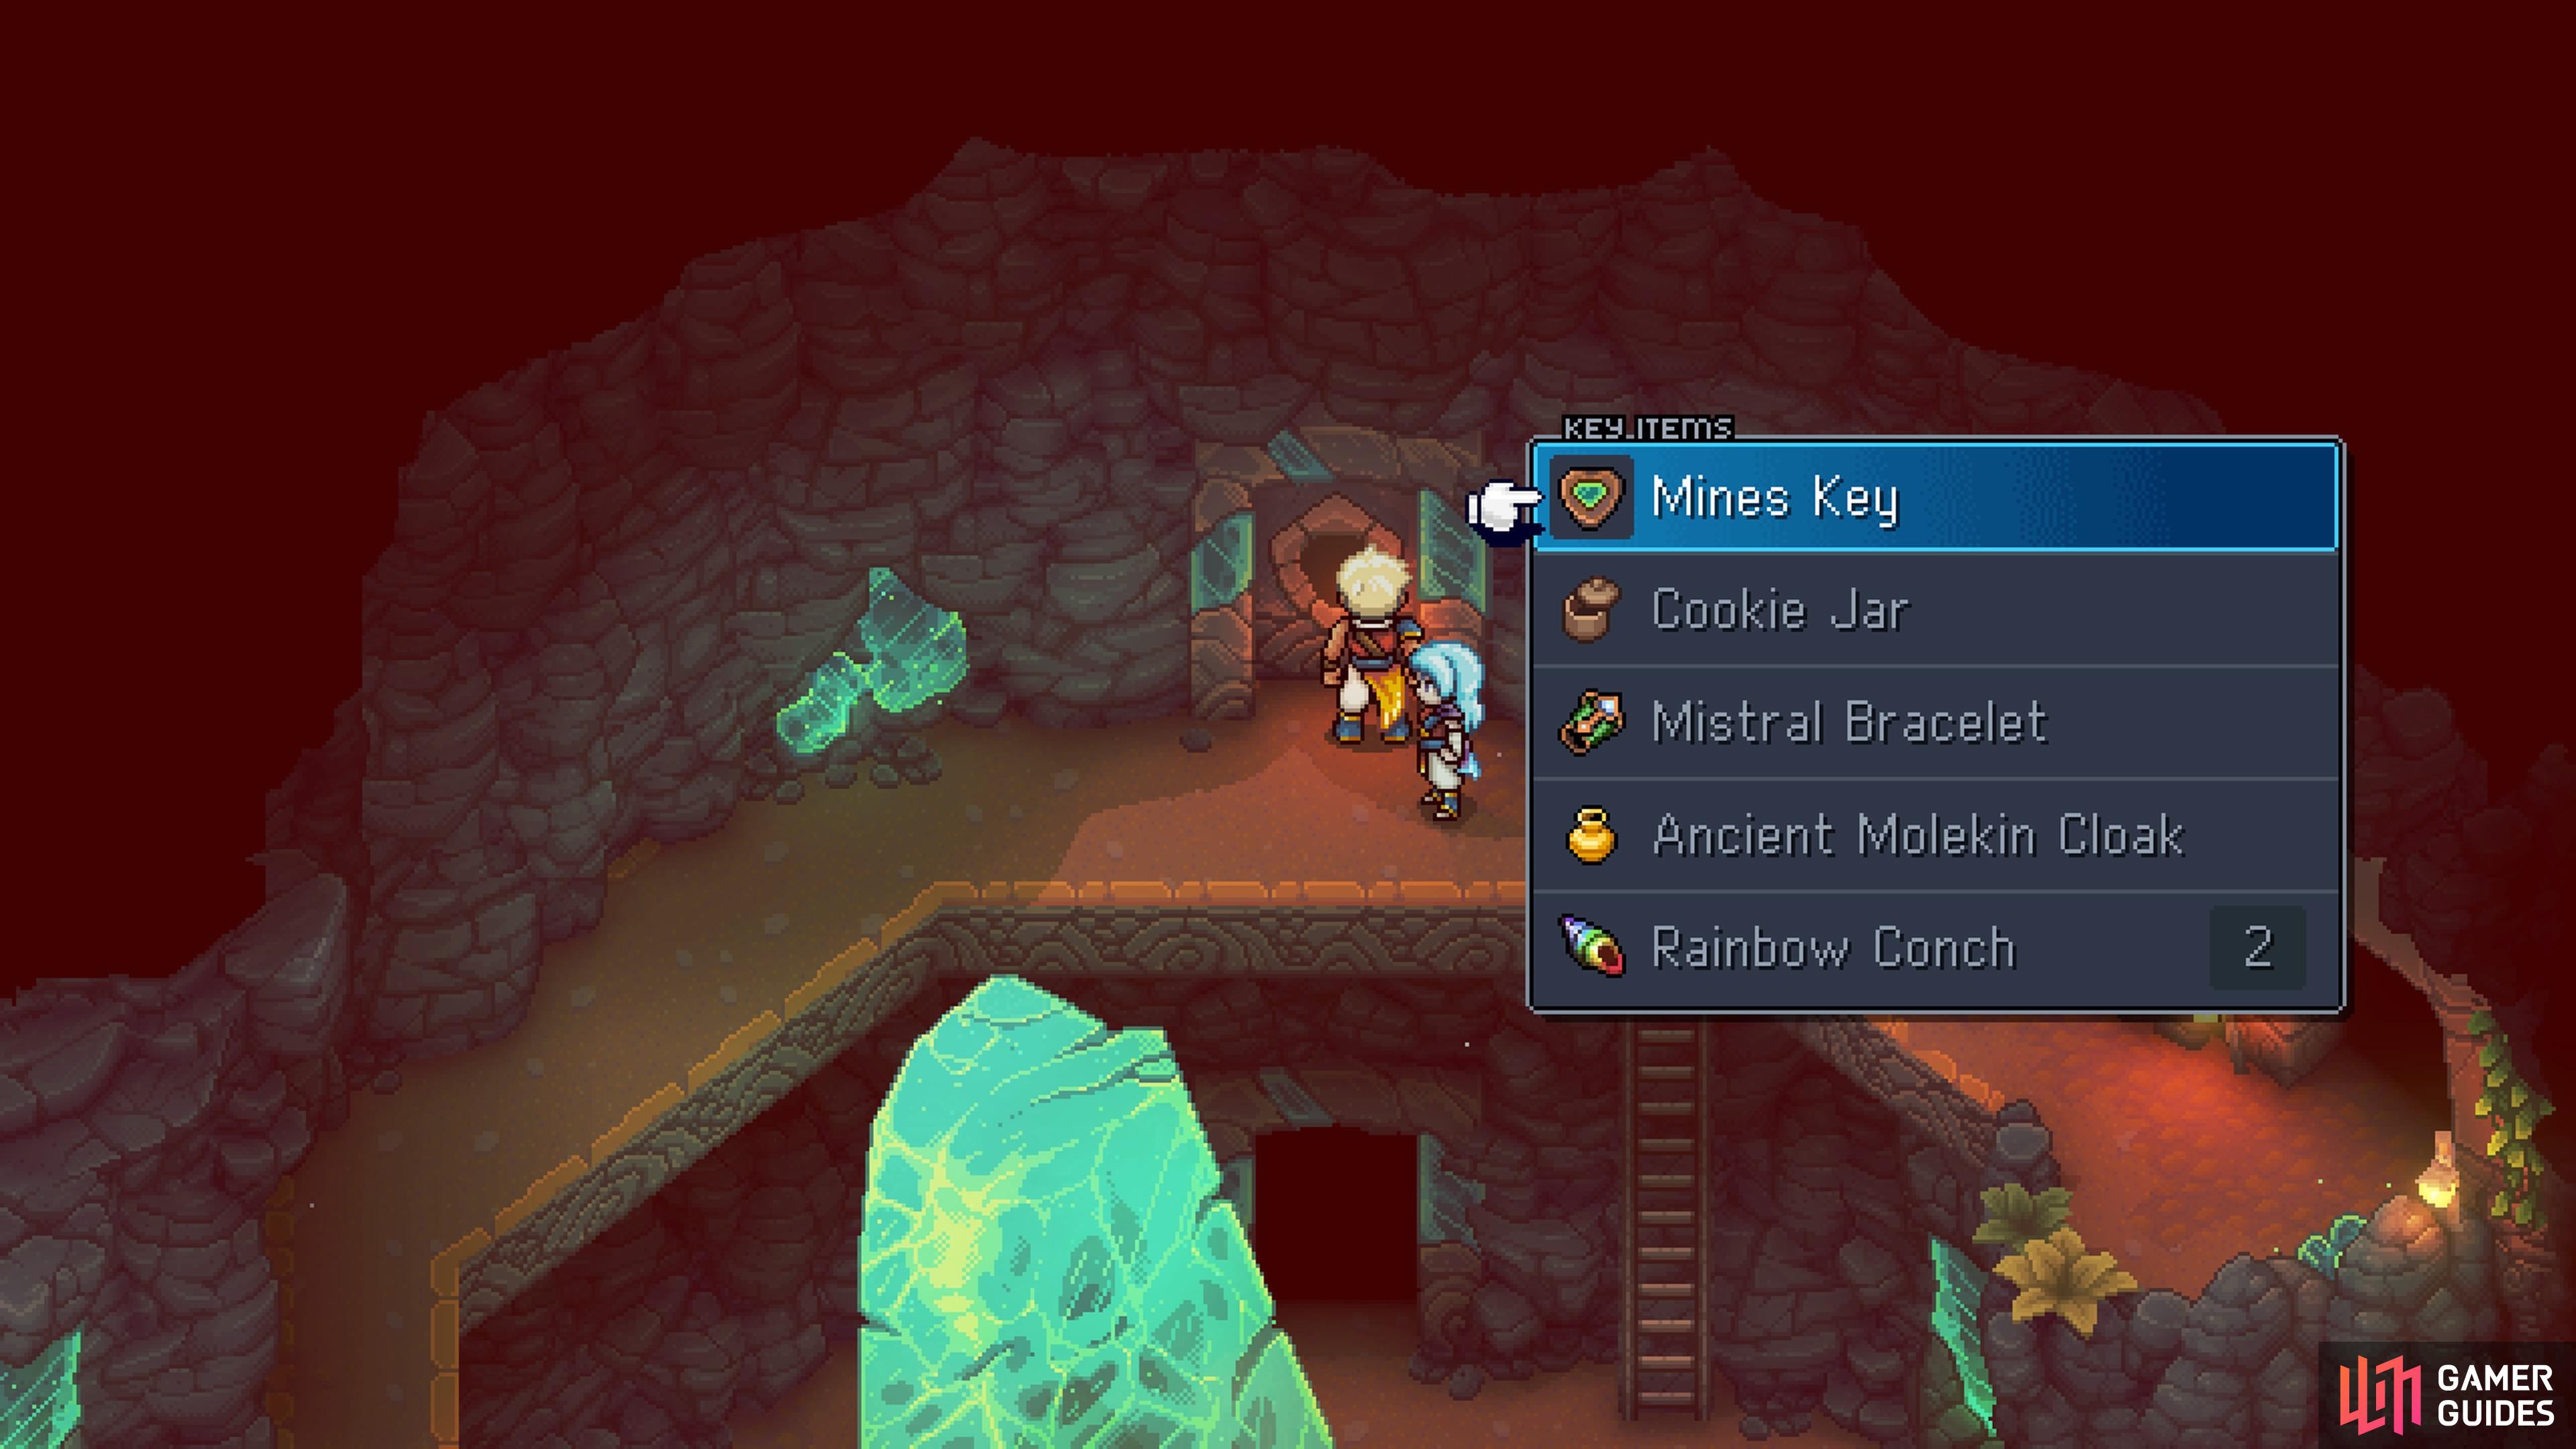
Upon defeating the Salamander right after obtaining the Mistral Bracelet, move the green crystal to the special tile on the ground to get back to the beginning of that room. You will see the green block here, so use your Mistral Bracelet to push it on the gap between the two ledges. Once you do this, climb the ladder and hop across to the left to get the Mines Key from that chest.

Treasure Chest 8
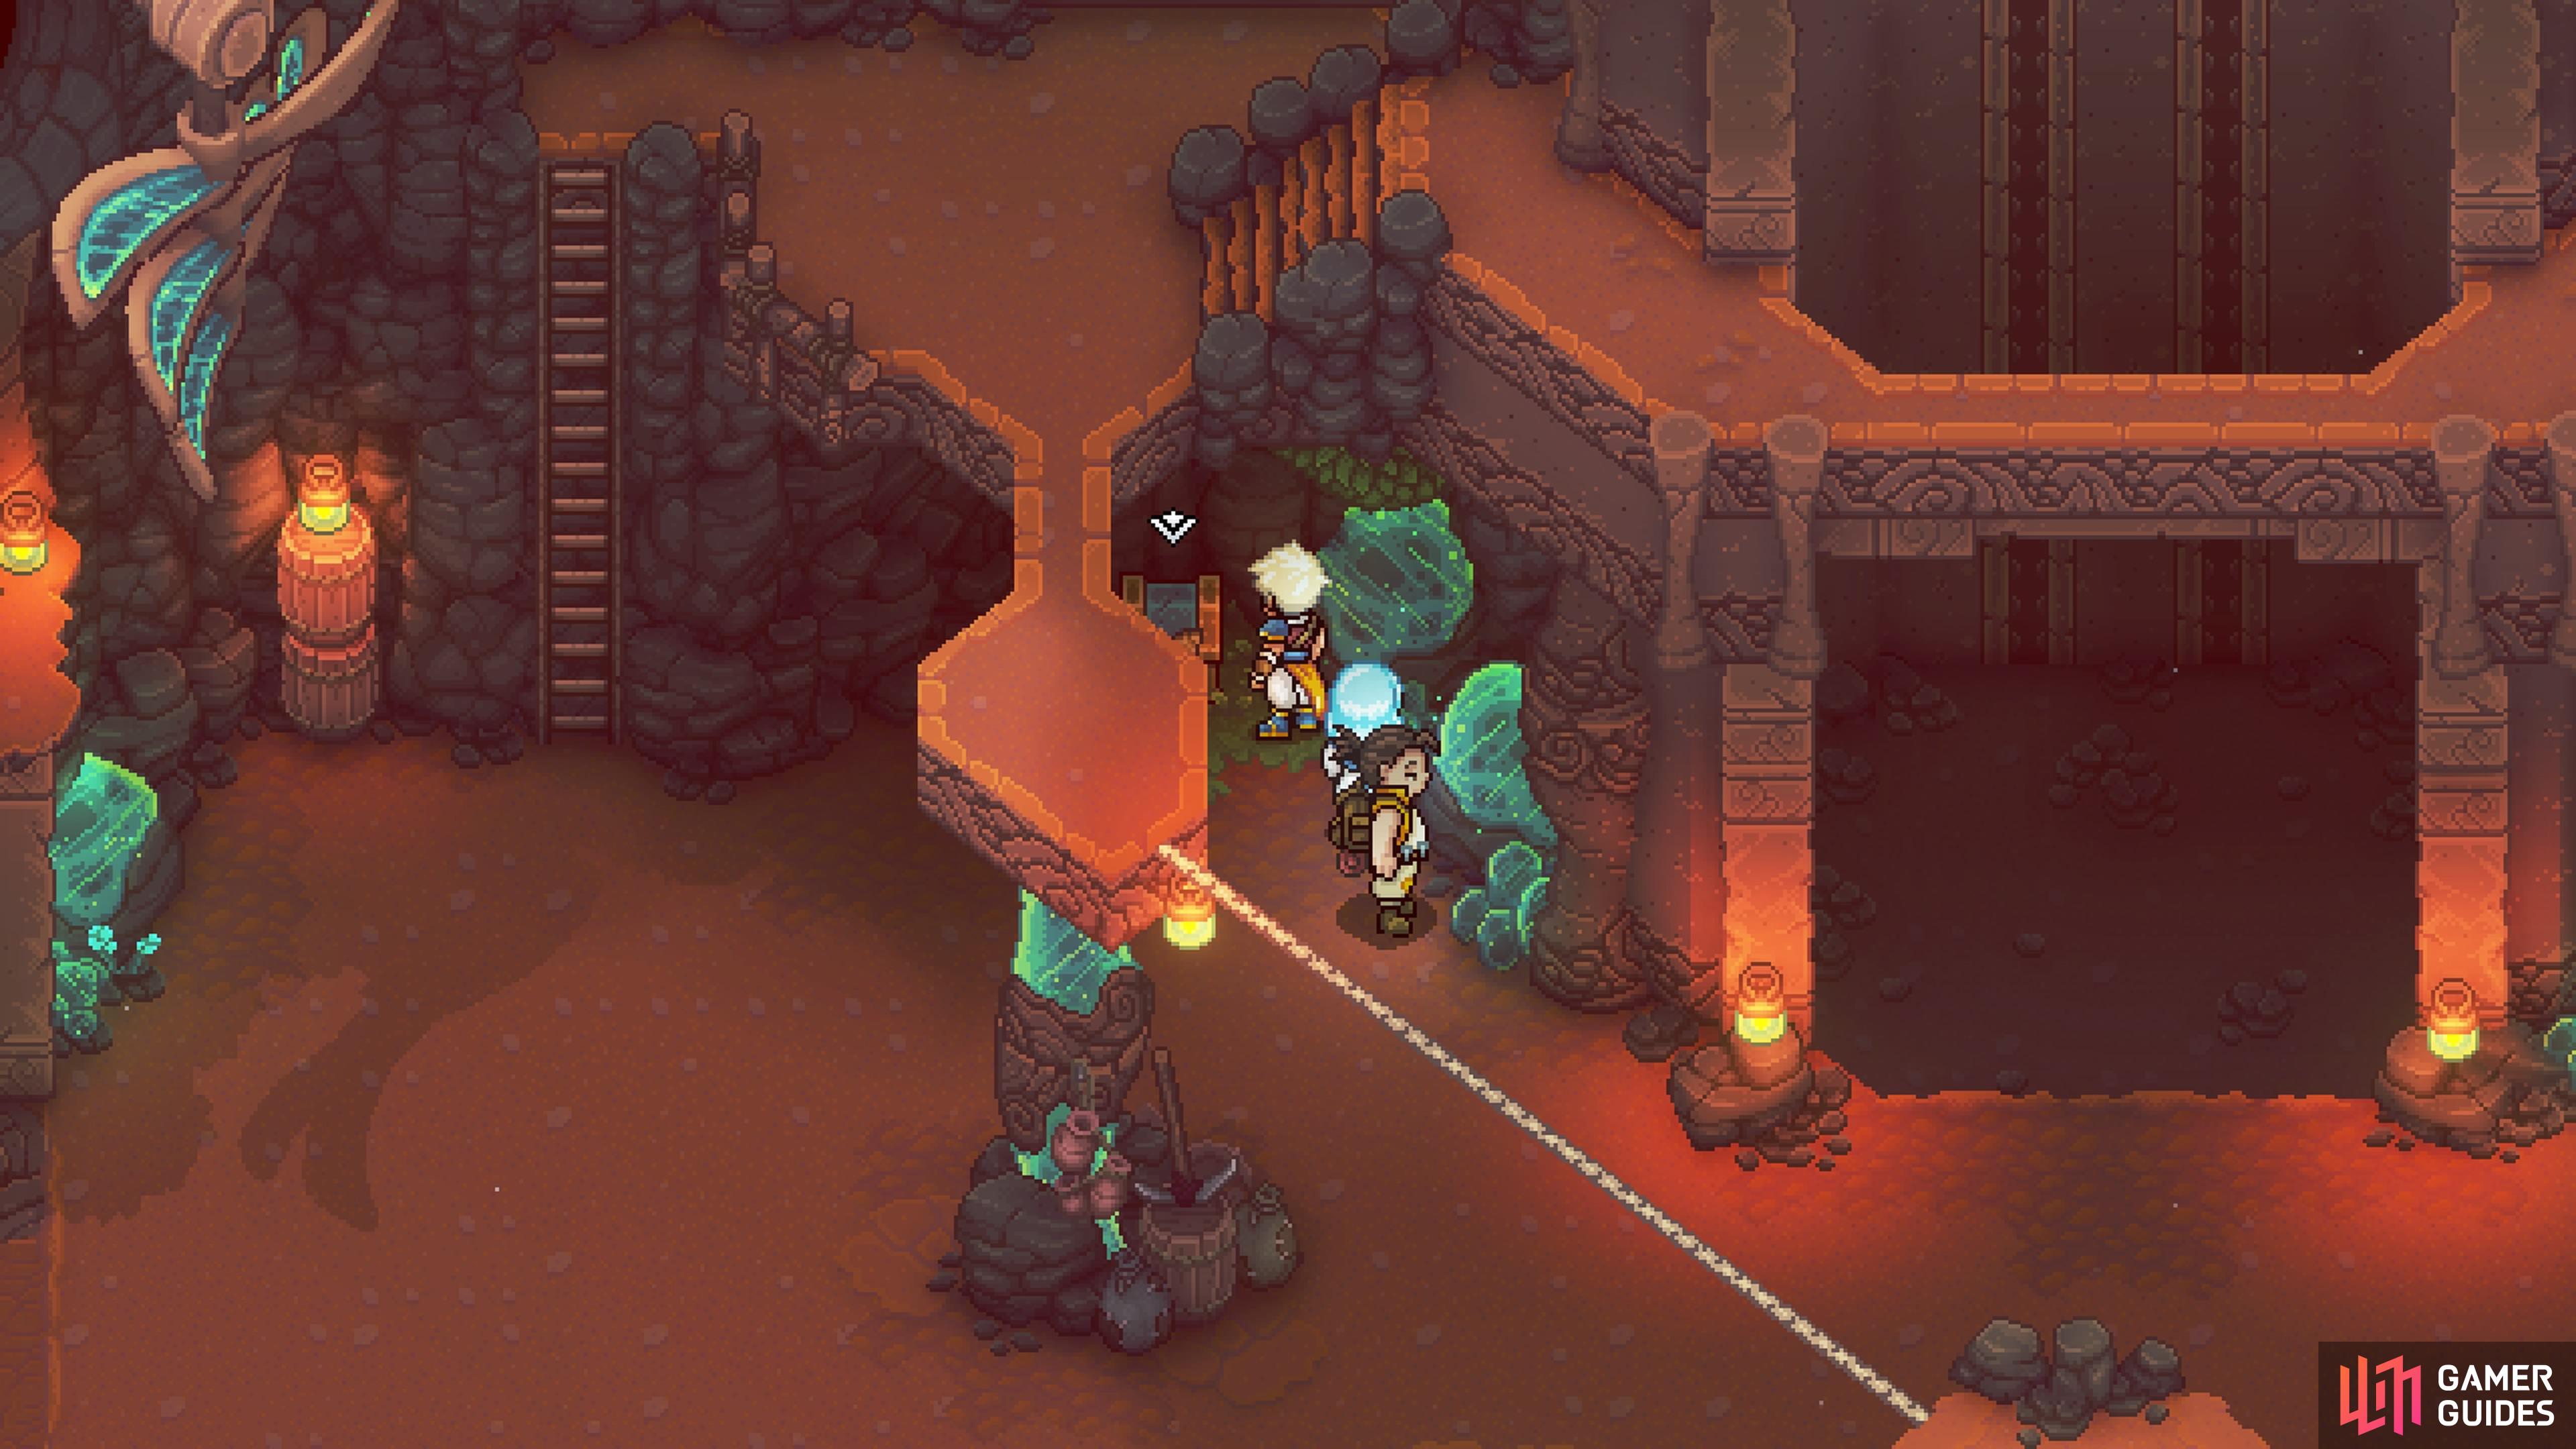
You’ll eventually appear in an outside area of the mines and will be presented with a choice to either go up some stairs, or down some. Head down the stairs and fight the enemies there, then look for the chest in the little alcove after the battle; it contains a Teal Amber Ore.
Treasure Chest 9
At some point during the dungeon, you will eventually find some Drillbats that are moving in a set pattern (up and down). You can actually sneak by them, if you wanted, saving you the trouble of doing another battle. To the right of those Drillbats will be a rock right before a tunnel. Look in front of that rock for a basket, which contains a Mushroom Soup.
Treasure Chest 10
You will need the Mines Key for this, which was found in Chest #7 above, so make sure you have it. Backtrack to that one locked door you came across, which was in the one large room with Chests #3 and #4. Use the Mines Key on the locked door and you will enter a room with two green blocks, and a hole in the middle. Push the left green block down, then push the other one to the right, up, left, down, and finally right. This will raise a little barrier at the top, allowing you to push the first green block up, right and then down, into the hole.
Follow the block into the hole by jumping off the ledge and into the room below you. You will land on the green block you just pushed down here, so drop off of it and push it along the track on the ground. Climb the right side after putting the block in position and hop over to the chest to find a Trader’s Signet inside it.
No Comments