
After making your way through the Moorlands, you happen upon a molekin town, called Stonemasons Outpost. It turns out that the evil wizard, Malkomud, has holed himself in the mines, making it so the moles cannot do their job of making music to keep The Sleeper subdued. So, you agree to help out, which means you will be journeying into the Wind Tunnel Mines.
The Wind Tunnel Mines is a fairly long dungeon.
Enemies in Wind Tunnel Mines in Sea of Stars
| Enemies |
|---|
| Ant Bruiser |
| Drillbat |
| Bushtroo |
| Salamander (Mini-Boss) |
All Treasures in the Wind Tunnel Mines in Sea of Stars
| Treasure |
|---|
| 3x Egg |
| Green Leaf (Accessory) |
| 3x Dairy |
| Teal Amber Ore |
| Rainbow Conch |
| Mistral Bracelet |
| Mines Key |
| Teal Amber Ore |
| Mushroom Soup |
| Trader’s Signet |
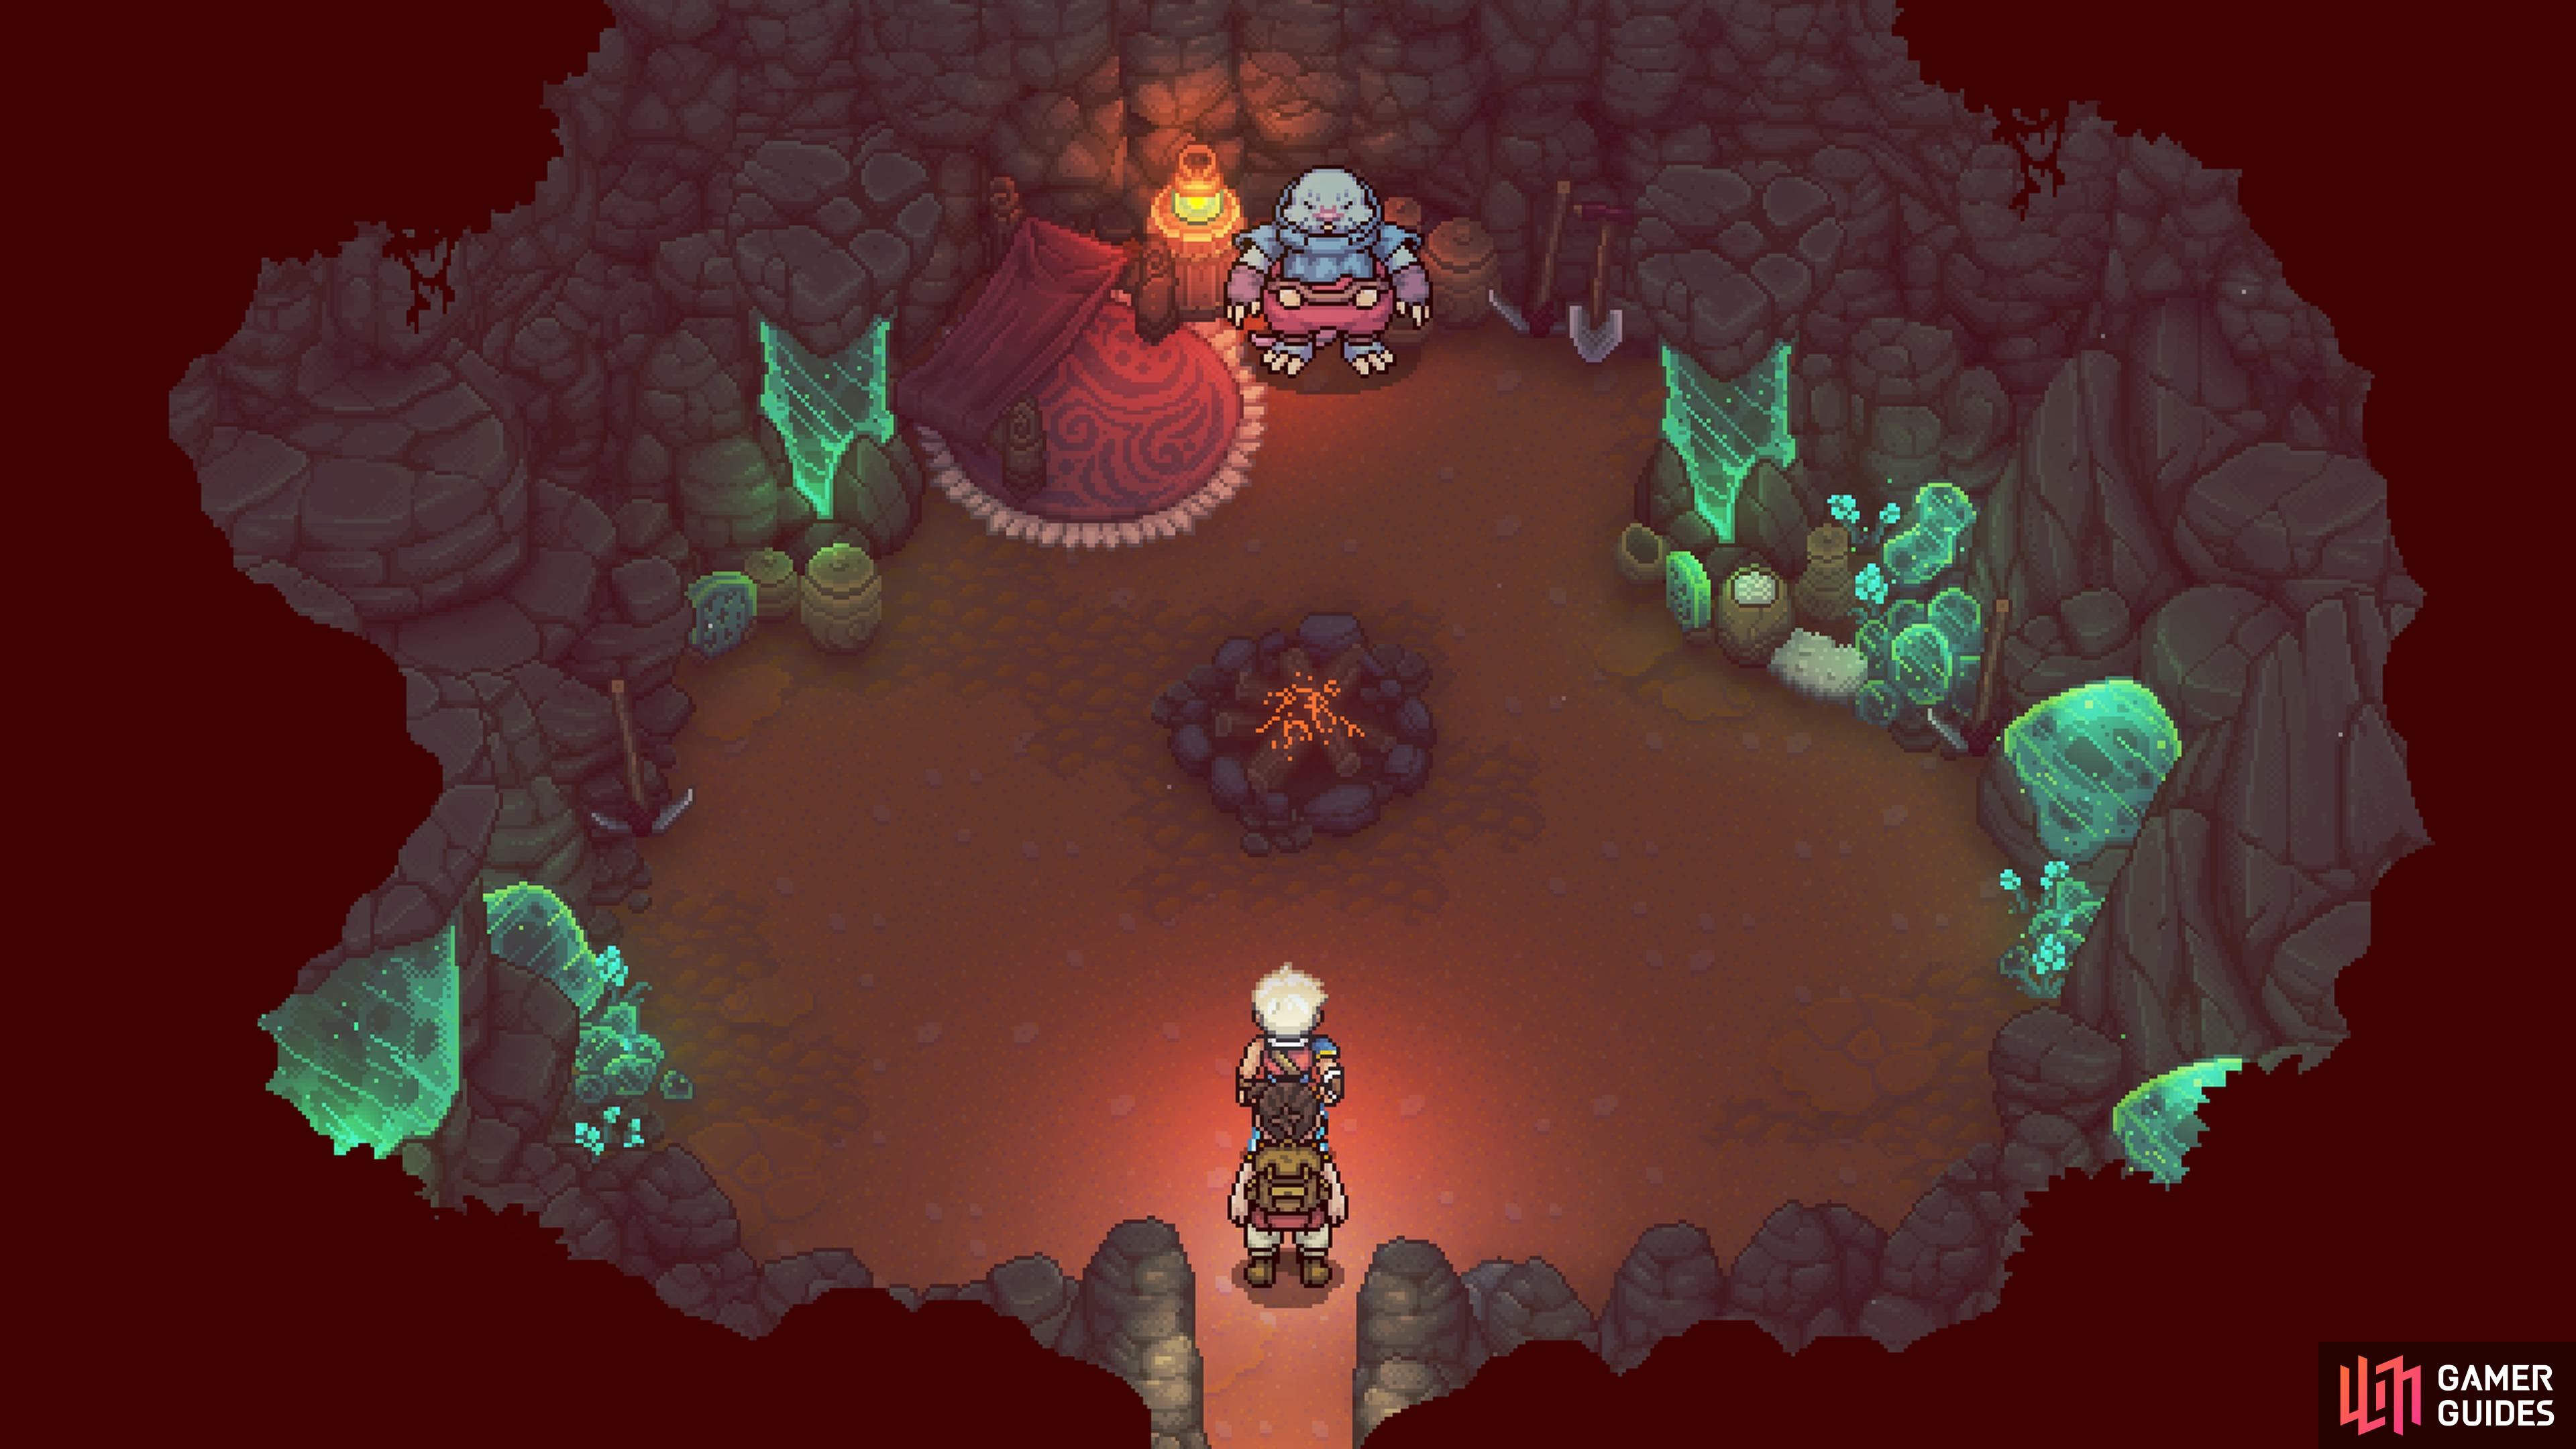
In the Stonemasons Outpost, simply head to the northern end of the village and enter the mines. Once inside, drop down the large hole and you will run into the mayor of the village. It seems he’s stuck here right now, and so are you, as the elevator is currently out of order. To your right, and a little down, you will see a green block that you can’t do anything about, so ignore it. North of that block is a save point, a ladder, and doorway. The opening leads to a campfire, so keep that in mind as you explore the mines.
There’s nowhere else to go right now, so climb the ladder and go through the opening at the top. You will run into the first set of enemies here, one of which you’ve already fought in the Moorlands, the Ant Bruiser. The other enemy is new, though, the Drillbat. Their normal attack hits three times and you’ll need to time blocks on all three hits, if you wish to mitigate the damage the most. Their special attack will hit all party members once. After the battle is over, climb up on the left side to find a basket with 3x Eggs in it.
Pull the lever you see to make the one platform move to the south, allowing you to reach the climbable wall. From there, you can hop onto the central platform, lowering it and opening a door on the right side. Pull the lever once more to return the first platform to its initial position, then shimmy along the thin ledge to continue to the next portion of this large room. Climb the nearby ledges and collect some Mushrooms, then keep going to the right to find a chest in the corner (Green Leaf accessory).
This accessory increases a character’s max HP by 15, so it’s definitely worth it to put it on someone. Drop down next to the chest, collect some more Mushrooms, then head right to find another battle (Ant Bruiser and Drillbat). Take the northeastern path after the battle, and loot the basket next to the ladder (3x Dairy), then climb that ladder. You will see a locked door at the top, but you can’t do anything with it right now (the doorway next to the ladder is the same). Ignore the exit on the right and go left, hopping across the platforms and looting the chest along the way (Teal Amber Ore).
There’s nothing beyond the chest, so backtrack to the right and take the exit at the top. After the short little hallway, jump down in the next room to fight another battle (a Bushtroo and two Drillbats). The Bushtroo is a new enemy and only seems to do its special every time, where it will drop some ore on the heads of your party. When you’ve defeated the enemies, enter the hole where the Bushtroo was and you’ll re-emerge back into the main room. This will also cause the wind to blow on the device there, causing the elevator to gain power again. The mayor will take the elevator back to the surface, leaving you stranded once again.
Wind Tunnel Mines - Floor B2
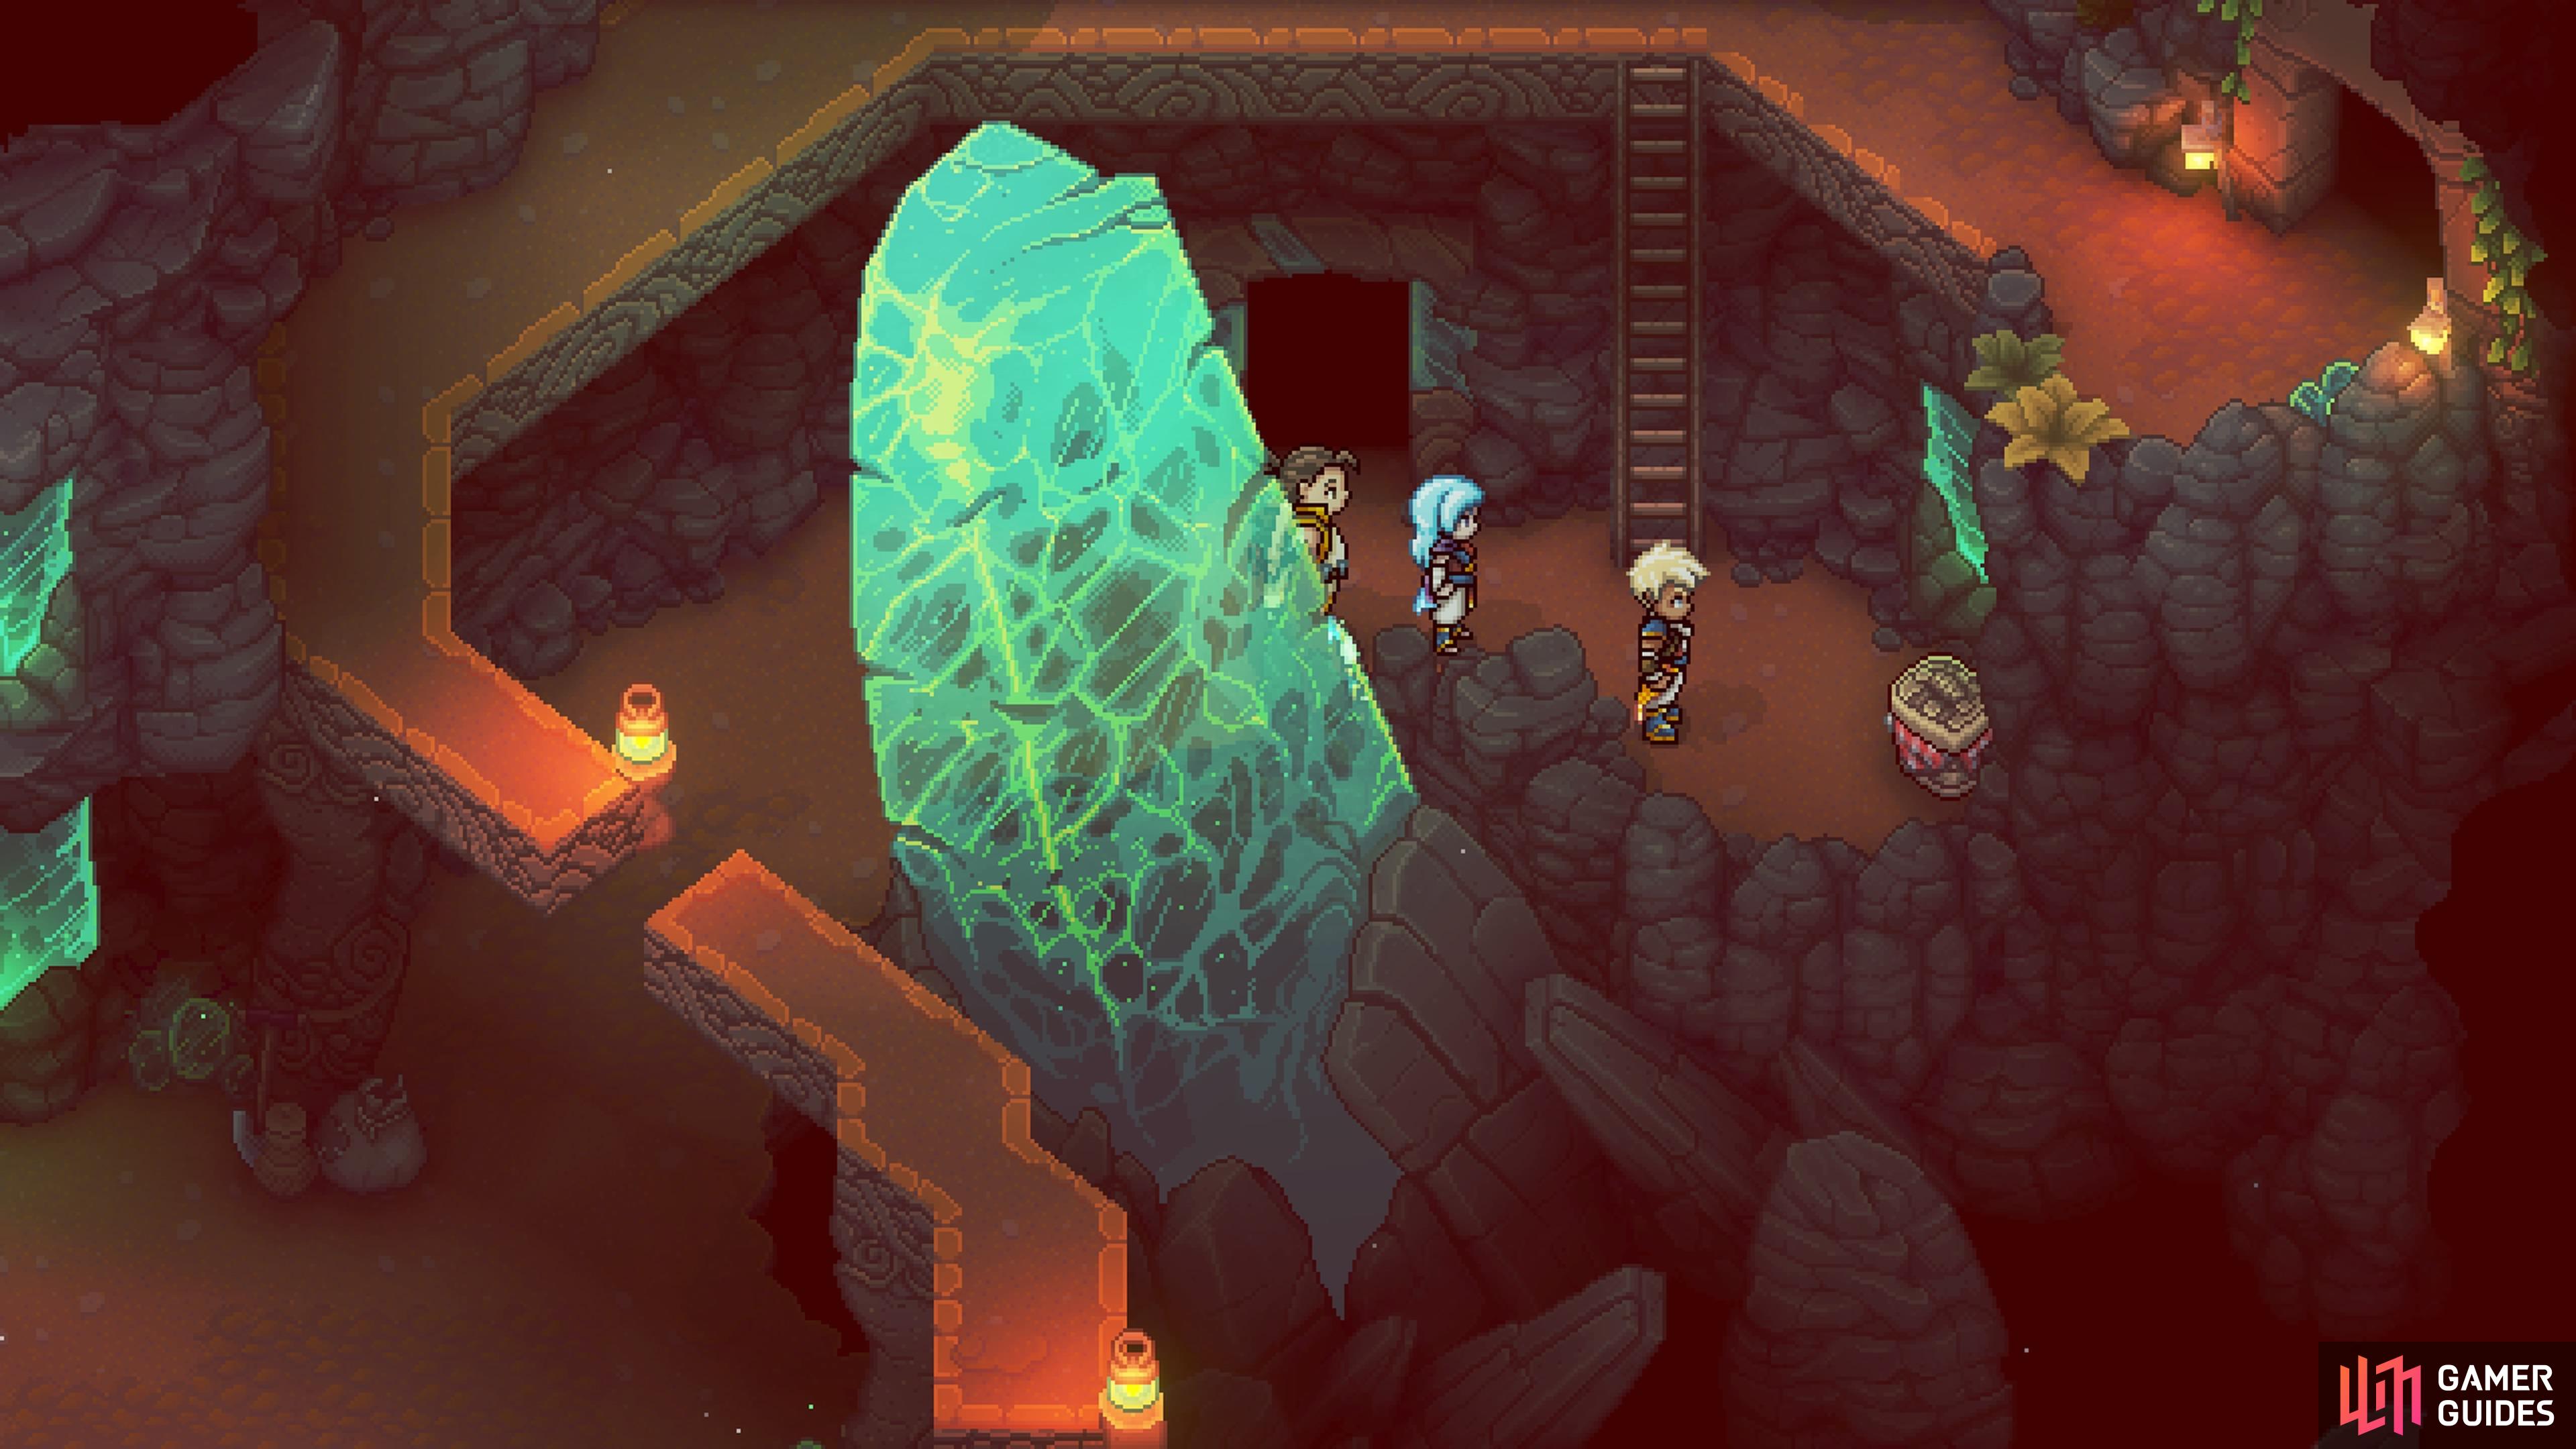
Take this chance to head to the rest room and heal, then save your game. Once you’re ready, drop down the large hole where the elevator was to go deeper into the mines. Upon landing on the bottom of the shaft, head left and fight the enemies there (two Drillbats and an Ant Bruiser). To the right of the ladder, you should be able to see a hidden chest, which contains a Rainbow Conch. Go up the ladder, then cross the rope there, and exit to the south. You will now be outside, so head to the right, up the ladder and drop down to the left, heading into the opening there.
You still can’t do anything with the green blocks, so go in the only direction you can (there’s some Potatoes on the left). This takes you up another ladder, then across a climbable wall. Eventually, you will reach another campfire, as well as a save point, so do what’s necessary. Drop off the ledge to the right and enter the room you see above you. There will be a big chest inside, which contains the Mistral Bracelet, a new item that gives you power over wind. Basically, you can push Square/X (Xbox)/Y (Switch) to release bursts of wind that can push blocks.
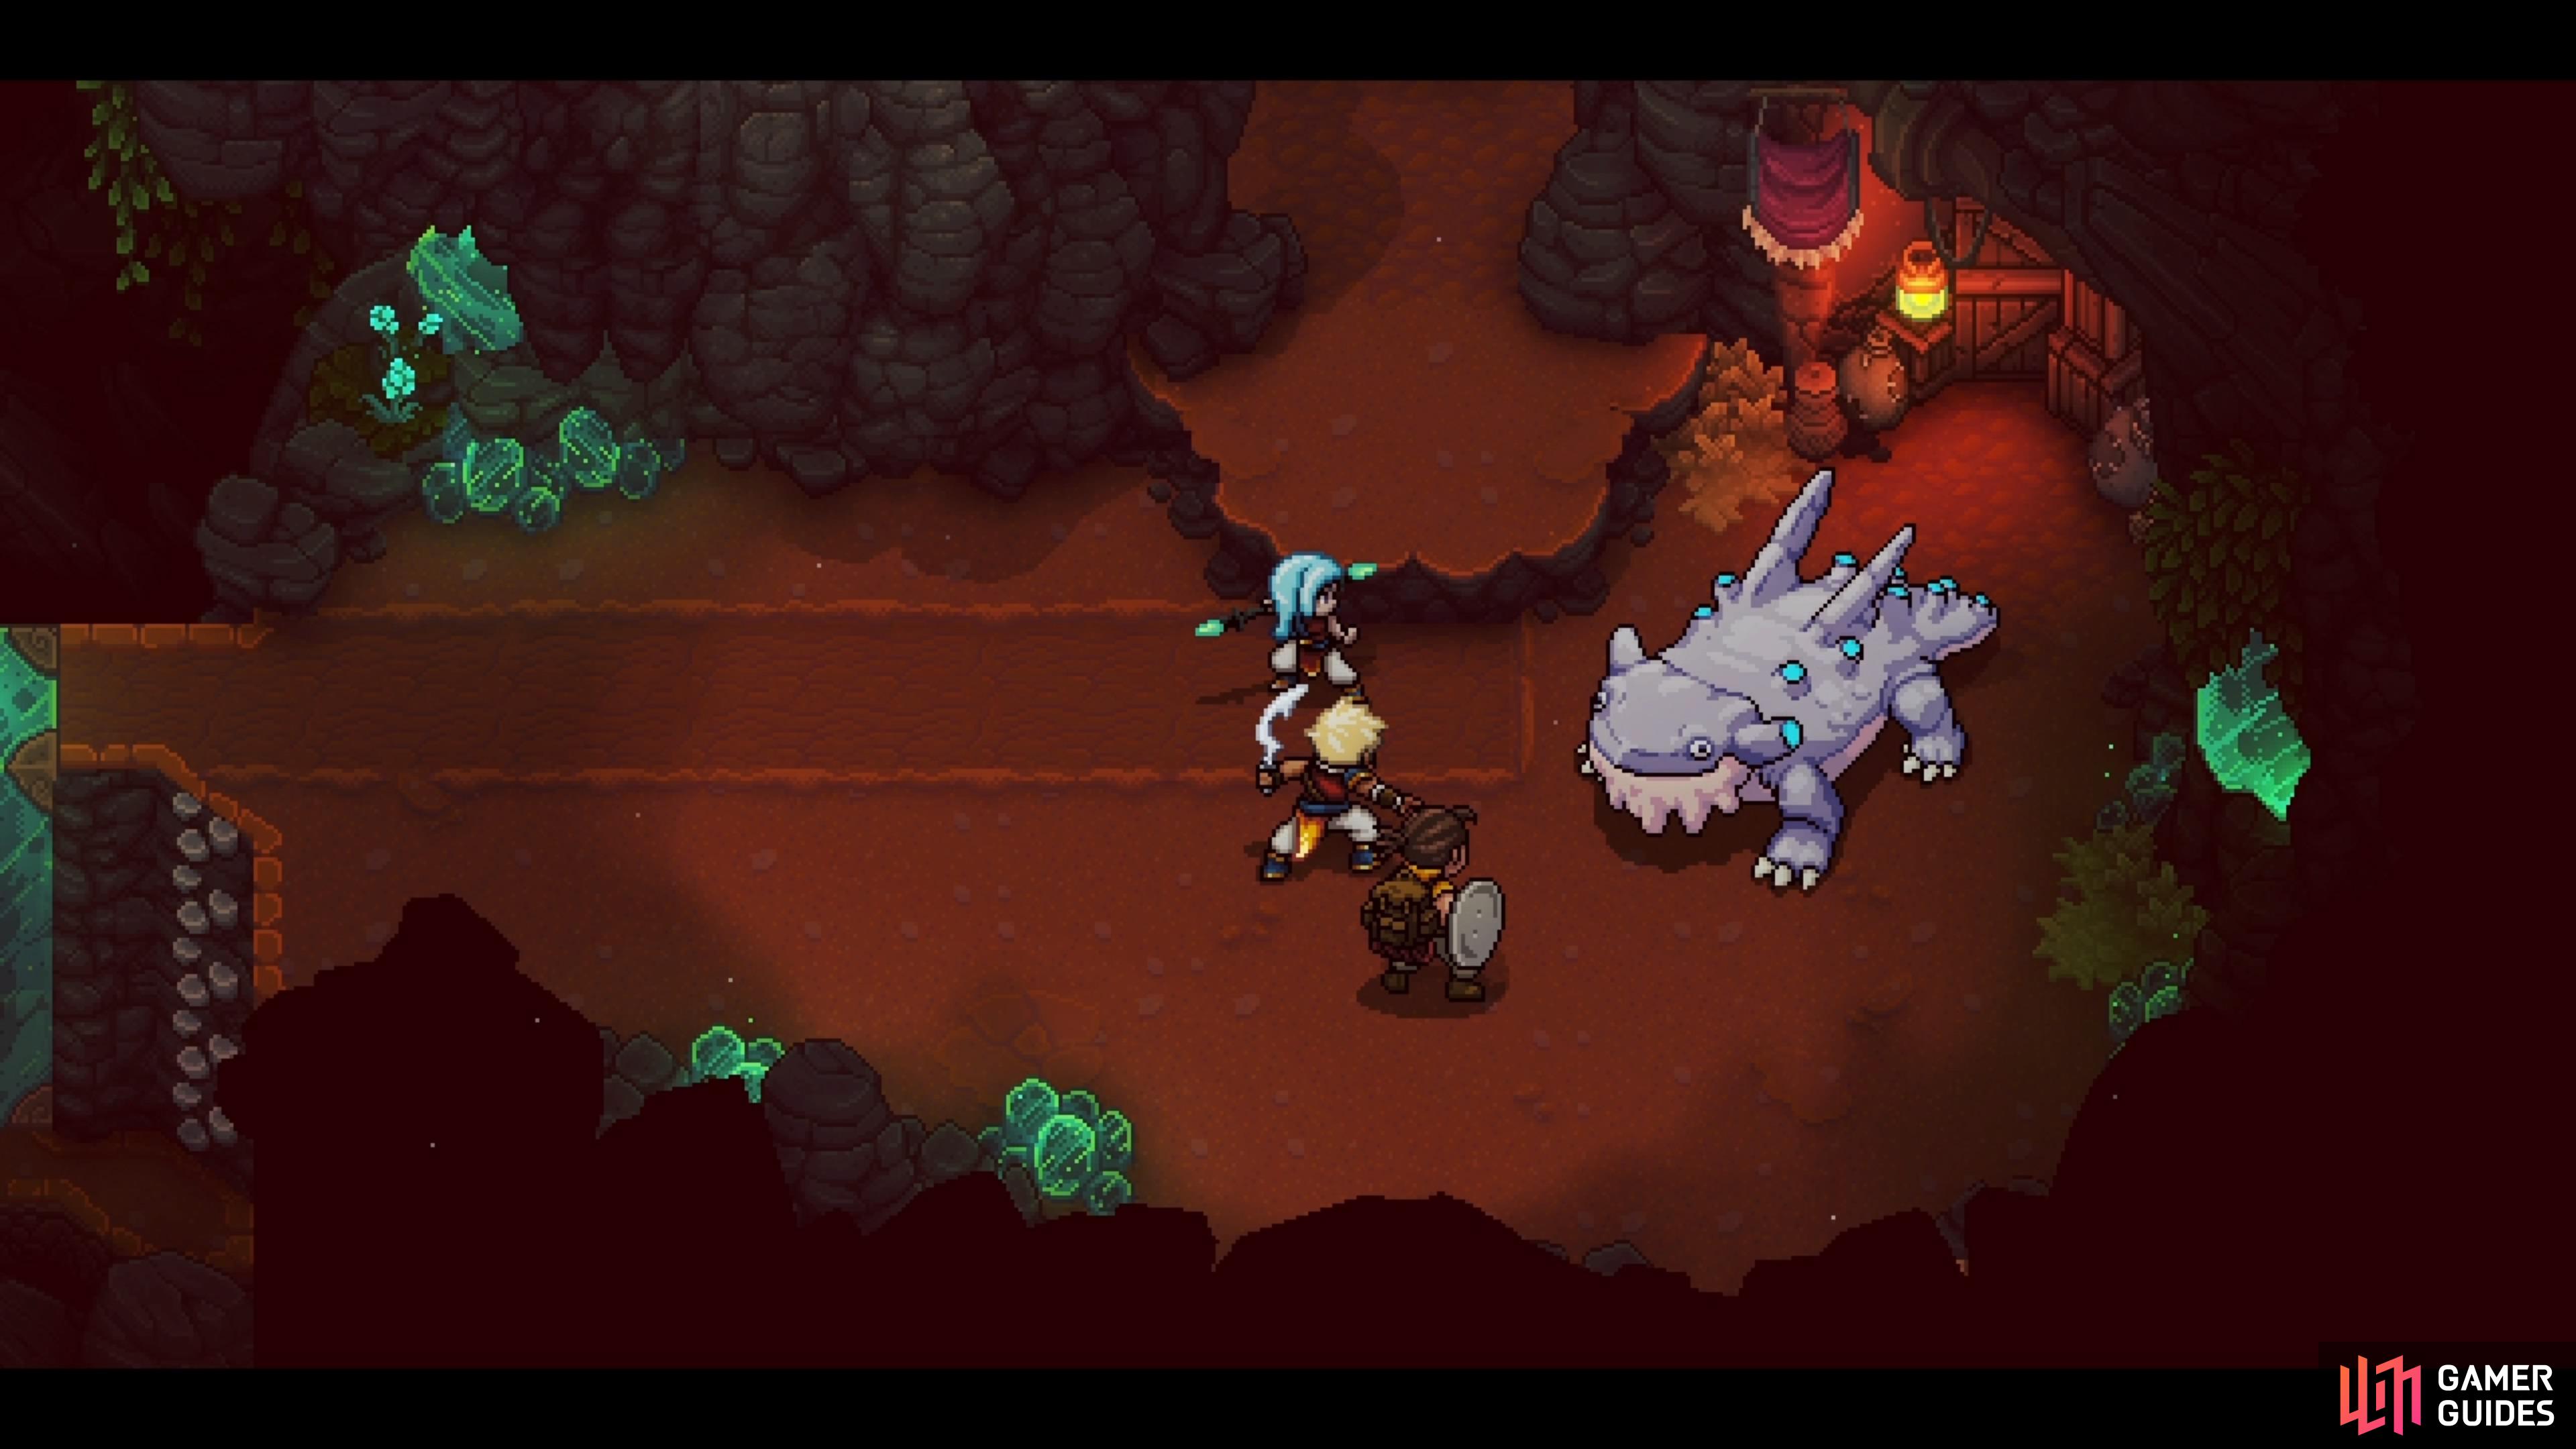
Exit the room and use your new power to push the green block south, then west. As you do this, though, a Salamander will drop from the ceiling, so it’s time for a miniboss!
Salamander Boss Guide - Sea of Stars
The Salamander isn’t a tough boss, as it only has two moves in its arsenal. Its normal attack will deal around 20 damage to a single character, and it’s kind of annoying to block properly, as there is a slight delay to when it is performed. Its special move, Salamanger, will have the beast swallow a character, then it will spit them at someone else. The character that is spat at someone takes around 25 damage, while the one receiving the hit takes about the same damage. It’s weak to both sun and moon damage, so try to use those when applicable. Overall, though, it shouldn’t have too much health and once you defeat the thing, it will run off, so expect to fight it later.
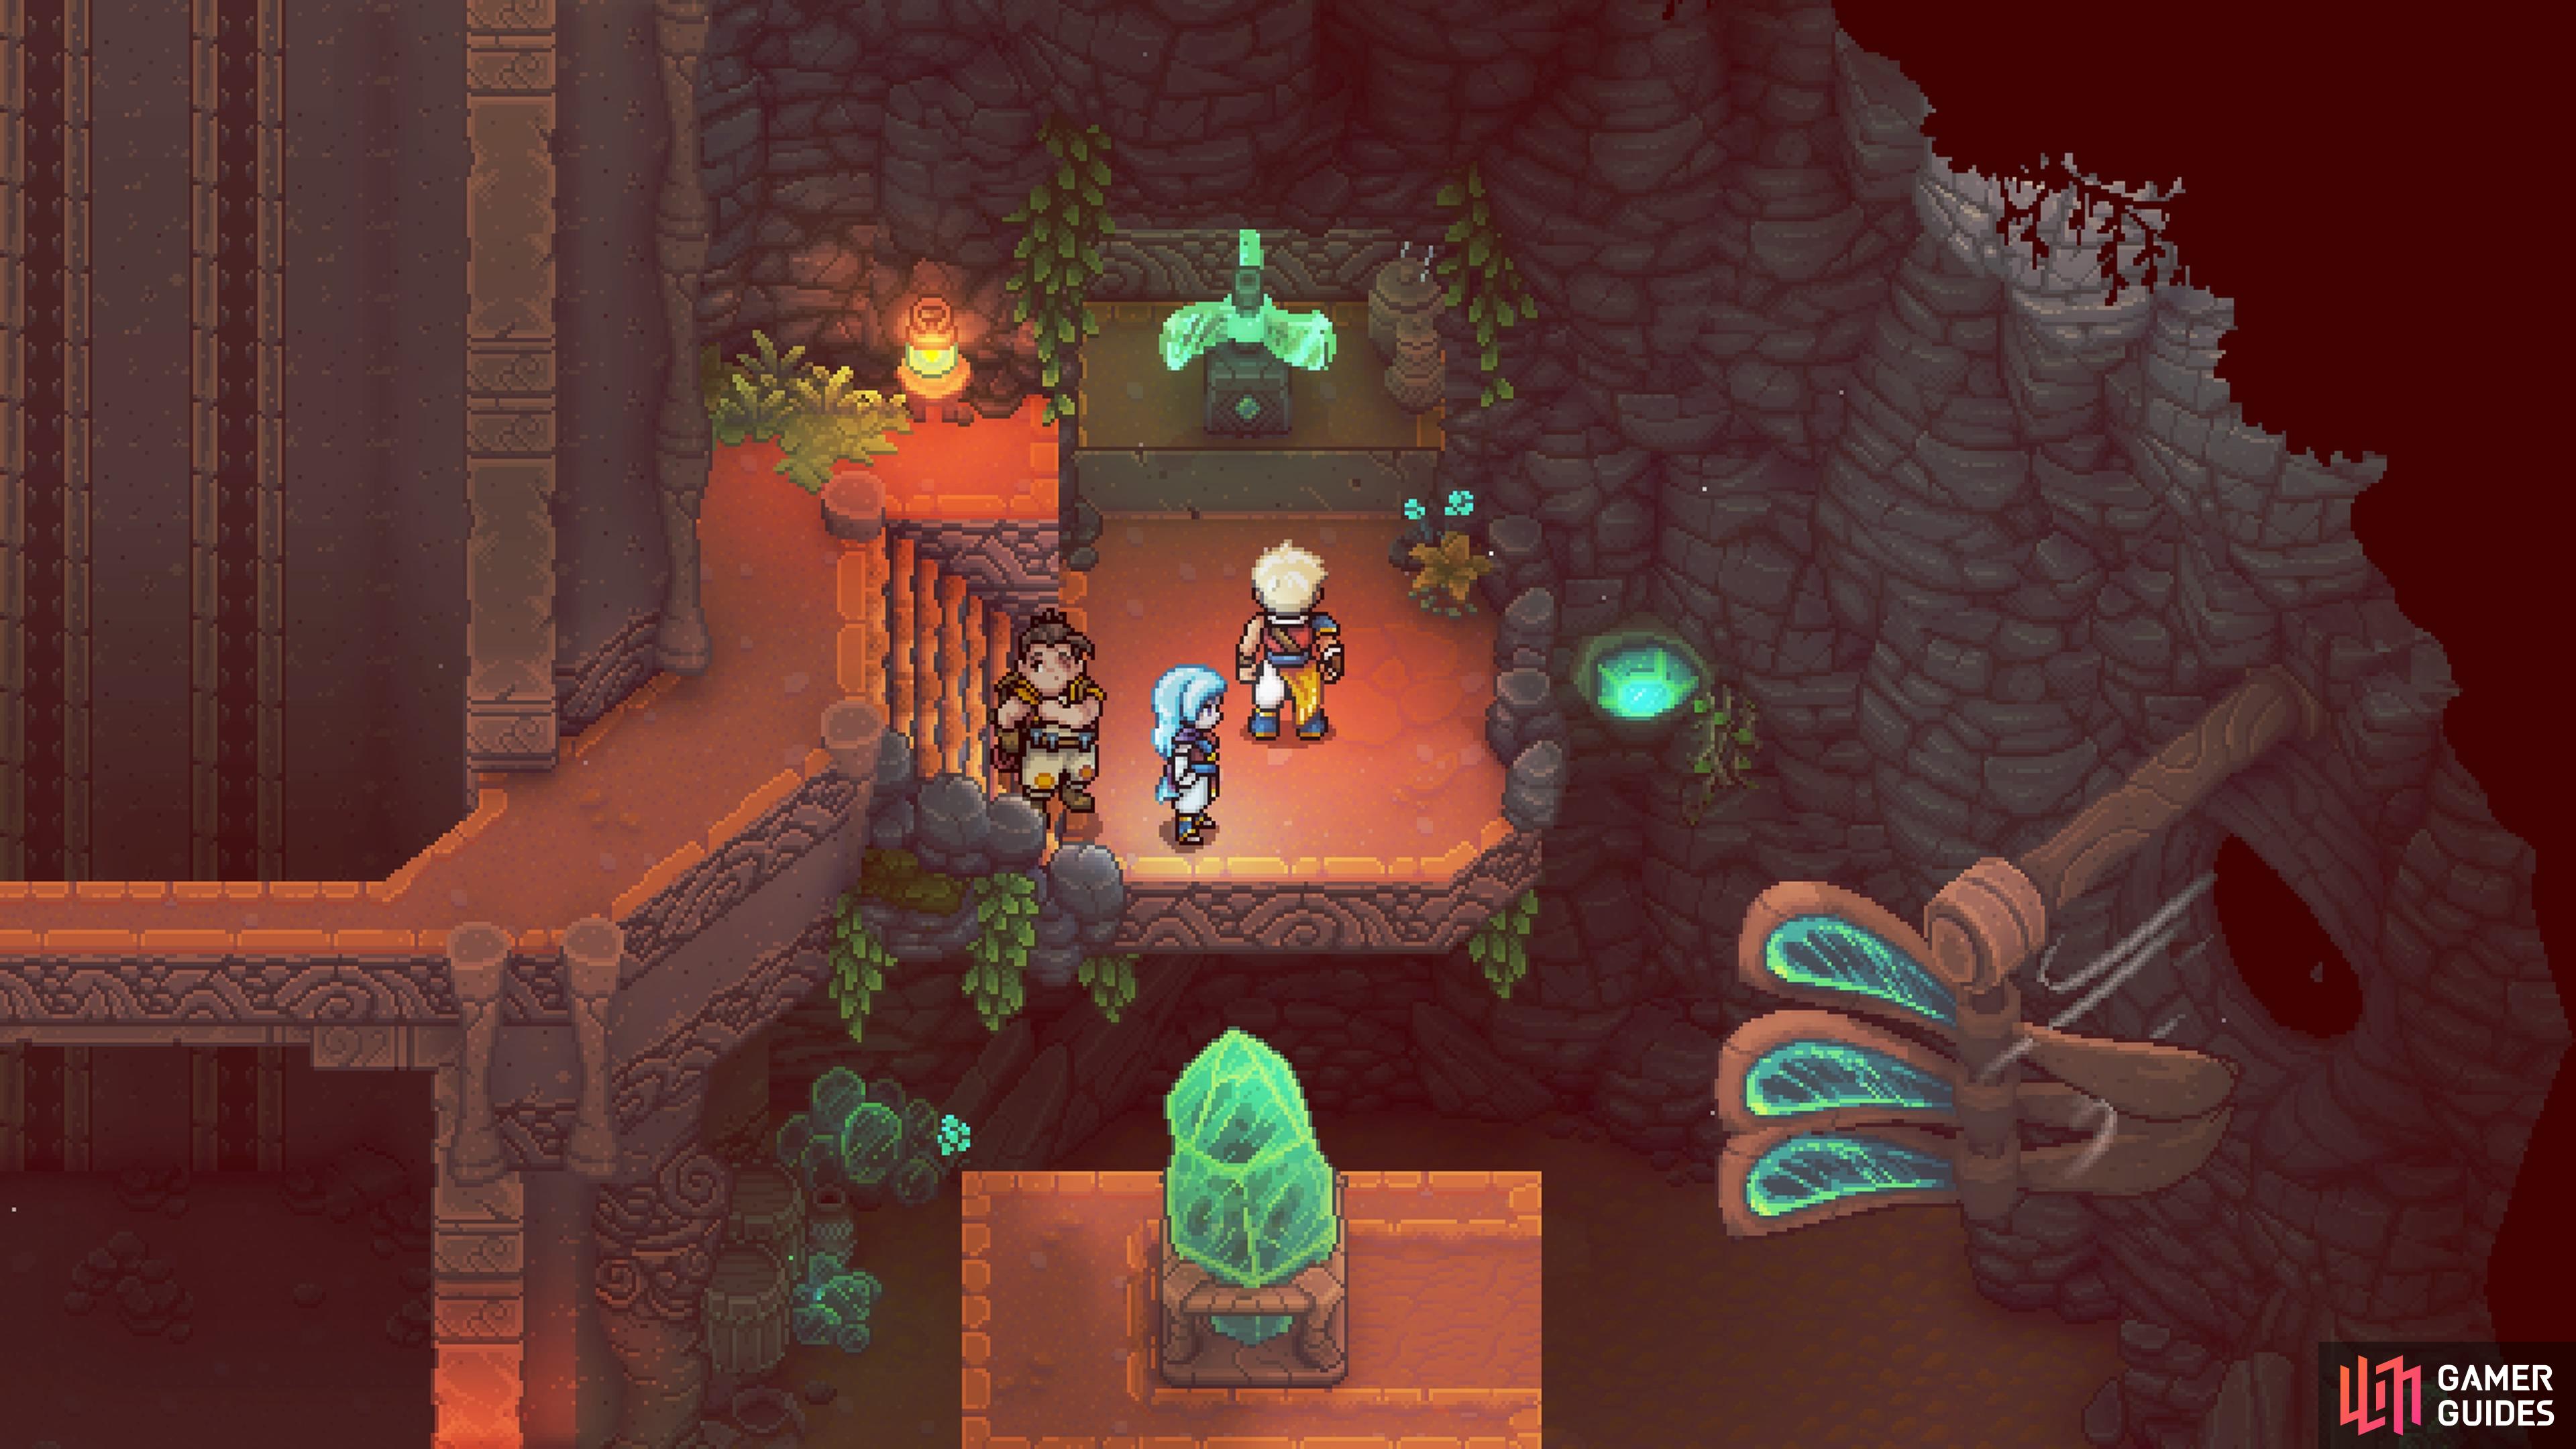
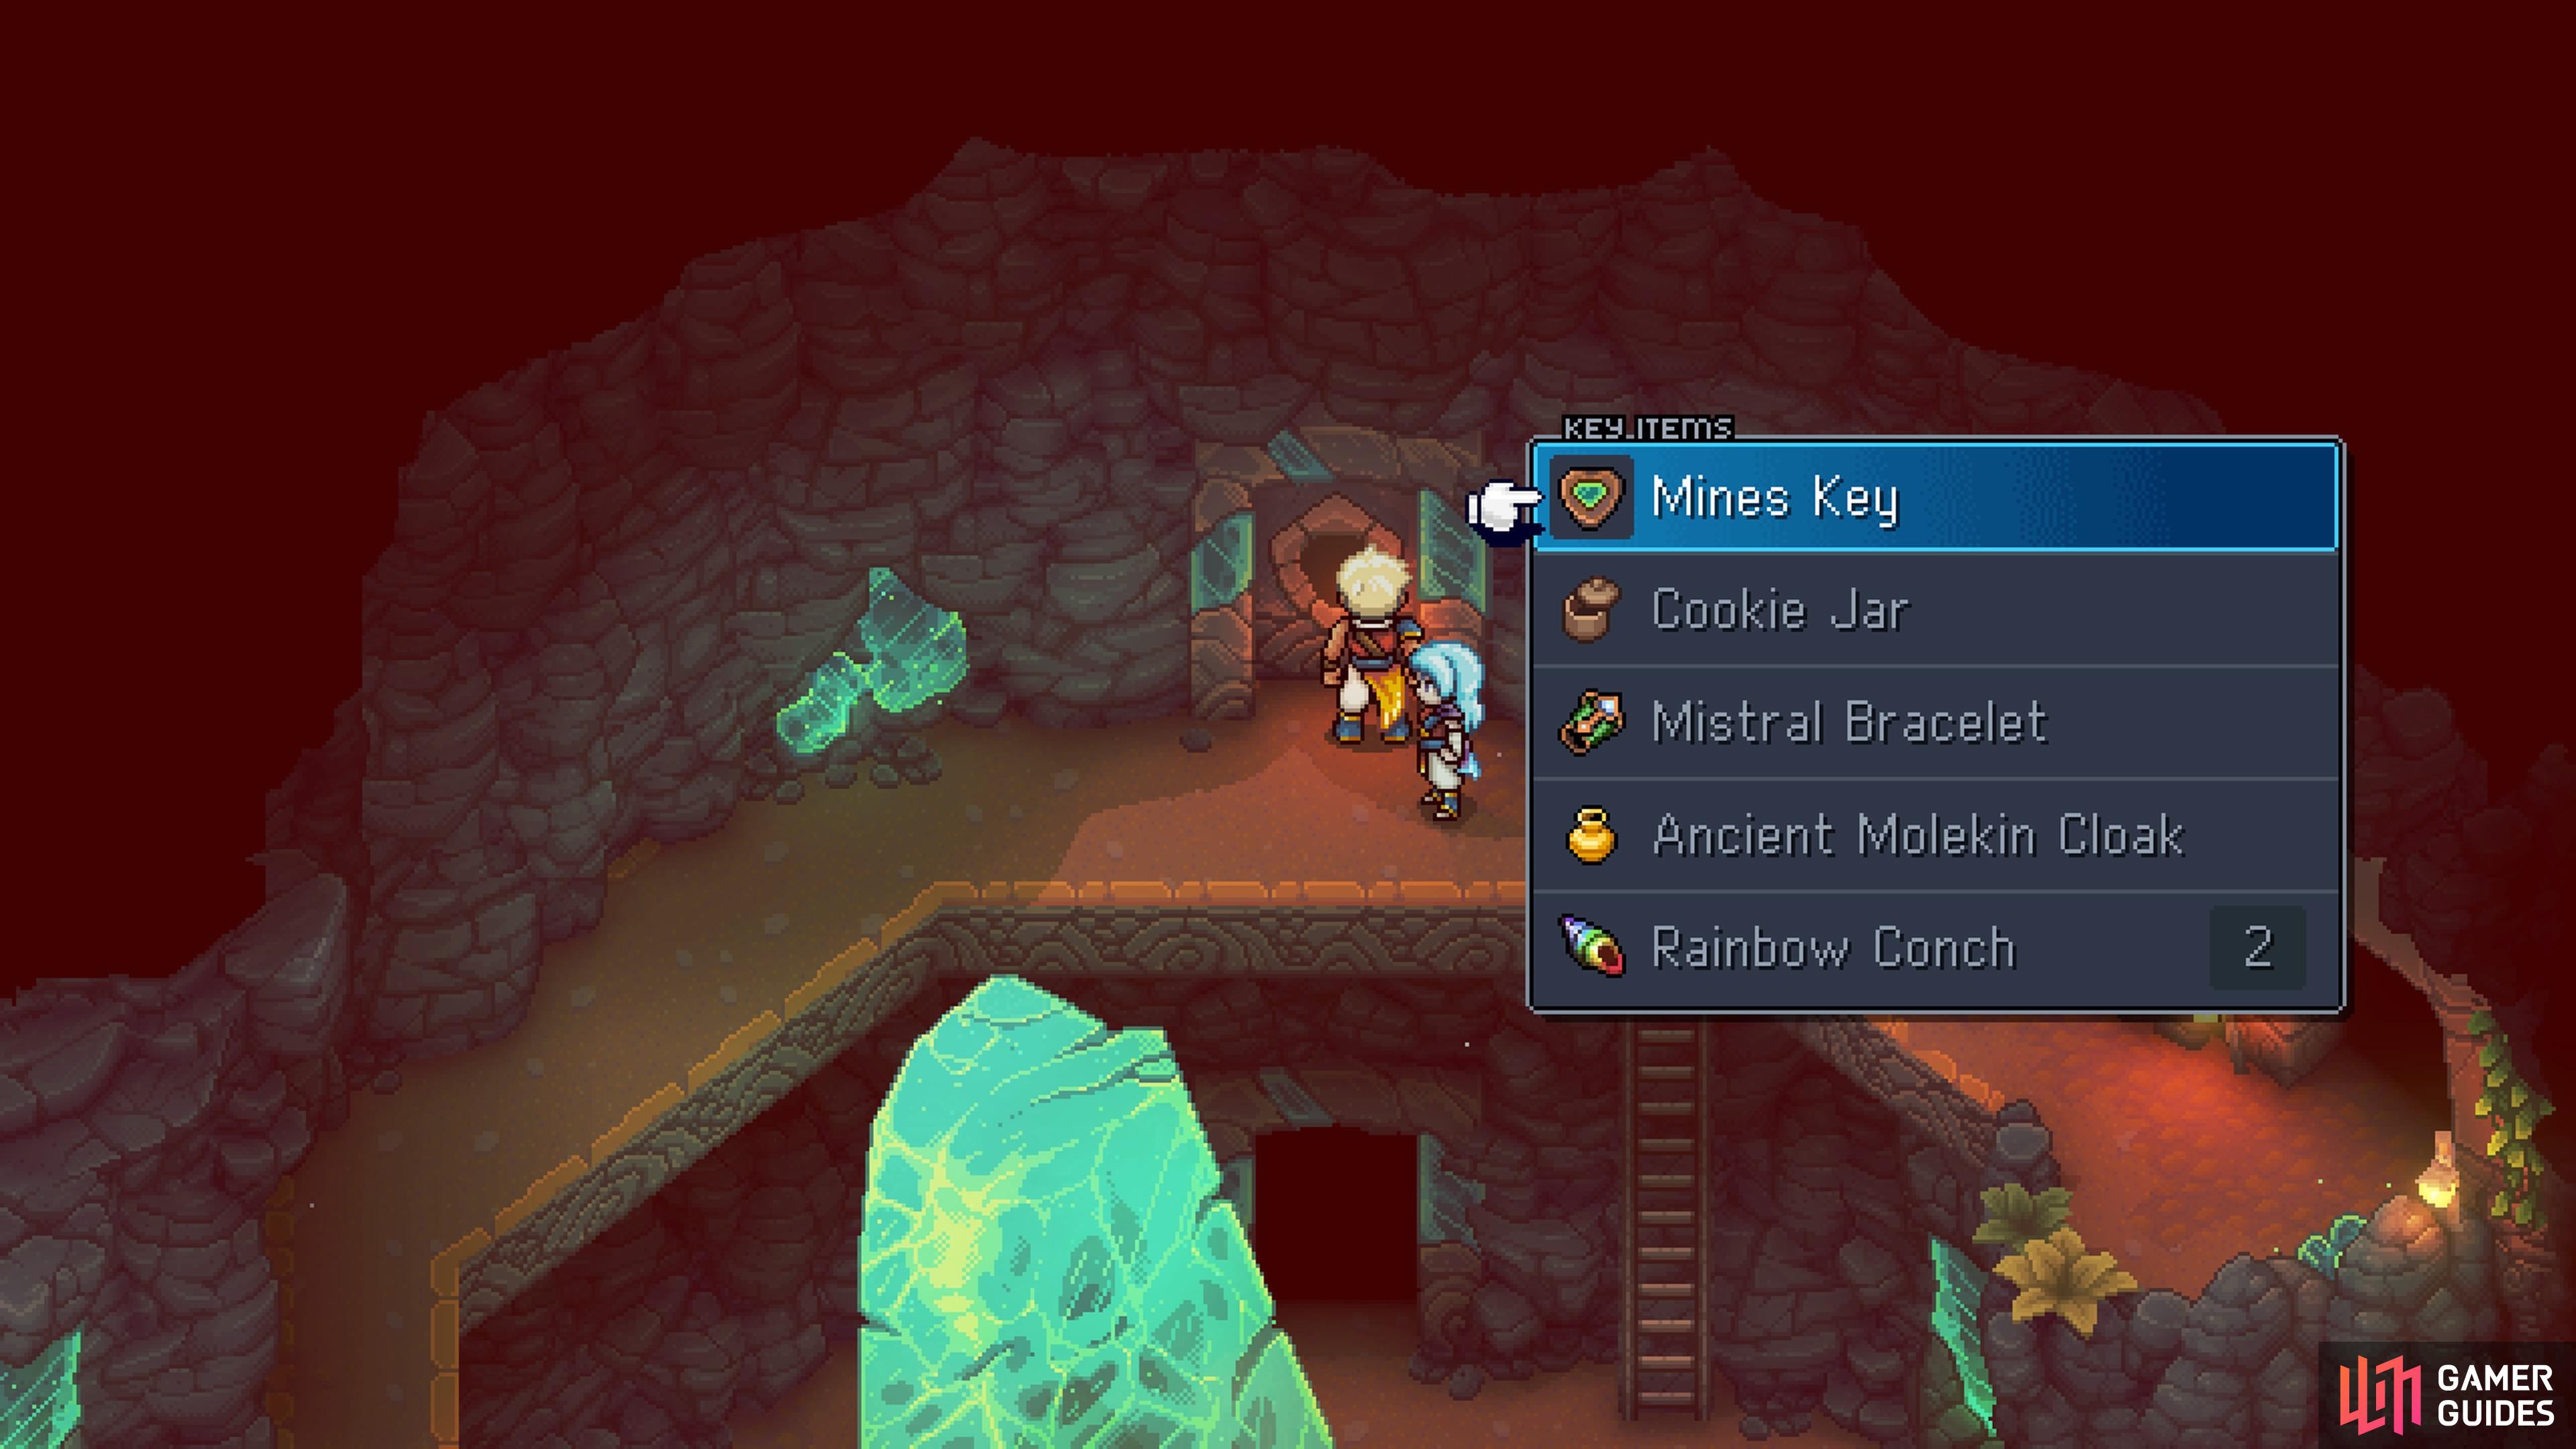
After the battle, hop the gap to your left and you’ll find a green crystal waiting for you. You’ll need to use your Mistral Bracelet to push it to the button on the left. Slide it up, right, down, left, up and left to get it there. Doing this causes a green block to replace the crystal, allowing you to reach the ledge. You will end up back in the beginning of this room, where you can push the block in the gap. Do this, and hop across to the left to open the chest there, containing the Mines Key. This will allow you to open the one locked door you saw earlier in the mines.
Exit the room and back outside, push the block to the right. Head in that direction, down the stairs, and fight the battle there (two Drillbats and an Ant Bruiser). Loot the Tomatoes and Bell Peppers after the battle, then open the chest for a Teal Amber Ore. Backtrack up the stairs and up the ladder for some Red Berries, then to the right for some Lettuce, before going through the large opening. There will be another battle inside, where you’ll fight another Bushtroo, alongside two Drillbats and an Ant Bruiser.
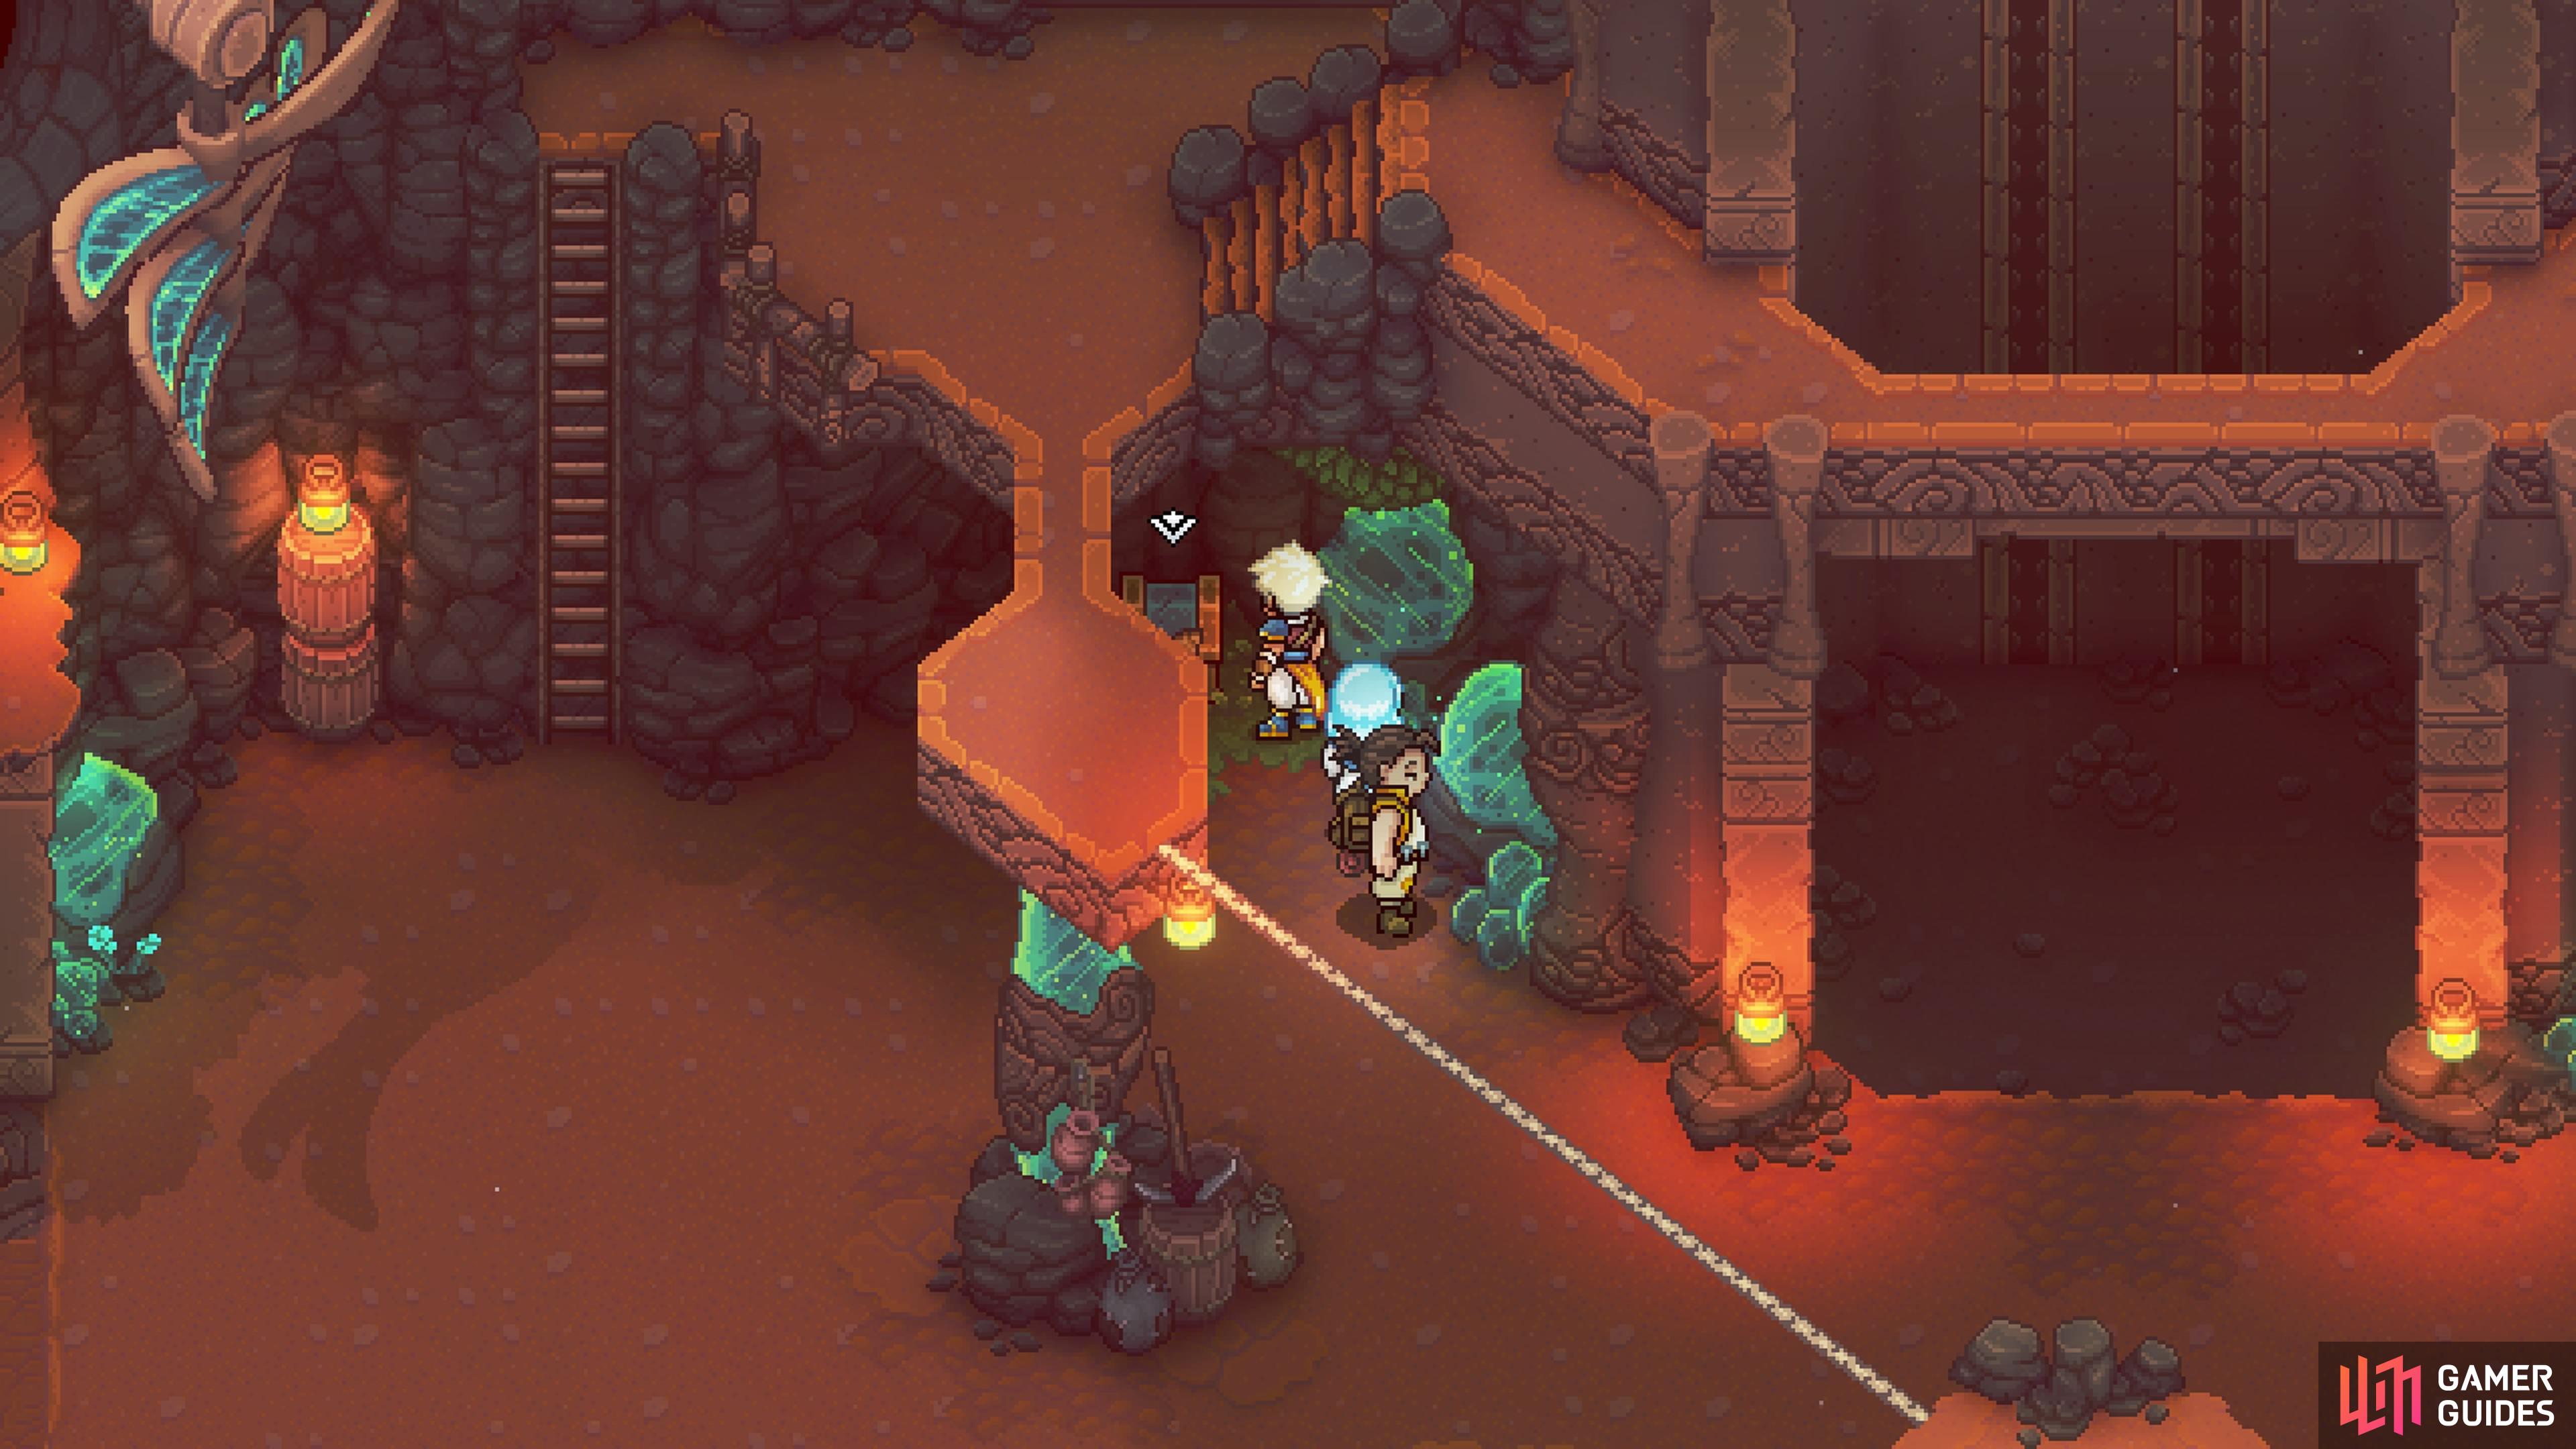
Go into the hole after the fight, where you’ll land back in the main room after dropping down the elevator shaft. The one door will now open, so climb the ladder on the left side, then go to the right to find a fan device. Use your Mistal Bracelet on the fan, causing the platform with the crystal on it to lower. You can push this crystal onto the special tile, which makes a green block appear on the left side. Push this block to the end, then climb up and into the opening there. Follow the tunnel, stopping to climb some ledges and grab Mushrooms.
(1 of 4) Using the Mistral Bracelet on the fan will lower the platform with the crystal.
Continue left, grabbing some more Mushrooms, and fight the Drillbats if you want (you can sneak by these ones). There is a basket here with some Mushroom Soup, so loot it and keep going to the right. In the next room, there will be another big fight, complete with the Bushtroo, two Ant Bruisers, and a Drillbat. Defeat the enemies, go into the hole, and you’ll open the other door back in the main room. Use the Mistral Bracelet on this fan to make a ladder drop to the right of the main shaft. Head back to the first floor and use this chance to rest and save your game.
Mines Key Door
Let’s backtrack a little bit to get the one item that’s behind the locked door. Take the path at the top of the climbable wall, next to the first campfire/save point. Follow the path until you get to the room with the locked door. Use the Mines Key on it and you will enter a room with two green blocks, and a hole in the middle. Push the left green block down, then push the other one to the right, up, left, down, and finally right. This will raise a little barrier at the top, allowing you to push the first green block up, right and then down, into the hole.
You will see the block land in the room below, with the one chest that was on a high ledge. Drop down the same hole to land on the green block, then push it along the track, until you can use it as a stepping stone to reach the chest, which contains something called a Trader’s Signet. This will be useful in a little bit, so don’t fret over it right now. With that out of the way, you can finally return to the starting room, with the save point.
There will be a green block to your south, so push it along the track until it drops off and lets you hop over to the left. You will find two more green crystals you can move here, which presents a little puzzle. Push the lower one right and then up, which puts it in a good place. Now you can move the other crystal, down, right, up, and finally right, onto the switch. The barrier to the left will lower, allowing you to push the first crystal to the left. However, you’re still not done just yet, as you need to get this one onto the tile in the upper right.
Start by pushing it right, down and left, then down, left, up, right and up. Climb the block that appears after, to the ledge above, and use your Mistral Bracelet on the fan to open the big door below it. Go back and save, if you want, as entering that room will be pitting you against a boss, Malkomud.
No Comments