
Upon reaching the Port Town of Brisk in Sea of Stars, you will meet some pirates that will let you use a ship to reach Wraith Island, but they trick you into doing something for them first. This is to get the Coin of Undeath Accord from the nearby Abandoned Wizard’s Lab, so that is where you’ll be heading here. This page will contain a walkthrough for the Abandoned Wizard’s Lab, providing the solutions to all puzzles found within it.
You are sent to the Abandoned Wizard’s Lab on an errand for the pirates.
Enemies in the Abandoned Wizard’s Lab in Sea of Stars
| Enemies |
|---|
| Arcane Sentry |
| Wanderer |
| Croube |
| Crystal Tulip |
All Treasures in the Abandoned Wizard’s Lab in Sea of Stars
| Treasure |
|---|
| Green Crystal |
| Blue Crystal |
| Rainbow Conch |
| Red Crystal |
| Mage-Knight Armor |
| Rainbow Conch |
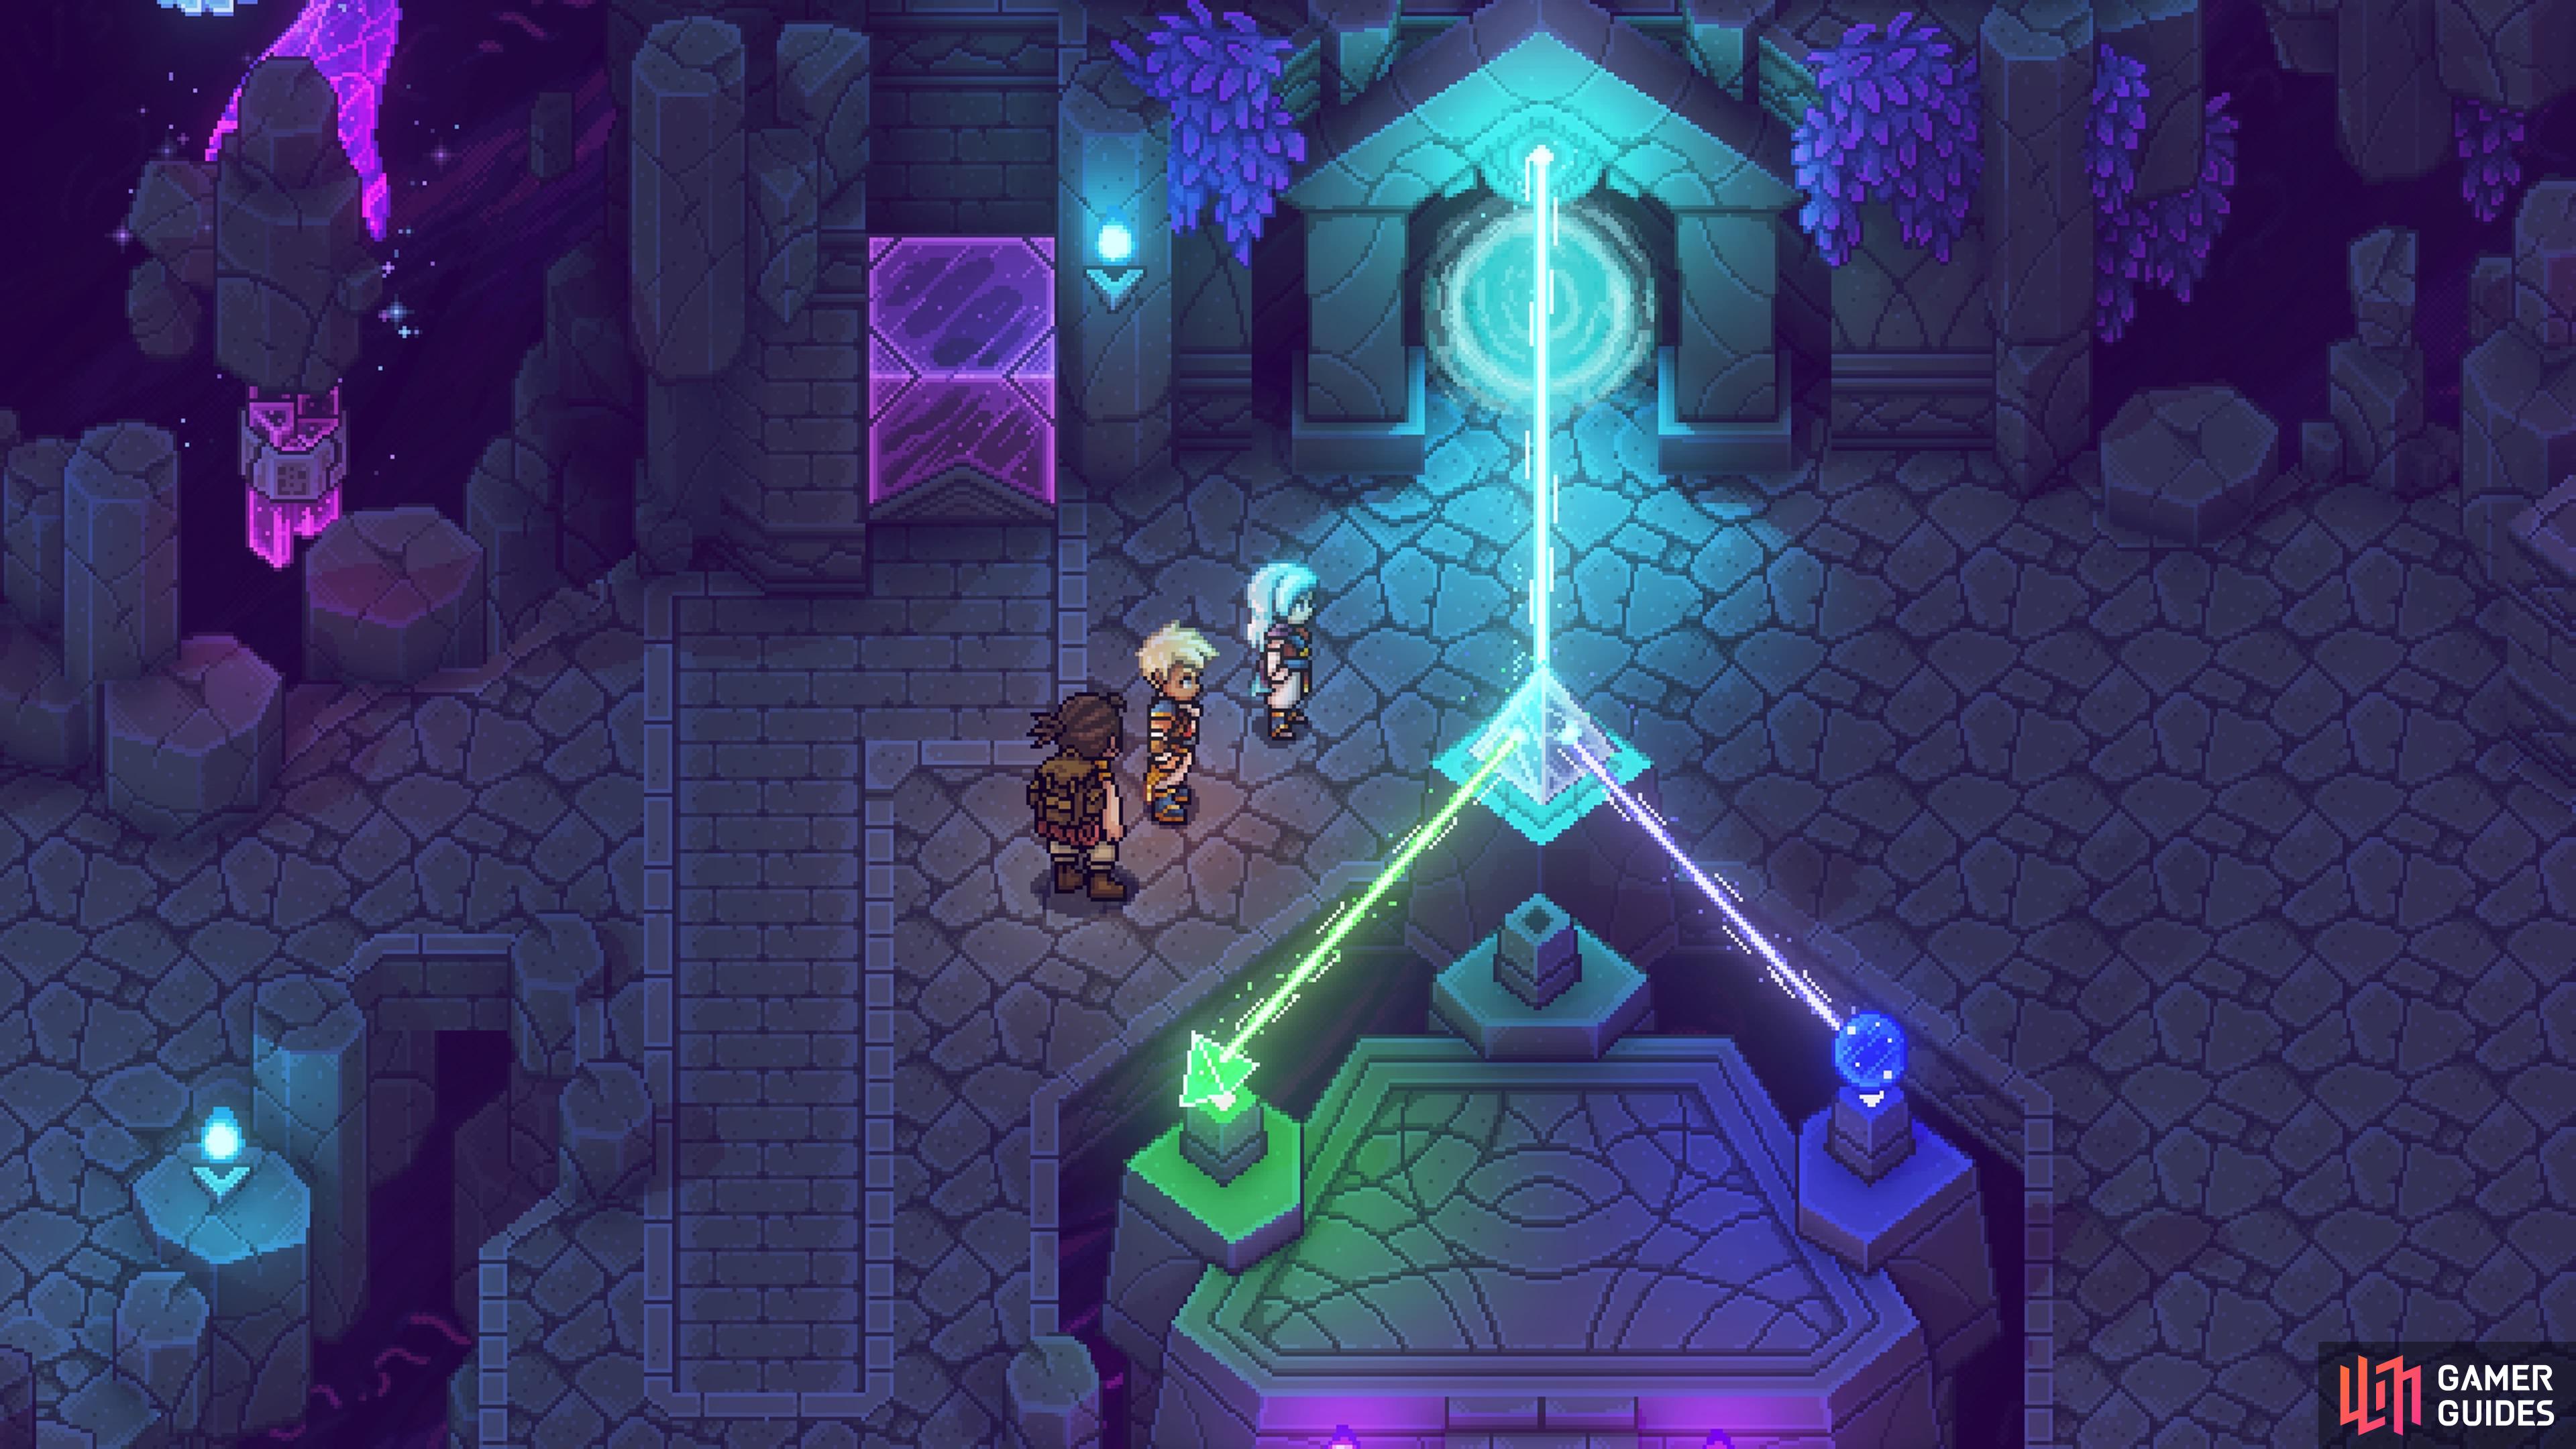
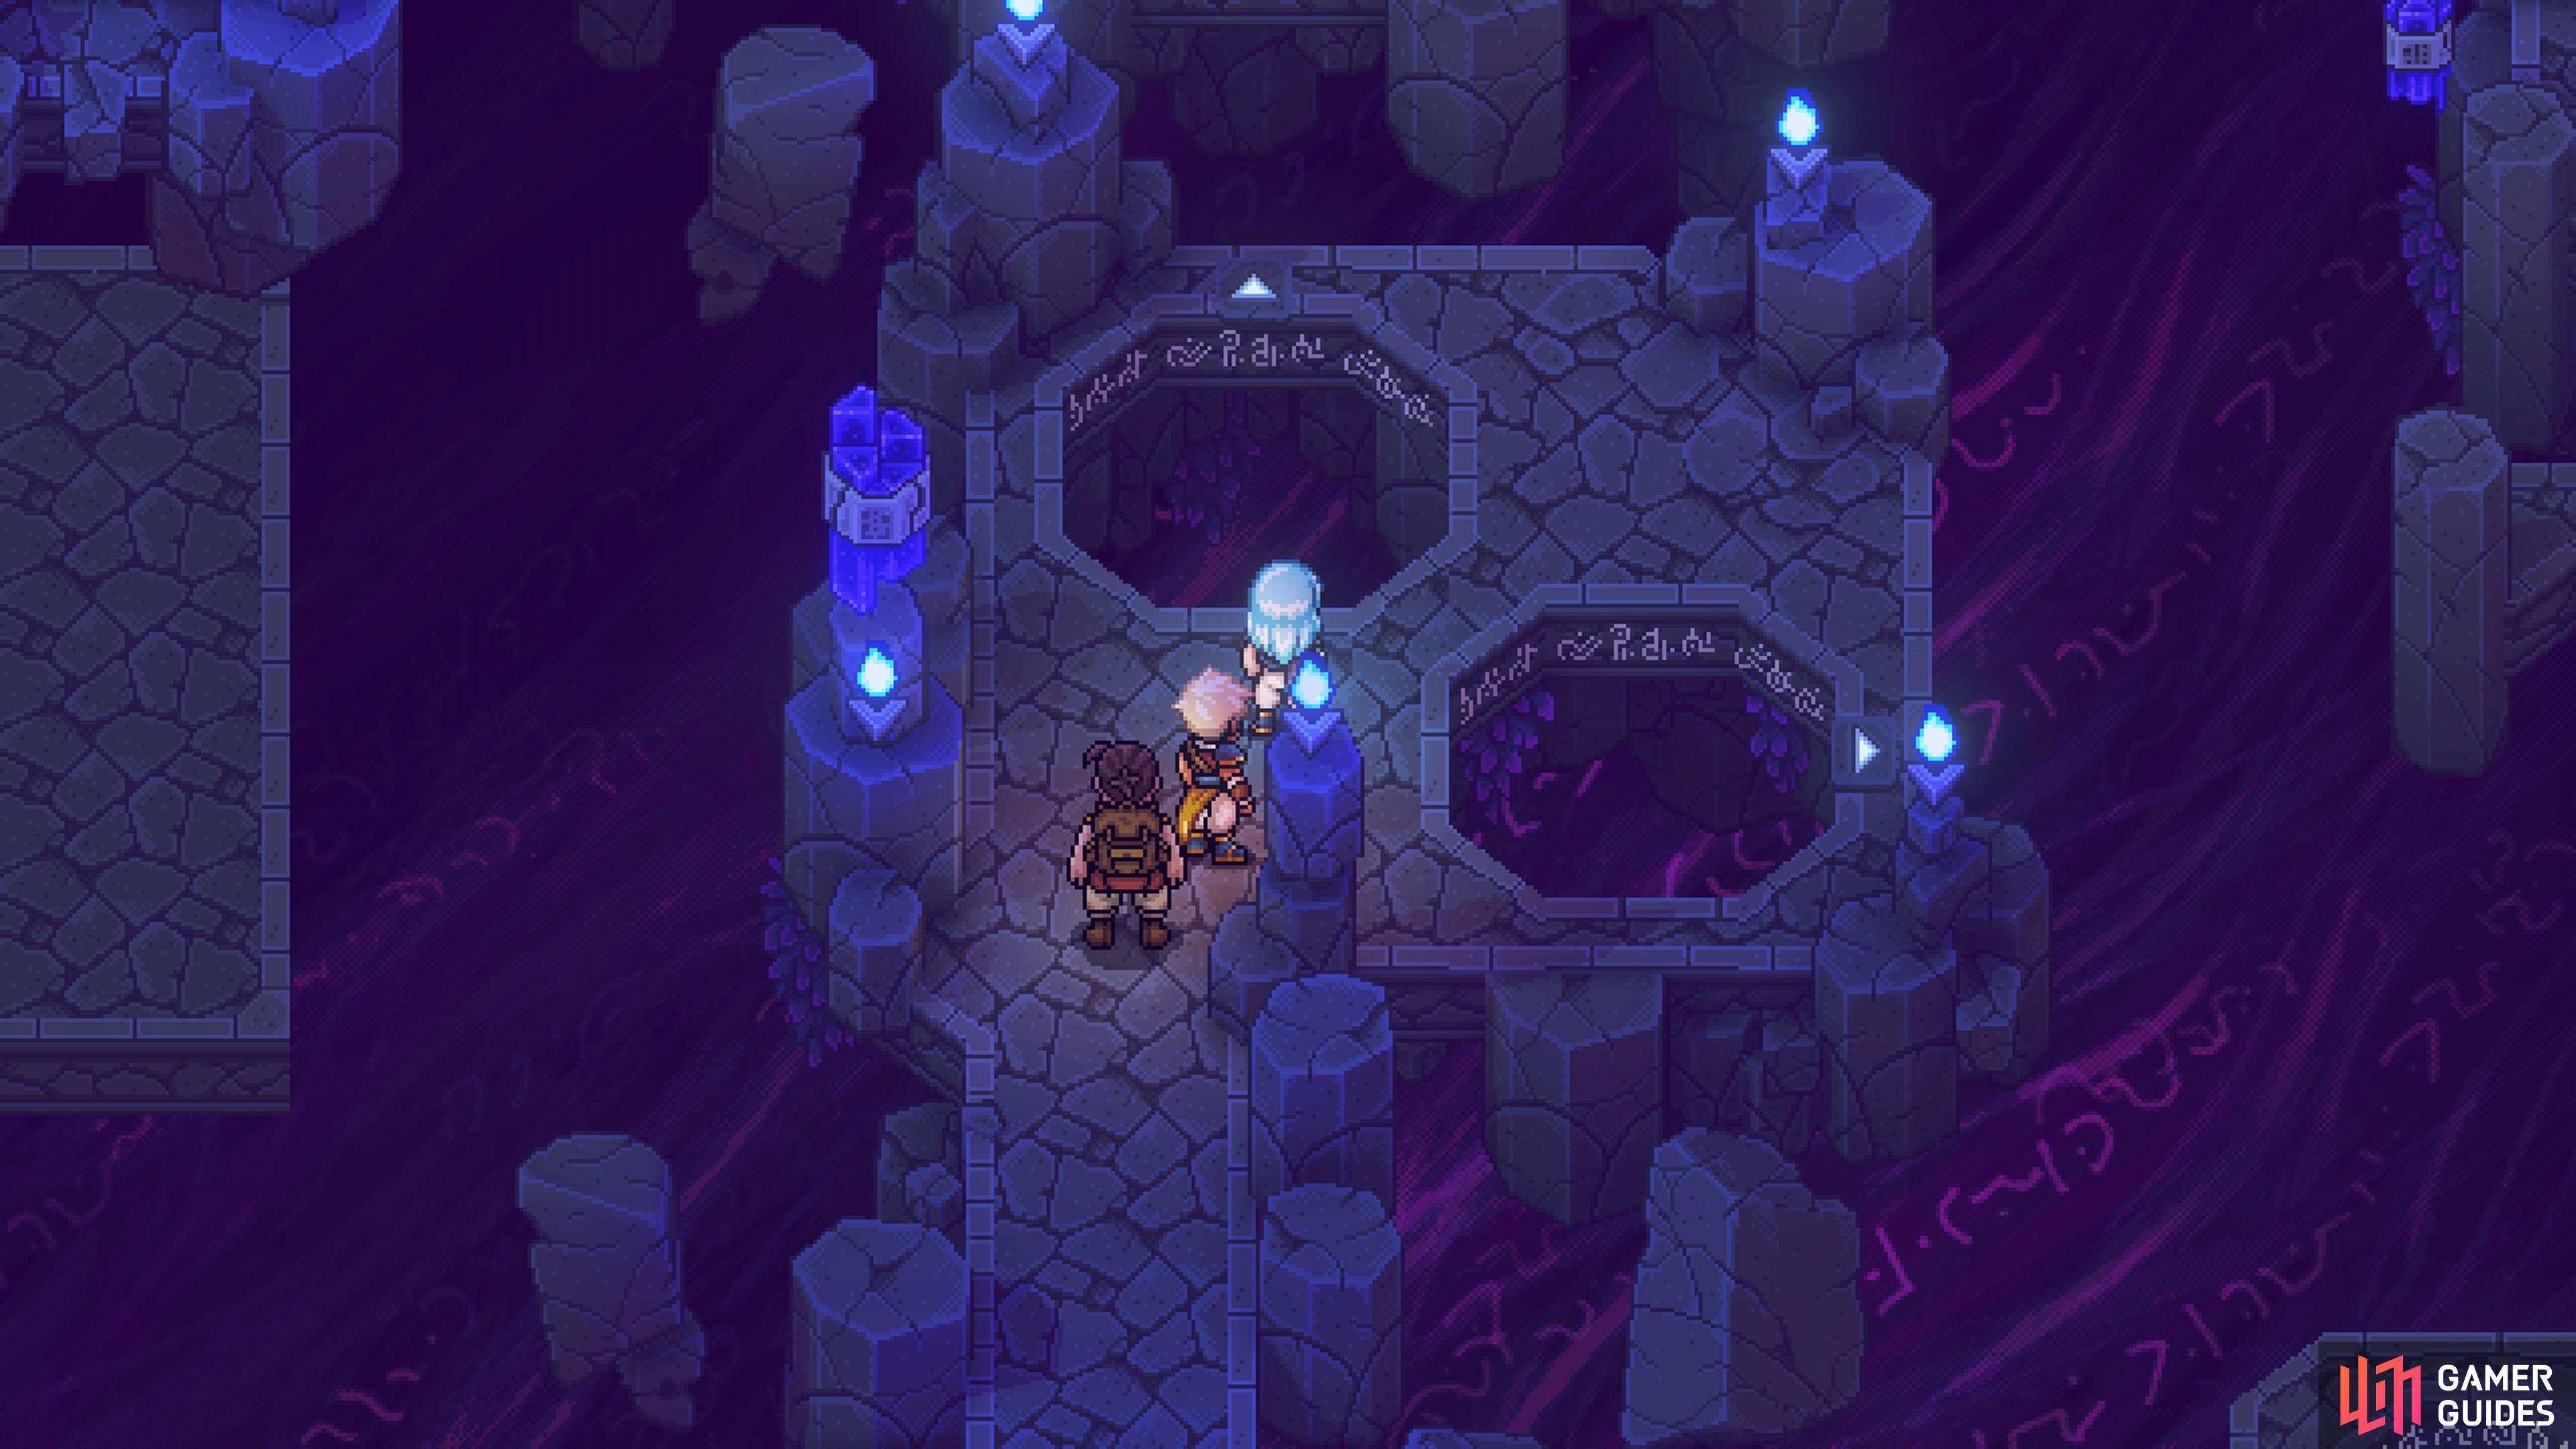
Exit Brisk and return to the world map, then head north and then east to find the Abandoned Wizard’s Lab. As you approach the dome-like structure, a cutscene will take place and your new pirate friends will open a door for you. There will be a structure in the main room of the dungeon, which is the key to completing this dungeon. On the left side, you will find a camp, as well as a save point. You should also see a purple cube on the ground, so use your Mistral Bracelet to push it into the alcove to the north. This allows you to climb up and open the chest there, looting the Green Crystal. Place this into the center device (the one with the white dot), to create a portal.

Push the block at the start to reach this chest on the ledge.
Insert the Green Crystal into the device to make a portal appear.
Green Crystal Room
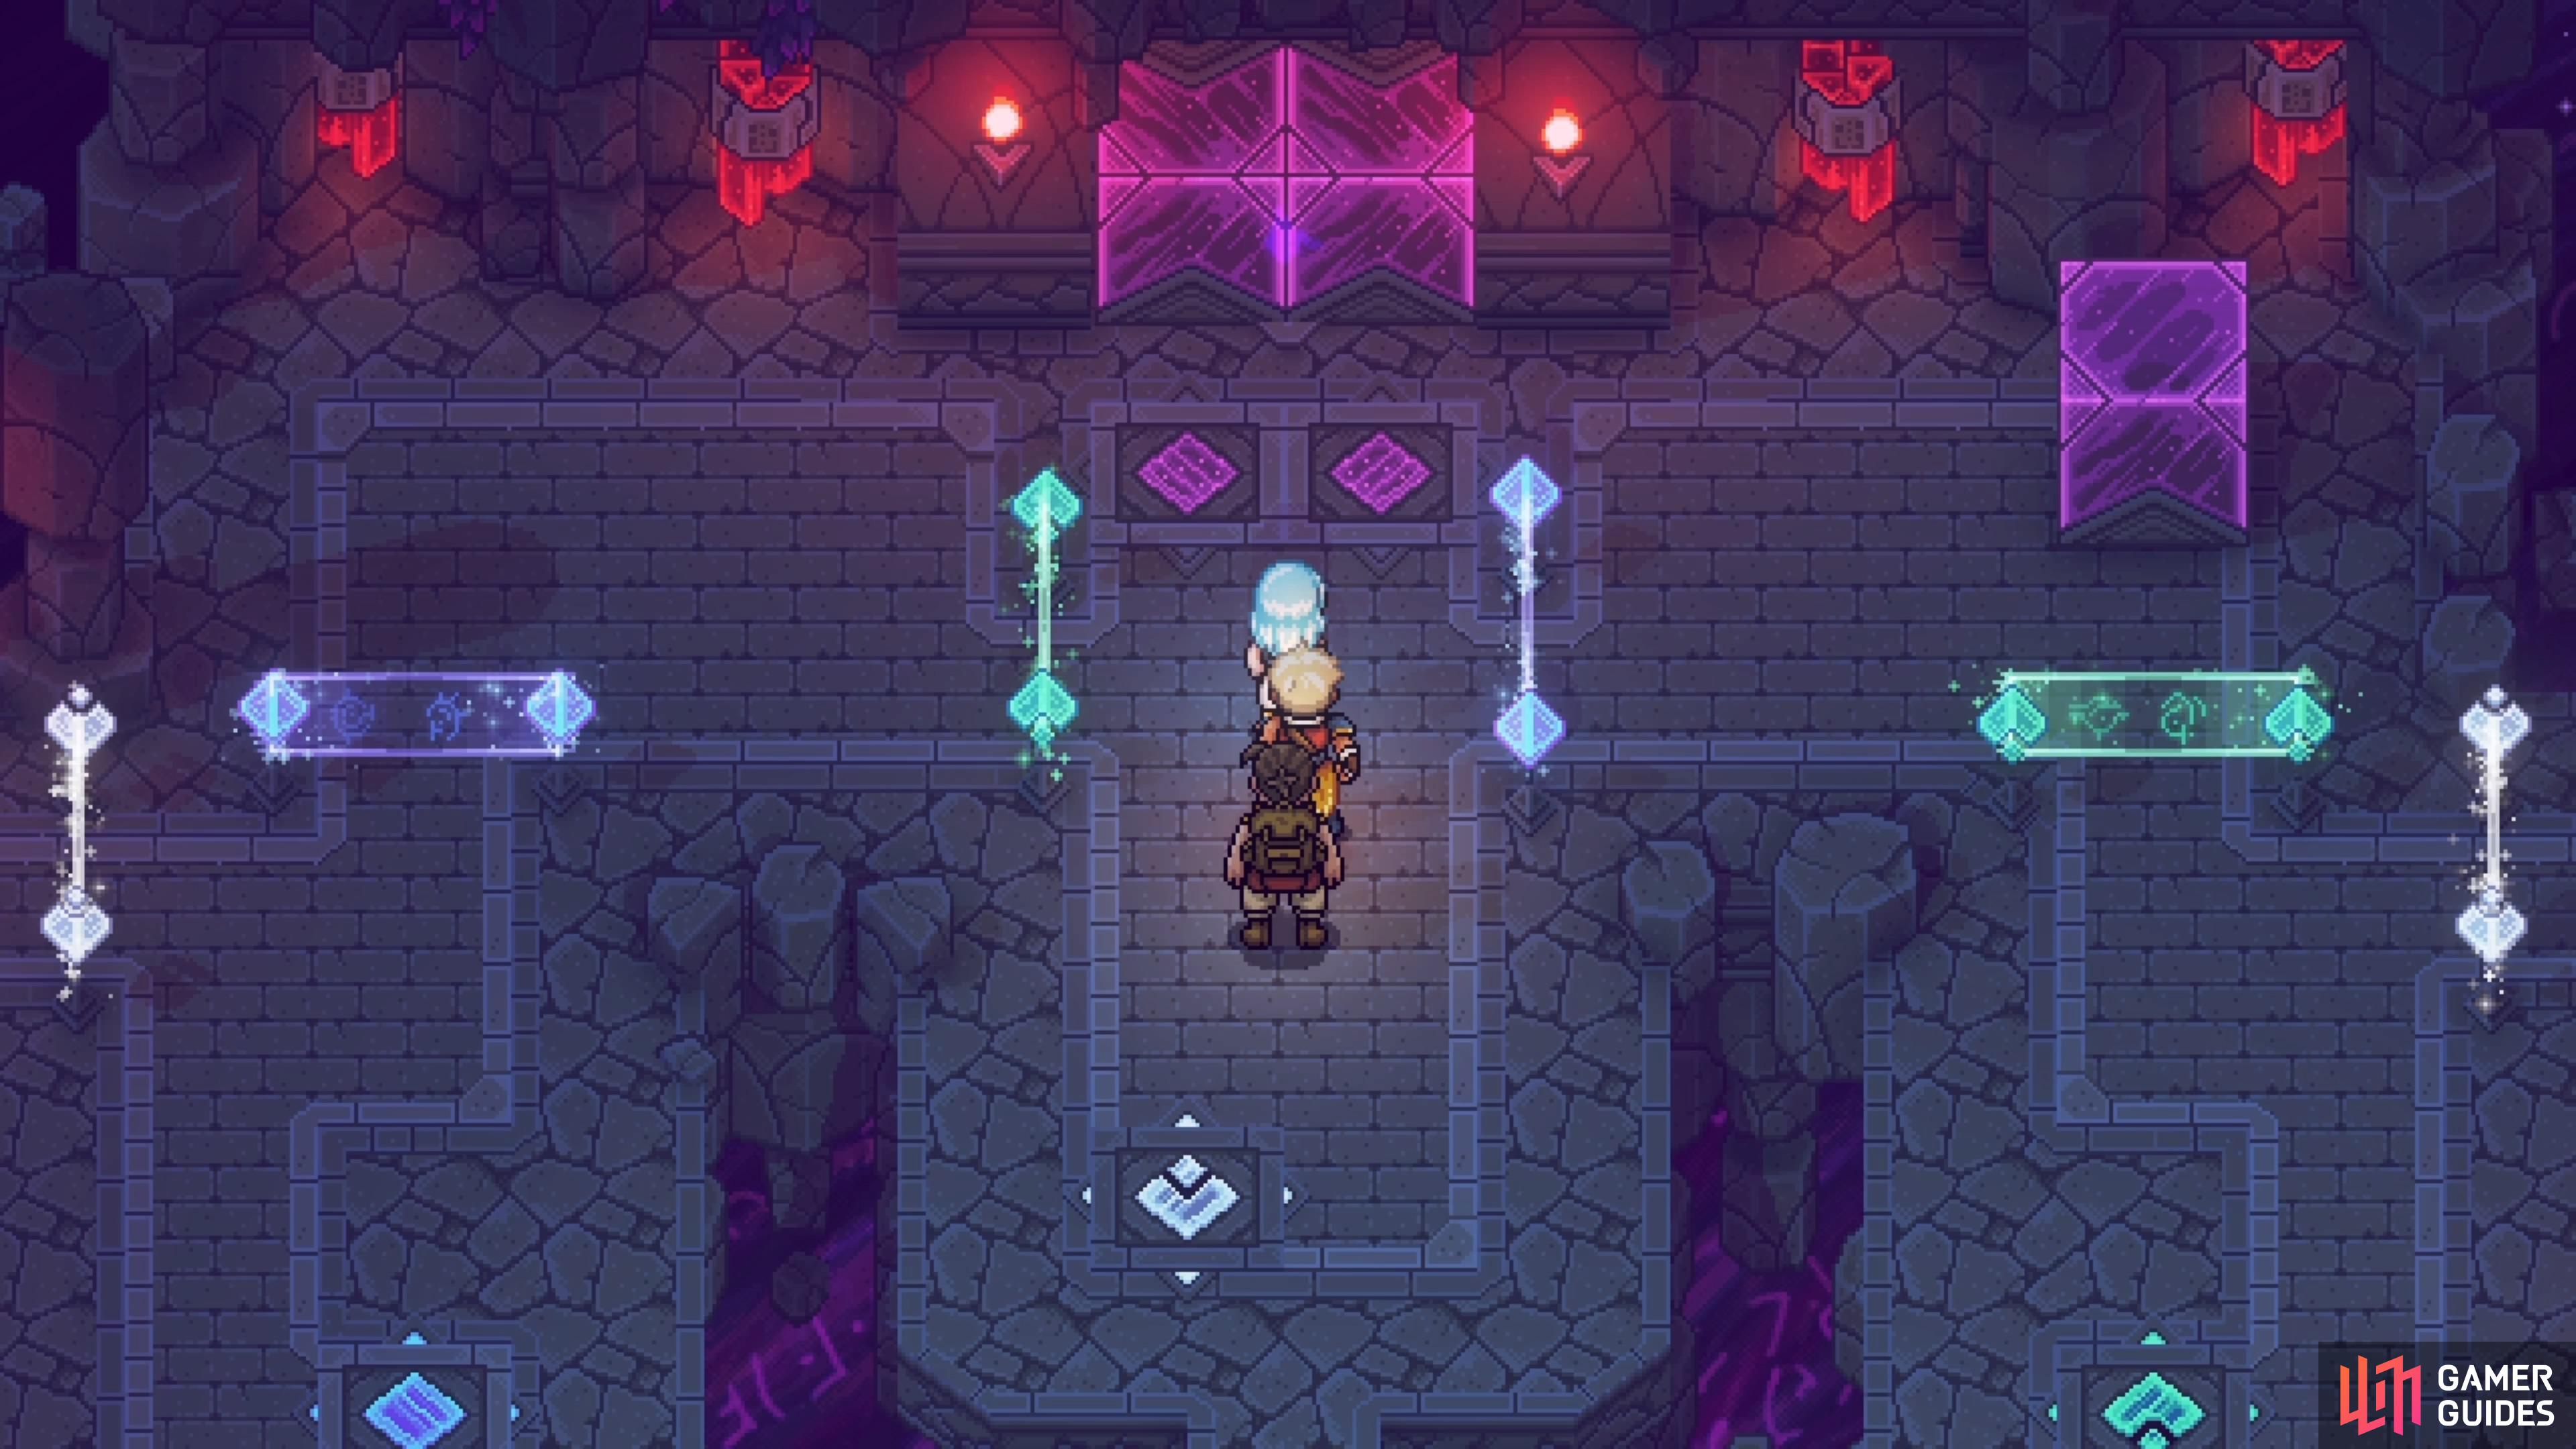
Upon entering the portal, you will find a group of enemies straight ahead. These are Arcane Sentries and they’re weak to your normal attacks, so stick to those when fighting. Once the coast is clear, go to the north end and step on the purple symbol, which will change the layout of the room. Move south, then to the left side, and climb that side to find a blue button. Step on it to change the layout of the room a second time. The first button is highlighted again, so follow the path to the right side now.
When you’re there, drop down and hit the button for one final change to the layout, allowing you to climb up the right side and open the chest there, for the Blue Crystal. Exit the room via the same portal you used to enter, then remove the Green Crystal from the device, replacing it with the blue one you just obtained.
Blue Crystal Room
Enter the blue crystal room and the portal you took will disappear, leaving you trapped in here. This room’s theme is using the holes in the floor to be “teleported” in the direction the little arrows point. The hole on the right will bring you nowhere, so take the northern of the two. After landing, climb the ledges and clear out the Wanderers. Head over to the right side of this upper area and jump into the hole there. You will land on a central platform, with there being a ladder above you.
Climb the ladder and dispatch the enemies here (two Arcane Sentries), then jump down on the other side. Follow the short path to another ladder, which will bring you to some small blocks to hop over. Jump into the next hole and step on the button, causing a platform to rise up in the southeast. There will be a number of enemies here now, so backtrack over to that spot and get rid of them (Wanderer, Arcane Sentry, and two Croubes). After defeating them, a button will appear, so step on it to make a hole appear nearby.
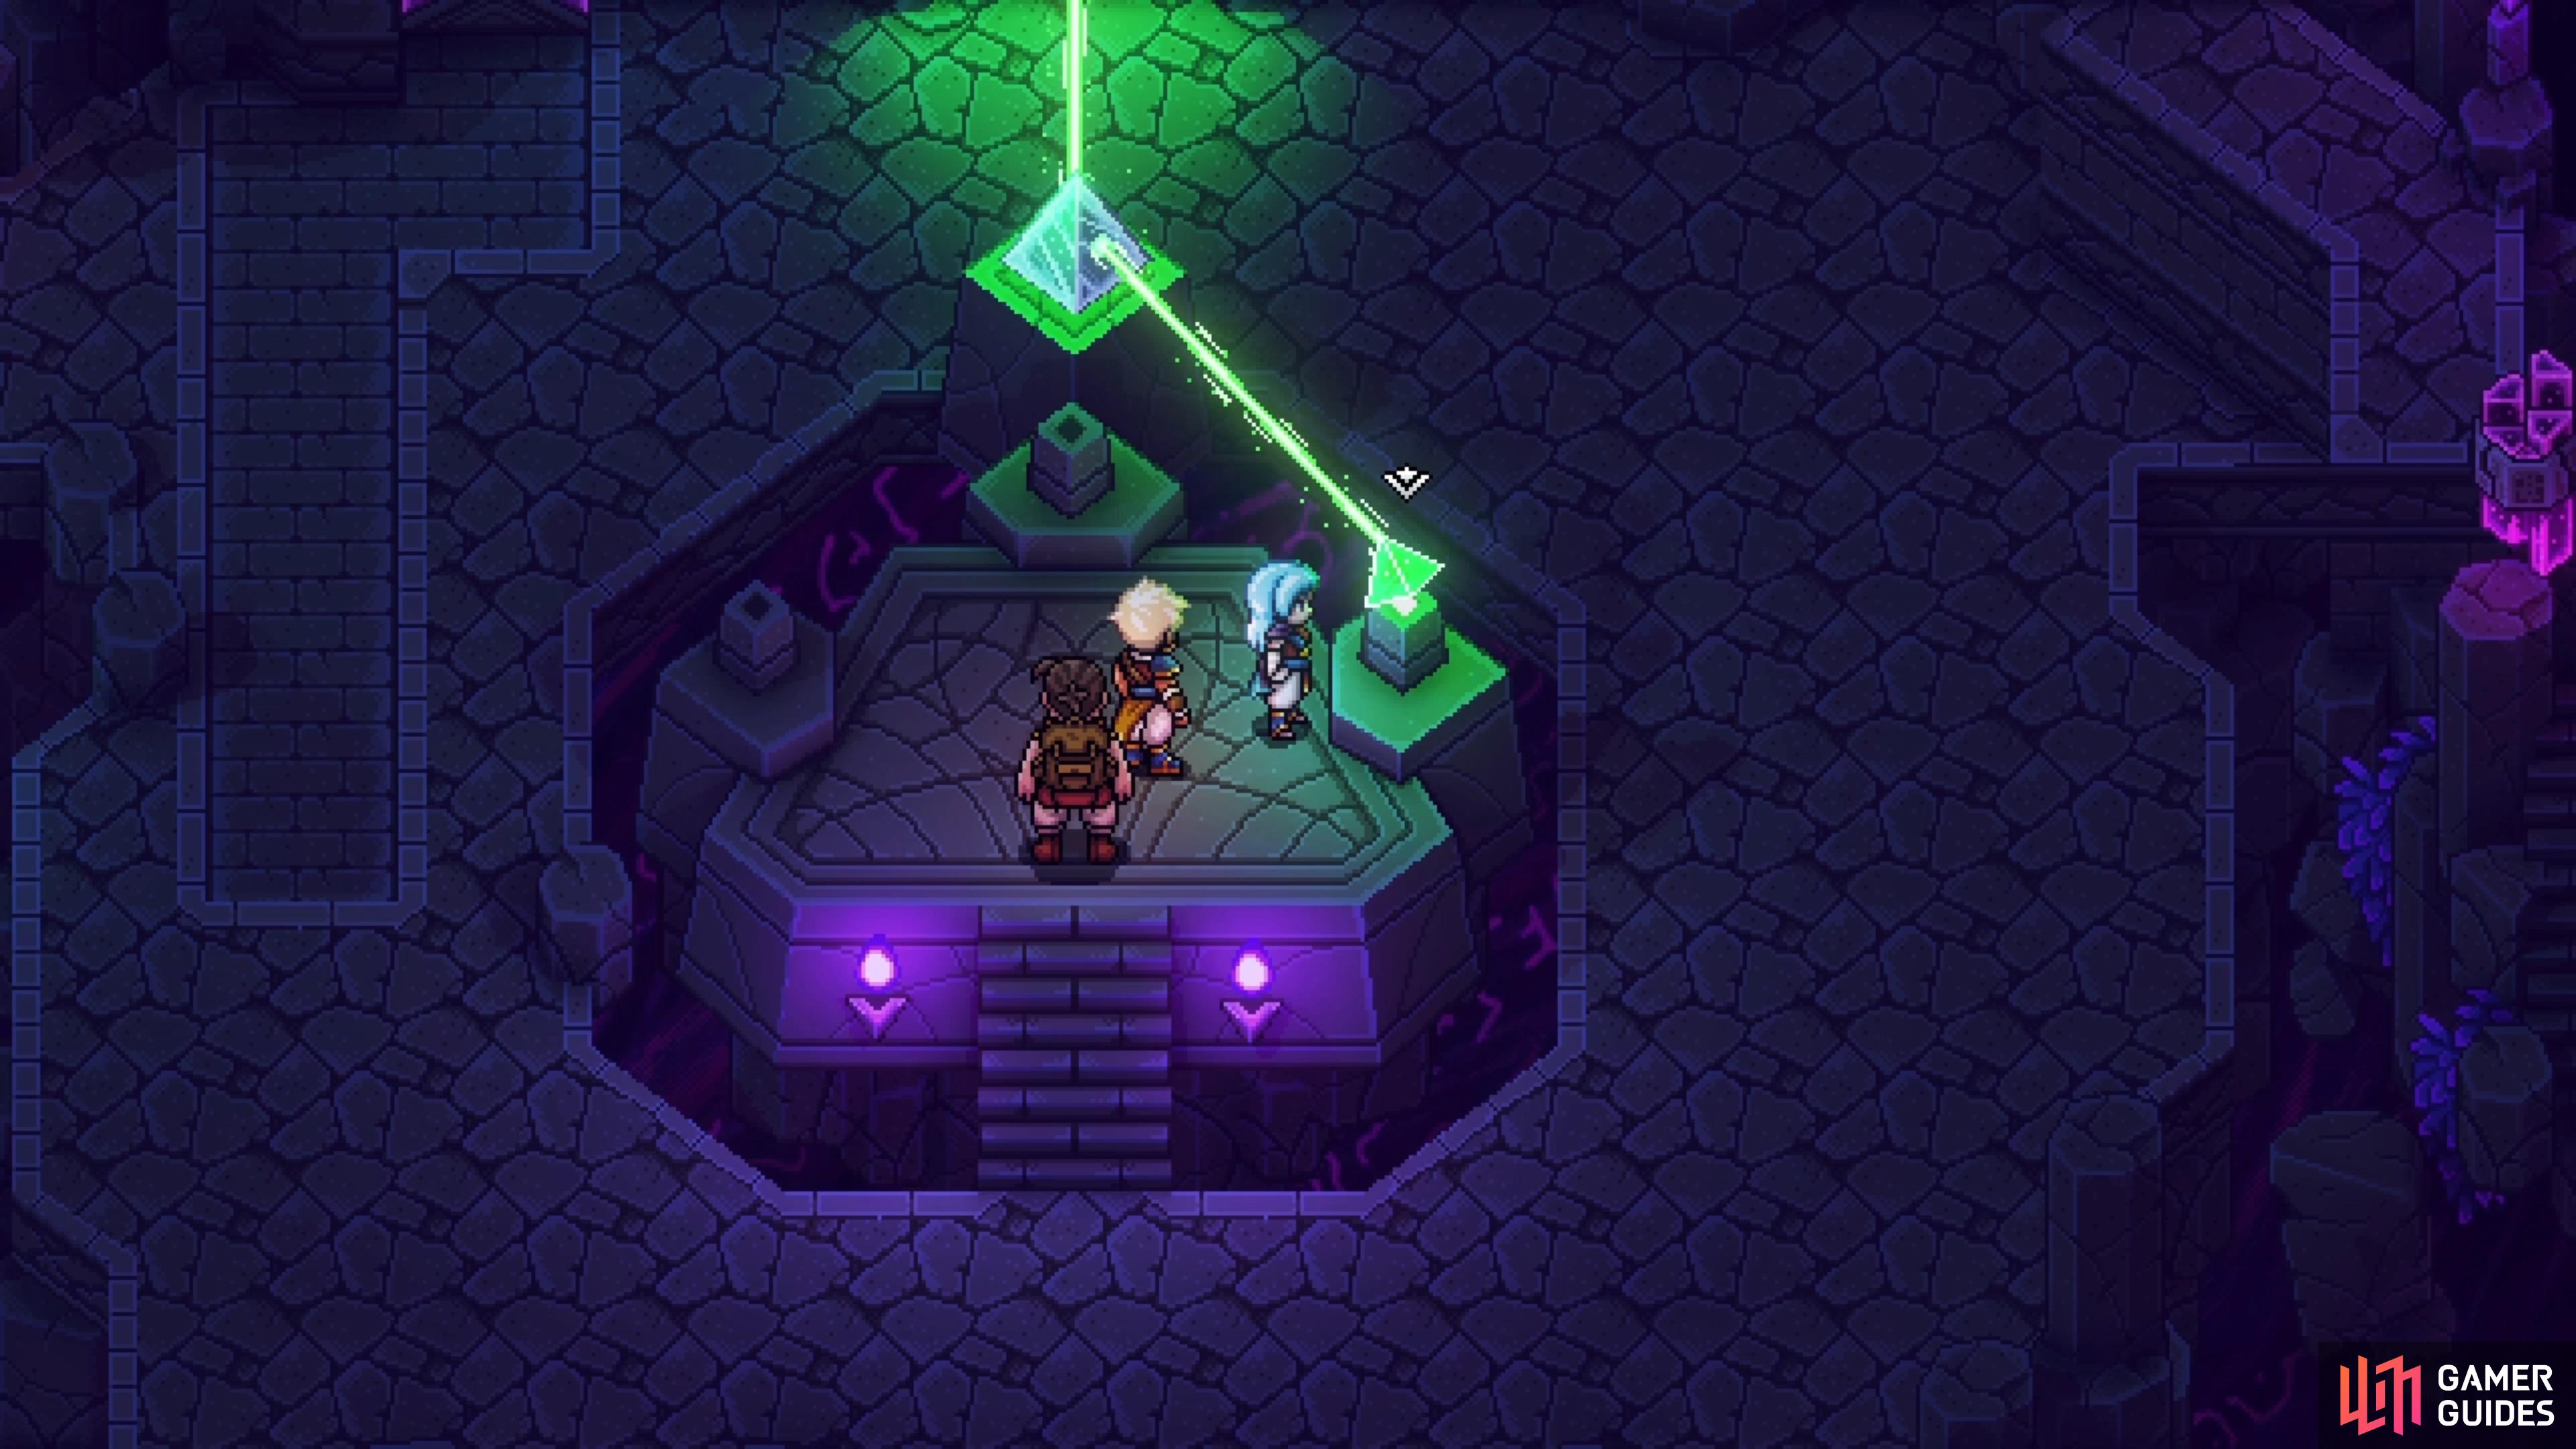
This hole will put you back in the northwestern portion, where you will now have access to the lever there. Hitting it will cause a platform with another hole to appear just east of the starting spot, so head back there and jump into the other hole that you previously saw. You will now be transported to the center of the room, where you can interact with the glowing button on the ground. Back in the room with the crystals device, another of the pedestals will be active, allowing you to place another of the crystals. You can now jump into the hole that appears to get back to the portal and return to the main room.
Rest up at the campfire, then place the Green Crystal in the newly opened spot to make a Turquoise Room.
Turquoise Room
This place is a little more natural, as there’s running water and all that. The first thing you should do here is go down the ladder, into the water, and go underneath the pier. If you look close, you should see a chest peeking out of the left side, so open it for a Rainbow Conch. With that out of the way, the goal of this room is to hit the three buttons. Return to the starting spot and hop across the small platforms, to the other side.
The first button will be on the pier you just swam under, although enemies will appear after pushing it (Wanderer, Croube, Arcane Sentry and a Crystal Tulip). That last enemy is a problem, as it exists solely to self-destruct on its turn. You will need to destroy all the Locks to get rid of it, as all other attacks will deal zero damage. The second switch behind the purple block will spawn all of the same enemies, sans the Crystal Tulip. For the third button, push the purple block left, up, then right. Climb it to reach the ledge with the button.
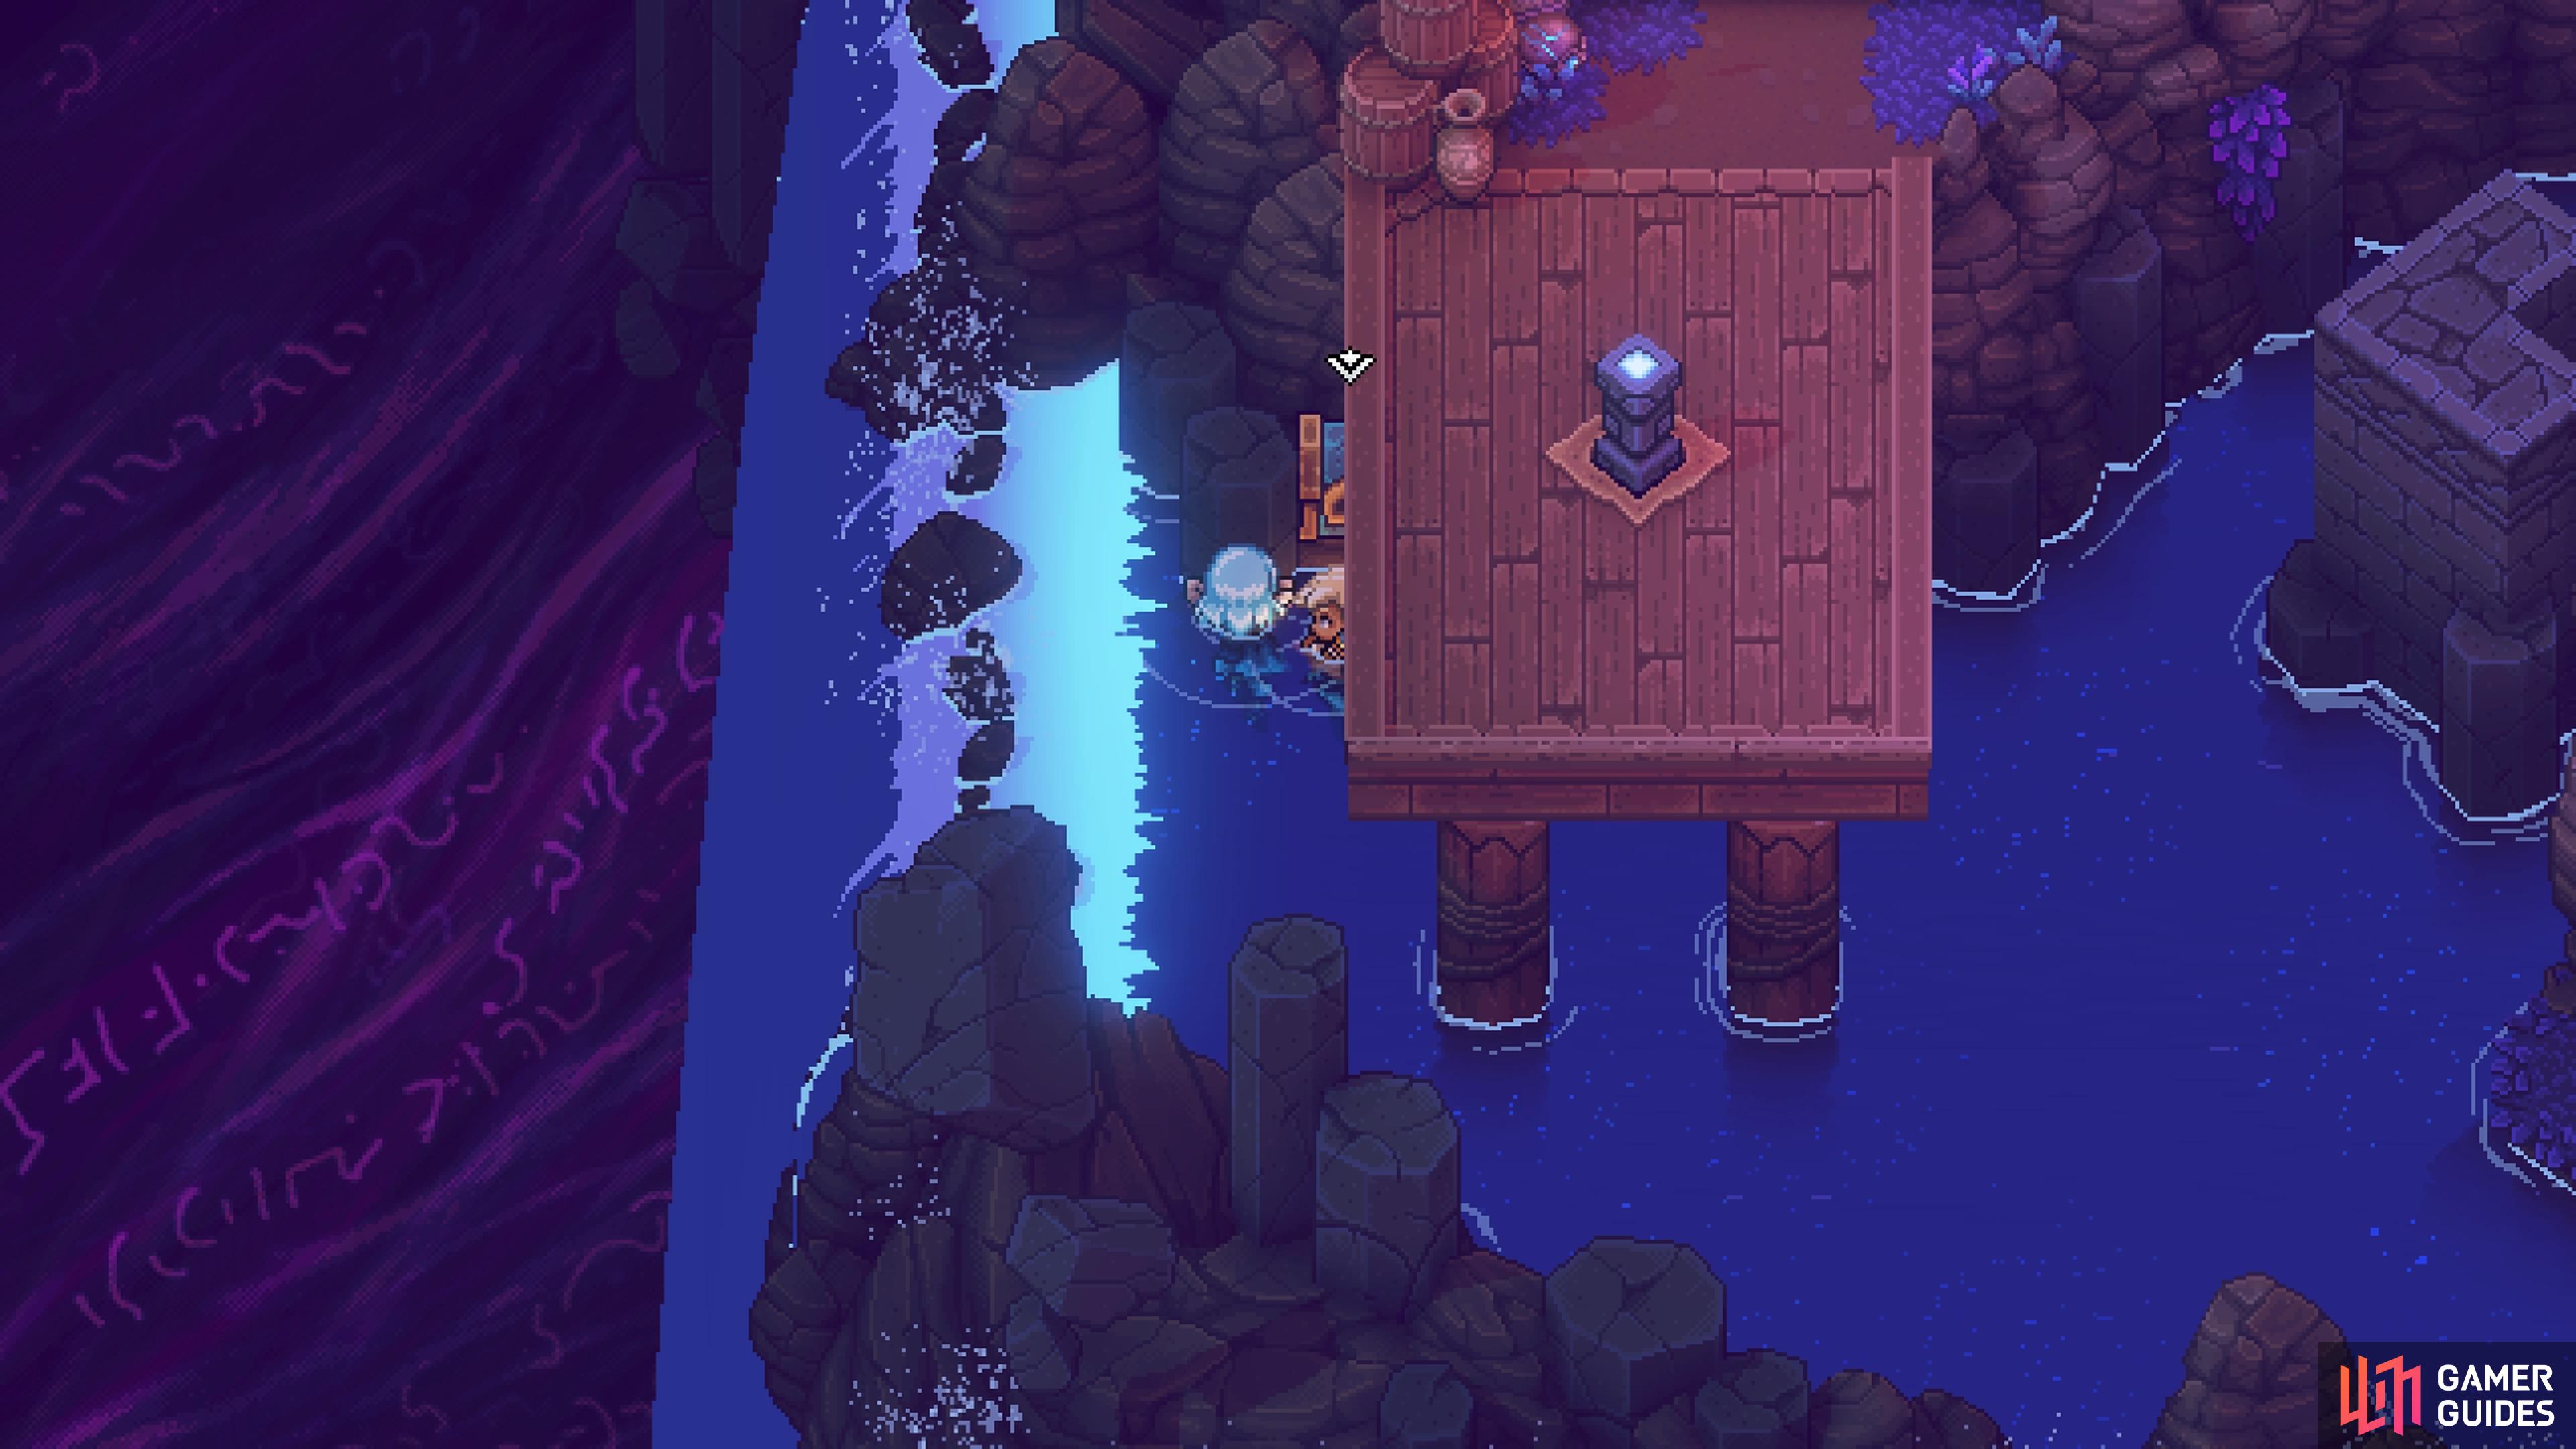
This one will simply spawn two Arcane Sentries, which are easy enough to defeat. After hitting all three buttons and defeating the enemies that spawn, the waterfall will recede, revealing a chest. Head on over and open it for a Red Crystal. You can now exit this room.
Red Crystal Room
You have all three crystals now, although you are missing one final pedestal to put all three crystals on at the same time. For now, though, take the other two crystals off and only put on the Red Crystal. This room will be a big puzzle, with the idea being to push two purple blocks onto the two diamond tiles on the northern end of the room. However, there are barriers in place that won’t let you push the blocks beyond them, although you can pass through them with no problem.
- Start by pushing the purple block in the southwest onto the diamond tile. This will deactivate the light blue barriers.
- Push the purple block in the northeast down and to the left to reach the center, then put it on the diamond tile there to disable the white barriers.
- Push the purple block in the southeast onto the green tile, disabling the green barriers.
(1 of 5) The goal of the Red Room is to push two blocks into the purple diamond tiles.
- Push the southwestern block left, up, then left once more. This will make it wrap around the screen, to the right side. Once it’s there, push it up, past the green barrier.
- Push the southeastern block right, up, then right to put it on the left side. From there, push it down, left, down, right and up, onto the blue barrier switch.
- Push the block in the northeast now down and left, into the middle portion.
- Push both blocks there onto the purple tiles to solve the puzzle.
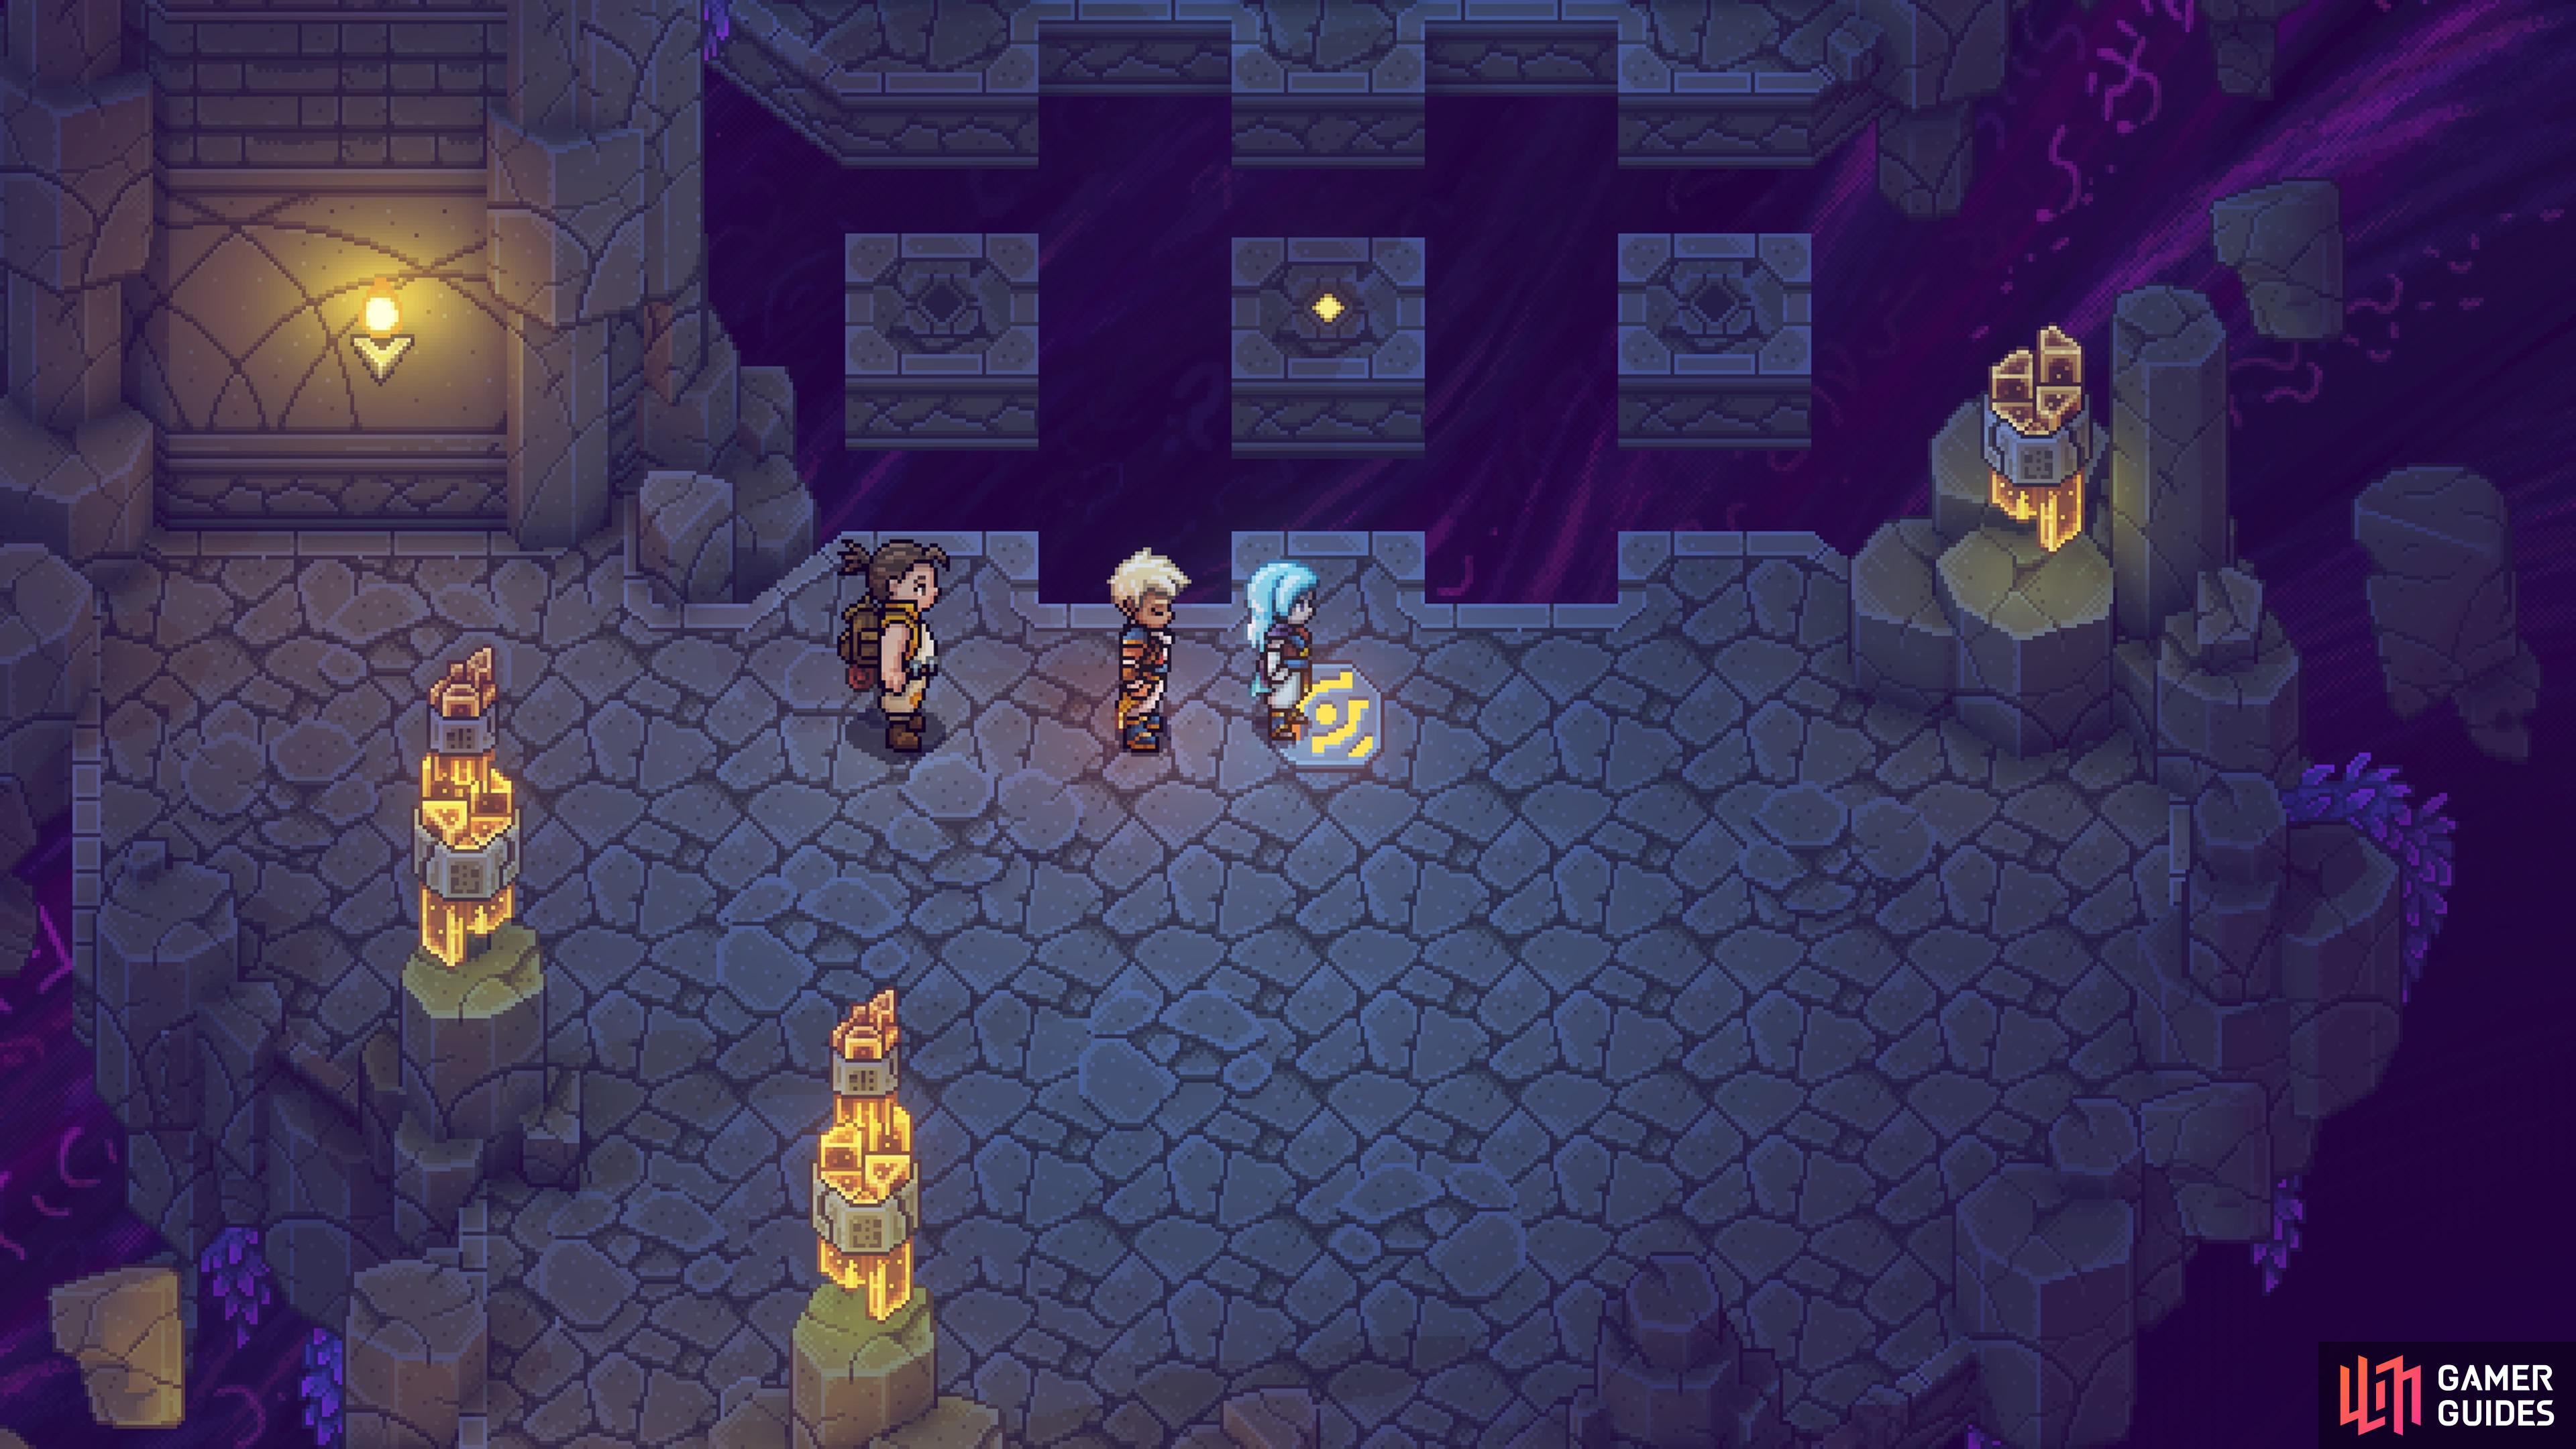
Your reward is another of those white diamond buttons on the ground, which when you press it, will activate the third pedestal in the main room. You can now do the boss in this dungeon, but there’s still two more rooms to clear out, so let’s do those first. Make sure the red and blue crystals are on the pedestals.
Purple Room
This is a pretty simple room. Go to the right side and climb up the wall, then make your way over to the left side. Hit the button there to clear the way for you to reach the very top of the room. Once there, you will see a fishing spot, although the only thing you can get here is Lunar Trout, a fish you got at the very first area. However, check out the well nearby to have someone call out to you. They mention a fish swallowed their watch, so they want you to retrieve it.
The fish will be glowing, so you won’t need to actually hunt it down. However, all of the other fish here will be annoying and most likely get in your way, so you might need to thin the herd a little bit. Once you catch the fish with the Golden Watch, hand it over to the thing in the well. Your reward will be a chest that contains a Mage-Knight Armor.
Yellow Room
That leaves one final room, requiring the Red and Green Crystals. This room is a little bit of a puzzle, as you will see three different platforms straight ahead. However, there’s only a single way to go and if you jump to the wrong platform, then you will fall and be sent back to the beginning of the section. Luckily, there is that special marker on the ground, which will highlight the correct way to go. The first one is easy, as you simply need to use the middle platform to get across to the other side.
Once you do, there will be a battle waiting for you, which includes two Arcane Sentries and a Croube. The second set will be a little harder, but not too much. The tile that shows you the correct way is just up the stairs on the left. To traverse the correct path, start on the left side and go north two squares, east two squares, then north to the next main section. More enemies will be waiting for you here, including two Croubes, an Arcane Sentry, and a Crystal Tulip. Remember to get rid of the Crystal Tulip first by breaking the Locks.
(1 of 5) The symbol tile on the ground will highlight the correct path in each section.
After the enemies are gone, you will reach the final section here. This one is a bigger one to memorize, as there are two tiles that show you the way, both up the stairs. The right stairs will show you the beginning path, while the left stairs will show you the second half.
- Start on the right side
- Go up three squares, then left three squares
- Go up two more squares, then right three squares
- Go up the rest of the way
Do it right and a ladder will be waiting for you on the other side, with a nice chest at the top. Open it for a Rainbow Conch and the end of the dungeon pretty much. A platform with a lever will appear on the left, taking you back to the beginning of this room. The only thing left to do now is place all three crystals on the pedestals, then go into the portal, where the Chromatic Apparition boss fight will be next.
No Comments