
In order to help your friend, you will need to venture to the Necromancer’s Lair. However, to get there, you’ll require the Ferryman’s services. Take the eastern exit out of Lucent and head southeast, to the docks in the foggy waters. This will be the Ferryman’s Vigil and where you’ll find him. Walk up to speak with him and a scene will occur, with Serai using a familiar coin to get the Ferryman to take you to the Flooded Graveyard.

The Ferryman will take you to the Flooded Graveyard.
All Flooded Graveyard Enemies
| Enemies |
|---|
| Lonzon |
| Arentree |
| Gulgul |
All Flooded Graveyard Treasure Chests
| Treasure |
|---|
| Shimmering Daggers |
| Obsidian Ore |
| Recipe: Hearty Stew |
| Rainbow Conch |
As soon as you gain control, jump off the dock with the Ferryman and swim as far north as you can, until you see a wall you can climb. Do that and grab the Mushrooms, then return to the dock. Start off by heading straight west to find four Lonzon waiting for you, so initiate battle and take them out. After the battle, head west a little bit, then go south, to the little piece of land you can climb on. Drop off to the south and you should see a little island in that area, with Onions on it.

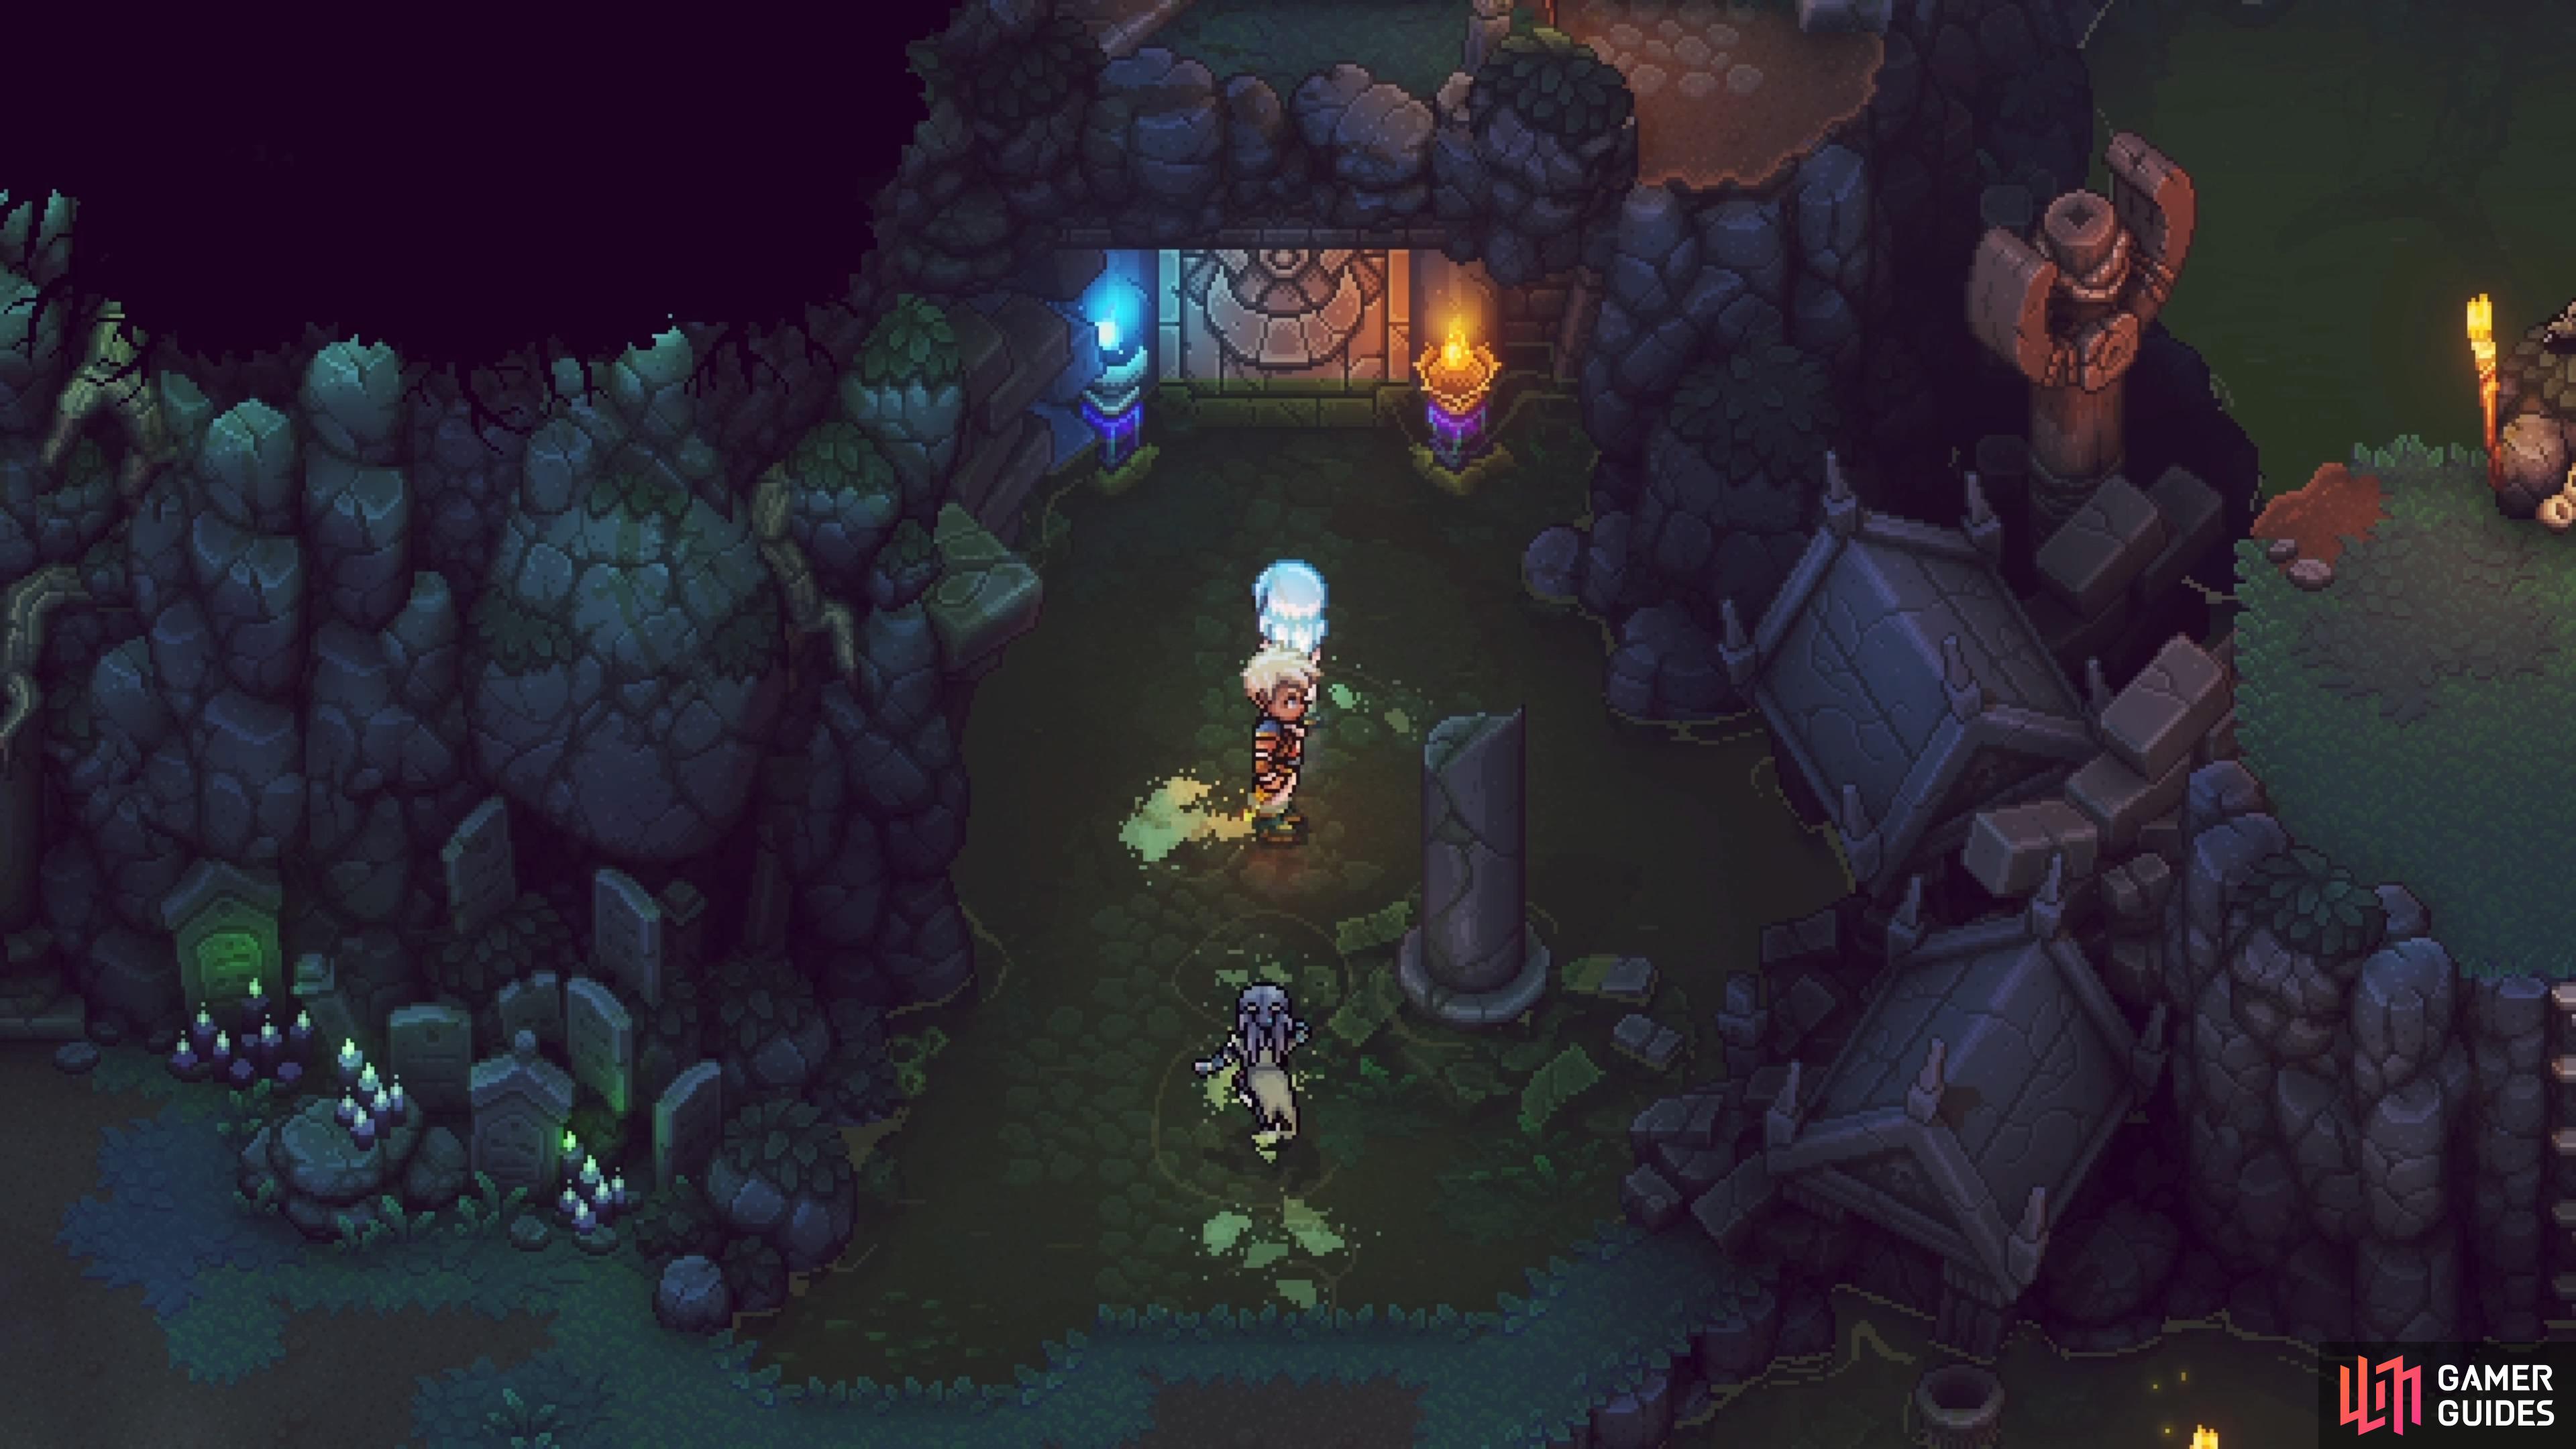
Return to the main area and keep to the south, where you’ll find some Potatoes right before meeting some zombies outside a mausoleum. He won’t attack you or anything, as he just walks around. Note that if you jump into the water and swim west, you will find a secret area. Inside will be a coffin that asks for an item, but you won’t be able to access this until much, much later in the game. Double back to the friendly zombie and go north of him, where you’ll find some more enemies (two Gulguls and an Arentree).
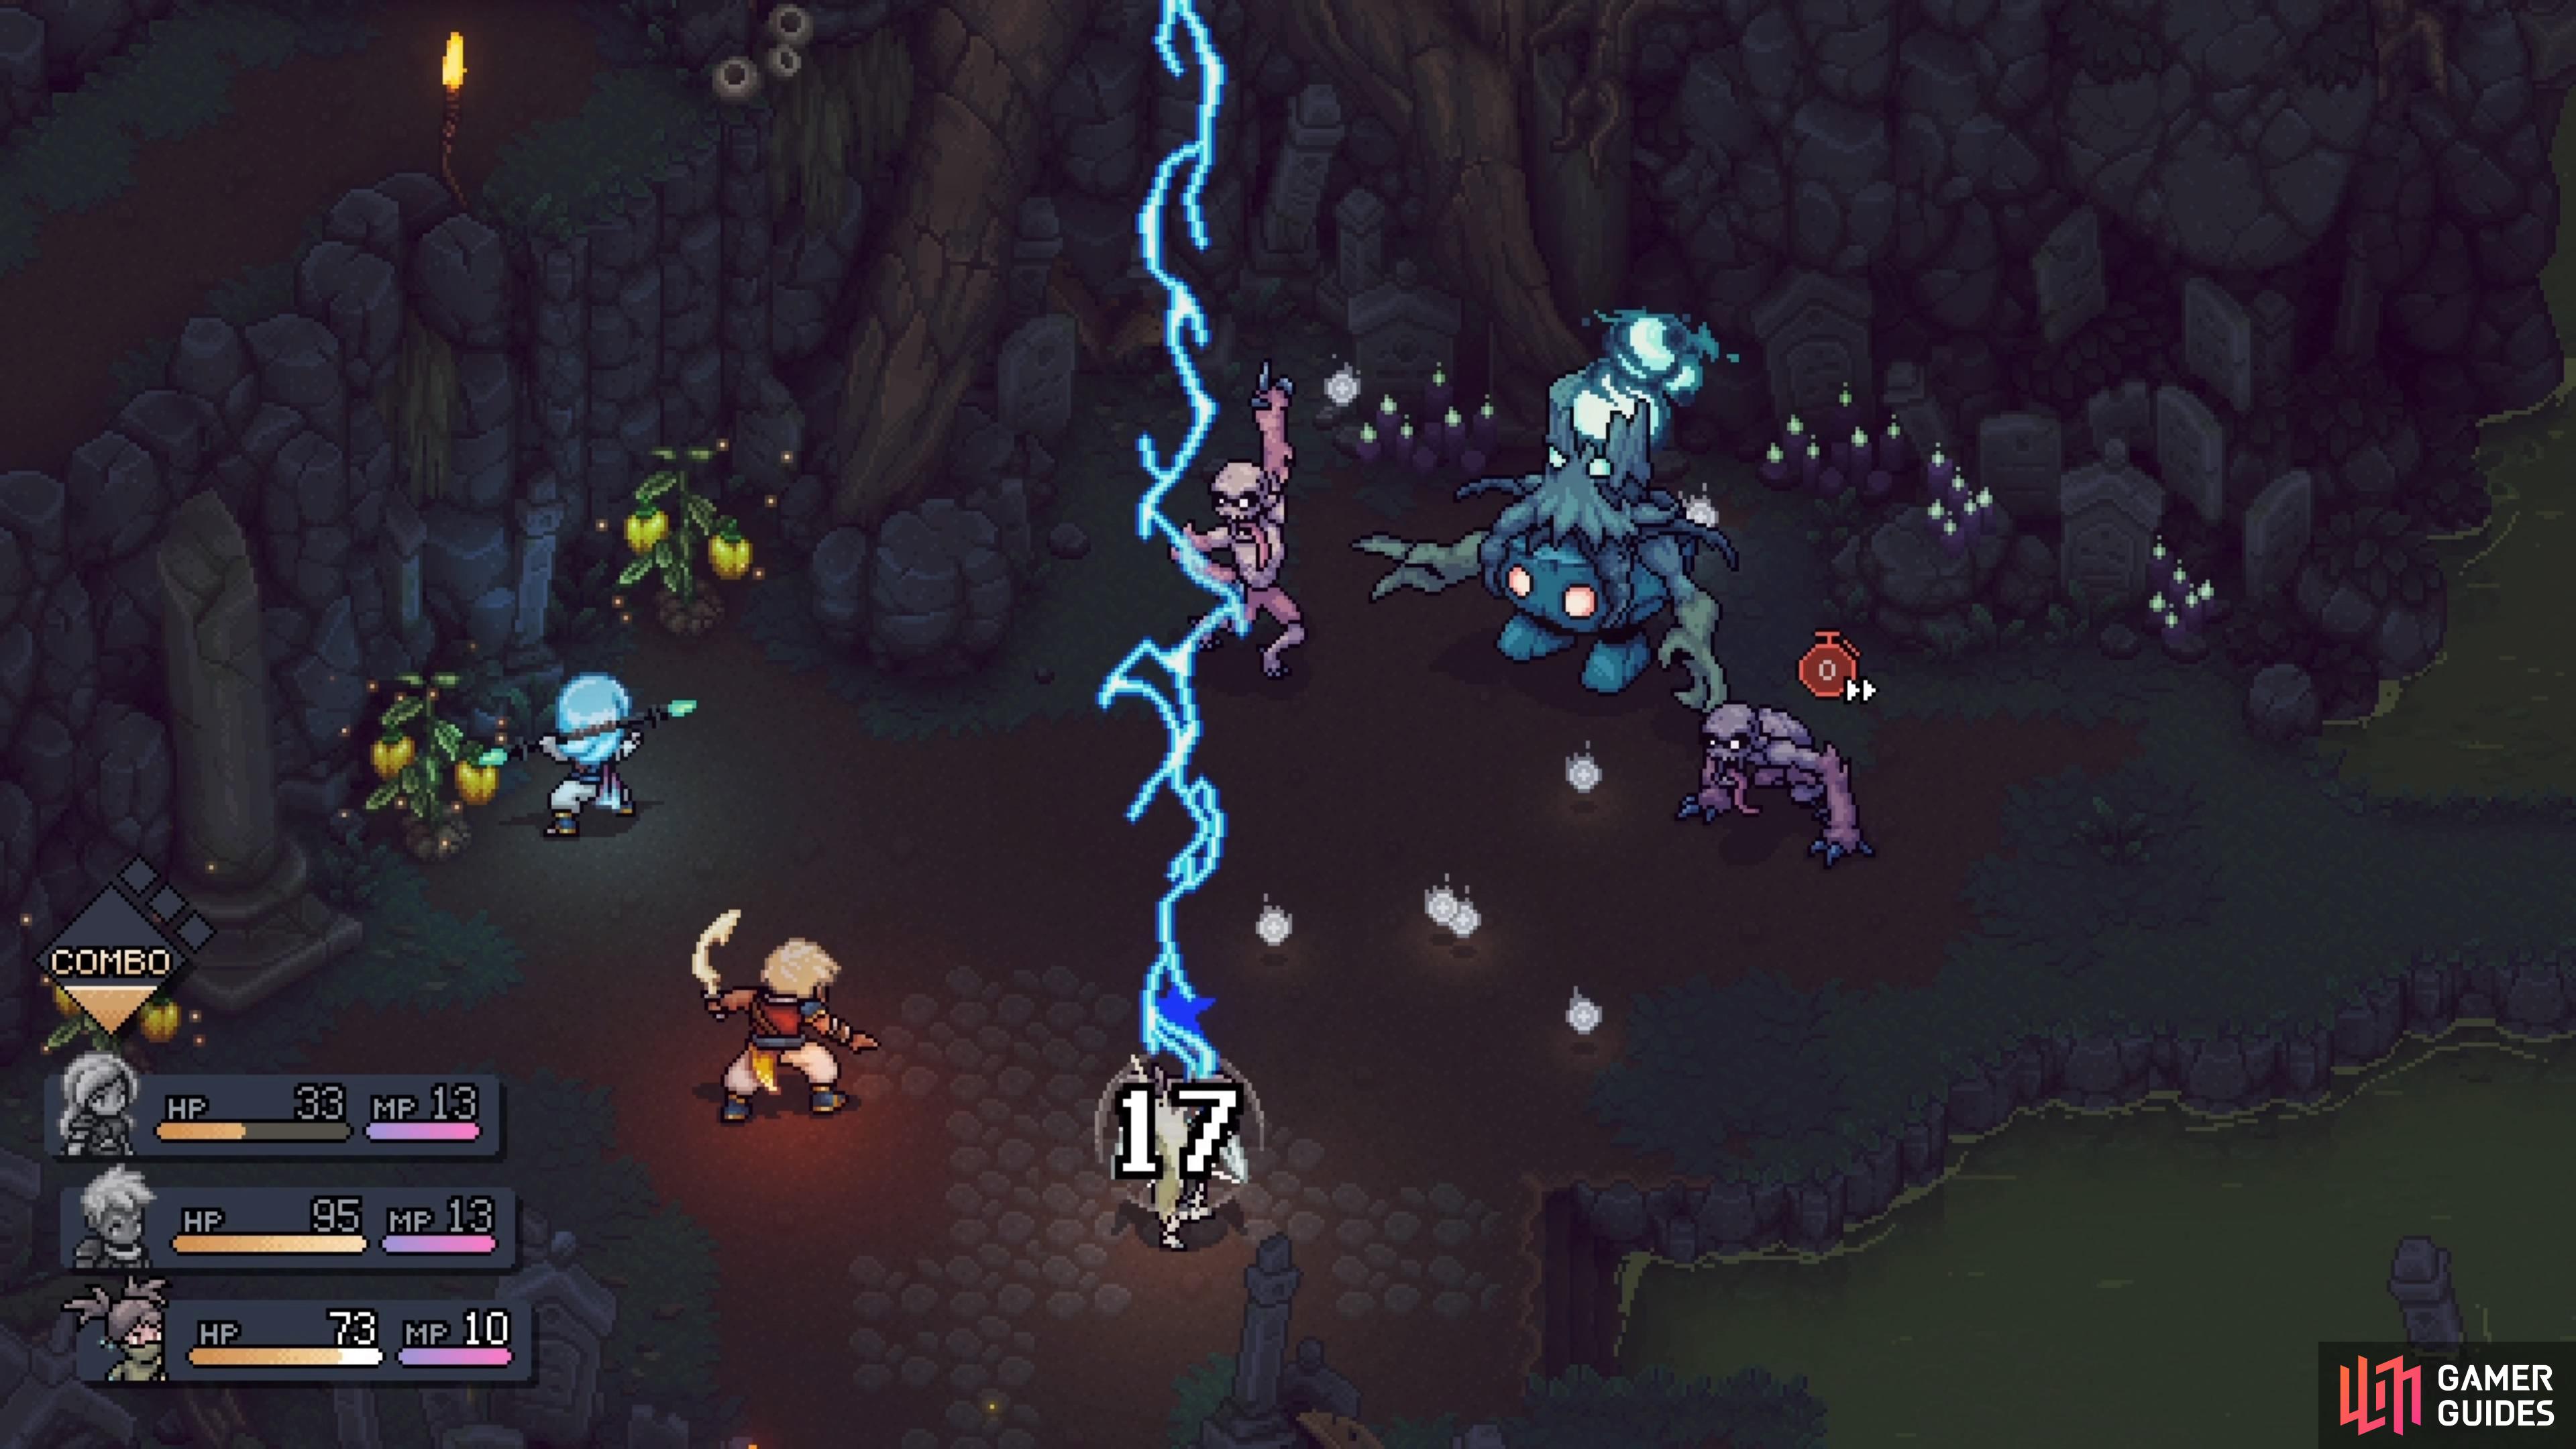
The Gulgul is a new enemy and a bit of a wildcard. The reason for this is they have a variety of different moves, but you will only ever see “Gulgul” at the top of the screen. This makes it difficult to know which attack is coming, so getting the timing down for a block is very challenging. However, they will sometimes do nothing at all (they will dance) and might even attack other enemies for you! If you see the “Sulsul” name pop up at the top of the screen, then they will run away from the battle. Luckily, the Gulguls don’t have a lot of health, though, so one or two attacks, especially Boosted, should take care of them (they are weak to Poison).
After the battle is over, loot the Bell Peppers off to the side, then continue a little east on land. Once you hit the edge, look north to find a Solstice Warriors door. Interact with it to open the door and inside, climb the walls on either side to get onto the little roof part. From there, you can then jump down to reach the chest, which contains a set of Shimmering Daggers, a new weapon for Serai that actually does more damage to undead, so that’s a plus. Return outside and double back to that mausoleum, this time going inside it.
Some enemies will drop down to greet you (two Gulguls and a Lonzon), so defeat them and climb the wall to exit the mausoleum. Back outside, journey to the left side to find a chest (Obsidian Ore), then jump down from the ledge just next to that chest to go back inside. Make your way across the wooden beams (you can’t fall off at all), to the chest on the other side, which contains the Recipe: Hearty Stew item. Drop down to the ground and climb the wall again to return outside. Head north, past the friendly NPC, and to another battle (three Gulguls and a Lonzon).
With them out of the way, look a little northwest for some Grains, then jump into the water to the northeast. Board the raft here, which you can move by using your Mistral Bracelet. Just remember the side you use the bracelet will move the raft in the opposite direction. Climb onto the center island to find a campfire and save point, so feel free to rest up here. There’s actually not too much you can do here right now, though, as the things either require a late-game side quest or an item you will get in the next dungeon.
If you go to the northwest piece of land, you can find some Mushrooms, as well as a cave entrance. There will be some enemies inside here (two Lonzon and two Gulguls), as well as a chest behind some bars. Unfortunately, you can’t get that chest right now, so ignore it. The northeastern portion requires a tool you don’t have yet, so the only real way to go is the central area to the north. However, if you swim into the thin gap on the eastern side of that spot, you will find a cleverly hidden chest in the corner, at the top of the screen, which contains a Rainbow Conch. Use the raft to climb onto the northern area, where you will meet that NPC from earlier, who decides to not be so friendly now.
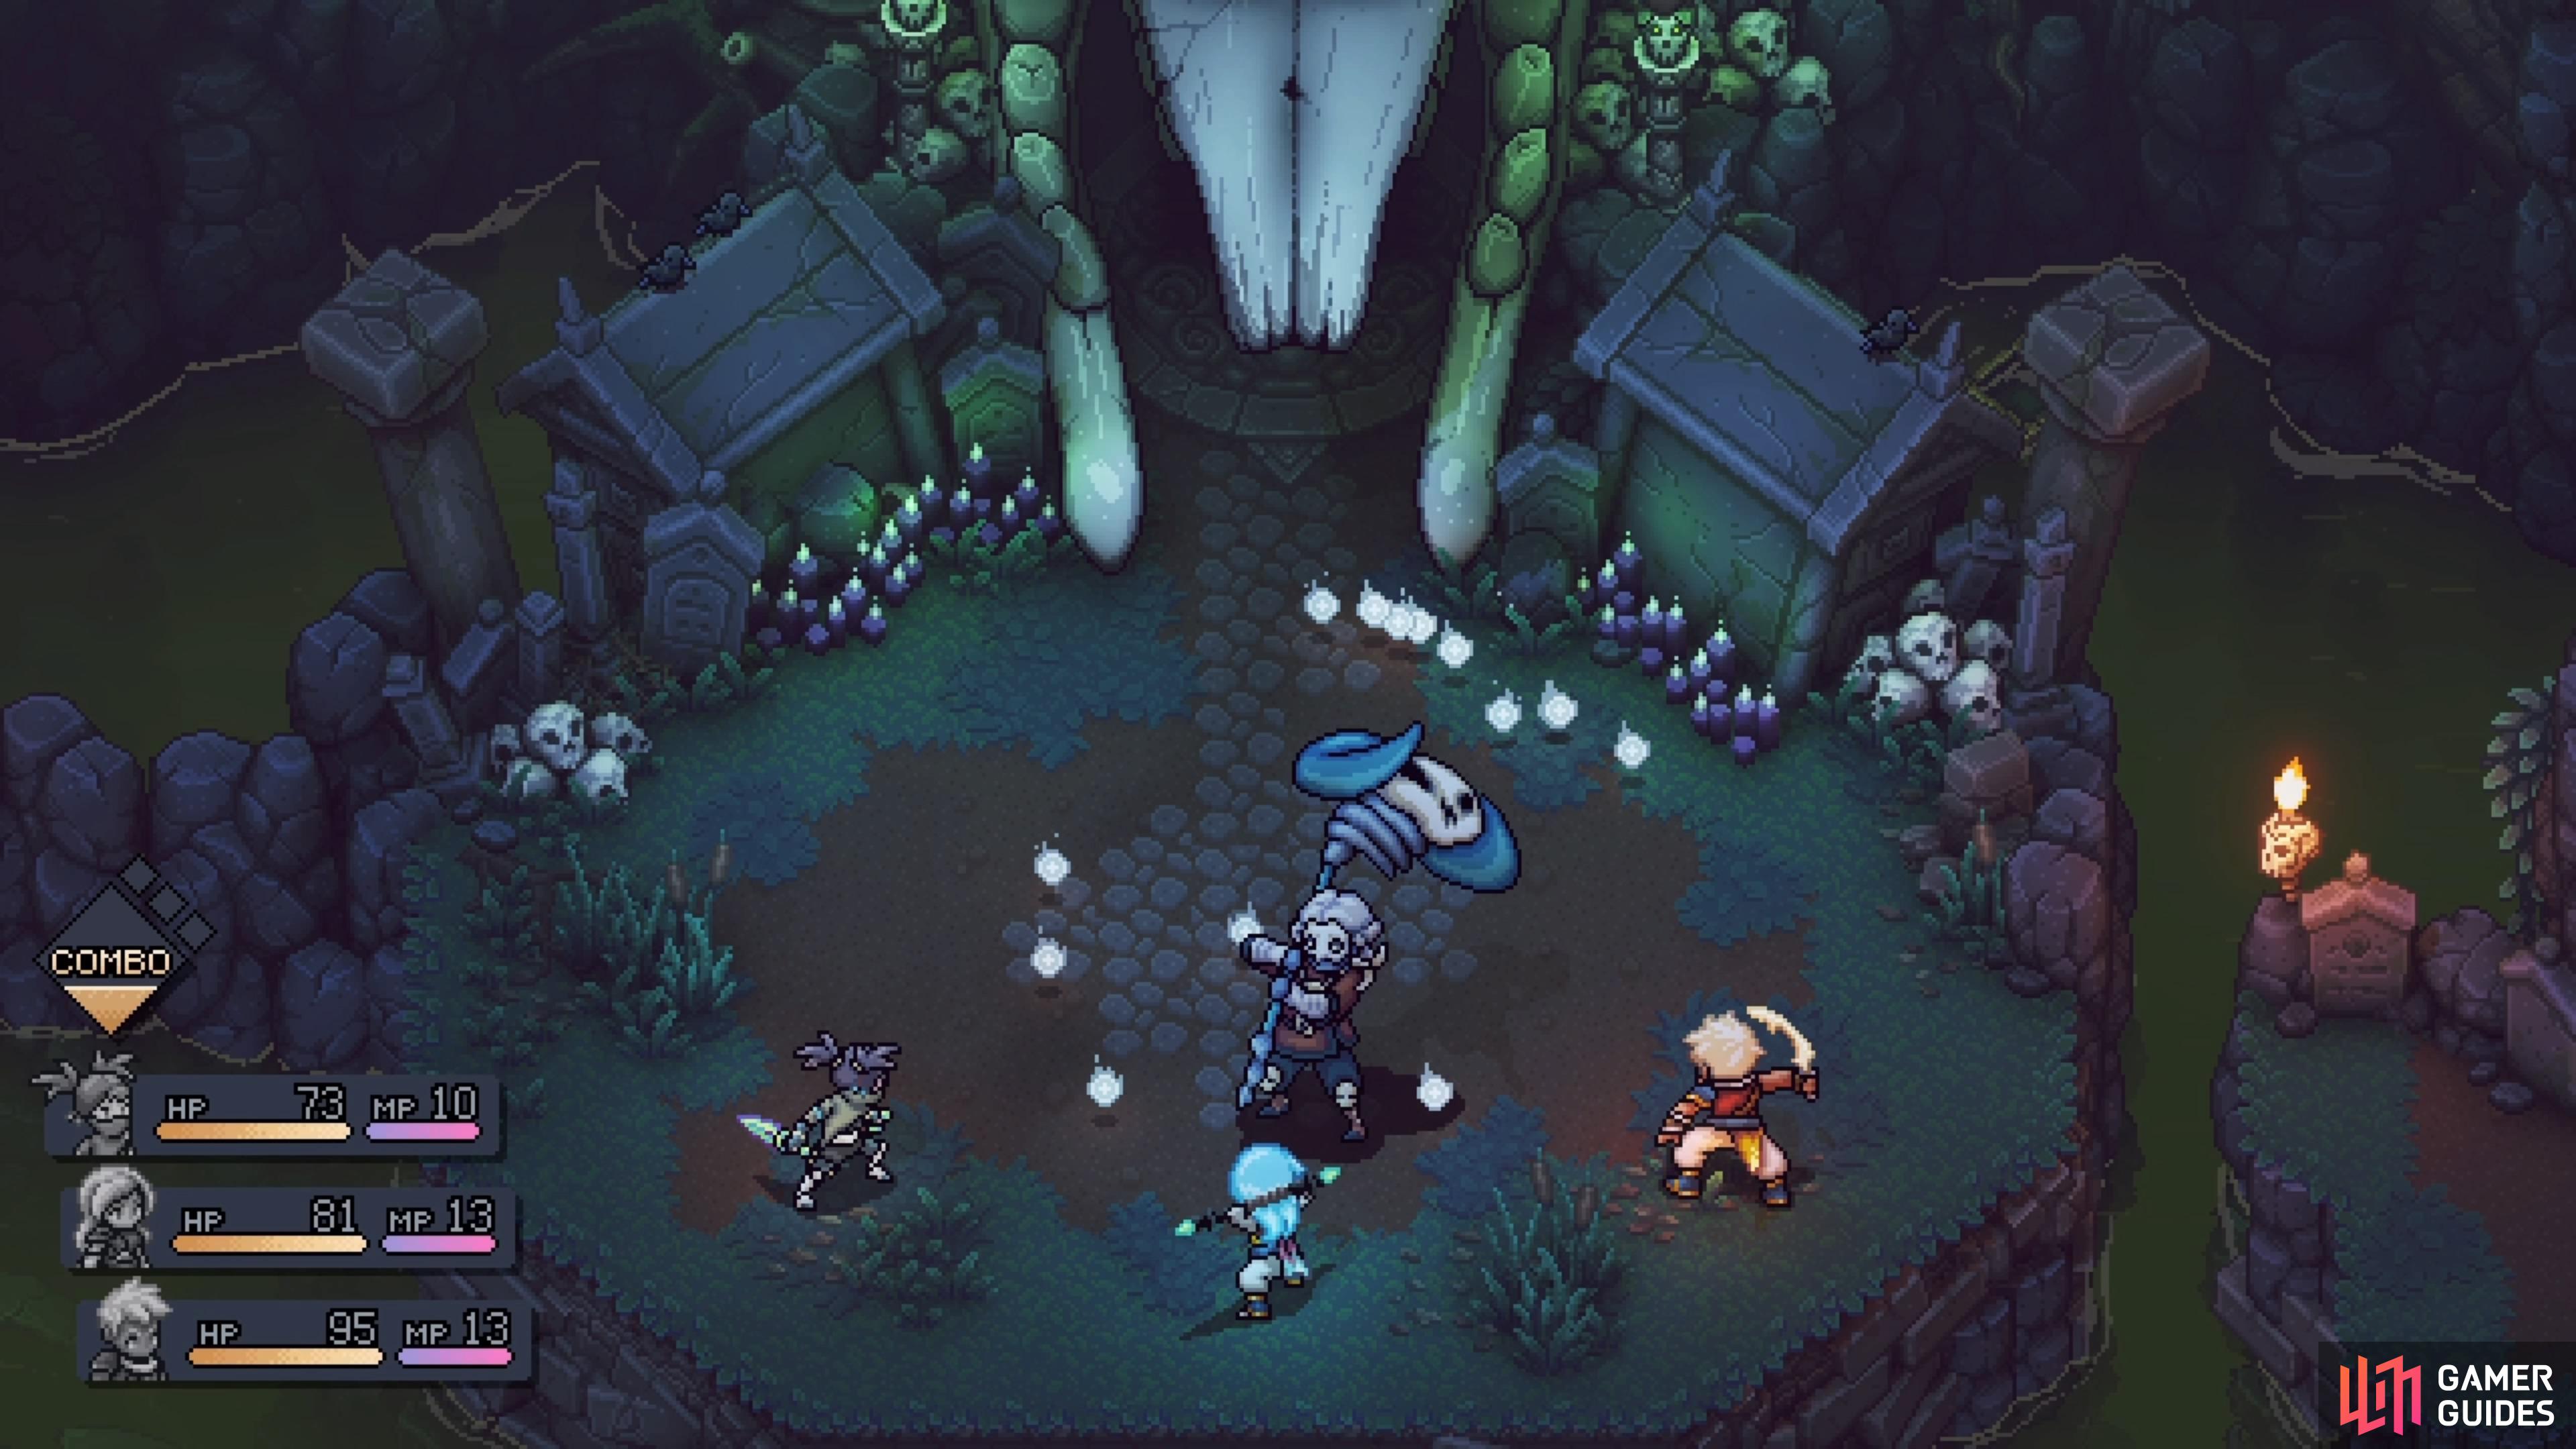
Duke Aventry Miniboss Guide
Duke Aventry isn’t really a big boss, like so many other formidable foes, but he could be considered a miniboss. He only really has two moves he will do the entire battle. His normal attack will be him smacking you with his large club. There is a bit of a delay between when he first moves towards someone, and when he swings the weapon, so the timing for a block is a little weird. The other move is his special, complete with five Locks. It is called Tournade and Aventry will spin around the battlefield.
Aventry’s normal attack will be delayed a bit from when he moves towards a character.
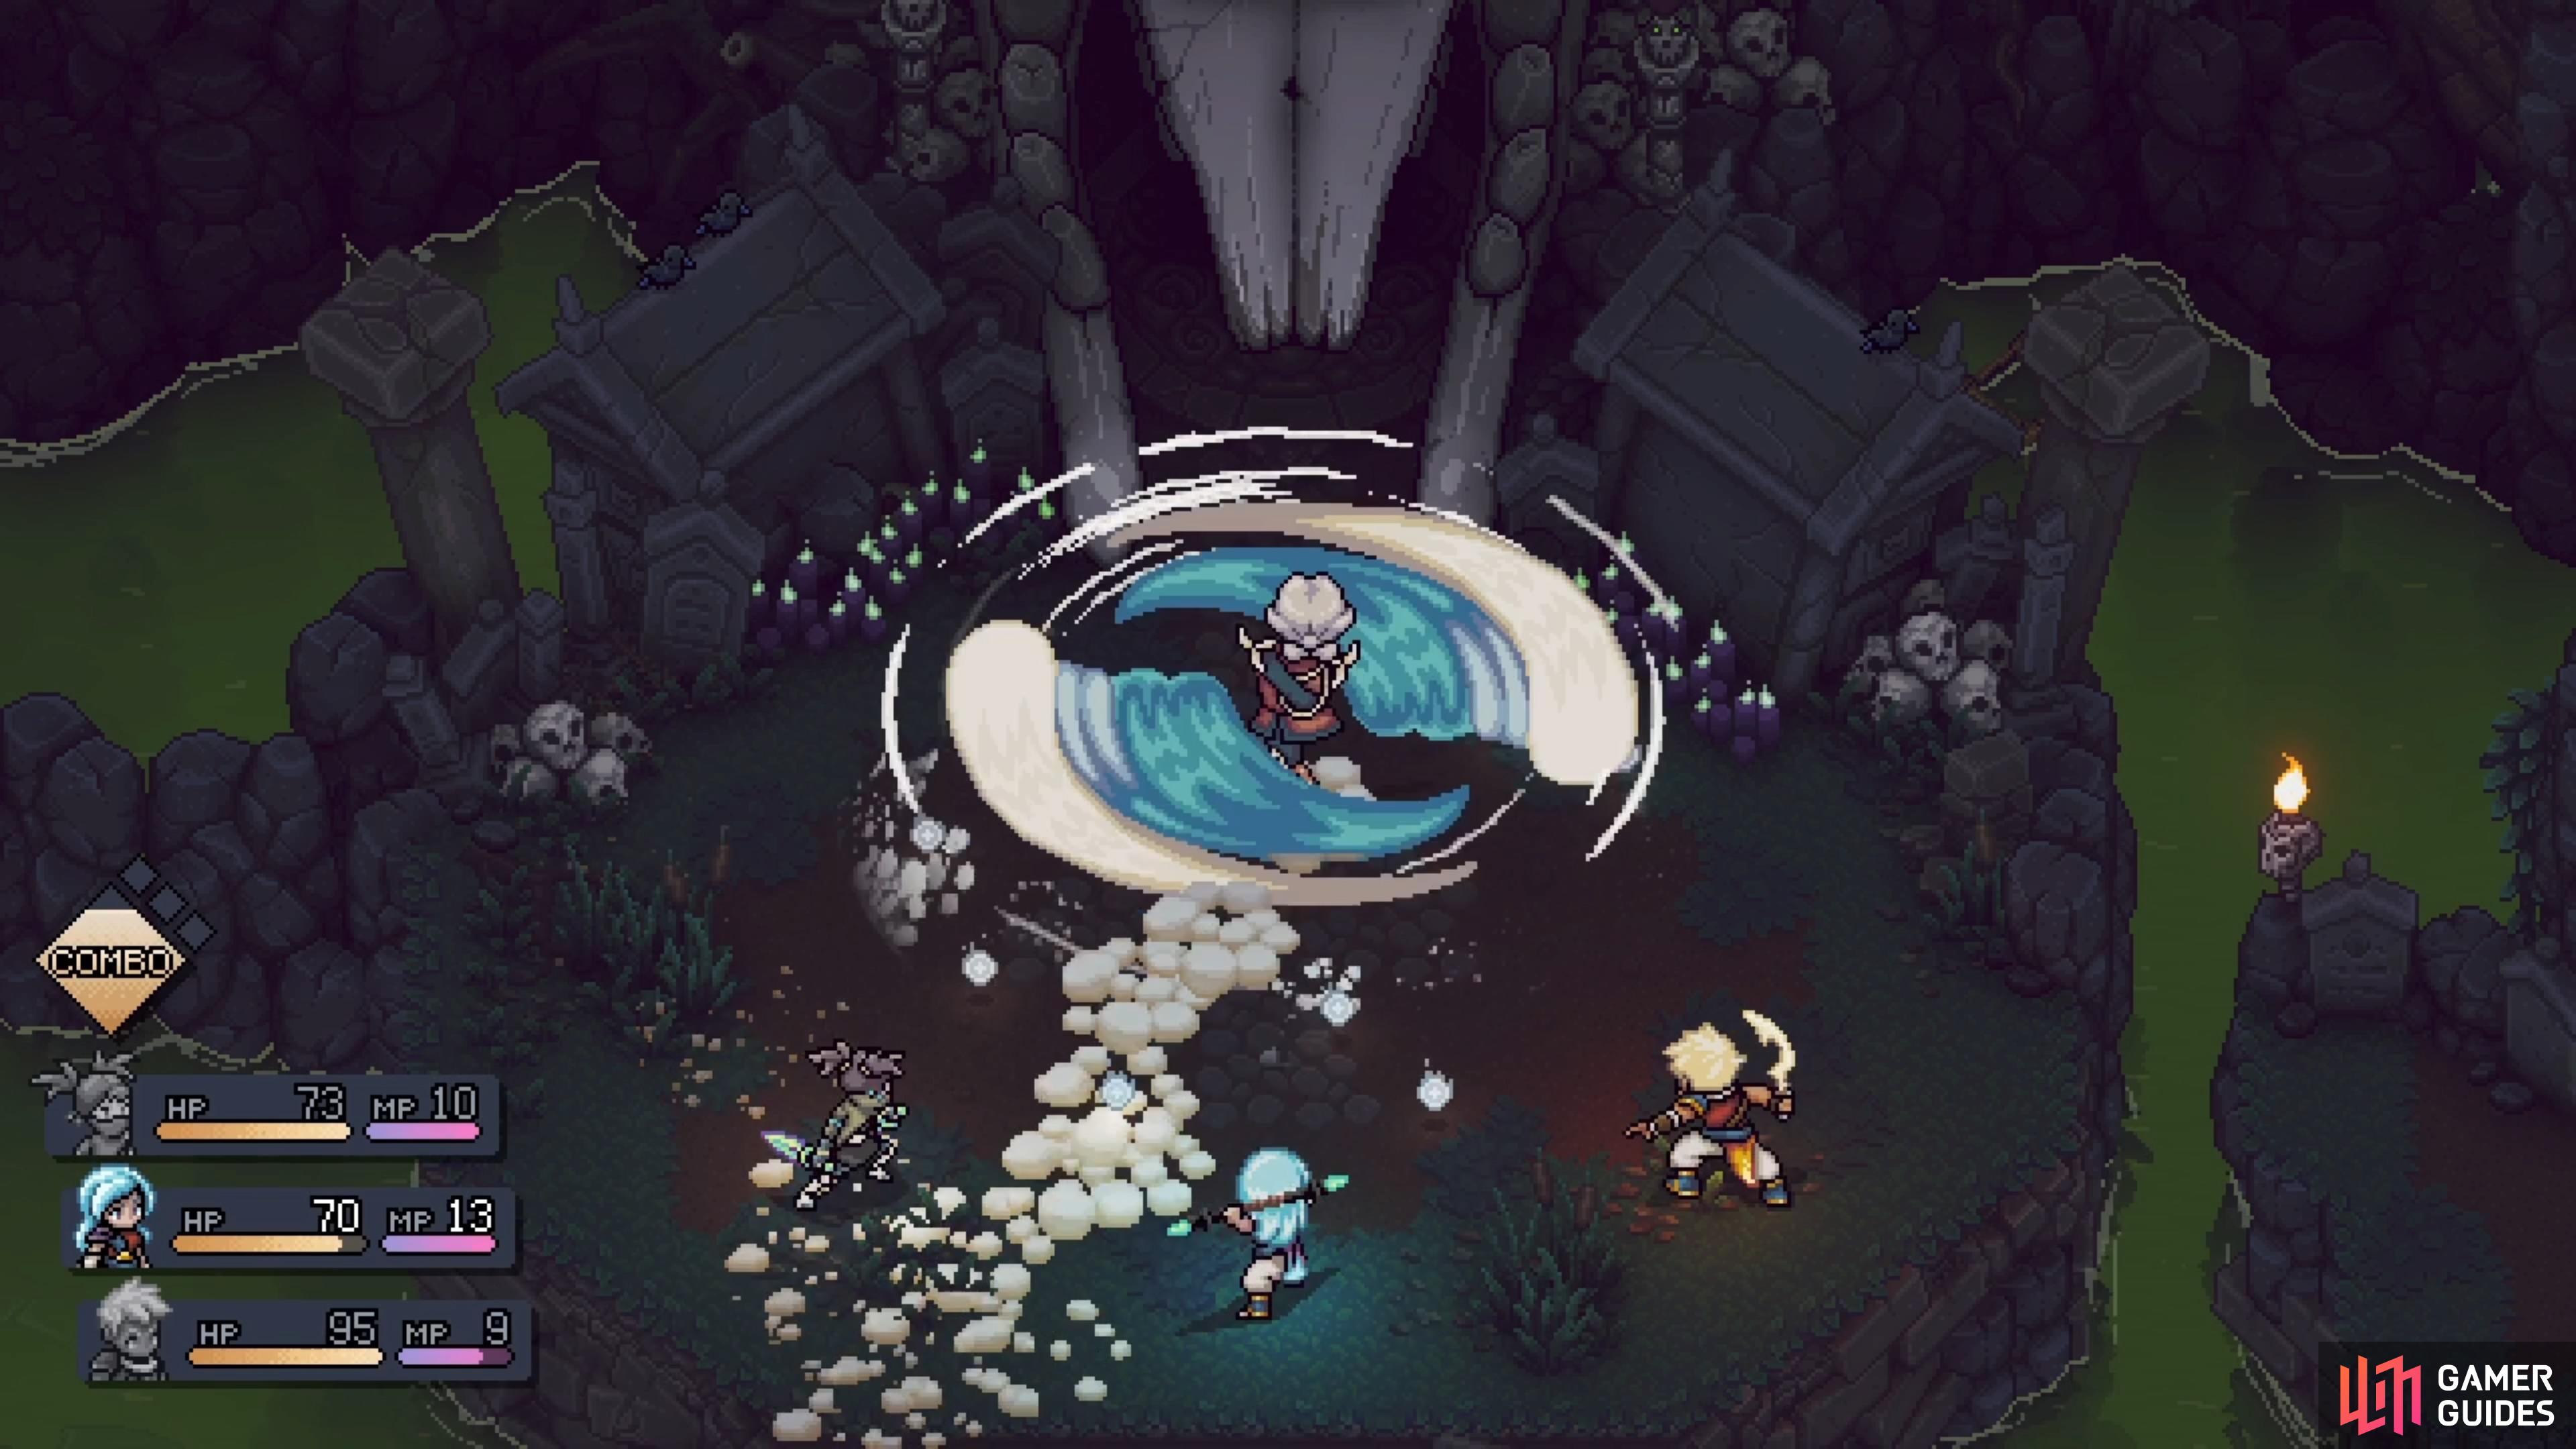
Press the button for a timed block for Tournade, whenever he moves back to the center of the screen.
This attack is super tricky, as the point where you should be timing a block is at the end of the move when Aventry goes back into the center. The normal attack will deal around 50-55 damage, while Tournade does about 30 to the entire party. Obviously, the normal attack is going to hurt a lot more, especially if you don’t realize the damage you’ll take. Other than items that can heal the entire party, you also have Valere’s Lunar Shield. Not only will that heal you slightly, but it also blocks a single attack, which helps a lot with Tournade.
After defeating Duke Aventry, he will teach Zale a new skill, called Dash Strike. That’s about all you can do here in Flooded Graveyard for now, so let’s enter the Necromancer’s Lair now.
No Comments