
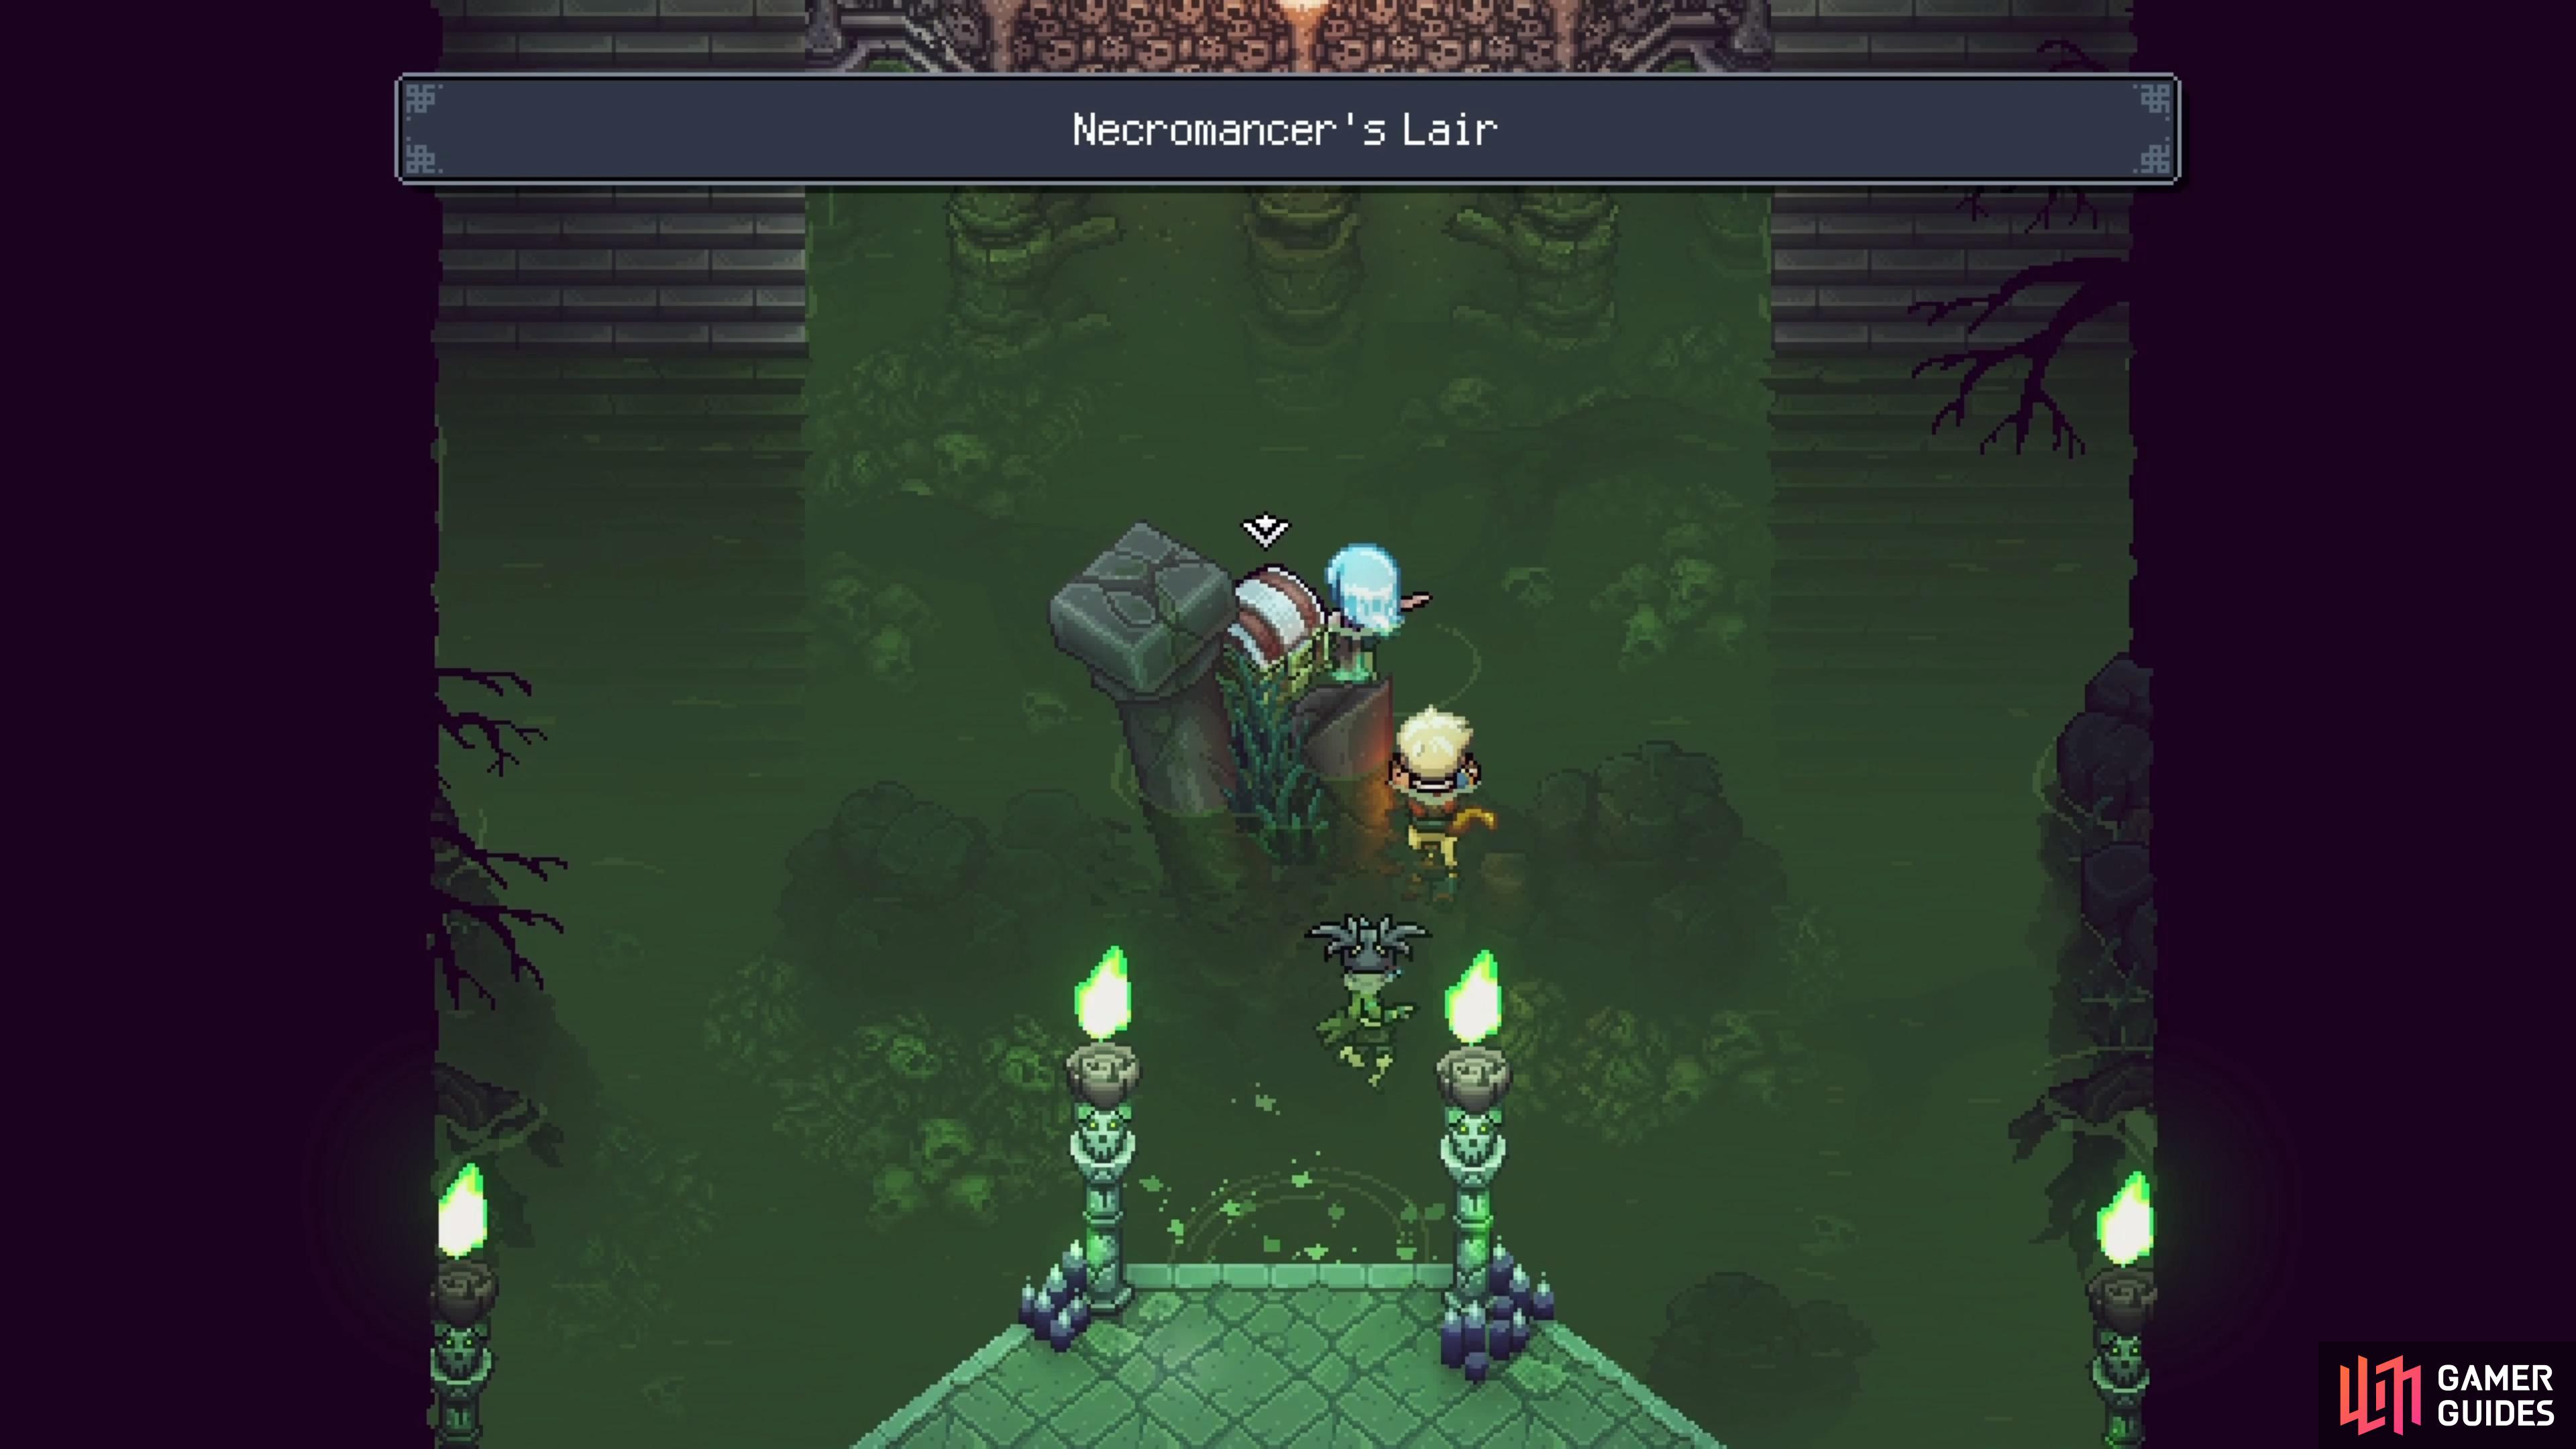
To get to the Necromancer’s Lair, you will have to go through the Flooded Graveyard, which isn’t a big area. While the graveyard is still hiding secrets, the party ventures to the Necromancer’s Lair to secure a Soul Stone, a necessary item to help save their friend. However, the lair is home to a dangerous witch, who is one of the Three Sisters, very powerful beings in the game’s world.
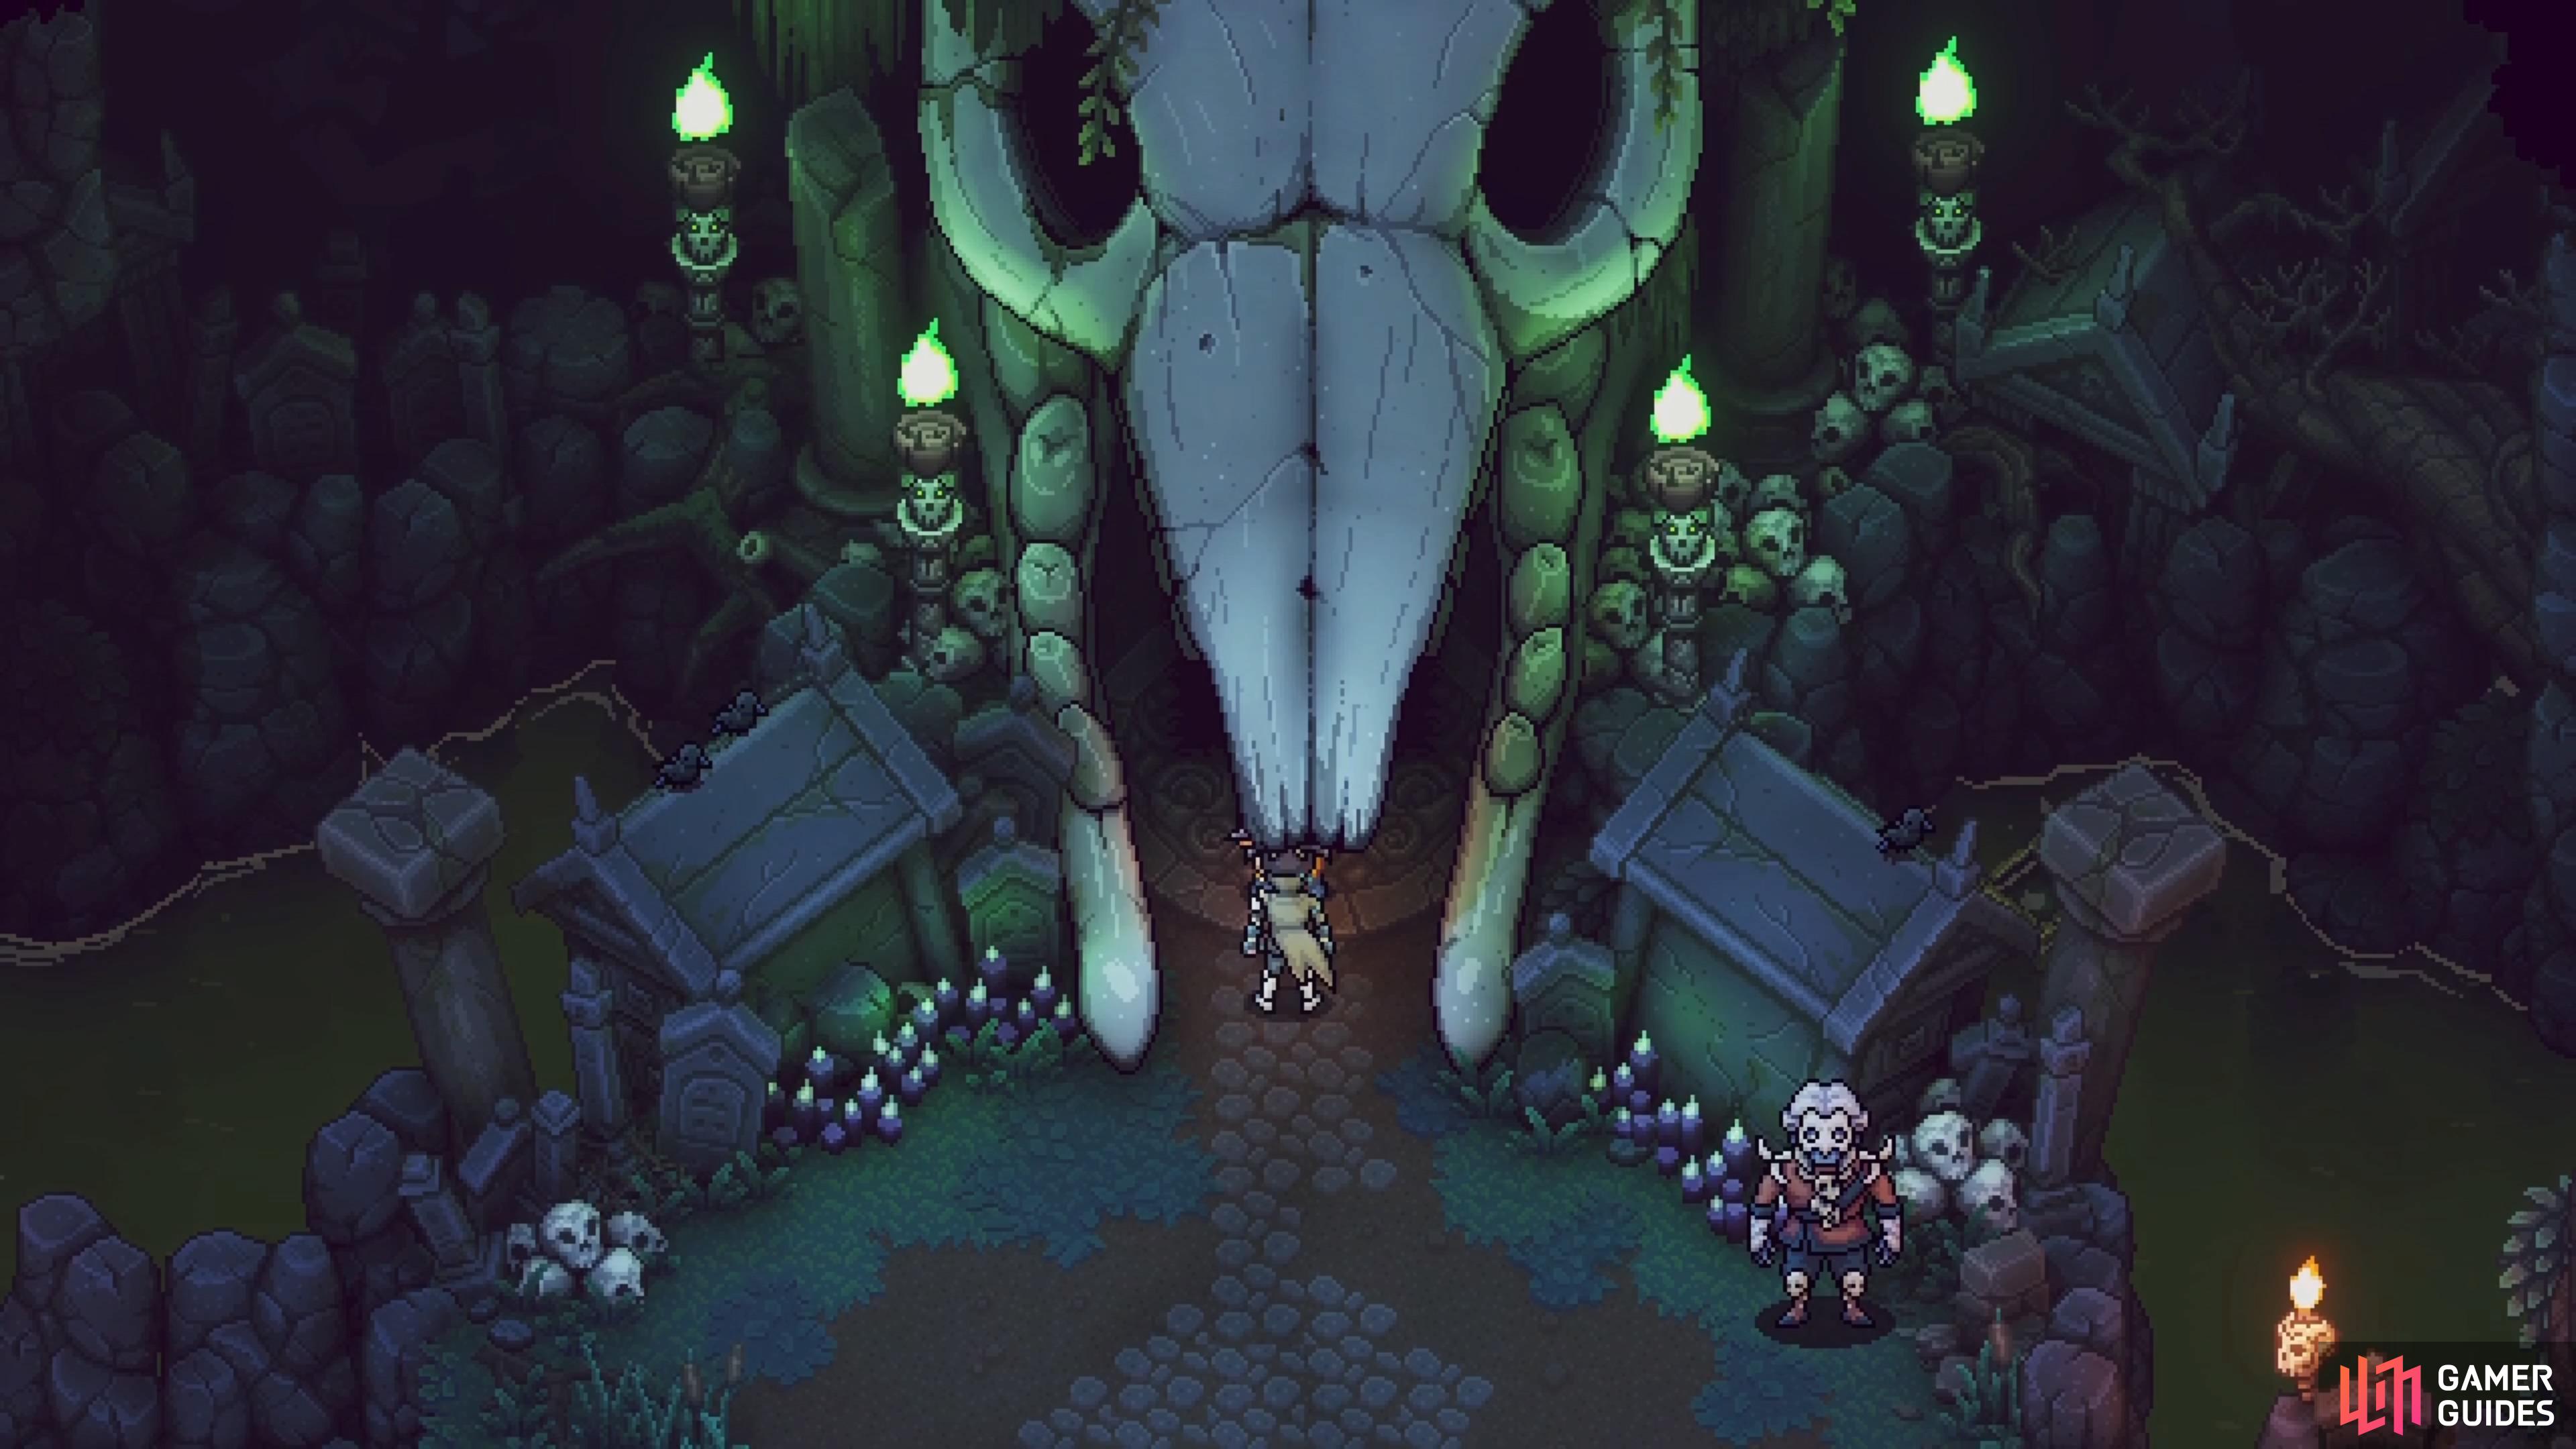
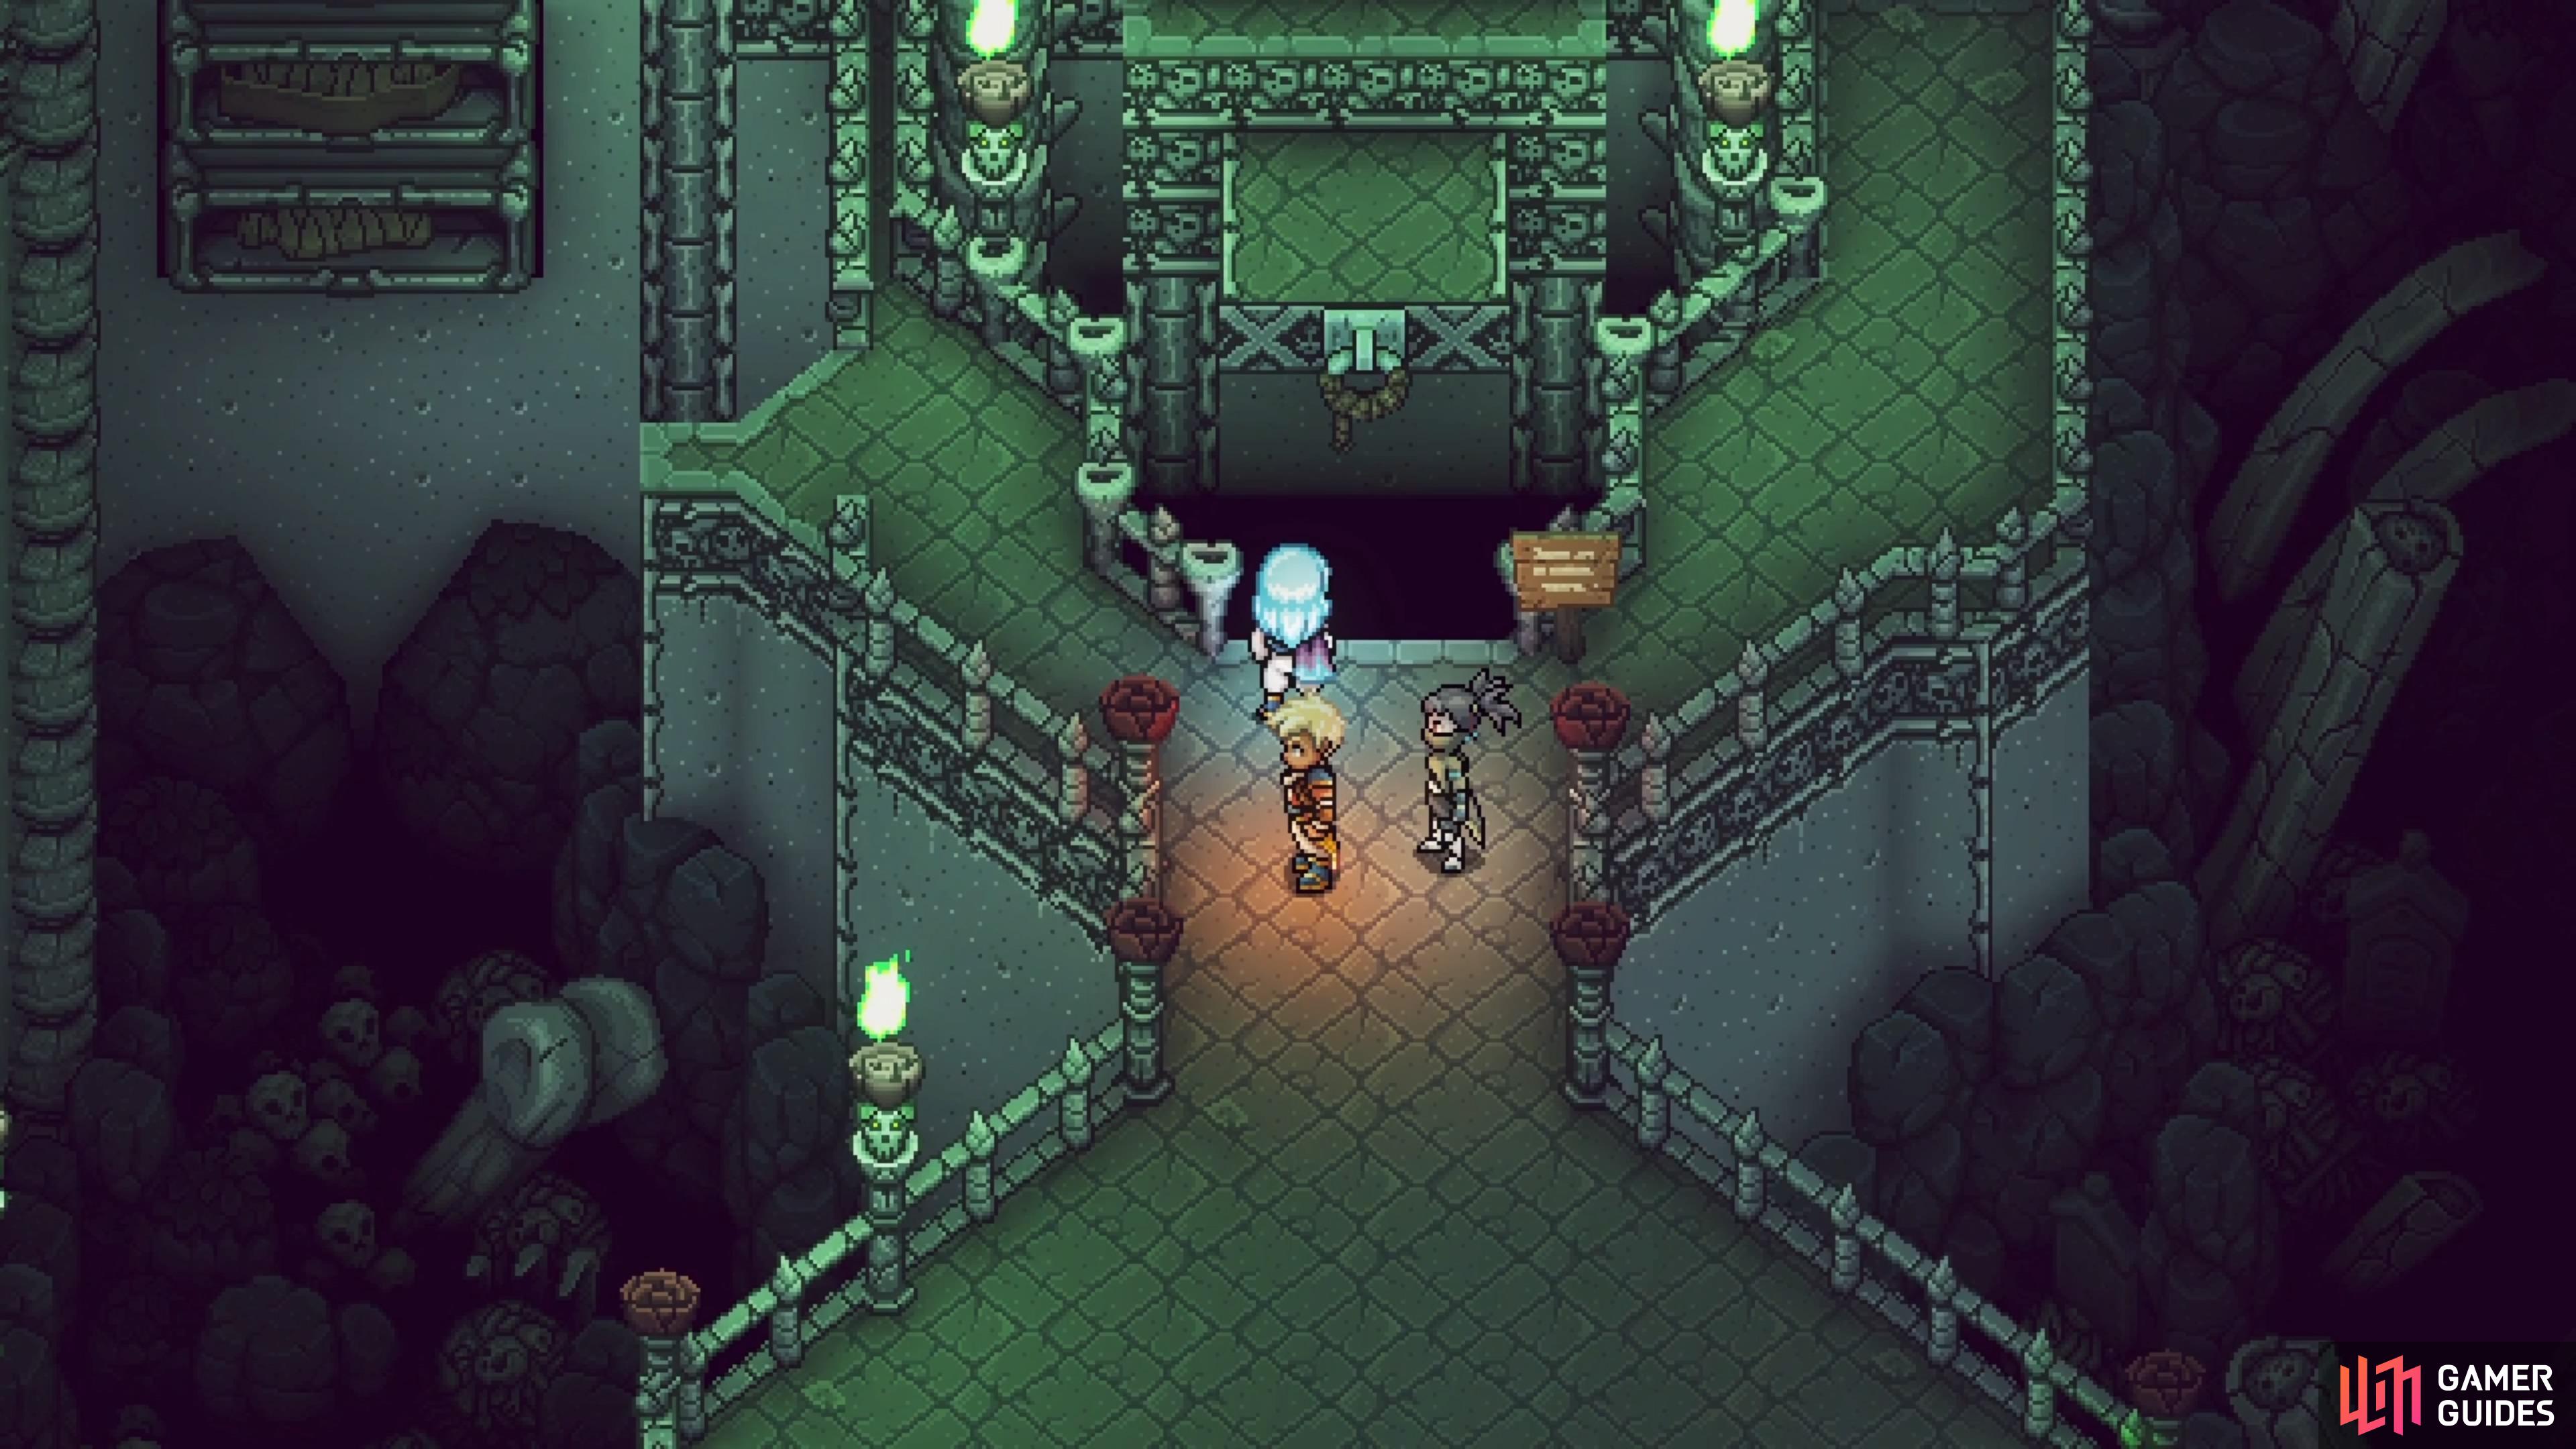
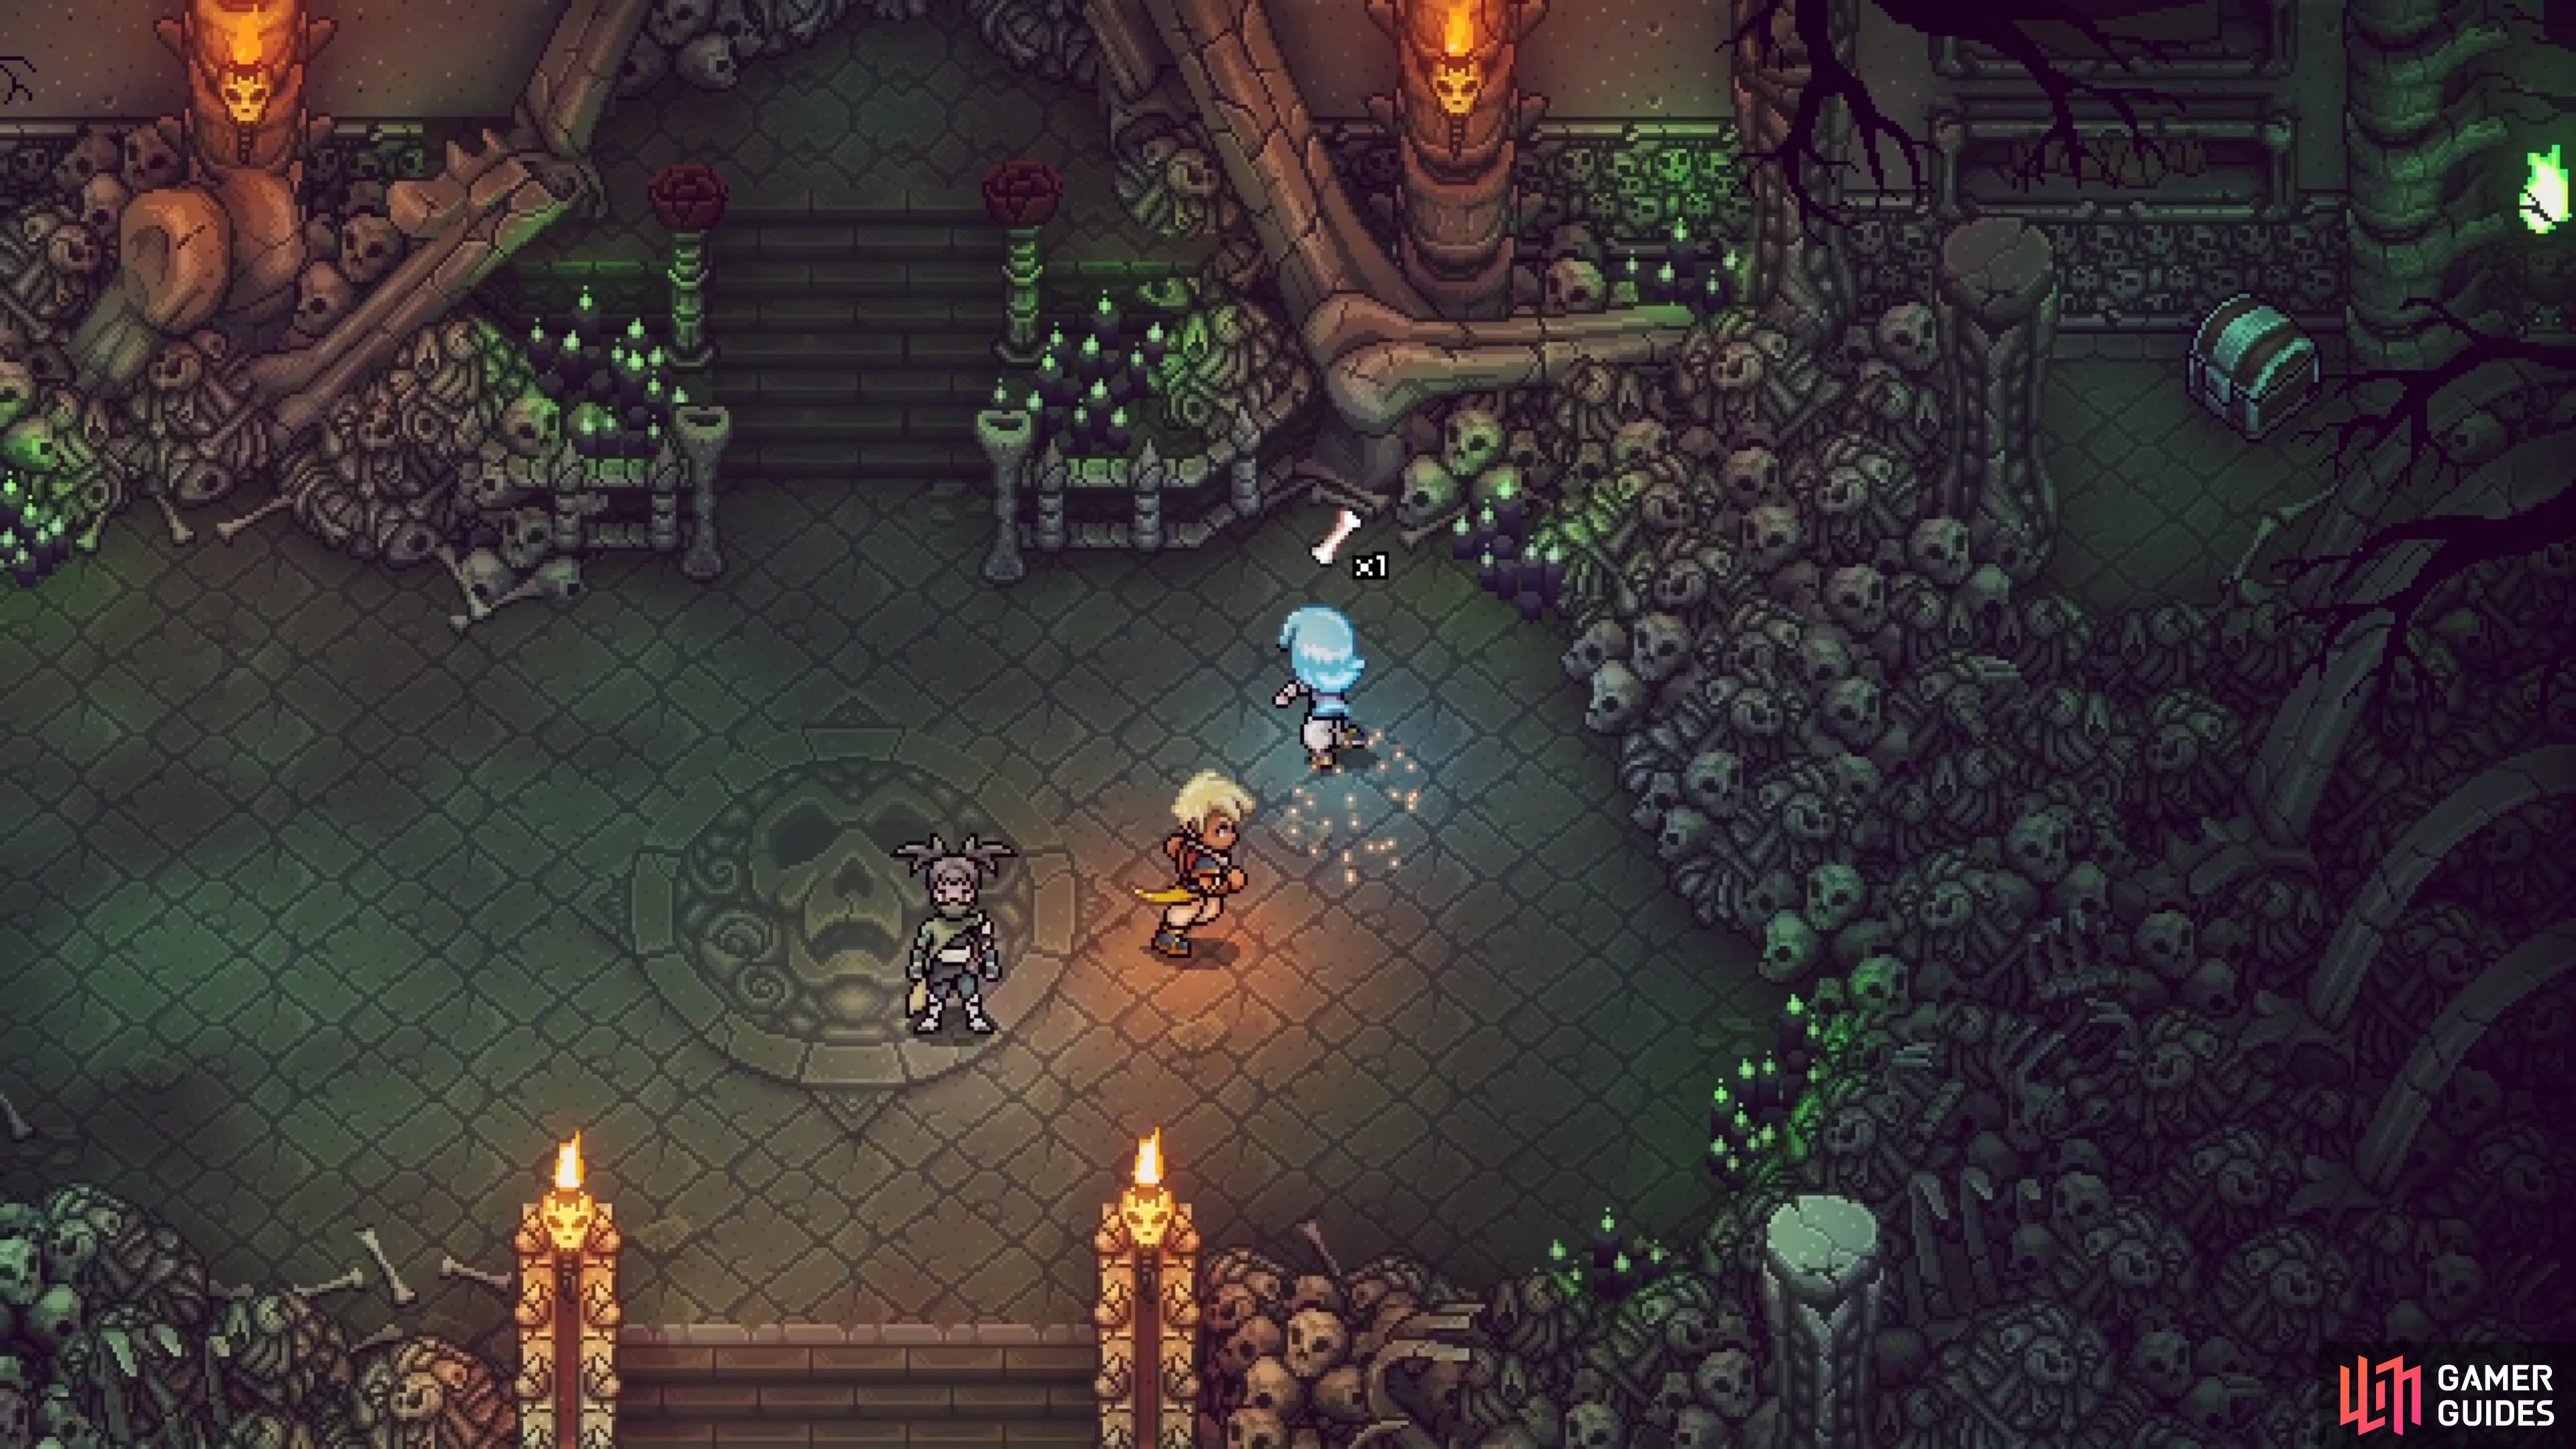
The entrance to the Necromancer’s Lair certainly feels intimidating.
All Necromancer’s Lair Enemies
| Enemies |
|---|
| Gulgul |
| Lonzon |
| Mermofwizquard |
| Revenant |
| Woodland Spirit |
All Necromancer’s Lair Treasure Chests
| Treasure |
|---|
| Romaya’s Hairpin |
| Spectral Cape |
| Obsidian Ore |
| Rainbow Conch |
| Graplou |
| Osseous Staff |
| Mooncradle Fish Pie |
| Revenant Armor |
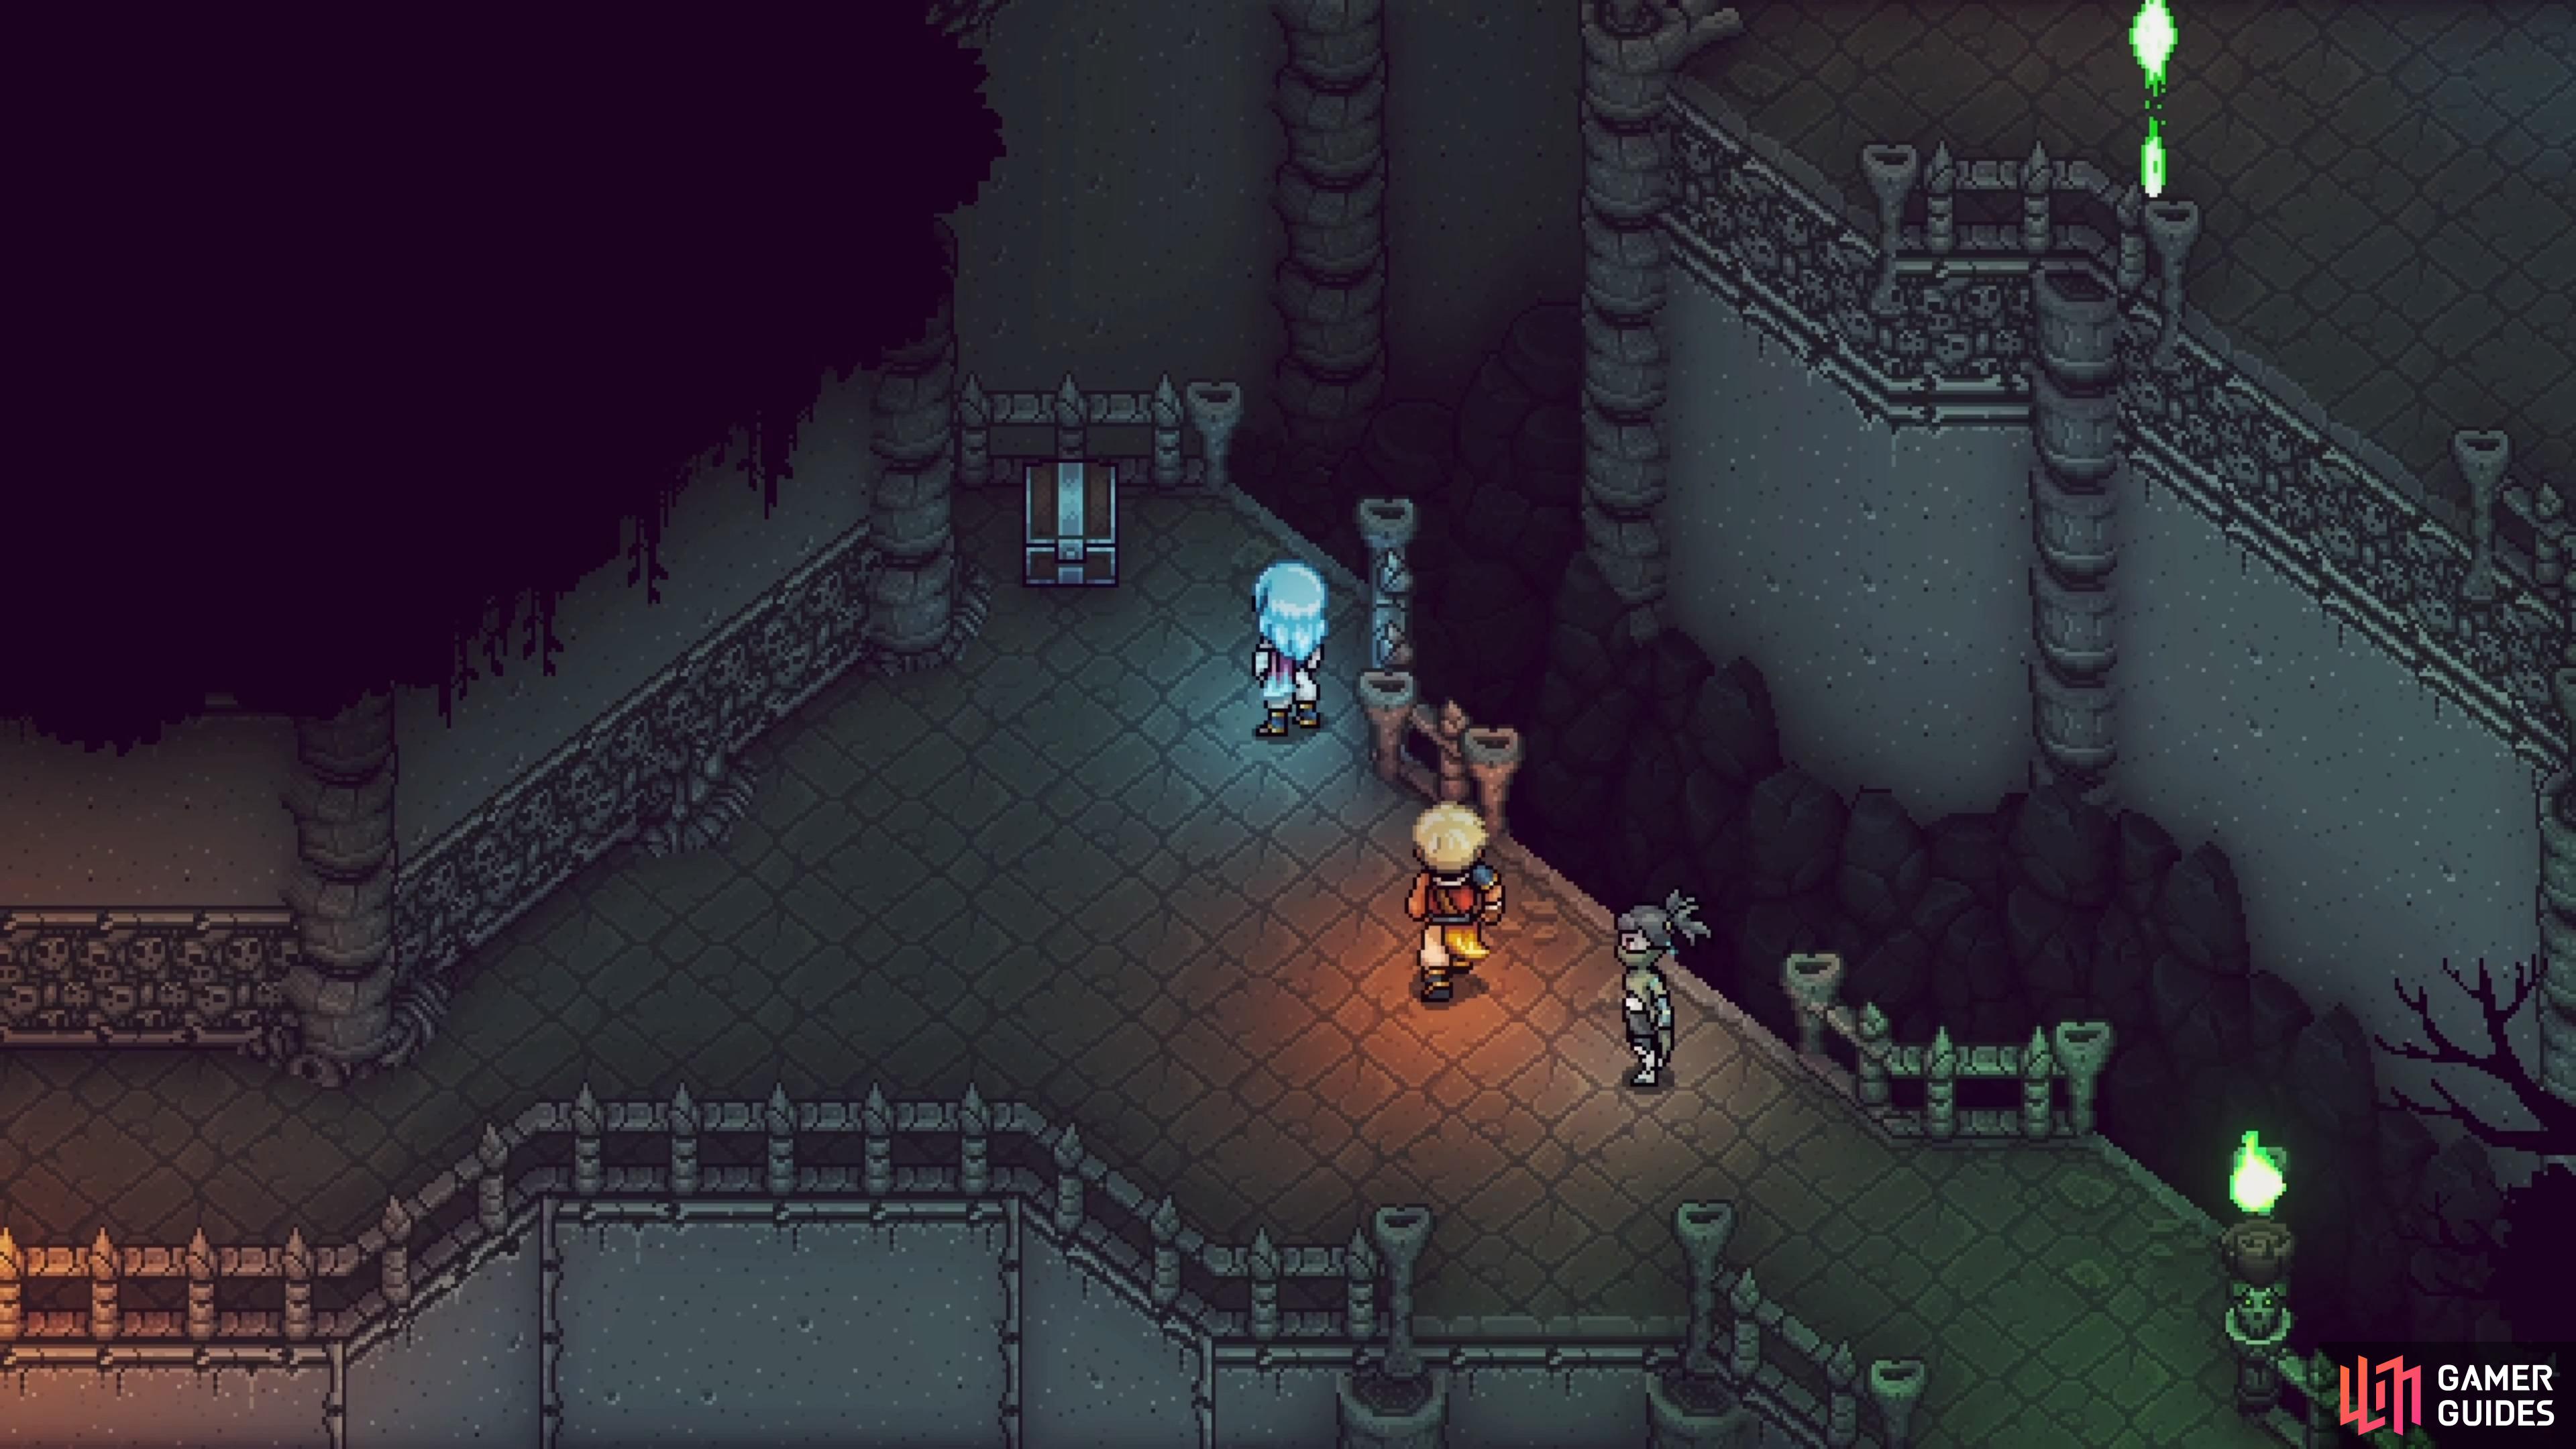
The entrance to the Necromancer’s Lair is quite daunting, from just looking at it. As soon as you’re inside, jump into the water and loot the chest that’s in the center for Romaya’s Hairpin, an artifact for Teaks at any campfire. Go up the stairs on the far side to encounter your first enemies here (Mermofwizquard, Gulgul, and Lonzon). The Mermofwizquard is a new enemy and one that is weak to your normal attacks. The biggest problem with this enemy, though, is that its normal attack will hit your entire party, so you should always go after them first.
Just inside the dungeon is a chest with an artifact for Teaks.
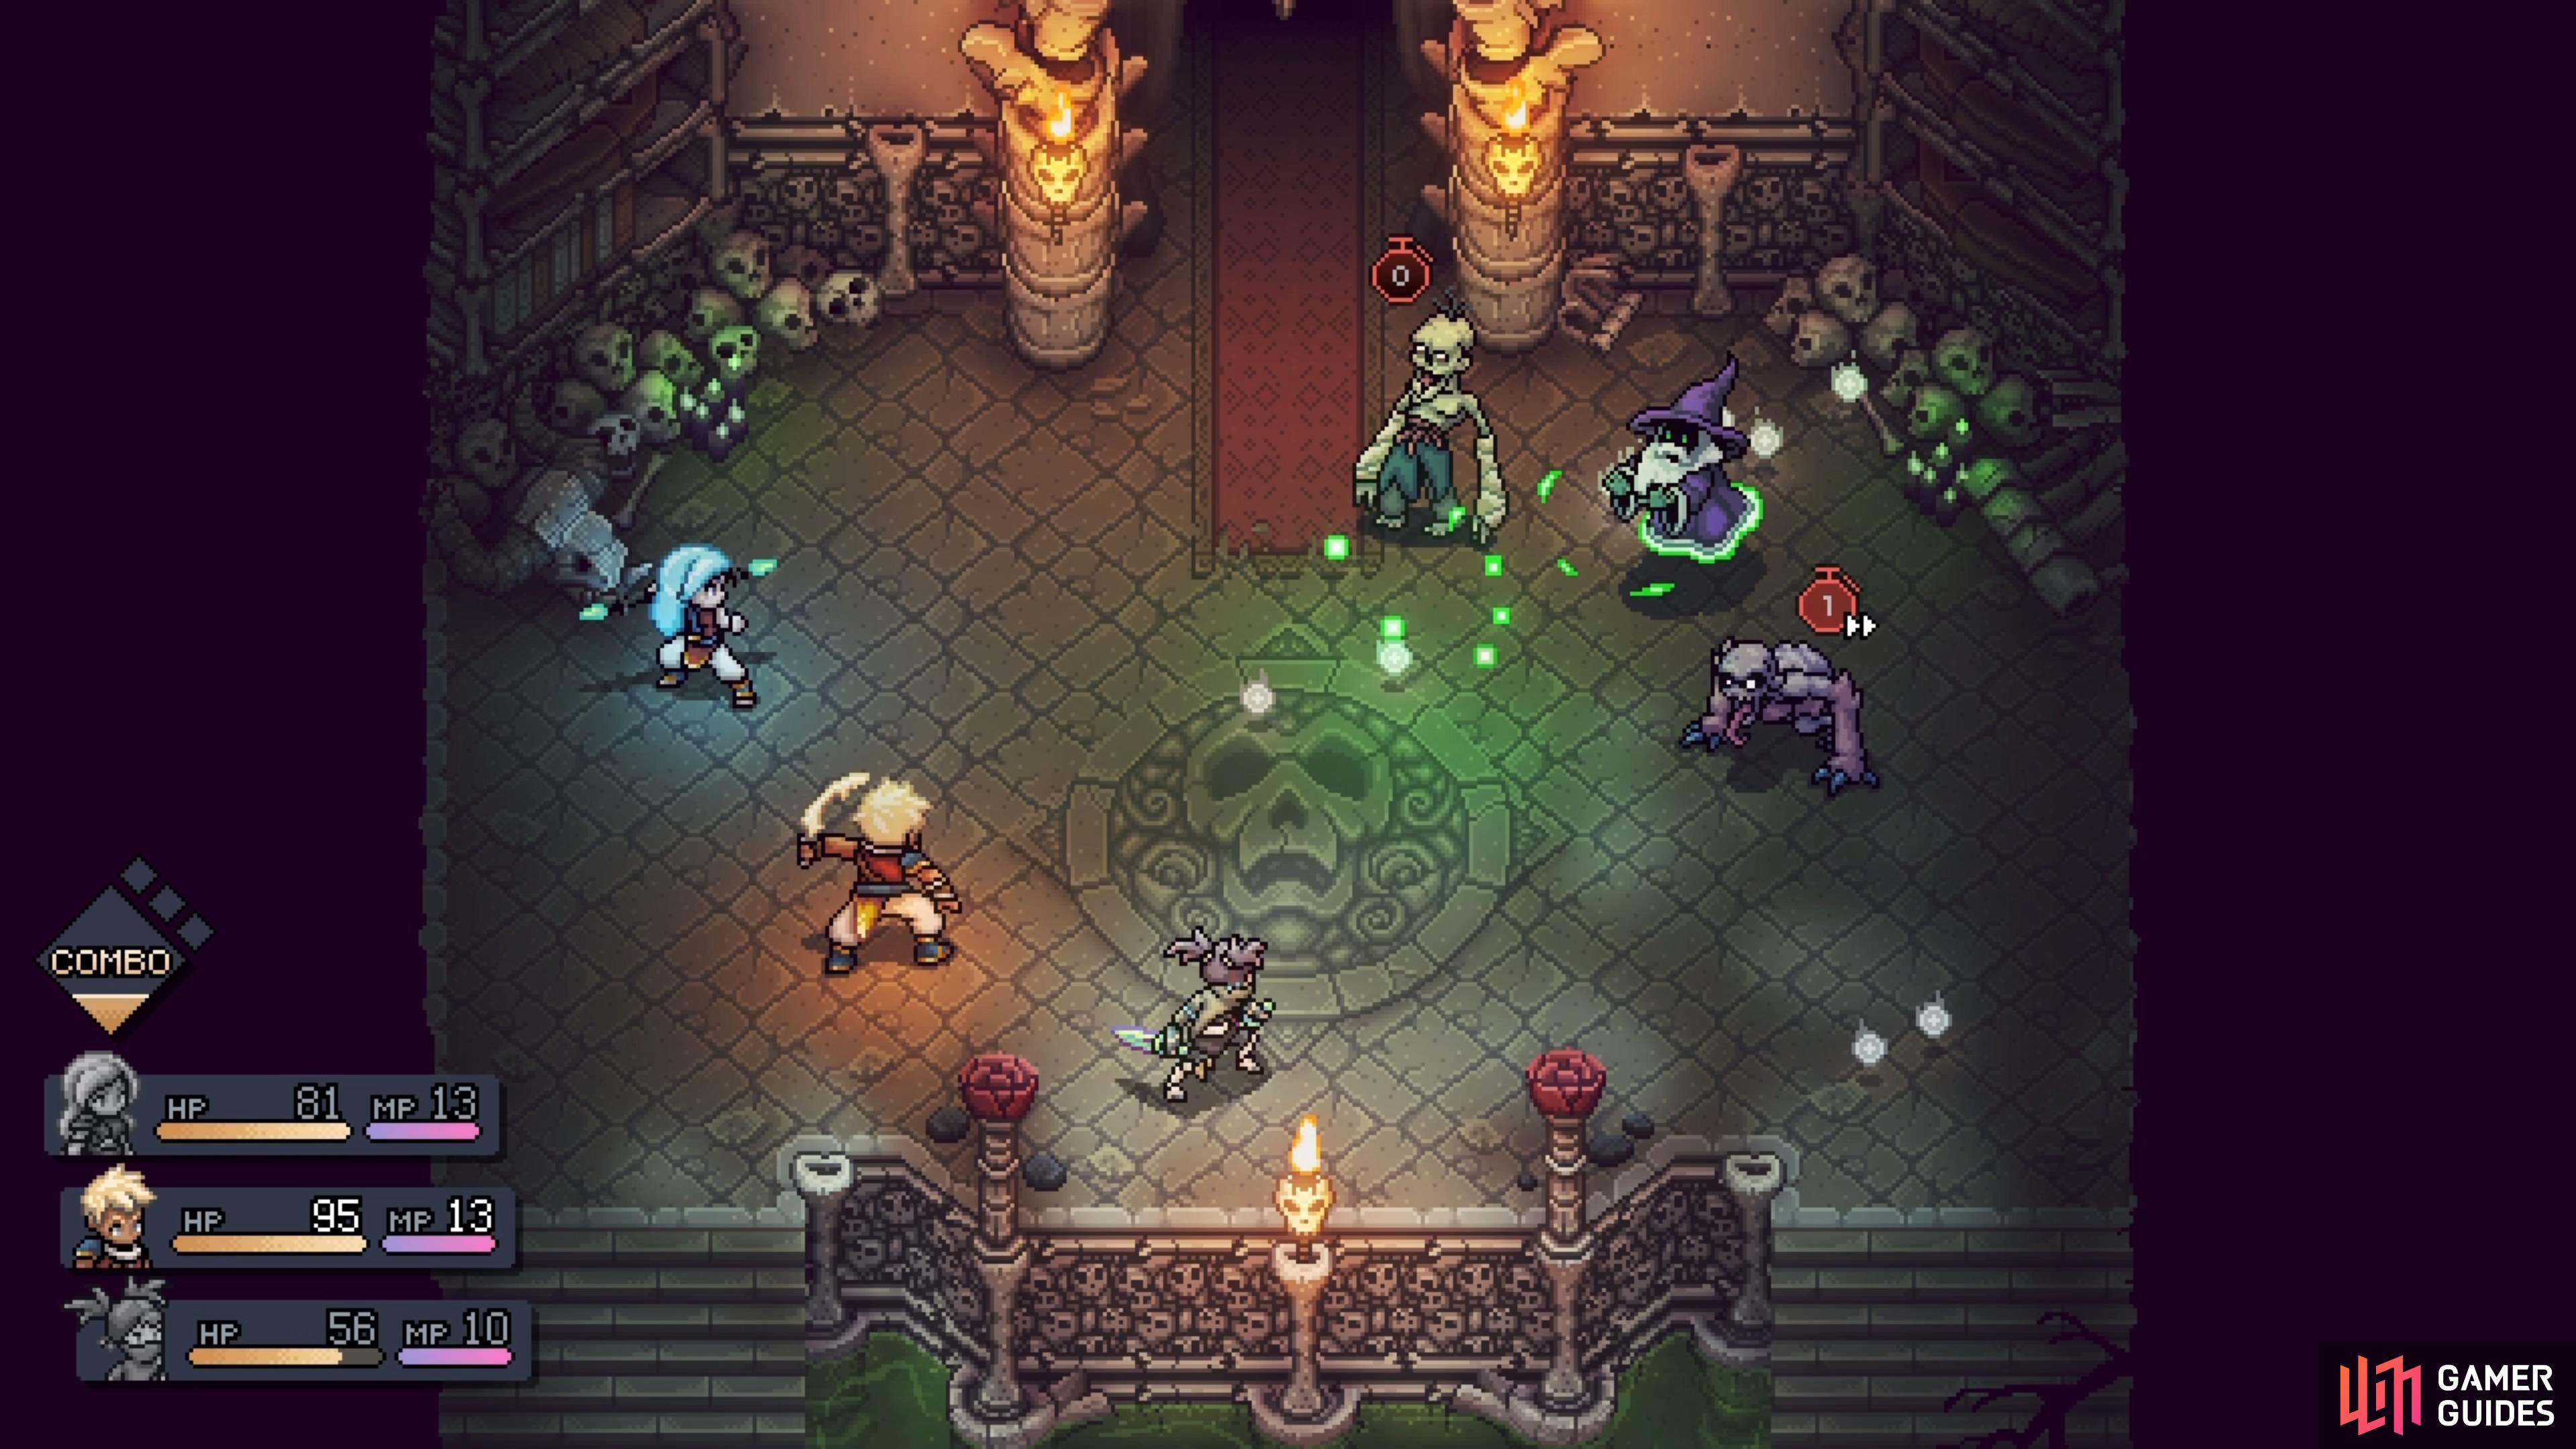
The Mermofwizquards can hit your entire party with their normal attack.
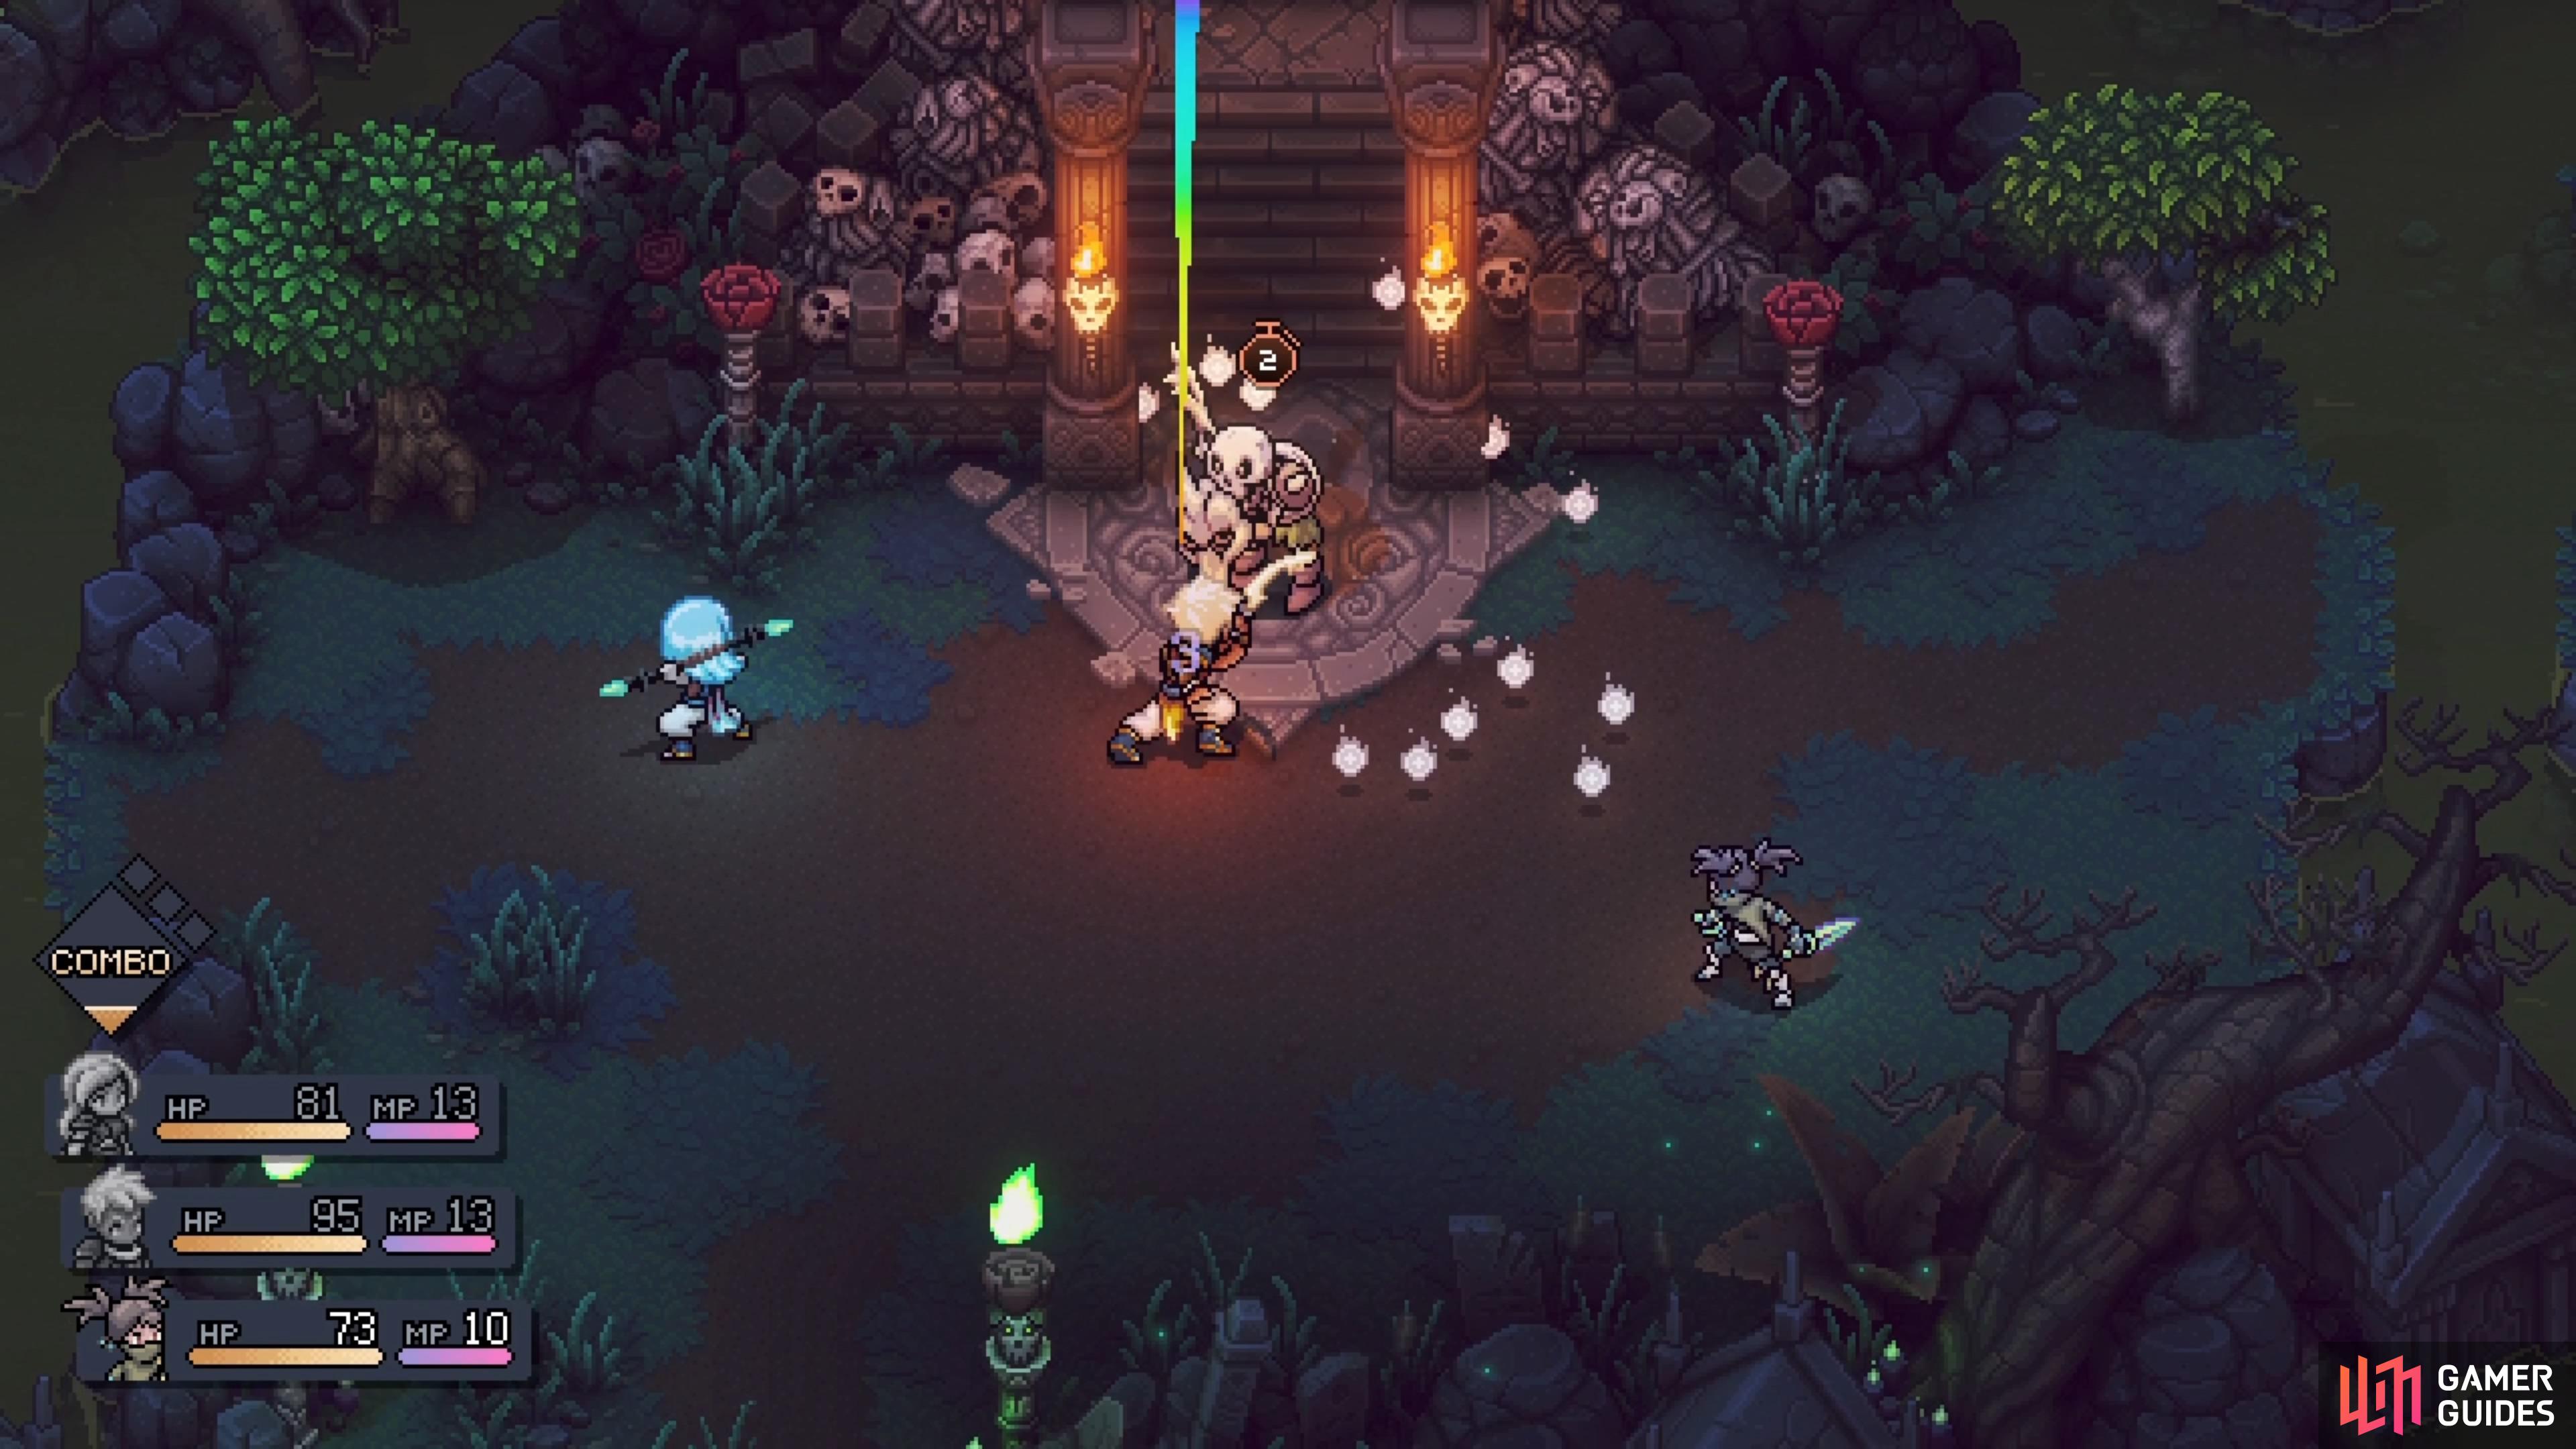
Continue past them and follow the hallway, using the platform with the lever on it to get to the next area. Just past where you land will be another battle (two Gulguls), but it’s an easy one. Upon setting foot in the room beyond, the door at the far end will close and the three green skulls above it will come to life. They will inhabit some bone piles and become enemies you need to defeat in order to open the door. Specifically, they become enemies named Revenants, which are quite sturdy and beefy, in terms of HP and attack power. Before confronting the first one in the middle of the room, feel free to rest and save your game.
The Revenants will start the battle defensively, as they have a bone shield. Once you get their HP down enough, they get rid of the shield and become a bit more offensive, where they do a three-hit combo of sword strikes, so block accordingly. After defeating the Revenant, interact with the green skull to put it into place above the previously mentioned door. There will be two trees on either side of the altar here, one with Apples and the other with Peaches. Likewise, on the right side of the area will be some Bones lying on the ground.
You will now have two ways to go here, either northwest or northeast. Both are required, since you will encounter a Revenant on both paths. For now, though, let’s check out the northeastern path.
Necromancer’s Lair - Northeast Path
As you go along the main path here, you will see a wooden peg to the north, just after crossing the wooden beams. This will become important in a little bit, so head south from there to find some enemies (Mermofwizquard, two Lonzons, and a Gulgul). After the battle, hit the lever just northeast of the enemies to cause the isolated platforms to move. Go north and hop onto the platform there, hitting the lever to move it a little east. Get off and go south to see the other platform has already moved, so you can’t use that one now.
Climb the ladder to the right, noting the enemies to the northeast for later, and loot the chest on the northern side for a Spectral Cape. To the left of the chest will be a ladder you can kick down, so do that and return to the lever. Hit it, then climb the ladder you kicked down, using it to get over to the right side of the area. Jump down to the lower level and hop onto the lower right platform, using this to get to the southeastern corner. There will be a chest down here (Obsidian Ore), as well as the exit to the next room.
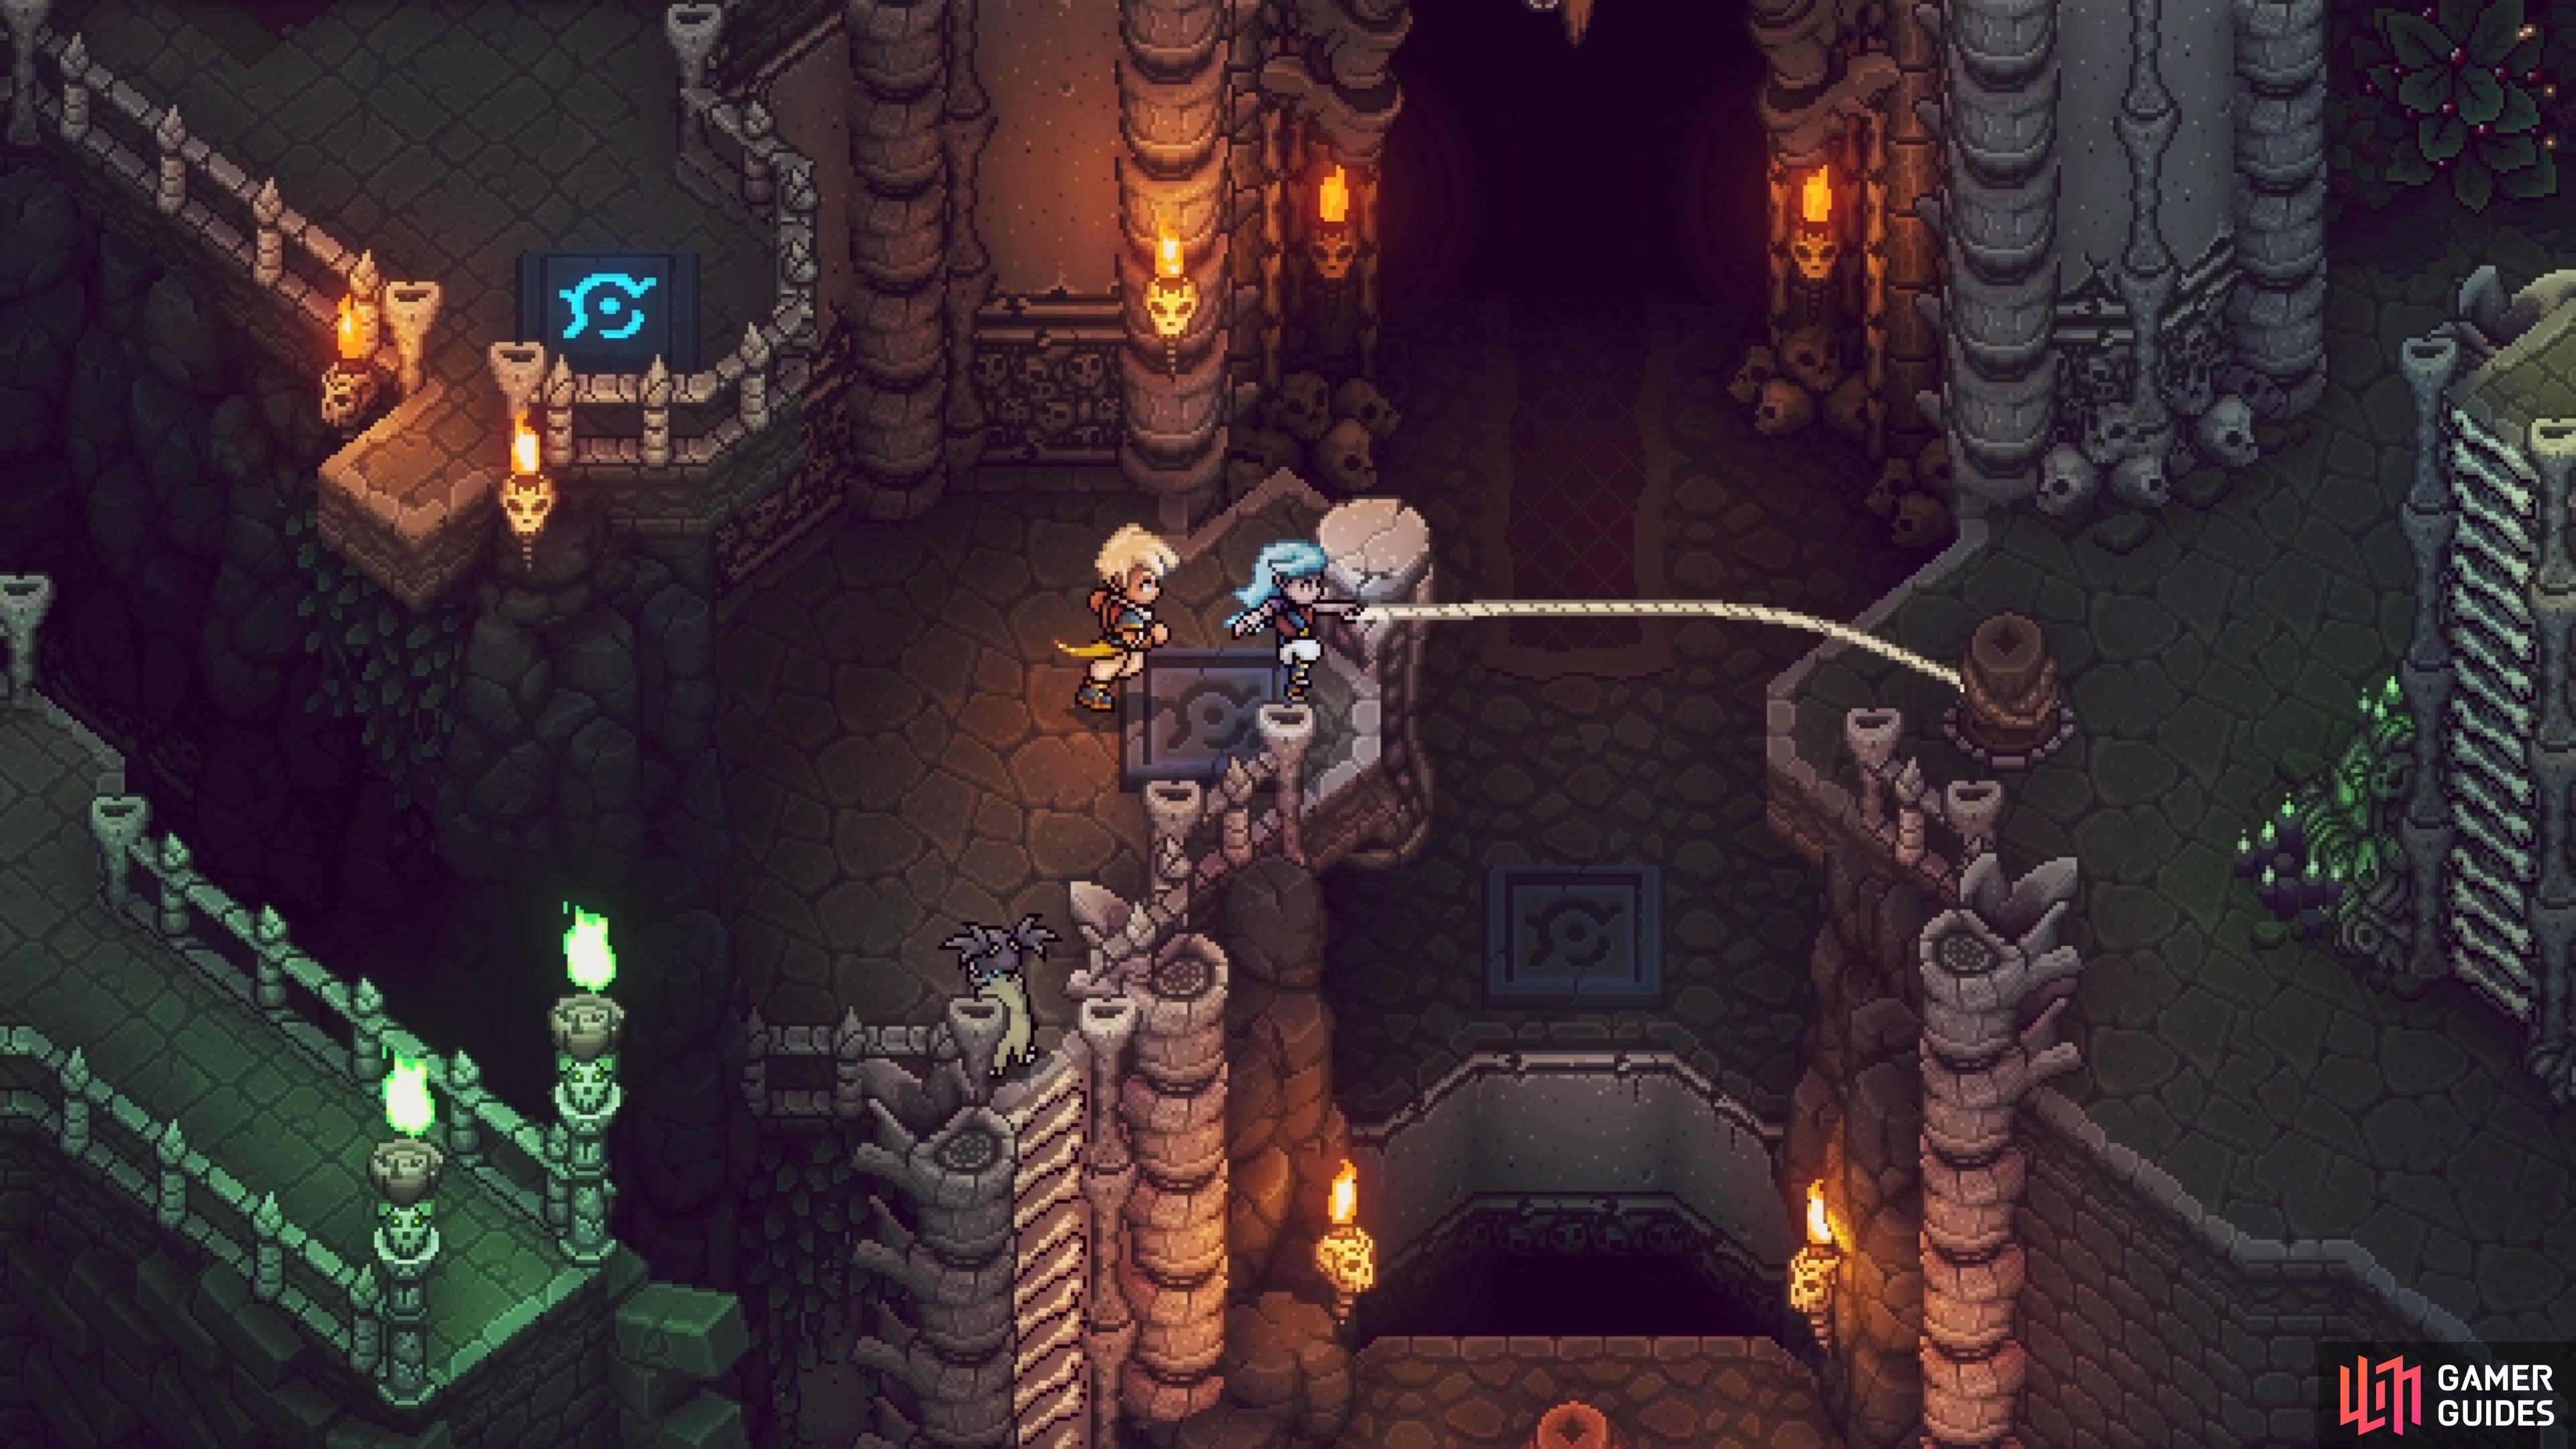
In this new room, drop down and fight the enemies here (Mermofwizquard, Gulgul, and Lonzon). After the battle, climb the ladder on the northwestern side, then drop down to the northeast and enter the large opening above you. There will be a large chest in here that gives you the Graplou. This is essentially nothing but a grappling hook, which you can use to latch onto those wooden pegs you’ve been seeing. Another thing you can do is grapple to enemies to get a pre-emptive battle, and you’ll likely be using this feature quite a bit.
Exit the room with the large chest and step on the button to your south, which creates a wooden peg to grapple across the gap. Climb the ladder and do the same thing here, then loot the Red Berries to your north. Go up the second ladder here and grapple the peg to be sent to the climbable surface beyond it. Follow this to another button and grapple point, then one more that will put you back at the beginning of the room. Back in the previous area, backtrack using the floating platform and up the ladder. In the northeastern corner, you should see a Mermofwizquard enemy close to the gap there.
Use your Graplou to launch yourself over to that section, where you’ll fight two of those enemies. Defeat them both, then look in the corner for a chest, which contains a Rainbow Conch. Loot the Red Berries after that, then pull the lever to get a grapple point across the gap. Make your way back towards the beginning, where you saw the grapple point to the north. Cross there and enter the room to find the second Revenant, who will be accompanied by a Gulgul and Mermofwizquard. Take out the wizard first, then the Gulgul, as this will make things much easier for you. Once you’ve finished the battle, interact with the green skull, then go back to the main room with the locked door.
Necromancer’s Lair - Northwest Room
The very first thing you will be doing on this path is fighting some enemies, including a Mermofwizquard, a Woodland Spirit, and two Gulguls. Head north after the battle and grapple the handle above you. Climb up and hit the lever to create some stairs just to your left, so climb them to find an exit to another room. Open the chest immediately in front of you (Osseous Staff, so a new weapon for Valere), then grapple to your east. After the second one, there will be a basket here, so open it up for a Mooncradle Fish Pie.
Grapple the enemy to your north for another battle, this time against a Mermofwizquard and Woodland Spirit. There are some Bell Peppers to the north, but to continue, look for the thin path that allows you to grapple to the floating platform. From there, look northwest for another grapple point, where you can grab some Bones to your left and hit a lever to your right. This will move the floating platform a little west, allowing you to grapple it to the southwest, then to the area with more enemies (two Mermofwizquards and a Woodland Spirit).
Hit the lever here to move the platform again, then grapple south and follow the trail to a rope. Ignore the lever to the north right now and cross the rope to a second lever, which will open a path. Go back across the rope and hit the northern lever to move the platform once more, allowing you to get access to the southwestern portion of the room, where you’ll fight more enemies (four Gulguls). There will be some Mushrooms in the bottom corner, as well as another lever just up the stairs. The moving platform will now leave the room via the south, and you will be able to get back to the entrance, allowing you to return to the previous room.
Once you’re in the first room, drop down and make your way towards the floating platform. Grapple to it, then once more south, where you’ll find some enemies waiting for you by some stairs (Woodland Spirit and Lonzon). The stairs going up lead to nowhere right now, so the only other way to go is via the ones going down. Loot the Tomatoes on the way to the next room, where you just go around until you reach the center with the enemies (a single Mermofwizquard). Pull the lever after the battle to make a moving platform appear. Grapple to it, then head east and hit the next lever there.
The second room is just hitting levers and following the moving platform.
Climb the wall on the right, get on the moving platform, then grapple over to the next set of enemies (two Mermofwizquards and a Gulgul). Pull the lever afterwards to make a climbable wall appear, which can be used to reach another lever that moves the platform further. Grapple to the platform, then to the southwest, where you have one final lever that moves the platform into the first room. To reach the exit, grapple to the north to reach the climbable wall.
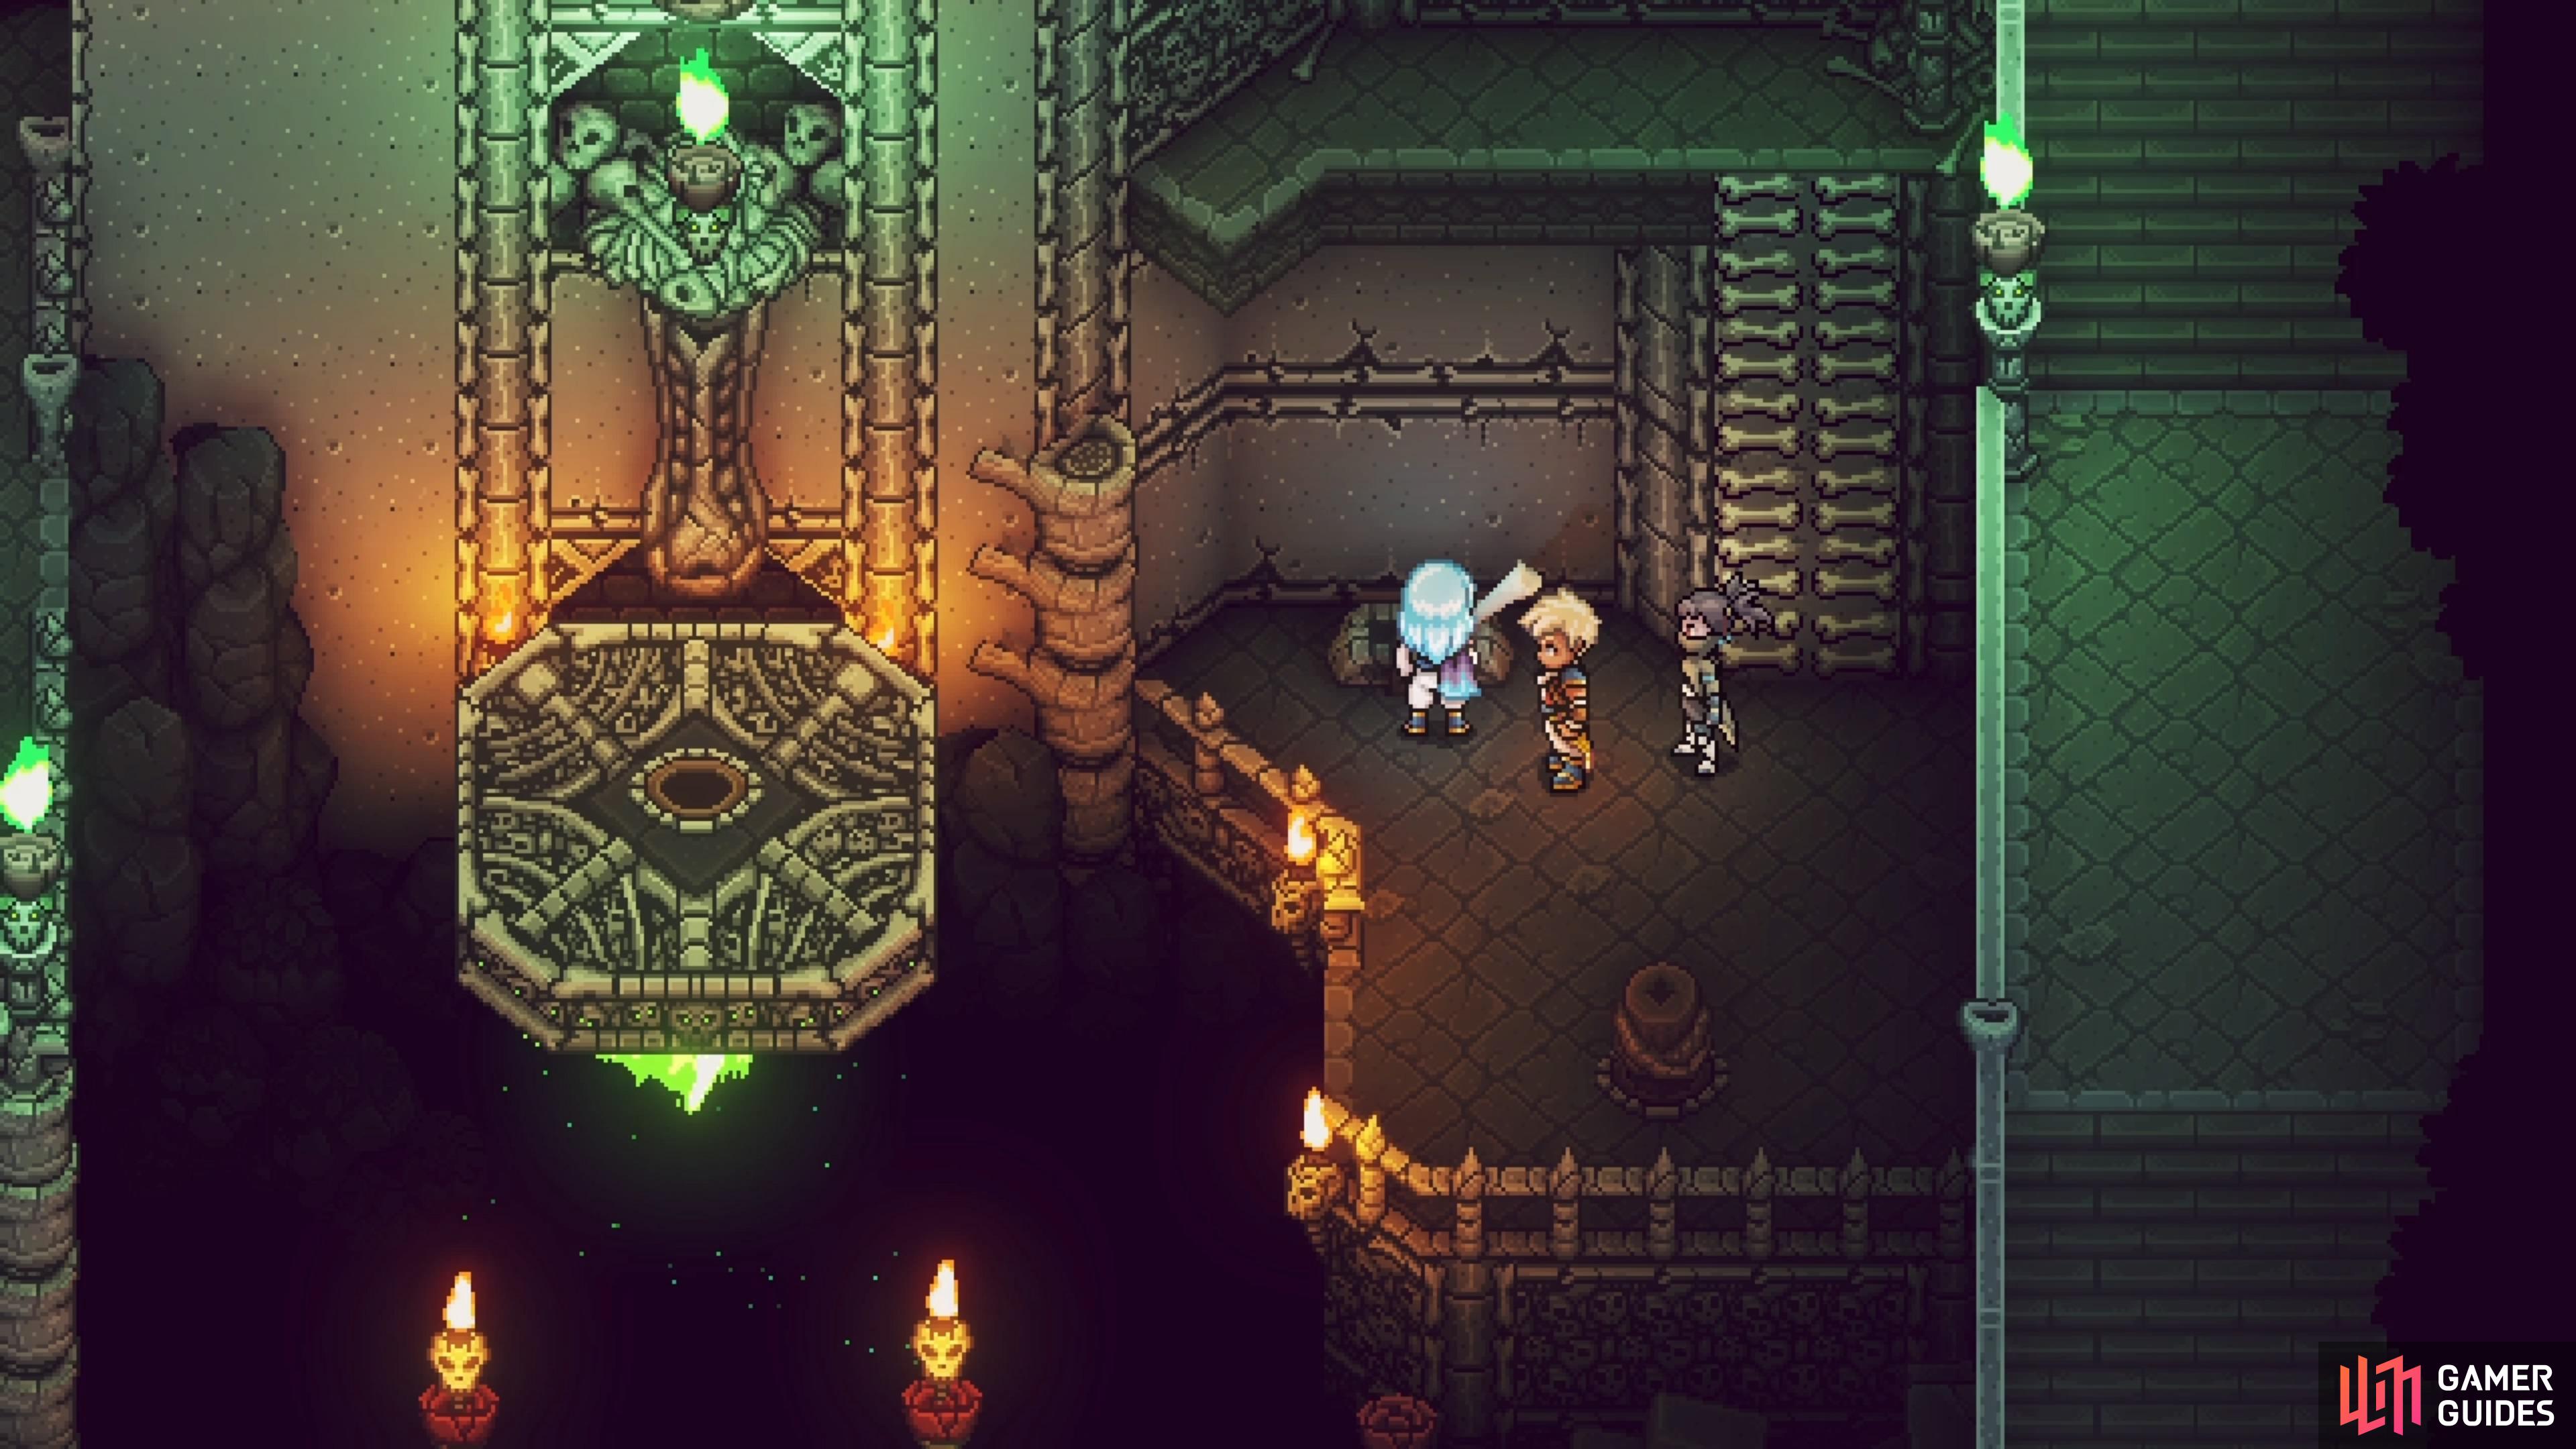
Remember those stairs mentioned briefly above that led to nowhere? Well, the moving platform from the second room will now be there, so you can grapple to it, then north one final time. Climb the stairs to reach the final Revenant, who will be joined by two Mermofwizquards and a Gulgul. With the Revenant defeated, touch the skull to make it go back to the locked door. Since this is the third one, the door will now be open, but don’t leave the area with the Revenant quite yet. There’s a chest amongst the bone pile to your right, which looks unreachable.
There is a secret path through the bones, starting around where the green candles are located. Head right, then down, right, up, left and up to get to the chest, which contains a Revenant Armor. You can now backtrack to the room with the campfire, which you should use to heal and cook up any food. Make sure you save your game, then walk through the now open door to confront Romaya, who will be your next boss.
No Comments