
You’ve finally put the Dweller of Dread down for good and gained the ability to fly. The final approach to the end of Sea of Stars is fast approaching, as only the Fleshmancer’s Lair remains. However, be prepared for a long trek through the place, as you will face multiple enemies inside it. You will find the Fleshmancer’s Lair in Serai’s World, in the north. Of course, you do need to be able to fly to reach it.
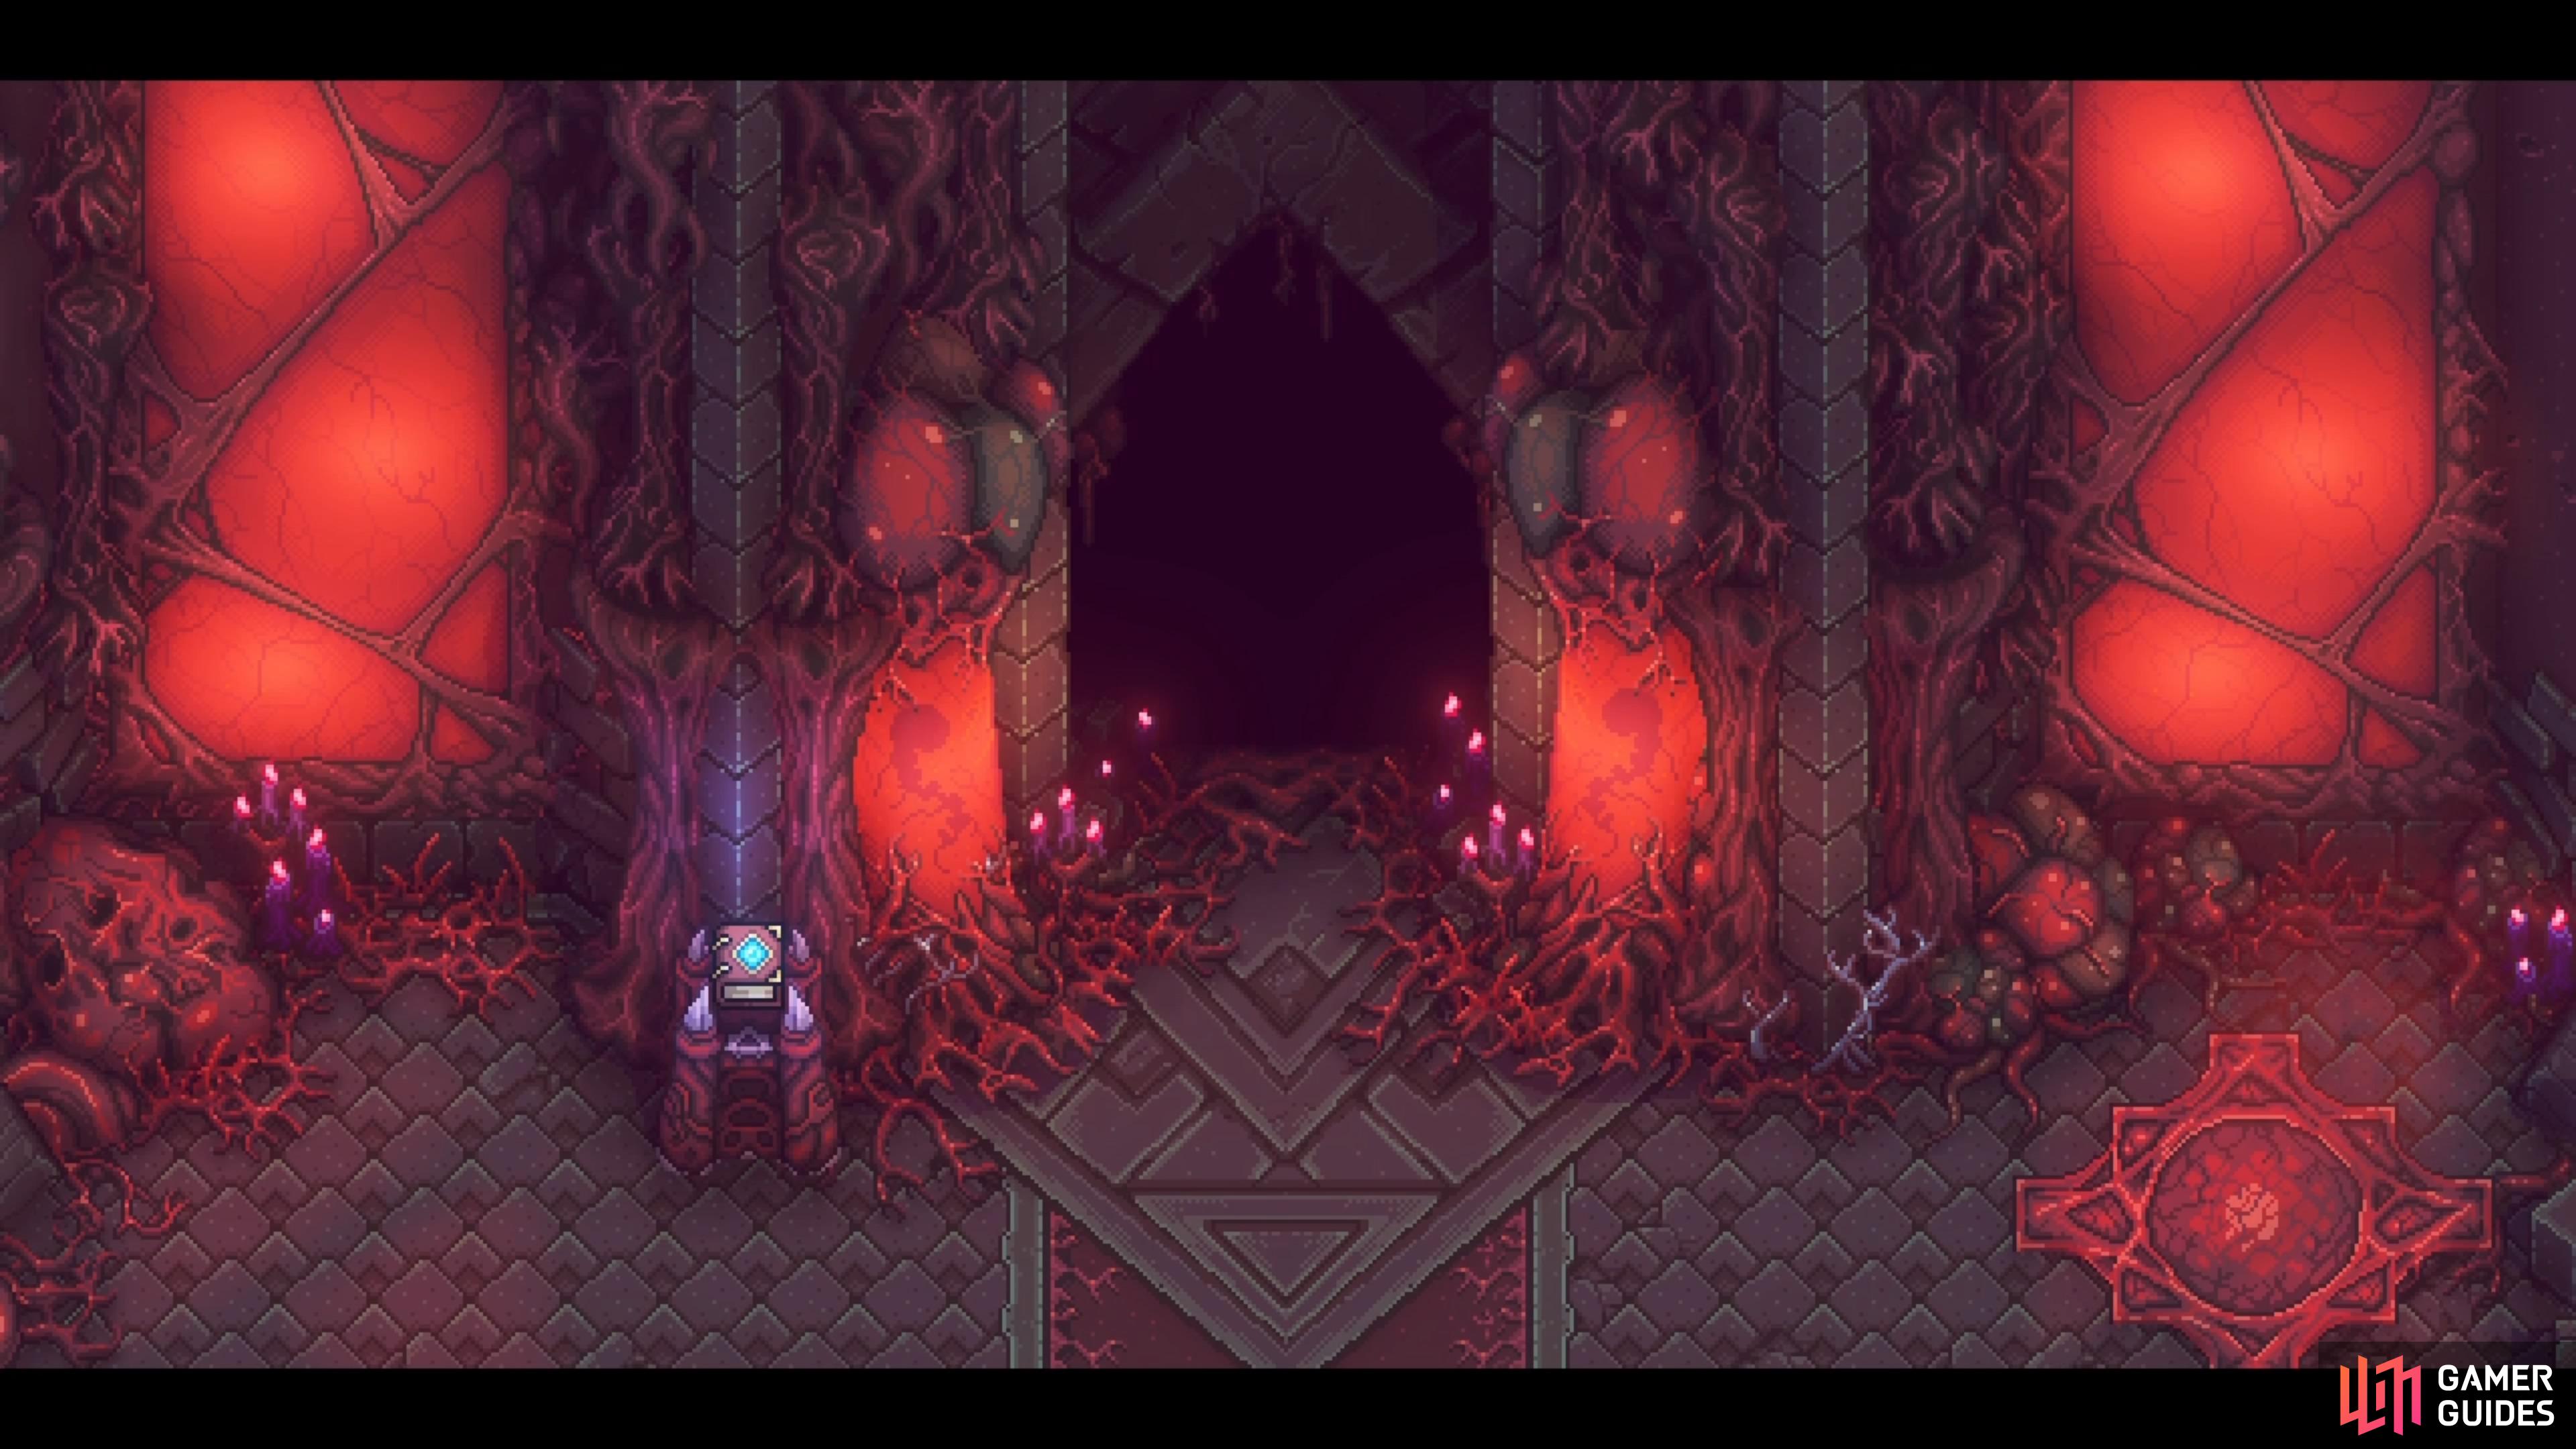
The Fleshmancer’s Lair will be the final dungeon of the main story.
Enemies in Fleshmancer’s Lair in Sea of Stars
| Enemies |
|---|
| BilePile |
| Tsiclop |
| Sleuth |
| Stitcher |
| OAF |
| LeJugg (Boss) |
| Phase Reaper (Boss) |
| Elysan’darelle (Boss) |
All Treasures in the Fleshmancer’s Lair in Sea of Stars
| Treasure |
|---|
| Data Strip |
| Salix Cork |
| Yakitori Shrimp |
| Apogee Daggers |
| Earthshine Staff |
| Firmament’s Edge |
| Legendary Feast |
| Question Pack #10 |
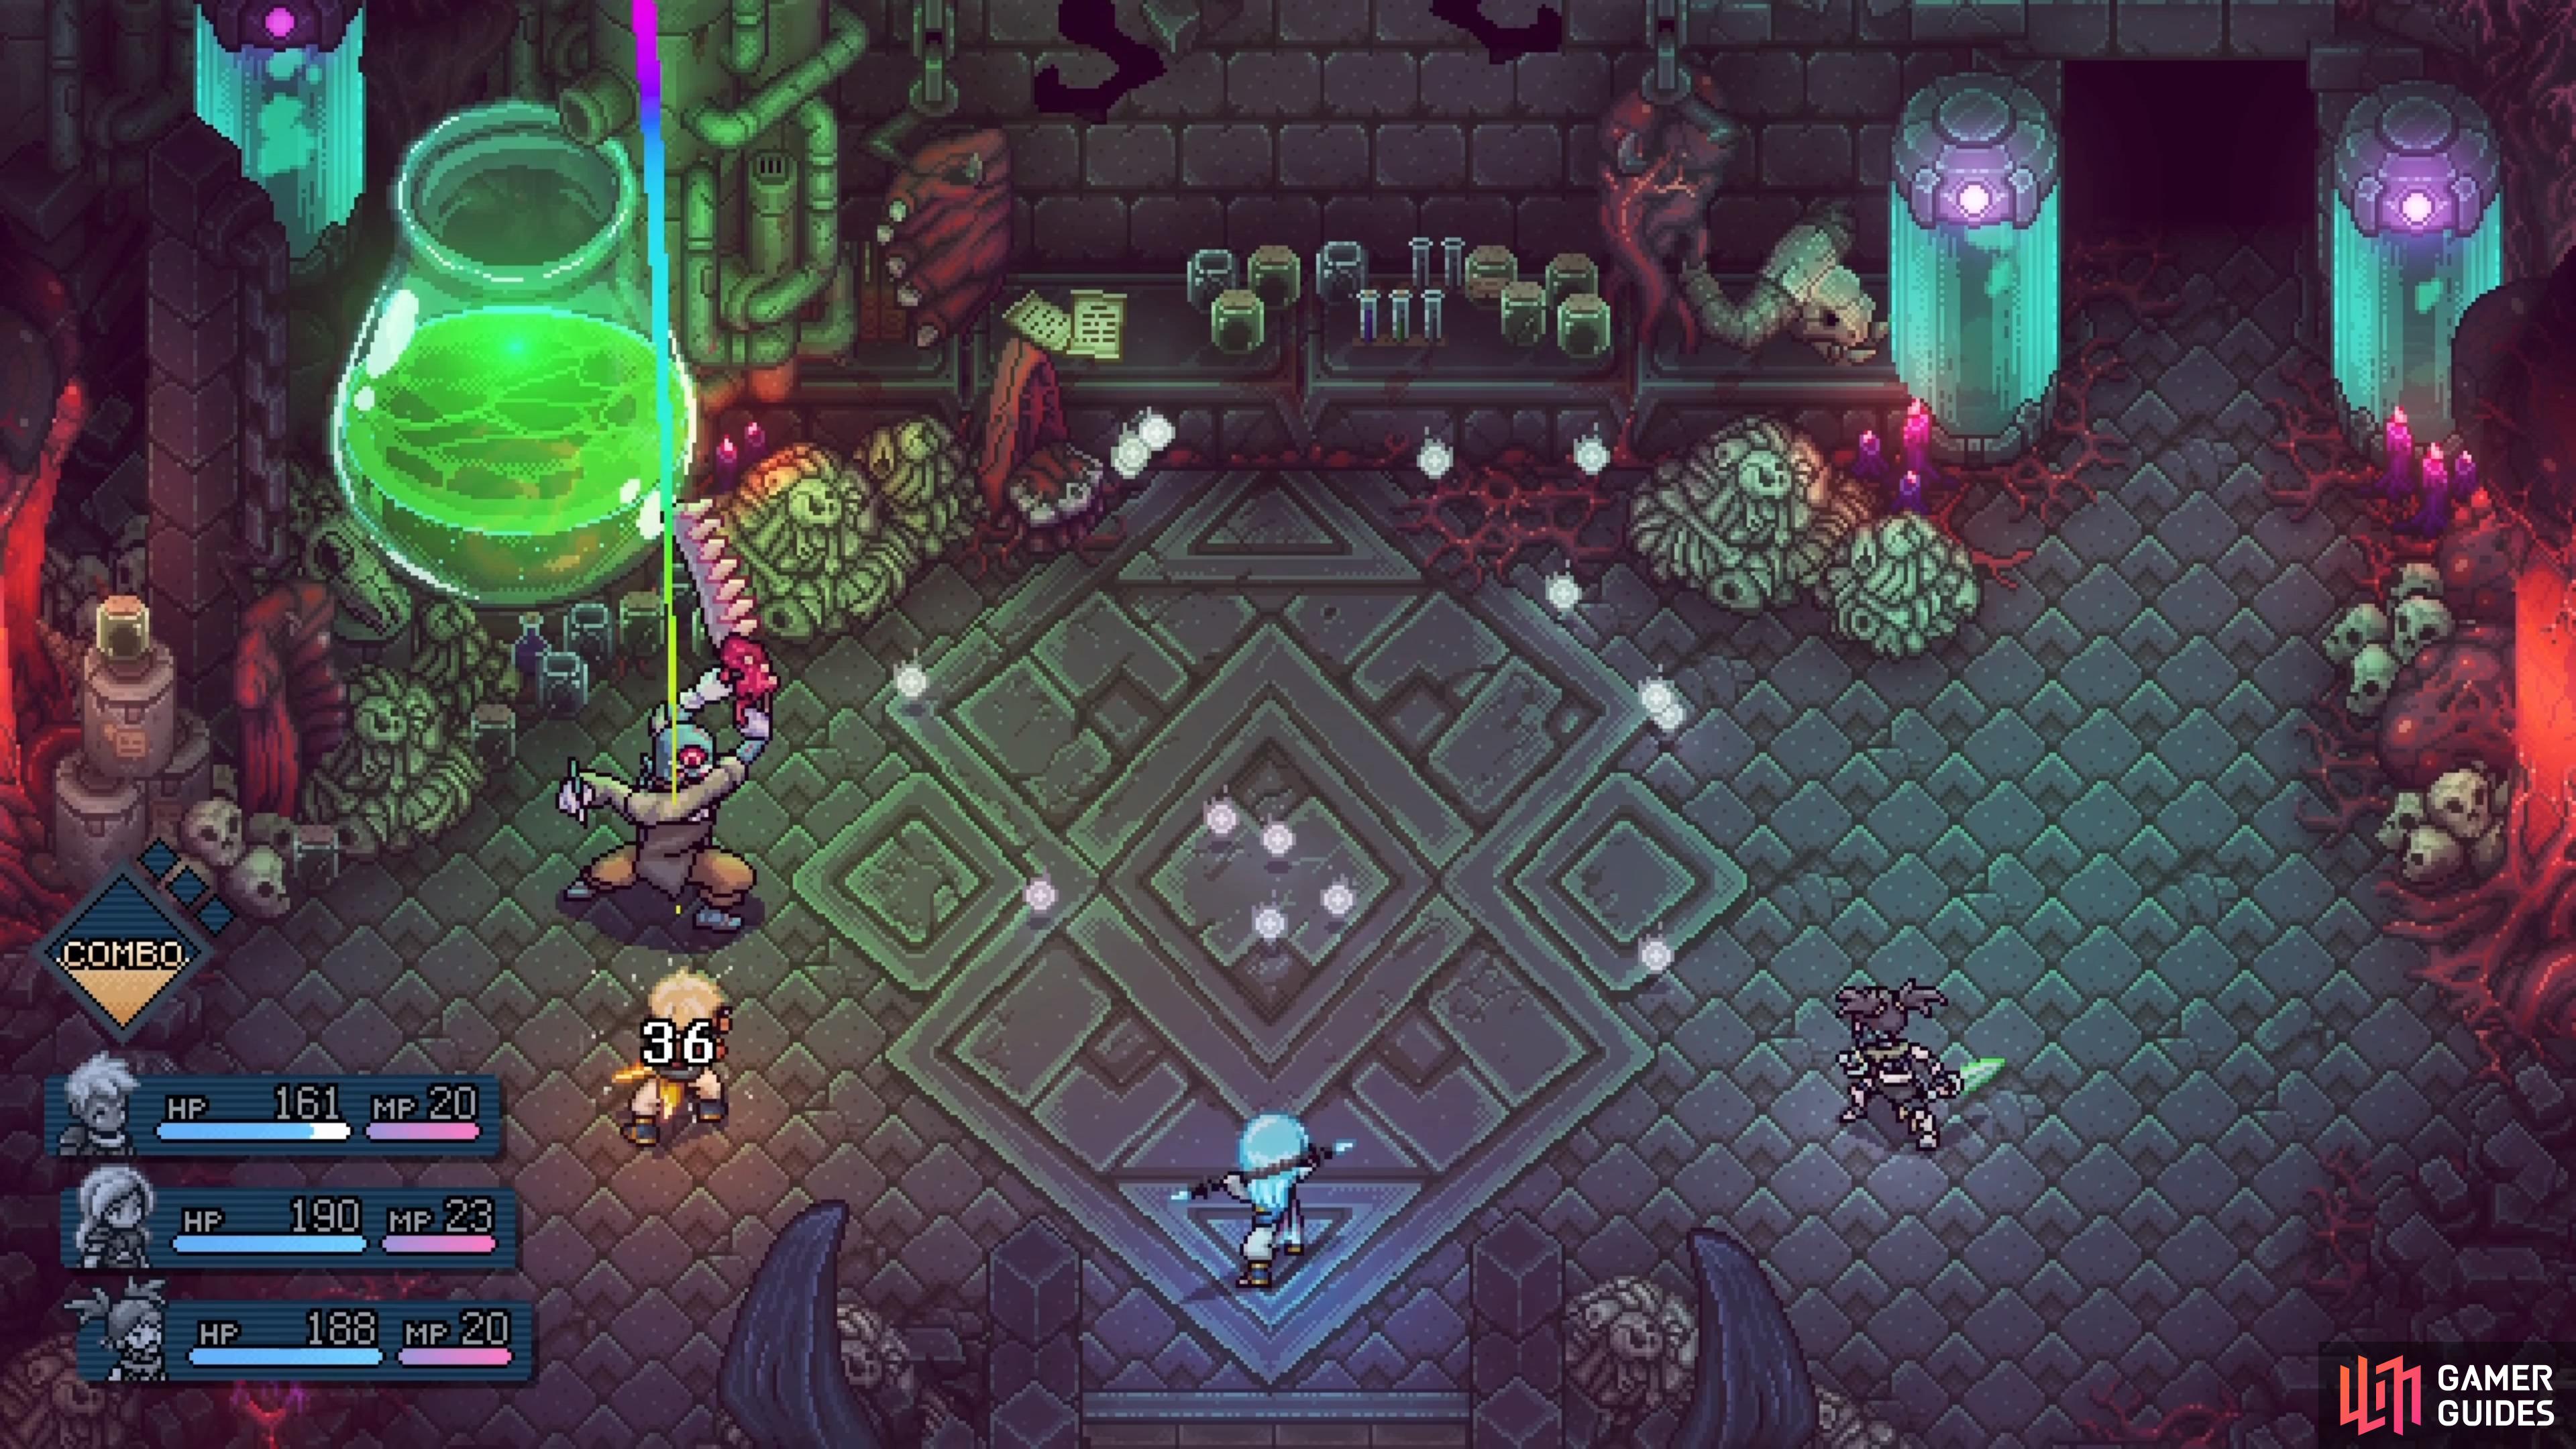
When you first enter Fleshmancer’s Lair, you will see a campfire and save point by the front door. Use this to backtrack for healing towards the beginning, in case you might need it. Make your way into the actual dungeon and one of the first things you will encounter is a crossroads. The northern path is blocked for now, so you will need to go either east or west for now. For right now, head west and hit the button you see at the end there. This will cause the floor right below you to rise up, complete with a block with an orange square on top of it.
However, some enemies will also come with it, which include two BilePiles and a Tsiclop. Defeat them (most enemies in this dungeon are weak to Moon and Sun damage), then slide the block straight to the right. You will see an orange tile on the eastern side, which is where that block will go. This will make a ladder drop on the western side of the room, as well as make a button on the eastern side active. However, it will also make the enemies on the ledge drop down to attack you. There will be a BilePile, Tsiclop, and Sleuth.
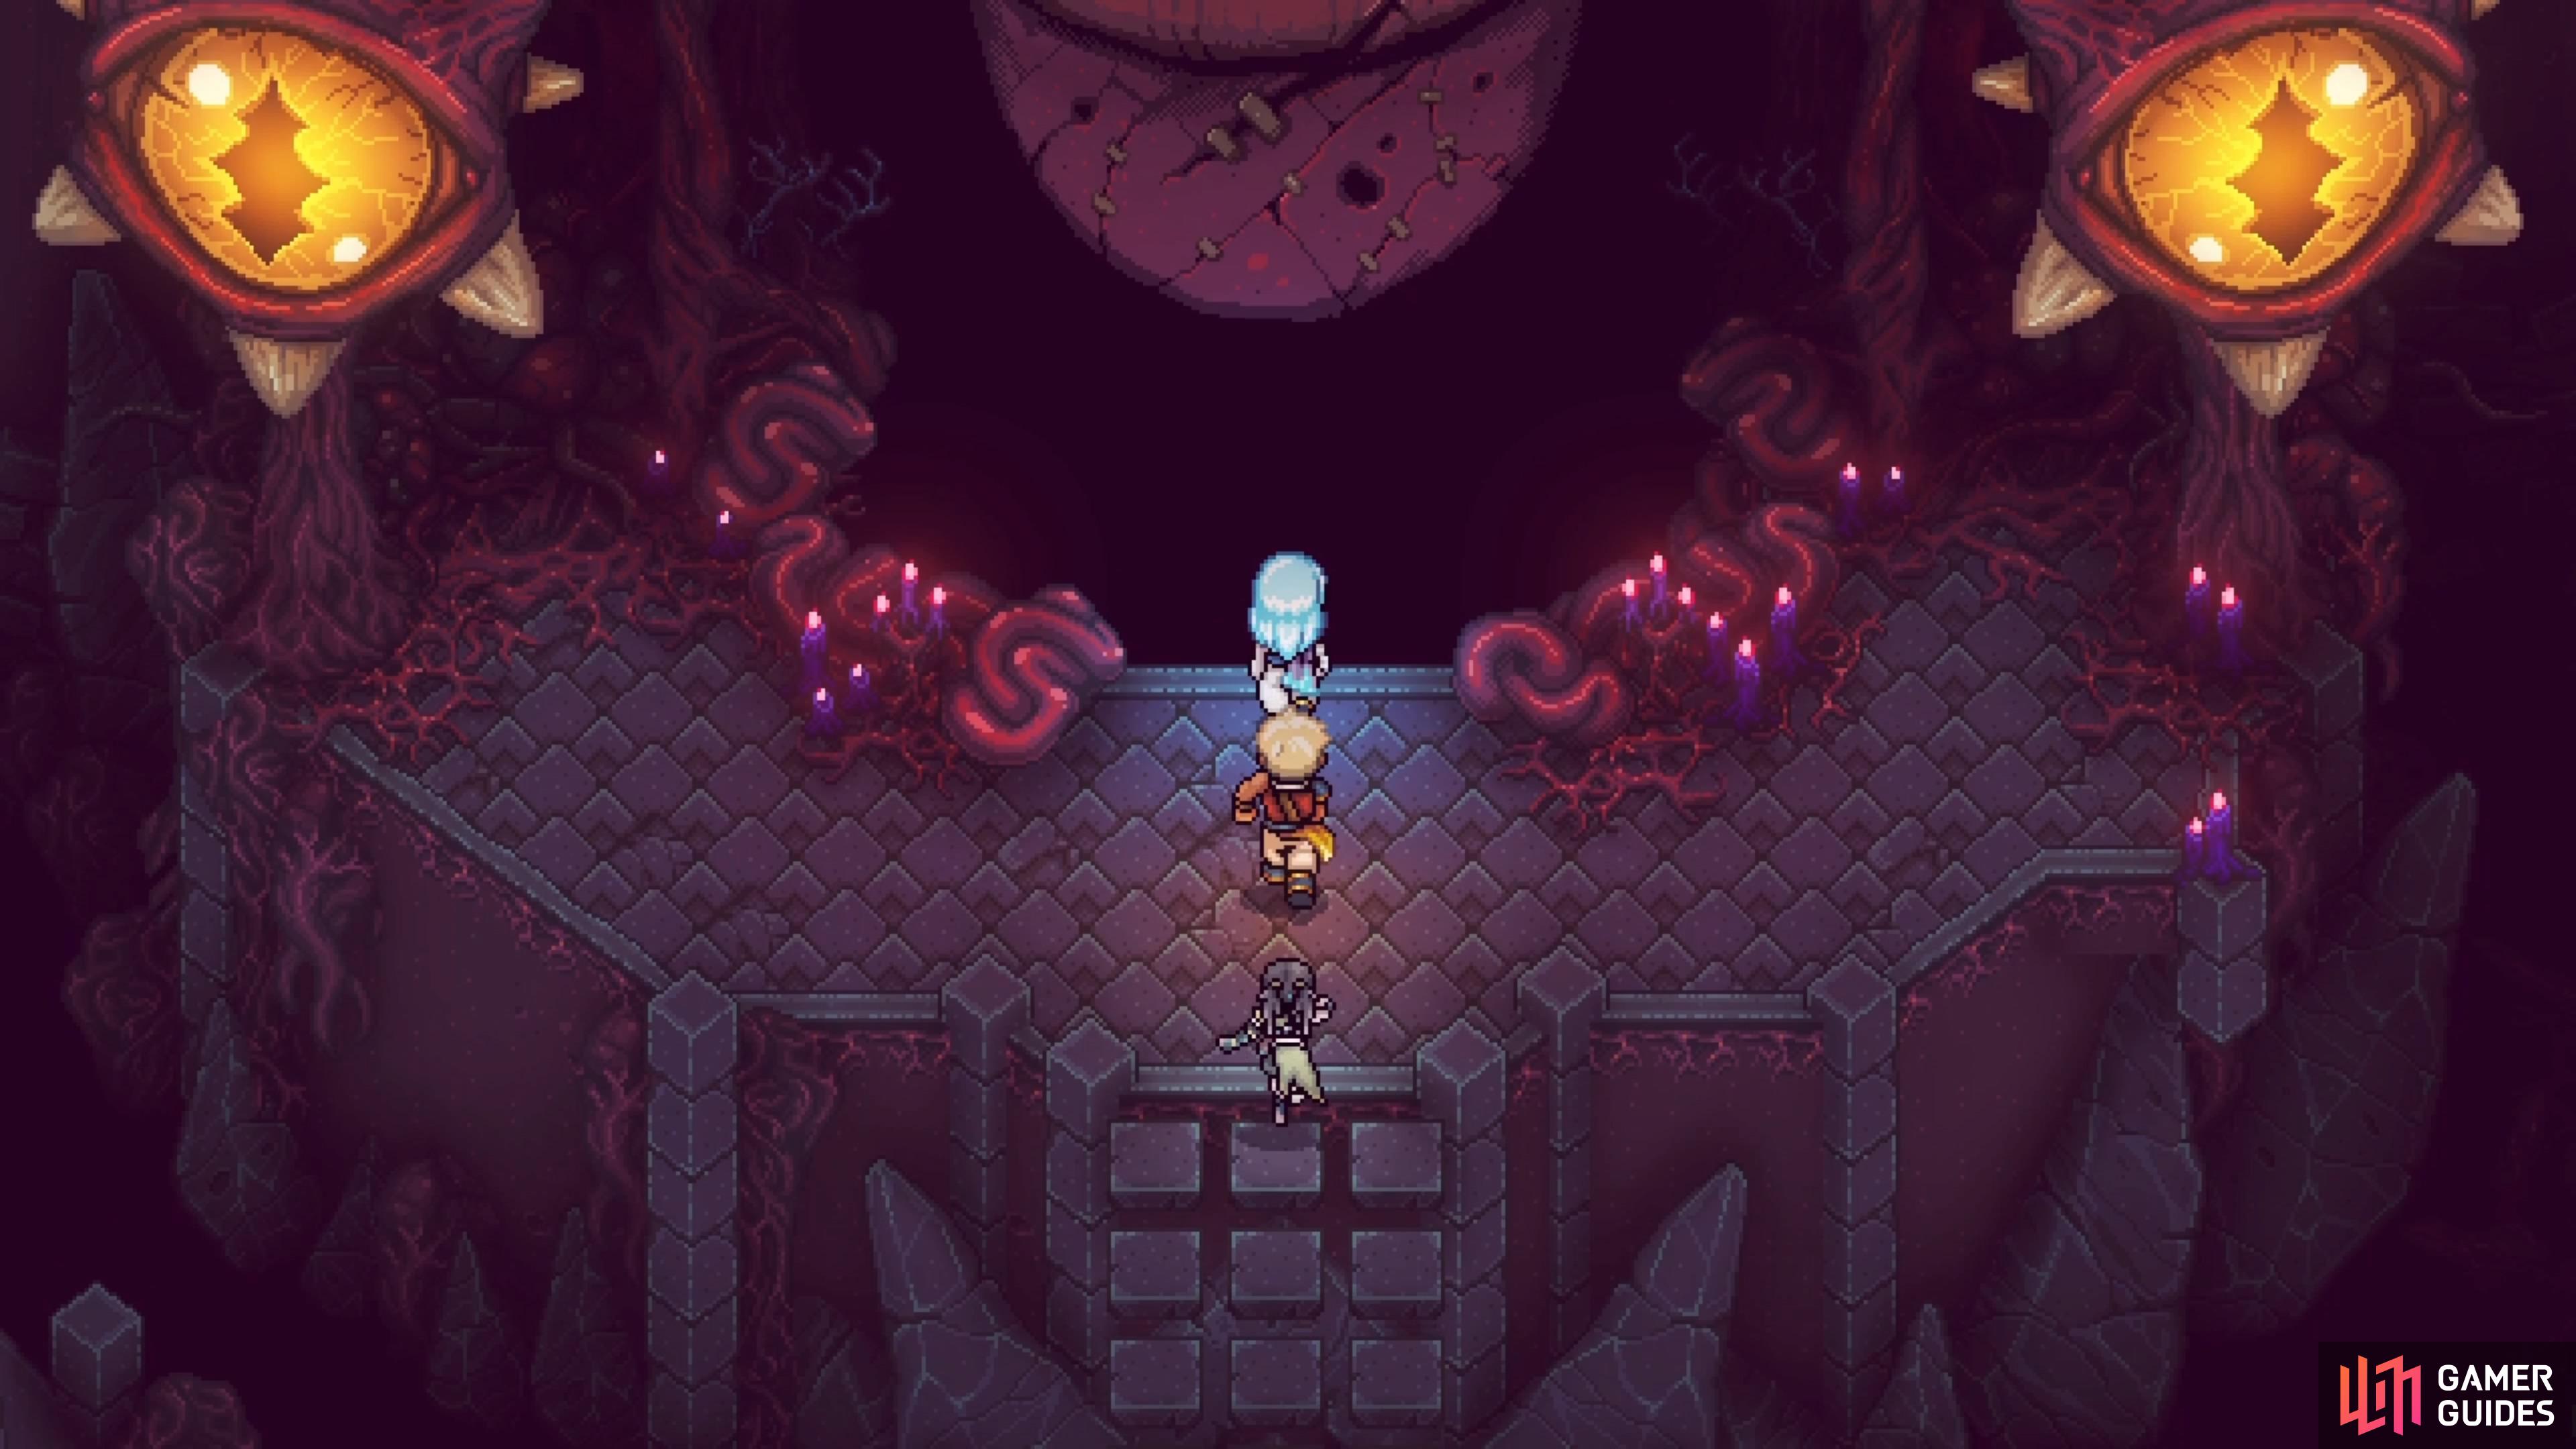
Get rid of them and hit that button that became active, then return to the center of the room. Go to the north bit, then use your Graplou on the eastern side to grapple to the ladder there. Climb up to the top and push the block with the green crystal to the floor below, then move it to the nearby green tile. This will close one of the large eyes in the northern part. With that out of the way, head on over to the western side and climb the ladder there. Push the block with the green crystal down, then slide it onto the green tile on this side.
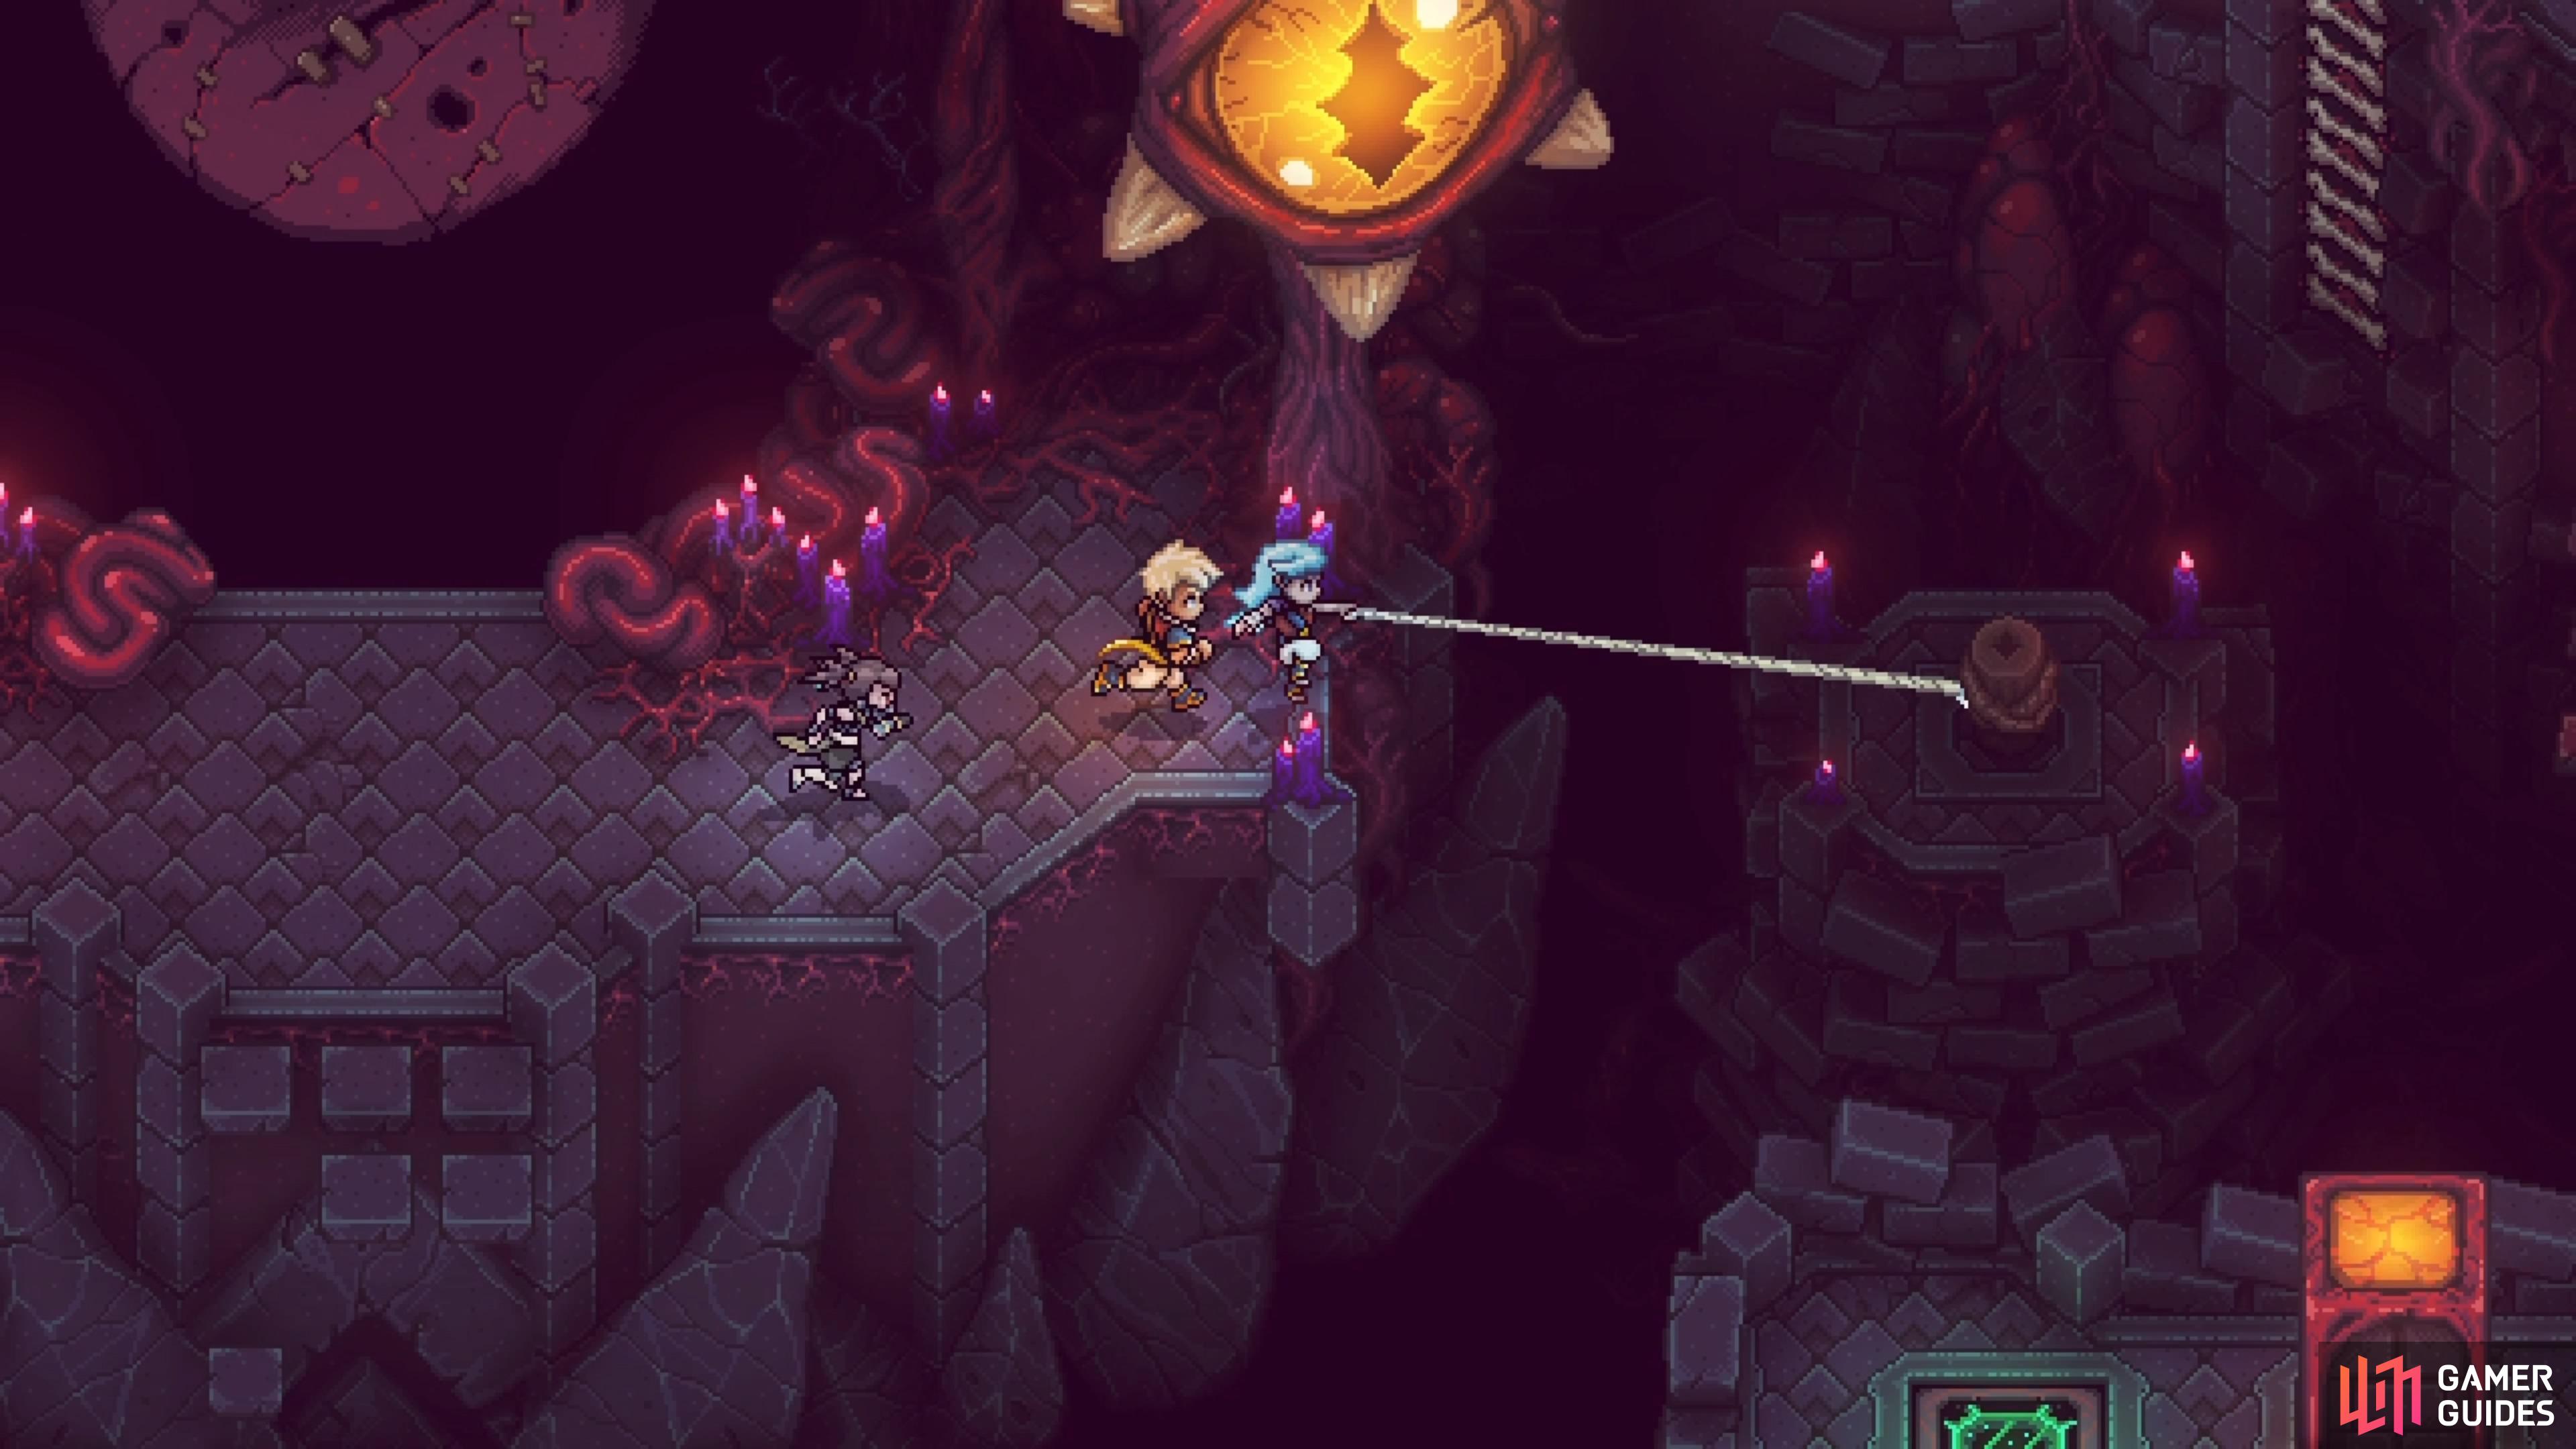
Both eyes should now be shut, which opens the mouth and allows you to go deeper into the dungeon.
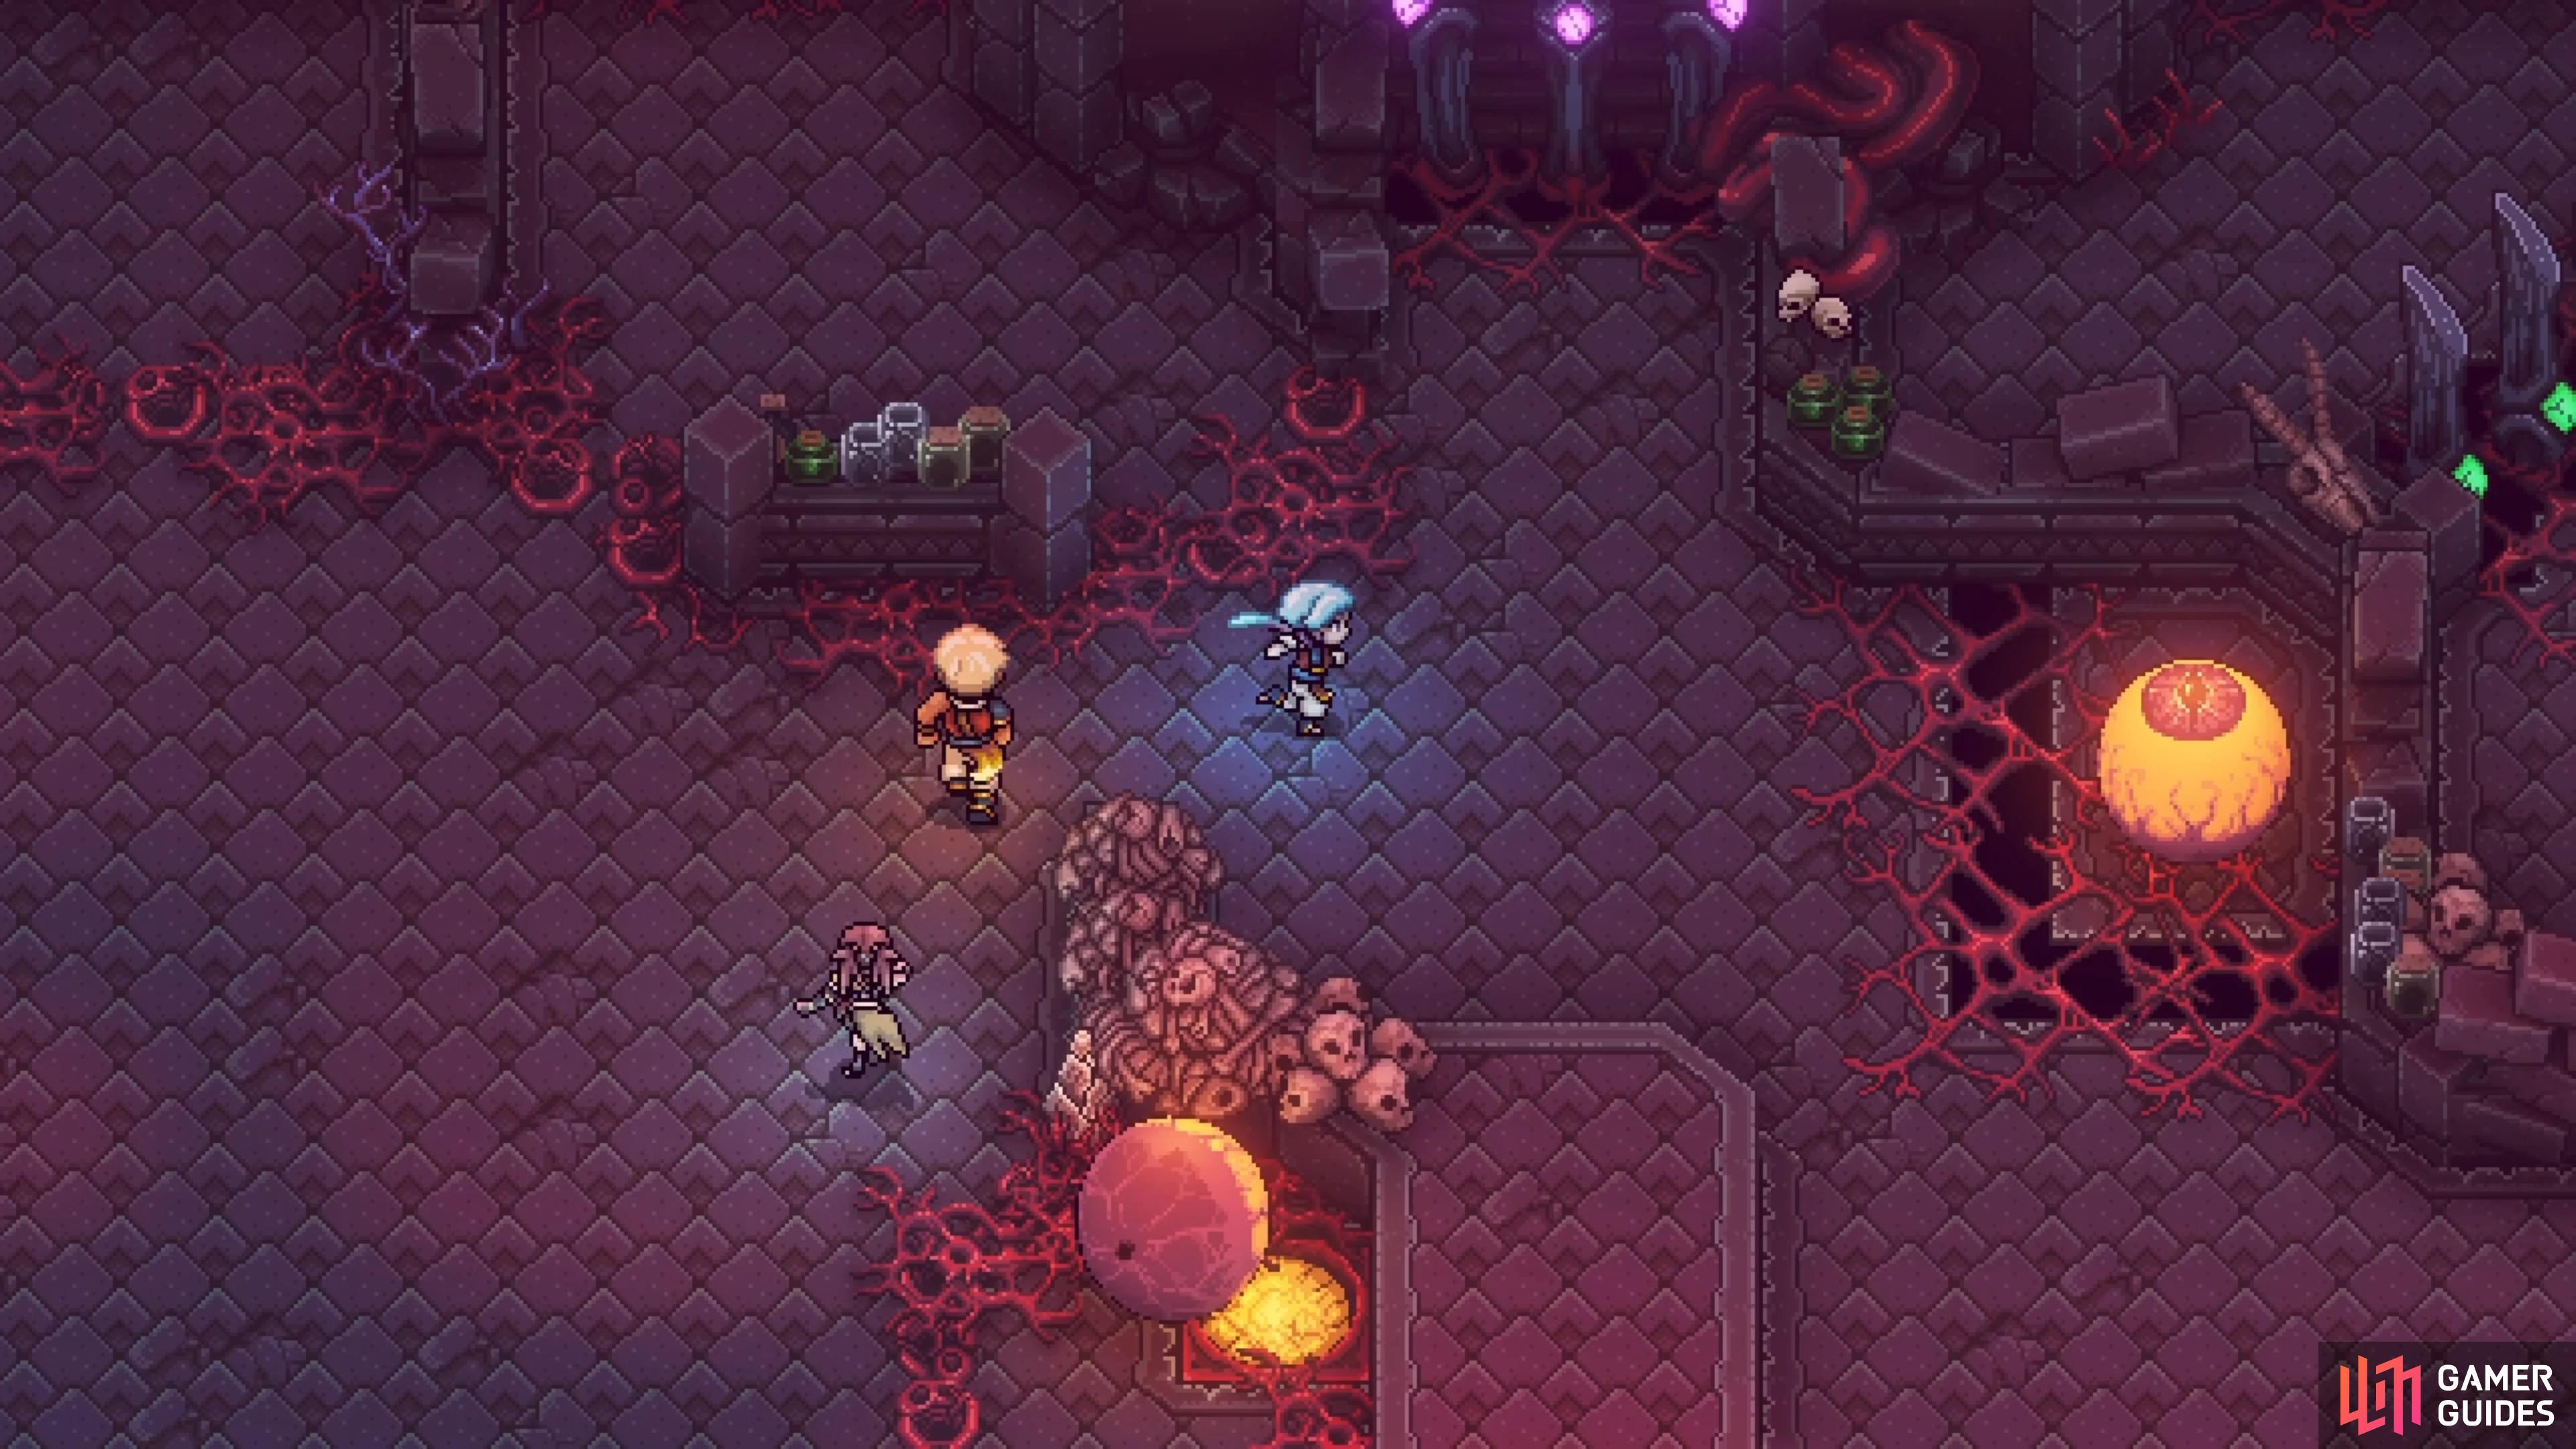
Giant Eyeball Room
Upon first entering this room, you should see an orange switch to your left. This will lower the gate surrounding the nearby eyeball, but this only works if the button stays pressed. So, ignore that for now and clear the enemies on the side of the room (two Sleuths and a BilePile). After that, head to the upper corner to find another giant eyeball, which you can move with your Mistral Bracelet. Break all of the rock spikes in the area if you want, but you do want to break the ones blocking your way to the pink switch, as well as the orange switch at the bottom.
Once you’ve done that, put the eyeball on the orange switch, then move the second eyeball out of that little area. Move that second eyeball over to the right side of the room, to the upper right corner, where you’ll find a chest (Data Strip). If you got all of the other three Data Strips, this will be the last one, meaning you can open the door in Repine that requires the Cypher. To continue here, move one of the eyeballs onto the green switch in the lower right, then push the other one onto the pink switch on the right side.
You can then move the eyeball from the green switch, back over to the left side and onto the pink switch there. When both switches are being pressed, the gate on the northern side will open. Go up the stairs to find a campfire and save point, so use them, then head up the next set of stairs to encounter a boss.
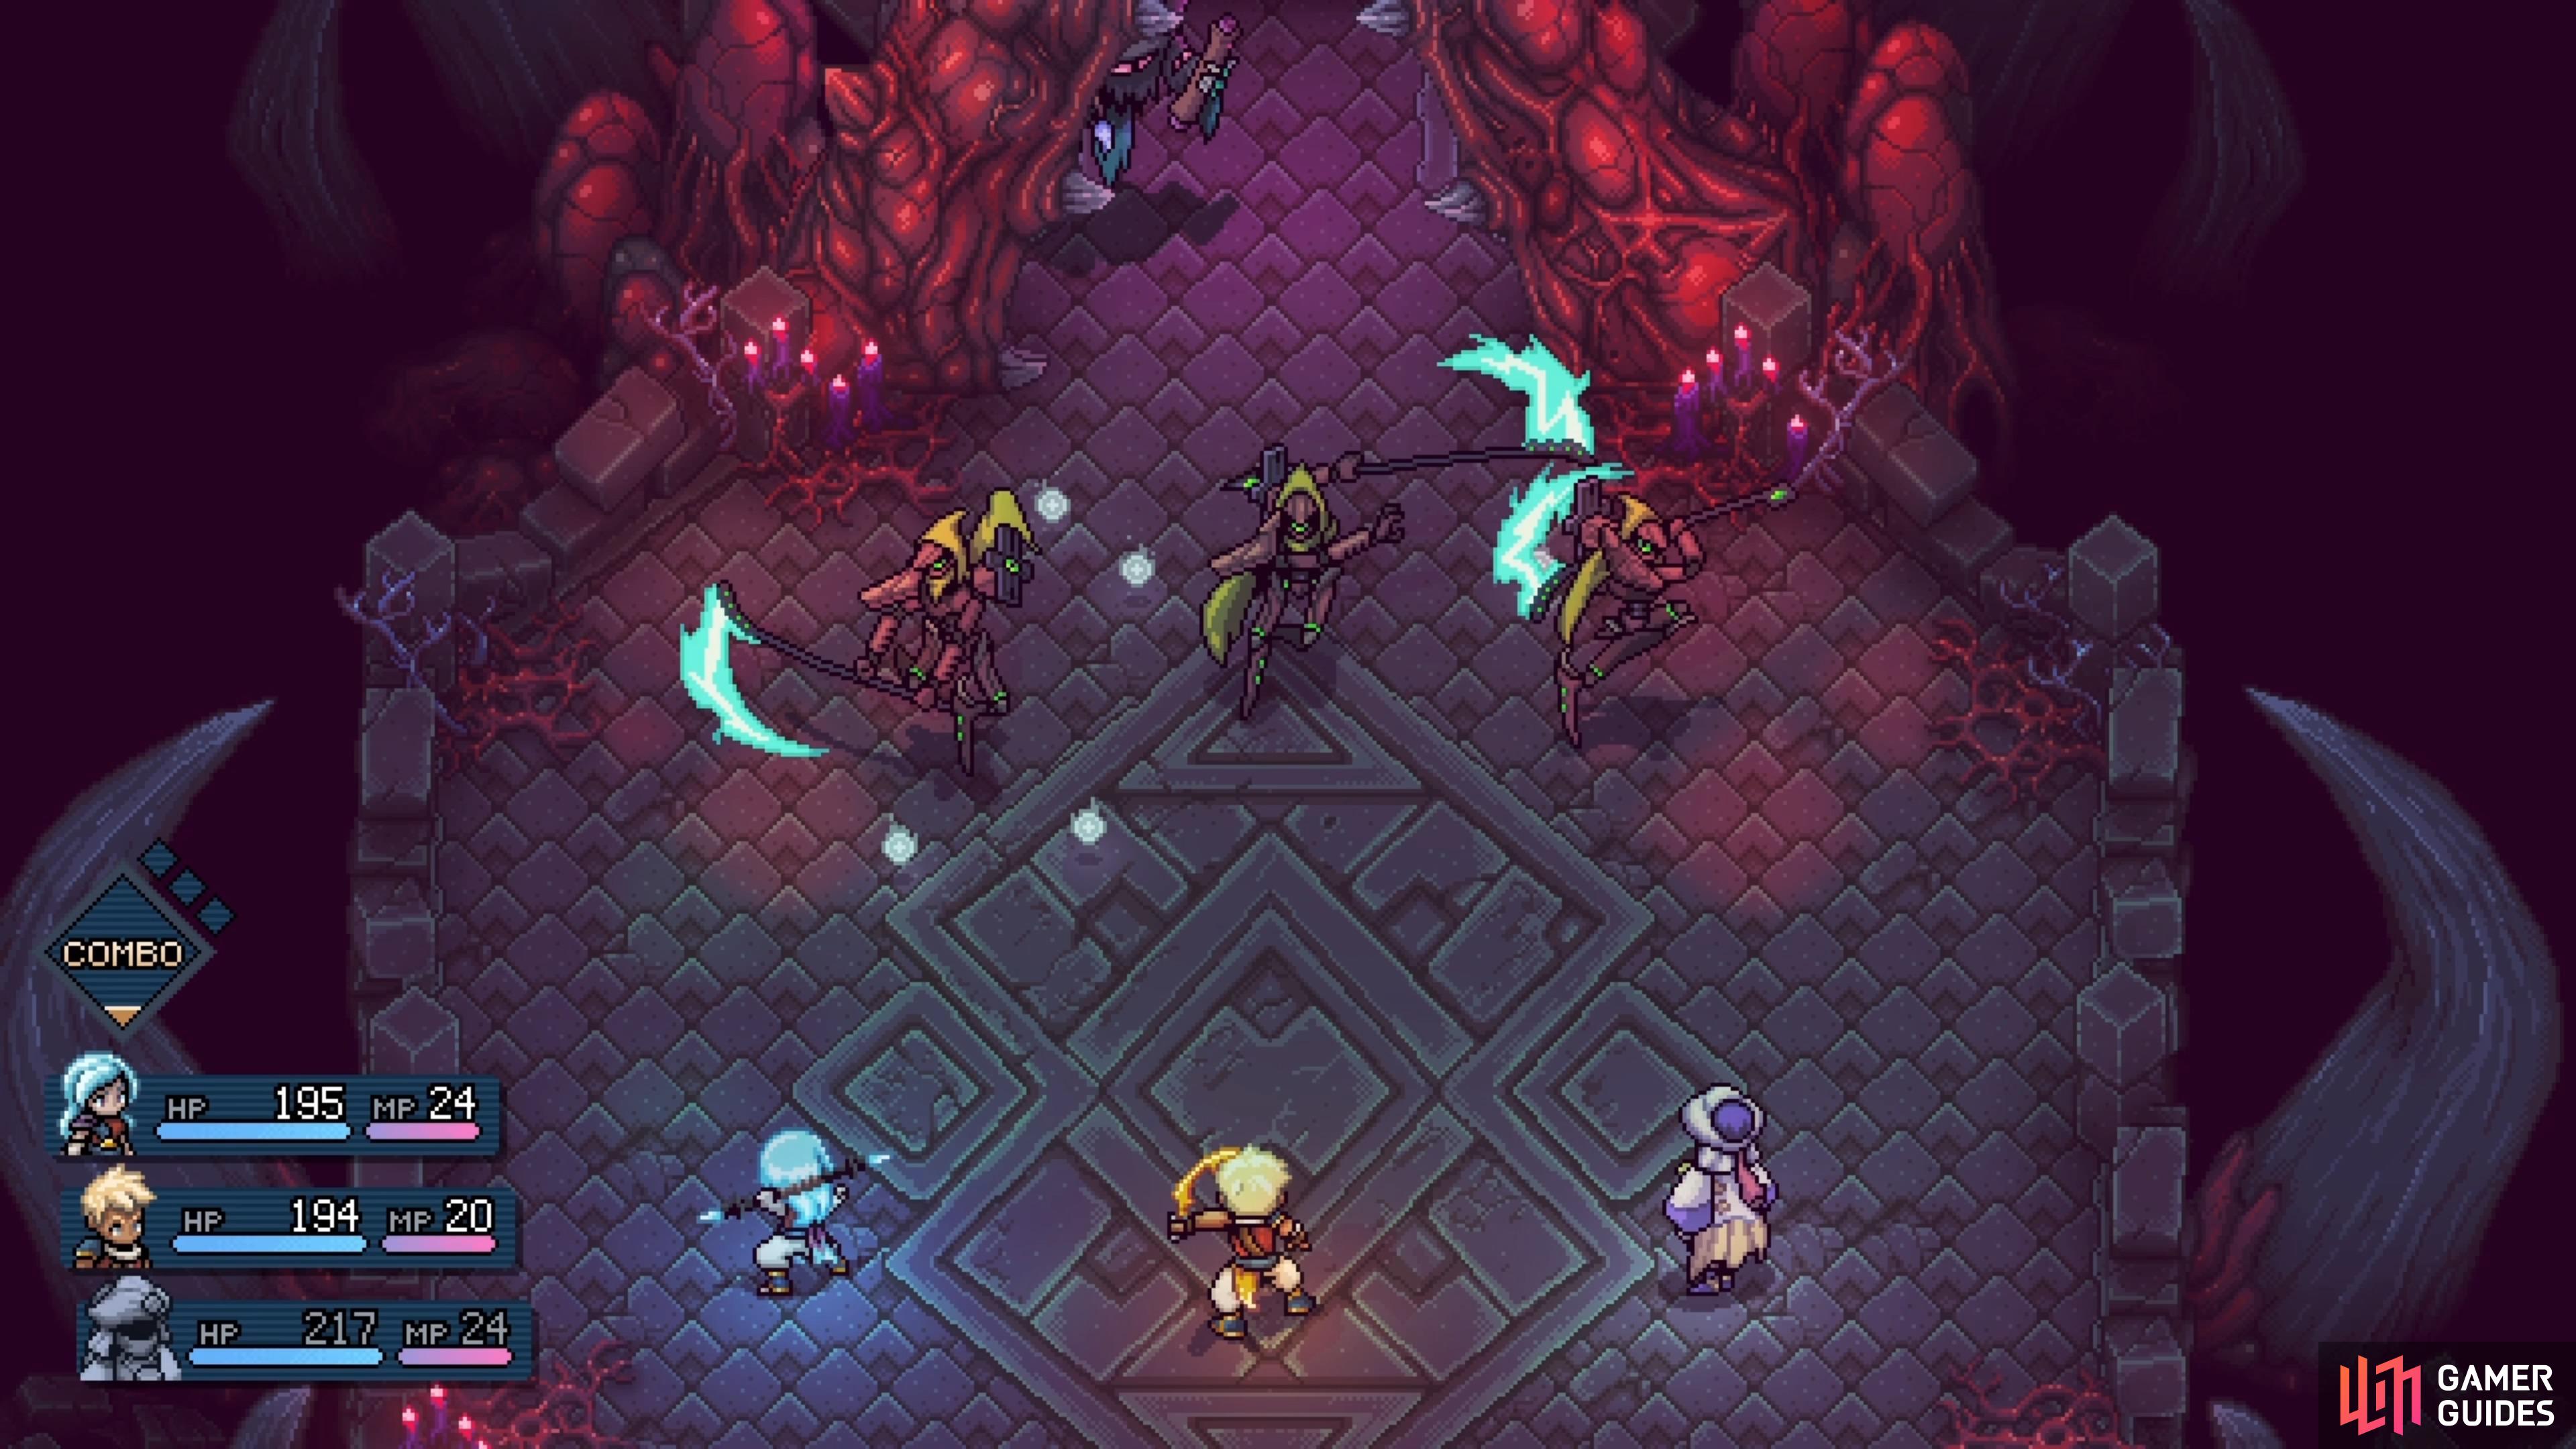
LeJugg Boss Guide - Sea of Stars
LeJugg starts out as a very easy boss, as he only performs a normal attack (hits twice) with his chainsaw. However, as you deal enough damage to him, he will transform into a grotesque monster, and things get a little more difficult. His normal attack will now hit the entire party, although it doesn’t do too much damage. The only other attack he has in this second form is Roulette Punch, where he’ll strike someone. However, Roulette Punch only seems to take half of your current health, so it doesn’t appear to actually be able to KO you.
The battle is pretty easy, once you know about that fact for Roulette Punch. He is weak to both Sun and Moon damage, too, so that makes Zale and Valere great characters to use. Once you’ve defeated him, feel free to return to the campfire to heal, then head into the next room beyond where you fought LeJugg.
Halls of Illusion
As you continue, you will encounter a room with a lot of different floating platforms. Despite the complicated layout here, there’s only one way to go, which leads to an exit in the northeast. Fight the two Sleuths here, if you want, then exit to the southeast. Follow the path until you reach the room with the floor that appears under your feet. Although it might feel like a maze a little bit, it isn’t too difficult to navigate, and you will find both a chest and a basket in here. At the beginning, head right, down, right and up to arrive at the chest, which is a Salix Cork.
(1 of 3) The room with all of the tile walkways will have a chest in the northeastern corner.
Return to the beginning of the room and head down, left all the way, and up to reach the basket with the Yakitori Shrimp. From there, follow the western edge of the room to the south, and you will reach the southern exit. Keep going through the next room and you will arrive at another battle, with there being a new monster here, the Stitcher (accompanied by a BilePile and two Tsiclops). Defeat them, then look to the southwest to spot a lone platform with a chest; open it for some Apogee Daggers. Exit to the northwest to be back in that one room from earlier, which looked like it had plenty of ways to go.
Well, it’s still linear, so ignore everything else and just follow the path to the exit in the southwest. This is where the aptly named Halls of Illusion will start to work. Do the following at each location to progress:
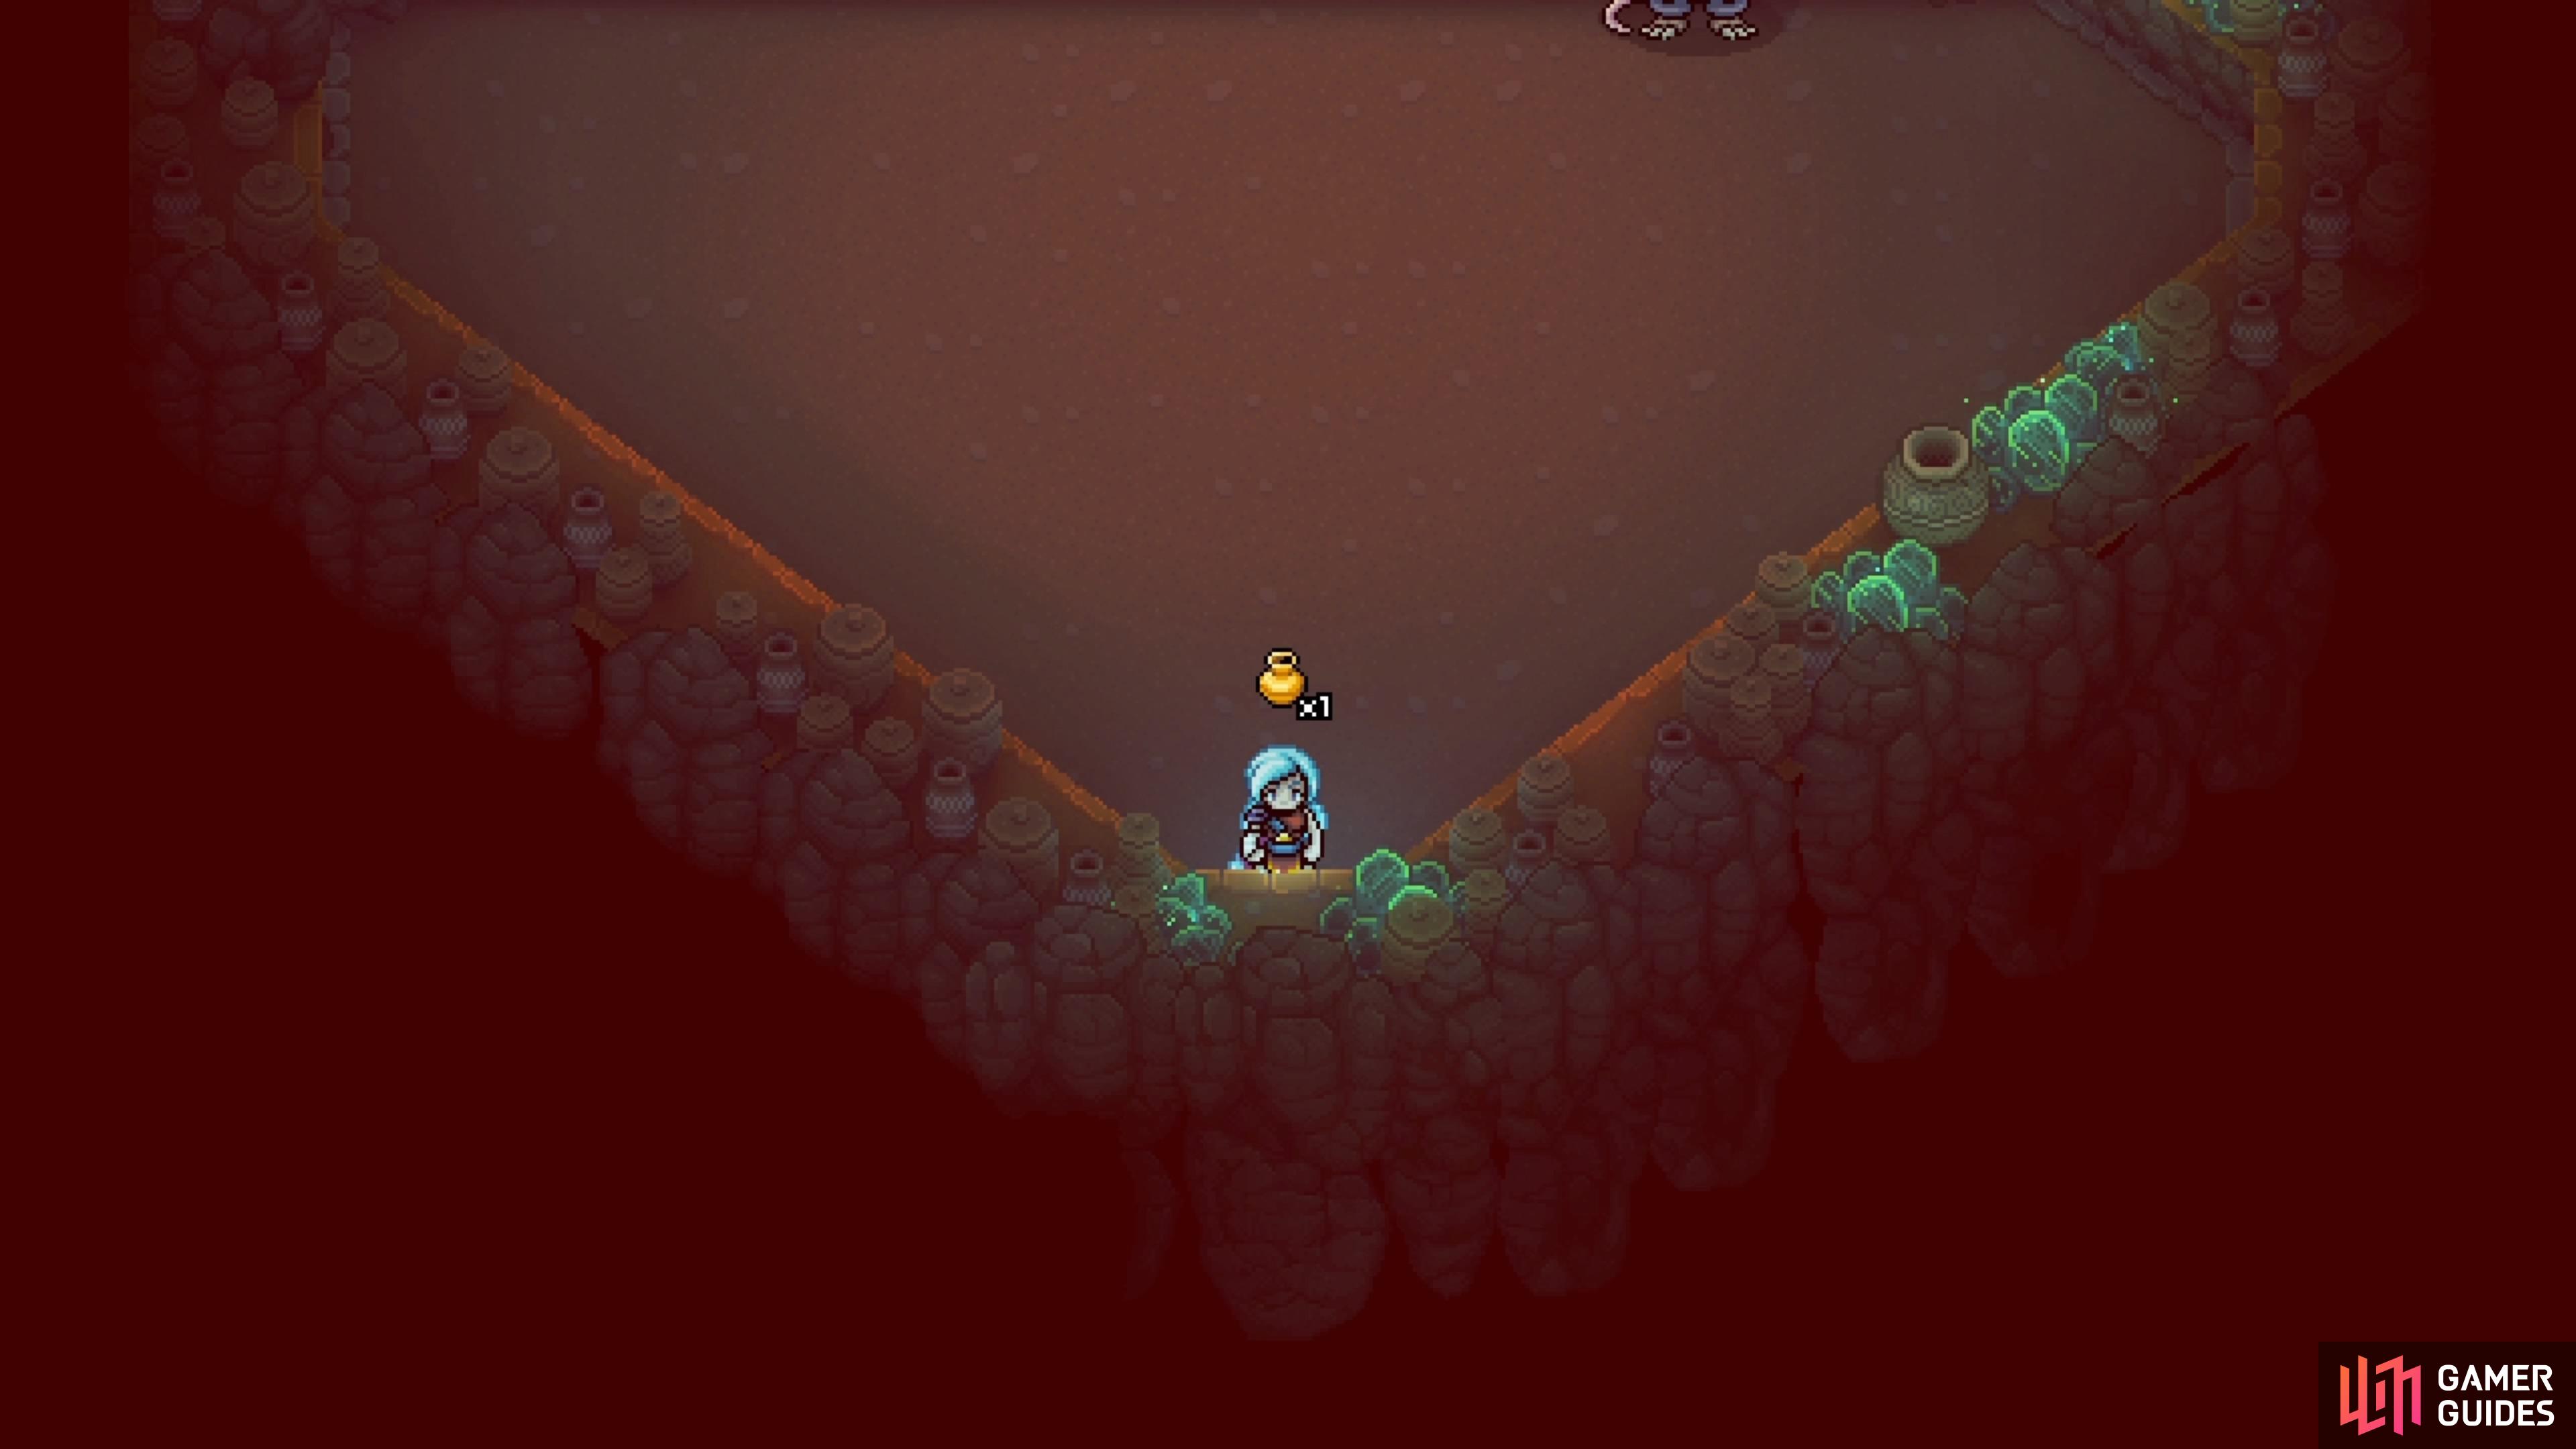
- Go to the campfire and Rest
- Grab the three large jars and place them on the pillars to the north
- Speak to NPC behind the counter, then go to the kitchen. Grab the food from the counter back there and deliver it to the three NPCs who aren’t shaking. Speak to the NPC at the counter after you’re done.
- Catch the lone fish in the lake, then speak to the mole NPC on the right to hand it over
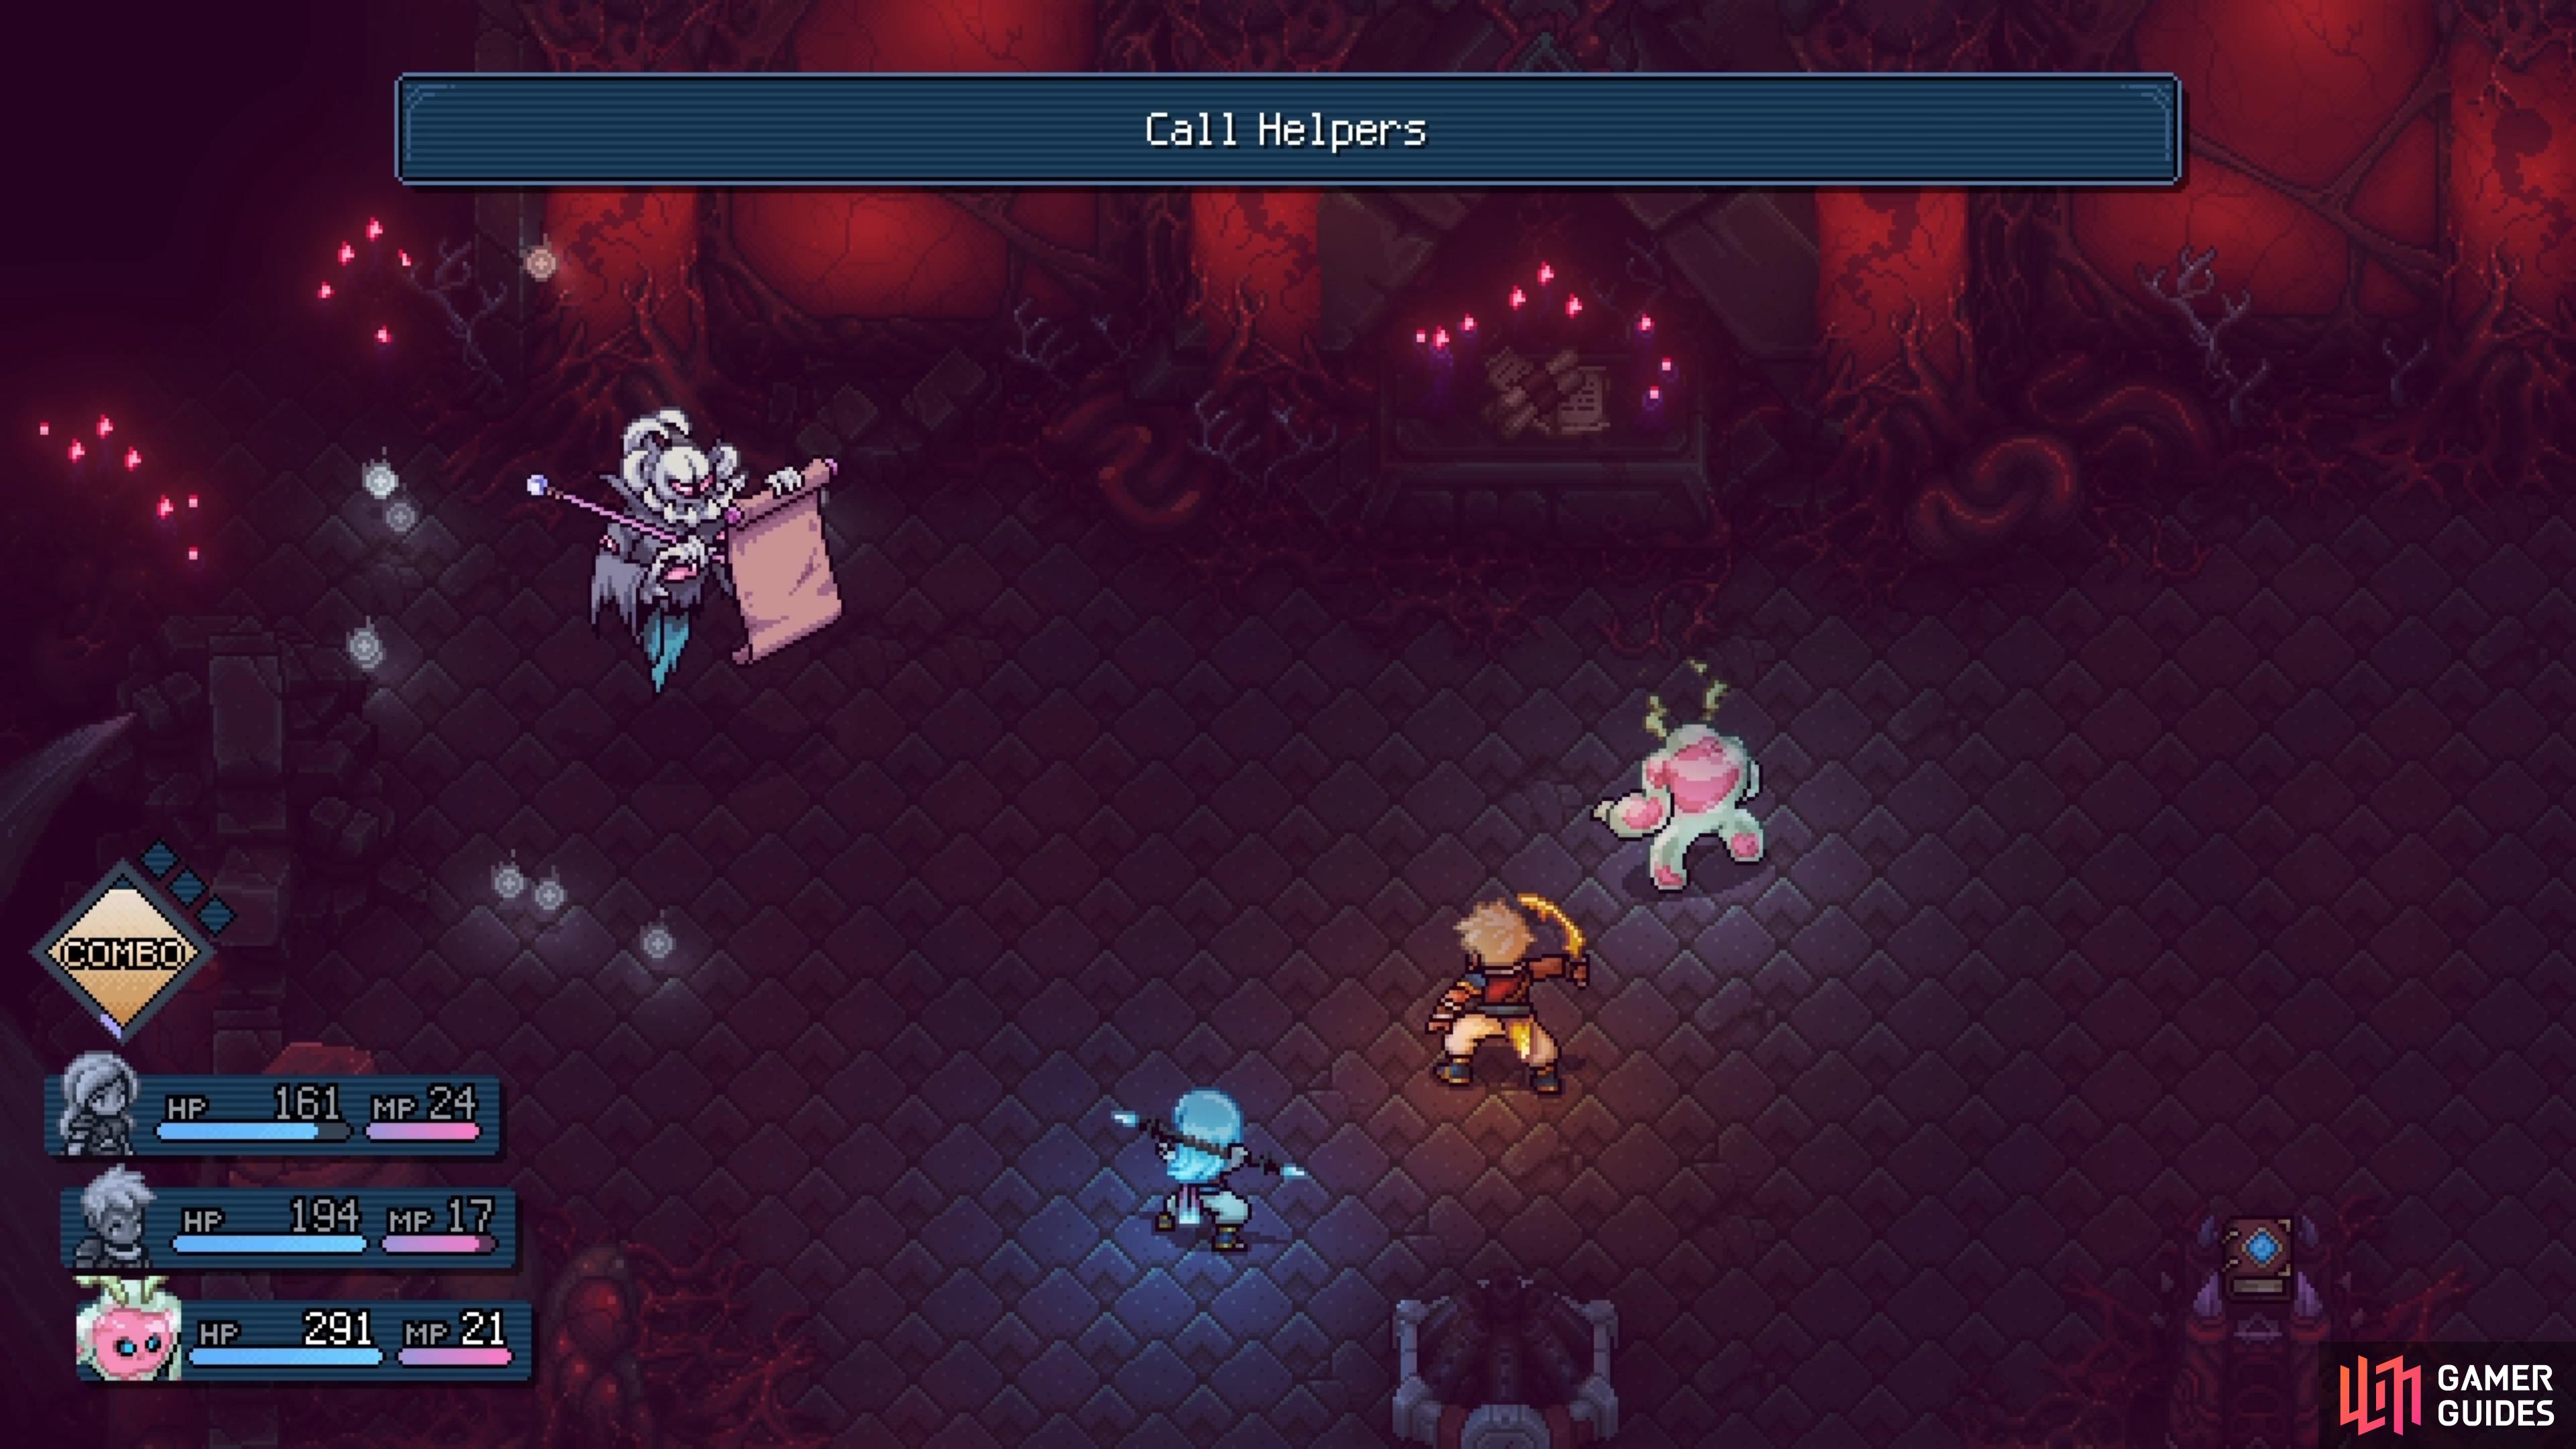
Once you’re done with all of those, you should be back at the field area. There will be a floating eye here, so interact with it to make it appear elsewhere. Keep following it and when the bigger eye appears, do it one more time to have the illusion broken. You will meet the Soul Curator, who is working his magic here, and will have to fight him now. He only has a regular attack (hard to time a block) and his special is just him summoning more enemies into the battle. This is hardly a boss fight, though, so don’t really treat it as one.
After defeating the Soul Curator, he will run off and you can use the campfire here to rest. Don’t go chasing after him just yet, as you can exit to the southeast. Break the illusion in this room and you will reveal a chest on the northern end, which contains an Earthshine Staff. There will be a battle upon trying to exit the room, against a BilePile and Sleuth. Return to the previous room and chase after the Soul Curator now. Another illusion here, complete with the floating eyes, so you know what to do. The Soul Curator will have three Stitchers at the start of the battle, but the fight is largely the same as the previous one.
Follow the path beyond the Soul Curator, who runs off again, until you get to the fishing illusion. It is the same deal with the eyeballs here, although you’ll have to swim to the north end for the second one. For this battle, the Soul Curator will have two OAF enemies, who are a little bigger, but nothing to really worry about, though. After the battle, swim to the northern end of the room again to find a chest, with a Firmament’s Edge inside it. The path beyond will lead you to some orange thing on the ground, which is a teleporter. This takes you to a campfire and save point, so rest up, then head north.
(1 of 6) The Soul Curator doesn’t really do much, other than a normal attack and summon enemies.
There will be more ground that appears underneath your feet, but the left path is a dead end, so head right. Go up the climbable wall, then drop down to the lower platform on the left side. Loot the chest for a Legendary Feast (this is a full recovery for the entire party, so it’s worth it), then use the walkway to the north of the chest to reach the exit. You will come to the Soul Curator one last time, who will sic a more formidable enemy on you.
Phase Reaper Boss Guide - Sea of Stars
The Phase Reaper can be a challenging boss, simply because he can drop a single character’s HP to single digits with his Flourishing Death move (six Locks). At the beginning of the battle, he will create two clones, who do nothing but normal attacks. They have a fair bit of health, too, so if you’re looking to get rid of them, then it will take some time. It does seem like there are two types of normal attacks here, too. One is fairly quick (the overhead one), while the other has a slight delay to it (horizontal), which means there’s two different timings for the block.
Note that if you get rid of the clones, the Phase Reaper can actually summon more, although it might be a bit of a rarer occurrence. He does have one more special move, with four Locks, called Split Ball. This will hit the entire party for around 30 damage, so it’s not too bad. The main move to watch out for is Flourishing Death, so concentrate on breaking that as soon as you can. If you need to use moves that delay the boss’ turn, then definitely use them when the above move is being readied.
Continue past the summoning gate, and follow the path until you reach a save point. The NPC on the right side, but the tent, is a merchant and sells both Recipe: Lasagna and Recipe: Braise. The orange thing at the top there is a teleporter to the beginning of the dungeon. The room to the left of the teleporter has a campfire you can use to rest, and there’s also a chest in here with Question Pack #10.
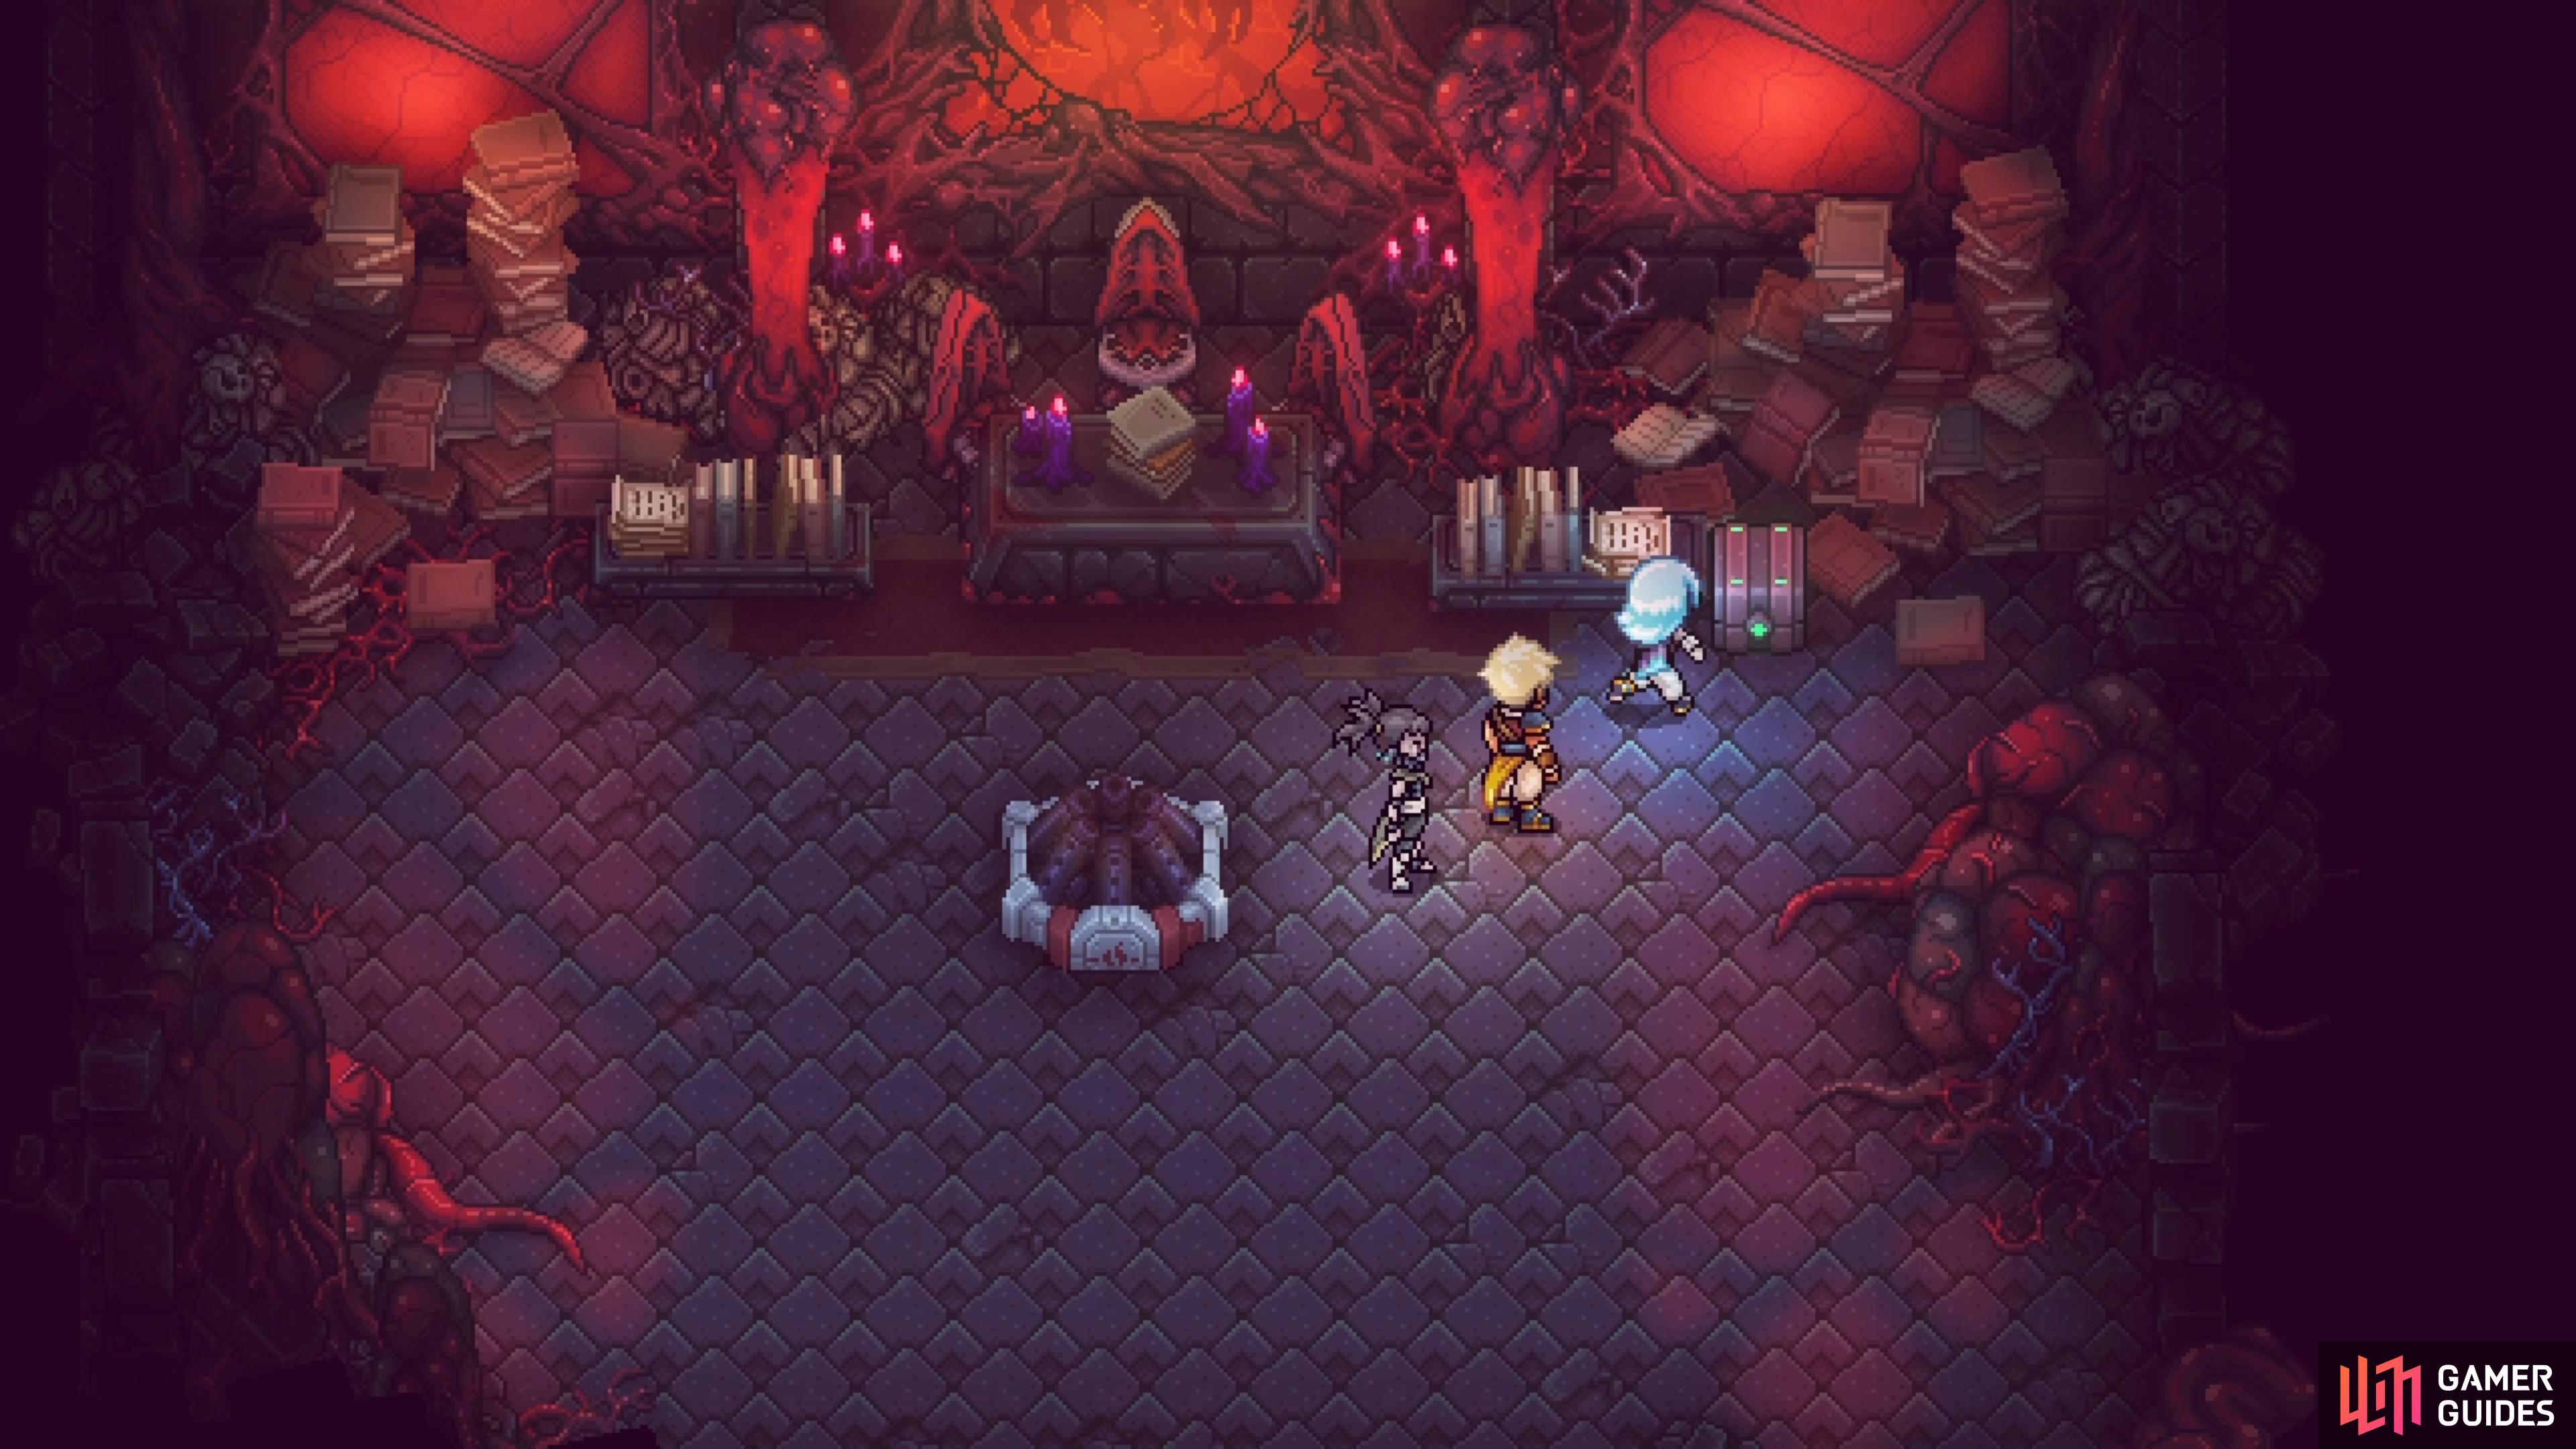
The chest in the side room will have Question Pack #10.
Point of No Return in Sea of Stars
You’re pretty much at the end of the main story here in Sea of Stars. There will be nothing between you and the final boss, other than a very long set of stairs. Once you reach the very top of the stairs, you won’t be able to go back upon entering the doorway there. There will be some scenes here, then you’ll be fighting the final boss of the game.
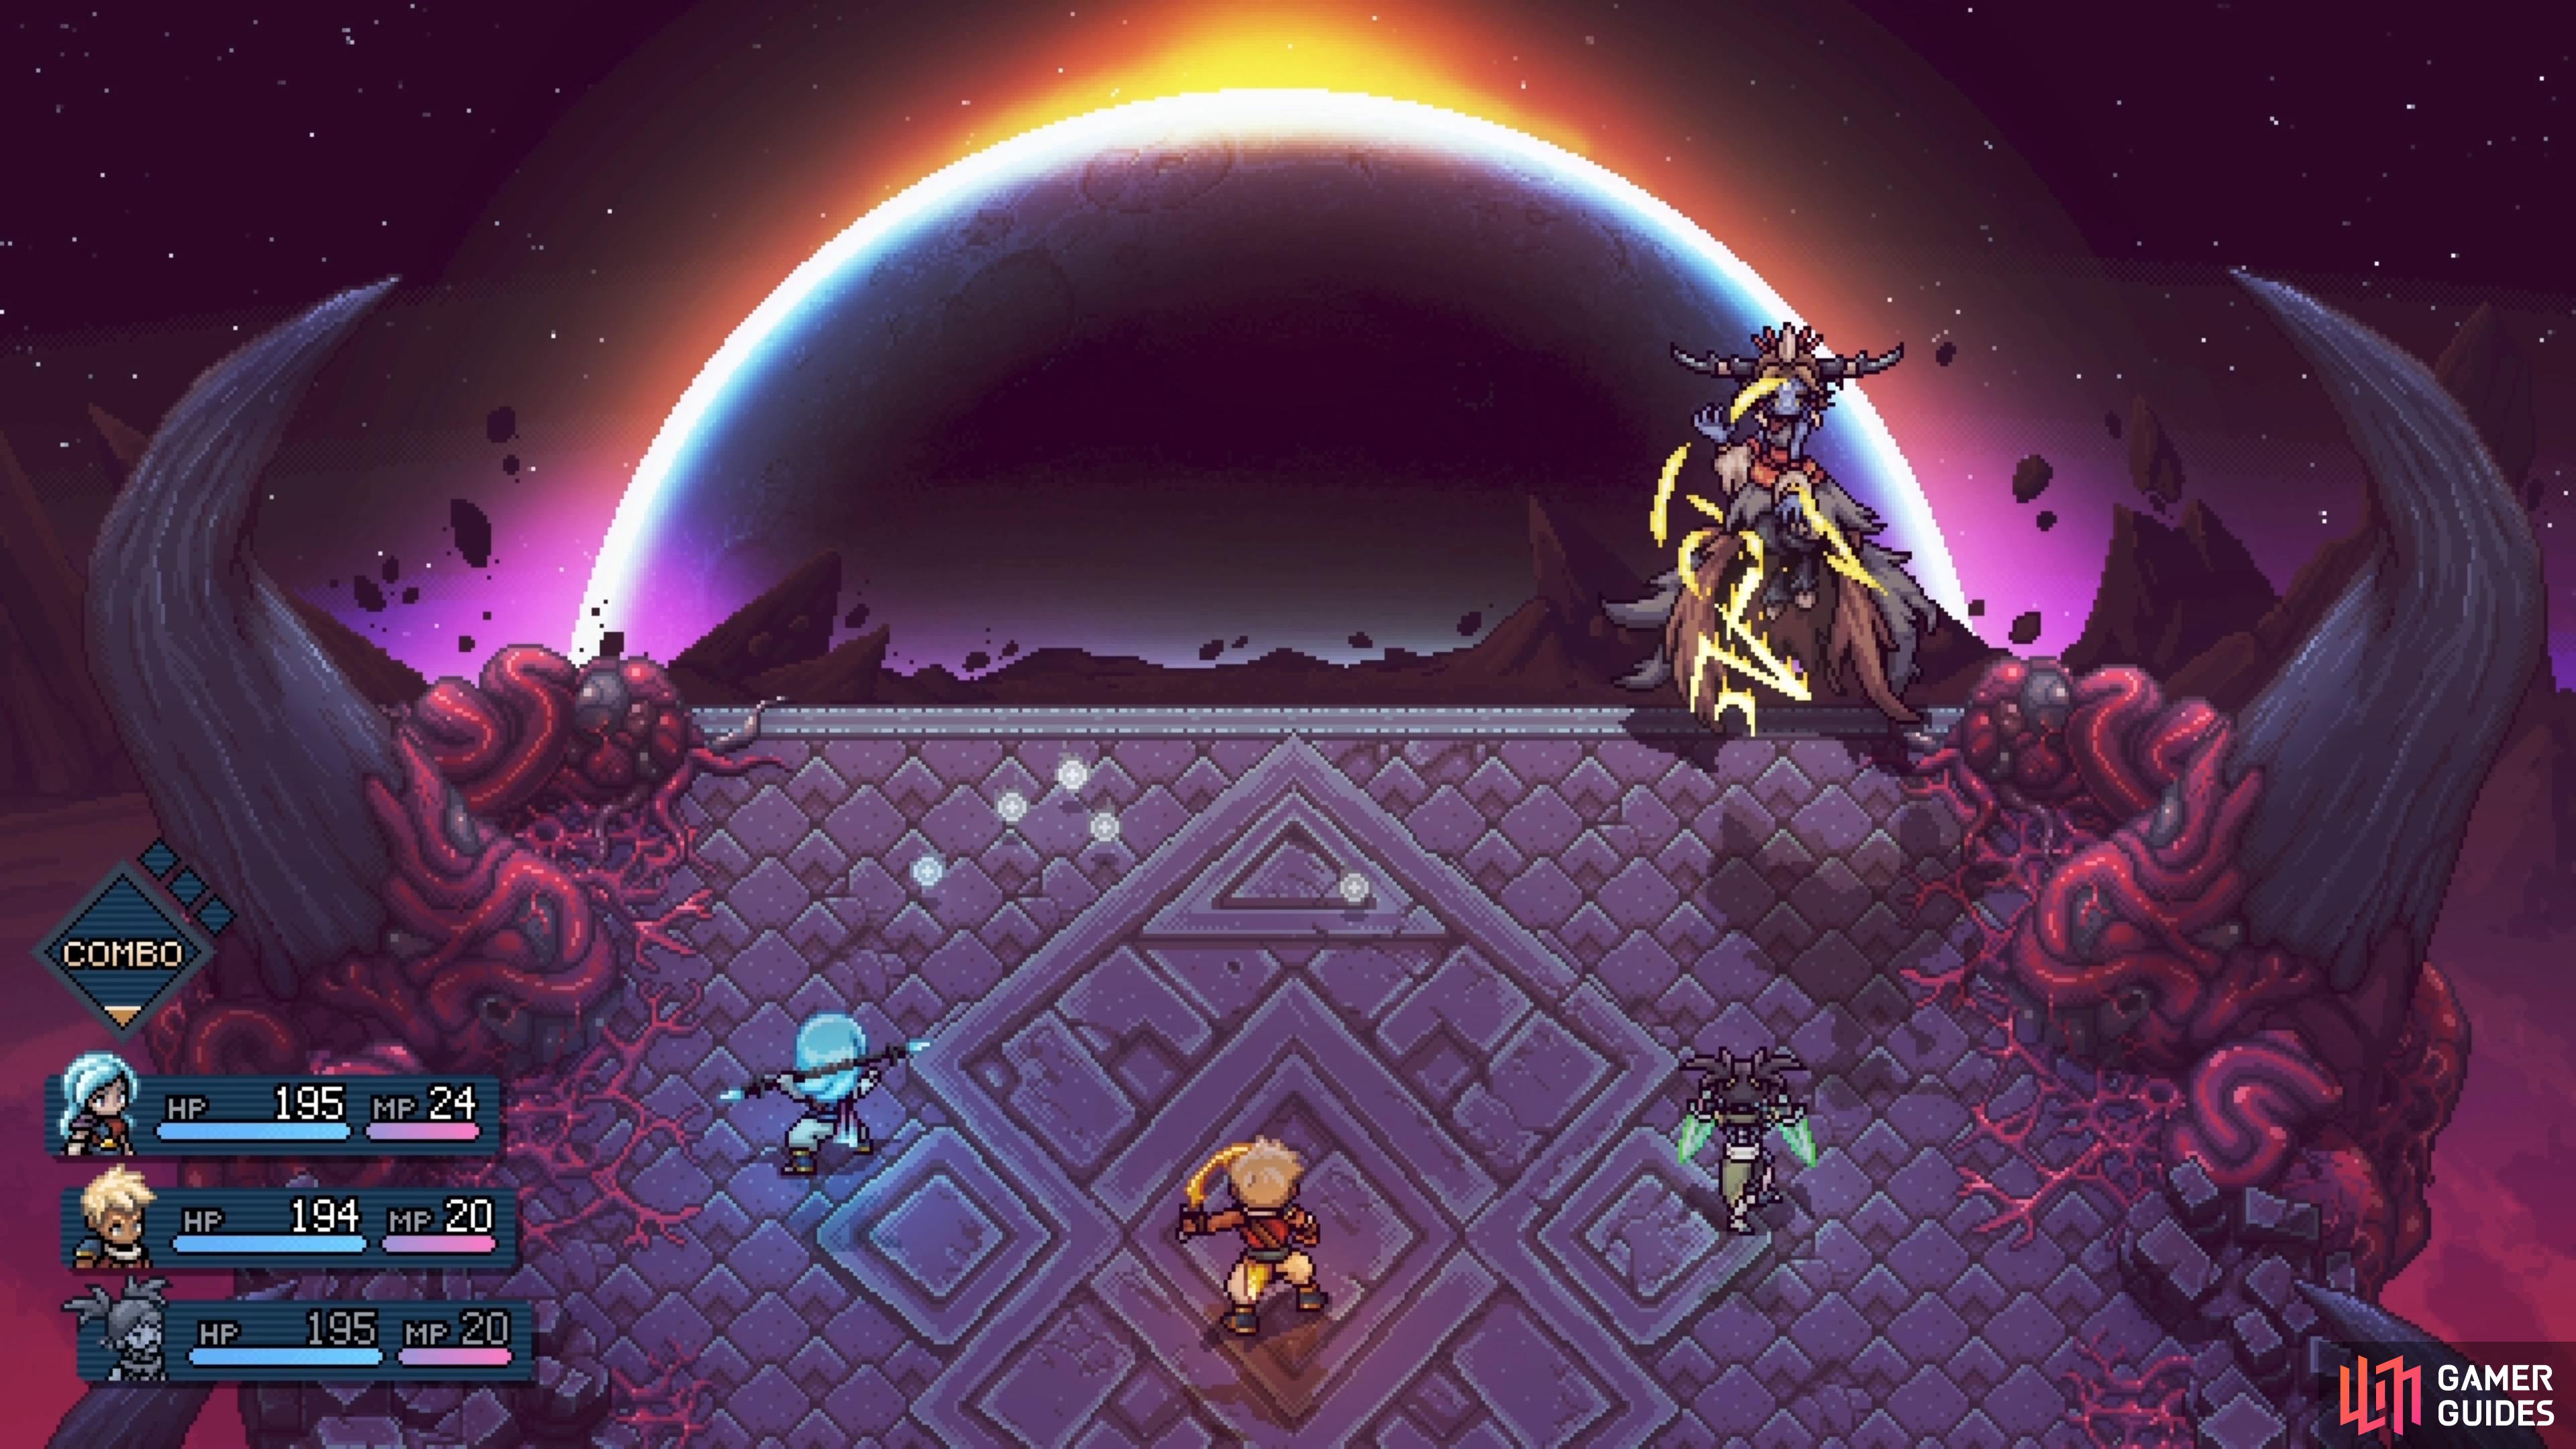
Elysan’darelle Boss Guide - Sea of Stars
The final fight with Elysan’darelle takes place across two phases, with the first phase being fairly easy. Her normal attack will involve her drawing a rune, which she then sends to hit a character. This will actually do some decent damage, too, so don’t expect some small hits. The three-Locks move is called Telekinesis Crash, where she’ll make two characters crash into one another for okay damage. The last special move you’ll see has four Locks and is called The Pyramid. She’ll summon a large pyramid, similar to her attacks from other encounters, and hits the entire party for about 55-60 damage.
Overall, this first phase is fairly easy. You will want to keep some Live Mana around, so it’s easier to break the Locks. Additionally, you can also use moves that delay her turn, if needed. Once you defeat this form, the second phase of the battle will ensue, with your status from the first phase carrying over here. The only thing that doesn’t carry over is your Live Mana, which is a little bit of a bummer.
(1 of 3) The normal attack in the first phase is her firing a rune she draws at someone.
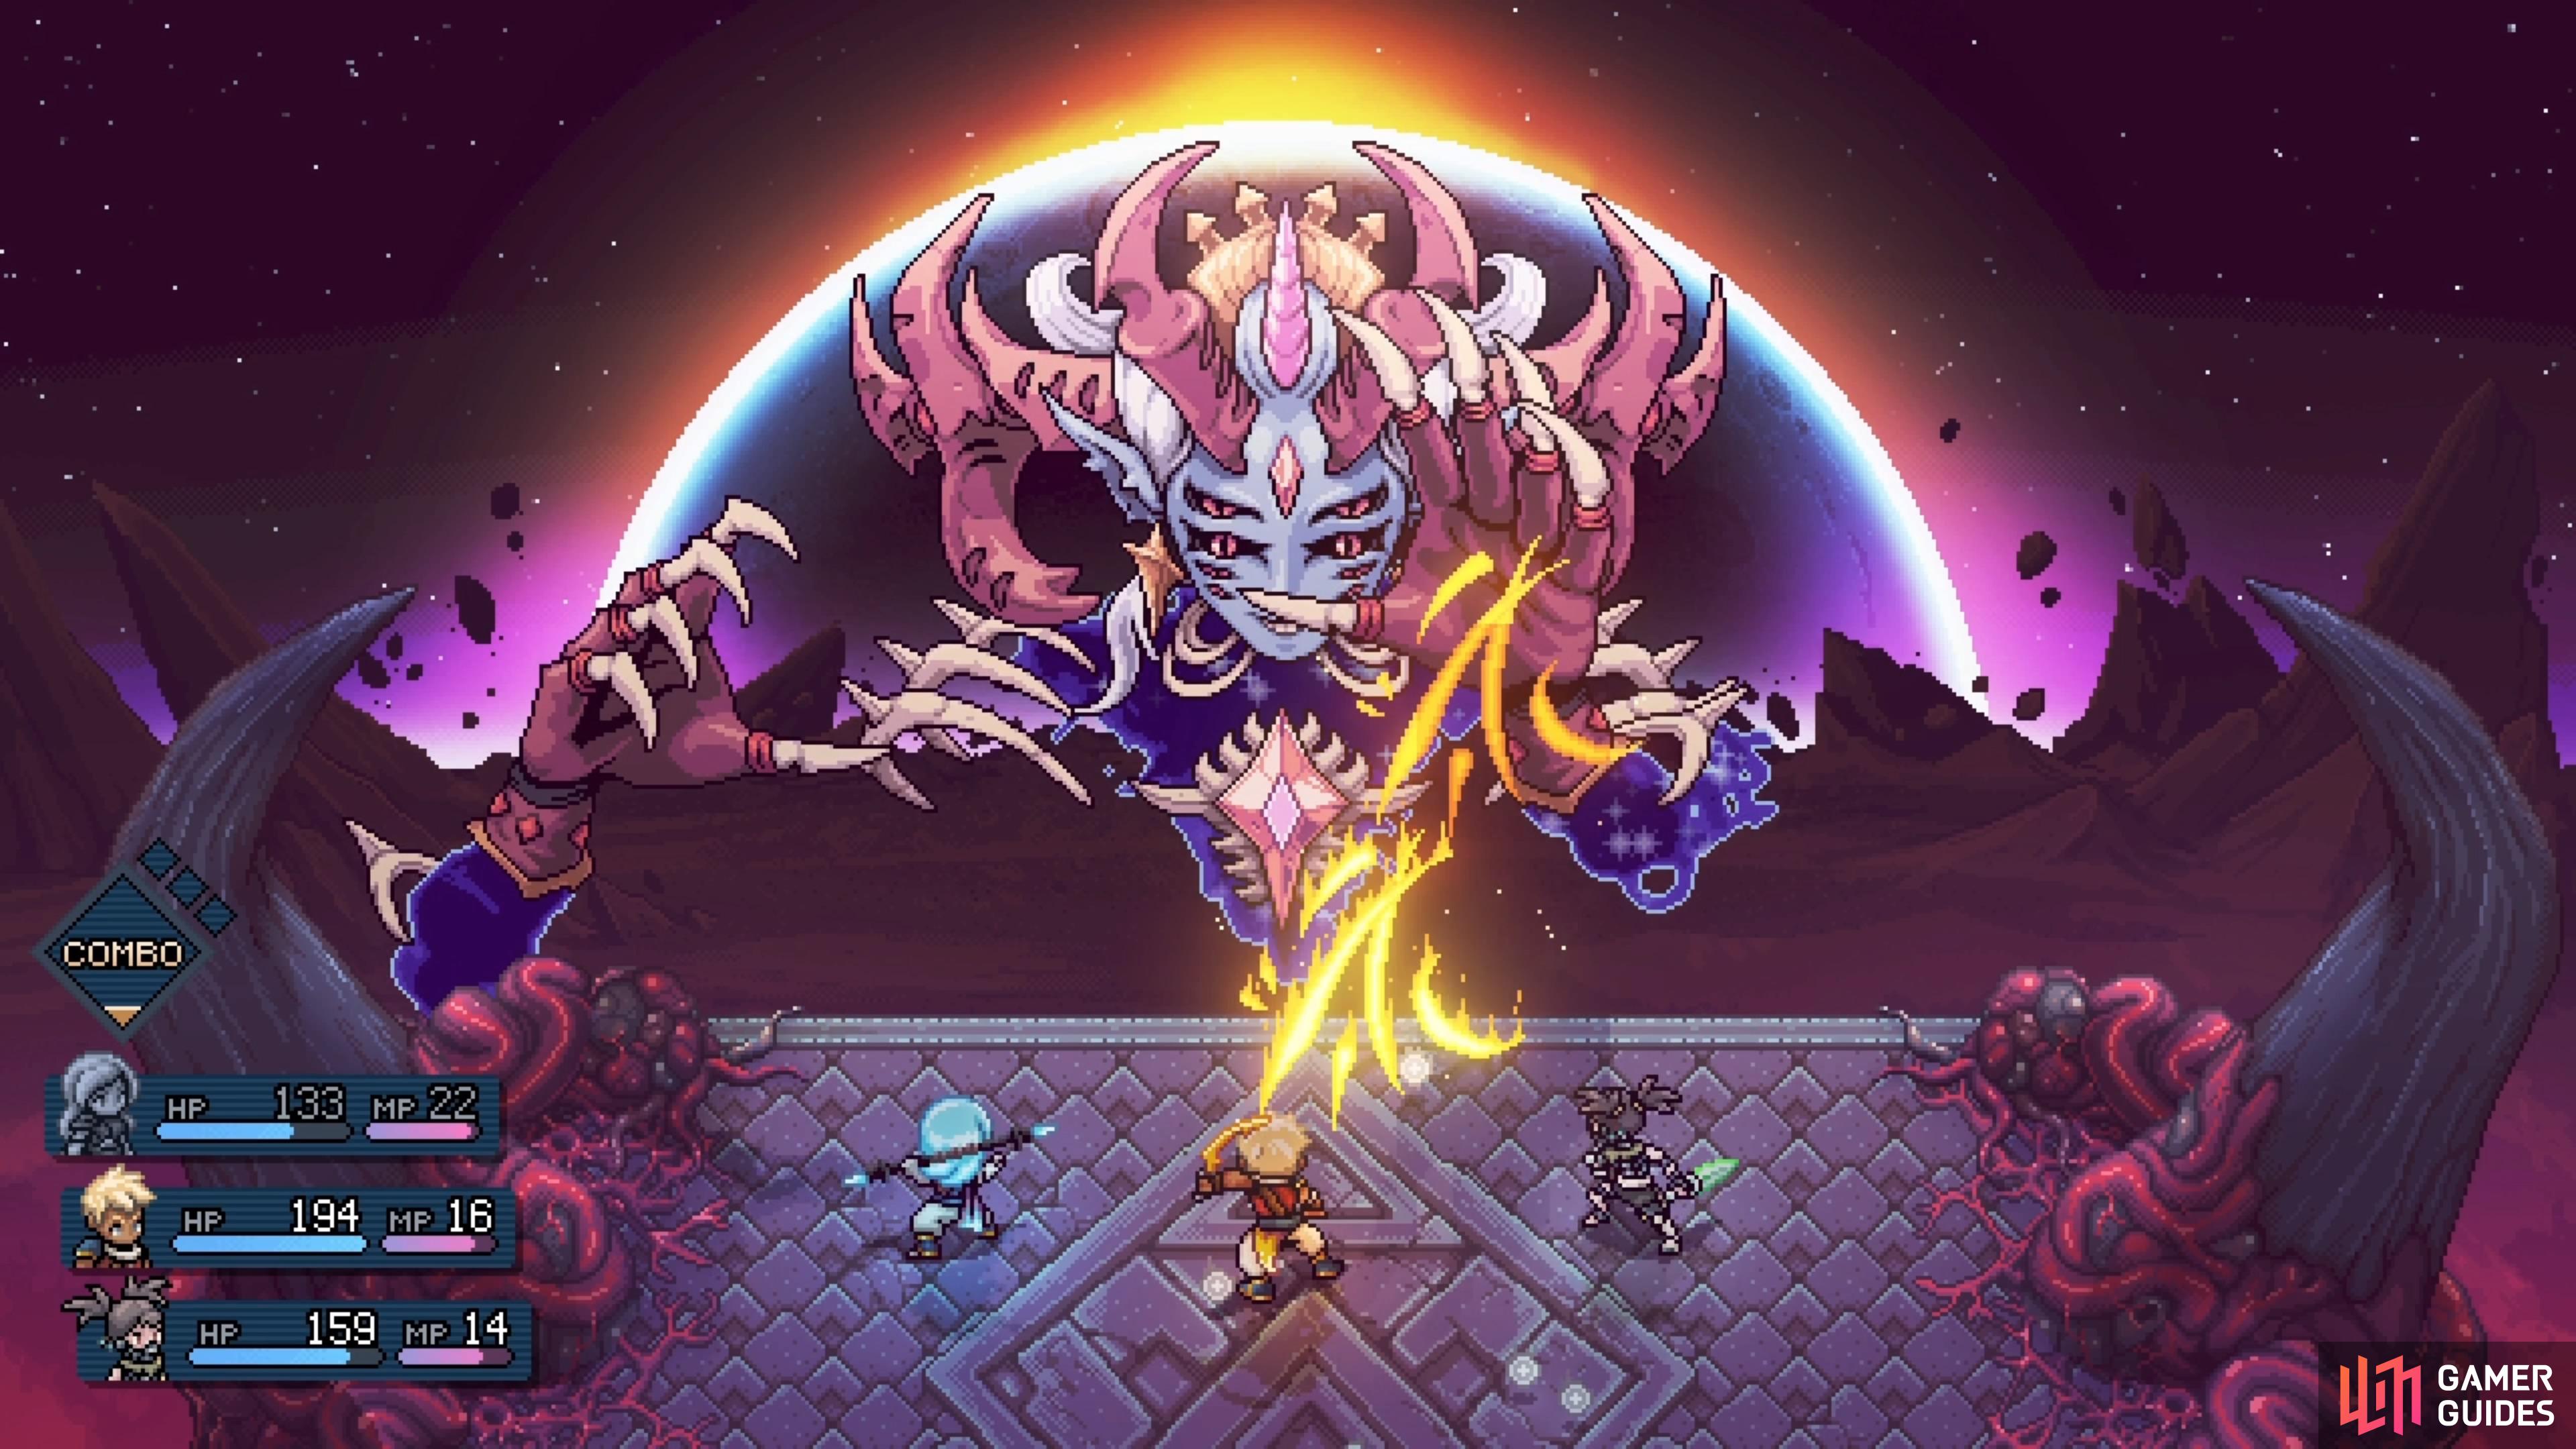
Elysan’darelle is definitely more challenging in her second phase, and her moves will change. The normal attack is similar, as it will involve her drawing a rune, but she will shoot it three times, with each hit dealing around 30-35 damage. It is possible that a character can get hit by all three runes here, but it’s more likely that someone usually gets hit by two. By far, the worst skill you will see in this phase will be the one with four Locks. The attack is called Crystal Touch and it will place one of your characters in a crystal, making them unable to move or act.
This might seem harmless at first, but it’s the follow up that is bad. If you don’t break the Locks from the crystal itself, then the move that comes after Crystal Touch will instantly KO that character. The move is called Shatter, but you can treat this like any other Lock-oriented move. There’s the delay option, but if you do break the Locks, then the crystal will go away. Of course, there is always the chance that a character like Zale or Valere will have the crystal on them, with the Locks requiring Sun or Moon. In this situation, Resh’an has a move called Ebb that can randomly break Locks, up to five of them, depending on if you time it correctly and use Live Mana.
(1 of 4) The second phase’s normal attack will hit three times to random party members.
She does have one more move, involving three Locks, called Life Leech. This will hit all three characters, for medium damage, but the amount of HP she gains back from it is not really much. The whole difficult part of the battle is making sure that Shatter doesn’t go off, either by destroying it or stopping Crystal Touch. There’s also the problem if she hits one character with all three runes for her normal attack, which can hurt a lot, so make sure everyone’s health is at least above 120 or so.
Upon defeating Elysan’darelle, you will have beaten the main story. Watch the scenes after that, but there is one more bit of gameplay left for you. This is akin to a shoot-em-up (shmup), where you have to destroy some parts of a big monster. Hold down X (PS)/A (Xbox)/B (Switch) to fire your main weapon, with a super beam assigned to the right trigger. All of the parts are very easy, although the last one is a little more difficult, due to it having more enemy fire. There is also a dive, which allows you to dodge.
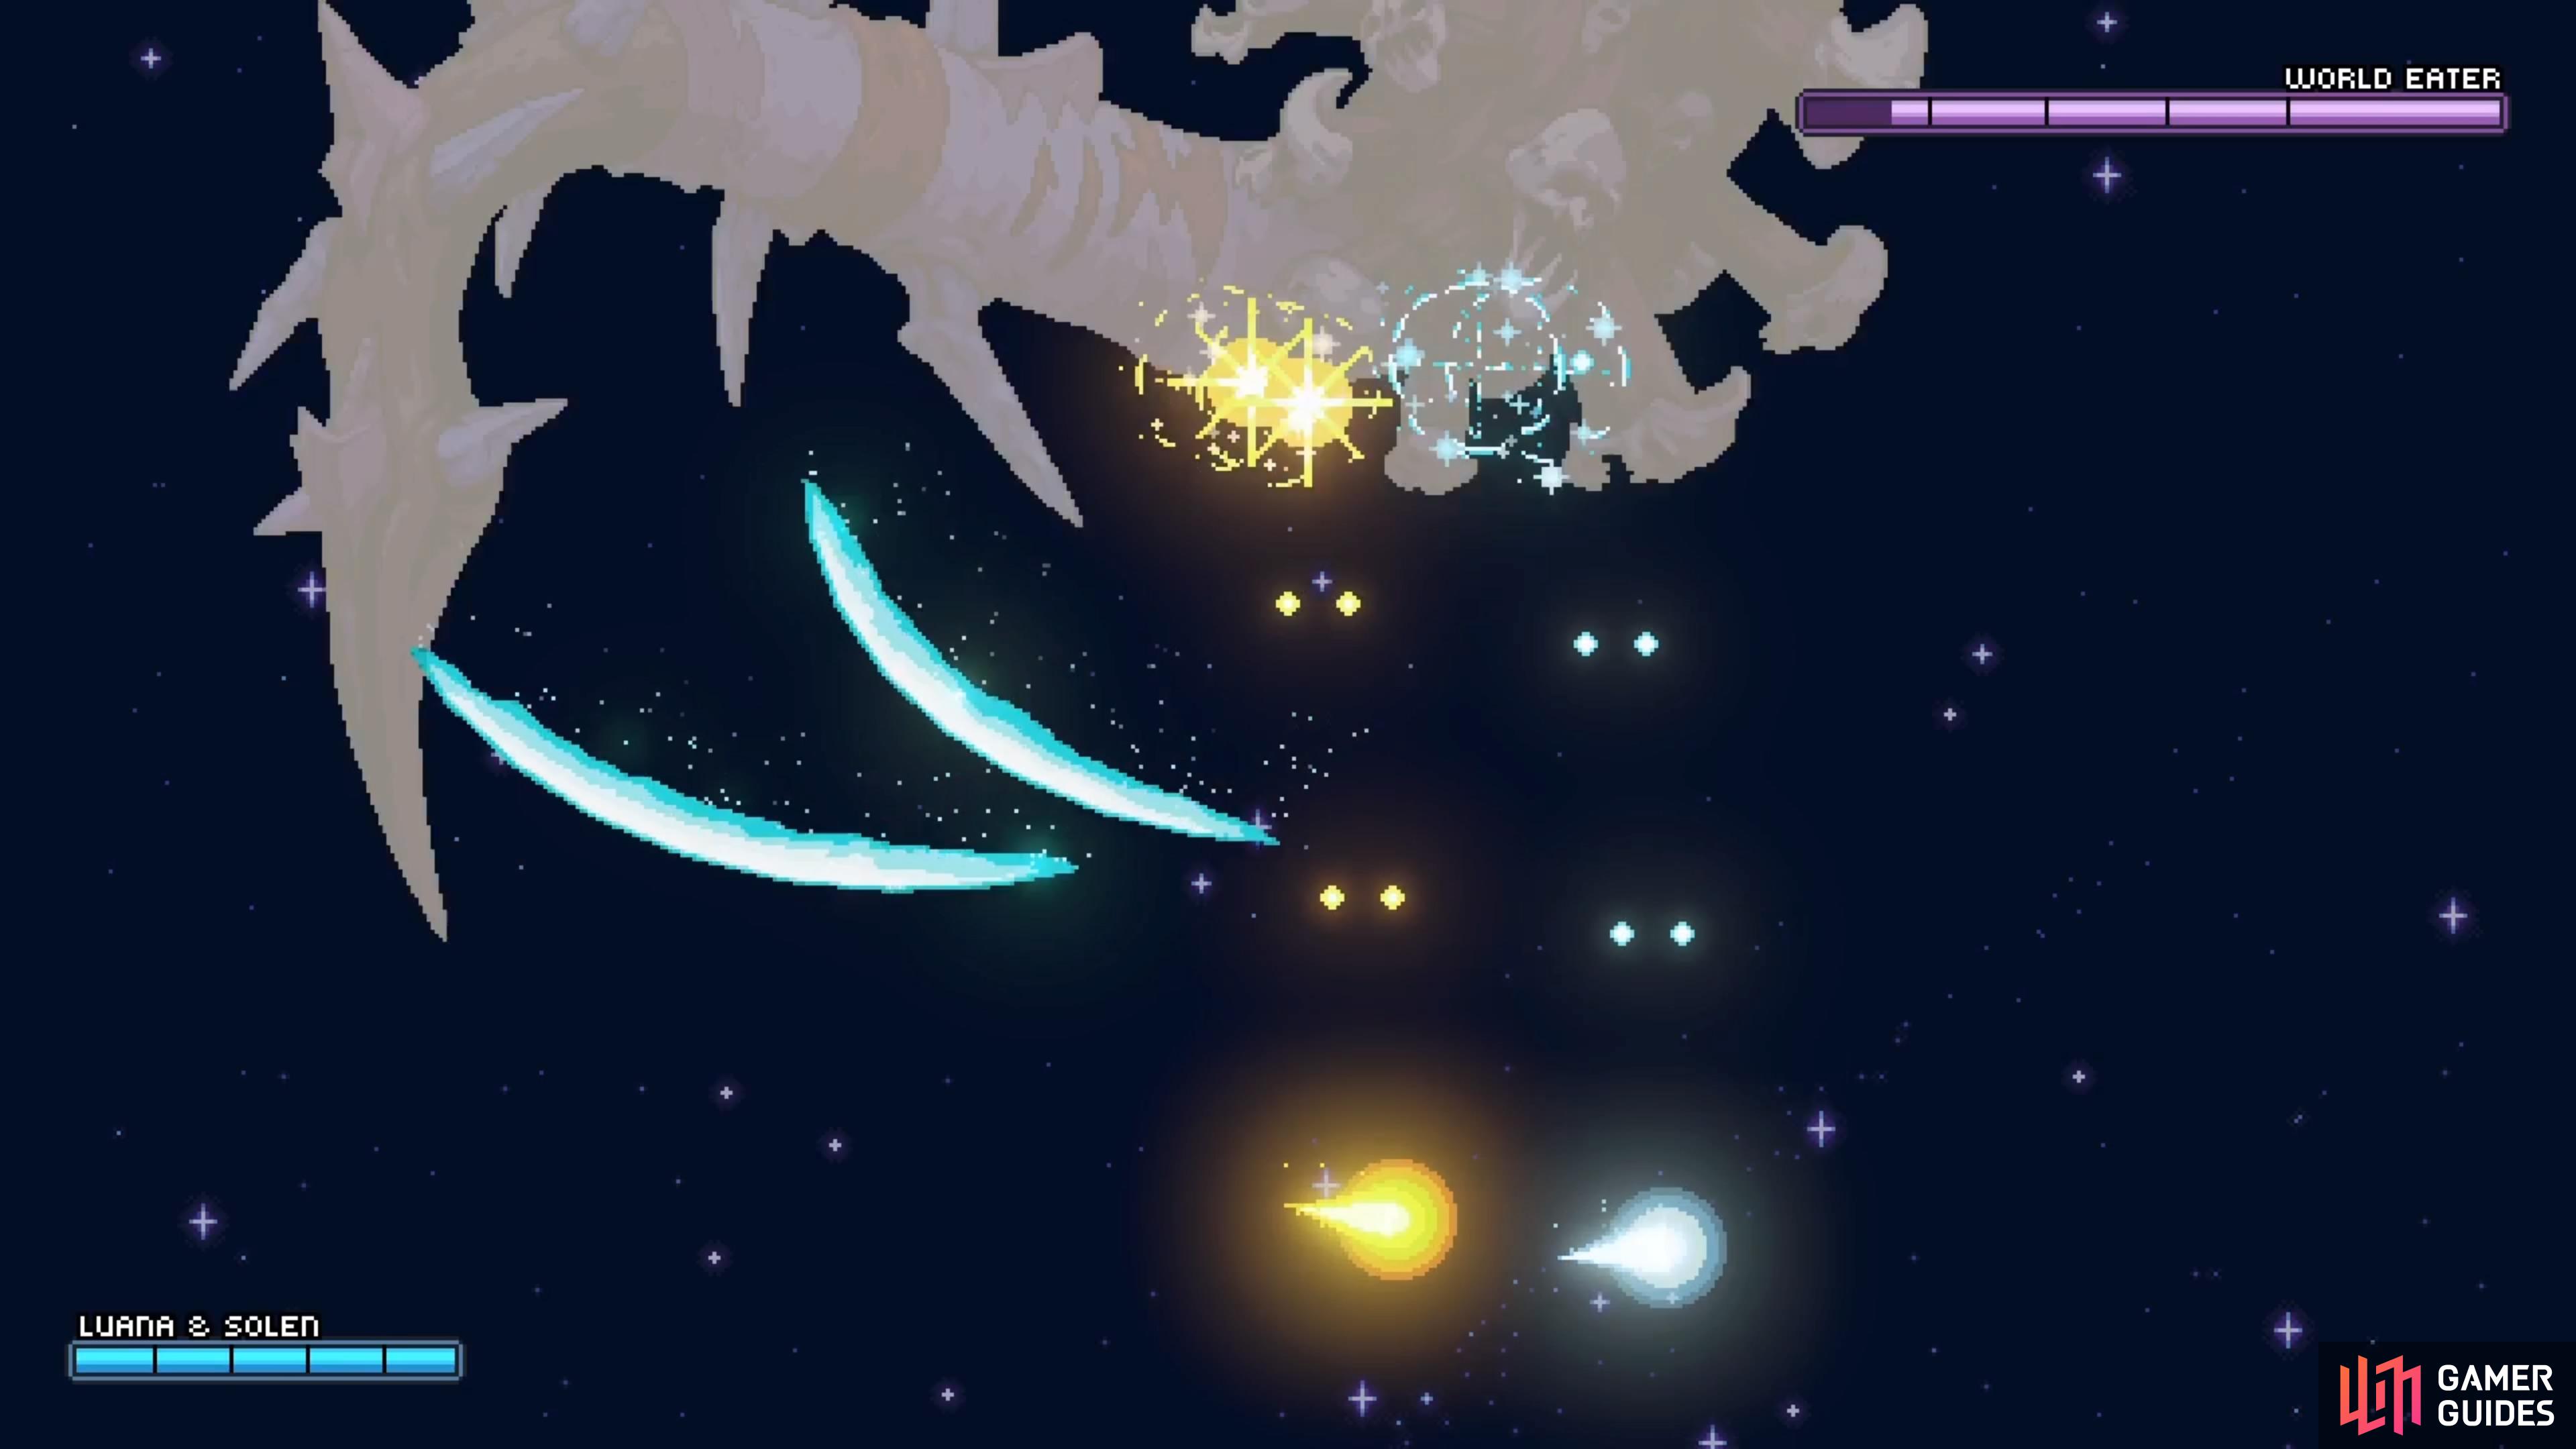
The final bit will be a shmup section.
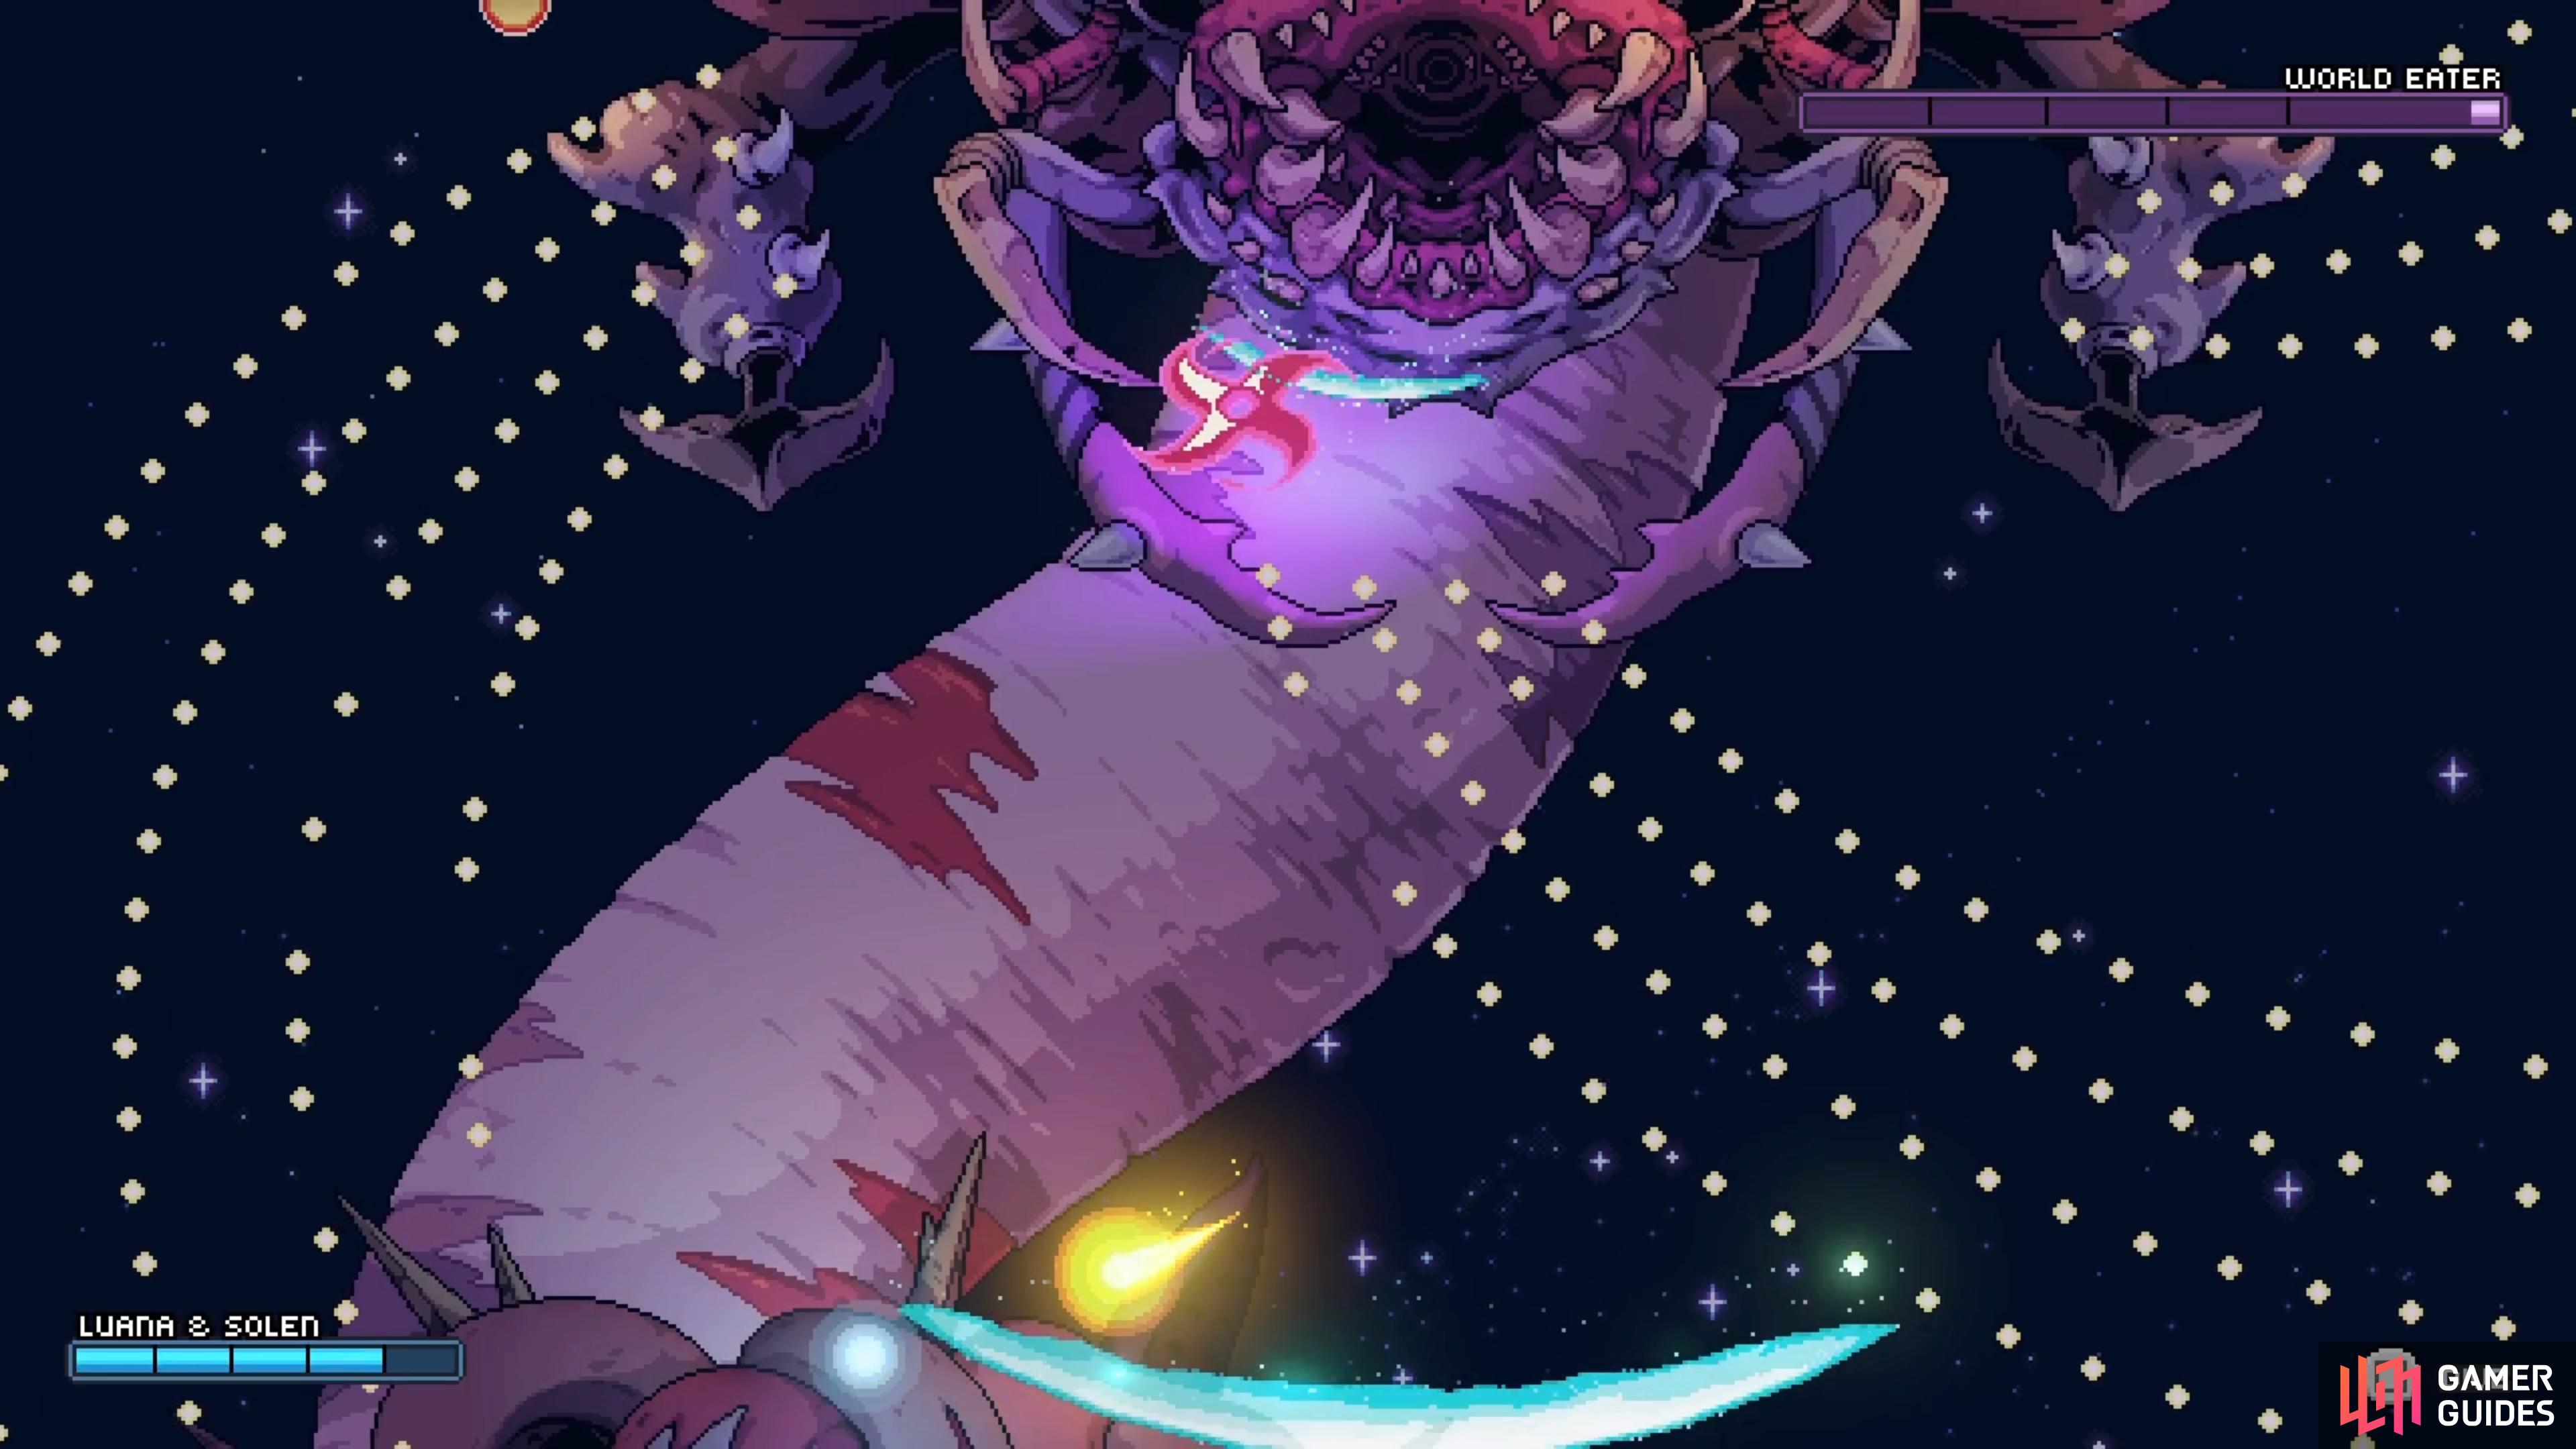
The only really tough section is the final one, but it shouldn’t be too difficult overall.
The credits will roll after that little bit, and they are quite long. Thankfully, there is a fast forward option, and even a faster iteration when the backers come up. However, there is a scene after the credits that alludes to there being more to do. There is actually a True Ending to the game, with another boss fight, so check out that part of the guide!
No Comments