
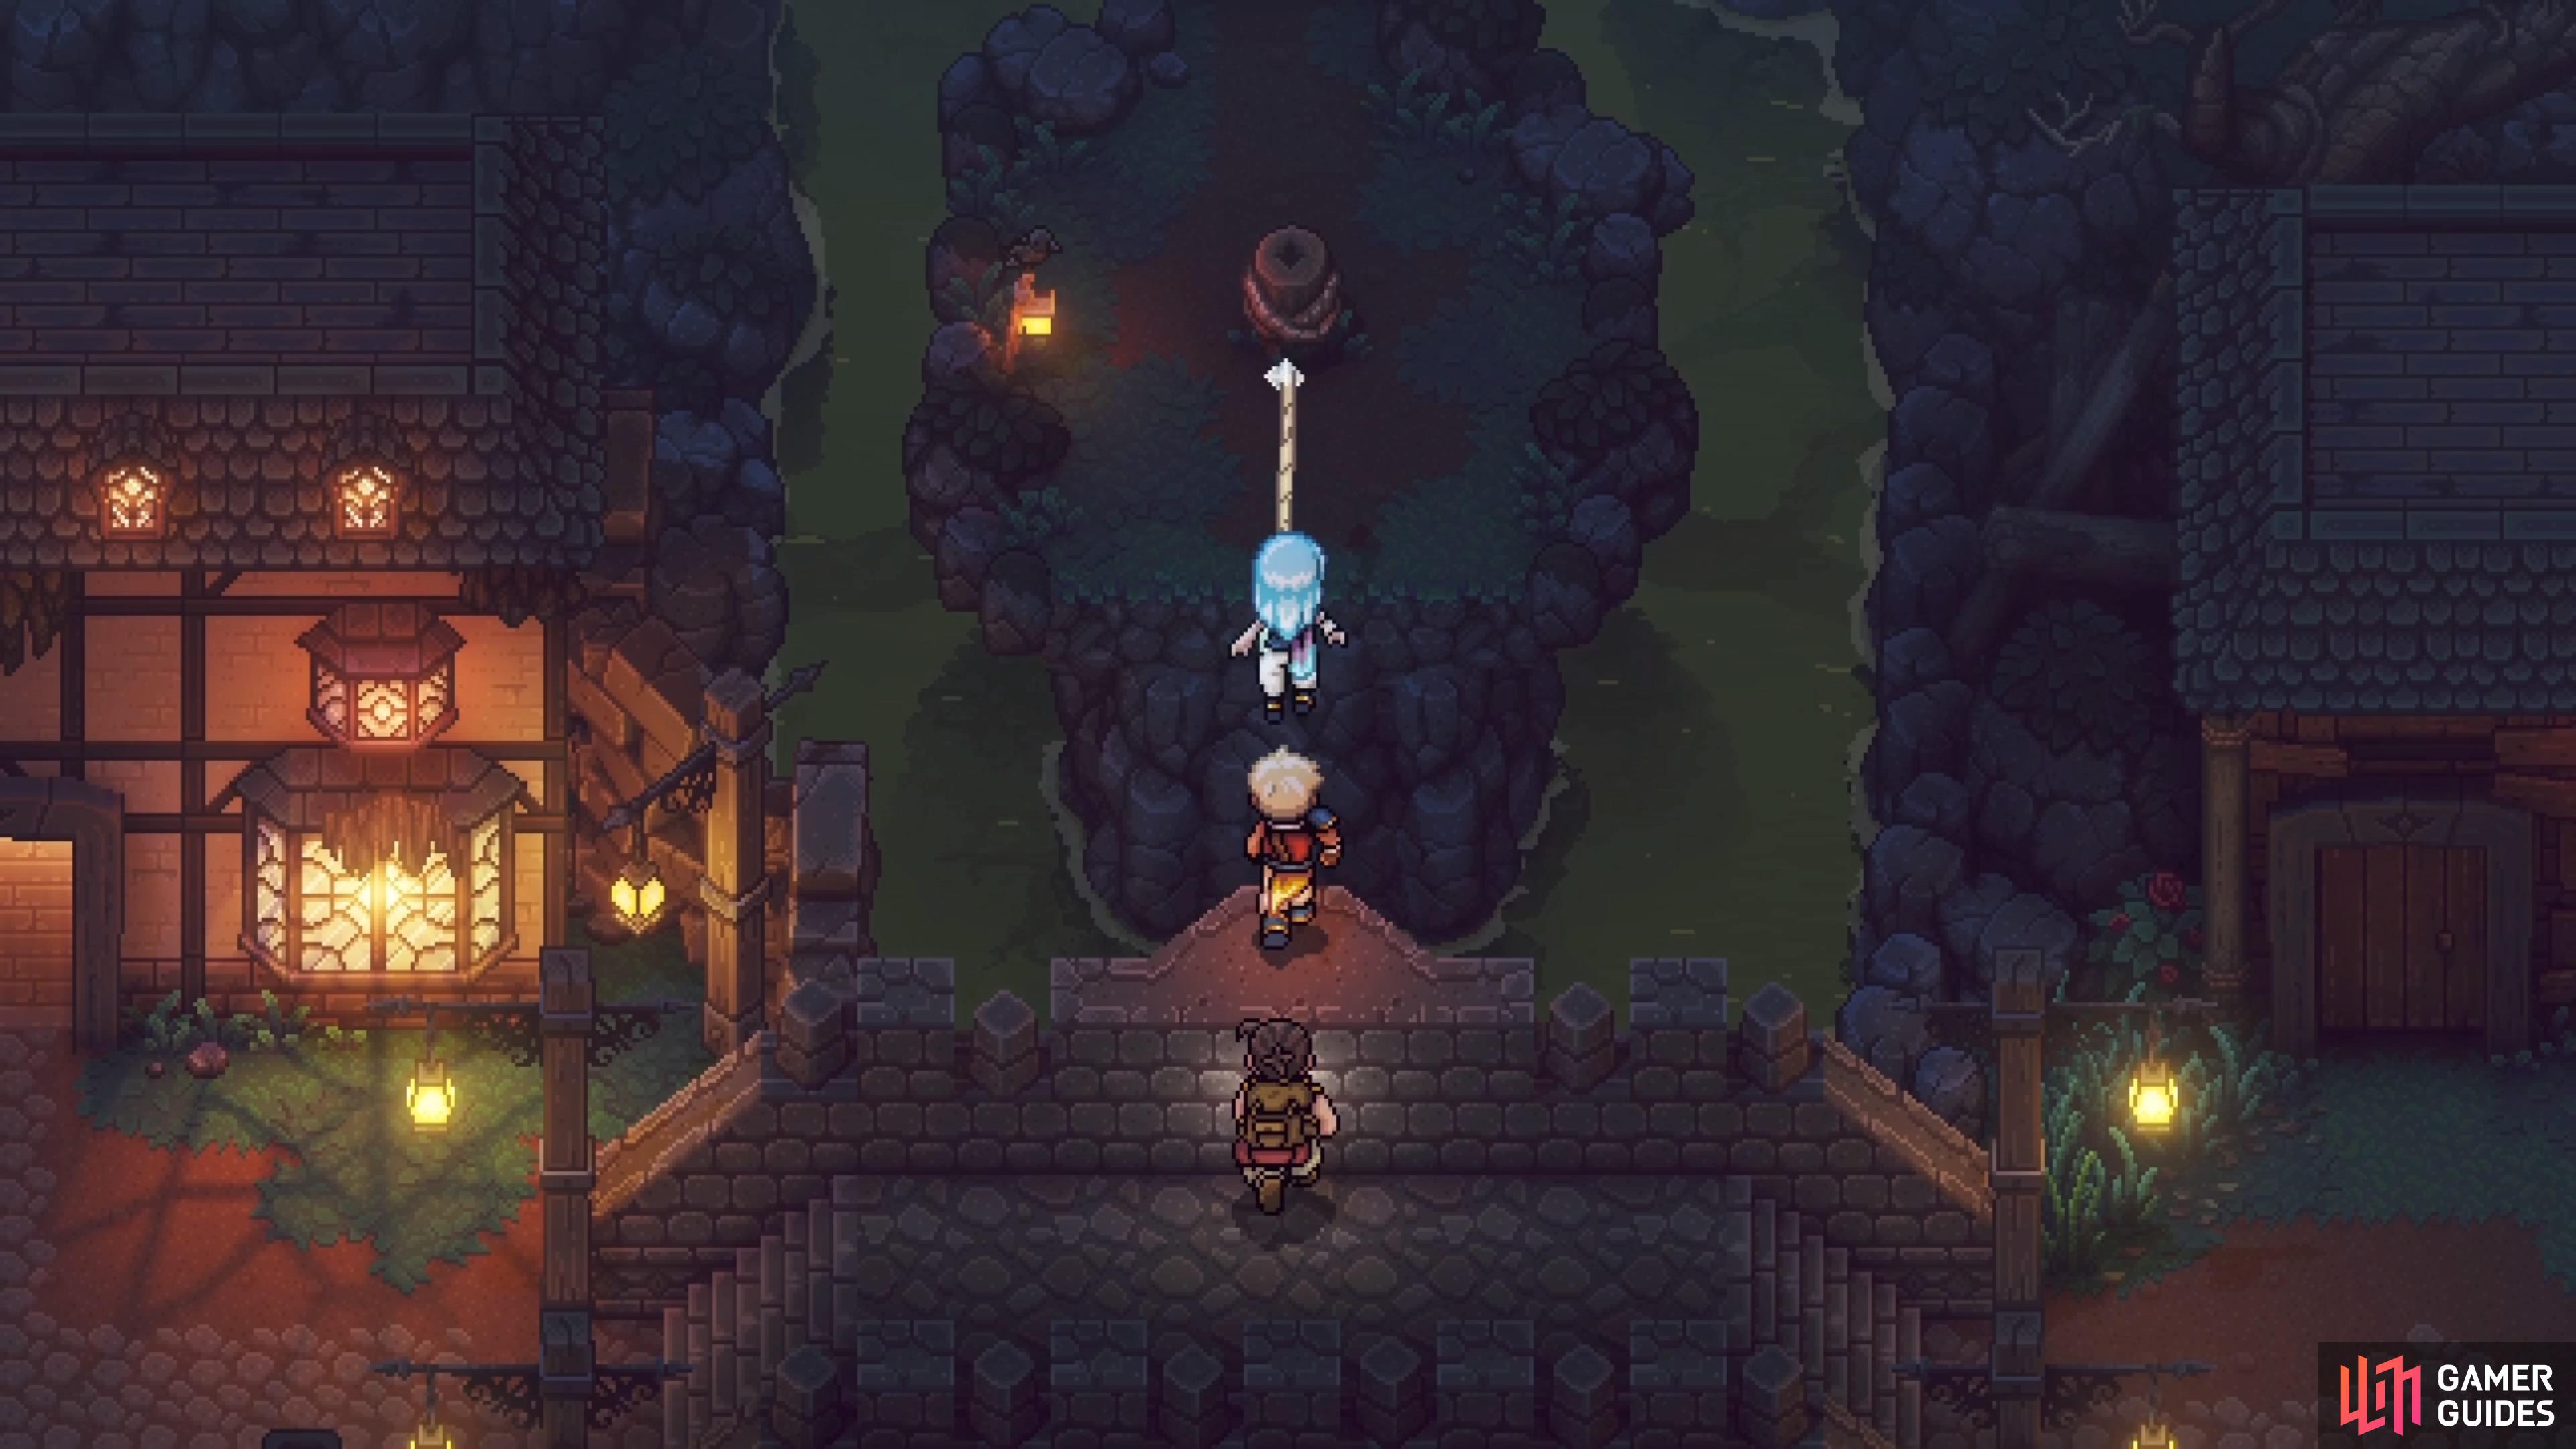
Your goal to save your friend is to enter the Necromancer’s Lair and secure a Soul Stone. Of course, the lair is home to an evil necromancer, named Romaya, who is one of the Three Sisters in the world. Hoping to get lucky and not have her at home, that luck ran out, as you will find her waiting for you at the end of the dungeon.
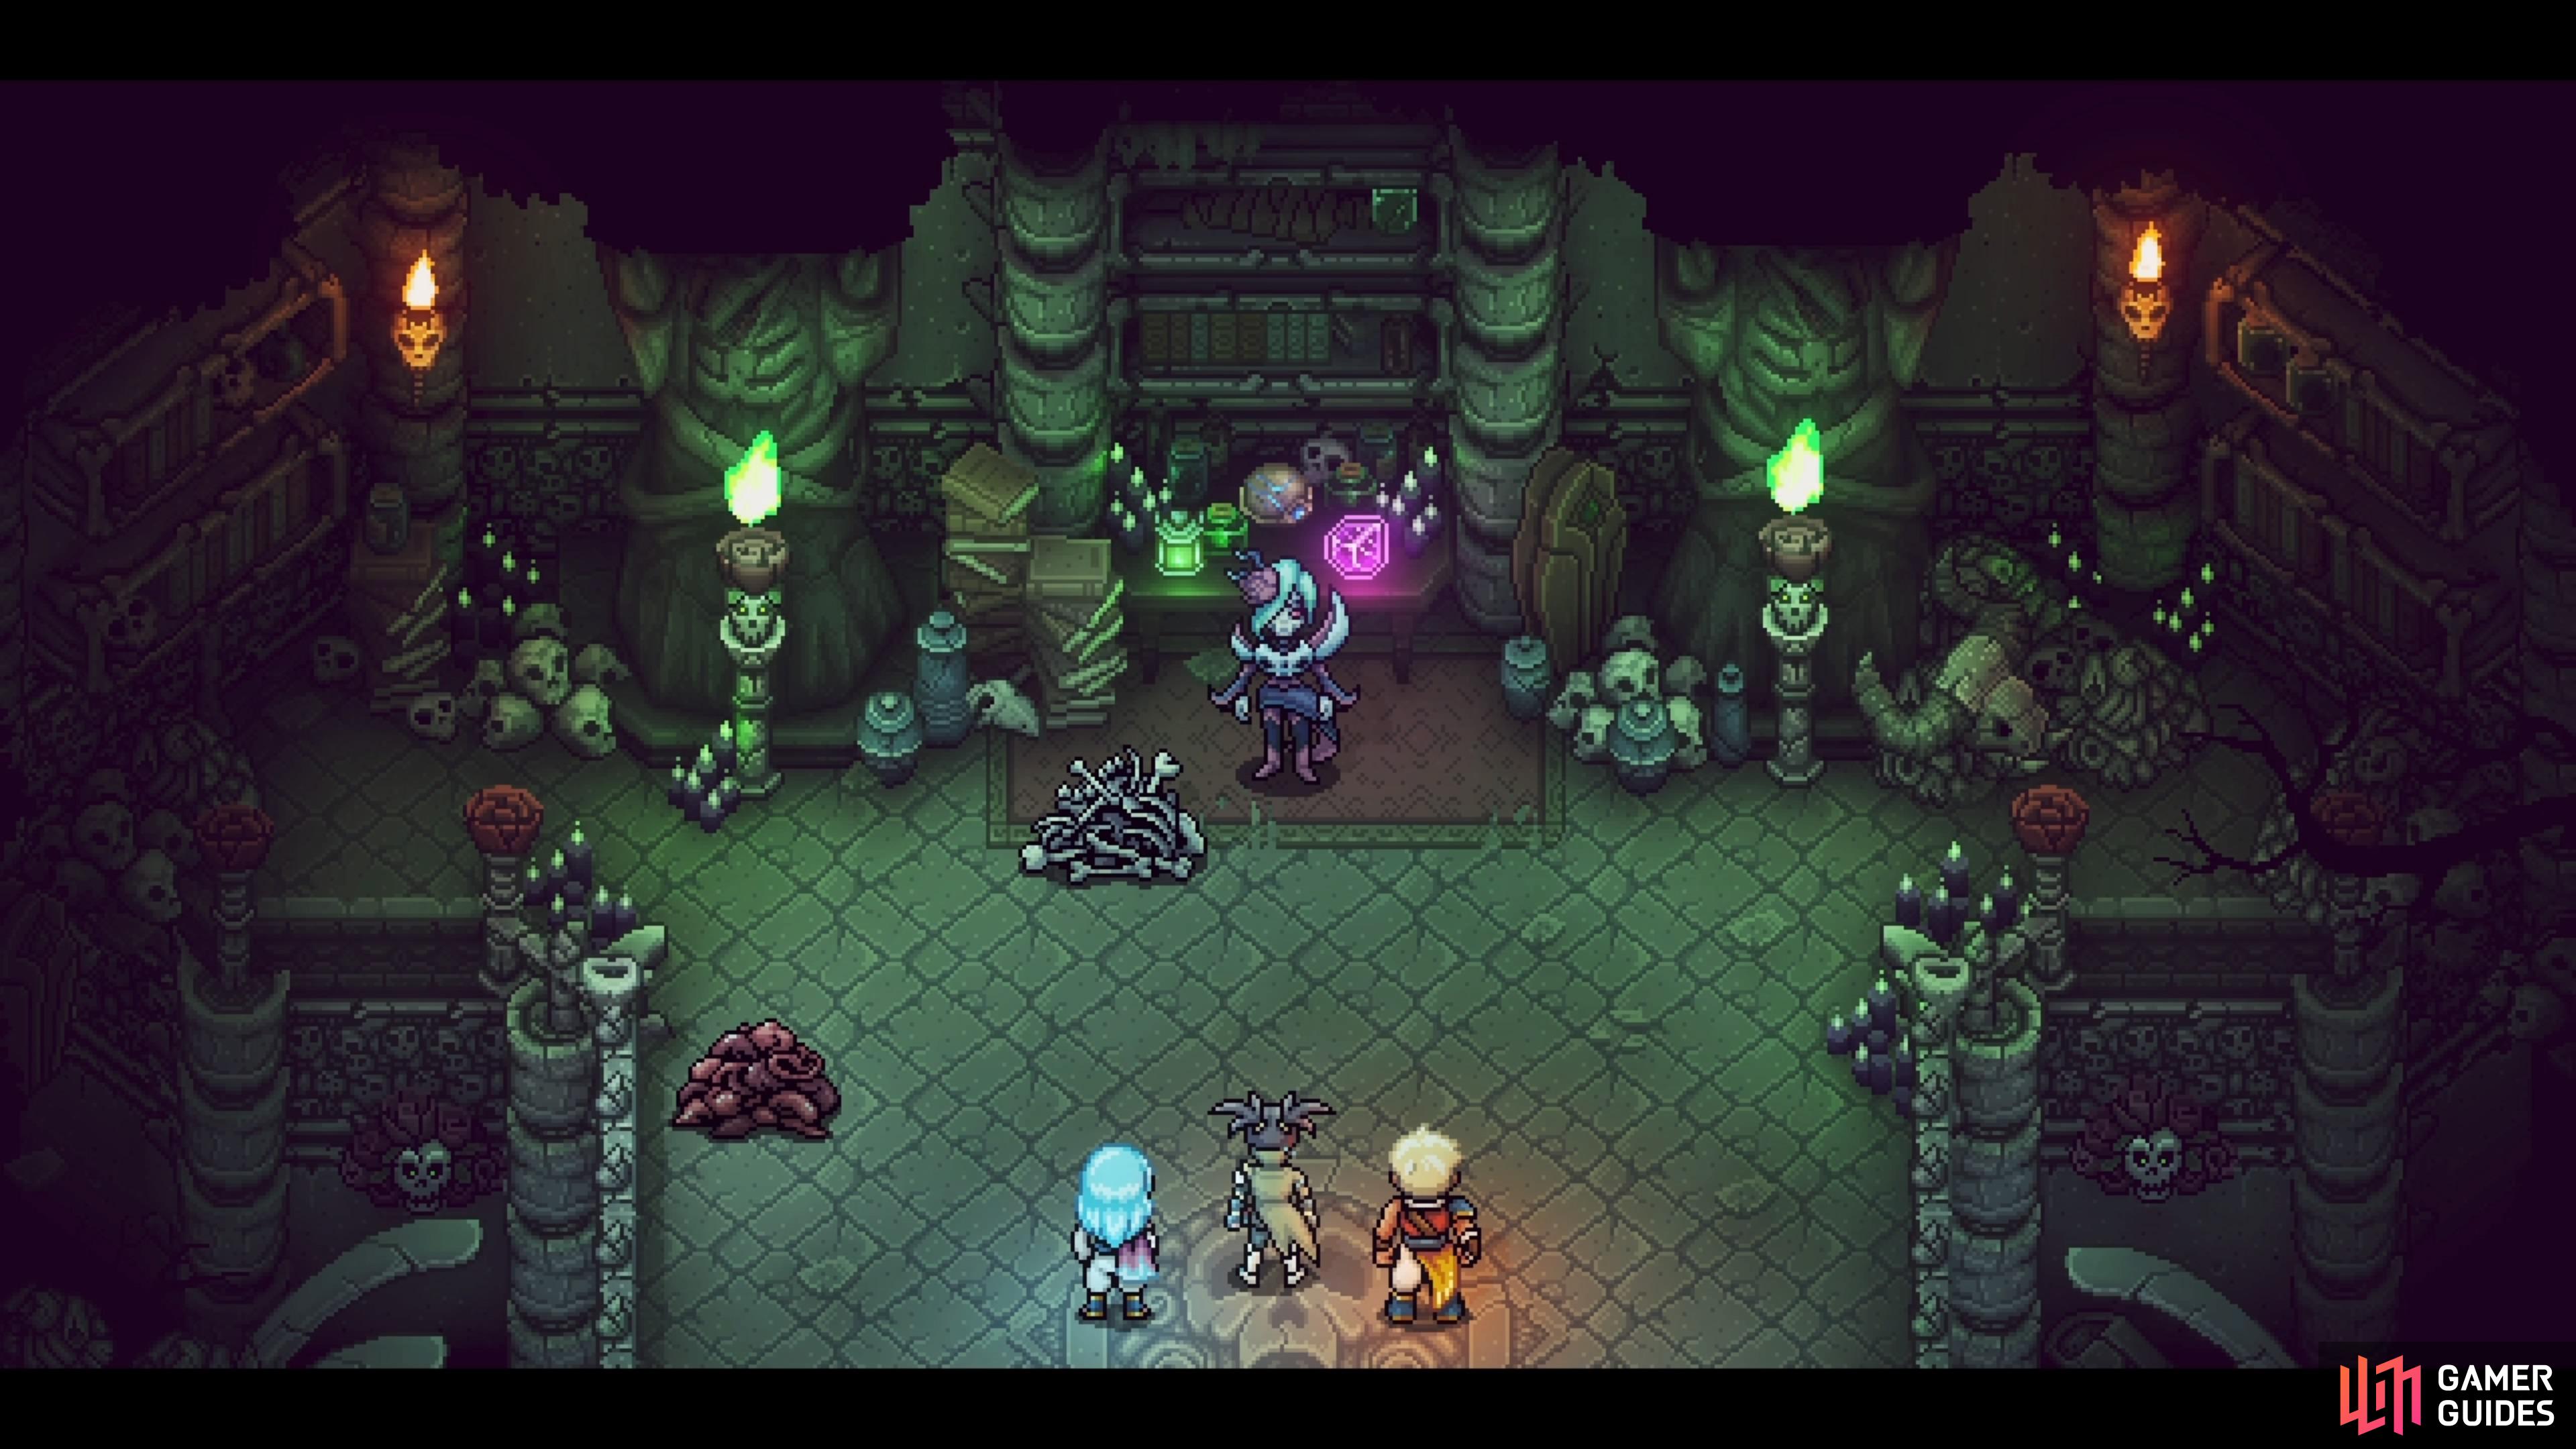
Romaya is the necromancer you will face at the end of her lair.
How to Defeat Romaya at the Necromancer’s Lair
Romaya is an annoying boss, as she likes to summon adds and some of those can be highly problematic. You will see both a Bone Pile and Flesh Pile at the beginning of the battle. Taking those out first will be much better, as it makes Romaya a lot easier to handle. She will still have her super strong attack, but if you can manage to break the Locks on it, then Romaya becomes a pushover.
All Romaya Attacks at the Necromancer’s Lair
-
Summon Undead: Romaya will have two different three-Lock moves, which will just have her summon some undead enemies. If she uses the Bone Pile, she’ll summon a Revenant, and the Flesh Pile will have a Lonzon. The Revenant is more annoying, due to its higher health, but it’s weaker unless you make it break its shield. The Lonzon is strong when it uses its special move.
-
Necromancy: Another three-lock move, but Romaya will utilize both piles to summon a Gulgul. The Gulgul isn’t so bad, although its randomness makes for some annoyance.

-
Eyeball Shot: Romaya’s normal attack, where she’ll just shoot an eyeball at you very rapidly. It is quite quick and will deal about 25 or so damage to the character it hits.
-
Felfire Rain: A whopping 10 Locks and is Romaya’s ultimate attack she will use quite often, whenever you start destroying the piles. She will rain down some green fire that hits a single time on your entire party. If left alone, this attack can deal around 60 damage to everyone. You definitely want to break all the Locks.
Strategy for the Romaya Boss at Necromancer’s Lair
It’s quite easy to get overwhelmed in this battle, especially once she starts summoning undead. Your goal at the beginning of the battle is to get rid of both the Bone Pile and Flesh Pile. Of course, anytime she summons enemies, they will take damage, but you can help contribute to their destruction. When she does summon enemies, you will probably want to focus on them first, though. Romaya does seem set on mostly conjuring the undead into the battle for the most part.
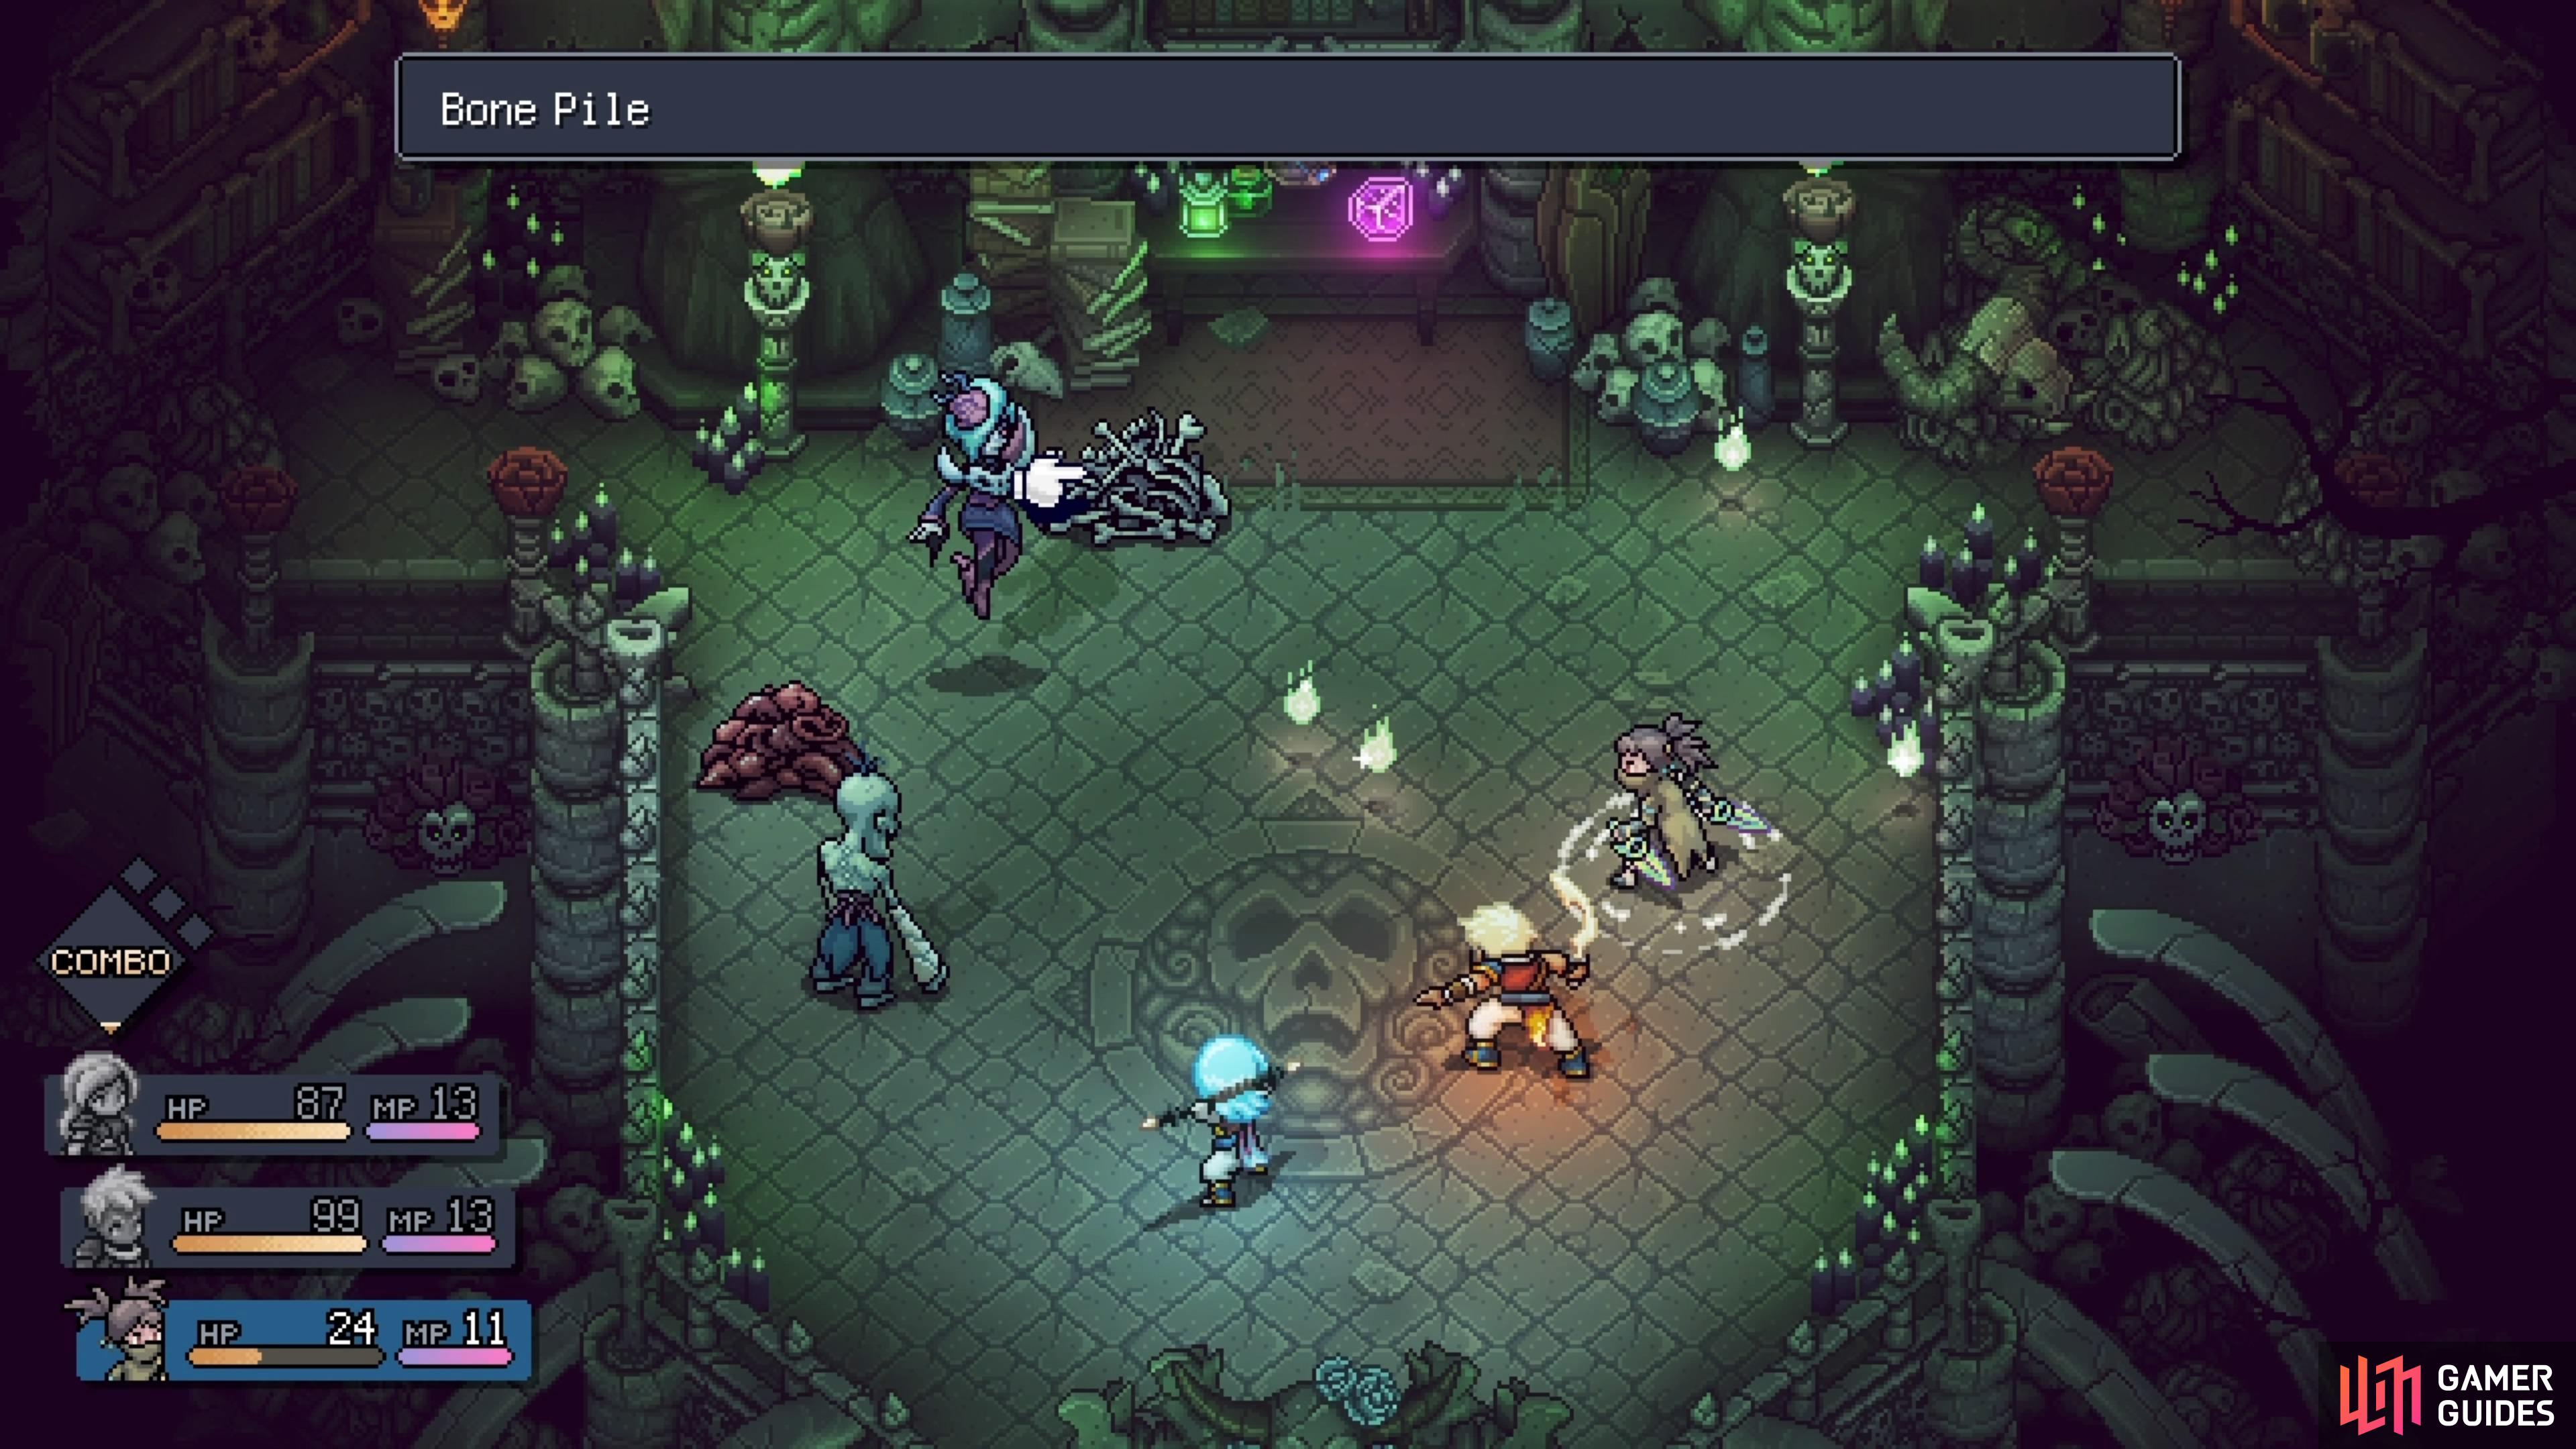
You should worry about going after the Bone/Flesh Pile at the beginning.
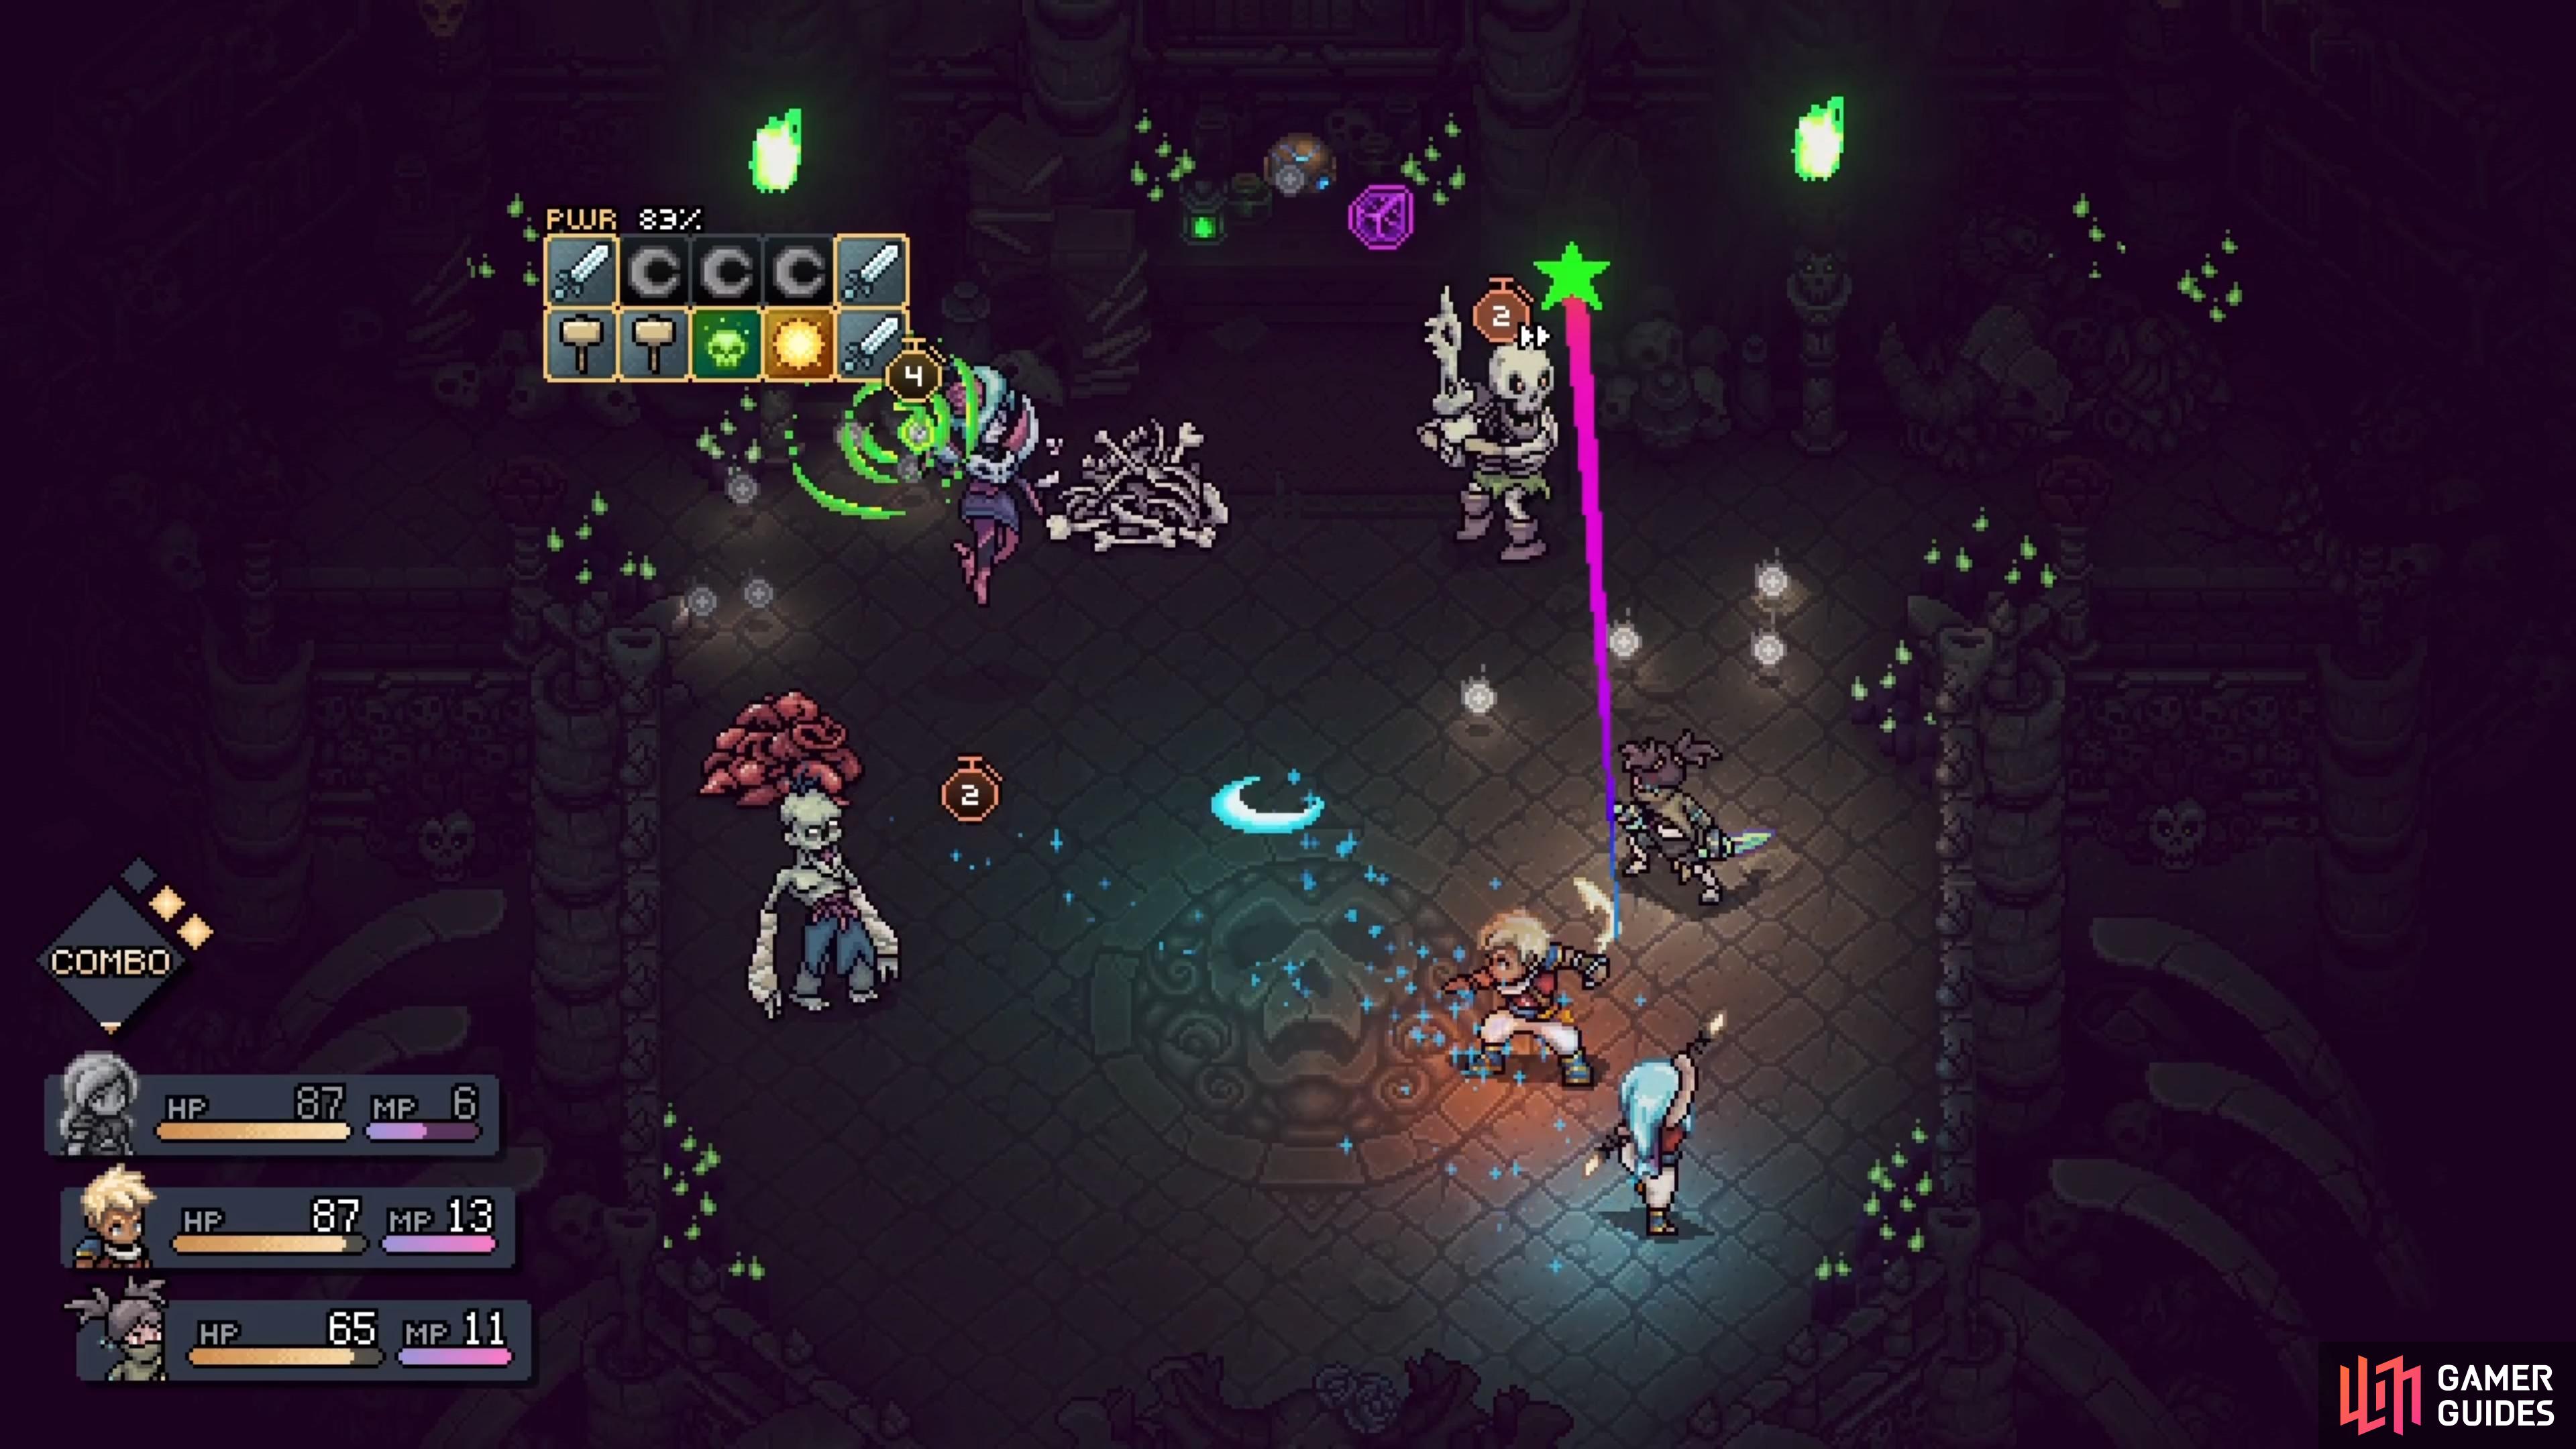
Using attacks that can hit all targets is ideal in this fight, to avoid being overwhelmed.
Once you’ve gotten rid of the piles, you can start concentrating on the necromancer herself. Her normal attack is quite fast, so you might have a difficult time blocking it. The bigger problem is definitely her special attack, Felfire Rain, as it has a whopping 10 Locks. You will usually always have four turns to break them, though, and if you feel like you won’t, don’t forget that Serai’s Disorient can delay the enemy’s turn. Should you fail to stop it, save your Combo Points to use Mending Light to heal.
Side Questing in Lucent
Upon defeating Romaya, you will receive the Soul Stone, as well as a Green Flame. You can exit the Necromancer’s Lair the same way you entered. Speak to Duke Aventry by the main entrance and he will suggest you take the side path to leave the area. Climb the cliffs to the east of him and use your Graplou to get across. Continue south, grabbing the Mushrooms and Potatoes, then look in the water right by them to get some Seafood from the clam.
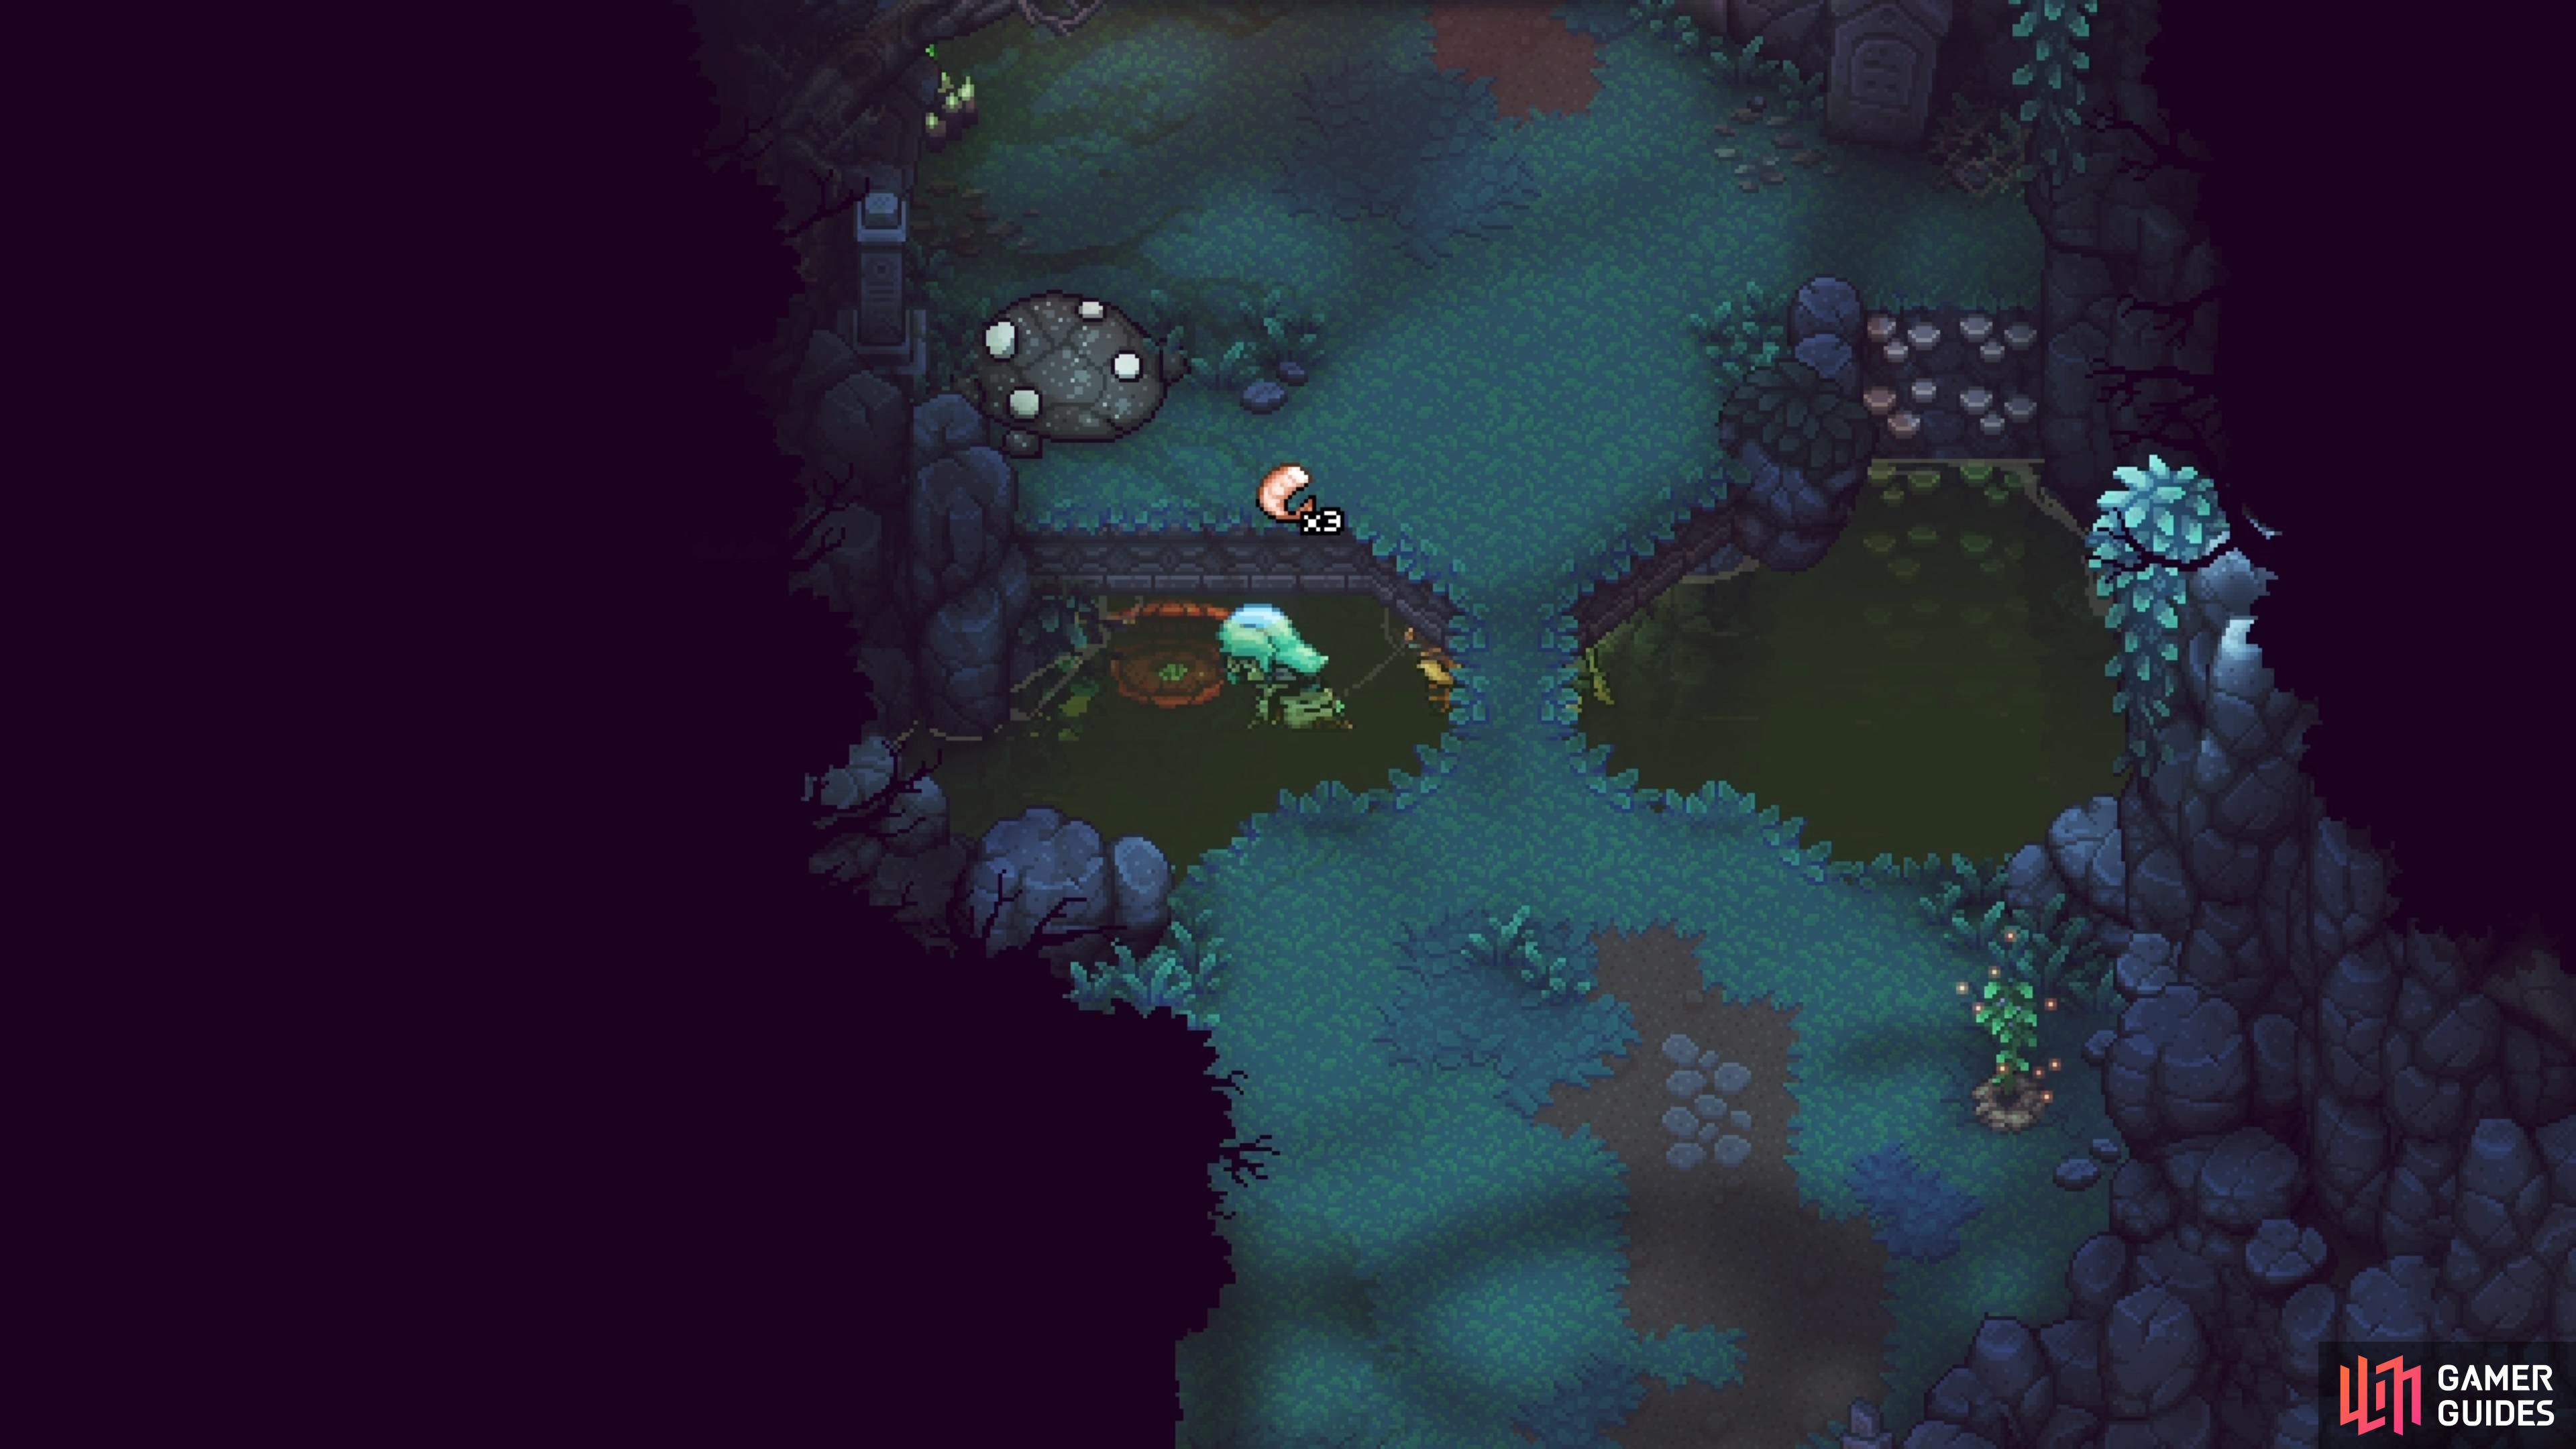
When you grapple back to the beginning area of the Flooded Graveyard, right by the climbable wall, don’t drop down just yet. There are a series of grapple points that will take you towards the northeastern corner. Enter the doorway there to find a room with a bunch of grapple points in it, which makes up a little puzzle. The goal here is to pull the two hooks in the corners quickly enough so that the chest here spawns. Pull either of the hooks first, then quickly grapple to the other side and pull the other. Your reward will spawn in the center, so open the chest for an Enchanted Scarf.
You can now take the Ferryman back to Lucent, although the game will go straight to the inn for some scenes. At the end of it, Garl will be back in your party and Headmaster Moraine will finally arrive downstairs. This will spark the next step of the game, where you will be going after the Dweller, but you have the option to wait and clean up anything in the area. That’s a good idea, as there are a few things to grab in Lucent, now that you have the Graplou.
Exit the inn and head on over to the bridge by the eastern exit. Climb on the northern railing and grapple to the north, following the path and grabbing some Potatoes along the way. You’ll eventually reach a chest that contains an Obsidian Ore, so loot it, then grapple to the south and drop off onto the roof of the inn. Enter the doorway up here to find another chest, with this one containing a Turbo Cookie. If you fully explored Lucent when you first arrived, you may recall an NPC that was asking for that particular item.
He will be found in the northwestern corner of the town, so head on over there and give him the Turbo Cookie. This will trigger a fight with the NPC, who really is nothing special, although he is resistant to normal attacks, so use specials like Valere’s Moonerang. Once you defeat him, check his grave nearby to find a Shed Key. Go to the eastern side of the town to find the locked shed and use the key to open it. Down here, interact with the big jar to start the Quiz Master Side Quest.
Once you’re done, climb the ladder out of the area, then go up the nearby stairs to arrive in some isolated room. Loot the chest in here for an Obsidian Ore, and you’ll be done with your side questing for now. When you feel like you’re ready, head back to the inn and tell Moraine you’re ready to get whisked off to the Haunted Mansion.
No Comments