| Optional Objective/s |
|---|
| 1. Make a Templar kill himself, but not innocents. |
| Reward/s | . | . | . |
|---|---|---|---|
| Money: | 2,000 £ | Bonus: | 350 £ |
| XP: | 1,200 XP | Bonus: | 400 XP |
| Gear: | Capes: Royal Cloak |
Part 1: Find and Kill the Templars
After speaking with the Queen to kick start the memory, make your way over to the houses of parliament. Head on inside and work your way through the crowd until you have located the secret agent. Speak with him to update your objectives.
The friendly will point out an isolated Templar in the hallway next to him. We’ll need to take him out without being spotted – he’s wearing a suicide bomb vest and if he sees us he’ll blow up and kill some civilians and if that happens we’ll desynchronise. We can kill him in any way we like, but I preferred to use the Rope launcher to reach the supports overhead and plant a throwing knife in his brain from a distance.
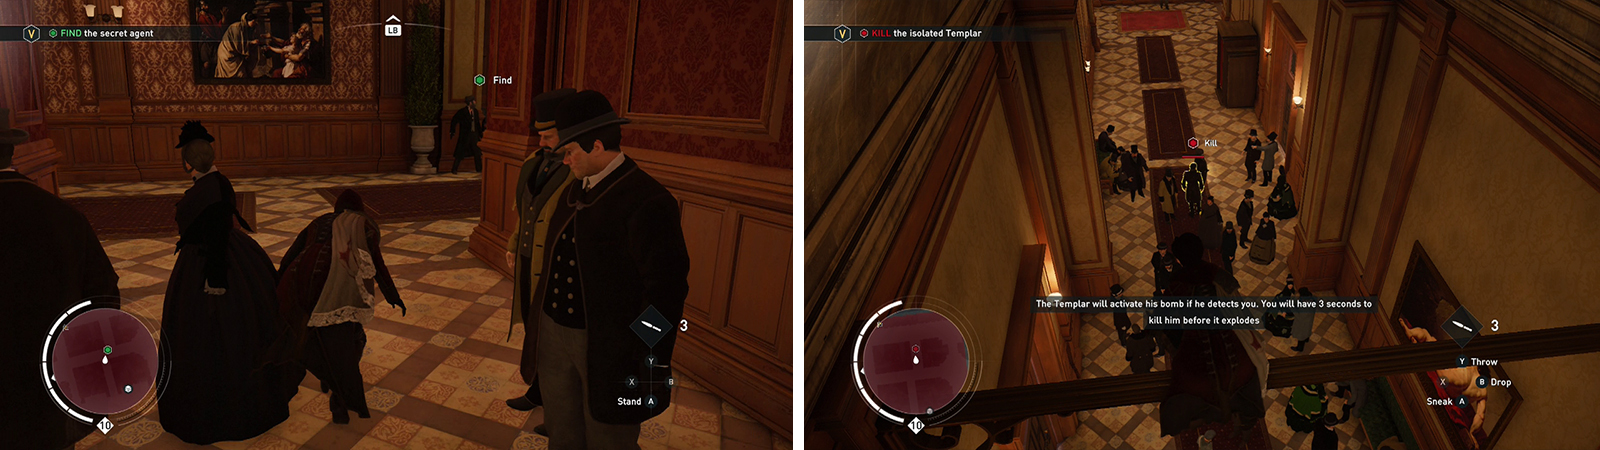
Speak to the agent inside the building (left). Kill the first Templar from above (right).
Killing him will give us the good news that there are five more suicide bombers lurking about. Activate your Eagle vision to locate as many as you can from this location… As with the first fellow, we’ll need to take them all down without being spotted.
Return to the secret agent – he’ll have moved to the opposite wall. Get into cover next to him and use the corner here. Wait for the bomber in the hallway to approach and whistle him over into a cover takedown [Templar Bomber 1/5].
Follow the hall right from the secret agent’s location to find an open door leading to a garden party of sorts. There are two bombers in this small area, one to the immediate right of the open door and another on the opposite side of the courtyard. Make sure you tag them both before proceeding.
Wait for the bomber to the right of the door to look away and quickly enter the courtyard and enter the haystack by where he was standing. Wait for him to patrol back and perform an assassination on him from the haystack [Templar Bomber 2/5]. The fellow on the other end of the courtyard can now be dealt with in any way you see fit, for me throwing knives were again the easiest method to take him out [Templar Bomber 3/5] .
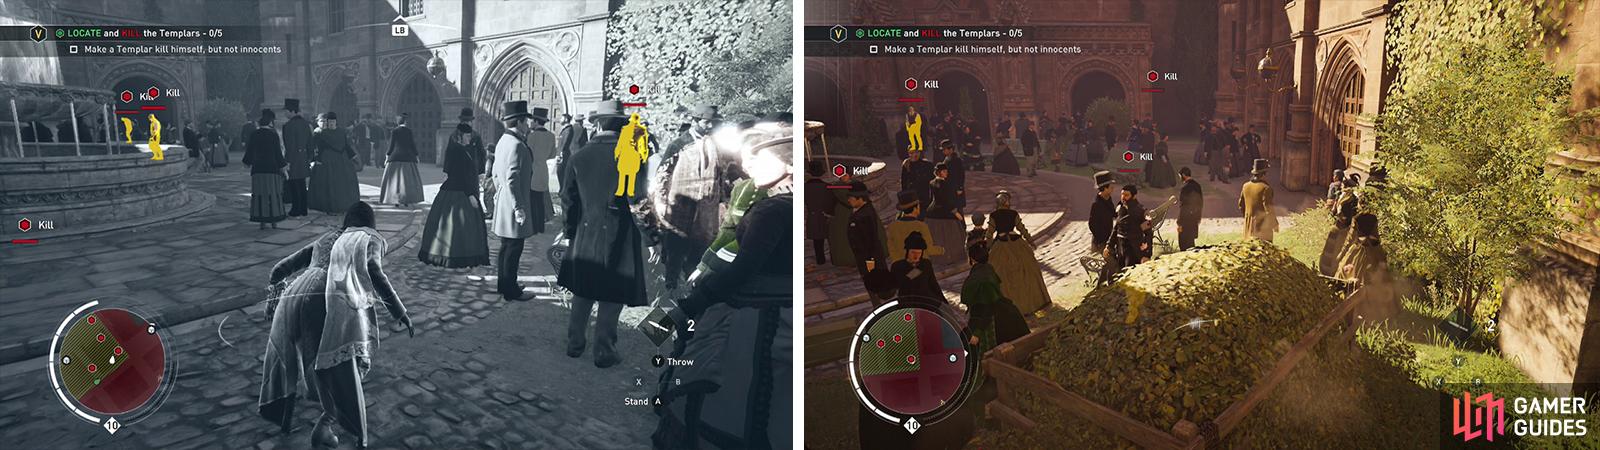
There are two Templars int he outdoor courtyard (left). Kill the first from a haystack (right).
Return to the open door and back past the secret agent’s location and through the door at the far end. Take the right hand hallway and you should exit into the southern part of the large entrance chamber (the westernmost room of the building).
The final two bombers are located in this room. The first of whom we’ll use to obtain the optional objective.
Move into the room and down the two small sets of stairs. Activate Eagle Vision to tag the targets here (if you haven’t already). Use a whistle to lure the bomber to your location and quickly hide behind one of the sets of seats on the left/right of this platform. Whistle him over into one of these side areas and reveal yourself when he is away from everyone else. He’ll trigger the explosives giving you a couple of seconds to run away. If successful he’ll blow up, you’ll get credit [Templar Bomber 4/5] and you’ll also earn your optional objective.
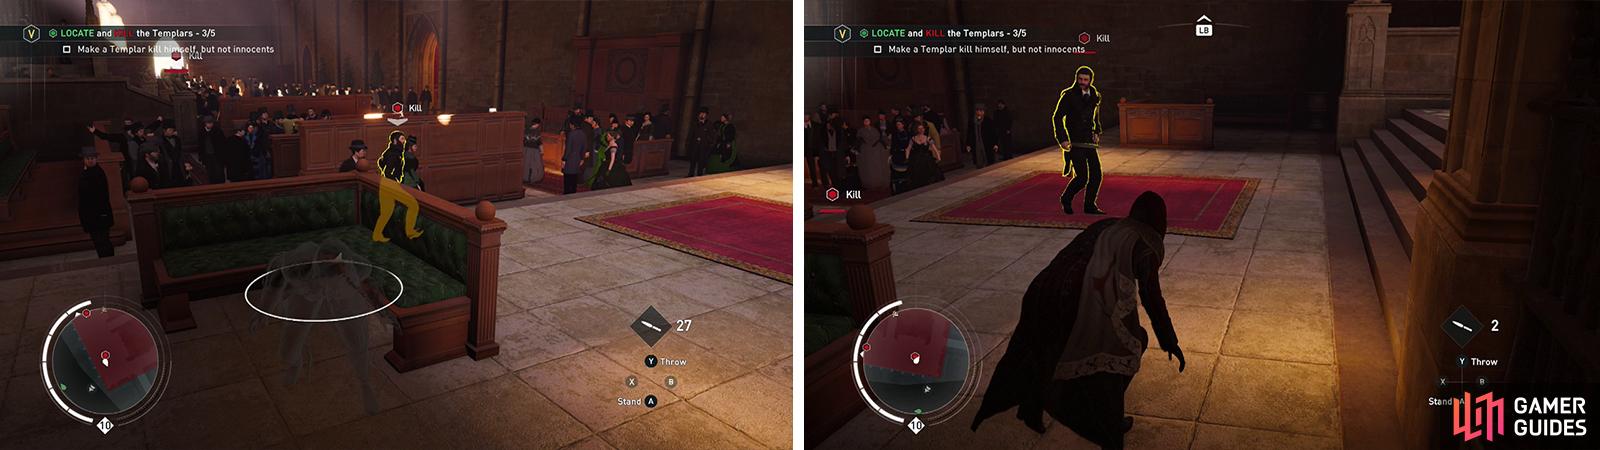
Whisle the fourth Templar into the open (left) to have him explode without killing anyone (right).
The final bomber is by the main doorway in the north side of the room. An easy way to deal with him is to climb up to the supports above the room and air assassinate him from above, although the usual throwing knives or use of the curtain to his right or even the nearby chairs as cover can all be used for an assassination [Templar Bomber 5/5] .
Your objectives will update at this point.
Part 2: Pursue the Target
Move to the southern end of the room you are in towards the objective marker. As you approach, you’ll see a yellow objective marker appear (another Templar) and he’ll run off.
Follow him a short distance through the hallways and a short scene will play when you catch up with him. When prompted, pull out your gun and shoot the Templar – just be very careful not to shoot his hostage or you’ll desynchronise.
However, we’re still not done as the Templar’s information has given us one final task. Tracking down a series of bombs located throughout the building within 2 minutes 30 seconds.
Part 3: Find and Defuse the Bombs
After the hostage situation, you’ll need to find and disarm 4 bombs hidden around the building. Fortunately, their general locations are all marked with objective markers so it’s not as tricky as it could have been! Once you have located a bomb, moving up to and interacting with it will disarm it.
You probably don’t need a reminder, but you’ll want to remember you have that tight time limit for this portion of the memory. As such you really need to be sprinting at full speed everywhere in order to get the job done in the allotted time.
It should also be noted that you must find and disarm all four bombs within the time limit. If you do not, you will have to restart the entire bomb hunting scenario again from the beginning. It will be tricky the first couple of times until you know where the locations of the bombs are. Once you have those in order, it’s quite easy to speed run through the area and complete the section with plenty of time remaining.
The bombs can be disarmed in any order, but the list below provided the most efficient route for me. They can be found in the following locations:
- The first bomb [Bomb 1/4] can be found inside an office through the open door at the far end of the hallway.
- The second bomb [Bomb 2/4] is located in the outdoor courtyard/garden party area where we kill the pair of Templar Bombers earlier. It can be found in the far, right corner from the entry door.
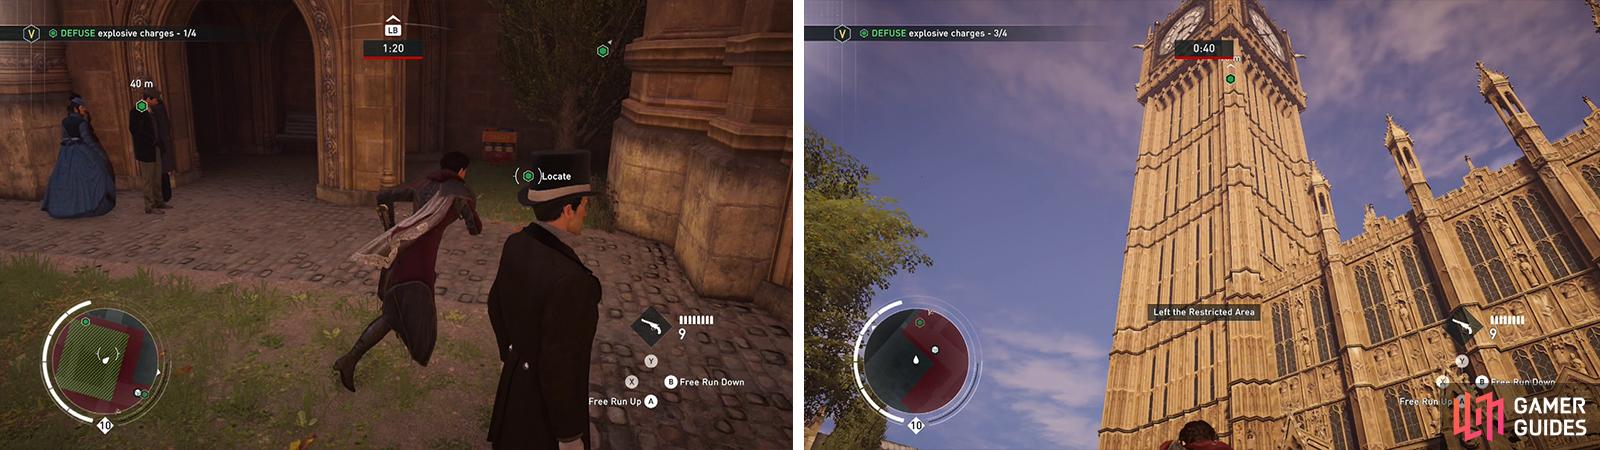
The second bomb can be found in the outdoor courtyard (left). The final bomb is at the top of the Big Ben tower (right).
- The third bomb [Bomb 3/4] is inside the large entrance room where we killed the final two Templar Bombers earlier. It can be found along in a small alcove along the left hand wall (when looking at the main entrance).
- The final bomb [Bomb 4/4] is outside of the main building but located on a platform up near the very top of the ‘Big Ben’ tower. Use your Rope Launcher excessively to climb up to this position as quick as humanly possible.
After successfully disarming all four bombs, you’ll need to return to ground level and speak with the NPC highlighted with the objective marker. Following a brief conversation, the memory will be completed.
No Comments