
| Enemies |
|---|
| Bag o’ Laughs, Biting Batboon, Harmour, Hocus Chimaera, Rotten Egg |
Before you enter the actual dungeon, you might see a chest on the right side of the compound, but it is empty, so ignore it and go straight inside. At the far end of the first area, you will see two staircases leading up, as well as a door. Go through the door and you’ll come to an area with a few siderooms. In the northeastern one are a bunch of barrels; break these for a Mini Medal (#72) and a Seed of Life . The southeastern room has three chests surrounded by a bunch of pots. The pots have nothing, the middle chest is a Mimic, and the other two chests will have 350 gold coins and a Chimaera Heart .
Return to the main hallway and go up the eastern set of stairs to what looks like a maze, but it’s not really. Ignore all of the dead ends and head straight to the stairs to get to the next floor. As you move south, you should notice a circle engraved into the ground. That will come into play in a few seconds, so ignore it and follow the pathway south and then east to a door. Through the door, you will spot a purple-ish looking button on the ground. Step on it and the walls will rotate around on the circular-track pointed out before.
This will allow you to reach the doorway on the western side of the central area, where you will find two sets of stairs to the north. Pay no attention to them for a second until you go south to open a chest ( Seed of Resilience ), then take the southern of the two stairs to appear outside. Head through the nearby door, then go out the other door to get back outside. Follow the only path here, taking note of the statue you pass, and enter the next door to return inside. You’ll get a quick note about the breeze and notice there’s more rotating walls, but there’s nothing you can do with them right now, so just head north. In the next room with be some pulsating stone, so grab it to net yourself a Sacred Stone .
Go back to Aeolus Vale and to the Preator’s house, where there will be a short scene with Fidelia and the grandmother. Speak with the grandmother at the table and hand over the Sacred Stone to the Praetor, with time passing to the next day. Head back to the Praetor’s house for another scene, then speak with him after the fact to receive a Mercury’s Bandana . Now, return to the other side of the cliff, as if you were heading back to Sullied Sanctum, to see a scene. Once that’s over, go to the top for one more scene with Fidelia. She will head back to the Praetor, so follow suit.
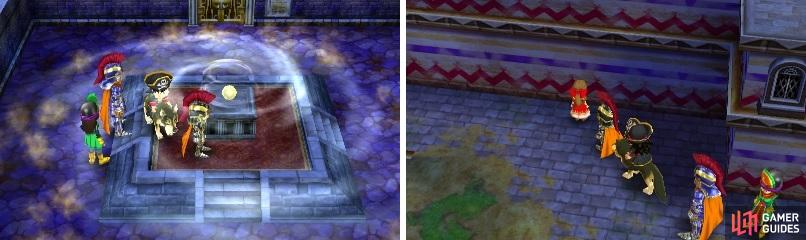
The Sacred Stone certainly makes a lot of wind for a small orb (left). Talk to Fidelia once she “falls” to the ground (right).
Speak with the grandmother and agree to help, which will make Fidelia join your party as a guest, handing back the Sacred Stone. You now need to go back to the Sanctum to find out what is exactly going on. Make your way back to the room where you picked up the Sacred Stone and put it back on the pedestal, then inspect the door to the north to have Fidelia open it. As you approach the stairs, the door will close behind you, so you won’t be able to go back.
Take the stairs and in the next room, use the middle stairs to enter the top of the Sanctum. If you rotate your camera, you should see some kind of structure underneath the area being held up by the columns, which you can go into. There will be a stone tablet here that tells you to send wind to set the sullied spirit free. Hmm, that sounds like a hint for something, doesn’t it? Anyway, return downstairs and look for the other set of stairs to the southeast of the first one you took. Enter the door to find yourself in the one big room, where the northern exit led to the Sacred Stone.
Your objective here is to create a pathway with the rotating walls to connect the northern exit to the southern one, which will make the wind created by the Sacred Stone reach the statue. Start off by stepping on the switch in front of you so you can gain access to the middle of the room. Go to the switch nearest the southcentral doorway and step on it twice, then go to the one directly west and step on that switch twice as well. Just north of the wall you just rotated is another switch, so hit this one once, then step on the northwestern one twice. All that is left is to hit the switch in the north once to finish the pathway, healing the statue and revealing the culprit behind the corruption. Once you can finally move, exit to the south to face the next boss!
BOSS - Cumulus Vex
Cumulus Vex can be a very challenging boss, as he has one attack that can deal heavy damage to your party, plus he has the ability to summon some minions that are a bit annoying. For starters, he can attack one character with Wind Sickles, which does a good 100+ damage. His physical attack deals around 50-60 damage and he also knows Thin Air, something you might be used to, which deals a good 100+ to the entire party.
The most annoying thing that the Sky Fries can do is cast Snooze, which might spell impending doom if some party members are hit with it; their physical attack is nothing. If you have Magic Barrier, use that to help mitigate the damage from Thin Air, then counter his attacks by using Oomph on your physical attackers and either using a normal strike or something like Knuckle Sandwich. Hopefully by now, you have Multiheal on at least one character, but having it on two characters is ideal in this fight, since Cumulus can act twice per turn.
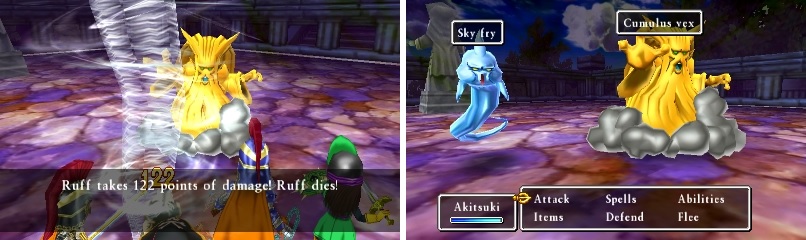
Cumulus’ wind attacks are very strong (left). Take care of the Sky Fries as soon as you can (right).
That will be another town saved, but before you leave the Sanctum, inspect the statue to receive a Prayer Ring. Stop by the Custodian’s Camp on the way back to Aeolus and speak with the one NPC on the northern side of the well for a short scene. Return to Aeolus Vale and enter Praetor’s house to a scene, then exit and look for the grandmother and Fidelia for another scene, with you being given the Sacred Stone for good. That’s all you can do here, so return to the present era now.
No Comments