Return to the Shrine of Mysteries and speak with the spirit there, opting to choose to place the red fragments. You will want the first pedestal that should already be selected for you, transporting you to a land where you get a vision of a volcano erupting. Once you regain control, head straight south from where you spawn to find a dead end on the overworld, where there’s a chest with a Scale Shield waiting for you. This should be a tiny improvement over the Leather Shield you have equipped on either the Hero or Kiefer.
You will notice that there are a few new monsters roaming about the overworld, but it’s best to ignore them for now and make your way to the village located, so you can save and have a safe spot in case something bad happens. In the village, check the pot in the northwest corner for an Antidotal Herb , as well as the pot in the northeast corner for a Magic Water . The southeastern pot has 10 gold coins and the other corner has nothing. The bottom of the two eastern buildings has a pot with 6 gold coins , while the big house has an Antidotal Herb in a barrel on the first floor and a Pointy Hat in one of the drawers on the second.
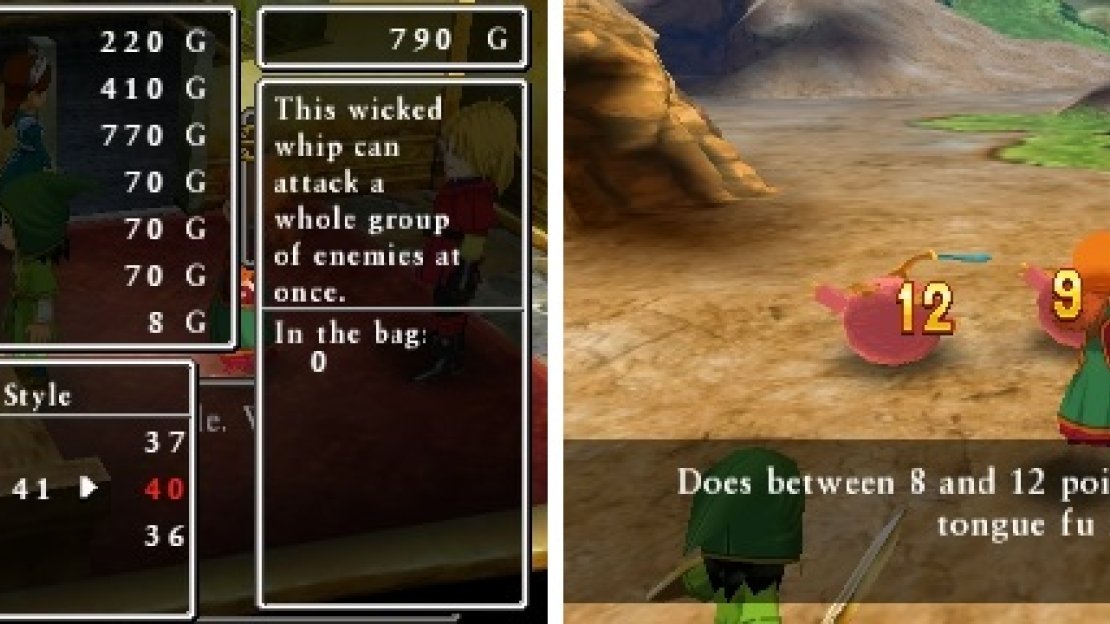
The Thorn Whip may be expensive (left), but it allows you to hit all enemies in a group (right).
Although it’s a little steep, the item shop is selling one particularly nice weapon for Maribel, the Thorn Whip. Not only is it a nice boost in physical power, but it can also attack a whole group of enemies, not ALL enemies. The only problem with this is that a decent boost to Maribel’s defenses will come up shortly, but it’s only available for a short period of time before disappearing until after you complete this area, so it’s up to you on whether you want a bit more offense or some extra defense for Maribel (the armor costs 680 coins). The rest of the equipment at the shop is either nothing new or not much of an upgrade over your existing stuff.
To continue with the story, speak with the leader of the village on the second floor of the big house, then rest at the inn after seeing a short scene outside. Once you wake up, step outside and speak with Palmela, who is the short, old lady by the well in the center of the village. You’ll be in the leader’s house afterwards, so head upstairs for another scene, then go meet up with Palmela in the item shop. Basically, you need to investigate Burnmont, but you can’t get to it without the festival taking place.
Palmela suggests that you wait for the festival to begin, so go to the inn and rest there, unless you want to do a little bit of grinding first. Feel free to go around and talk to everyone at the festival, especially the one behind the table, as he’s a merchant and sells a Leather Dress for Maribel; it doesn’t become available until after you return to your era. Once the festival starts, talk to the mayor, then head into the item shop to talk to Palmela and return to the mayor again to eventually make your way to Burnmont.

No Comments