
From the village, go to the northern area on the overworld (there’s nothing in the eastern area) and you should see the Grotto on your map. However, if you head to the eastern part of this section, you will find a chest with 300 gold coins in it. Now, head on over to the entrance of Grody Grotto and pass through the poisonous water to enter the dungeon.
As you will likely see, there is the same poisonous waters throughout the dungeon and you will need to step through it in order to clear the thing and get everything. There are also “holes” in the floor that if you should happen to fall down them, you will need to backtrack to get back to where you were at when you fell into the hole.
The first area is fairly straightforward, as you should ignore the “hole” and stairs in the southeast and make your way to the stairs that you will see in the northwest. You can either pass through the poison waters or simply take the long way around to the exit. The second floor has nothing important, as well, so either take the northern path around the poison or cut right through it to get to the next set of stairs.
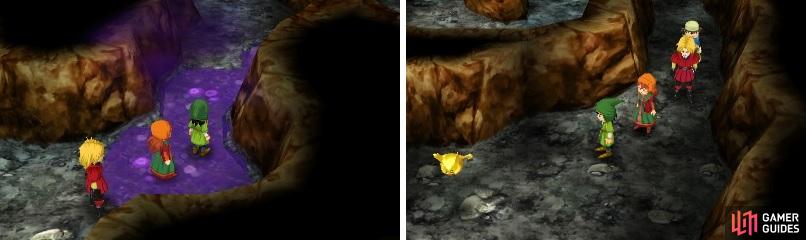
The poisonous waters can act like a shortcut (left), but you can always take the longer path around it (right).
On the third floor, you will see the tablet fragment in an inaccessible area. Despite the complicated looking layout of the floor, your goal is to get to the stairs in the northeast corner (there’s no treasure on this floor). On the next floor will be a split, where you will see two sets of stairs, one in the northwest and another in the southwest. For now, take the northwestern set, which will take you to the one tablet fragment you saw earlier in the dungeon ( Green Fragment ).
Return to the previous floor from the fragment and drop down into the hole, then take the southwestern stairs. There will be two chests in the bottom path on the map, but one is empty and the other is a Cannibox. Take the northern exit, go through the small area and in the next, heal up because it’s time for the boss!
BOSS - Grody Gumpdrops
You might have a fair bit of trouble with this boss, as he is accompanied by two Goodybags, which can be a bit annoying depending on what they do. Their most dangerous move is Kasap, which will reduce the defense of all your characters, but they can also make a character dance, with that character losing a turn. They can also do a weird dance, which takes 1-2 MP away from the character it hits.
Grody Gumpdrops himself can dish out some damage, especially if he abuses both Sizz and Sizzle. The former hits everyone for around 15 damage, while the latter does about 25-30 damage to everyone. He also has the annoying ability to Dazzle your characters with the shining bit, like a few of the previous bosses. Other than the above, all he has left is a normal physical attack, dealing about 15-20 damage to a single character.
Needless to say, your first targets in this battle should be the two Goodybags, as you definitely don’t want your defense lowered with Kasap and their MP-draining move could prove detrimental, as it can stack up over time. This makes moves like Bang invaluable at the beginning, since it will do decent damage to them (and Grody himself). Once you take them out, it’s just concentrating on Gumpdrops, healing when necessary (you’ll likely need both the Hero and Maribel on healing duty in some parts). Note that Grody can sometimes attack twice per turn, so don’t be surprised by it happening.
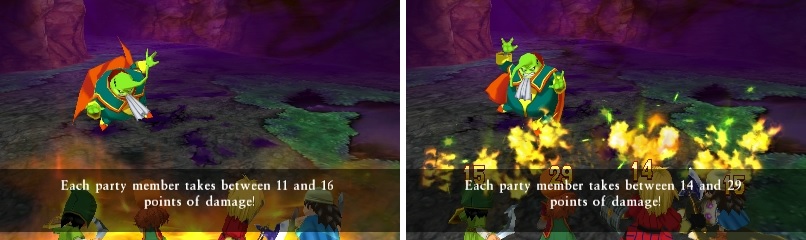
Both Sizz (left) and Sizzle (right) are spells that hit all of your party members.
After the battle is over, loot the chests he was guarding for 50 gold coins , a Mini Medal (#13) , and another Cannibox. Exit to the south, pick up the Green Fragment , then use Maribel’s Evac to exit the dungeon. Return to the town to rest, then head back to the portal to go back to the Shrine of Mysteries. Find the nearest church to save, then it’s off to the present version of the latest journey.
No Comments